Striped Double Exposure: How to Combine Two Images Using Blending Modes
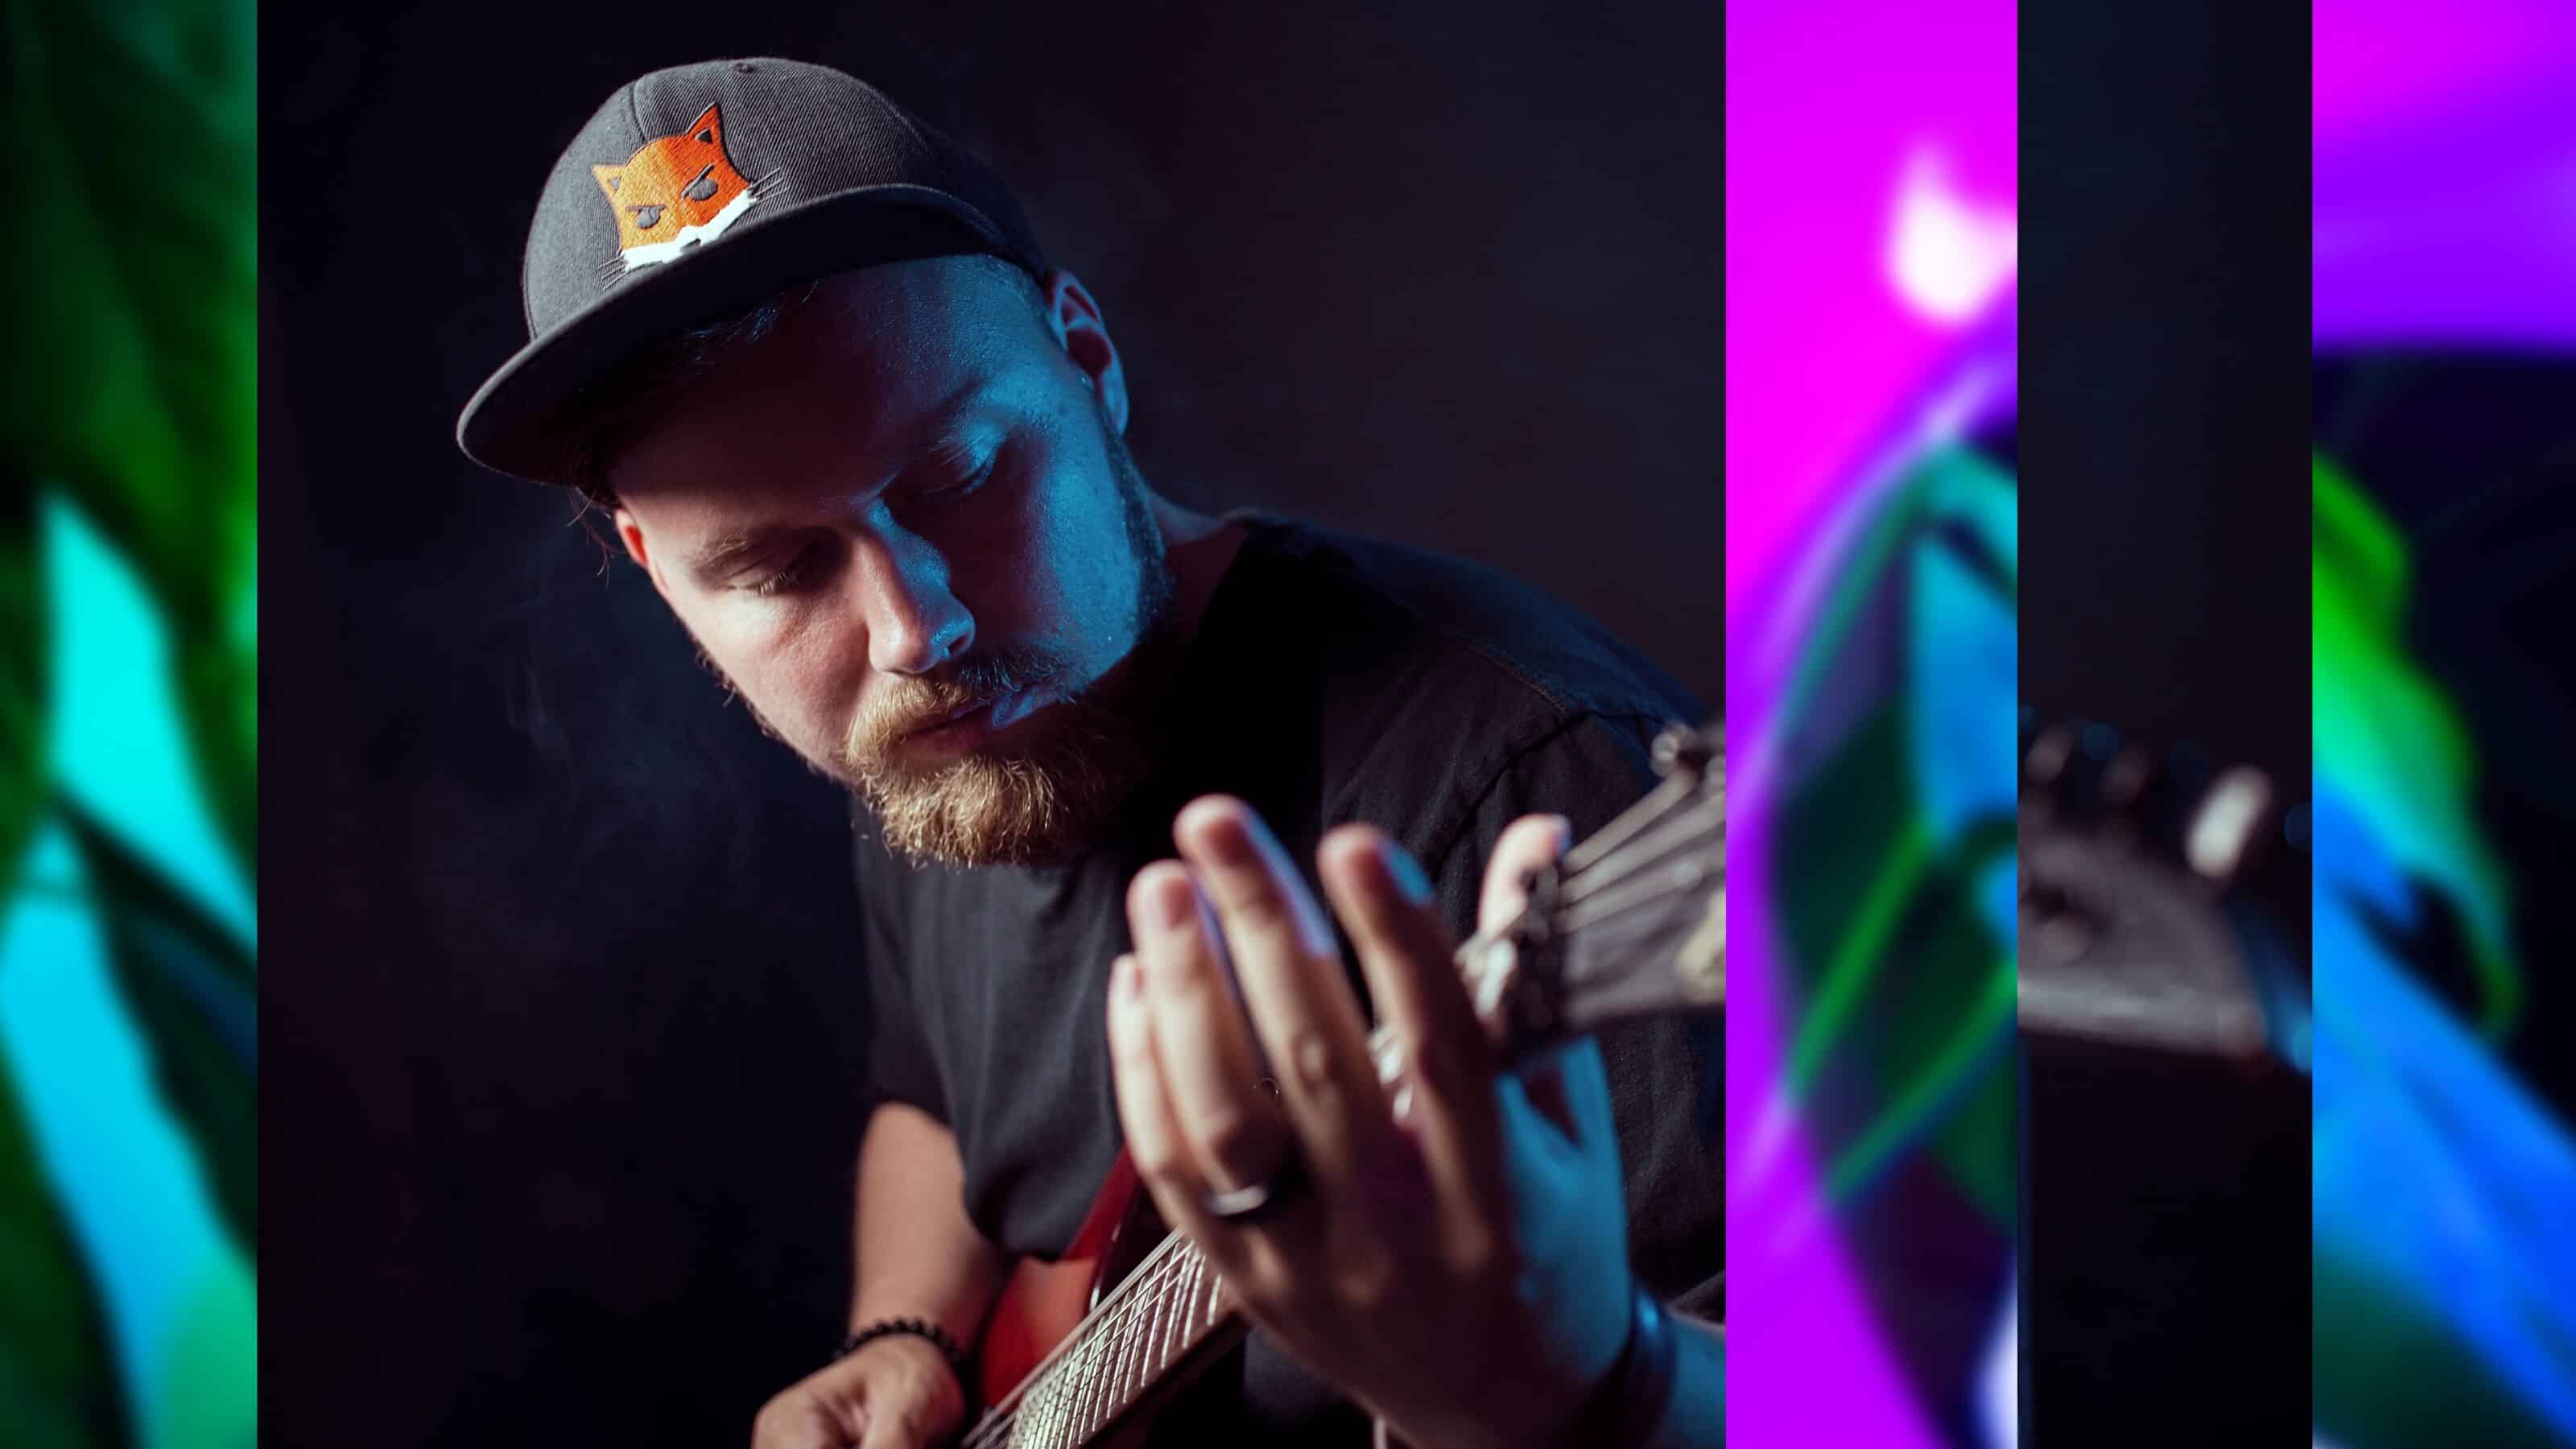
Double exposure is a great way to add variety to your photography. A double-exposure photo can even be used to make an eye-catching graphic. There are many ways to create this effect. This time, we’ll be taking a look at how to use stripes to get double exposures.
You can create double exposures right in your camera. Film camera photographers are already familiar with double exposures. Modern digital cameras also usually have this option.
But sometimes you need software to create a double exposure using two ordinary photos. In some cases, you are left with no other choice. For instance, there is no simple way to create a striped double exposure in the camera.
How to get double exposures using photo editing software
You may be familiar with creating double exposures by blending layers. Blending layers is one method for getting the double-exposure effect. Another method is to paste the photos over each other and make selected parts transparent. This is the method we’ll be using in this tutorial.
Before you get started, we recommend you brush up on the basics of working with masks. If you haven’t mastered working with masks yet, it’s a good idea to understand how they work first. If you don’t have time, follow the instructions closely and you will get the same result. Everything will make sense as you go.
Striped double exposure
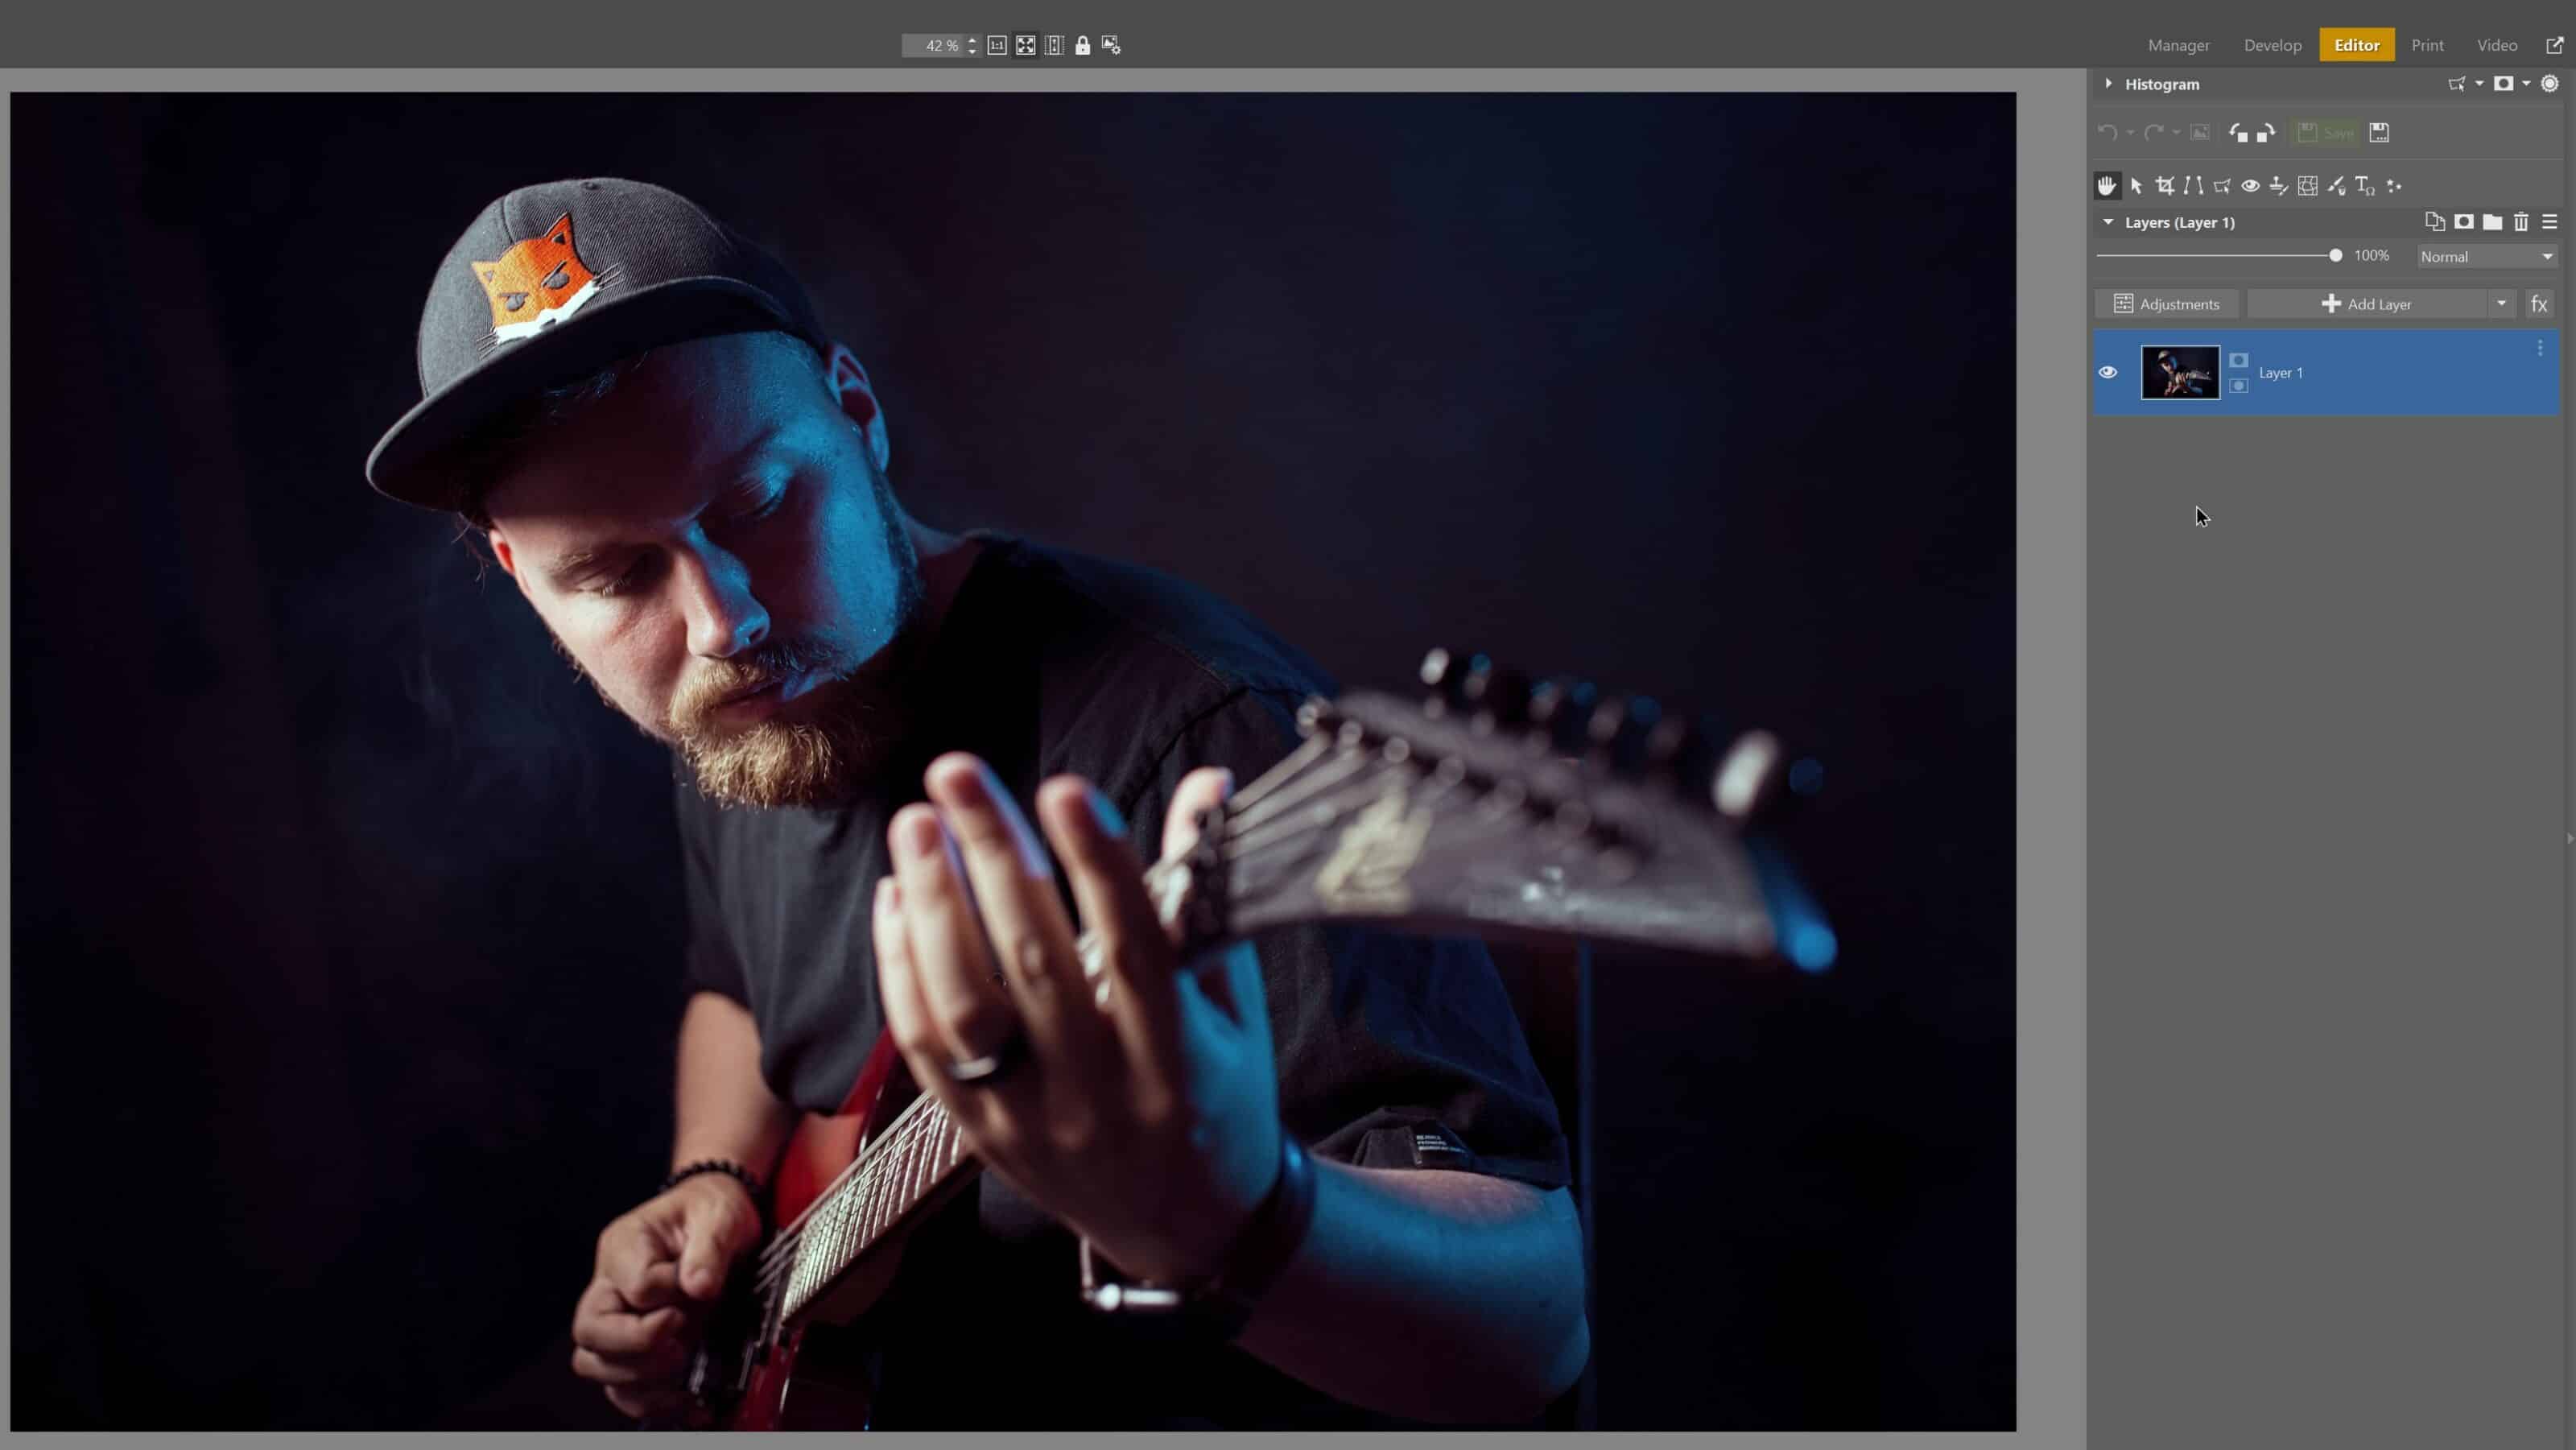
The idea is to put two photos on top of each other and make the top one transparent using a mask in the shape of repeating vertical stripes. First, open the main photo in the Editor module of Zoner Studio.
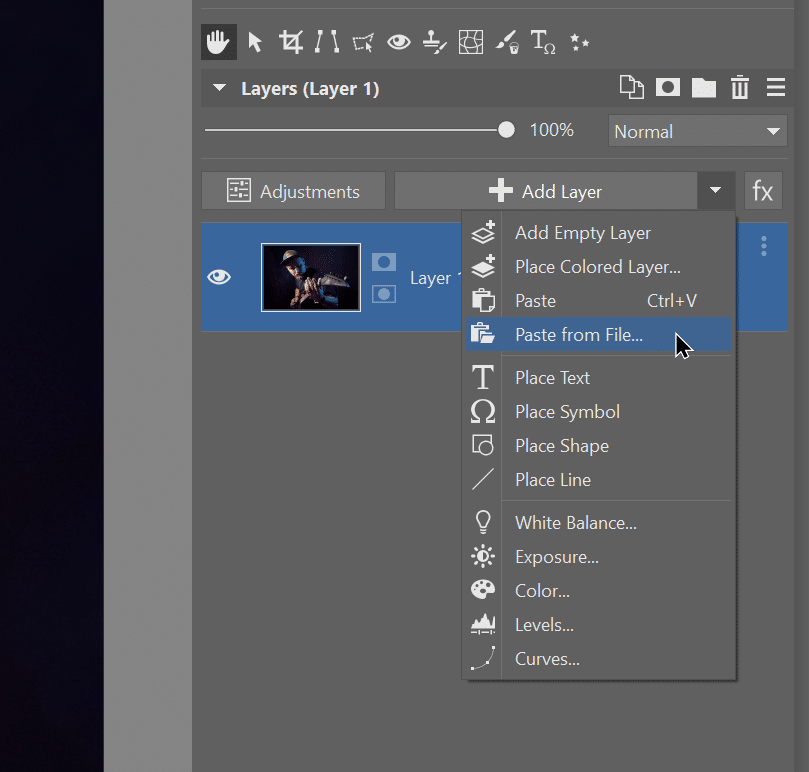
Then, paste the second photo. Select Paste from File (see picture above) and find the photo on your computer. Double-click the thumbnail in the browser to paste it. We chose a bright and colorful photo with light painting to contrast with the main photo.
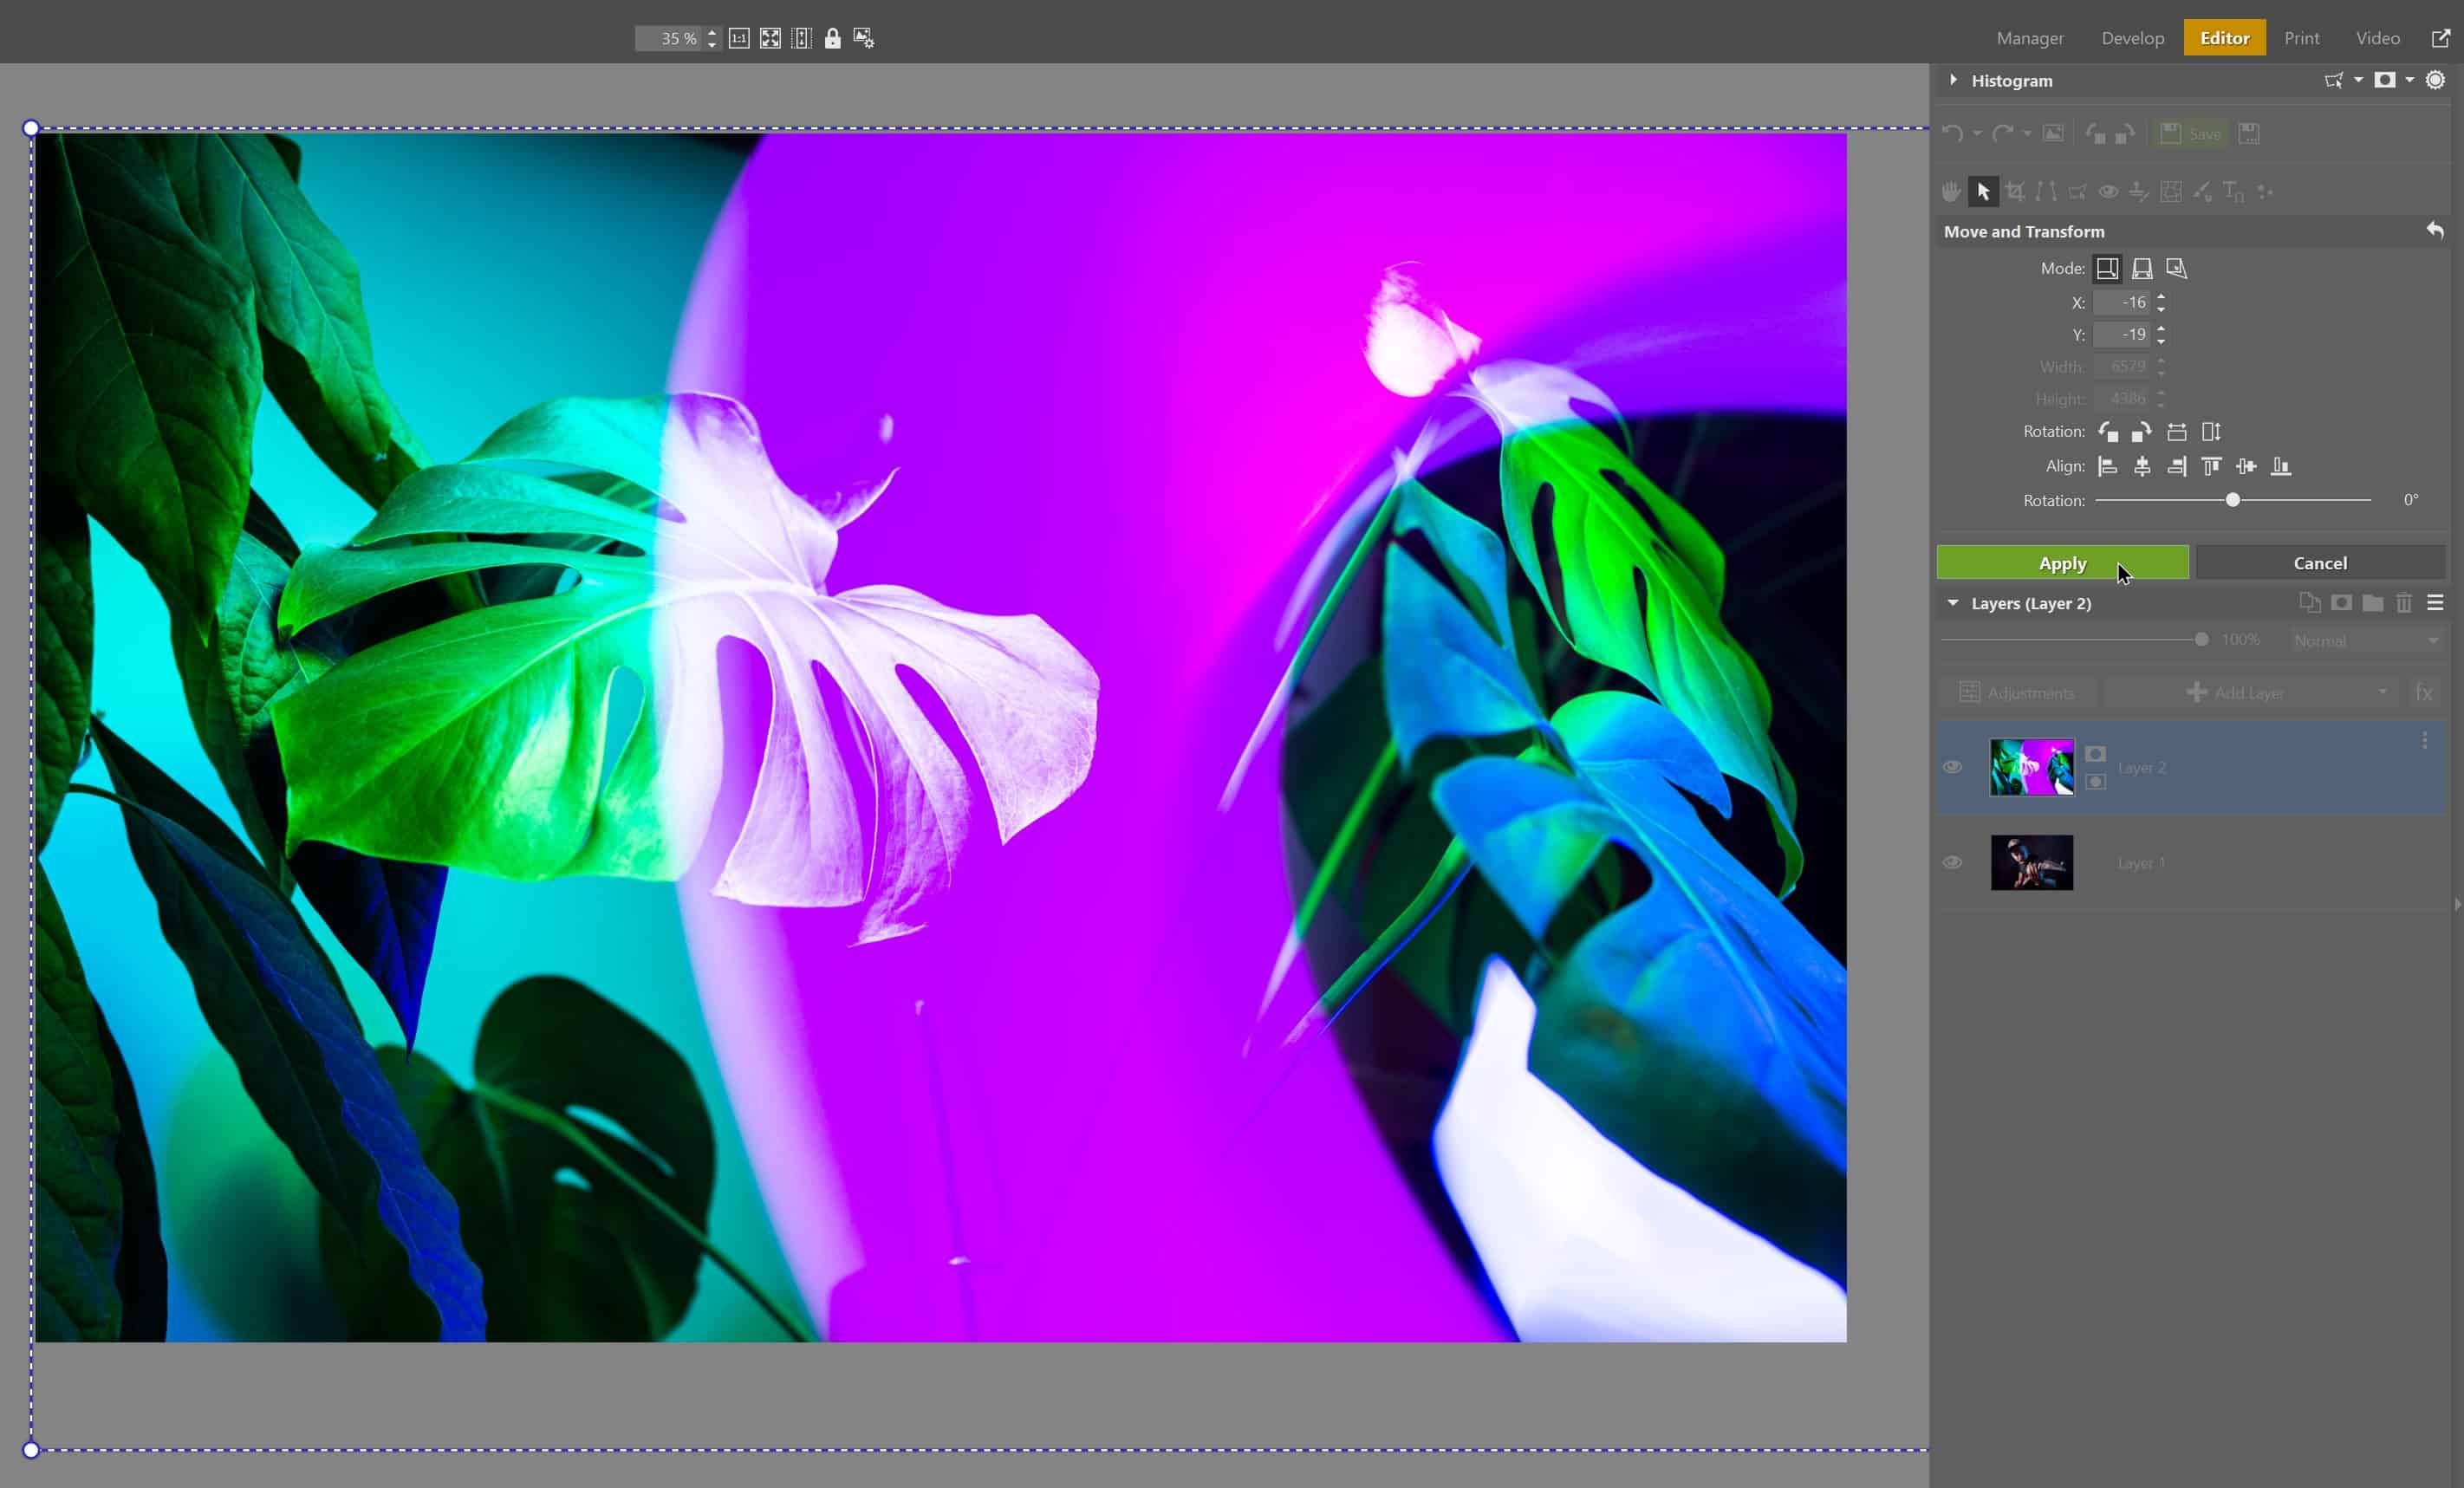
Next, comes the important part—Masking. We need to create a mask for the top layer in the pattern of repeating vertical stripes. We could get by with a simple rectangular selection. But the problem with rectangular selection is that you’ll never make all the stripes (or narrow rectangles) exactly the same and equally spaced. So we have to use a more roundabout way to get stripes.
We use a simple black and white image of vertical stripes that we found online and downloaded. Paste it in a separate layer above both photos using the Paste from File option. Since we are just using this image to create a mask, it doesn’t need to be high resolution. The main thing is that we get clearly defined stripes for our double exposure.
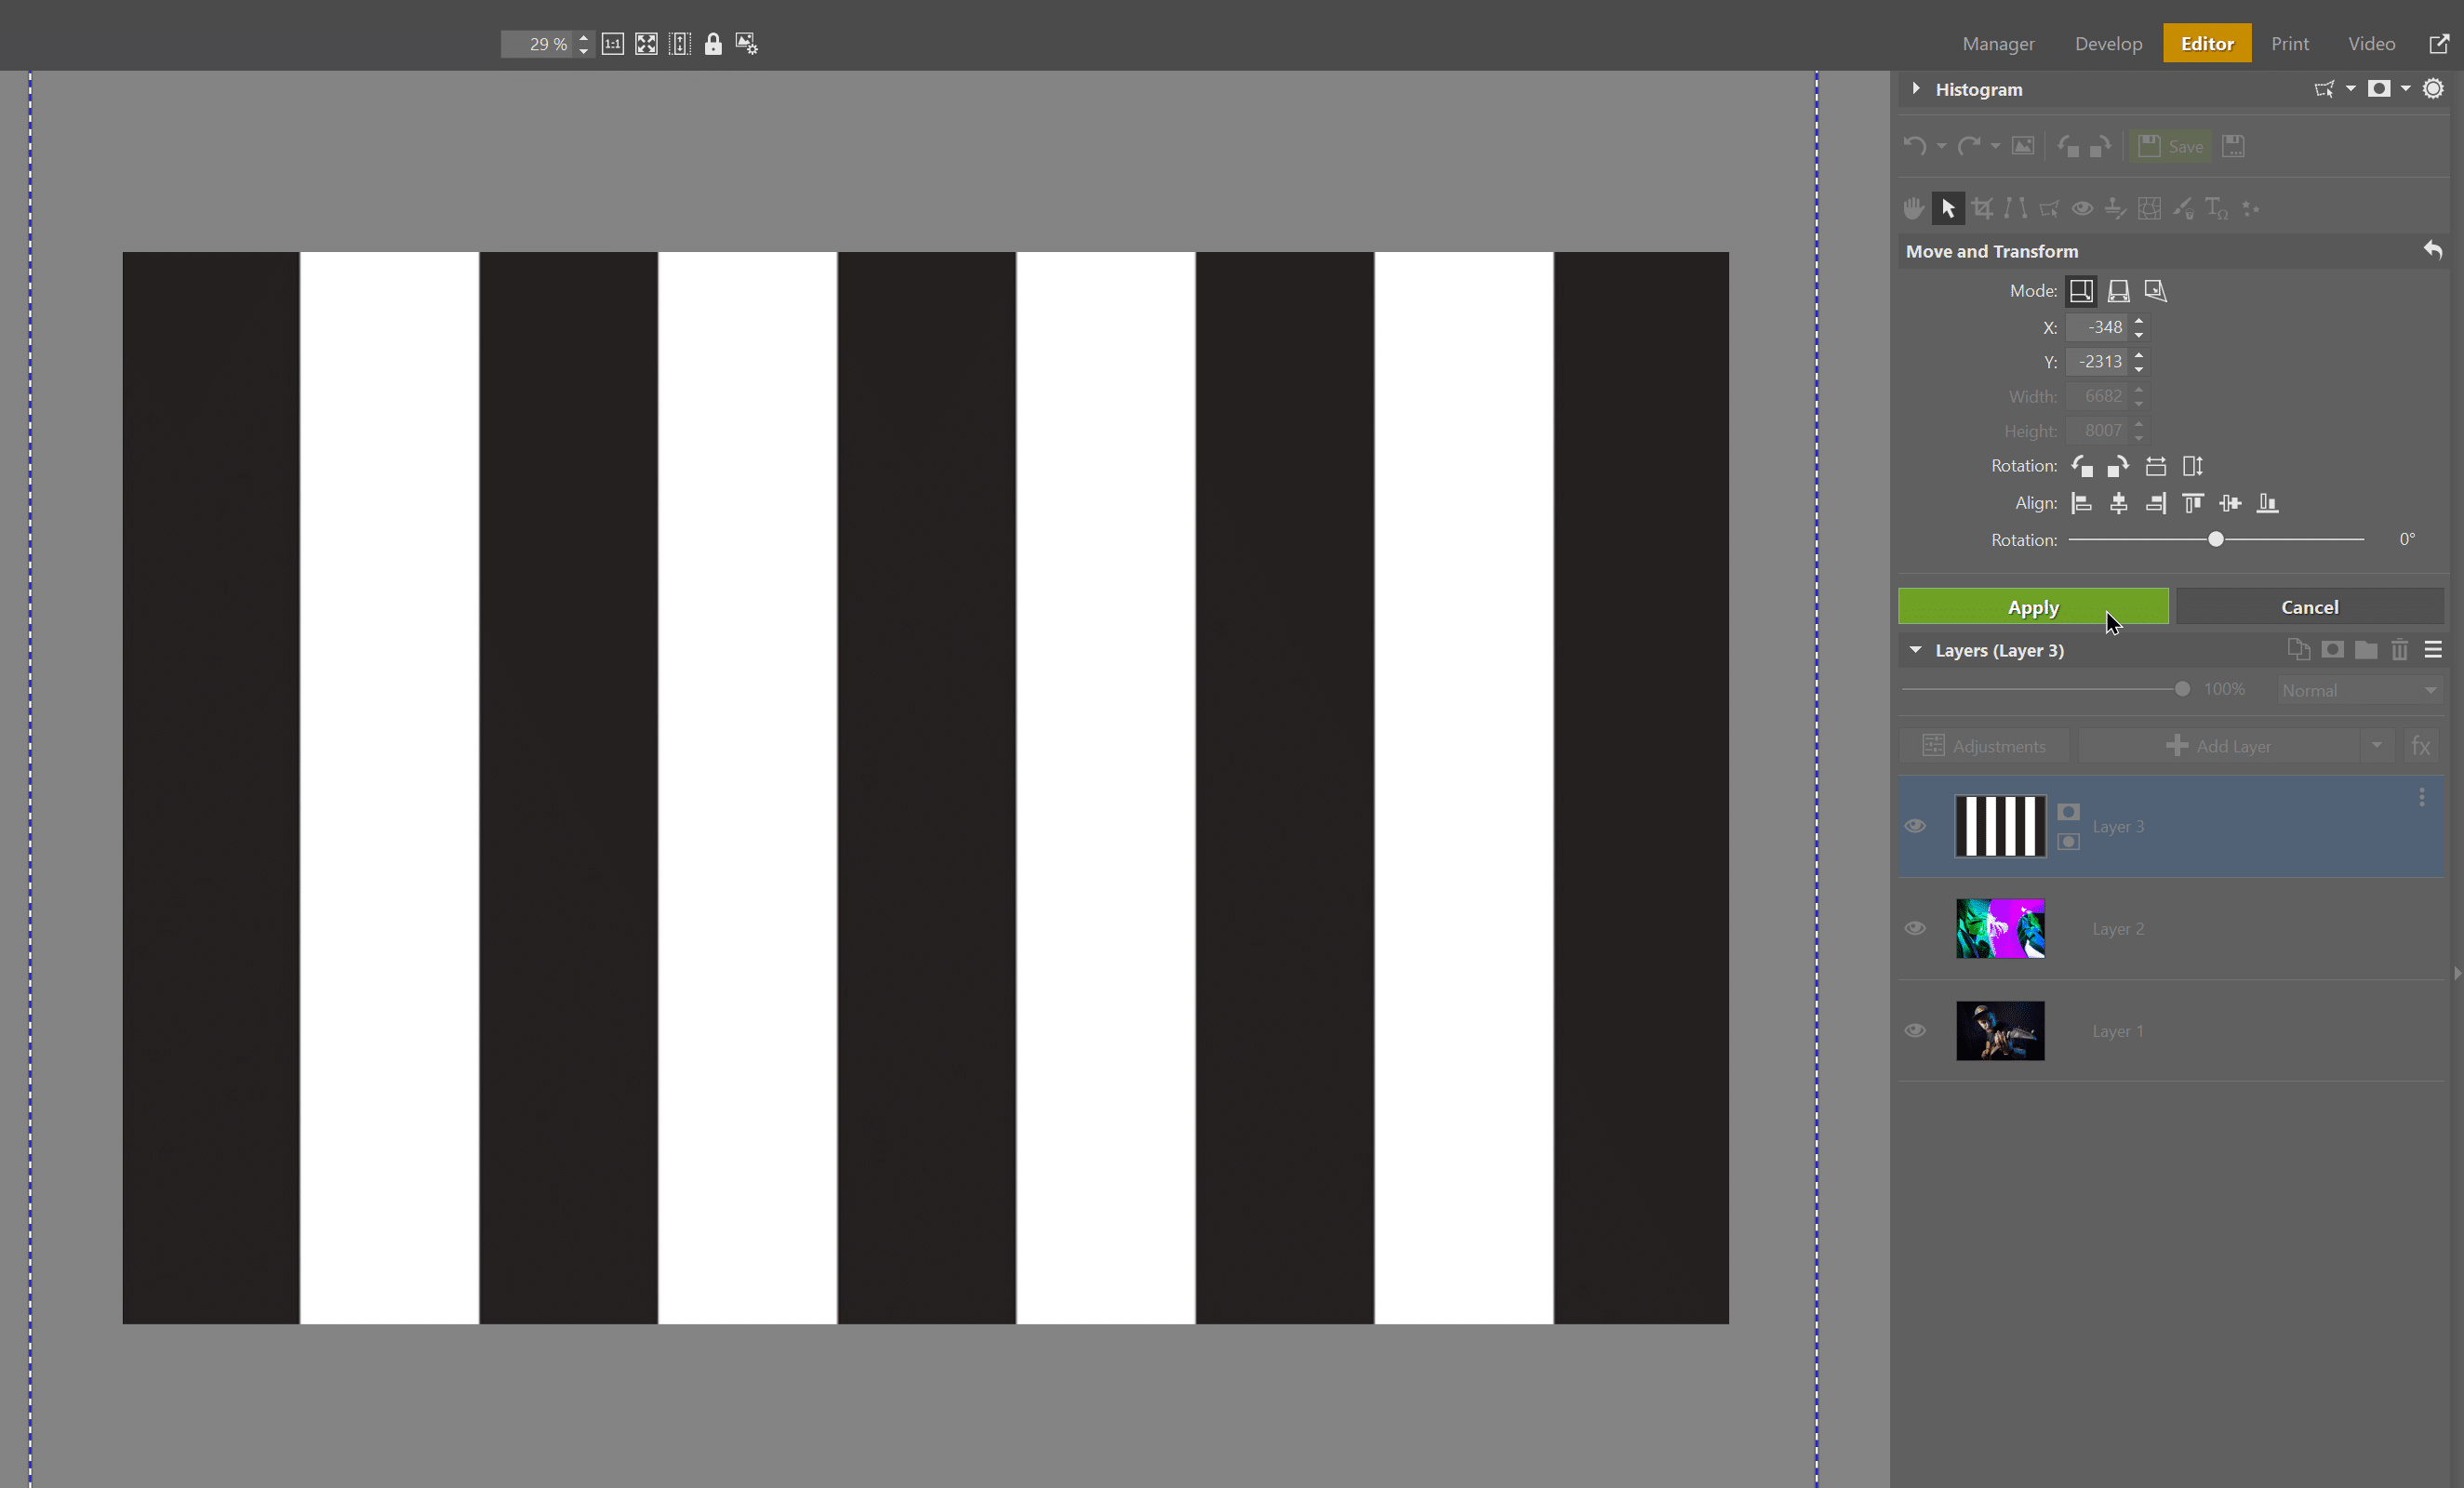
Next, select the Magic Wand (W) and click to add all black (or white, it doesn’t matter) bars to the selection.
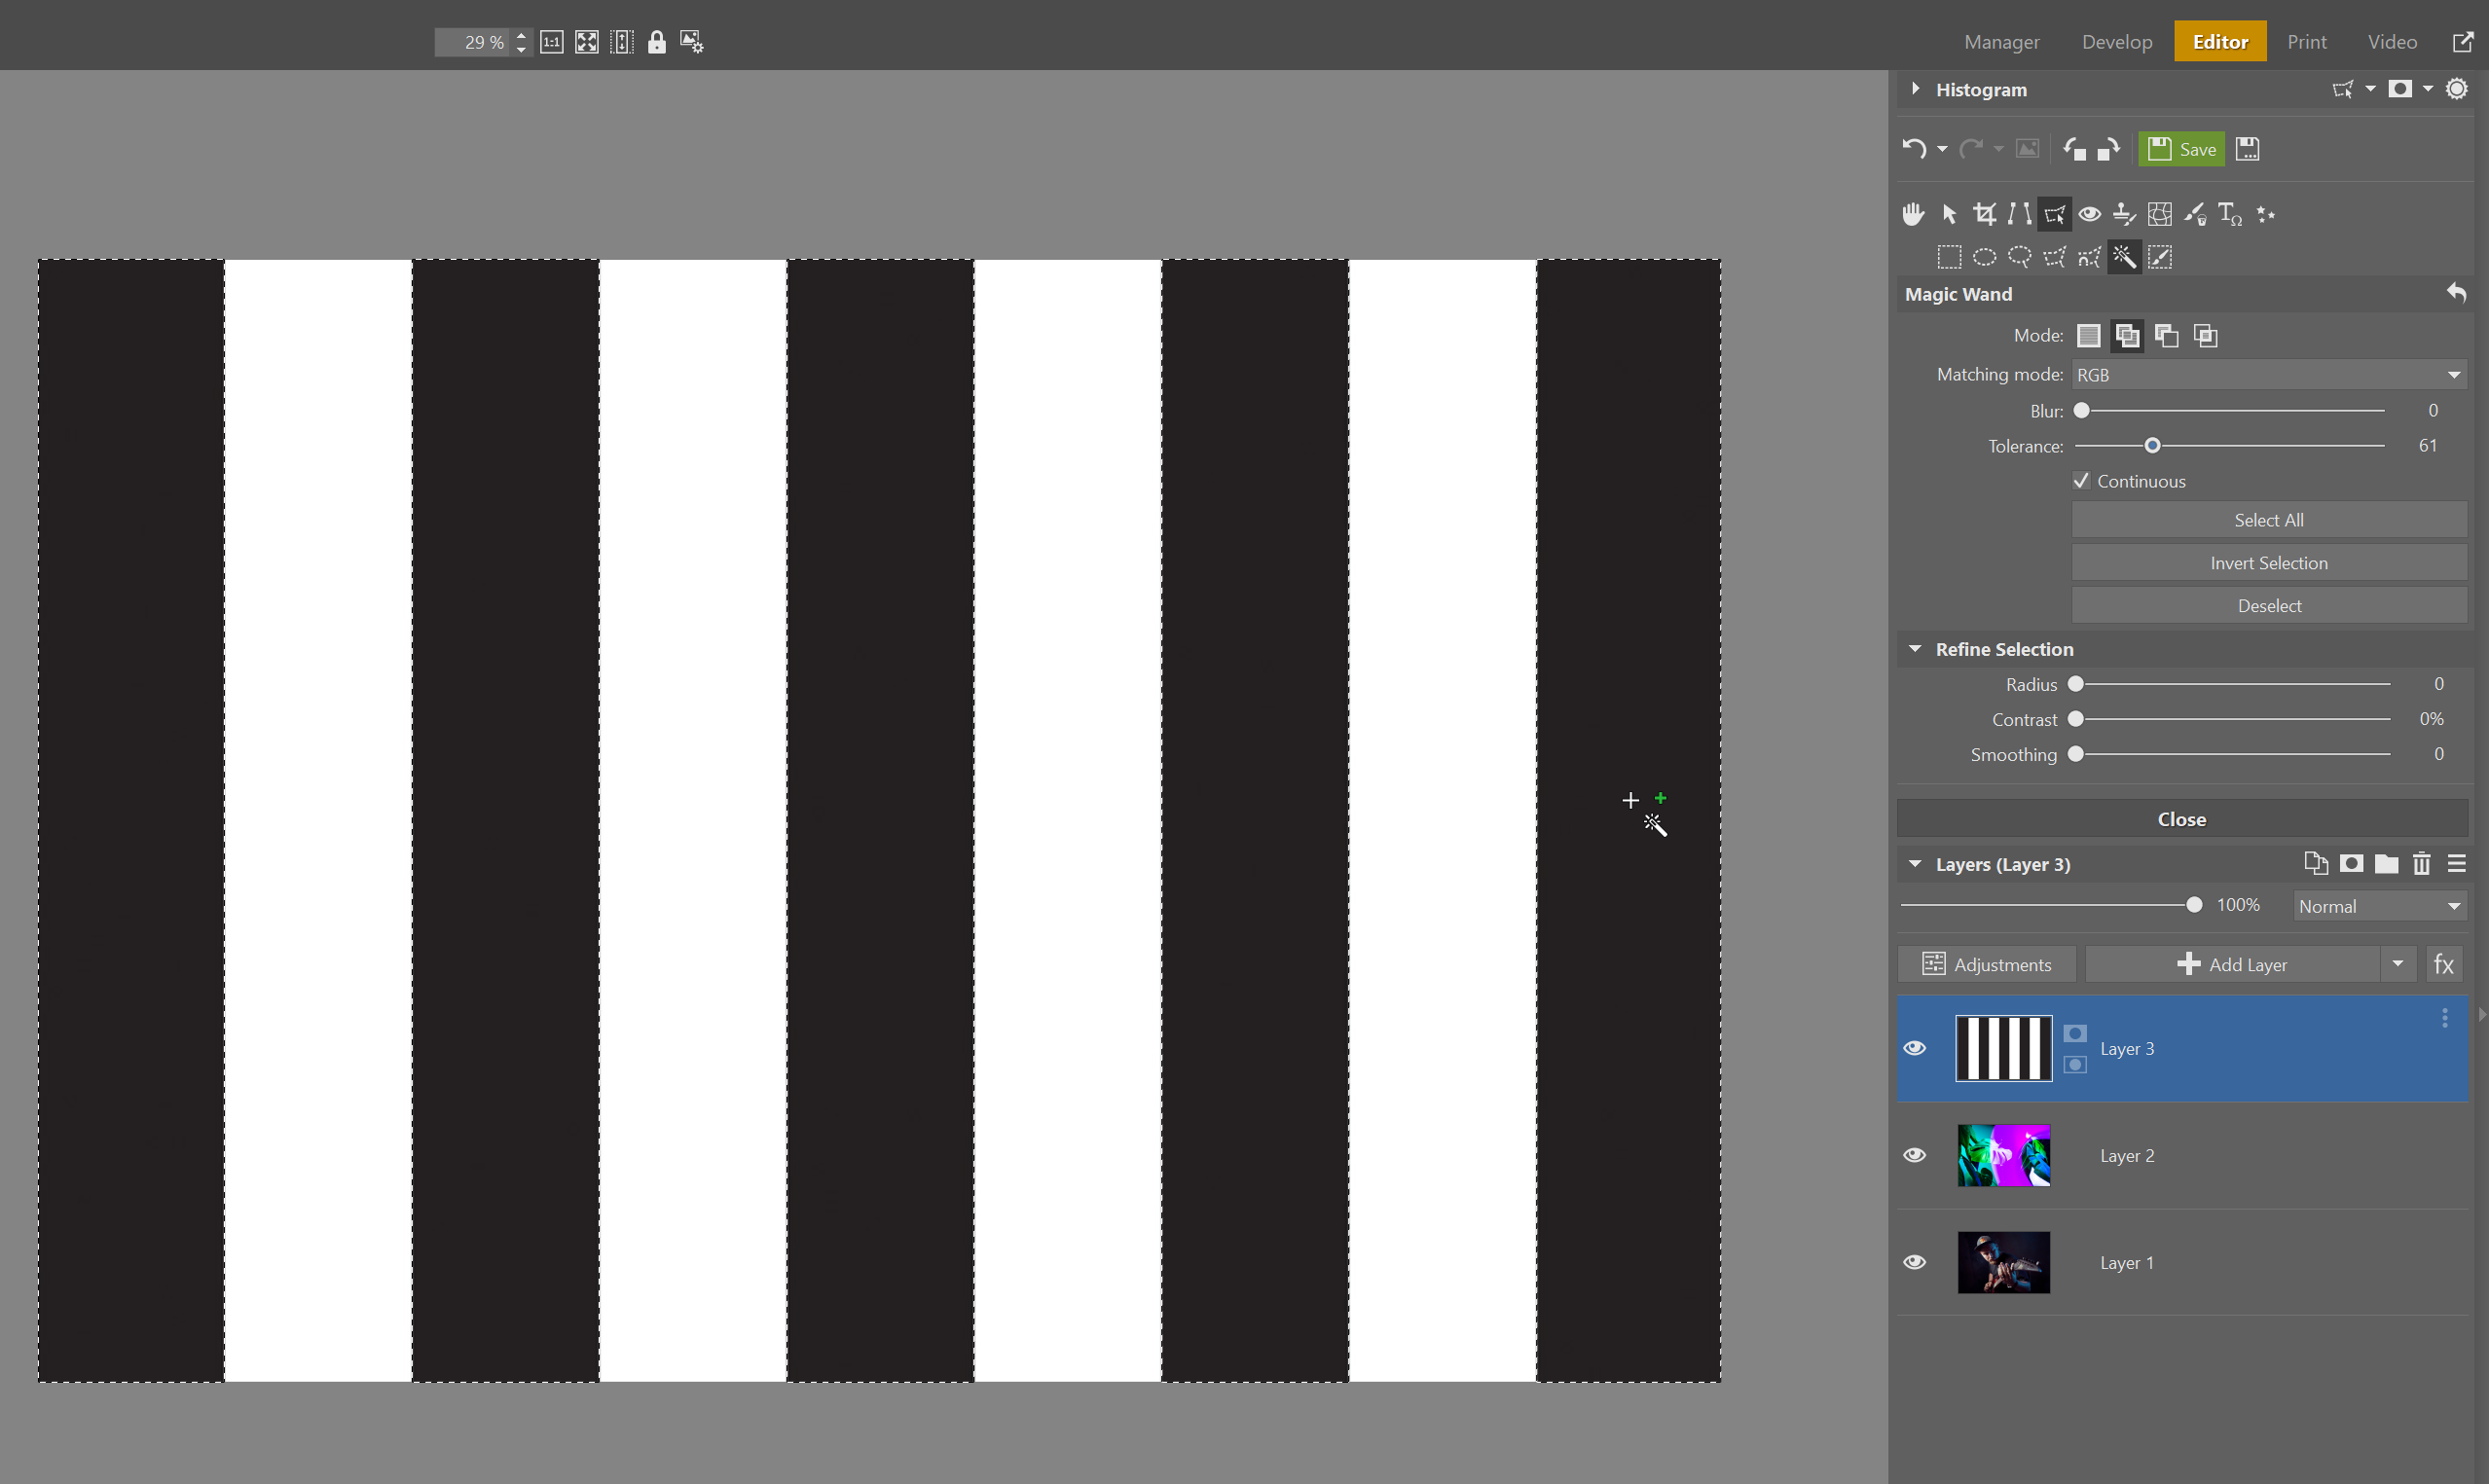
Click the eye icon next to the stripe layer preview to hide the stripes. You won’t need them anymore. Voila! The Magic Wand shows us a selection of beautifully regular vertical stripes just like we wanted.
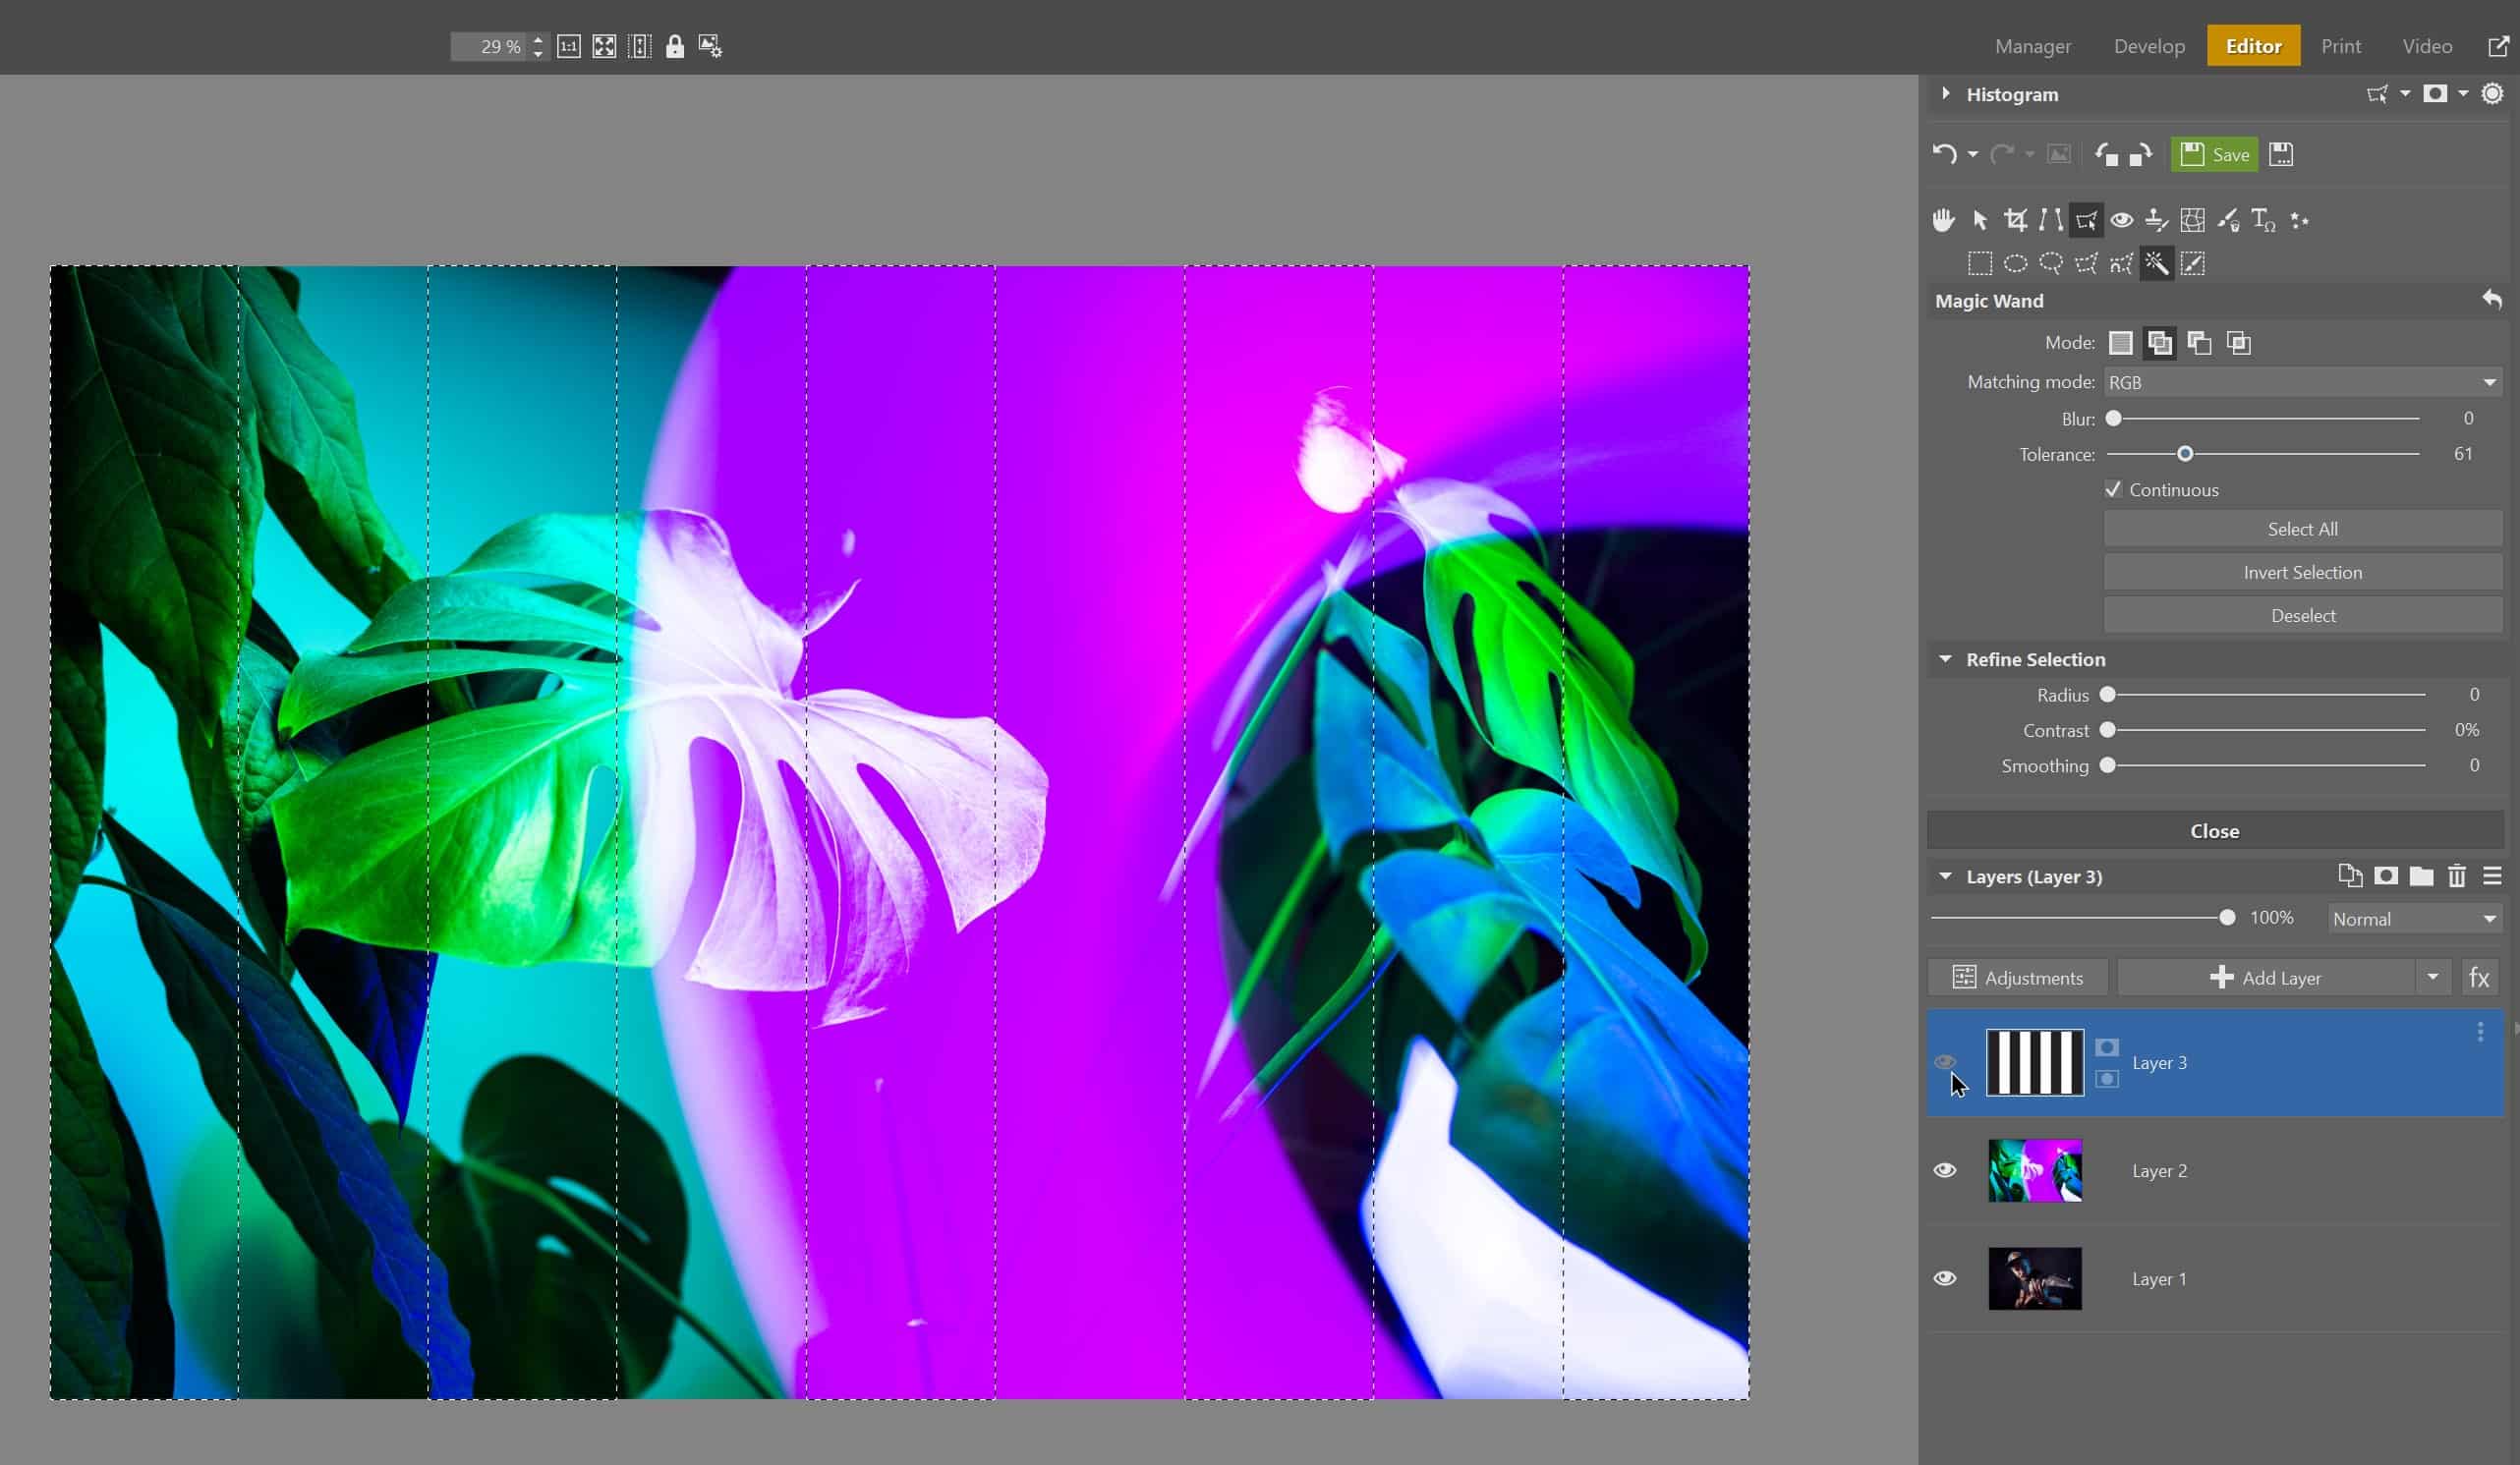
Right-click the thumbnail of the top of your two photos and select Mask→Add Selection to Mask. The result is two photos combined into one in the pattern of vertical stripes. Now you can cancel the selection using the Esc key.
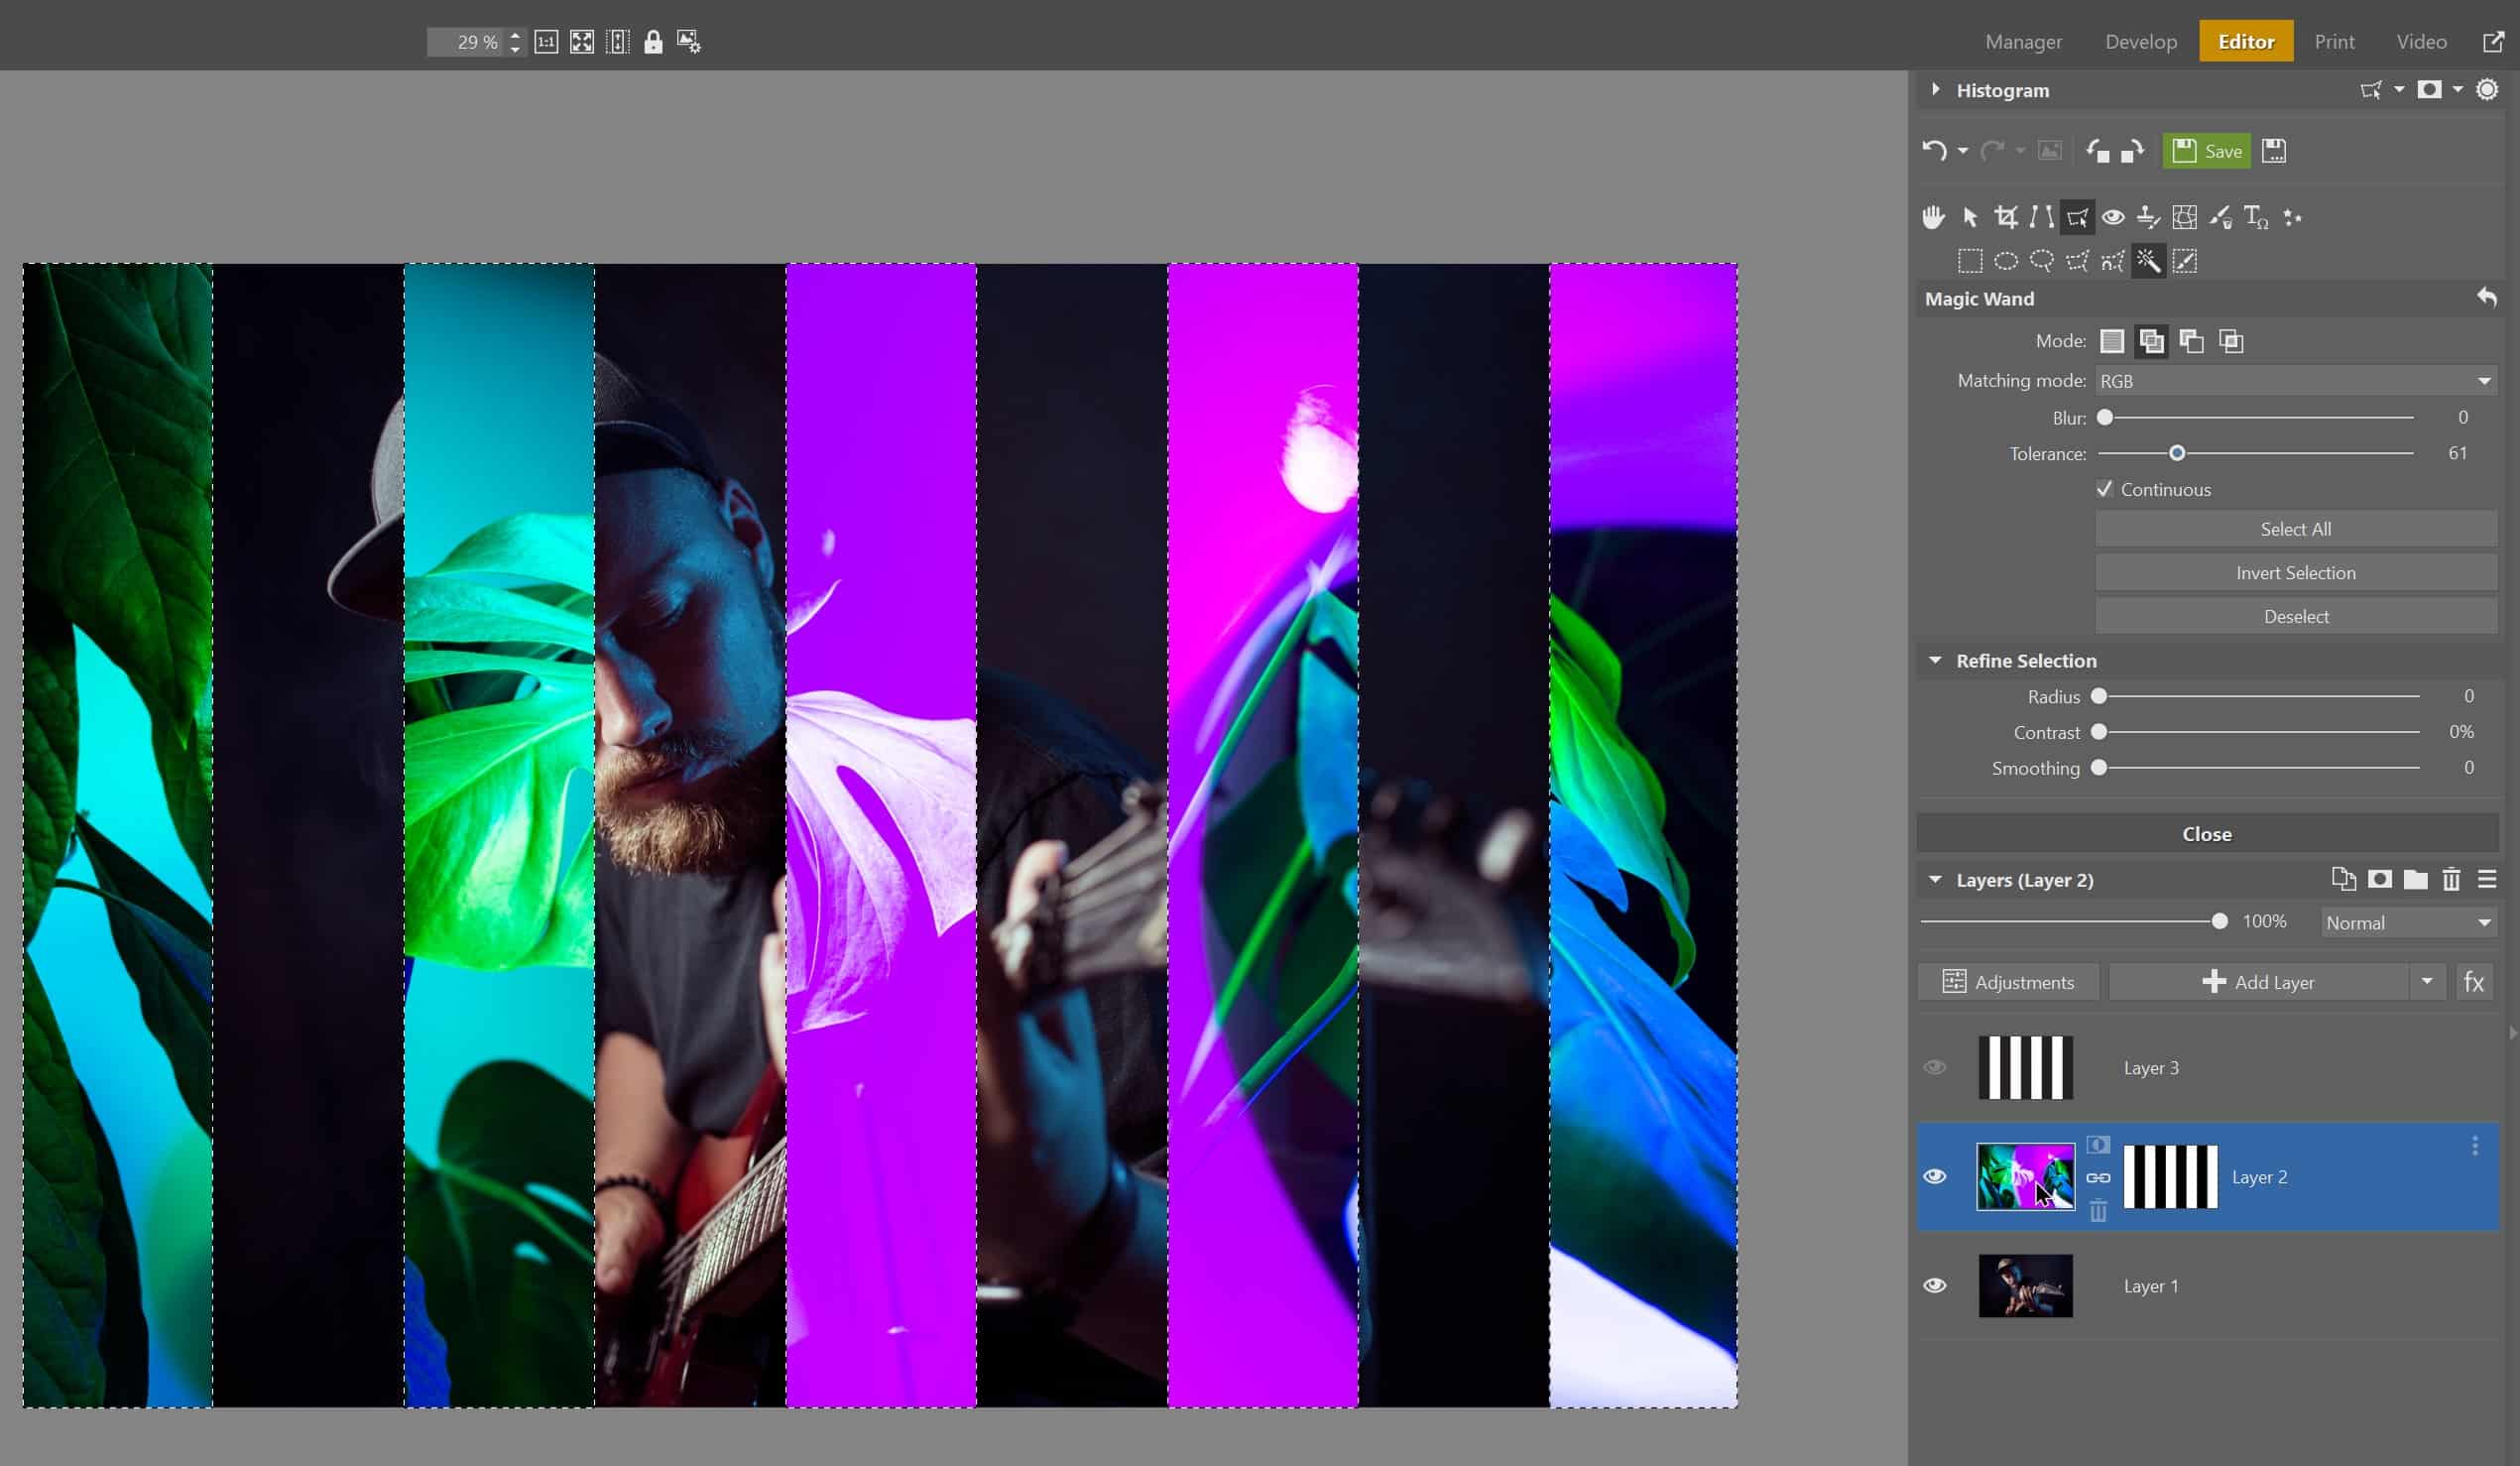
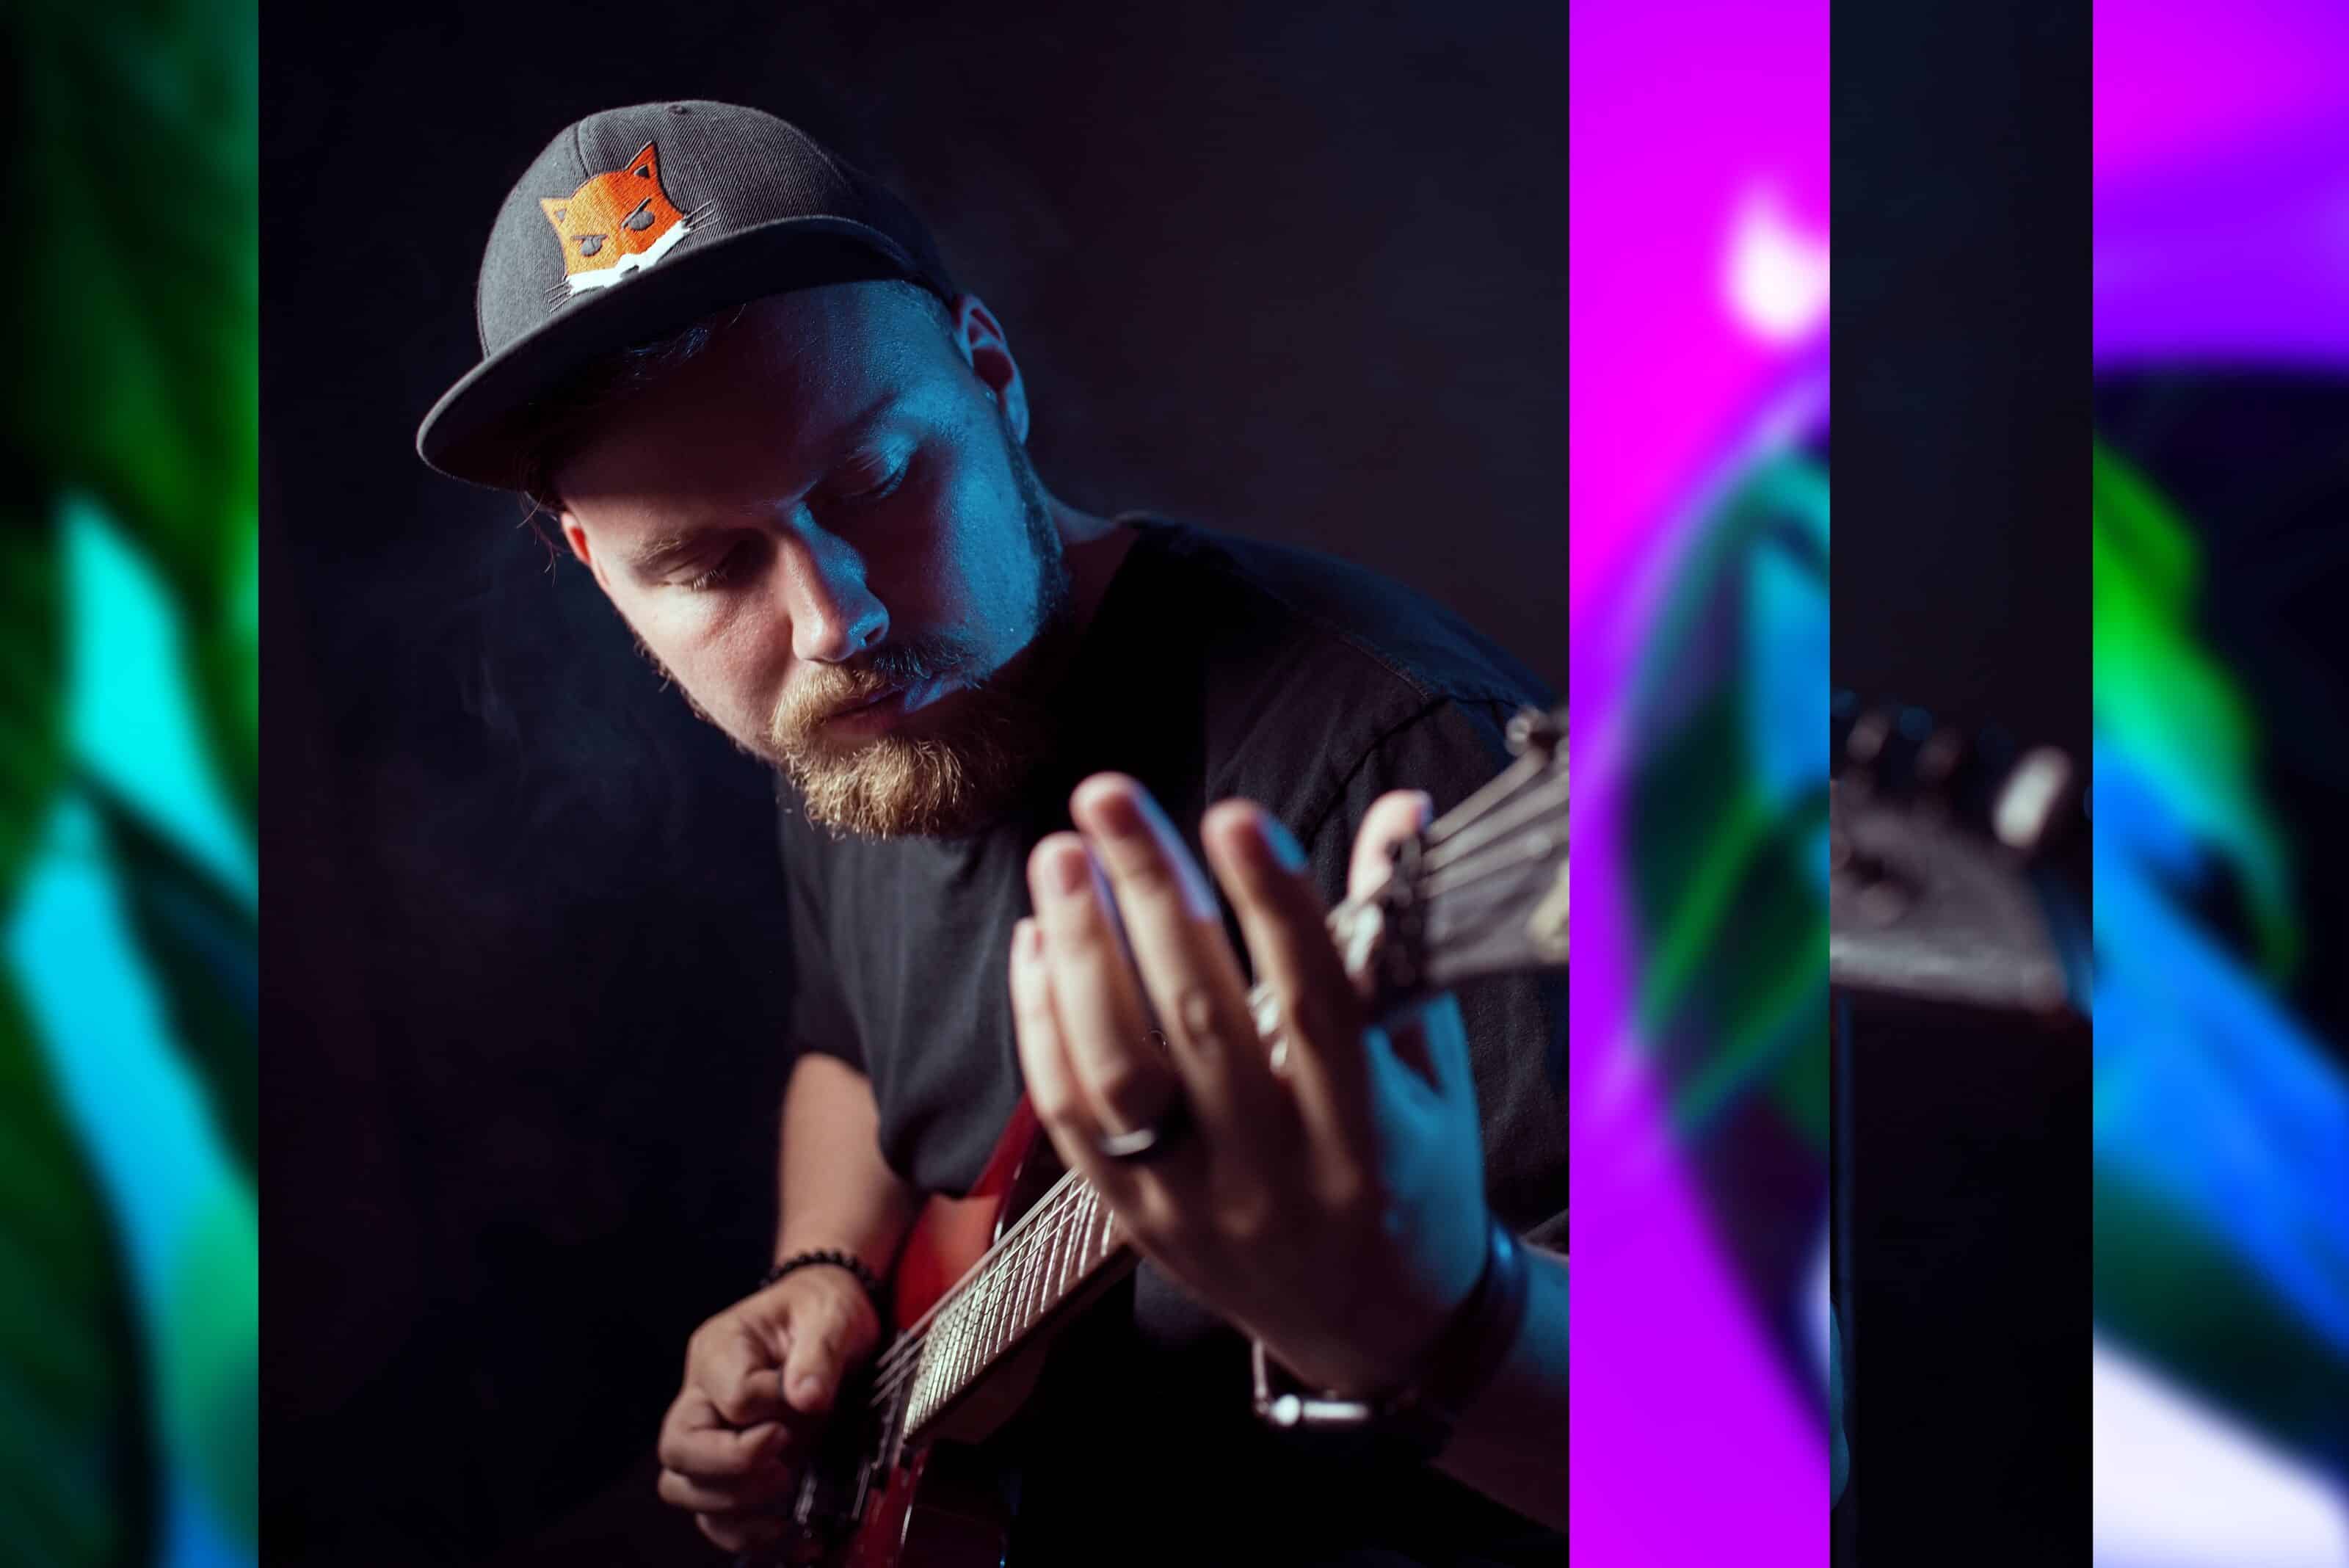
You may be happy with the results of some combination of photos. But we decided we wanted to uncover the main subject a bit more. Using the Paintbrush (B) with black, we hide two stripes in the mask that were covering his face.
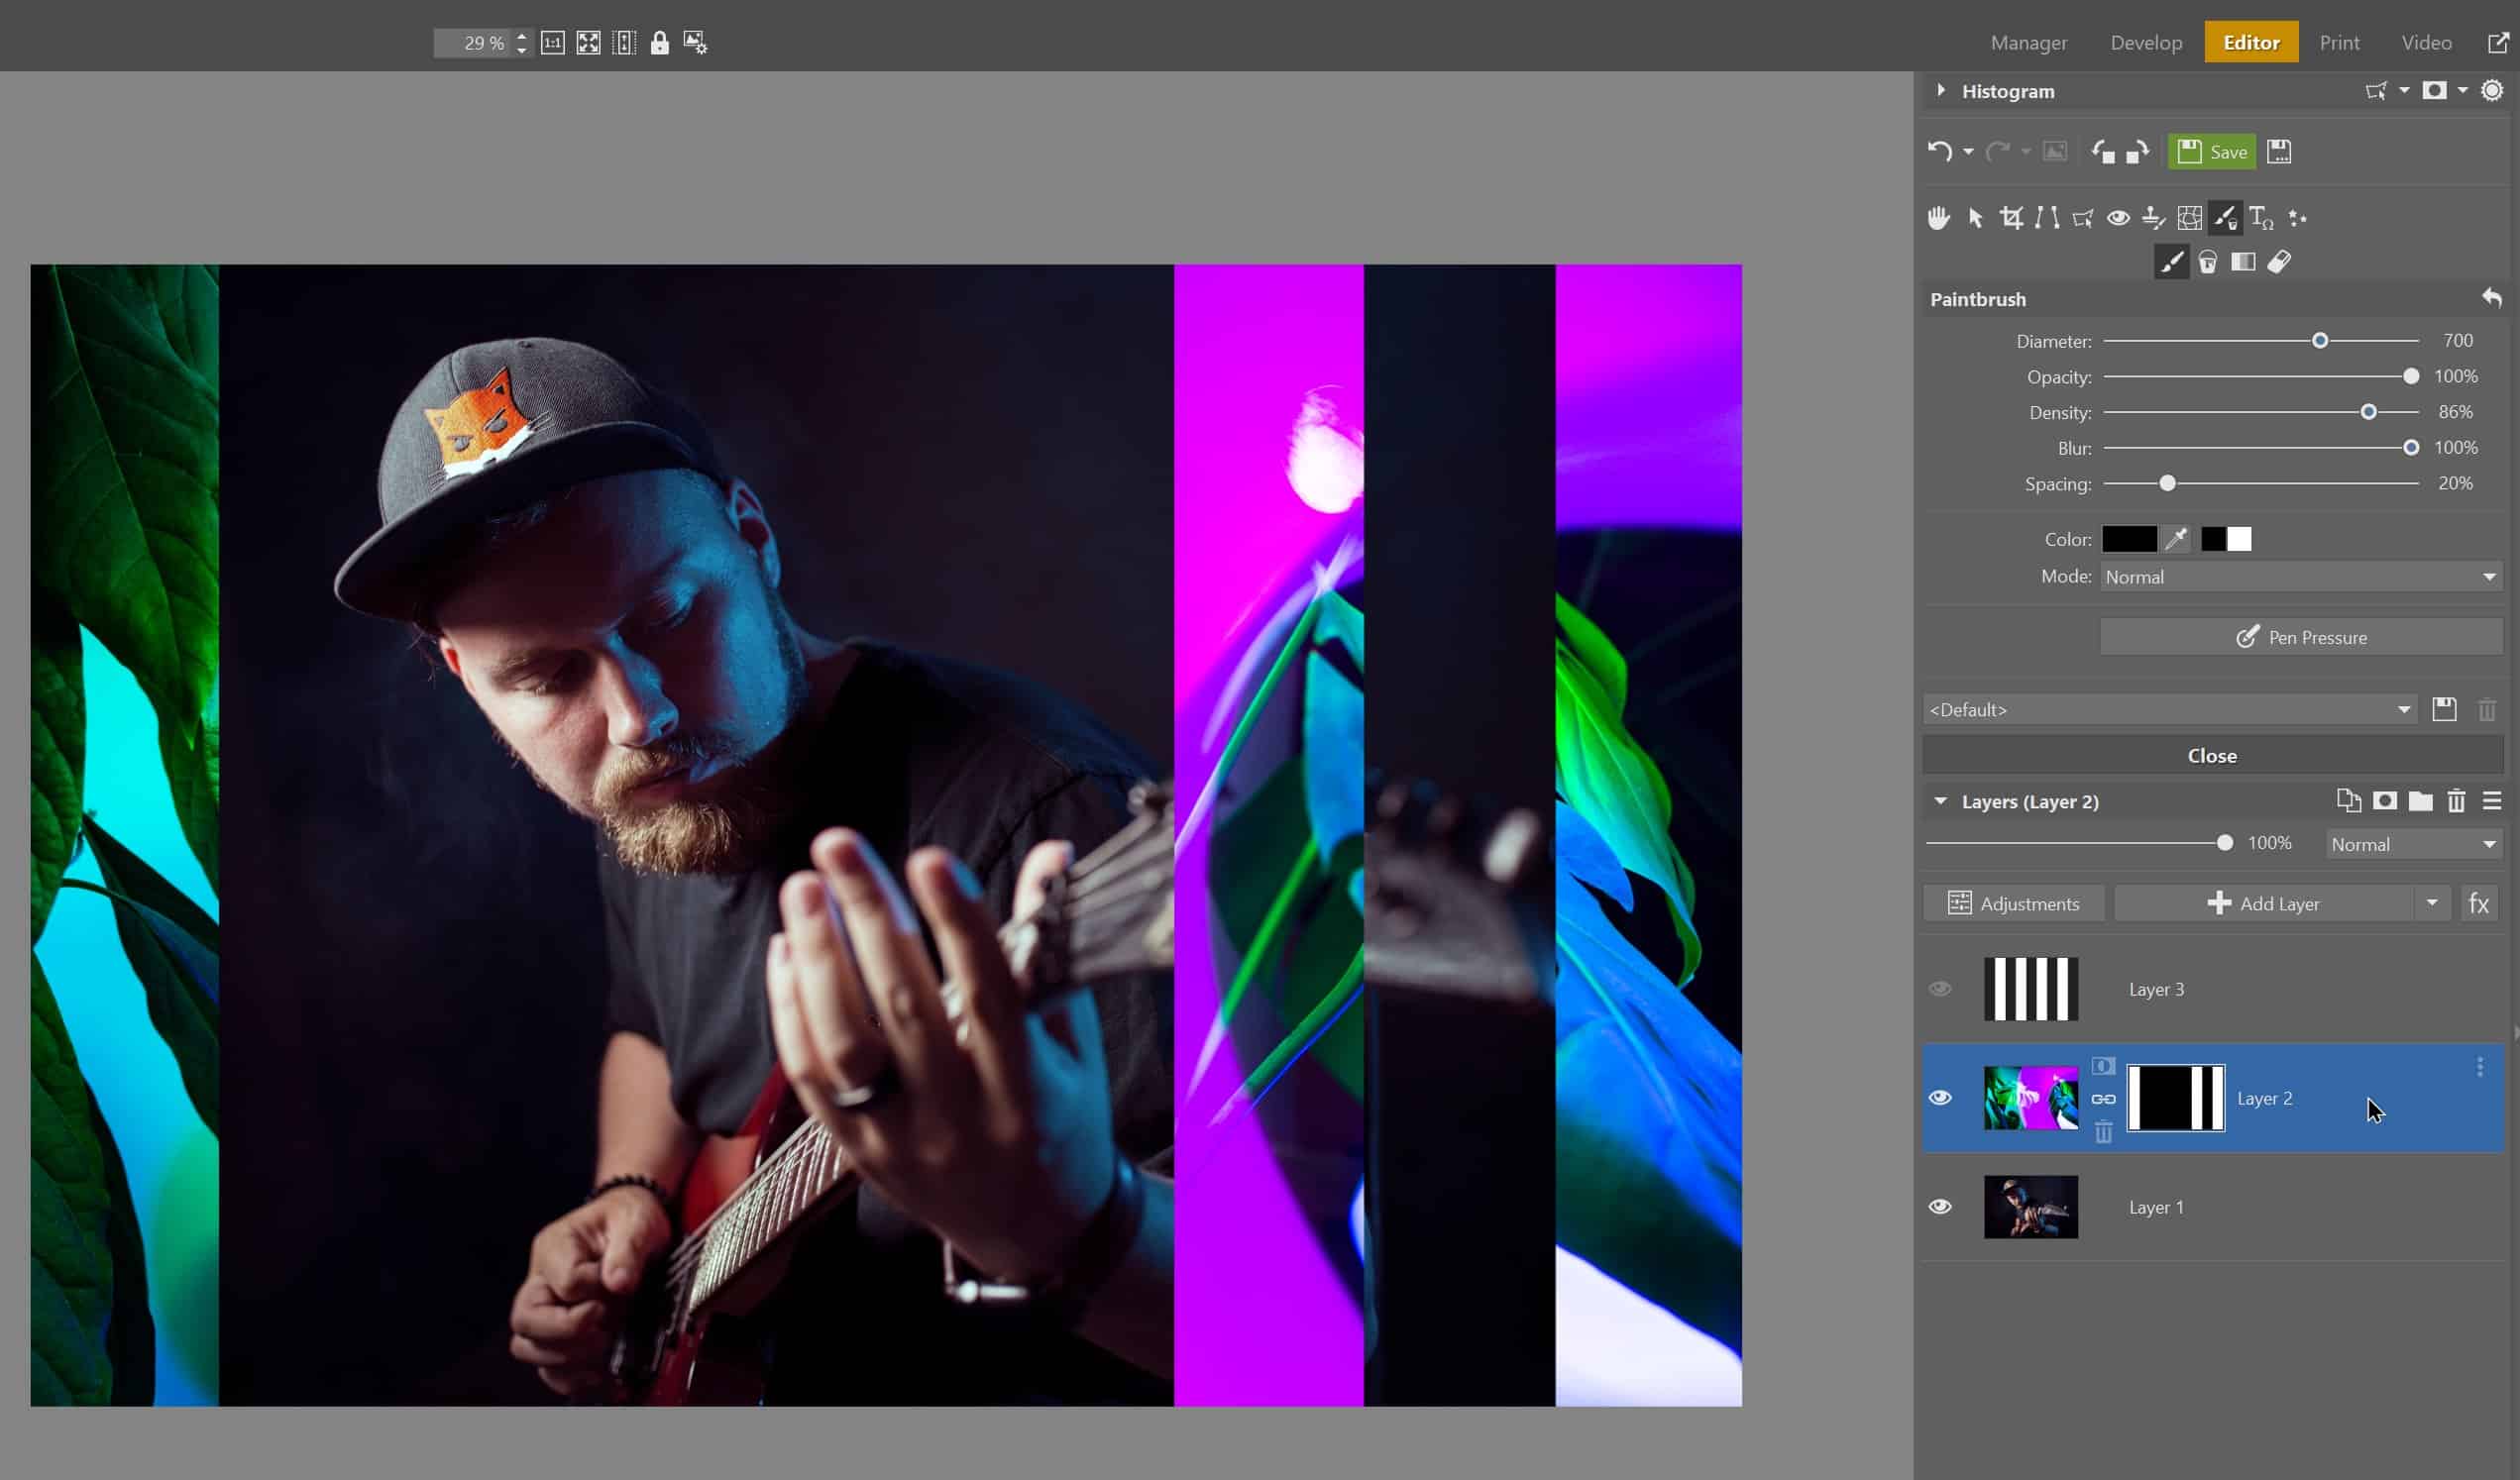
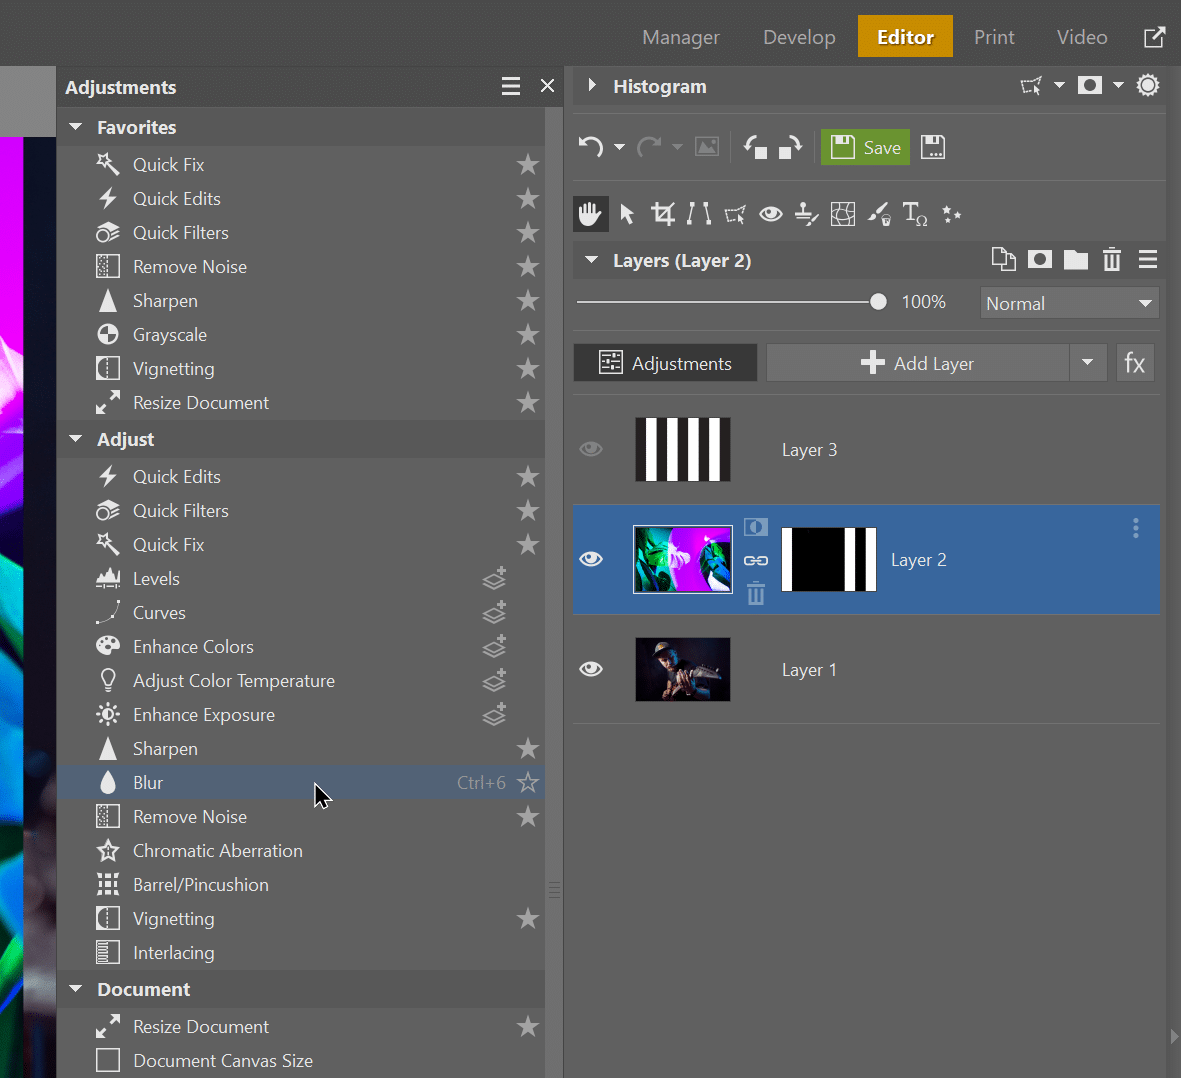
We also make the color layer a bit more subdued by adding some blur (Adjustments→Blur).
Double exposures are a creative tool
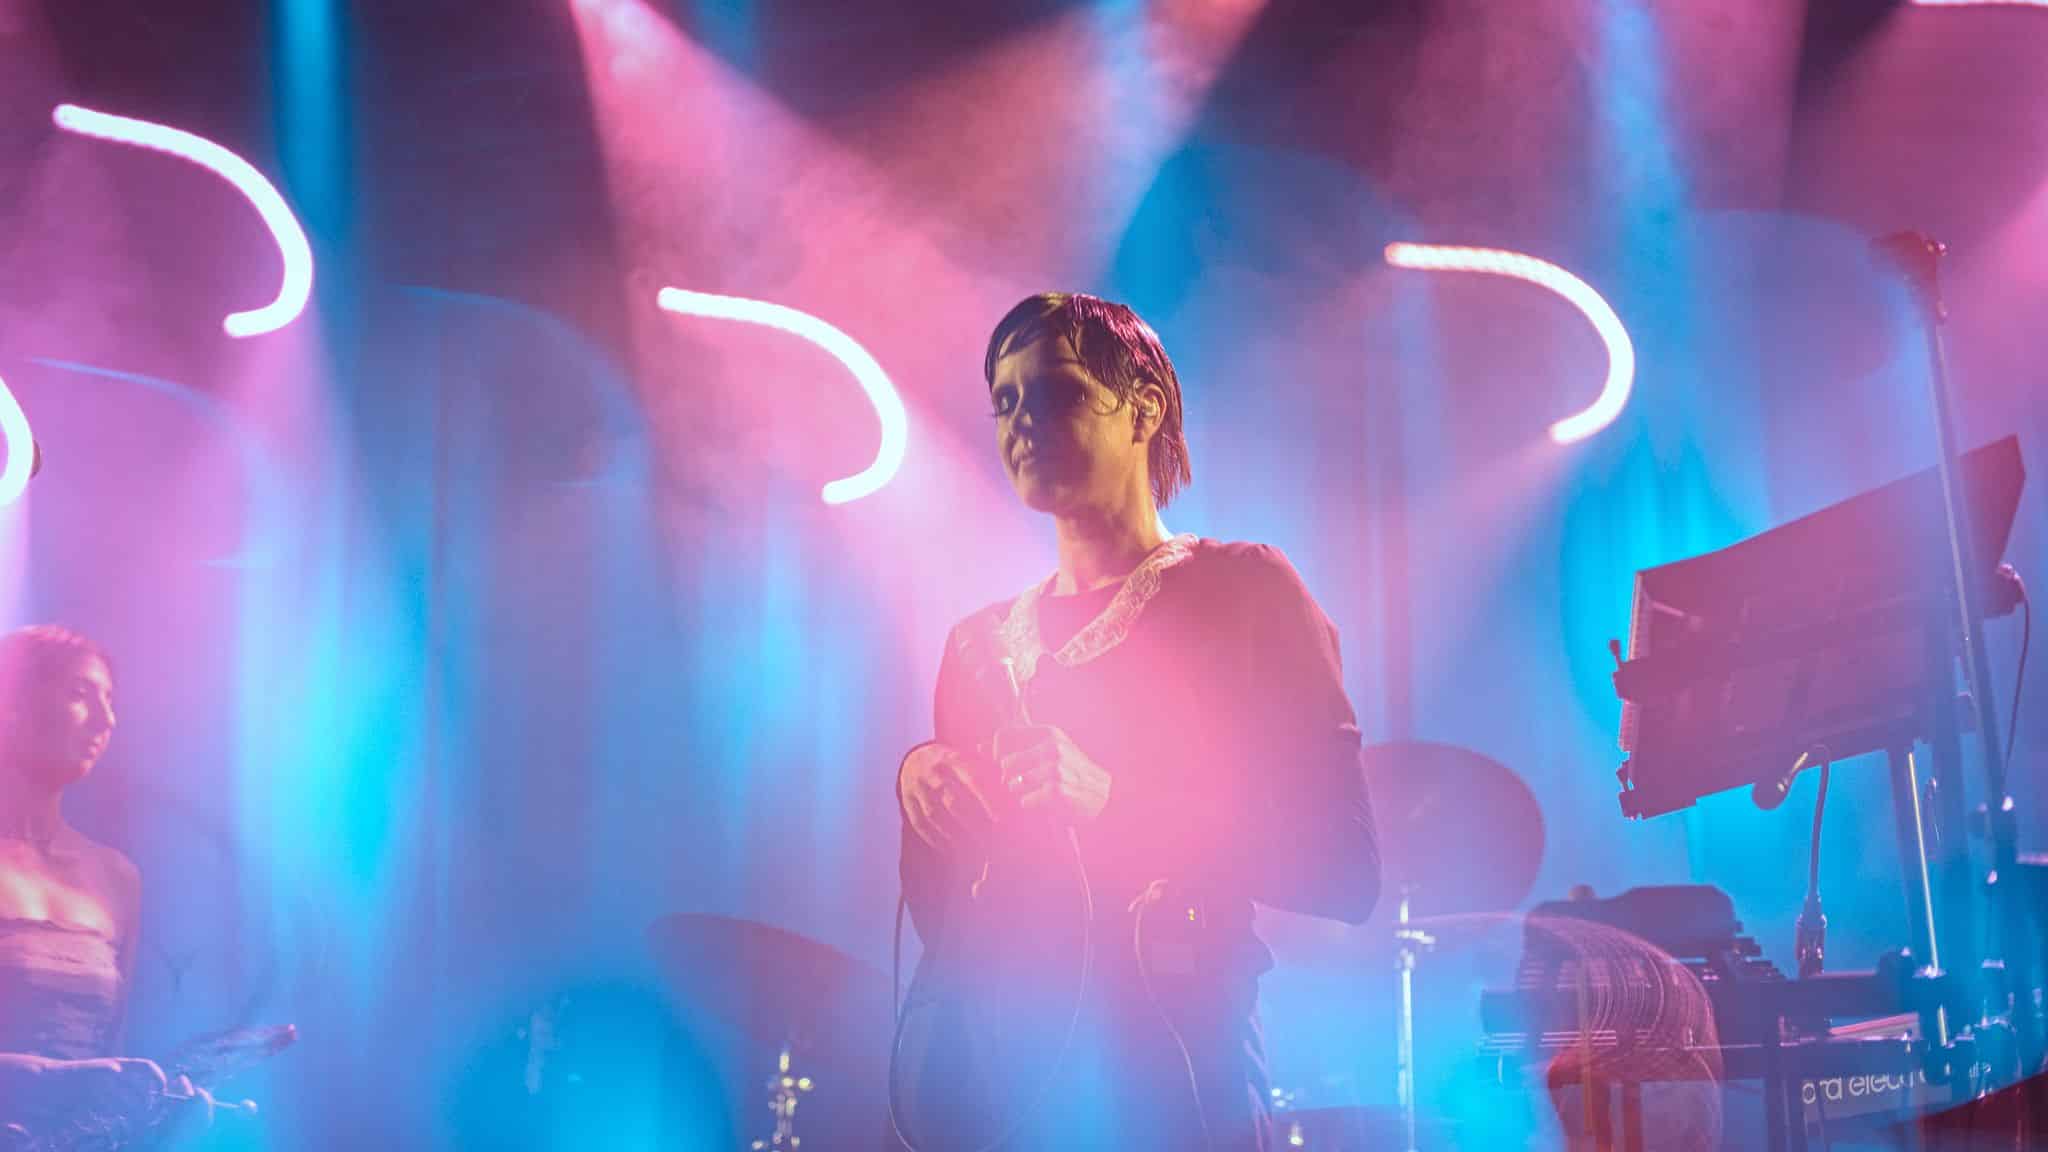
Double exposures are useful in graphic design or unique photography genres. For example, I sometimes use them when shooting concerts, when I want to add a more creative element to the whole series. I either shoot the photo as a double exposure directly, or create it in post-production.
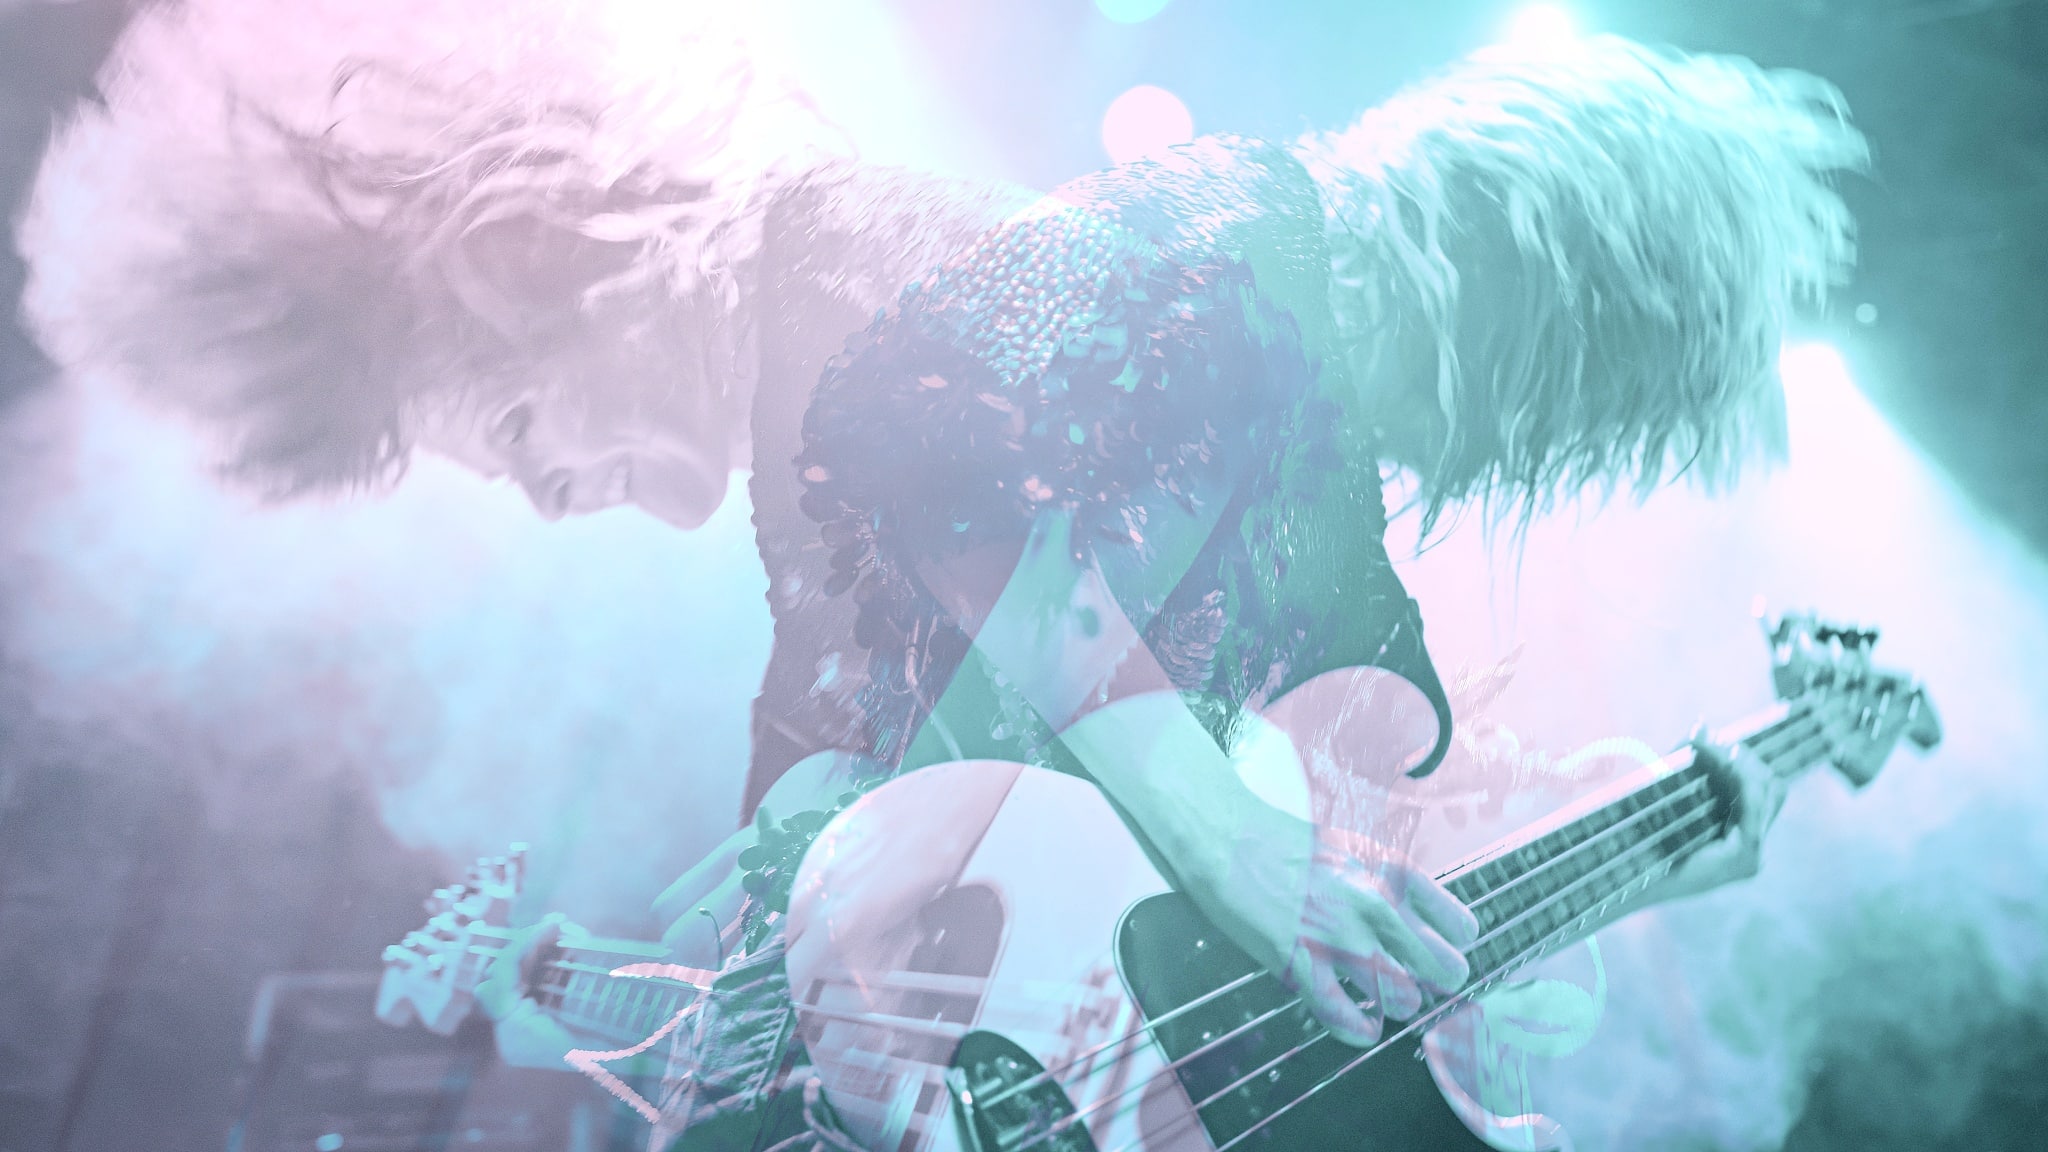
All it takes is the right software
Whether you just want to create a graphic, a creative photo, or just try making a double exposure for fun, you’re going to need the right software. Download Zoner Studio (if you don’t already have it) and get started. All of the above-mentioned functions can be found in Zoner Studio free and without limits for 7 days.

There are no comments yet.