Editing Photos for Your Website: Faster Loading and Increasing Traffic to Your Website
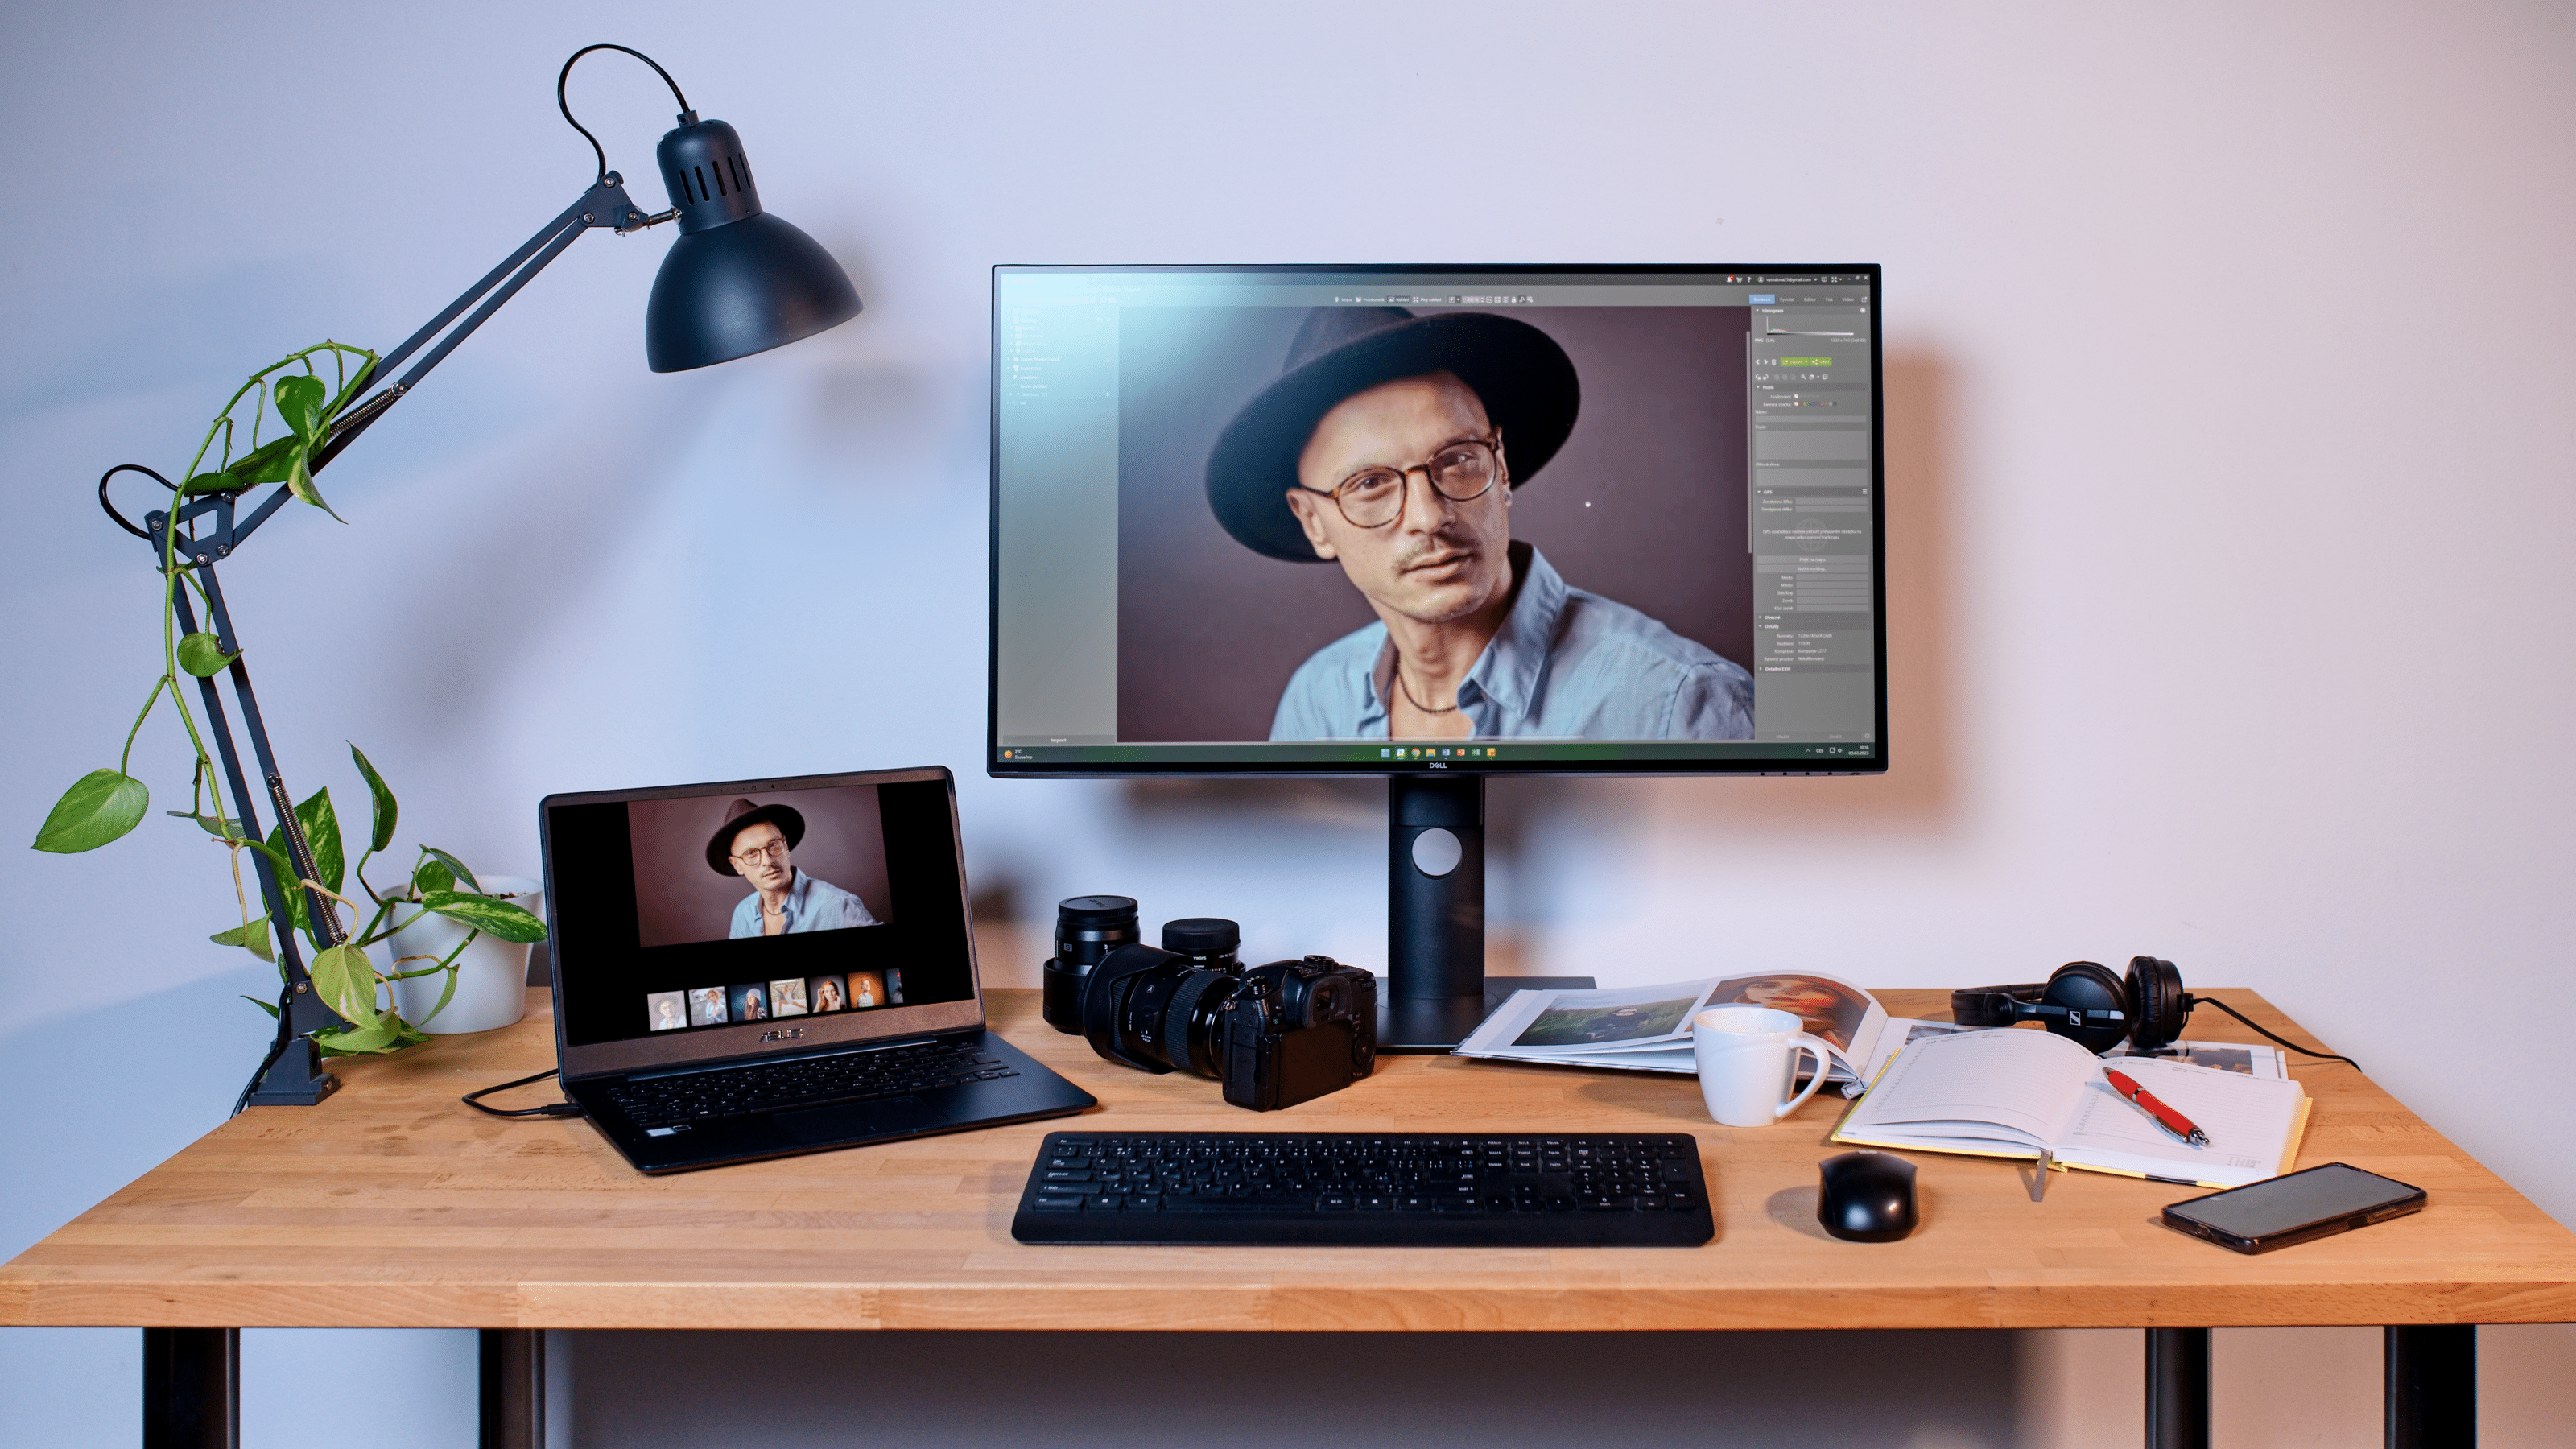
Every photographer that creates their own website obviously needs to showcase their photography. It may seem like there’s nothing to it—you just upload your pictures, right? Unfortunately, it’s not that simple and there are issues you may run into. Fortunately, this article describes how it’s all done.
If you’ve already worked your way up to creating an online presence, well done! It would be a shame to ruin a nice website by presenting mediocre photos. If you don’t edit your photos before uploading them, you may have problems with page loading, which can result in a major loss of traffic to your website.
Why editing photos for the internet is important
Editing your photos for your website is important for two main reasons. The first is page and image loading speed, and the second is search engine optimization (SEO) for search engines like Google. As we’ll discuss, these two reasons are closely related.
Image loading speed is extremely important. If you upload 10 images per page, each 10MB in size, you’re setting yourself up for a problem. Visitors who view the page will wait for quite some time for the entire page to load. Worst case scenario, if they have a slow connection, the images won’t load at all. Plus, the visitor can use a lot of mobile data if they’re not connected to a wireless network.
If your website has too many large photos, it will have a major impact on how your website is viewed by search engines. Google gives each site a Quality Score that allows it to rank websites during searches. One of the many criteria taken into account is the size of the website (i.e. page loading speed).
If Google finds your site is too large due to poorly prepared images, it concludes that it doesn’t deliver an ideal user experience. Google then ranks your website lower in search results, significantly reducing your organic traffic.
How to properly prepare your photos
Fortunately, these issues can be easily solved. Before uploading photos to your website, you need to reduce their size. This improves the page loading speed and search engine visibility.
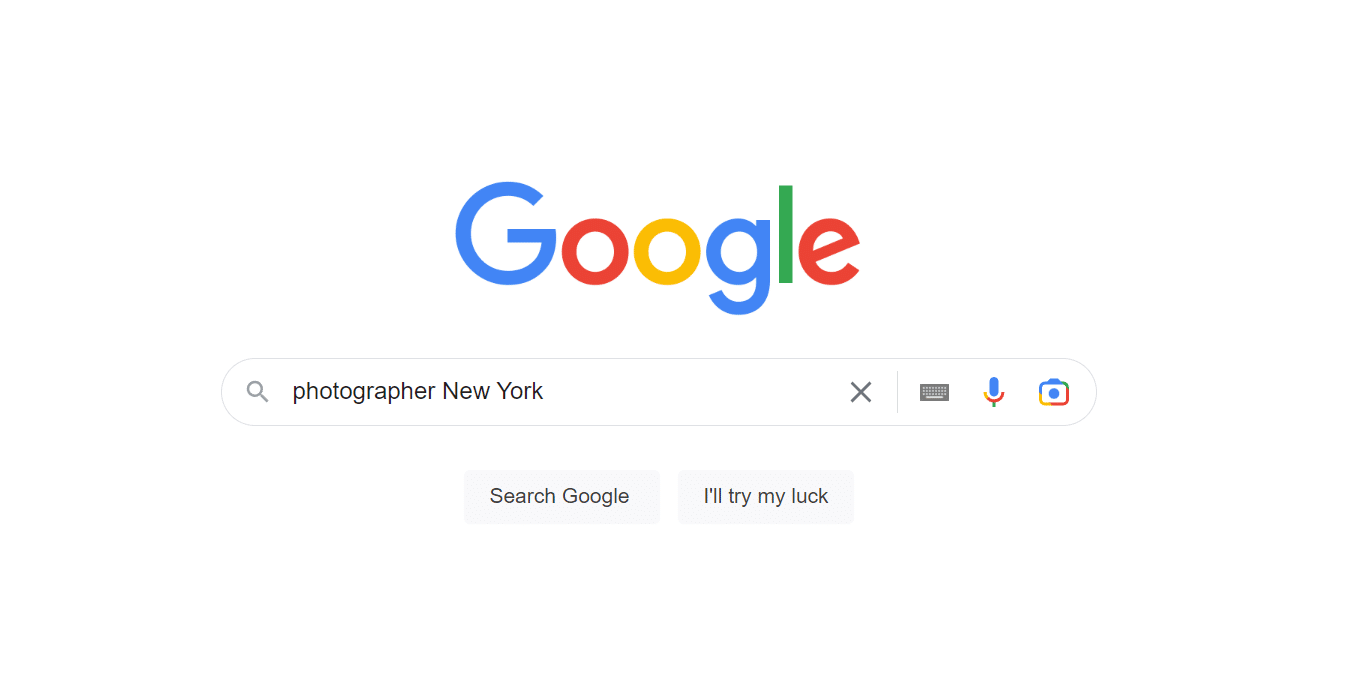
It’s also important that photos are correctly named to help the website appear in searches. If the file has a name that contains relevant keywords, the search engine knows that the photos are exactly what the person or potential client is searching for. Correct naming also helps your photos appear in Google image searches, as well as helps the visibility of your entire website.
All of these tasks can be done in Zoner Studio. If you have Zoner Studio, you won’t need any other program. If you don’t have it, download and install to get started.
How to reduce a photo’s size for a website
You basically have two options available. The first is to reduce the photo’s resolution. For example, if you have a photo with a resolution of 6000×4000 pixels, you can reduce it to 2048 pixels on the long side. This is probably the simplest, though not often the best, solution.
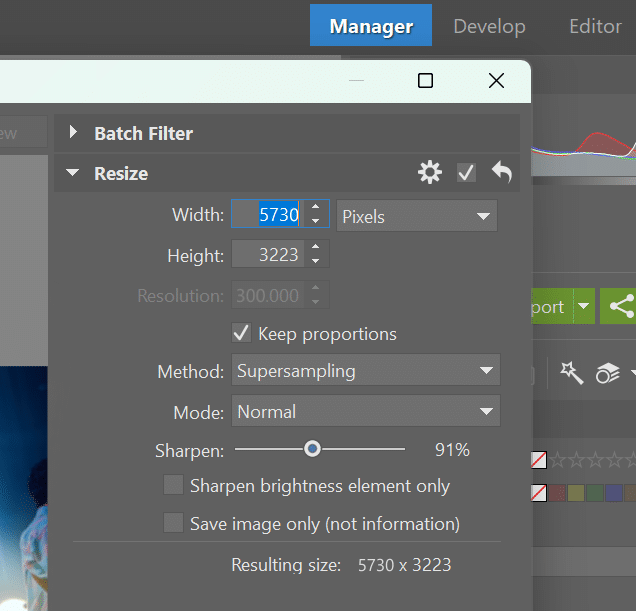
If you opt for this first solution, open your pictures folder in the Manager module of Zoner Studio, select the photo you want, and press Ctrl + E. This opens a window where you can reduce the photo’s size. But be careful! Resizing photos is irreversible, so only make these changes on duplicates of original photos.
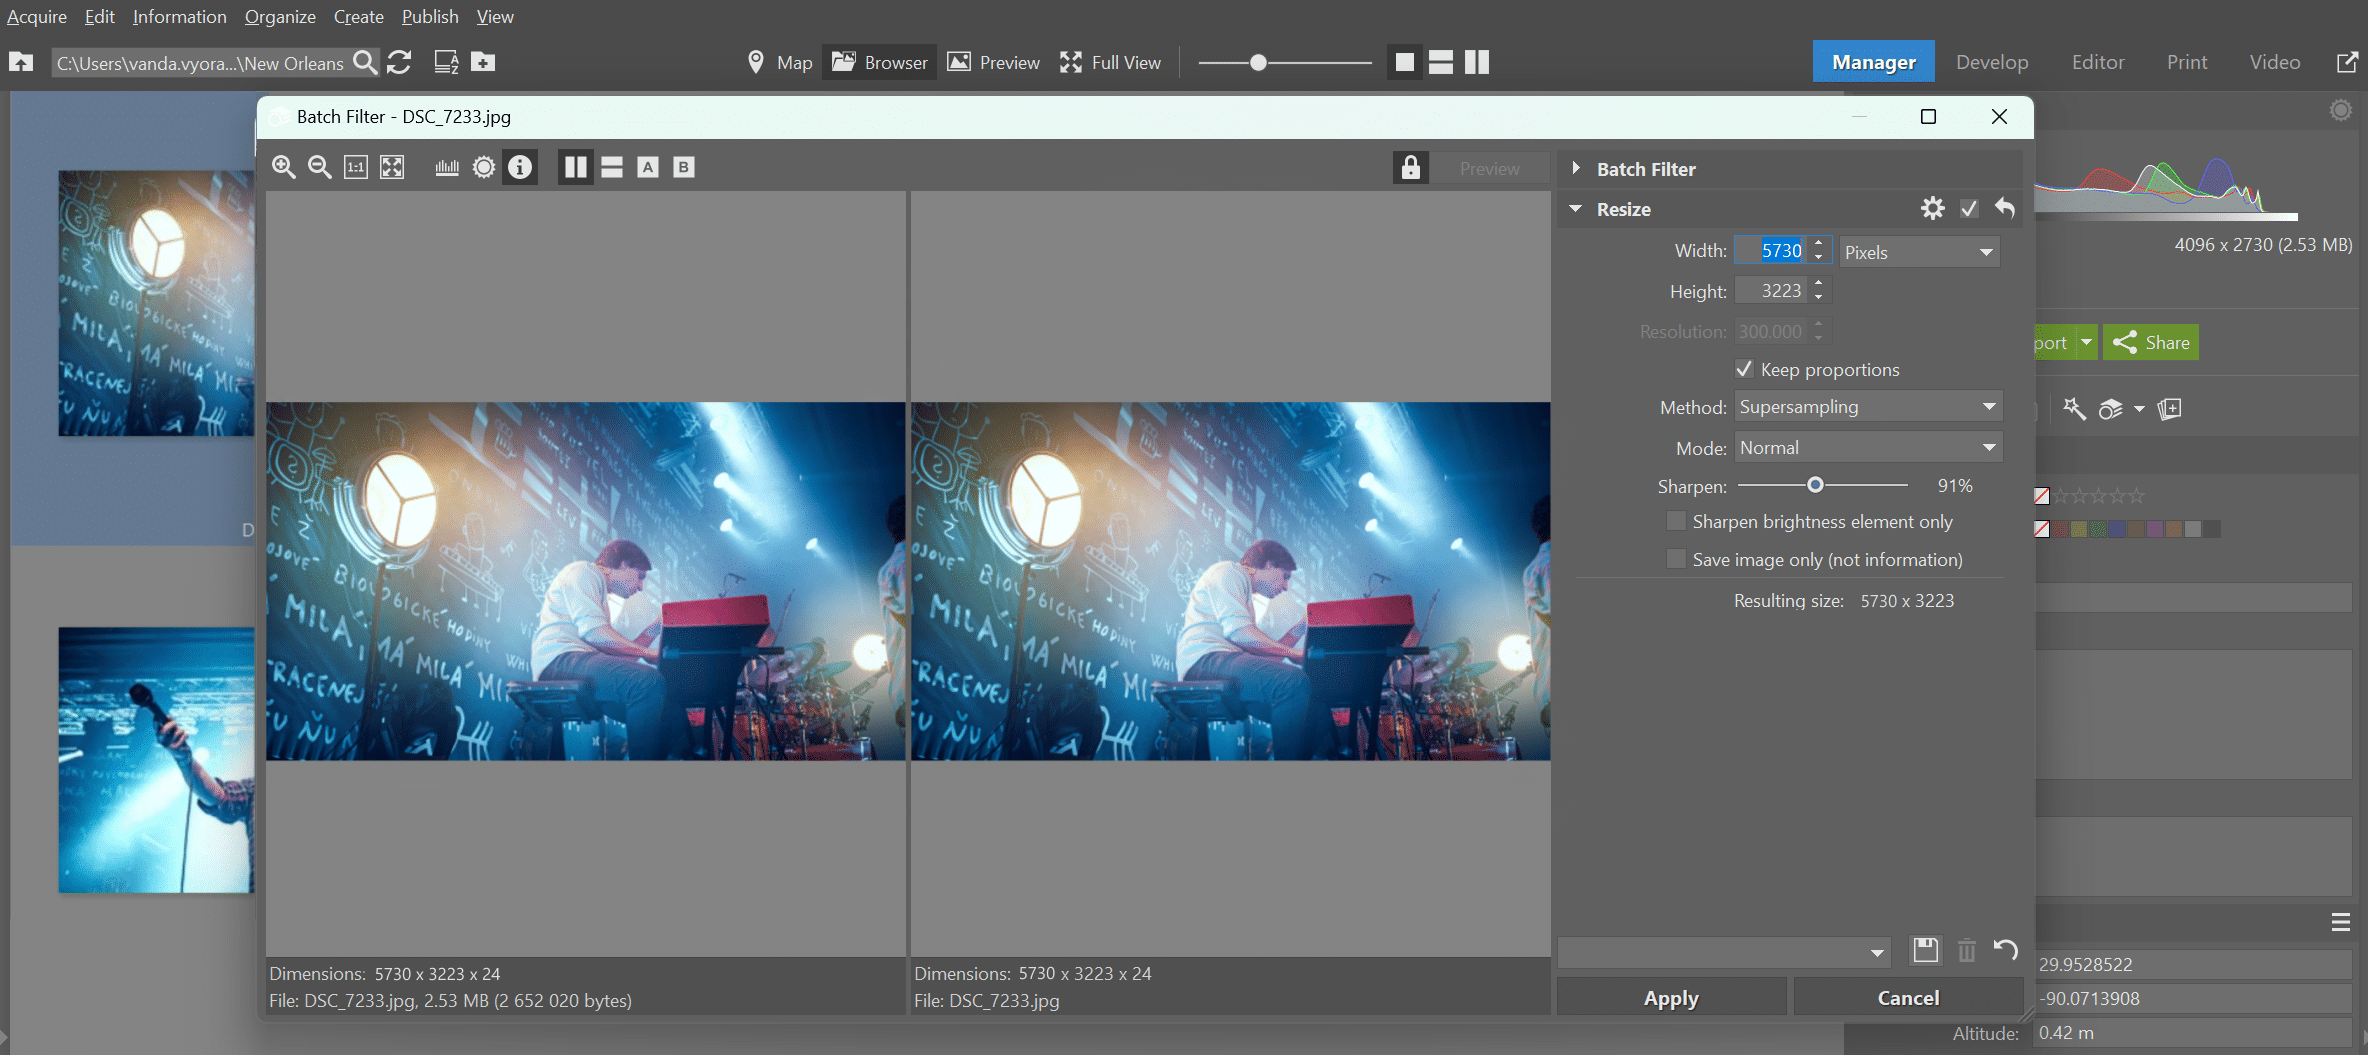
In the top right, you can see the fields where you enter your desired dimensions. If you want to shrink your photo to the recommended 2048 pixels on the long side, enter this number in the Width field. If you leave the Keep proportions box checked, the photo’s height will be automatically calculated.
By reducing the photo’s size this way, we managed to reduce the size of this particular image from 8MB to less than 700KB, which is a much better size for your website.
Exporting photos optimized for the internet
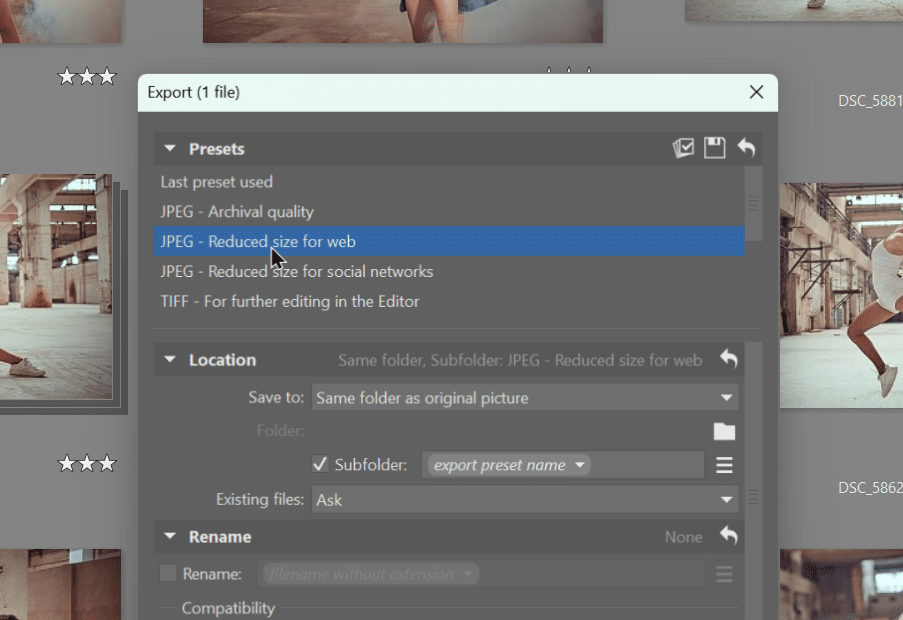
Sometimes you need the photo to keep its original resolution, just not take up as much space. This is done using the second, slightly more sophisticated option. Zoner Studio can export photos optimized for the internet—the resolution stays the same, the photo is much smaller, and the loss of quality is minimal.
You do this using the green Export button and the window that opens when you press it. Export is found in both the Manager and Develop modules. The export function is identical in both modules. Select the photo you want to reduce and click Export. A window opens where you select the option to export the photo at a reduced size for the internet.
You can get internet-ready photos not only from JPEG images, but also directly from RAW images. When you’re done editing in the Develop module, you can export photos optimized for the internet right away.
Whether you choose to reduce your photos’ size using the first or second option, you’ll see faster loading times compared to if you uploaded images in their original size. Search engines will see you more favorably. Next, we’ll take a look at how to increase your website’s visibility by naming your files.
How to name images for your website
In the introduction, we said that for your website to stand out in searches, the names of your images should contain keywords. This is important to keep in mind. This is something that is easily done and doesn’t need to be explained in great detail.
You can rename images for your website right in Zoner Studio without needing to switch to Windows Explorer. The Manager module works the same as Windows, either by right-clicking the photo and selecting Rename or by selecting the photo and pressing F2.
Make sure the name of the photo contains words that are important for people to find you when searching. For example, if you are a portrait photographer from Prague, your photos should have words like “portrait photographer Prague” or “portrait photography Prague.” These basic keywords are good to add some clarification. A photo on your website can be called something like “portrait photographer Prague studio shoot.jpg.”
Optimized photos make a better website
Now you know what you need to do to optimize your website when it comes to photos. If you want to make your website load faster and improve your search rankings, take our advice to heart and properly size and name your photos using Zoner Studio. It’s just one small step to a website that showcases your photography!
There are no comments yet.