The Filter Brush allows you to edit specific areas of your photos. It is a non-destructive tool found in the Develop module. This means that the edits you perform can always be undone. Use the Filter Brush to lighten faces, emphasize important elements in your photos, fix overexposed areas, or enhance the colors in any area of your photograph.
The article is over 5 years old. The information in it may be outdated.
We are working on its update. In the meantime, you can read some more recent articles.
The Filter Brush allows you to edit specific areas of your photos. It is a non-destructive tool found in the Develop module. This means that the edits you perform can always be undone. Use the Filter Brush to lighten faces, emphasize important elements in your photos, fix overexposed areas, or enhance the colors in any area of your photograph.
In this article, you’ll learn how to:
emphasize the main subject using the Filter Brush (B)
add other masks for editing
create additional effects
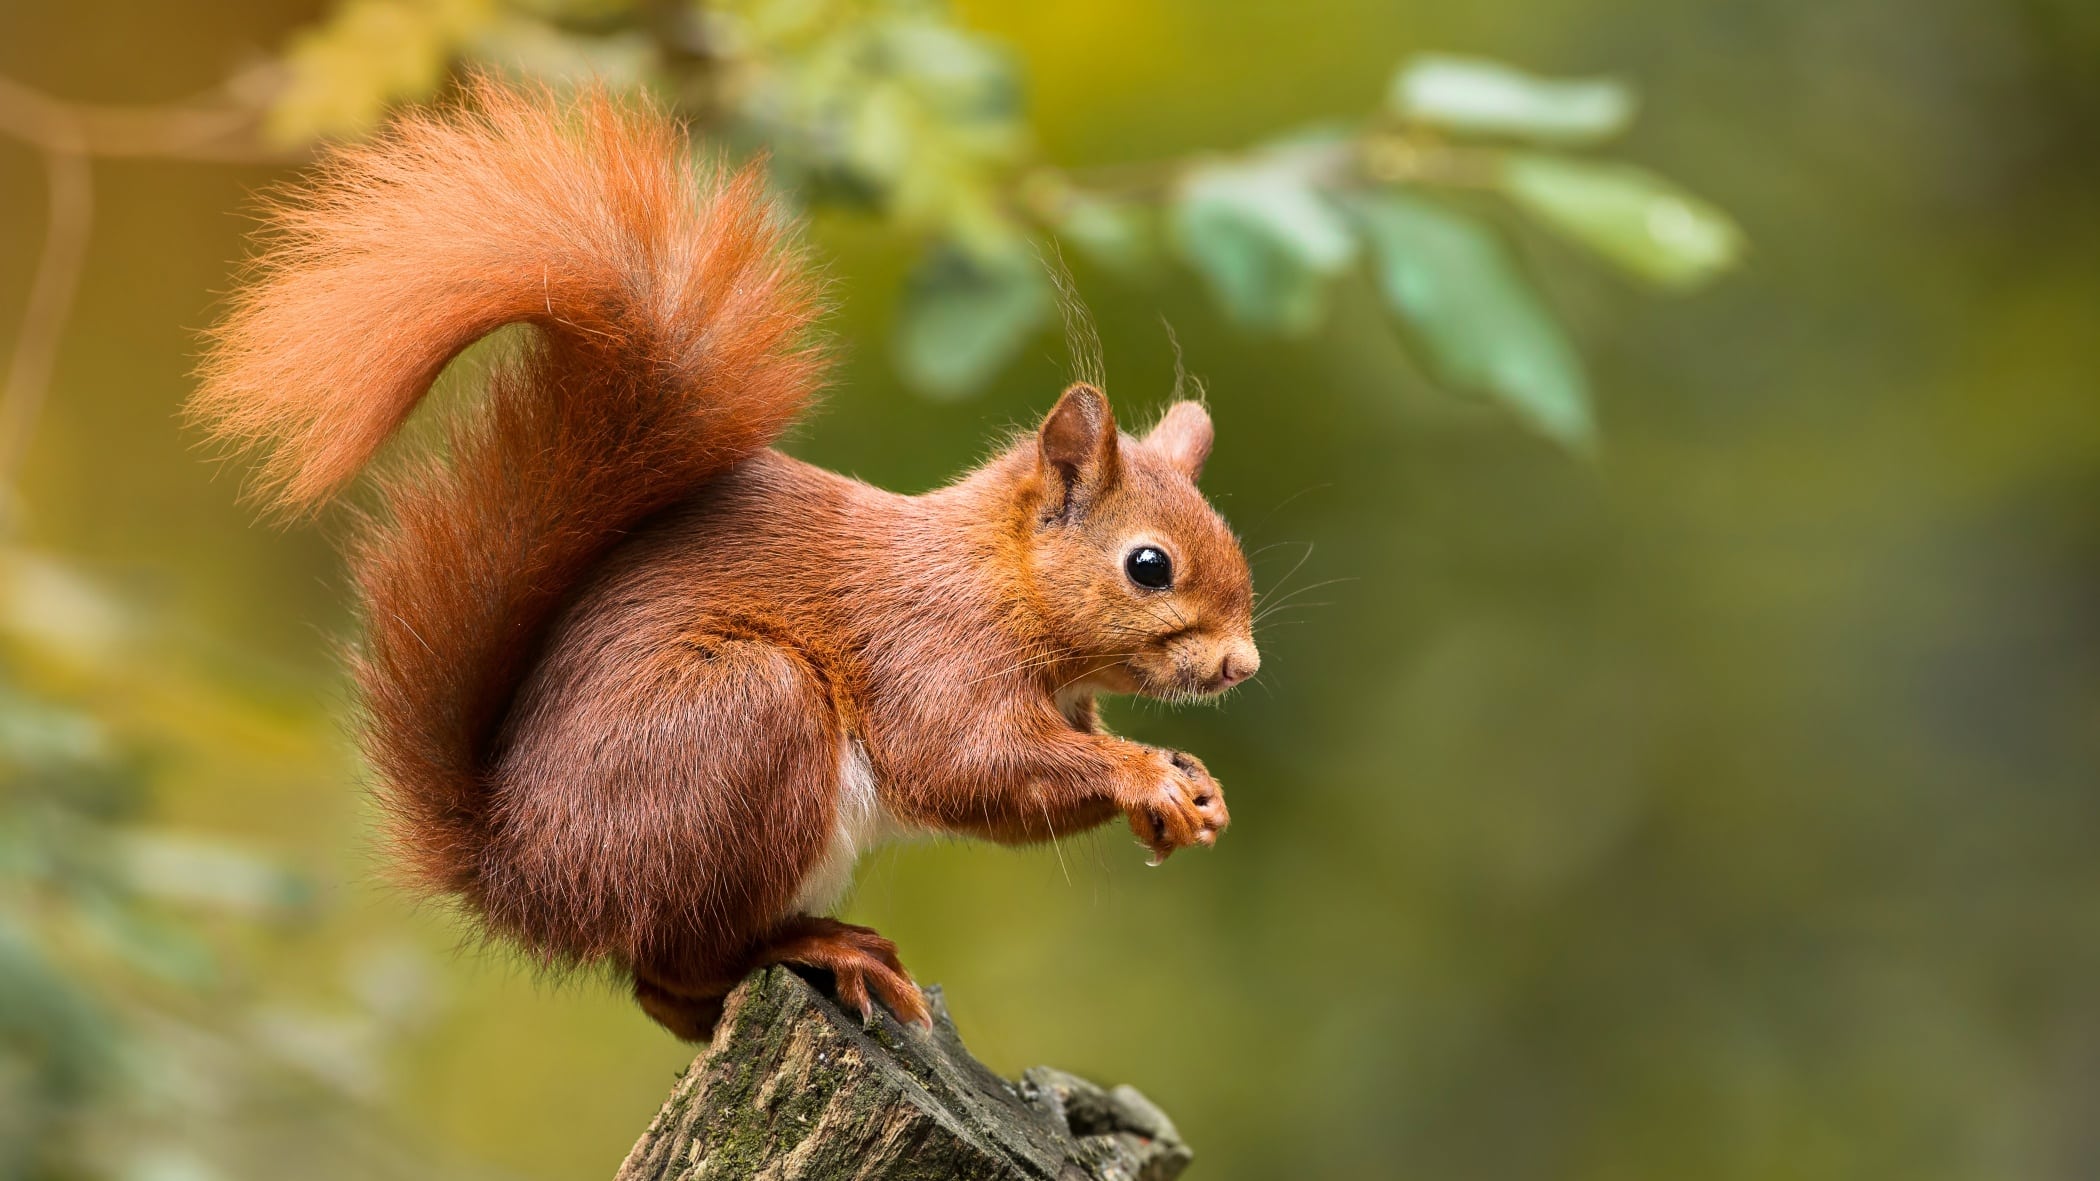
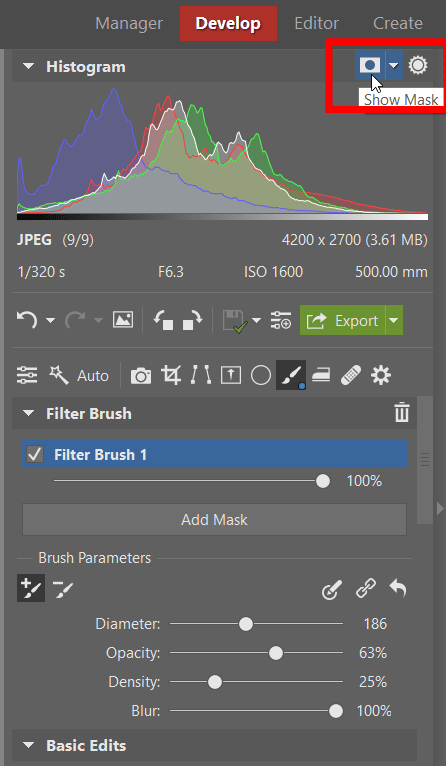
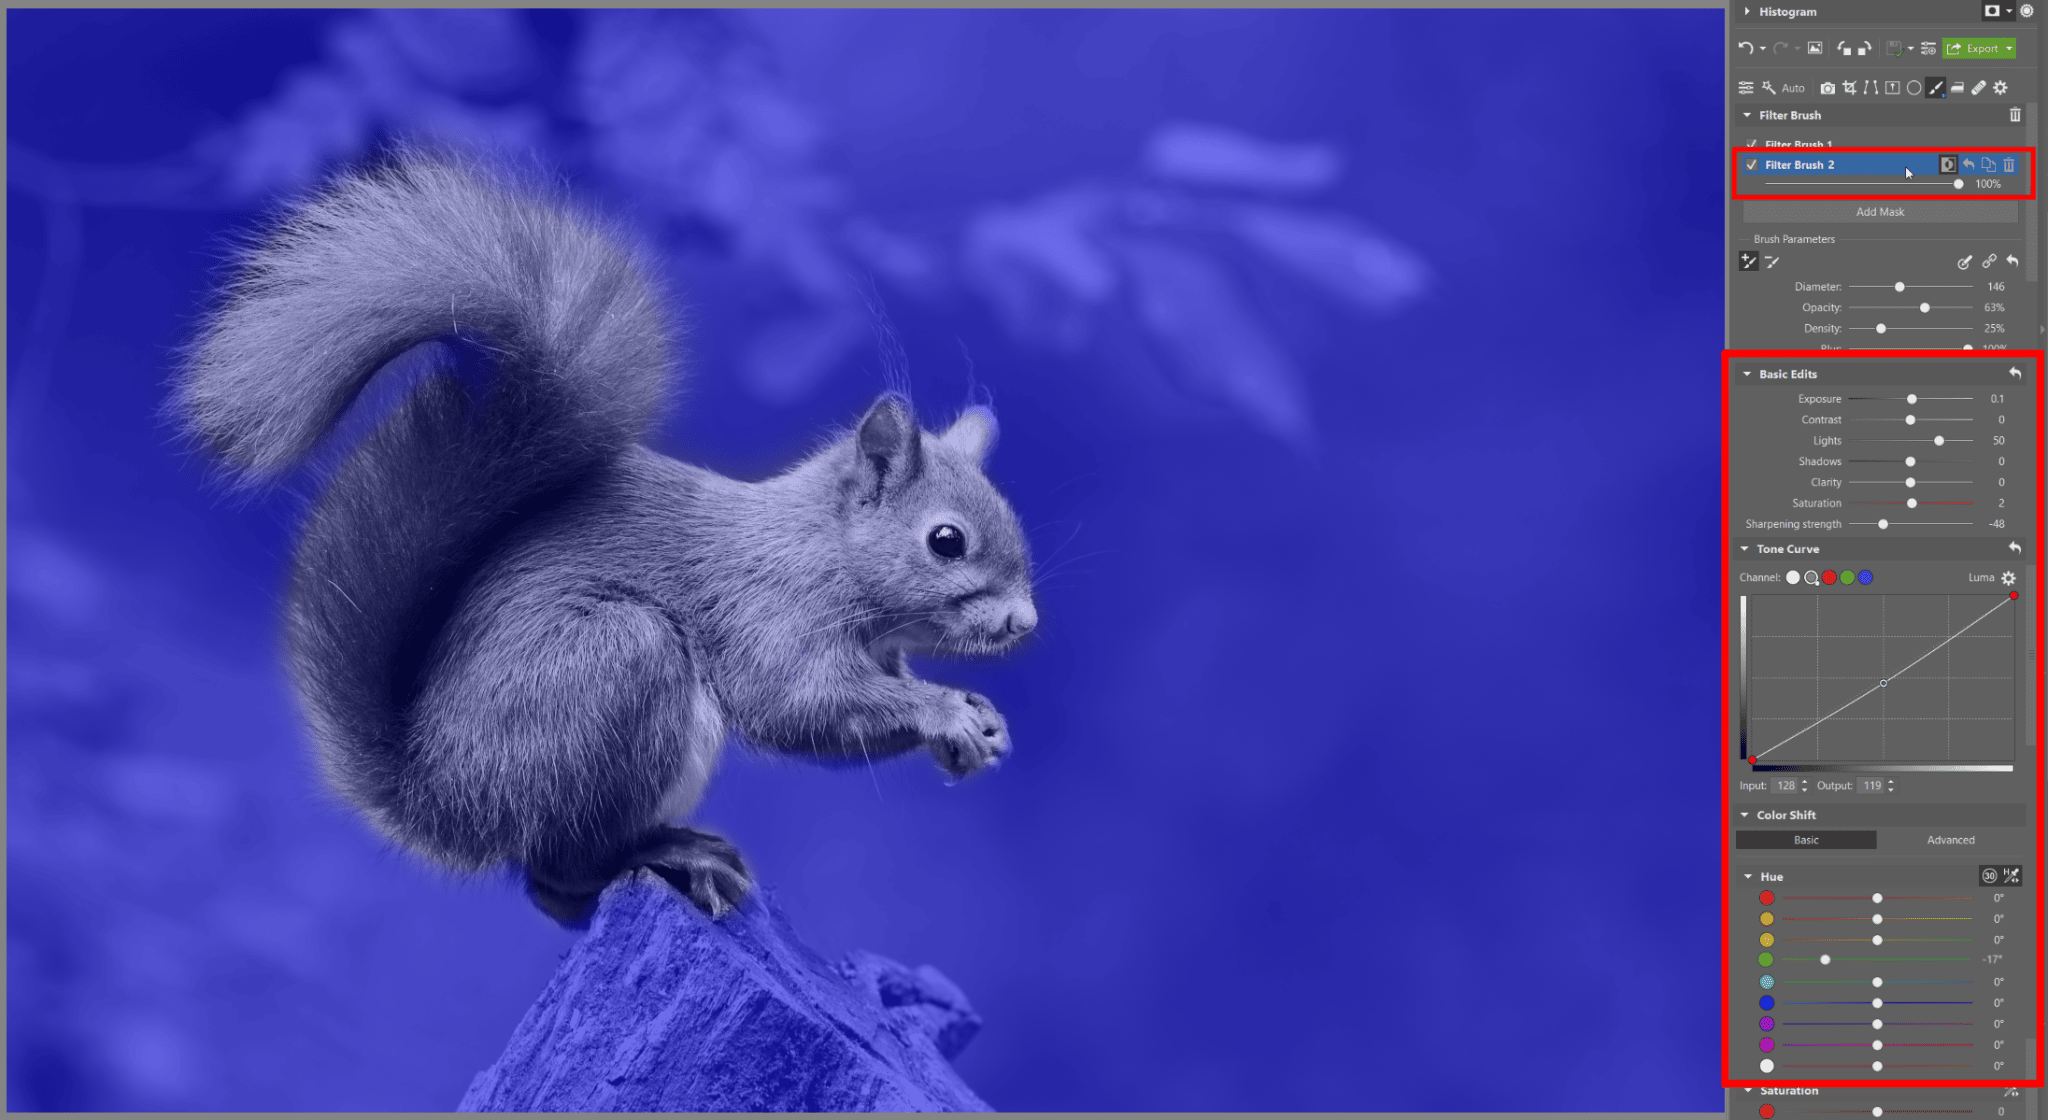
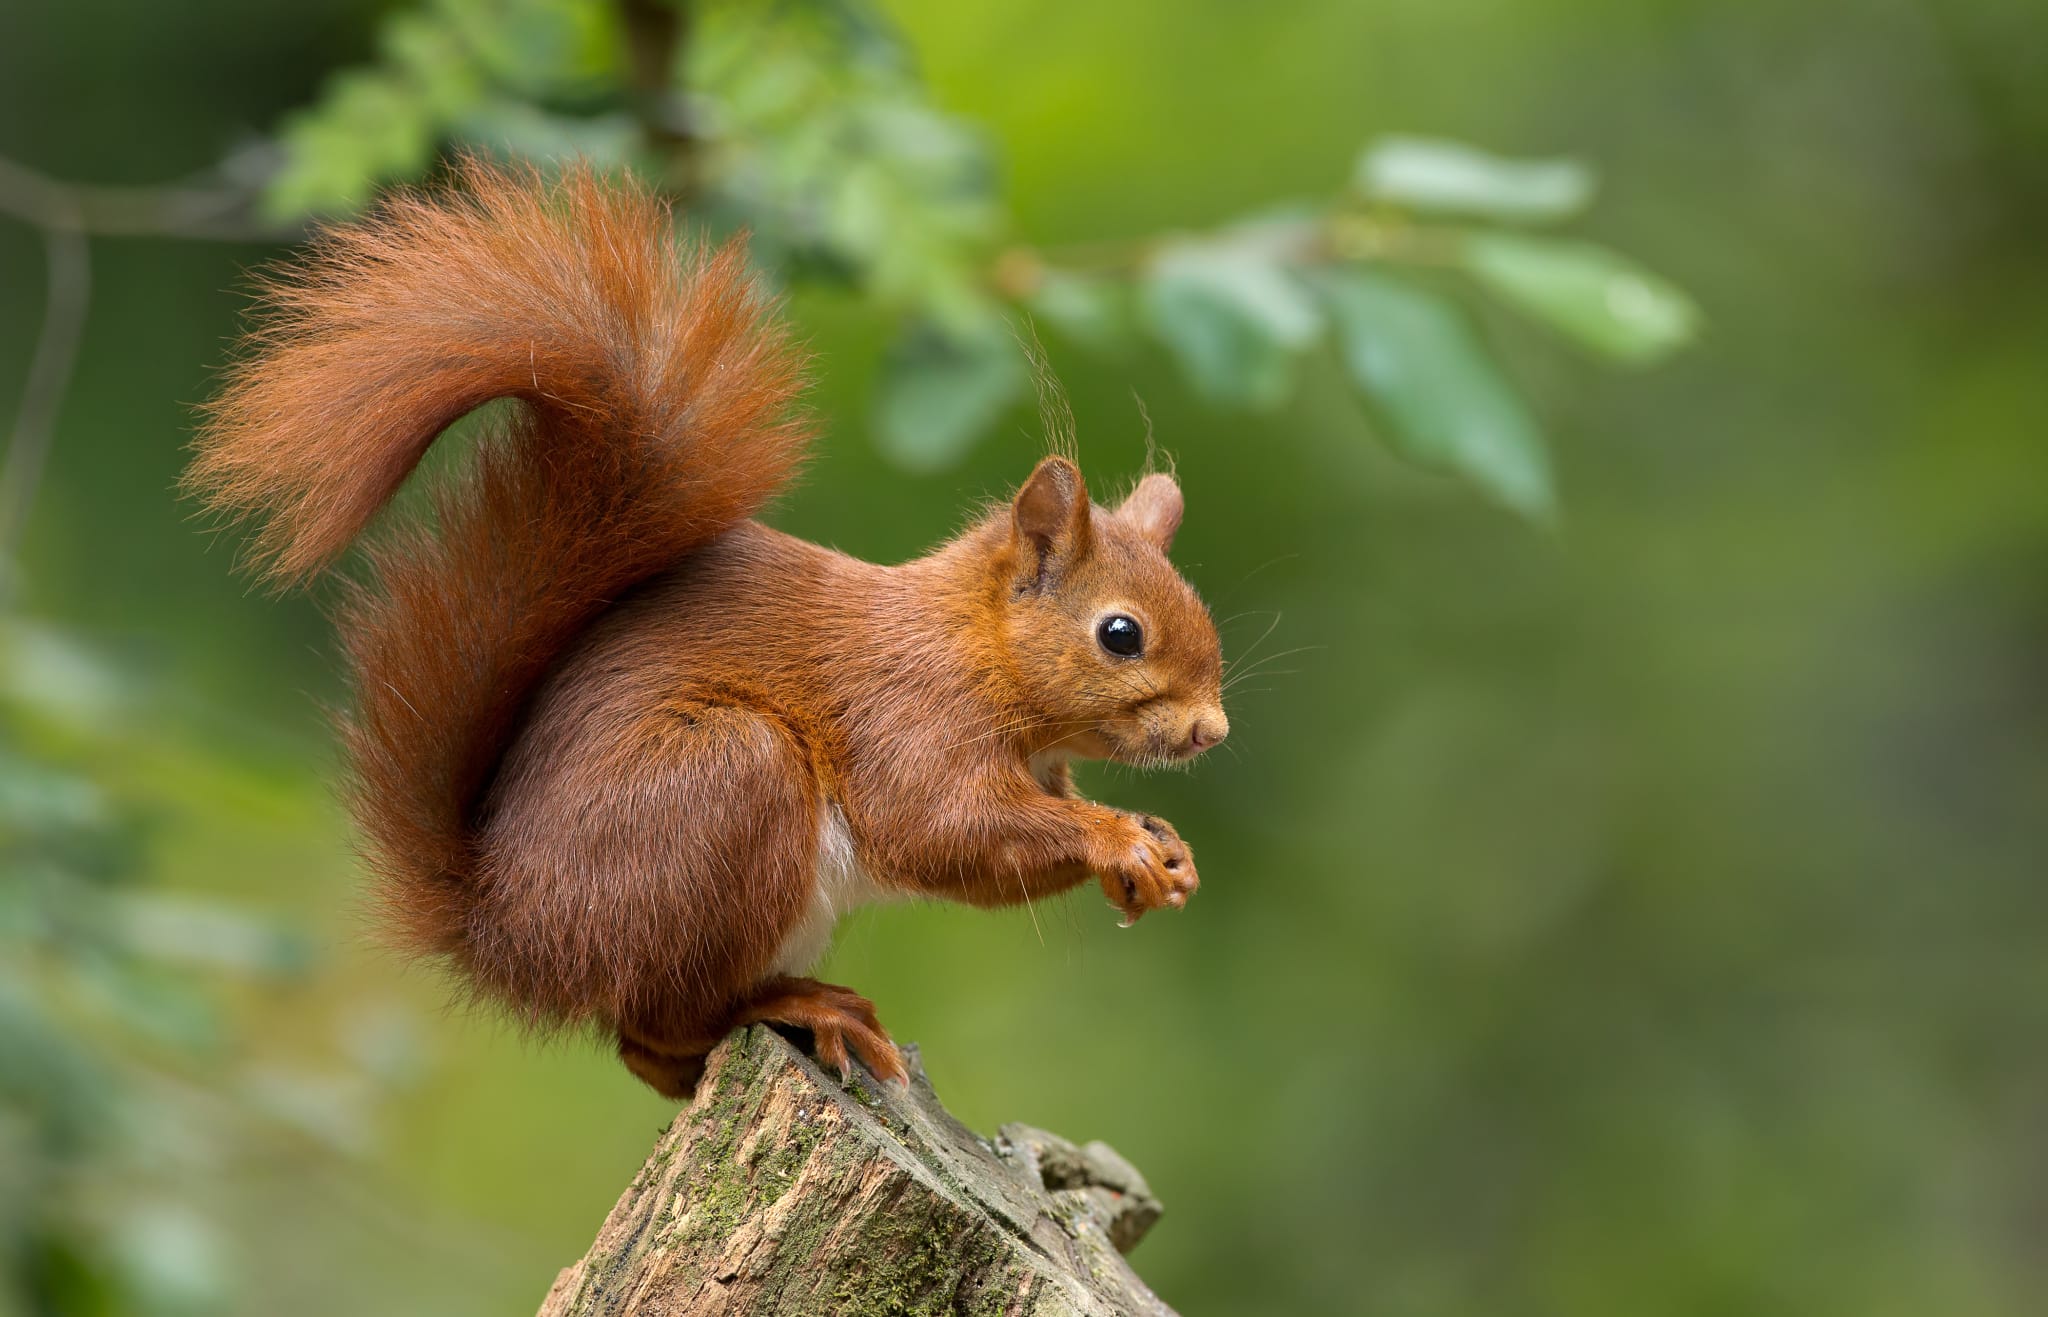
Open the photograph, switch to the Developmodule, and choose the Filter Brush(B) tool. For ease of applying, click Show Mask so that you can clearly see which areas you are editing. We’ll be demonstrating the steps on this photo of a squirrel.
Select Show Mask to clearly see all your brush strokes.
Mark the area where you want to edit
Use the brush to “paint” in the photo and also to undo strokes that were not done correctly. You can do this in the Brush Parameterssection. If you accidentally color the wrong area, click the Remove from Maskicon and repaint the area.
Each additional stroke you make will now be layered, so it’s better to use one, continuous stroke for more evenness. You can quickly and easily change the size of the brush (even midstroke) using Shiftand your mouse wheel.
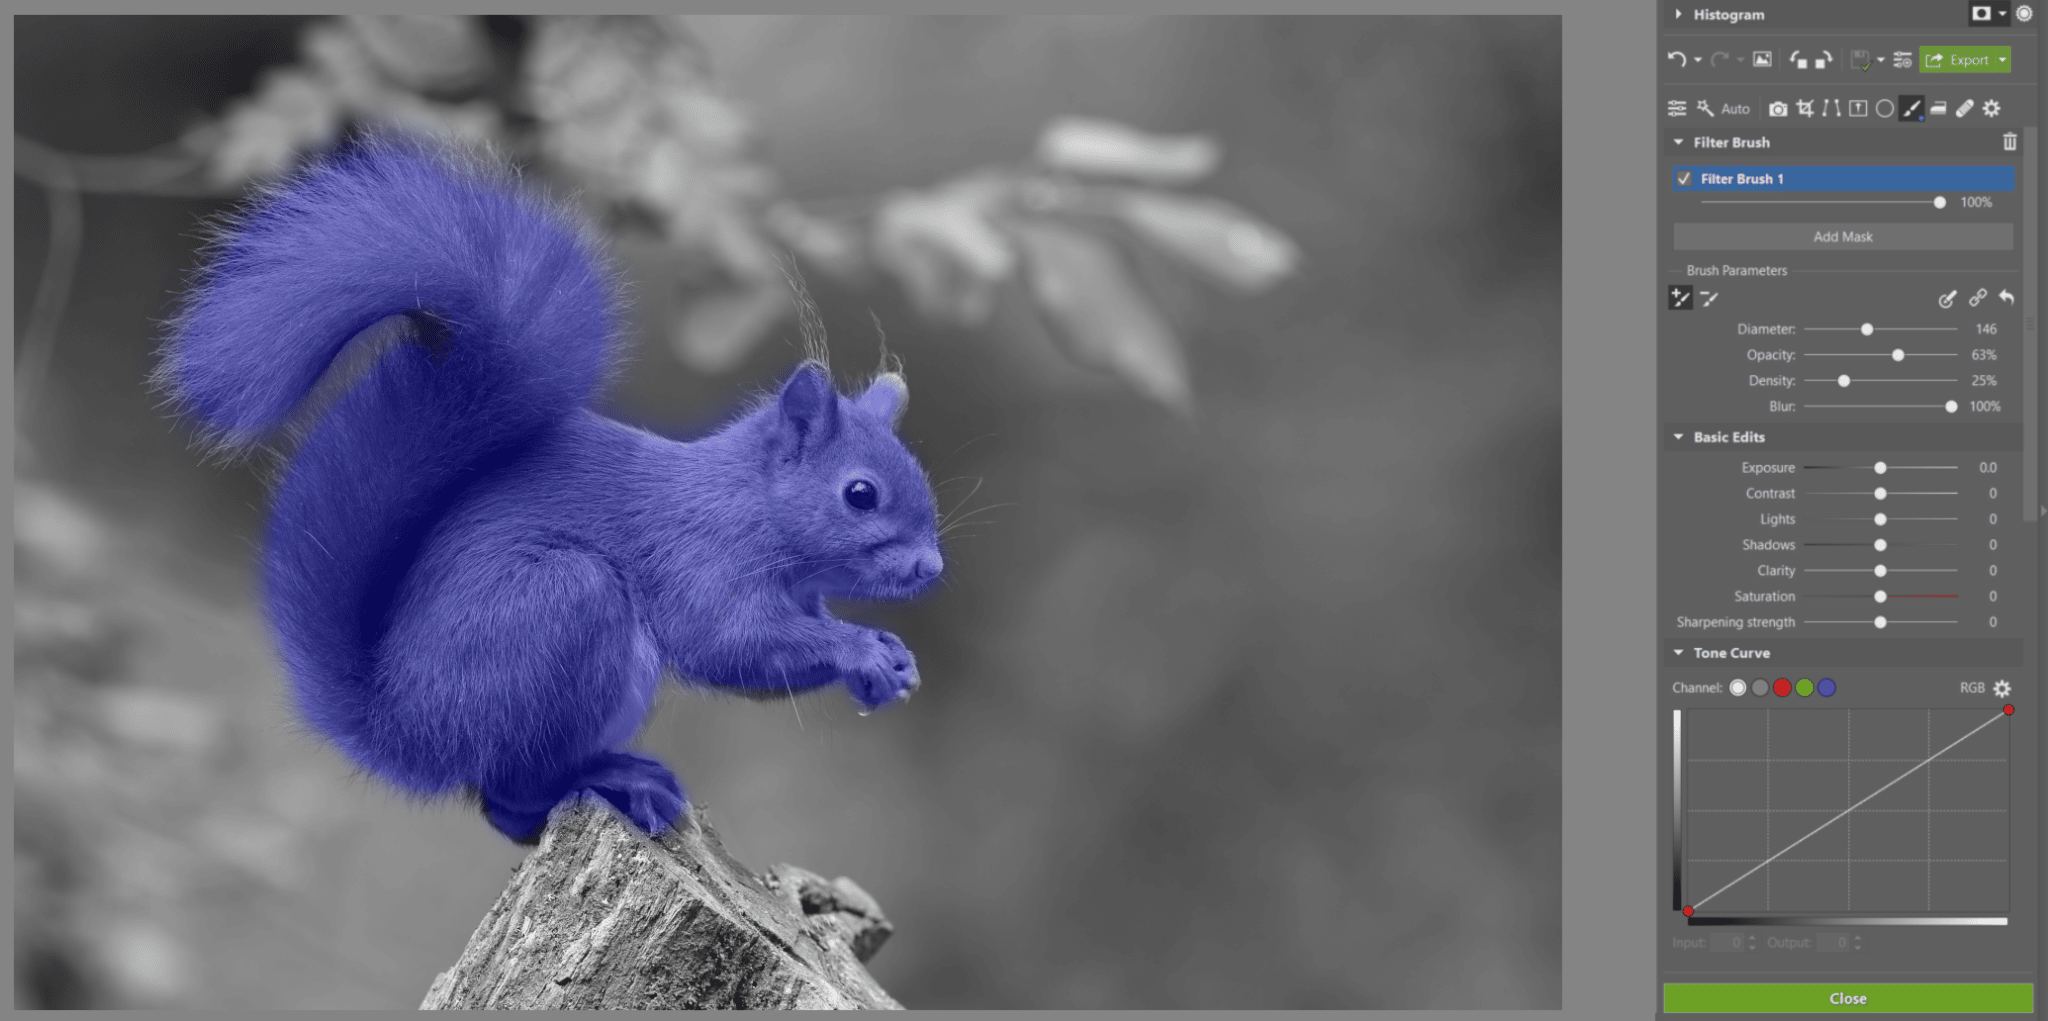
We have selected only the area where we will be editing.
Adjust settings according to your needs
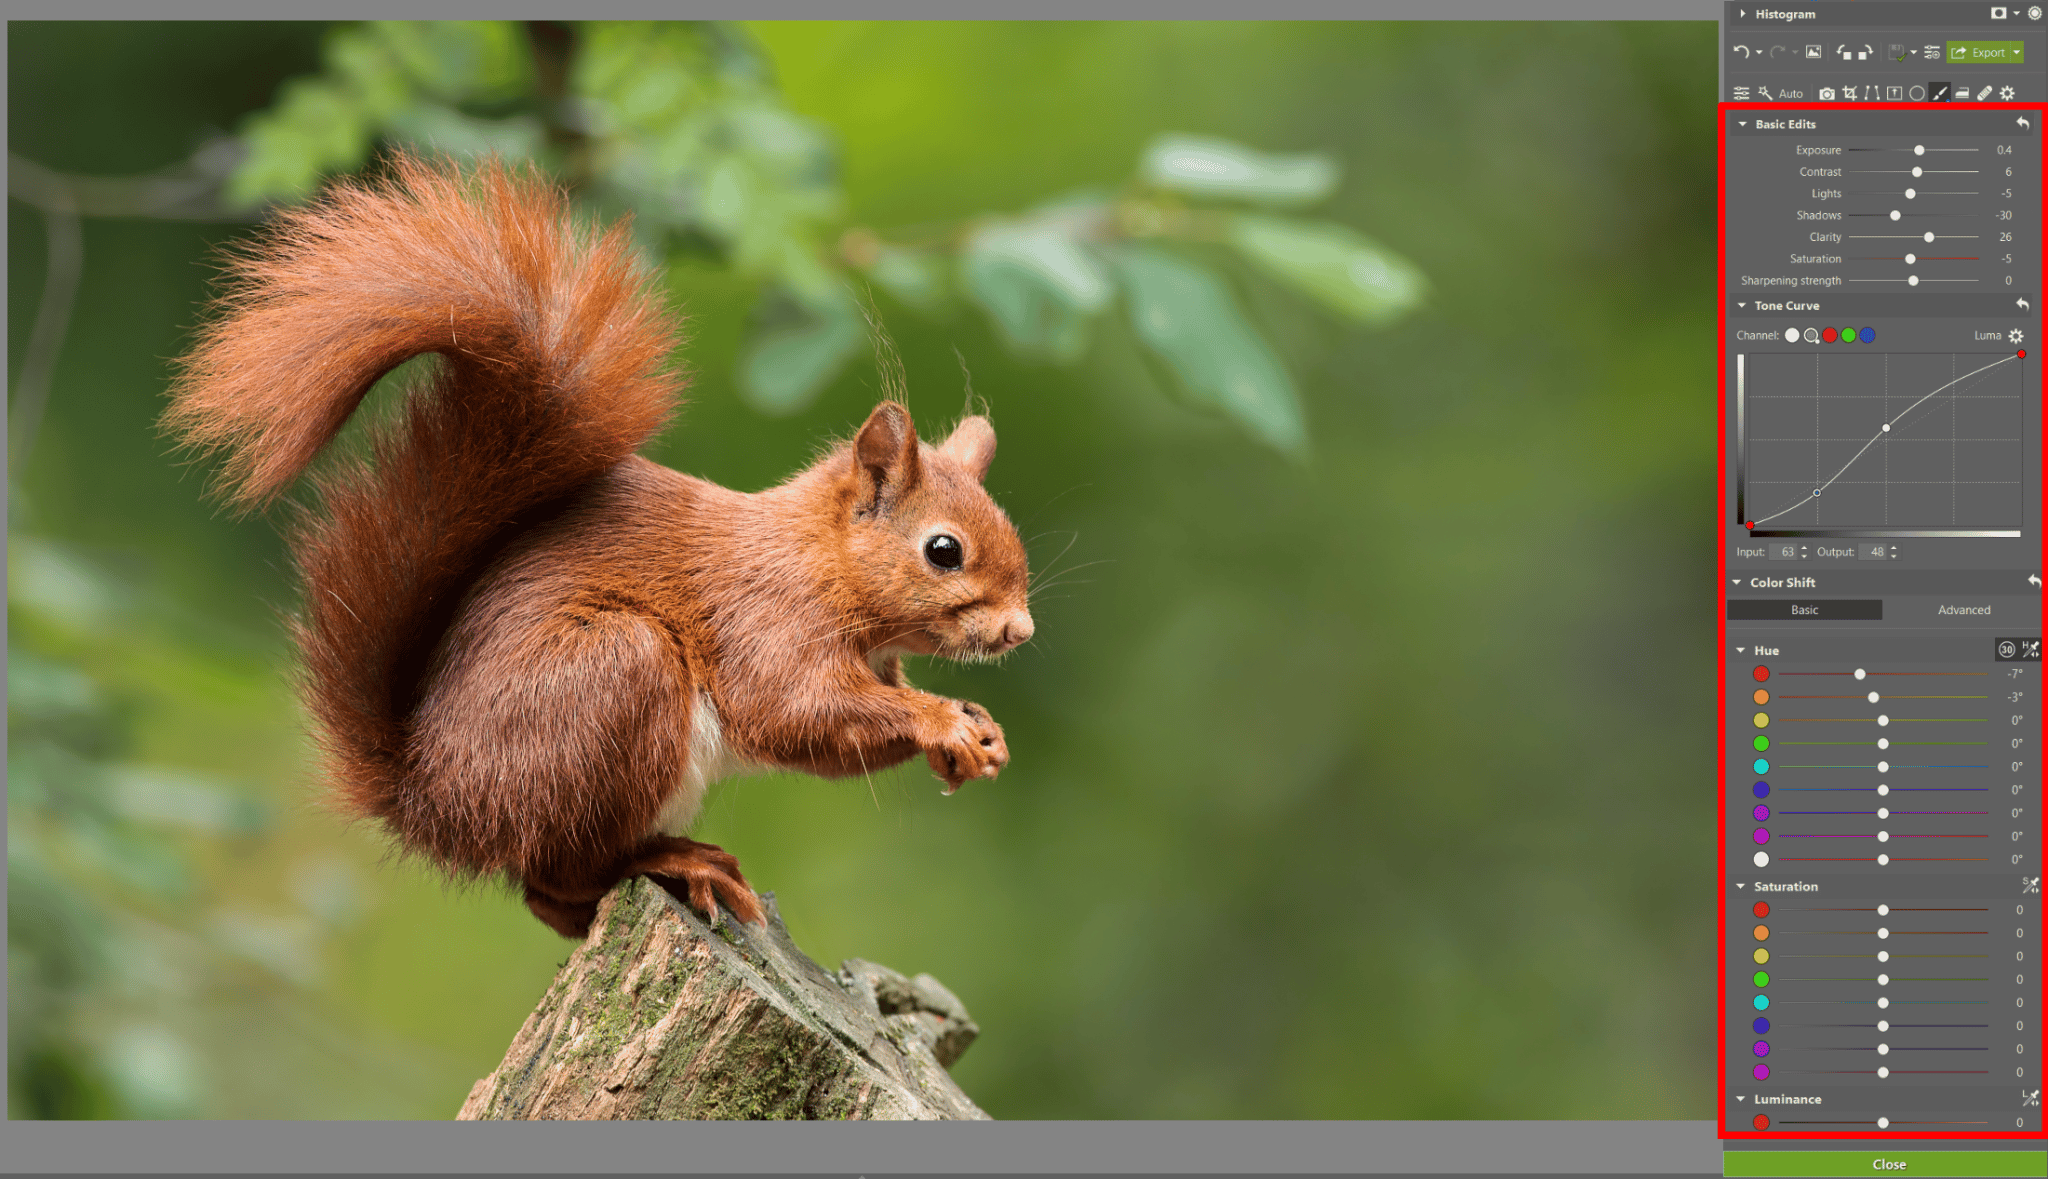
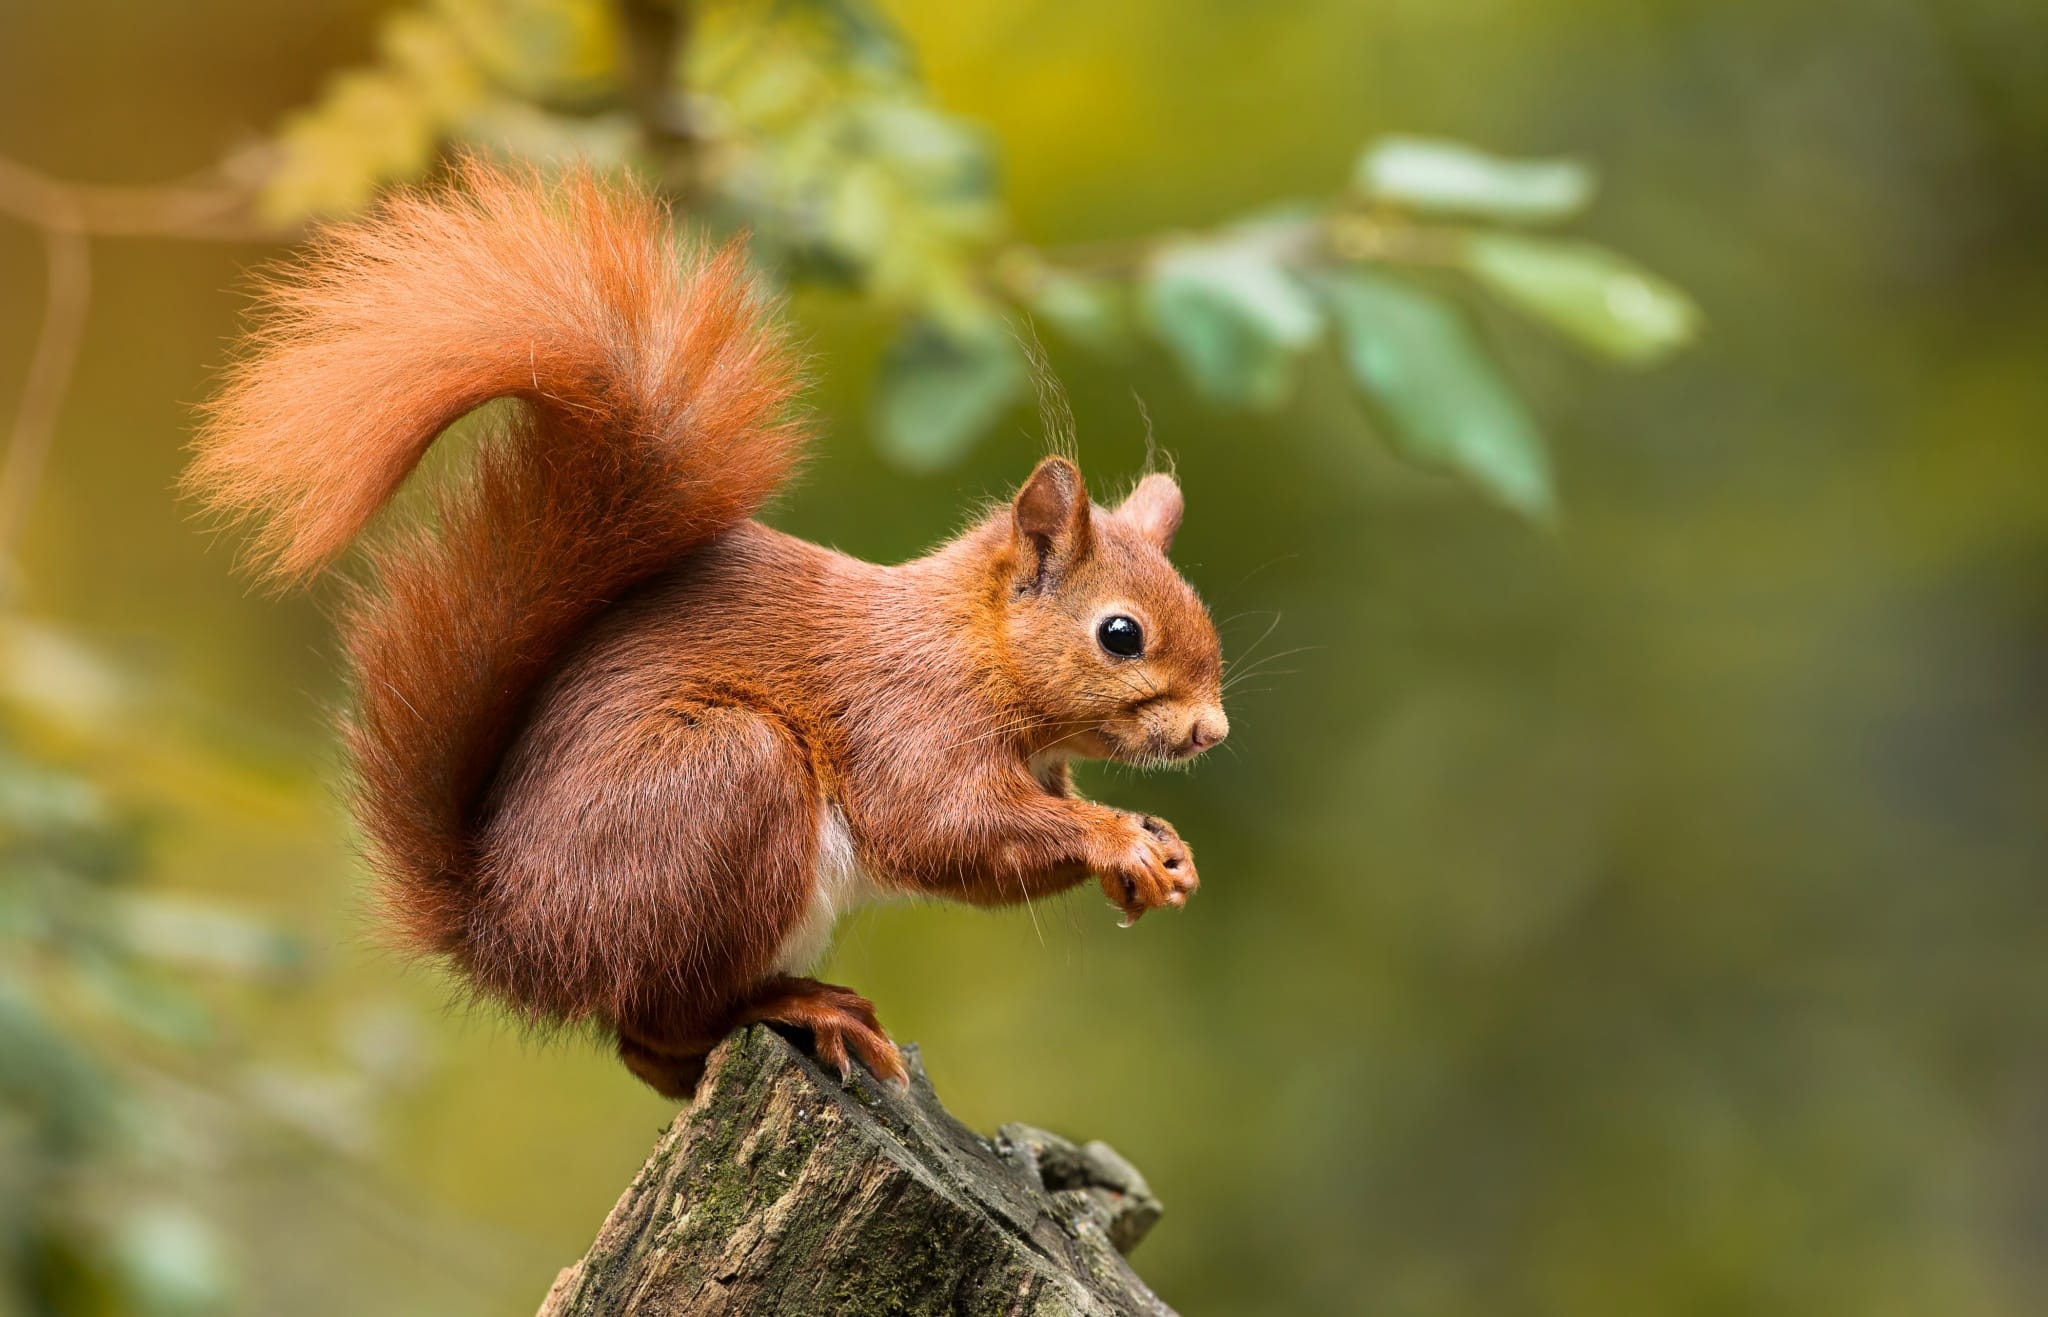
When you have an area you want to edit selected, turn off the Show Mask option. Now you can edit anything from exposure to local color shift. For instance, in the example photo, we used the Exposure and Clarity sliders to make the squirrel stand out.
You can change a few things or change everything – it’s up to you.
If the edits you have made seem too intense, you can lower the intensity of the brush (and therefore, the edit) using the slider directly below each mask for the Filter Brush (B) in the right panel.
Add another mask
Now you can add another mask. You have two options:
create a new mask
duplicate and invert the previous mask
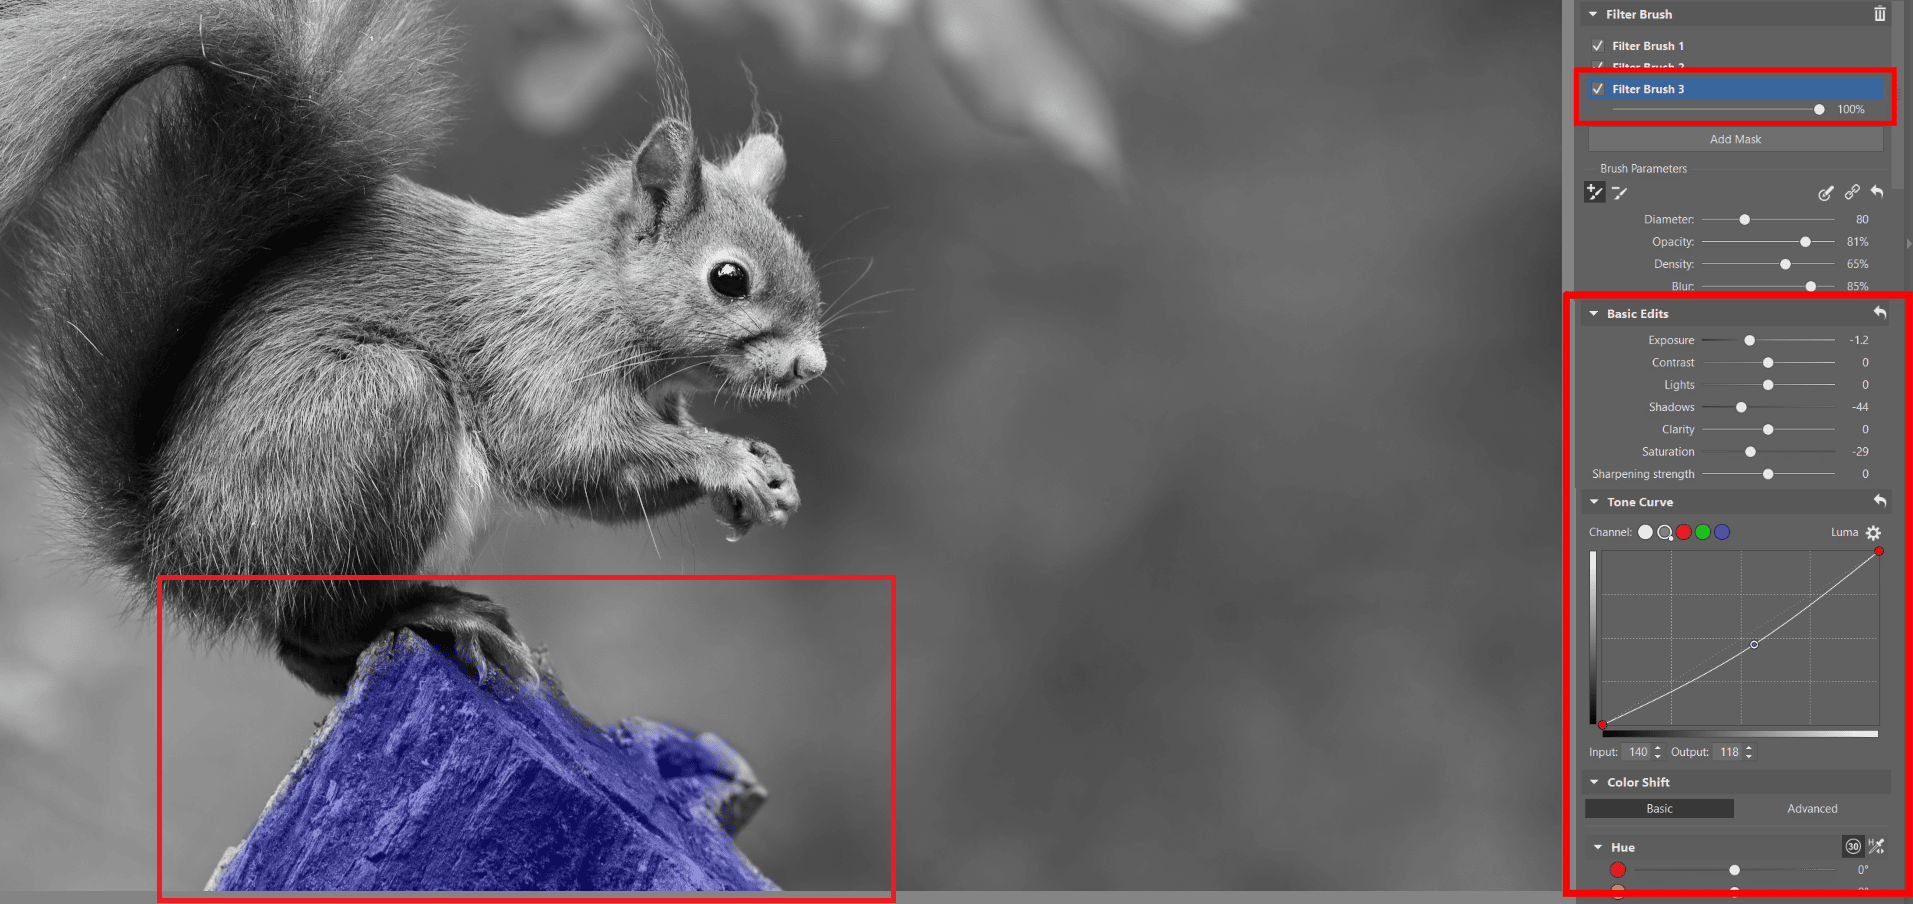
Create a new mask by clicking Add Mask. While hovering your mouse over the new mask, Filter Brush 2, the icons for Invert Mask, Default Settings, Duplicate, and Delete appear. Click Default Settings to reset the settings from the first mask.
You may want to Duplicatea mask if you want to edit everything except for what has already been edited in the first mask. Click the Duplicate icon and then click Invert Mask. Click Default Settings once more and you can get to work.
Invert your selection to make the job easier.
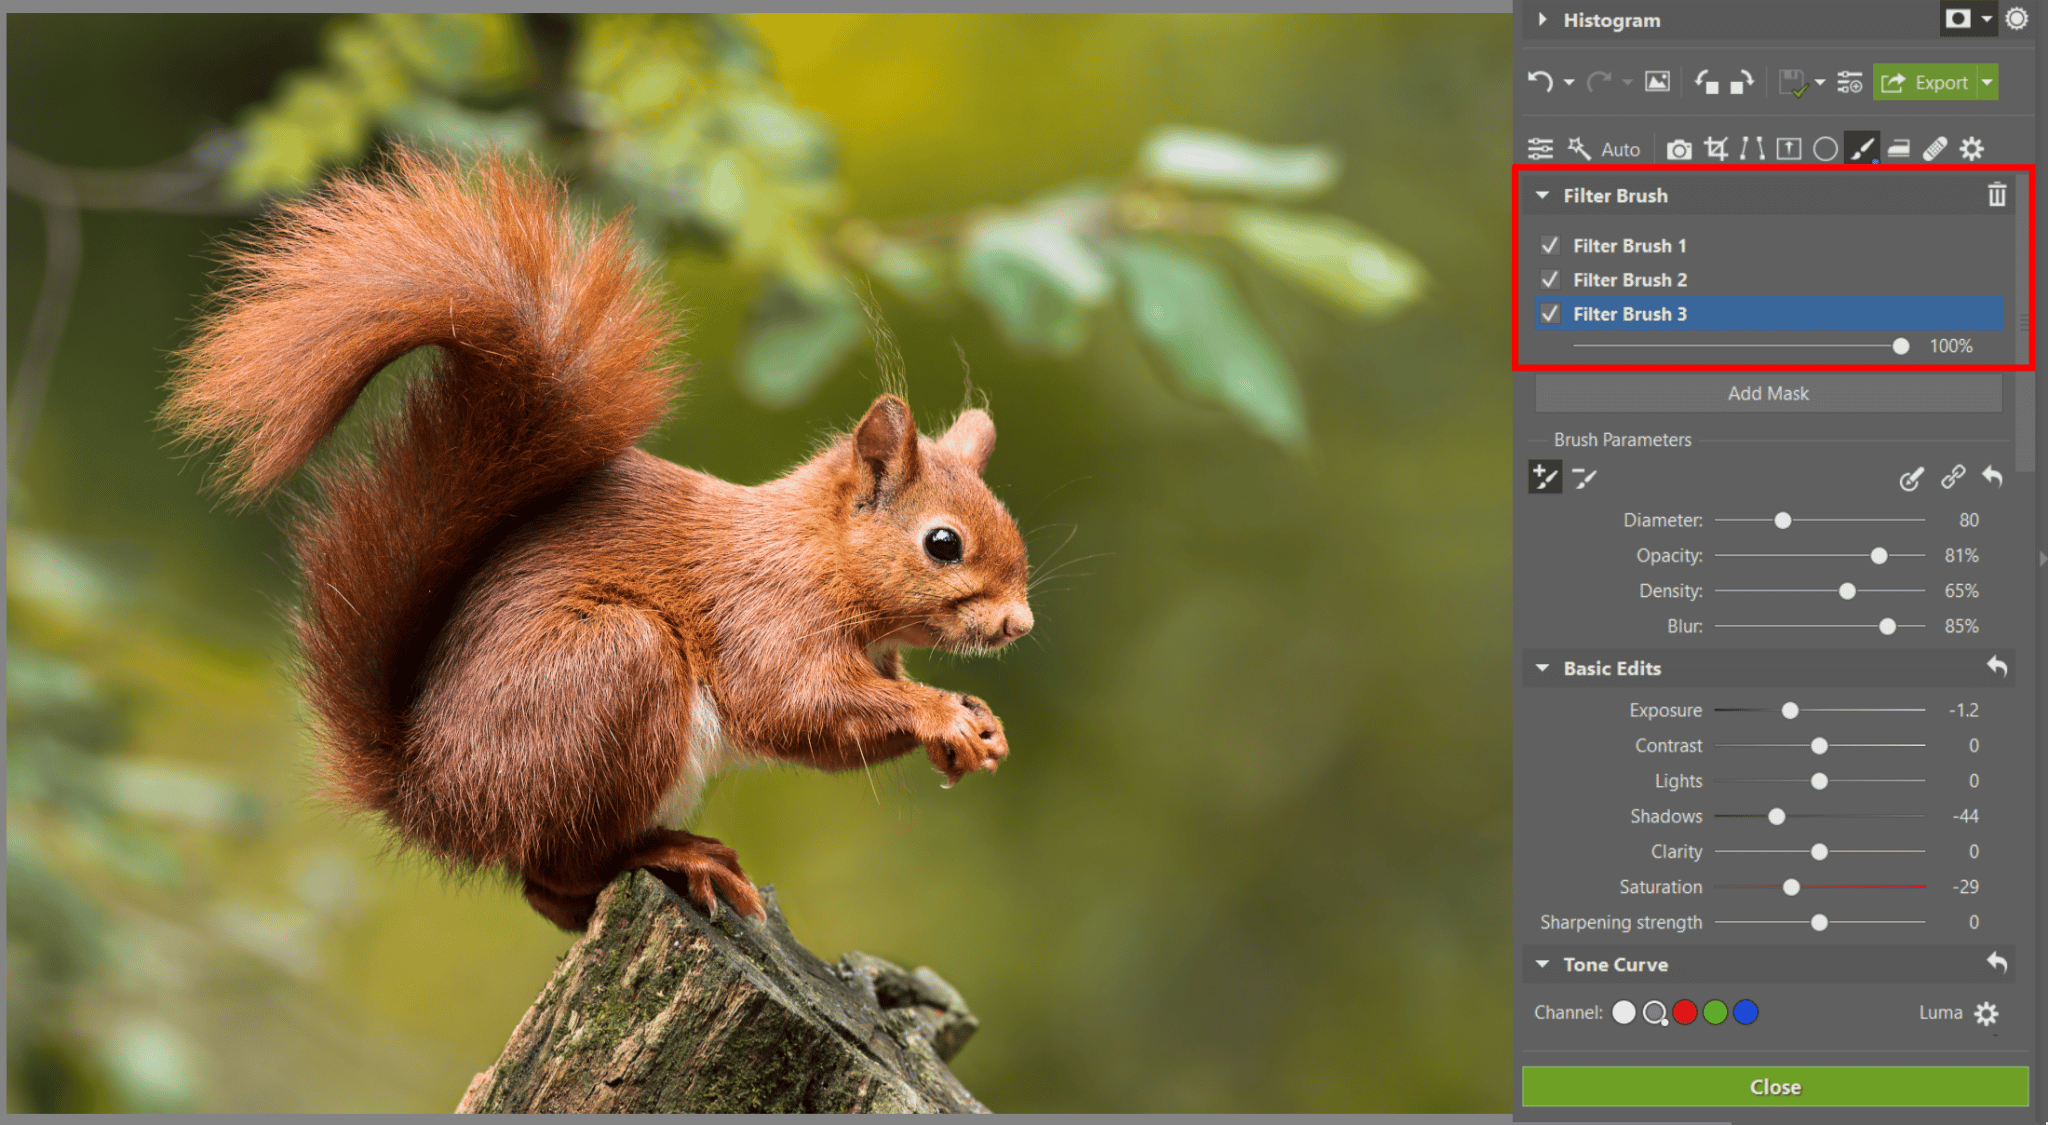
We used the new mask to darken the tree stump where the squirrel is sitting. This will help emphasize the squirrel itself. By duplicating and inverting the mask with the squirrel selected, we were able to focus on editing the background.
Darkening the tree stump makes the squirrel stand out and enhances the color of the green moss.
We now have three categories, or masks, that we’ve changed individually and separately from the other two.
Three different categories give us three different edits in various areas of the picture.
Add other effects
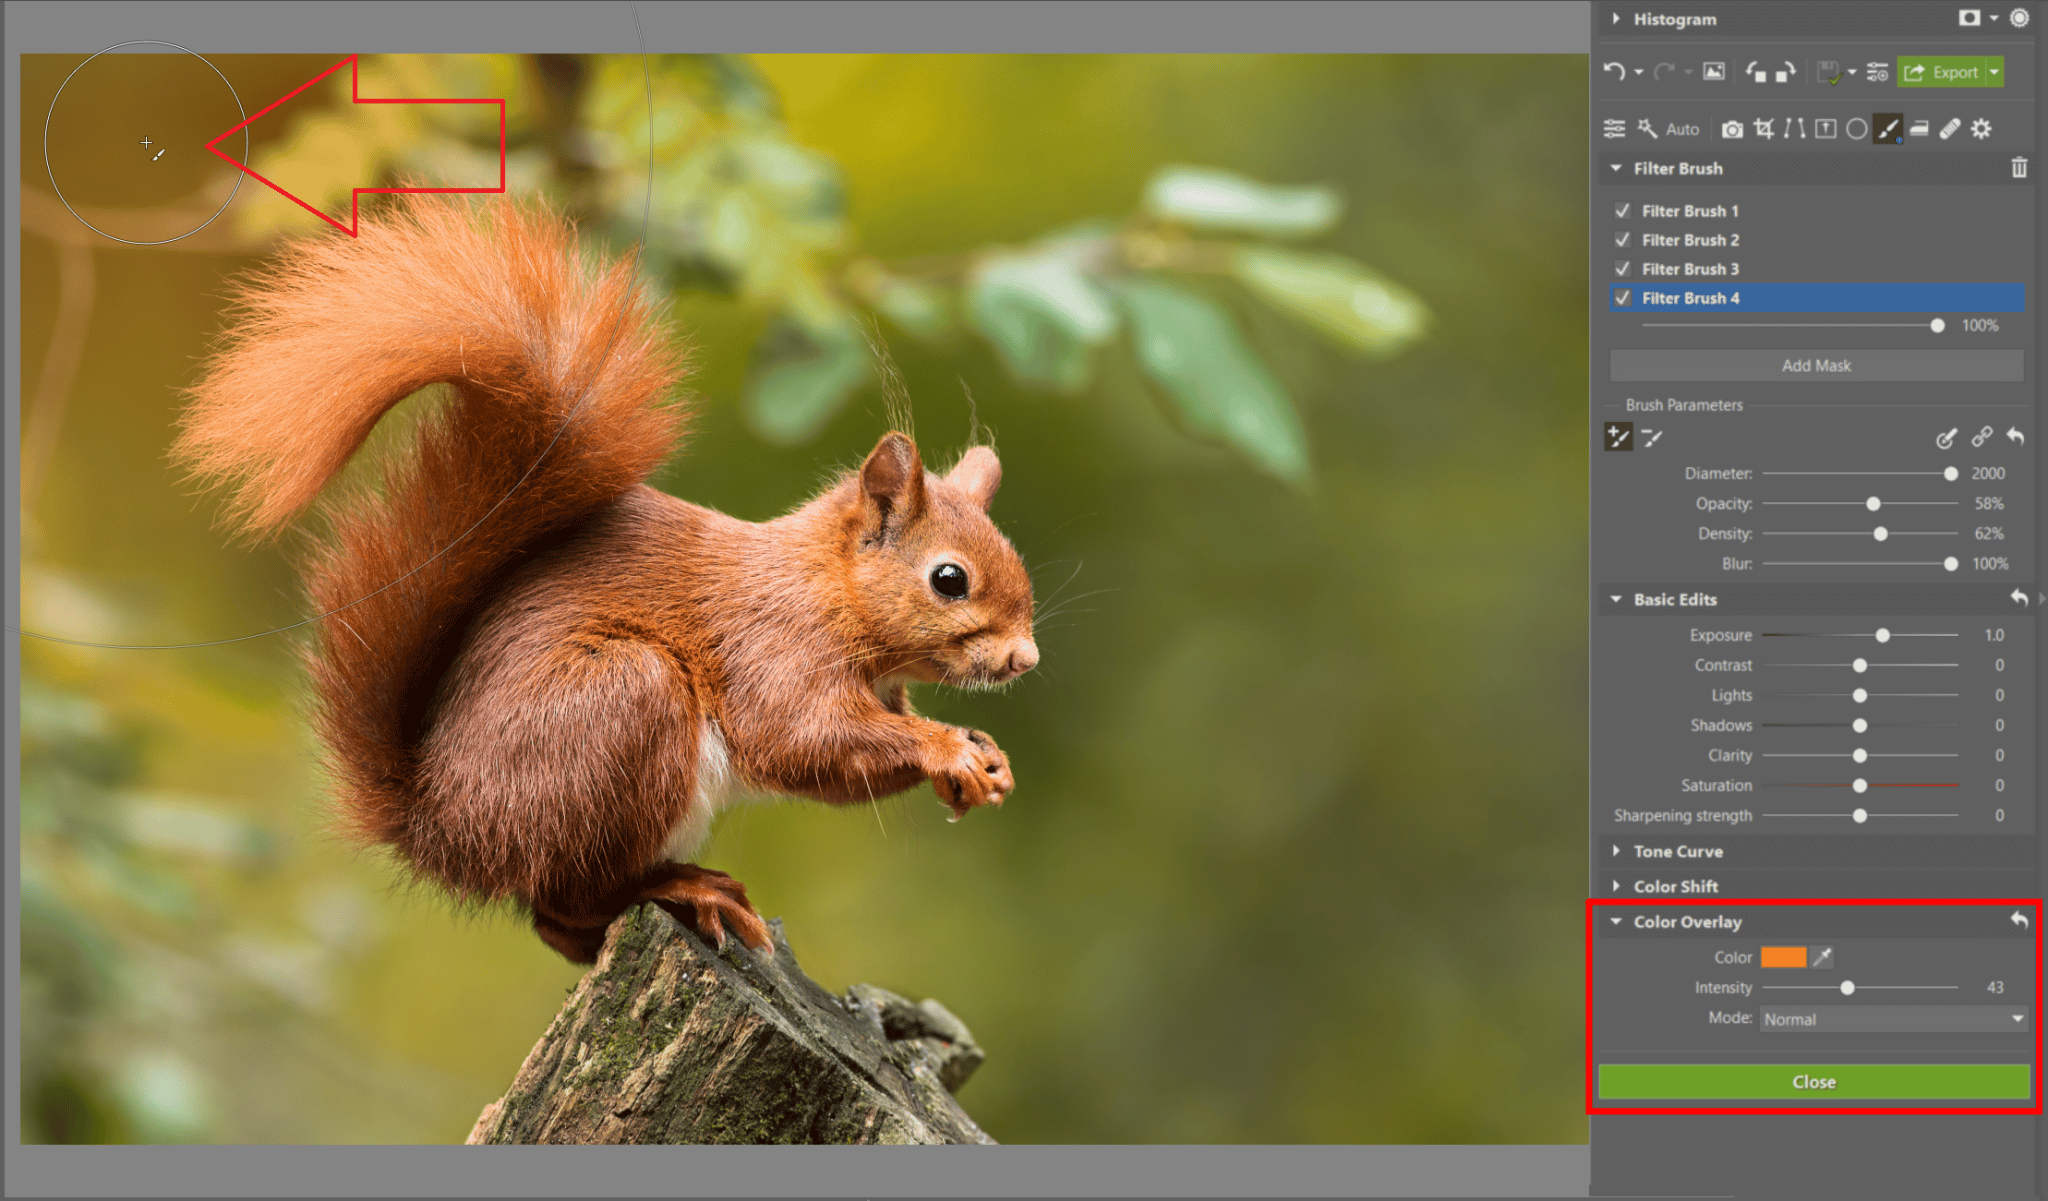
Now we’ll add some sun to the photo, again using the Filter Brush (B). Add another mask. Before you apply it, manage the settings beforehand. This time, scroll to the bottom of the right panel to the Color Overlayoption.
Choose a color (for the sun effect, we used orange) and a reasonable intensity. In the basic edits, you can even increase exposure to achieve a brighter look.
Choose a larger diameter of brush with high Blur, making the effect more realistic. When everything is ready, click a few times in the places where you want the sun to be.
Simple, yet effective trick using the sun.
Experiment with local edits
Even though our editing with the Filter Brush (B) is complete, there are still new horizons to explore. Don’t be afraid to try new things and see how far you can get, because only by doing so, you can discover great new ideas for other methods.
Download Zoner Studio free for 7 days and edit photos locally using the Filter Brush.
Receive our weekly newsletter to stay on top of the latest photography trends
Subscribe to receive the best learn.zoner.com has to offer
By confirming the subscription, you consent to the processing of your personal data for receiving newsletter. Learn more in our privacy policy.
I haven’t been a photographer for long, but I certainly love taking photos. I like creating atmosphere in my photographs and adding emotion. I think it’s important that a photo has substance. I predominantly photograph people, often in costumes, sometimes nudes, and photographic storytelling series. I value effective communication and a pleasant atmosphere in my photoshoot. I like to use practical effects such as smoke, fire, sparks, light, or movement of cloth and fabric. I know that I still have a lot to learn, but that will come with 20 years of experience under my belt. I believe in lifelong self-improvement.
There are no comments yet.