Urbex: Simple PC Edits to Give Your Urbex Photos Atmosphere

We often associate a dark mood and almost horror-like edits with photos from abandoned urban places—urbex photos. But that doesn’t have to be a rule. The edits that you make to your urbex photos can also be entirely different.
Atmosphere is what tends to be important in urbex photos. And this is something that you can emphasize when you’re editing them on a computer. Just don’t forget that, just like with any other kind of edits, a simple rule applies here: all in good measure!
Ideas First
Before you get started editing and pushing sliders, stop for a moment. Think about how the place affected you and how you want that to be reflected in your final photo.
What kind of mood should the photo have? What feelings should it awaken in your audience? Dive into your own impressions and experiences and try finding and discovering for yourself just what it is that you expect from your edits.
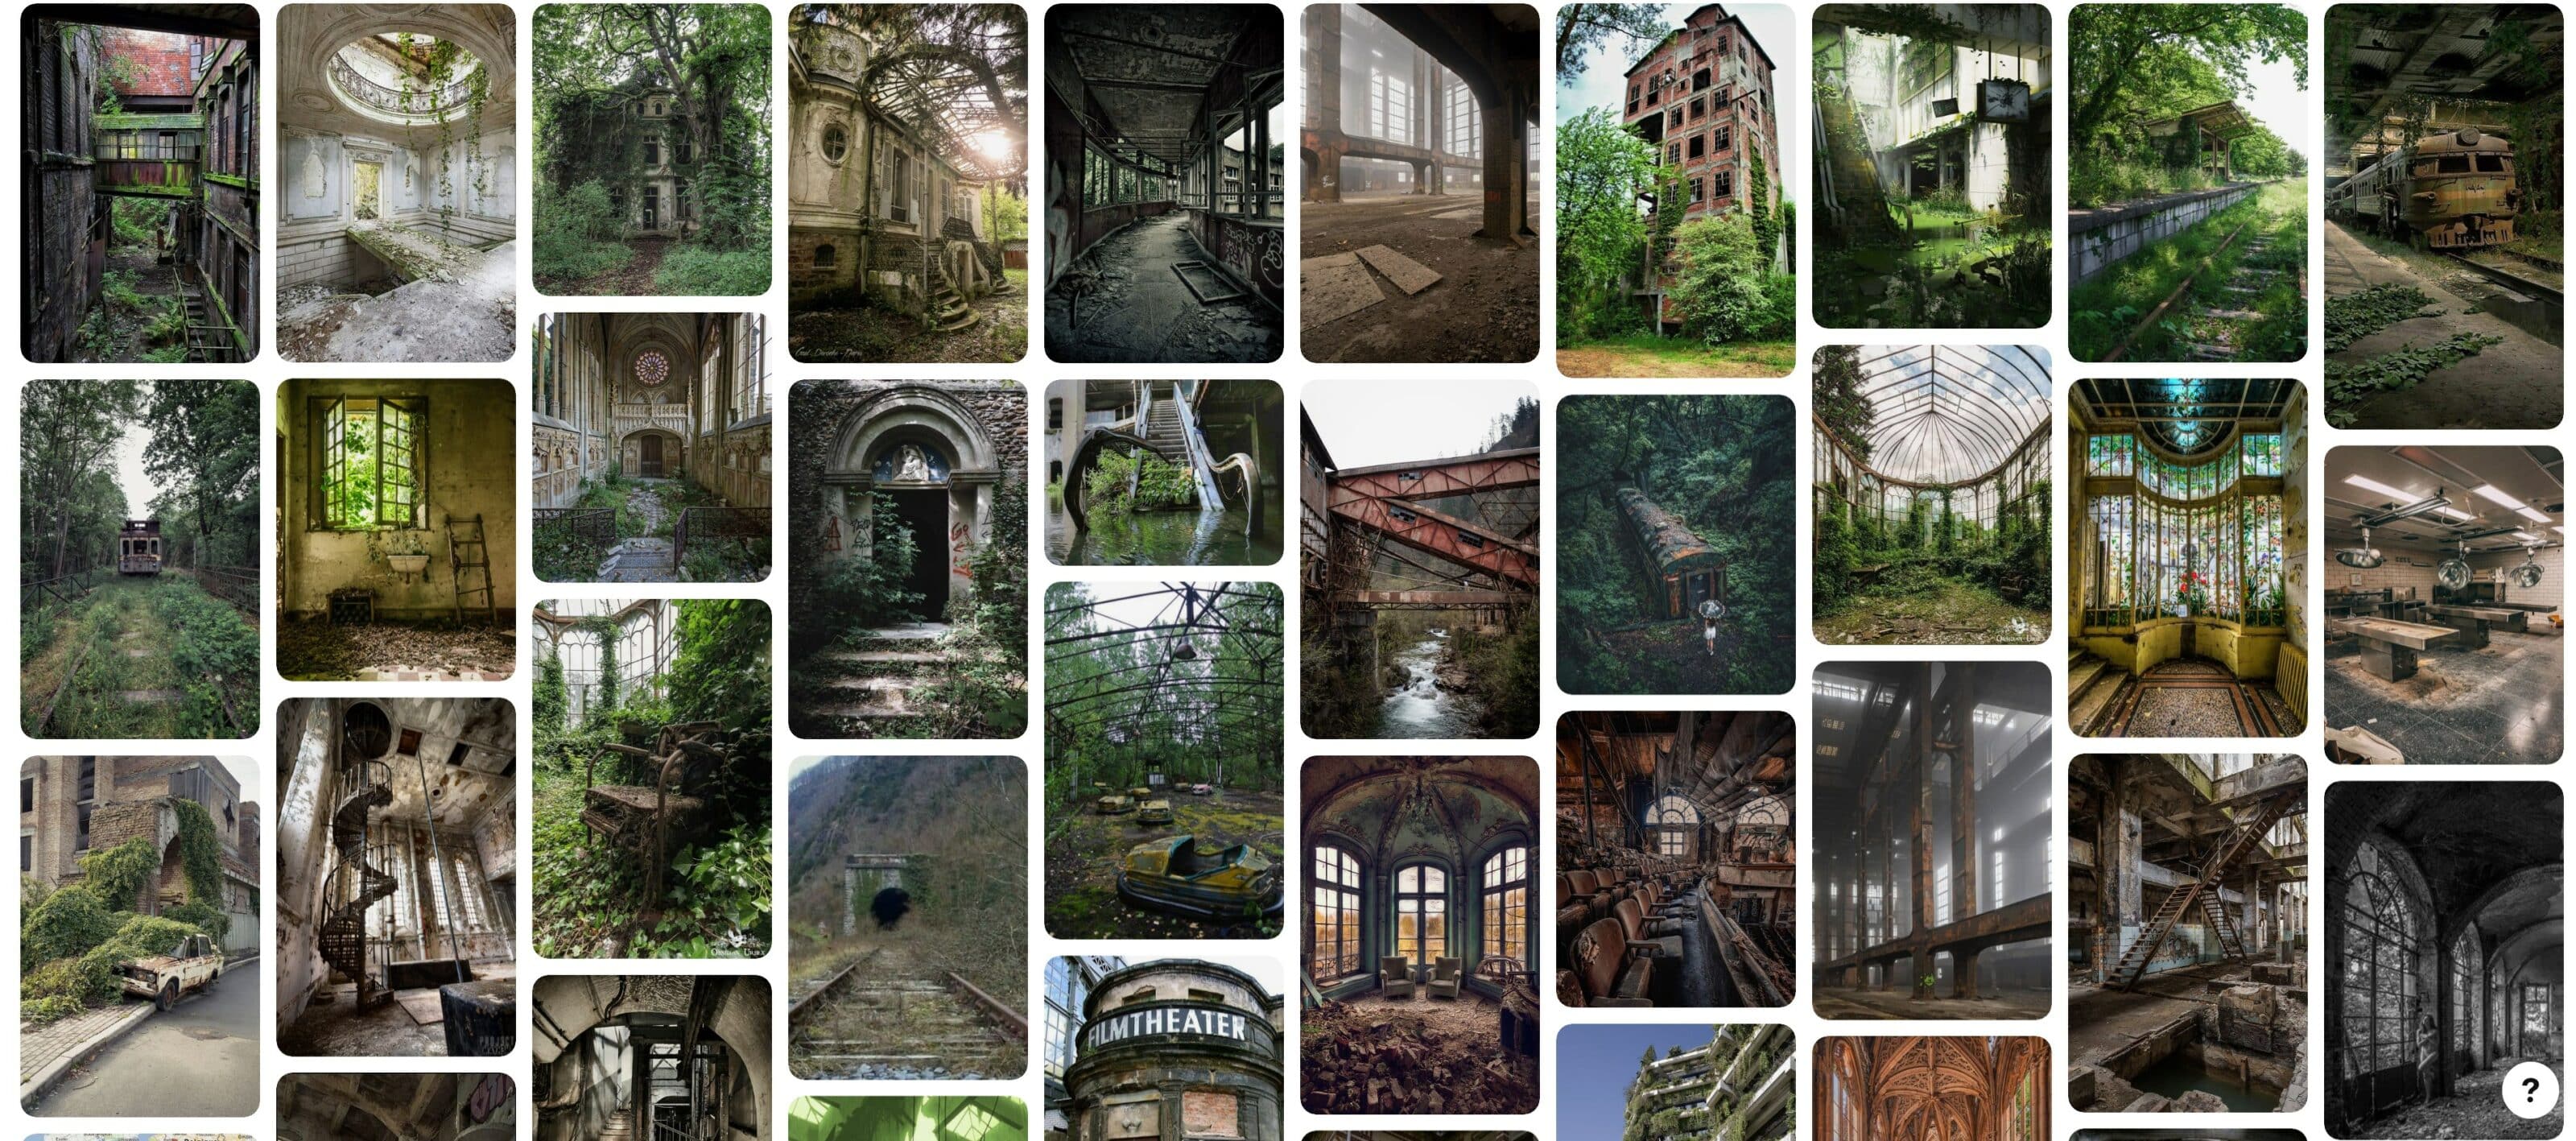
Don’t hesitate to take a look around at what others are doing. But do be careful when you’re seeking inspiration. Just because a certain type of edit is frequent doesn’t mean that urbex has to look that way.
A lot of the time what you’ll find is e.g. contrast increased to the maximum, overblown saturation, and HDR, with an emphasis on a horror/apocalypse atmosphere. But that definitely isn’t the only face that photos from wanderings in abandoned places can have. It pays to be choosy and use everything that serves your ideas; just make sure to use it in reasonable and tasteful amounts.
Urbex + HDR = Good, or Evil?
Any article on editing urbex photos would be incomplete if I didn’t mention HDR. This is a technique that allows enables a high dynamic range for the scene you’re photographing.
When you’re visiting old buildings, you’ll often encounter situations where the scene’s contrast ratio, its dynamic range, is higher than what your camera can handle. Extremely light and dark places in the same shot can be too much for the sensor, and so one exposure may not be enough to fully express the scene.
In that situation, it pays to use your camera’s bracketing function and take several shots in a row that differ only in their exposure levels. Then when you join them by using the HDR function in post-production, you’ll have both the lights and the shadows exposed well.
However, some photographers have a tendency to overuse HDR and use it even in places where it’s not needed. Meanwhile, the guideline here is simple: if you can capture details in both the shadows and the lights in a single shot (perhaps with some RAW editing afterwards), then do. And then don’t worry about HDR.
Also think about whether or not you really need all those details. Sometimes a dark, impenetrable shadow can be exactly what adds spark to a picture.
A Lot to Choose From Even Without HDR
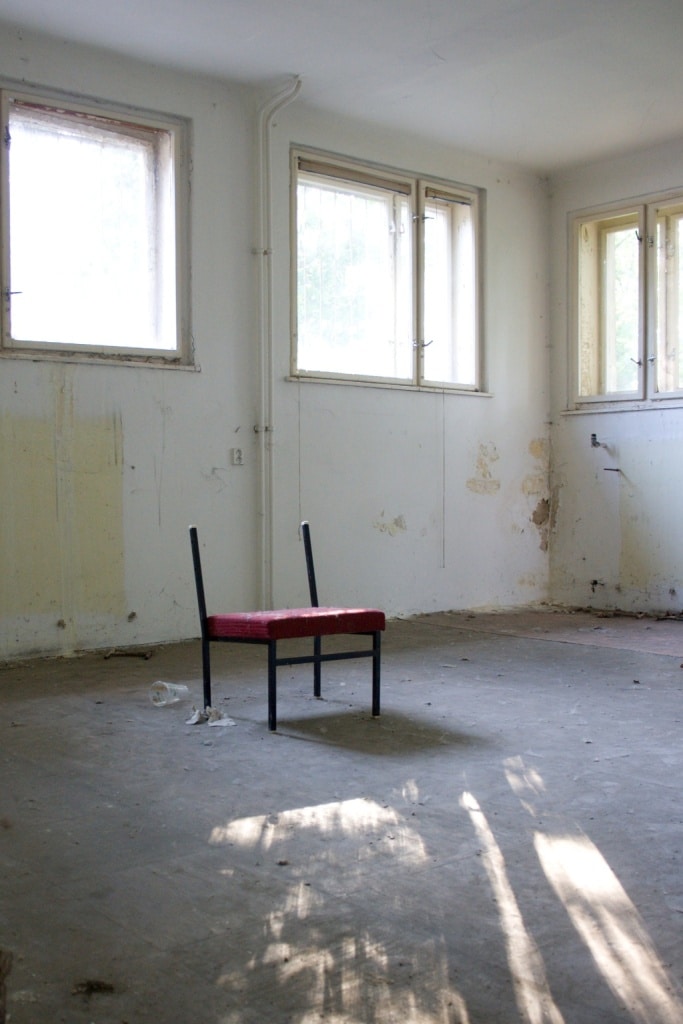
I’ll use the photo below to illustrate how you can approach edits to your urbex photos. Even though this is an old photo and has some technical flaws, it has stayed close to my heart over the years for its simplicity.
It’s also a photo that demonstrates well how changing a photo’s edits can change its mood.
Even though the original picture isn’t actually badly exposed, considering the blowout in the windows, it could have been a good candidate for HDR. However, I don’t have any bracketed source shots available, and in any case, as you’ll soon see, that isn’t really even such a problem.
We’ll be taking a look at three types of edits here:
- Natural with small changes
- Gloomy with large changes
- Conversion to black and white
For all three of these, I’ll be working in the Develop module of Zoner Photo Studio X.

Canon EOS 1000D, EF-S18-55mm, f/3.5-5.6, 1/25 s, f/3.5, ISO 400, focal length 18 mm
A Natural Look With a Minimum of Changes
First I’ll try to edit the picture in a way that leaves it as natural and realistic as possible. This is a very direct approach, where I can’t really do much harm.
The original photo looks a little bit faded. So its contrast needs to be emphasized, and I also need to take on the blowout in the windows and the mild overexposure in the shadows. Here’s my approach:
- In the Exposure controls, I raise the contrast using the Contrast slider.
- I fix the mild darkness by brightening with the Exposure slider.
- After that, I still need to brighten the shadows, and so I shift the Shadows value to the right.
- I also slightly shift the Lights to the left to get rid of a blowout. However, I have to take it easy with this edit, so that the windows don’t just become grayish surfaces. The lack of details in the windows doesn’t matter. On the contrary, details there would be a pointless distraction from the chair that is this photo’s subject. This way, the photo stays “clean.”
- I make the picture more striking by shifting Black Point to the left and adding Clarity.

I add the finishing touch to my edits by making the photo a bit warmer in the White Balance section. I just raise the Temperature value. This warmer take will go nicely with the late-afternoon sun penetrating through the windows into the room.
The original picture is also a bit grainy, and so I use Noise Reduction.
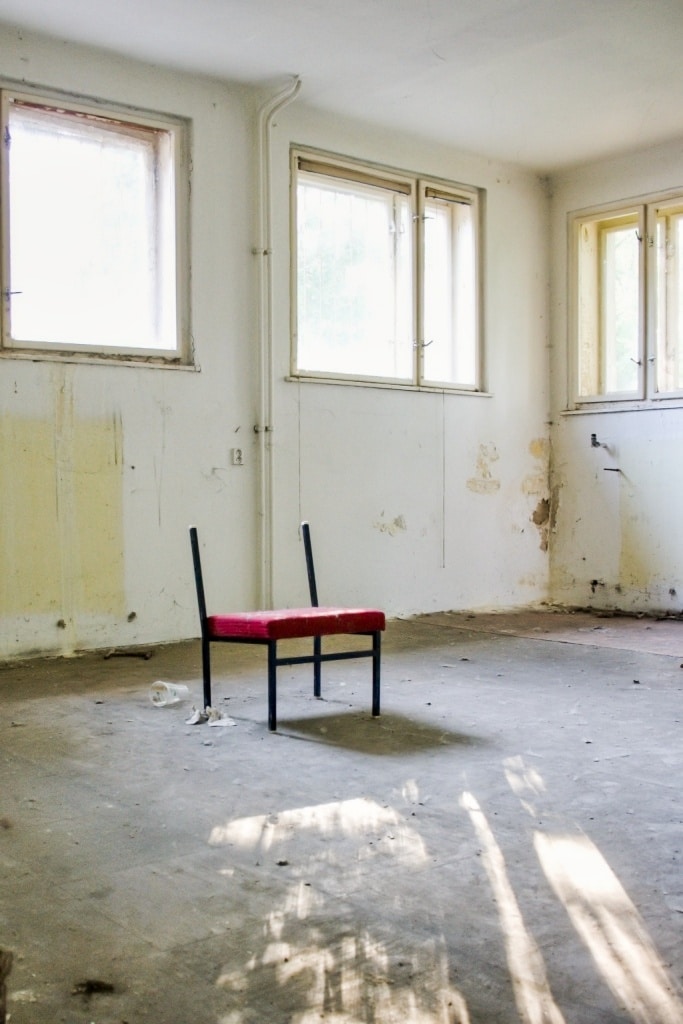
This edit has a pleasantly nostalgic air.
A Gloomy Look and Some Deeper Edits
With the edits below, I’ll be trying to create a more dramatic atmosphere and underscore the feeling of abandonment and oppression. Once again I’ll start with adjustments in the Exposure section:
- I darken the exposure.
- I leave the contrast alone to retain the photo’s flat and darkish appearance.
- I brighten the shadows so that I can preserve the details even in the darker parts of the picture.
- For the same reason, I pull back the lights, although here I do it less.
- I now want to edit the Black Point and the Clarity more visibly to get a darker and grittier picture. So I move the Black Point to the left and the Clarity to the right.
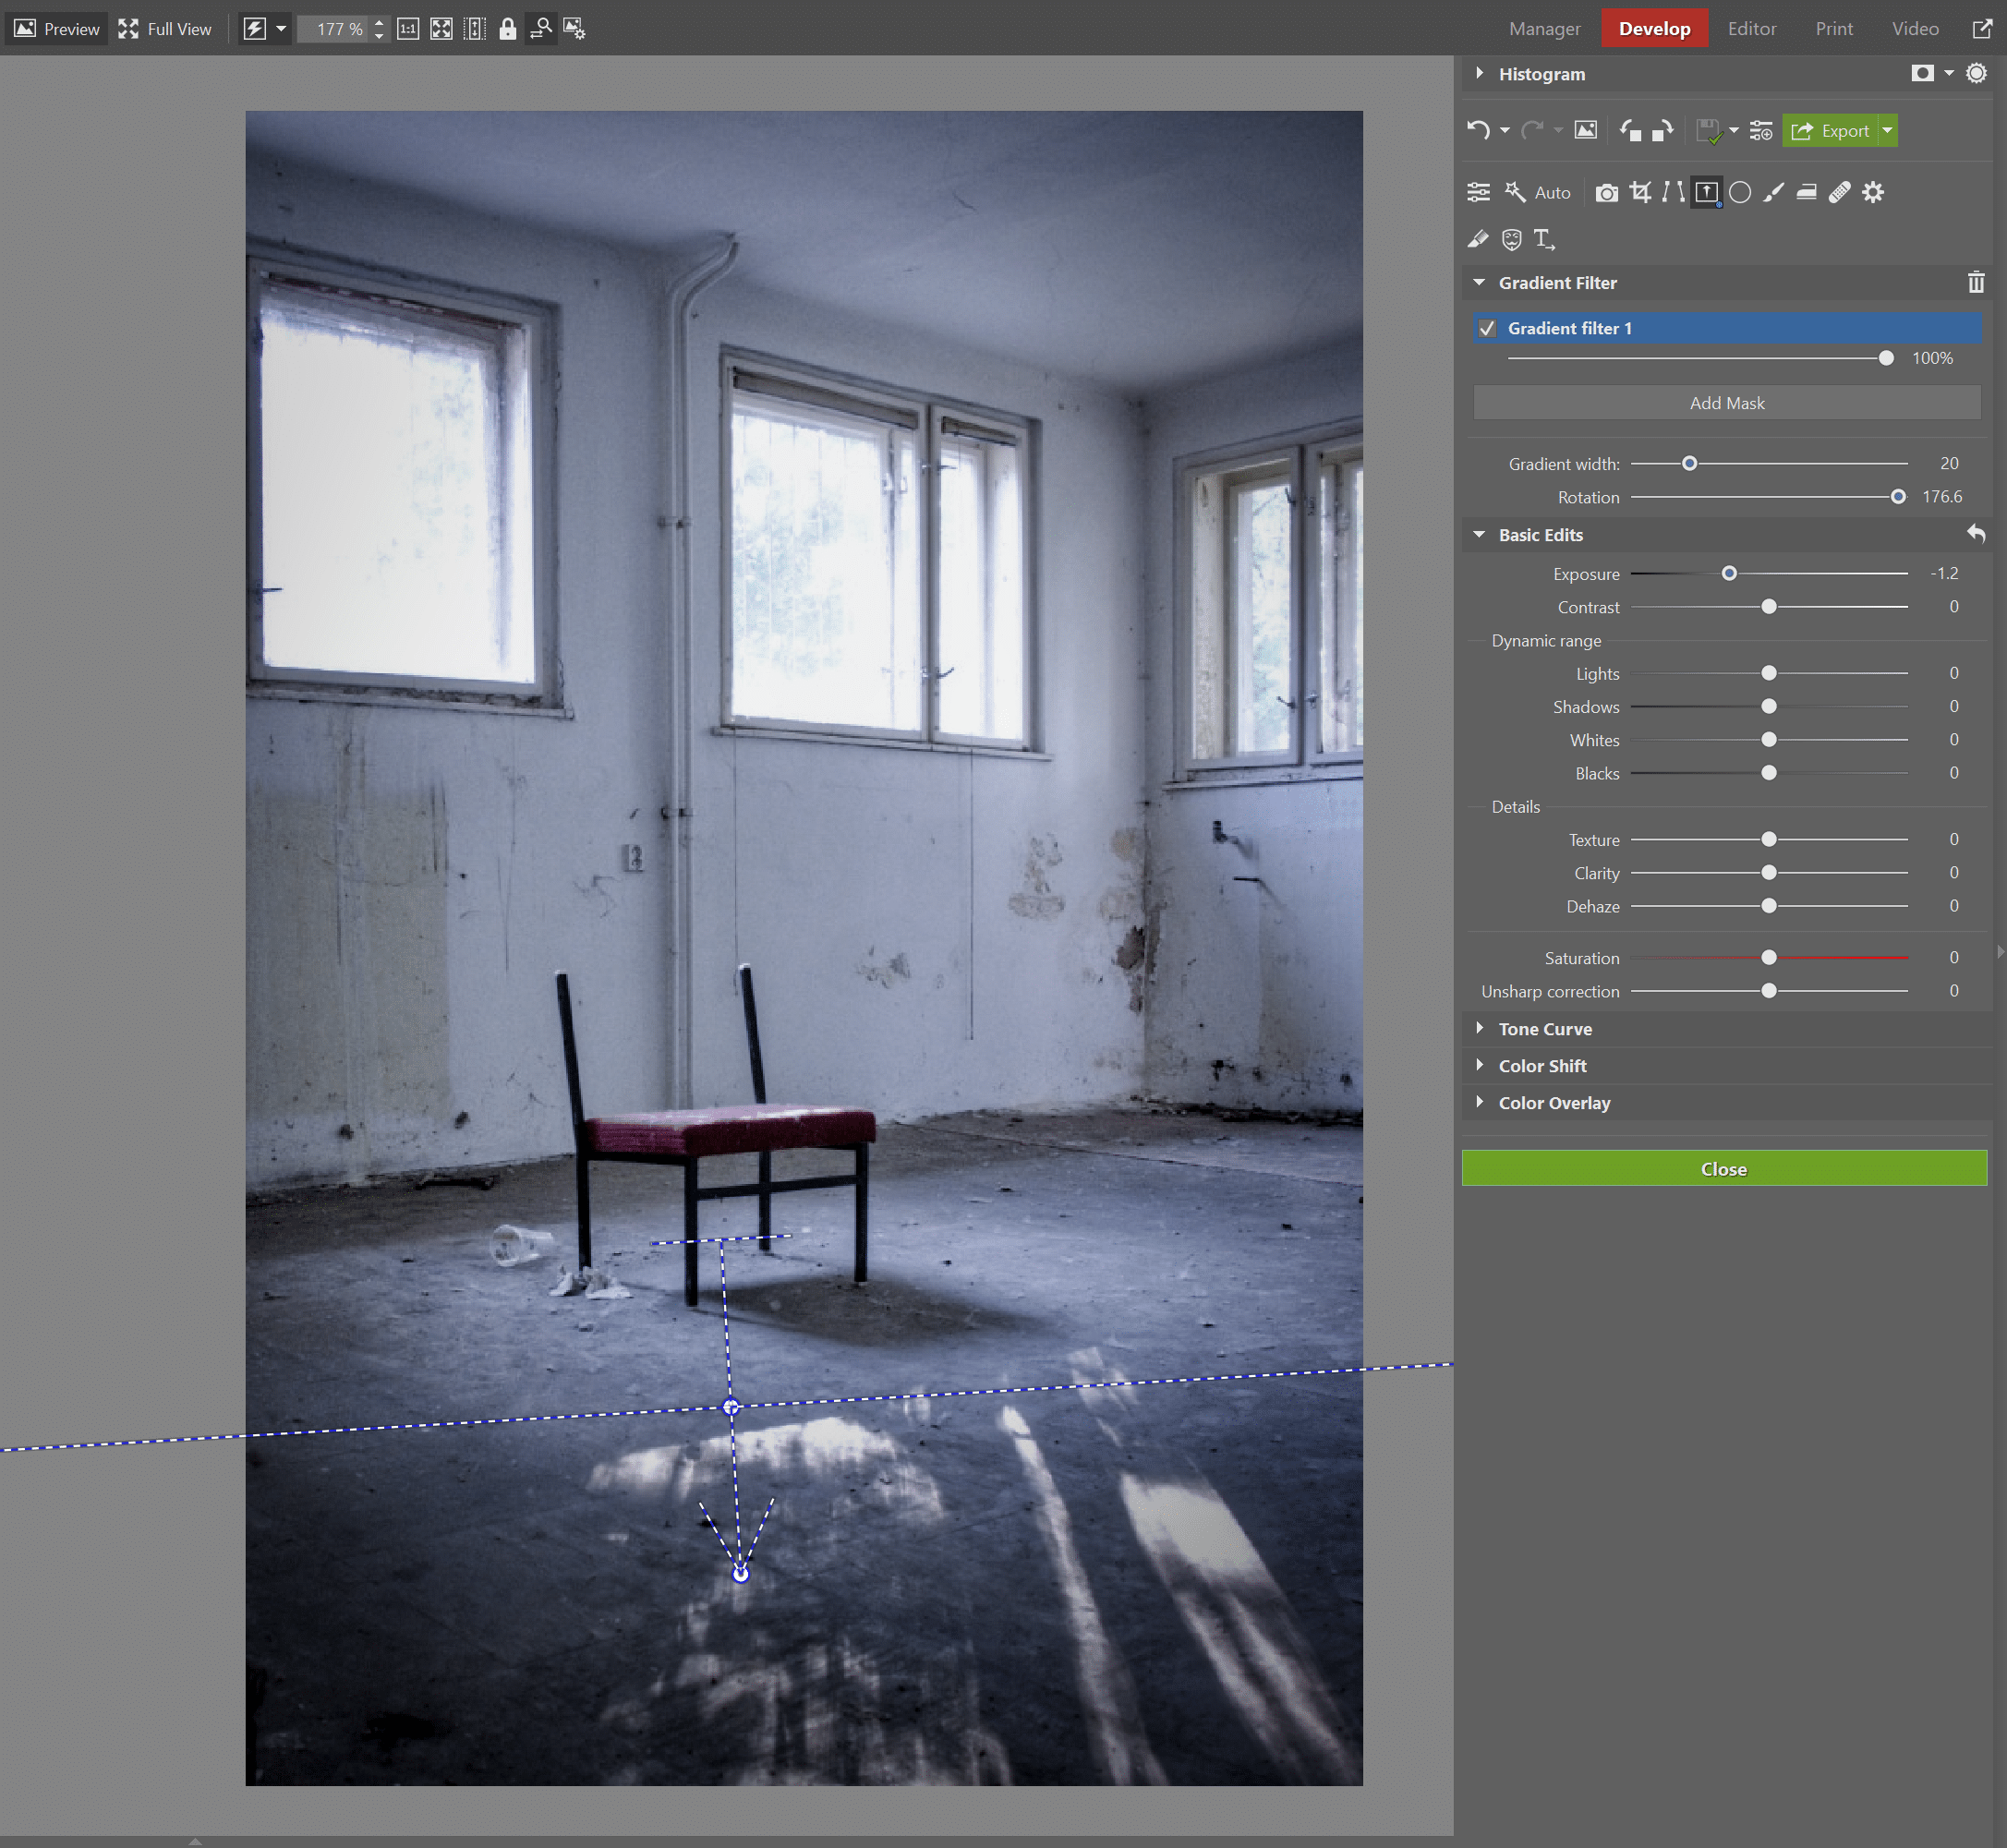
My edit is now more striking, but it still isn’t enough. So I darken some parts of the picture to emphasize the subject—the chair.
- First I darken the ground under the chair using the Gradient Filter. I set a small Gradient Width to keep from darkening the chair itself, while still keeping it large enough that the gradient isn’t unnaturally sharp. If you’re following along using my original, then the gradient should start just beneath the chair, and the Exposure should be reduced in the Gradient Mask.
- I darken the photo’s edges by adding vignetting using its control in the Effects group. I leave the vignetting Method set to Exposure, while shifting the Strength and Radius slightly to the left.
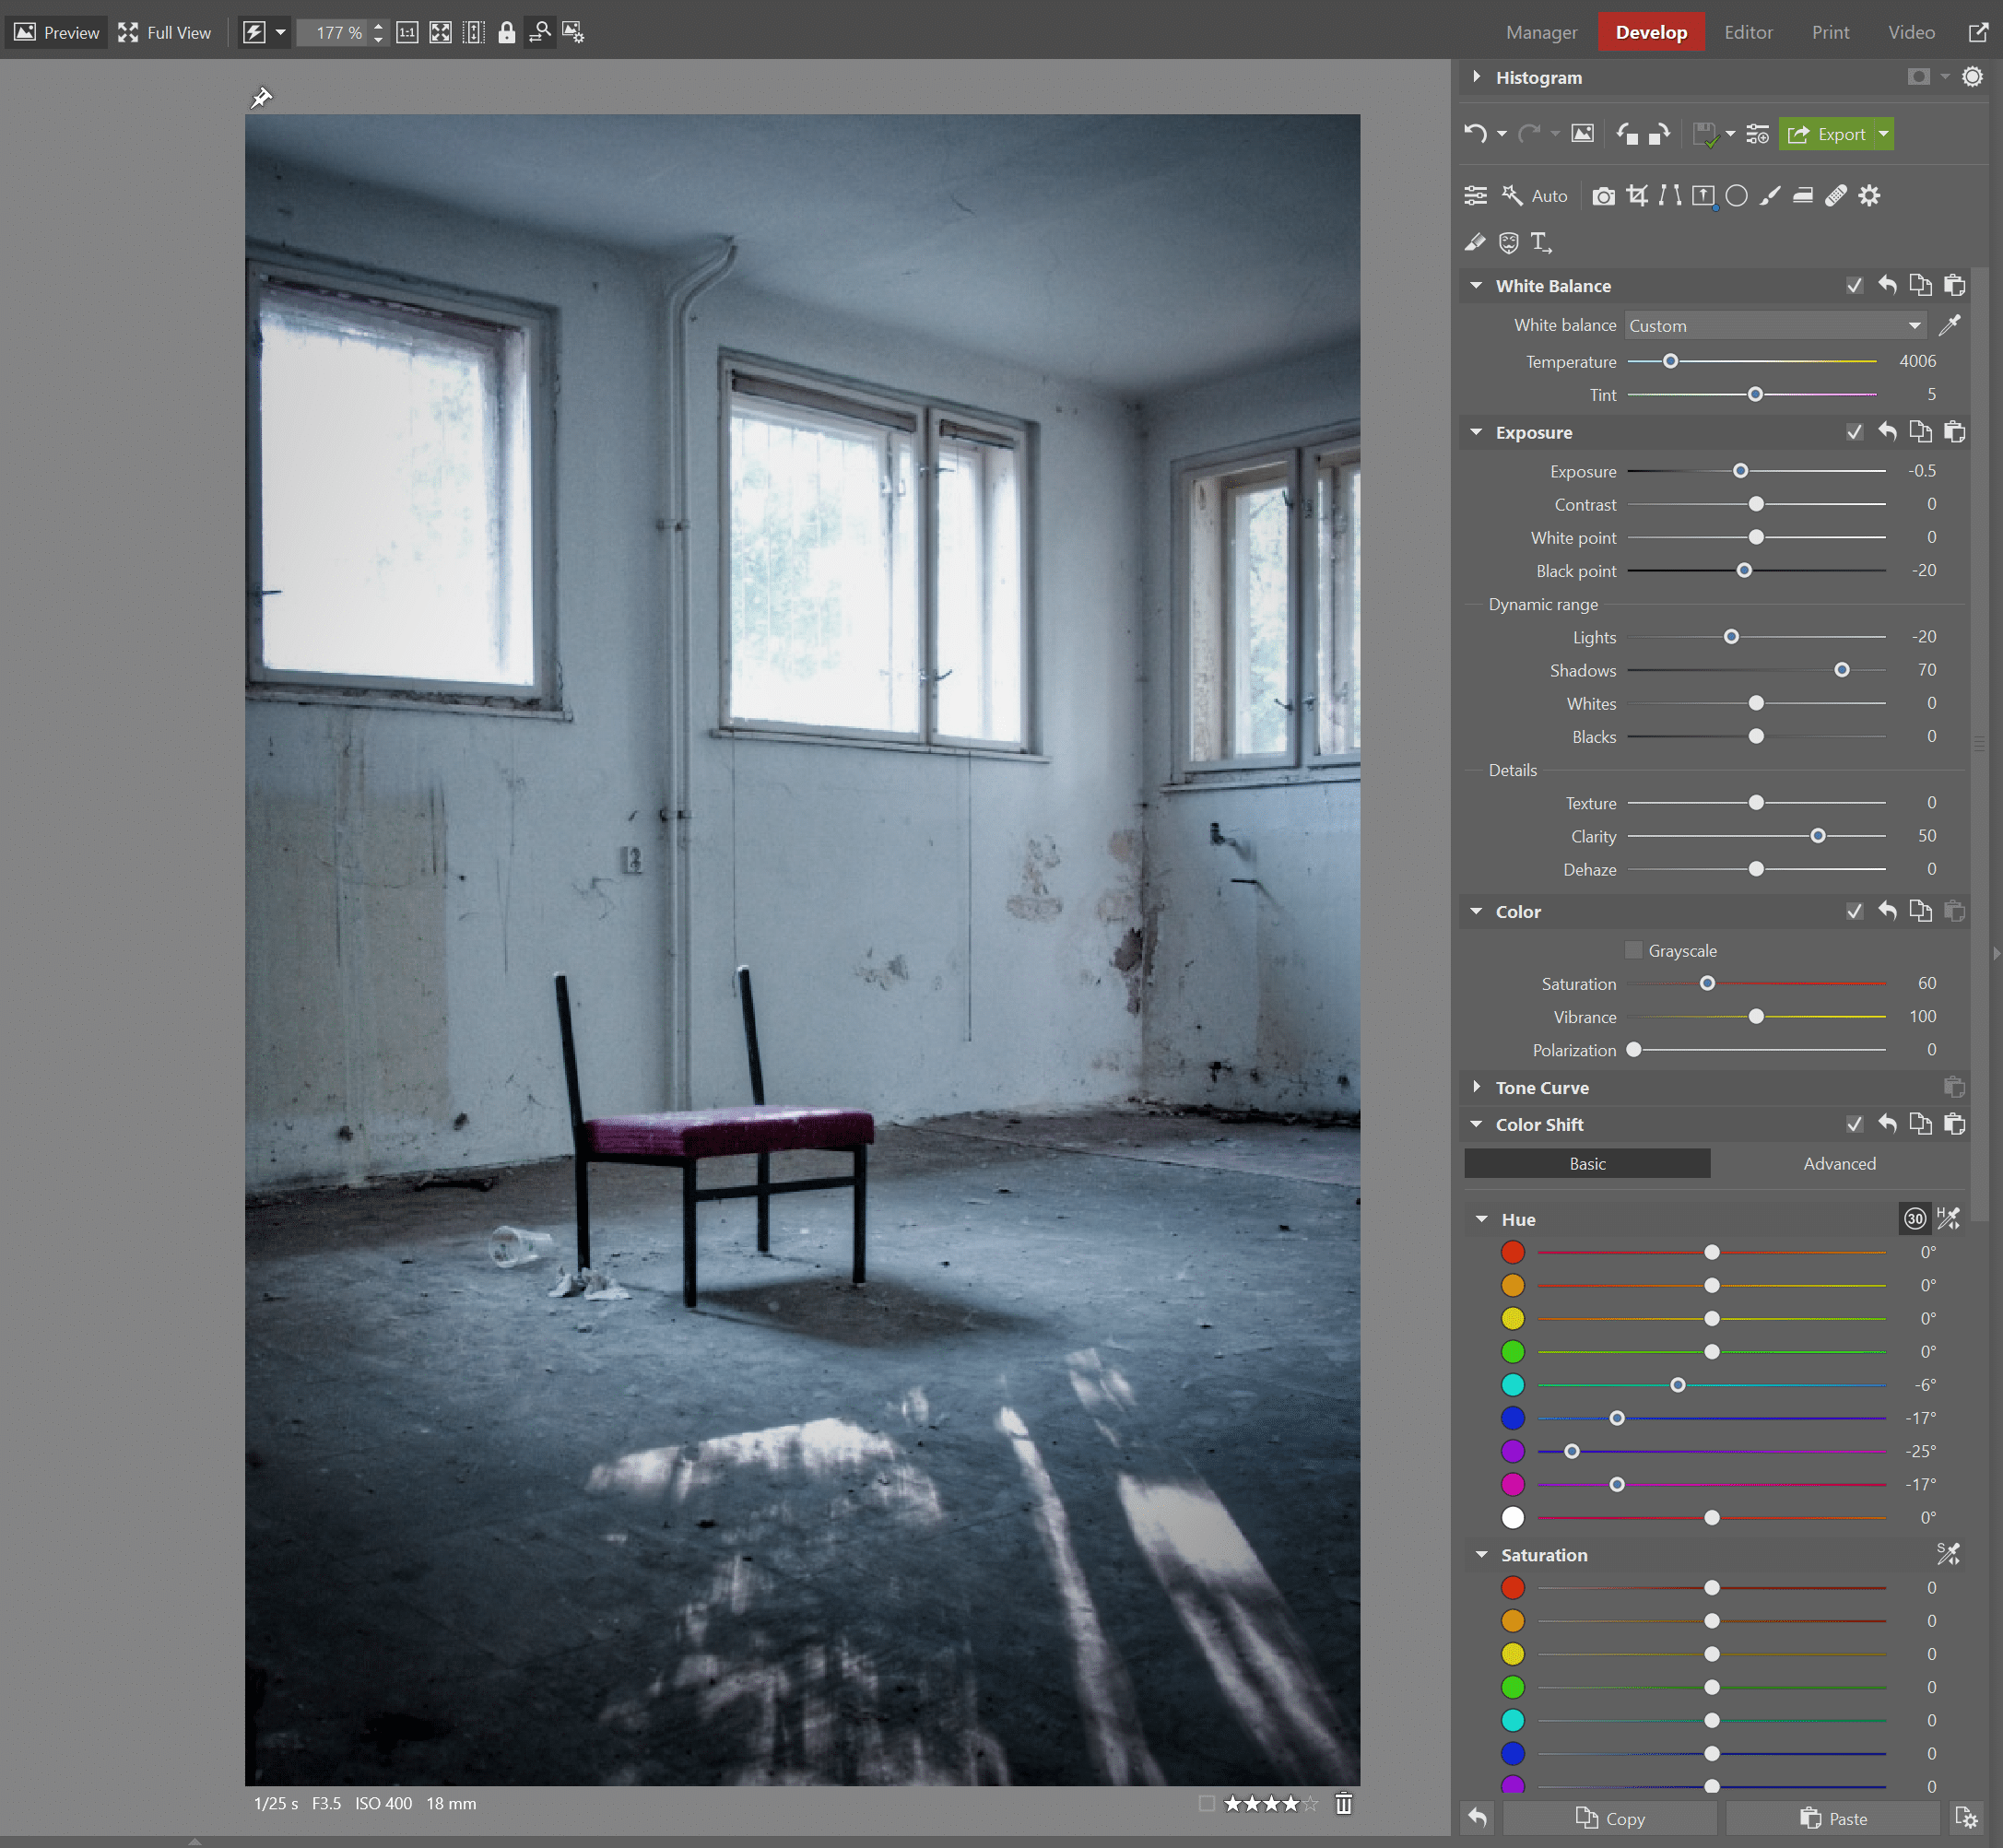
My last step here is to adjust the picture’s overall colors.
- First I want to get rid of any striking tones. So in the Color group, I reduce the Saturation.
- Then I try to give the picture cooler colors. In the White Balance group, I reduce the Temperature.
- Then in the Color group, I shift blue and purple towards the blue-green tones. I just open Color Correction and use Hue to shift the specific points in question downwards.
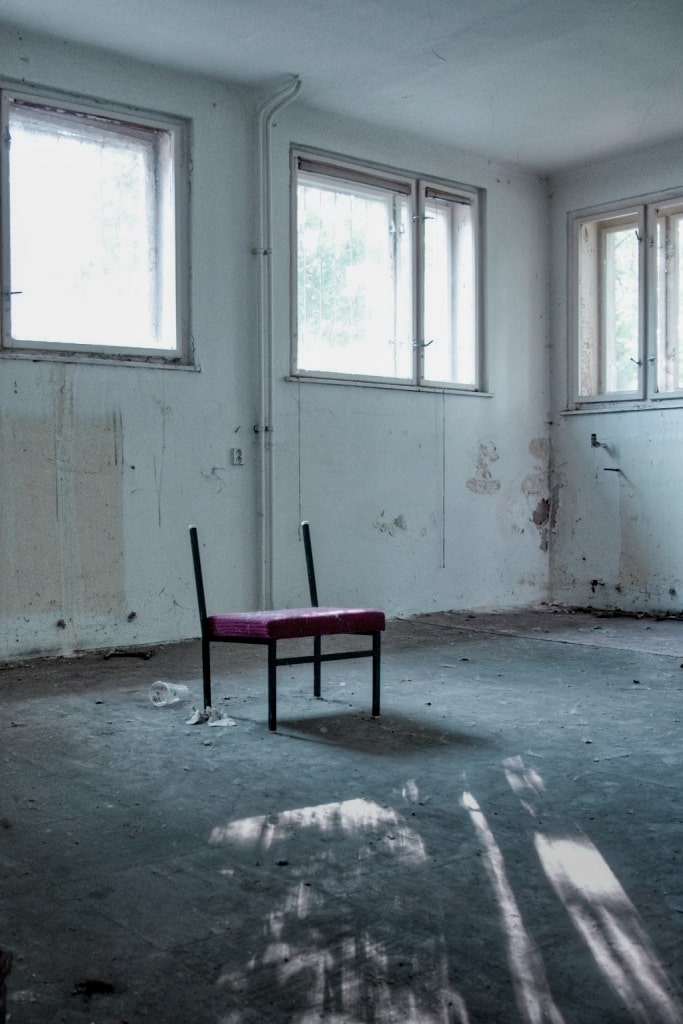
My edits have given this photo a distant and even slightly chilly undertone.
Conversion to Black and White
As my last example, I’ll convert this picture to black and white. First, in the Color group, I turn on Grayscale. Since I don’t want to mix channels manually, I set the Method to Automatic.
My edits after that are surprisingly similar to the previous two versions. I adjust the exposure, lights, and shadows. Note how the loss of details in the lighted windows matters even less in this black-and-white version.
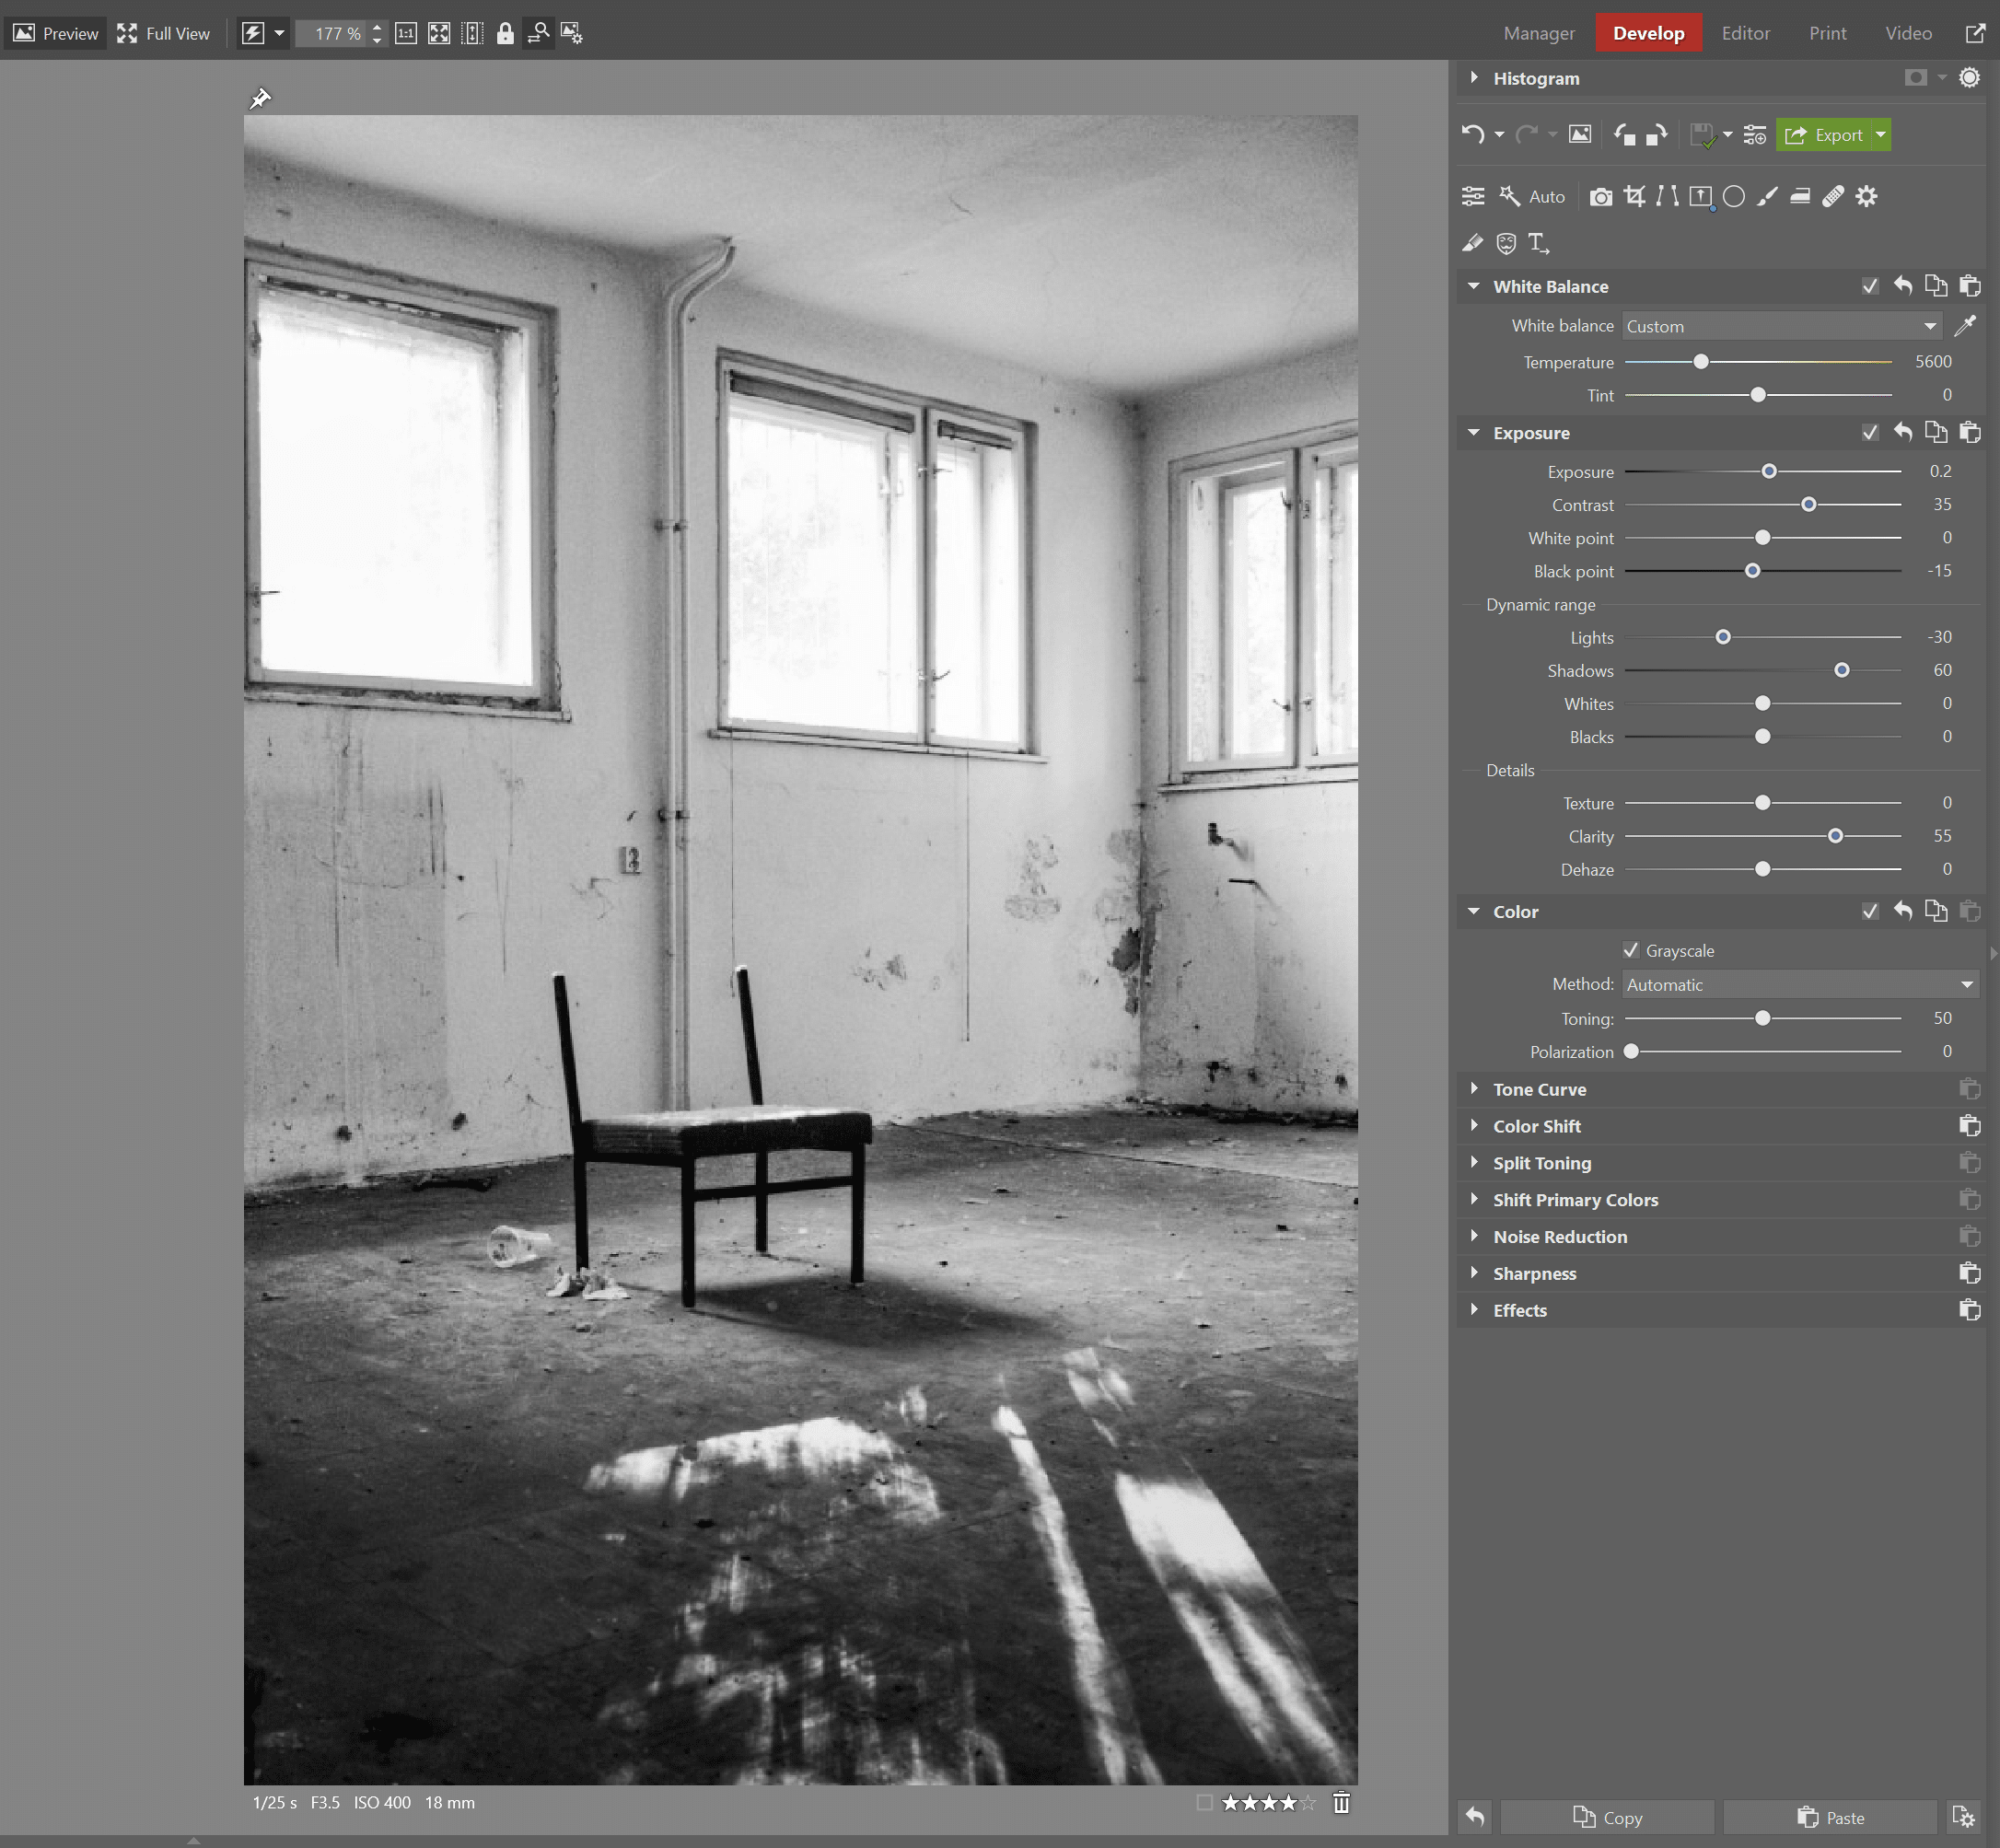
The only major adjustment that I make is to Contrast and Clarity, which are especially needed in a black-and-white photo. Just like in the previous version, I help myself out a bit with a Gradient Filter, which I use to darken the floor under the chair.
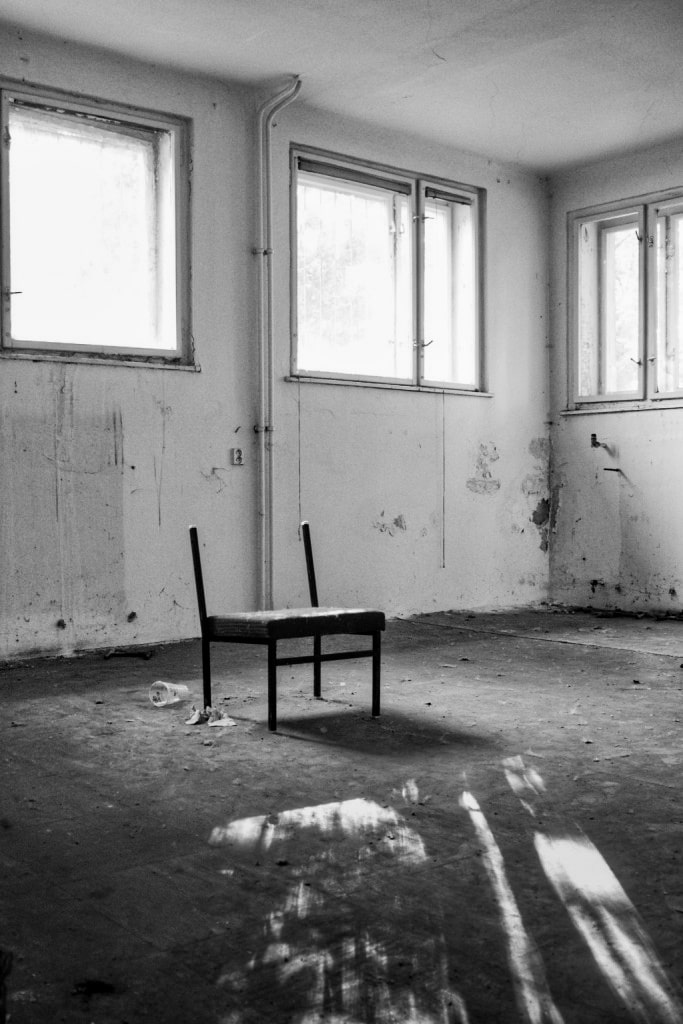
My black and white take on the photo ultimately has a markedly more neutral look than the previous ones.
Different edits can give your pictures some very different looks. Which look is right? It depends on your preferences and on your intentions for the given photos. Which of these versions would you choose?
Make your photos better too. Download Zoner Photo Studio X, try it free for 7 days, and try out edits like these on your own photos too.
There are no comments yet.