Zoner Studio Video Module Upgrade
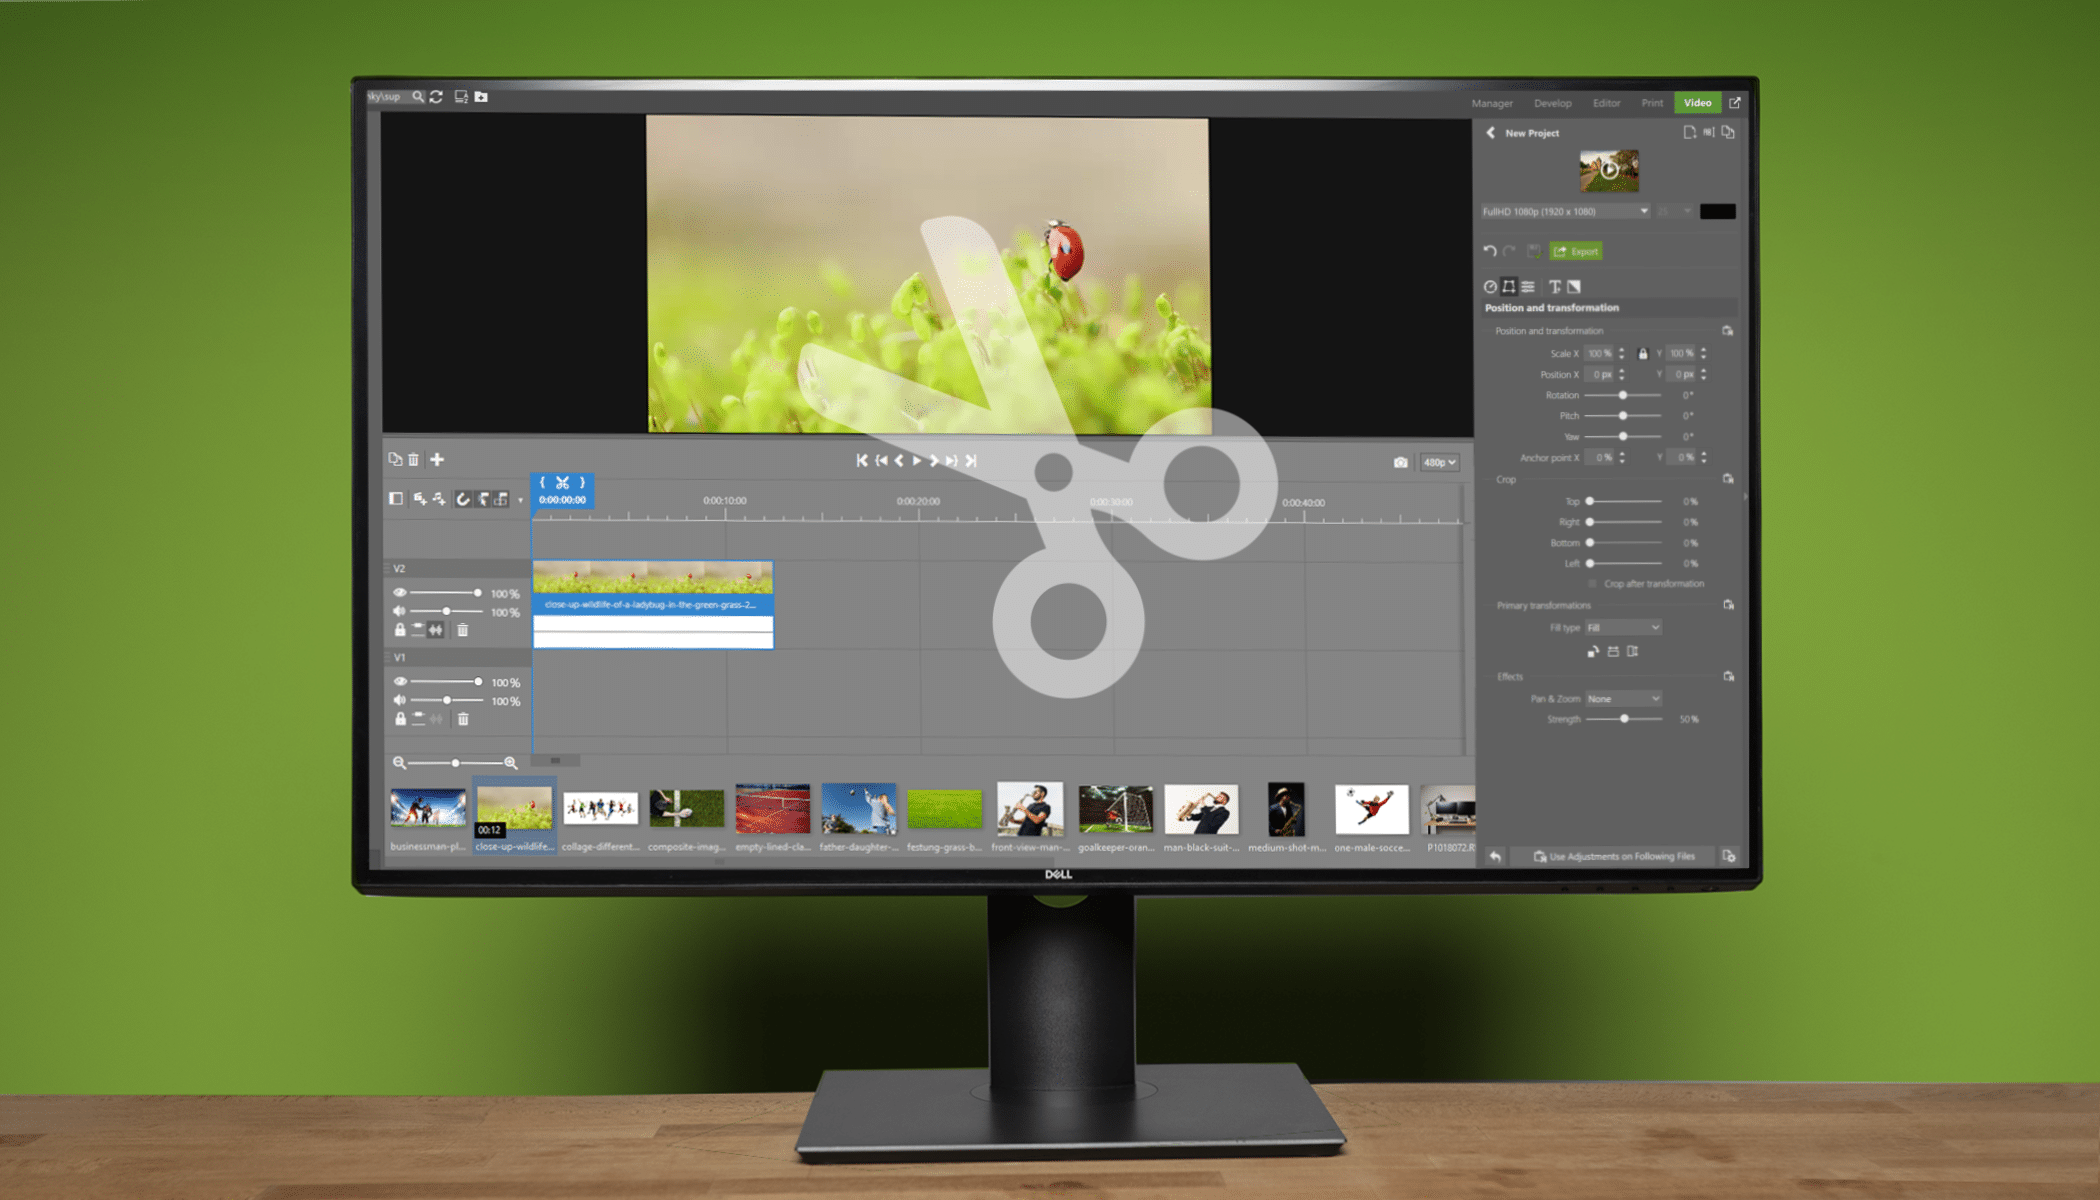
The newest Zoner Studio update brings major upgrades to the Video module. With new transform and keyframe options, you can achieve never-before-seen effects.
Zoner Studio has always primarily focused on functions for professional photo editing. The Video module now offers functions that can literally turn your video upside down. Let’s take a closer look at each of the new updates and explain their uses.
Smart Video previews
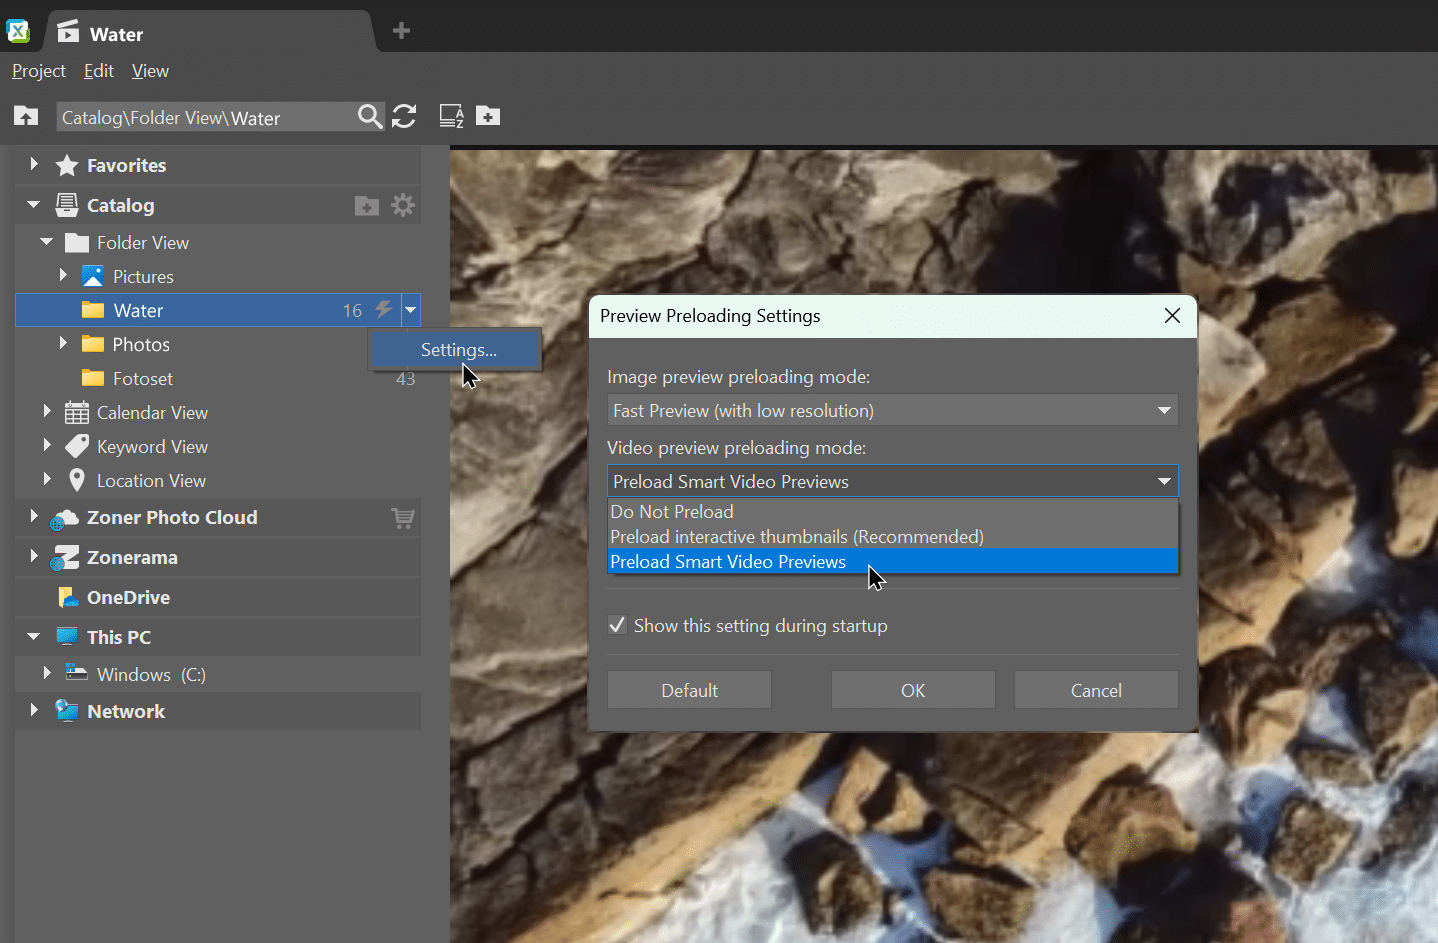
The first important update is the option to preload smart video previews, making working with videos that much faster. Click the settings for the folder and select Preload Smart Video Previews.
Interactive thumbnails are another new feature that also speed up your video editing. Move the cursor over the video preview in the filmstrip to view its contents.
Now that you’ve got your smart video previews set up in Zoner Studio, you’re going to want to start editing your videos.
The first thing you’ll notice is that the layout of the right panel has changed. The different adjustment options have been split up into separate sections. The first is Length and speed, followed by Position and transformation, Audio adjustments, and Image adjustments. Finally, there‘s Add text and Add transition.
Transform video clips
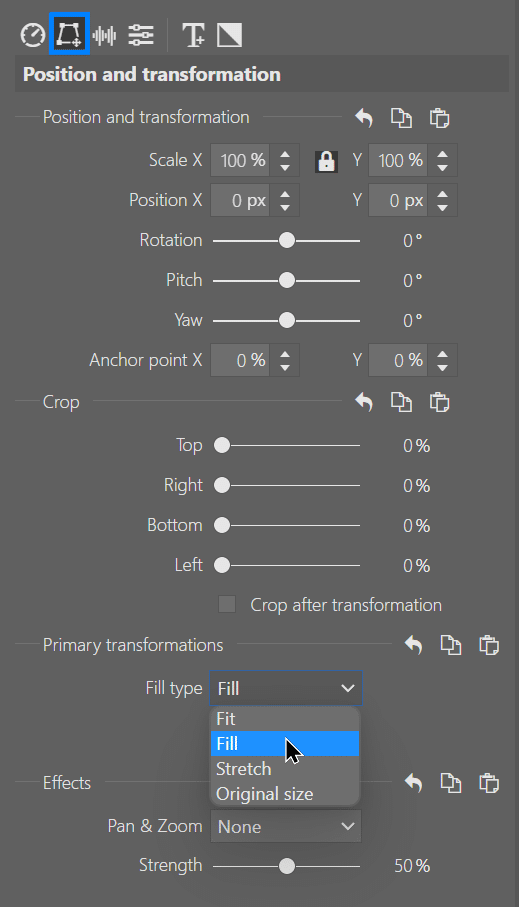
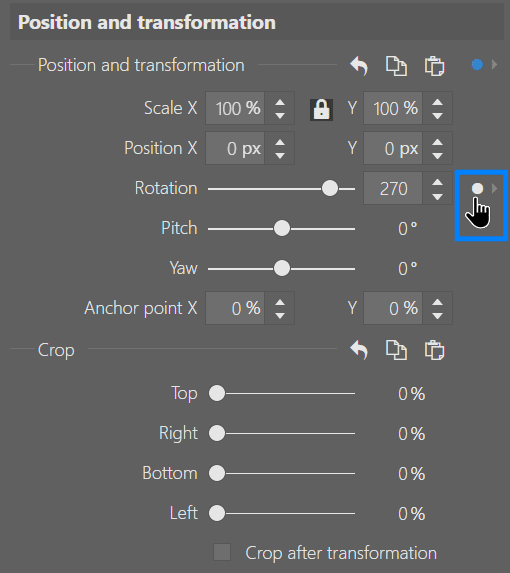
Position and transformation now includes Rotation, Pitch, and Yaw adjustments. You can also crop the edges of videos.
We have also added a Primary Transformations section, which were previously separate icons in Clip Properties. You can now arrange your clip using the options in the drop-down menu and rotate your clip using the icons below it.
Link clips
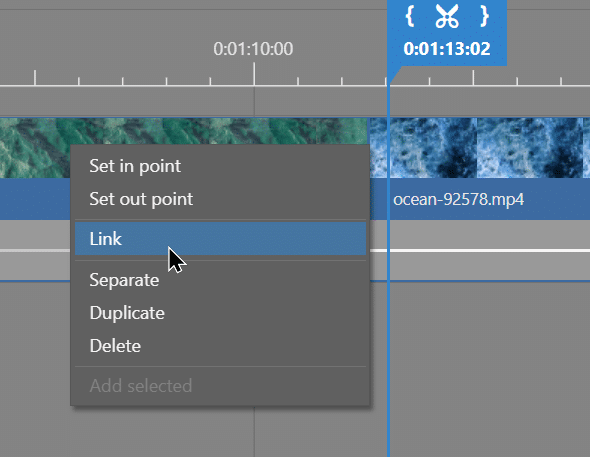
If you’re tired of scrolling through clips one by one, you will appreciate the new option to Link clips. Select two or more clips, right-click one of them, and select Link.
Keyframes
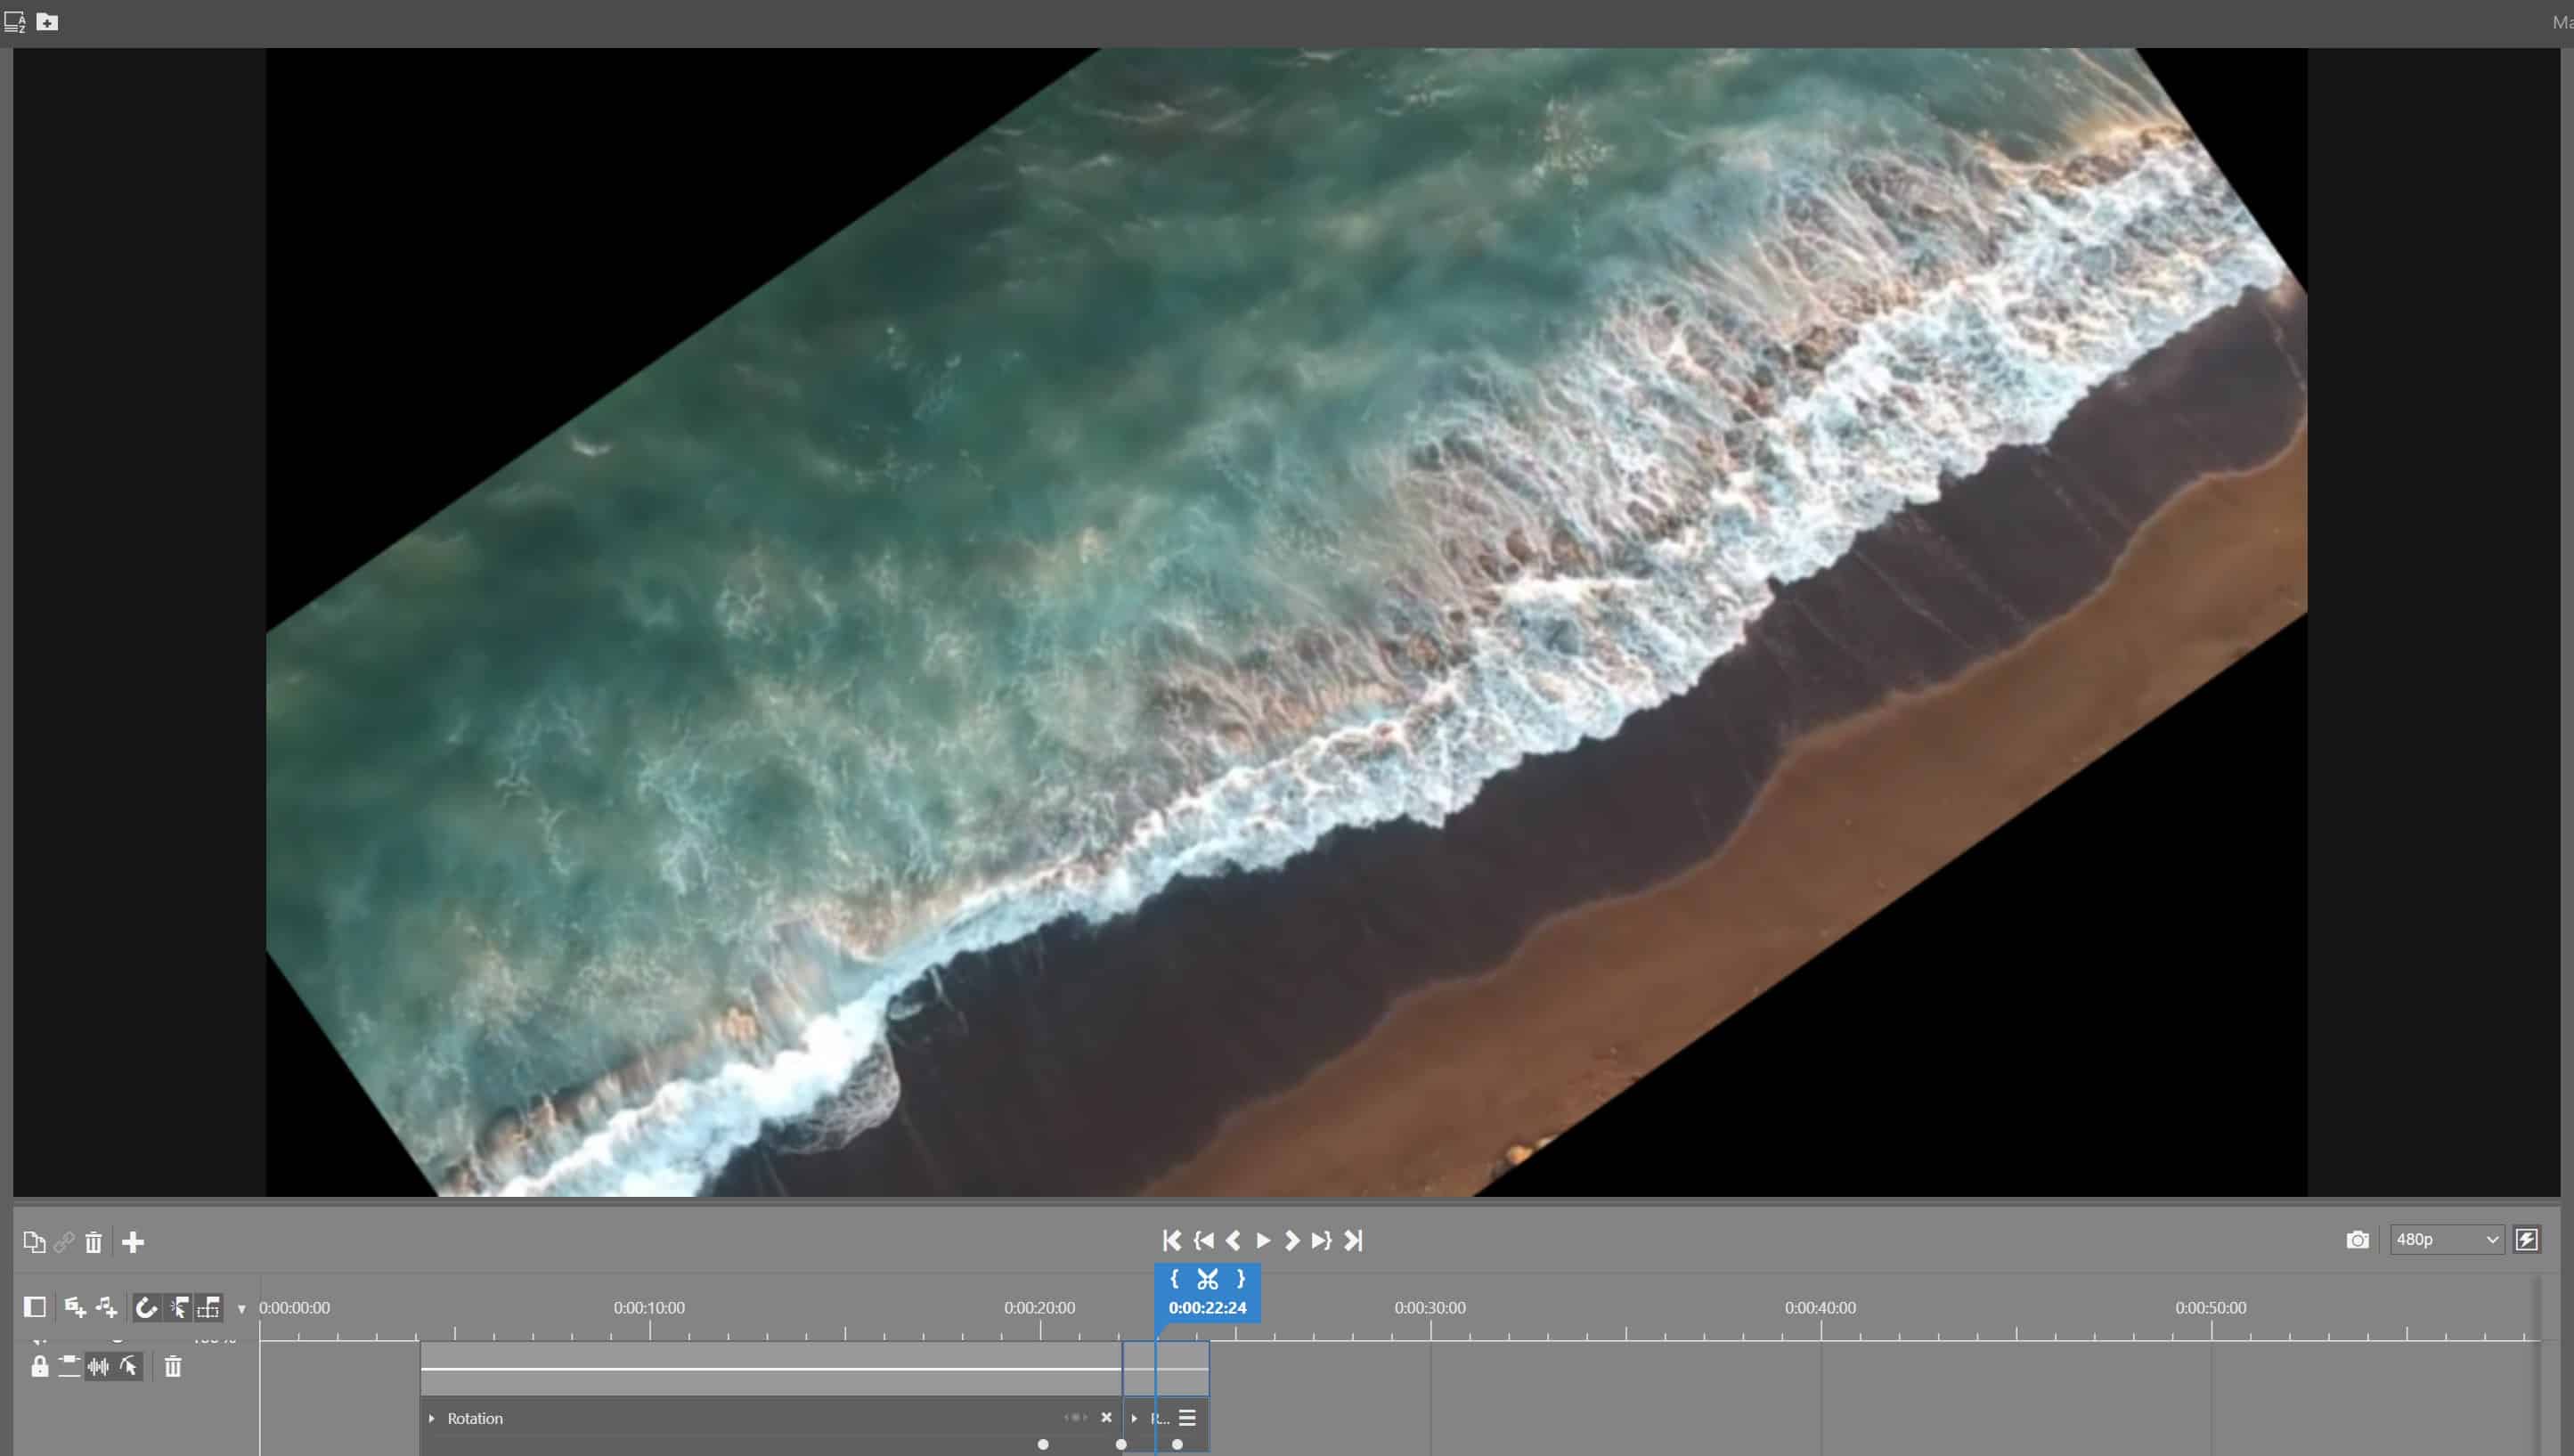
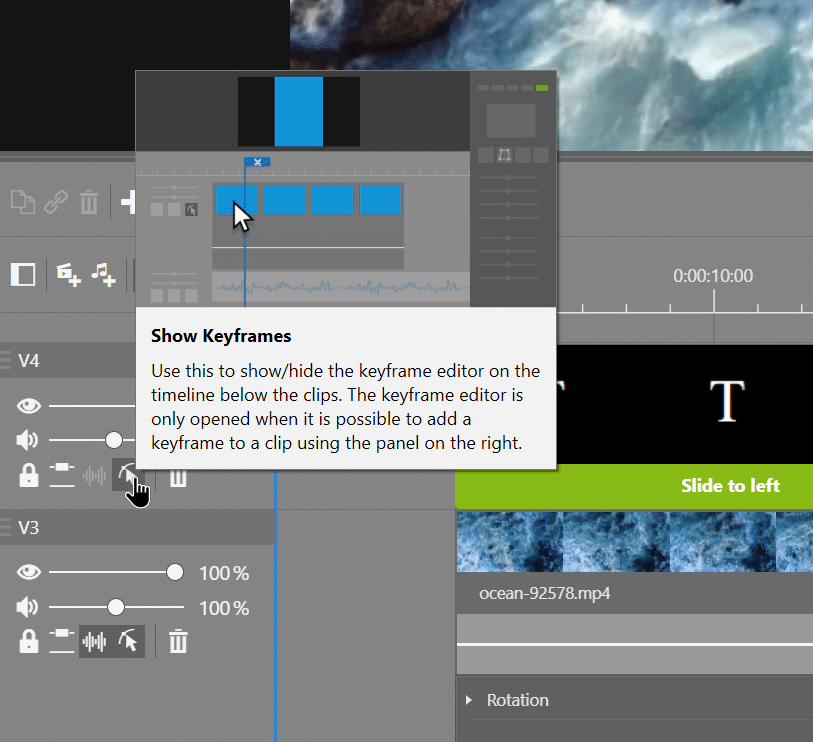
Last but not least, you can enable the Show Keyframes option at the bottom left of the video player. This offers the ability to add various effects, such as transformations between clips.
Keyframes are points on the timeline that determine the start point of a chosen effect—Where the effect begins and ends.
Click the dot next to the selected adjustment to add the Keyframe to the timeline. You can then change the value and add another value to create a transition between the values.
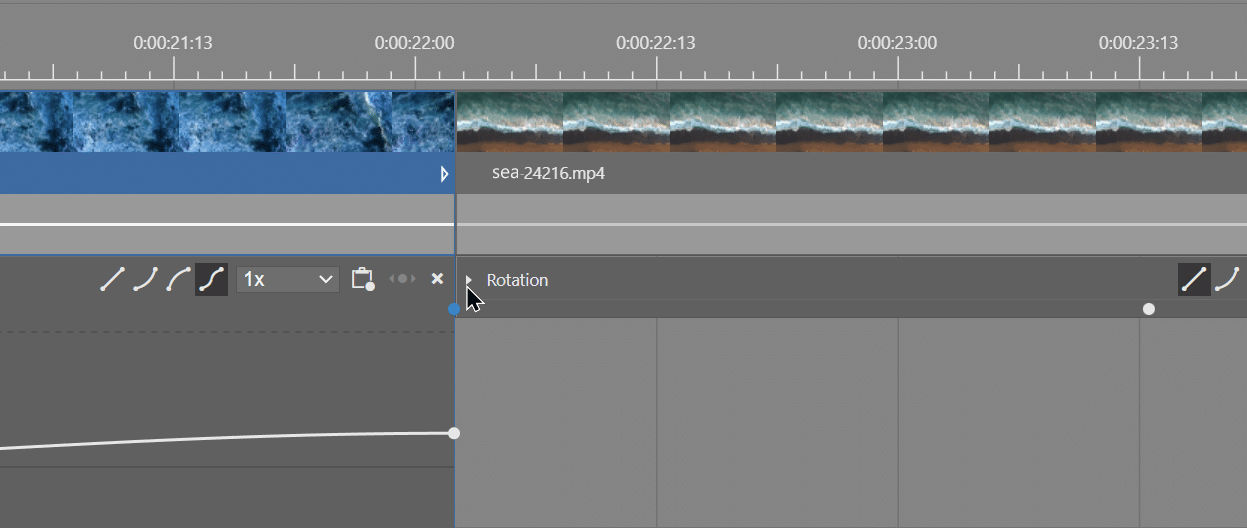
Click the arrow next to the chosen adjustment to expand a curve to manipulate the keyframes as much as you like. You can manipulate them by moving them up or down, or changing the shape of the curve.
Don’t keep your videos waiting and get right to editing them. Download Zoner Studio free for 7 days with support for all functions and create videos that will get noticed.

There are no comments yet.