Want Truly Original Portrait Lighting? Then Experiment With Reflections and Refraction!
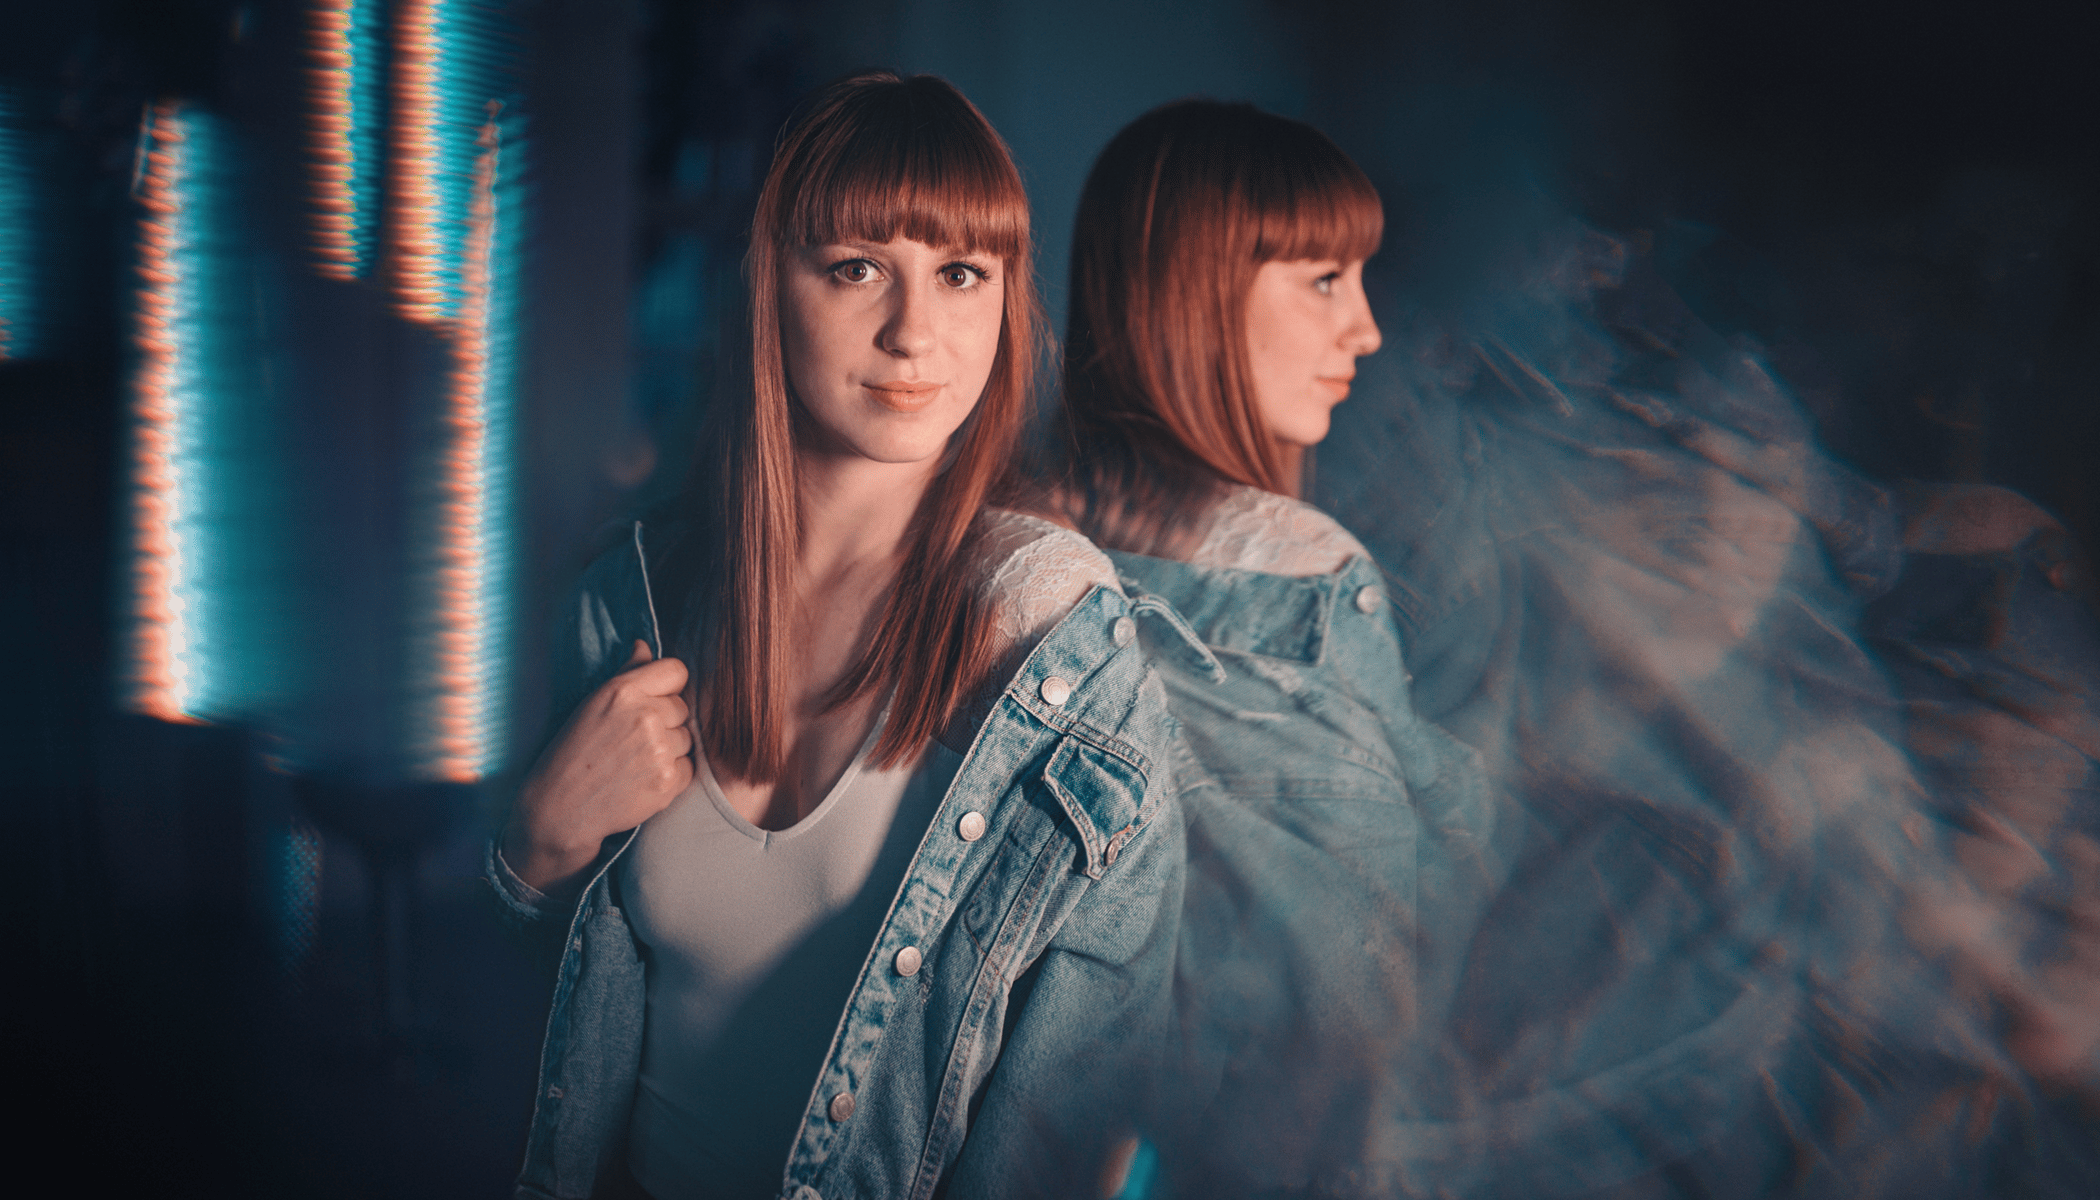
In this article, we’ll be showing you how to get some extraordinary lighting effects using a few ordinary items. The trick lies in harnessing reflections and refraction from shiny and translucent items. For example we’ve used things like a chandelier crystal and an ordinary CD. Learn how to impressively light portraits and more and get an original play of lights and colors into your photos.
Normally we all try to avoid reflections in our photos. But sometimes, they are instead a welcome way to liven things up and can be used to produce some unusual effects. In this article, we’ll be showing you how to use lights and a few everyday items to create beautiful light effects that give portraits a whole new energy.
Glass Objects and Other Shiny Objects
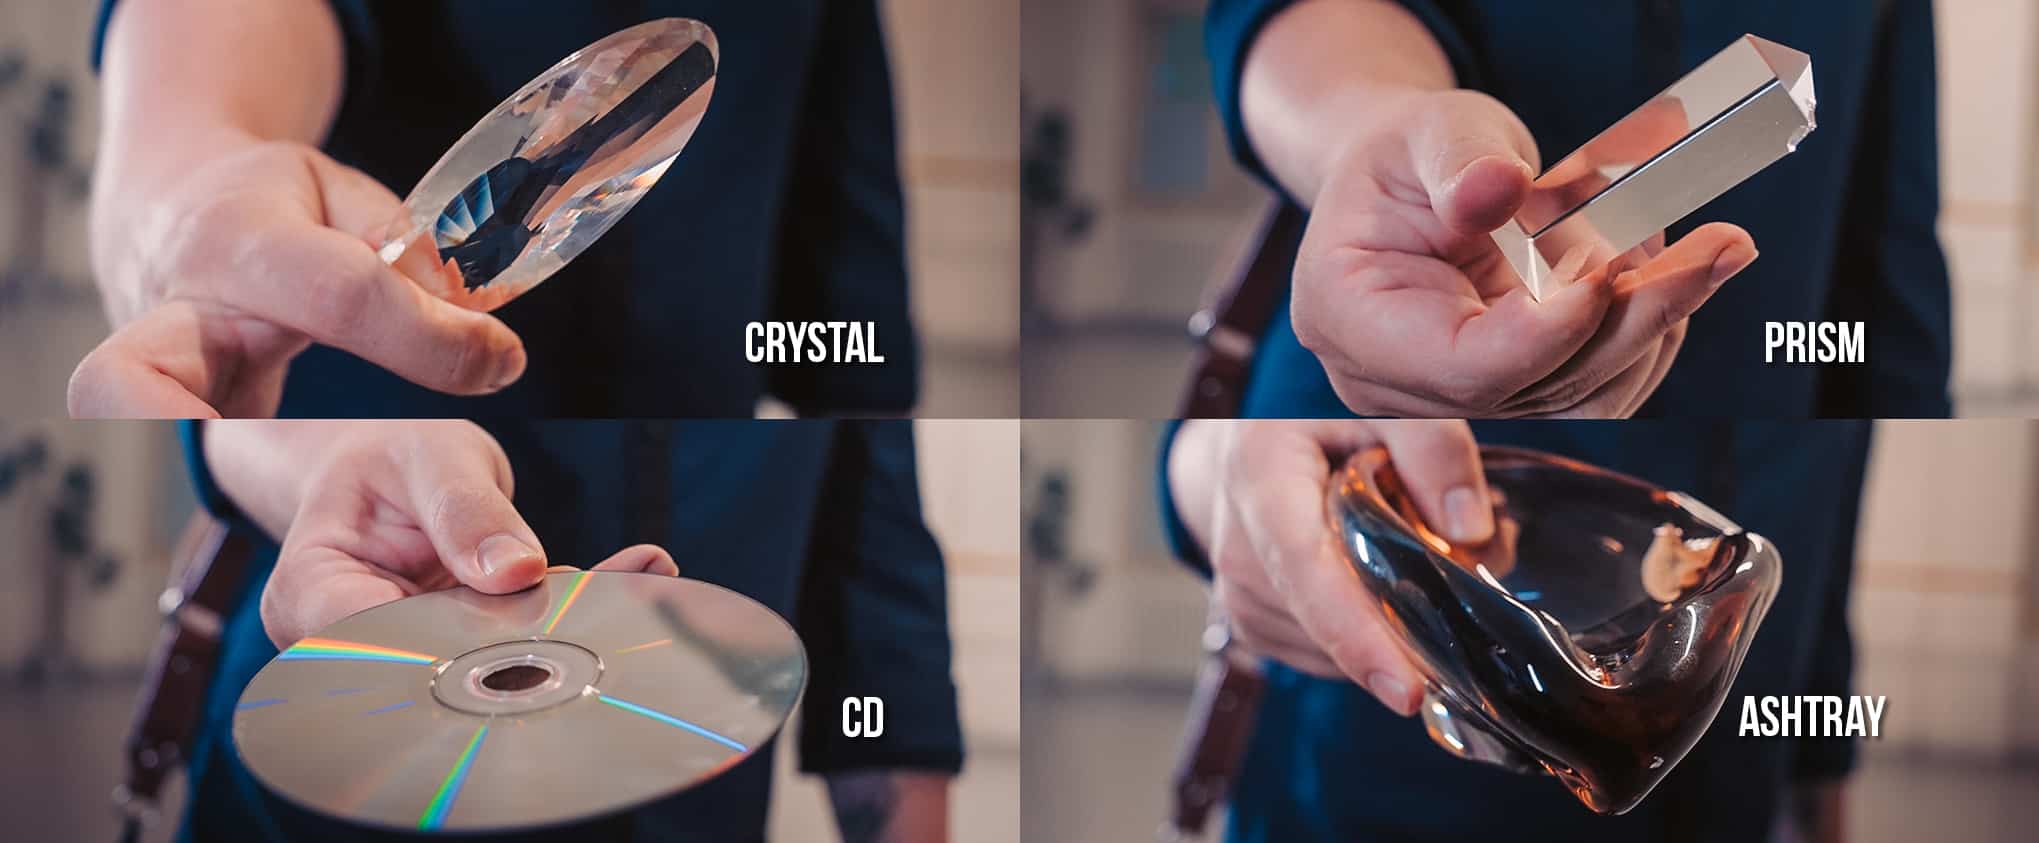
For our shots we tried four shiny objects. The photo below shows them with labels so you can tell in the text what we’re talking about. They are all things that either you’ll already have at home or can buy very inexpensively. But you can certainly find plenty of neat items of your own that will work well too.
Various glasses and bottles can give effects similar to what we show below, as well as Christmas ornaments, light bulbs, mirrors, and many other things. But the way these things will work is always the same—the object refracts or reflects light in some interesting way, putting interesting effects in your photo. You can use this in two ways:
- you can put the item in front of the lens, producing an effect by reflecting and refracting light from the surroundings into the lens,
- or you can shine a light through it and then illuminate the scene using the refracted light.
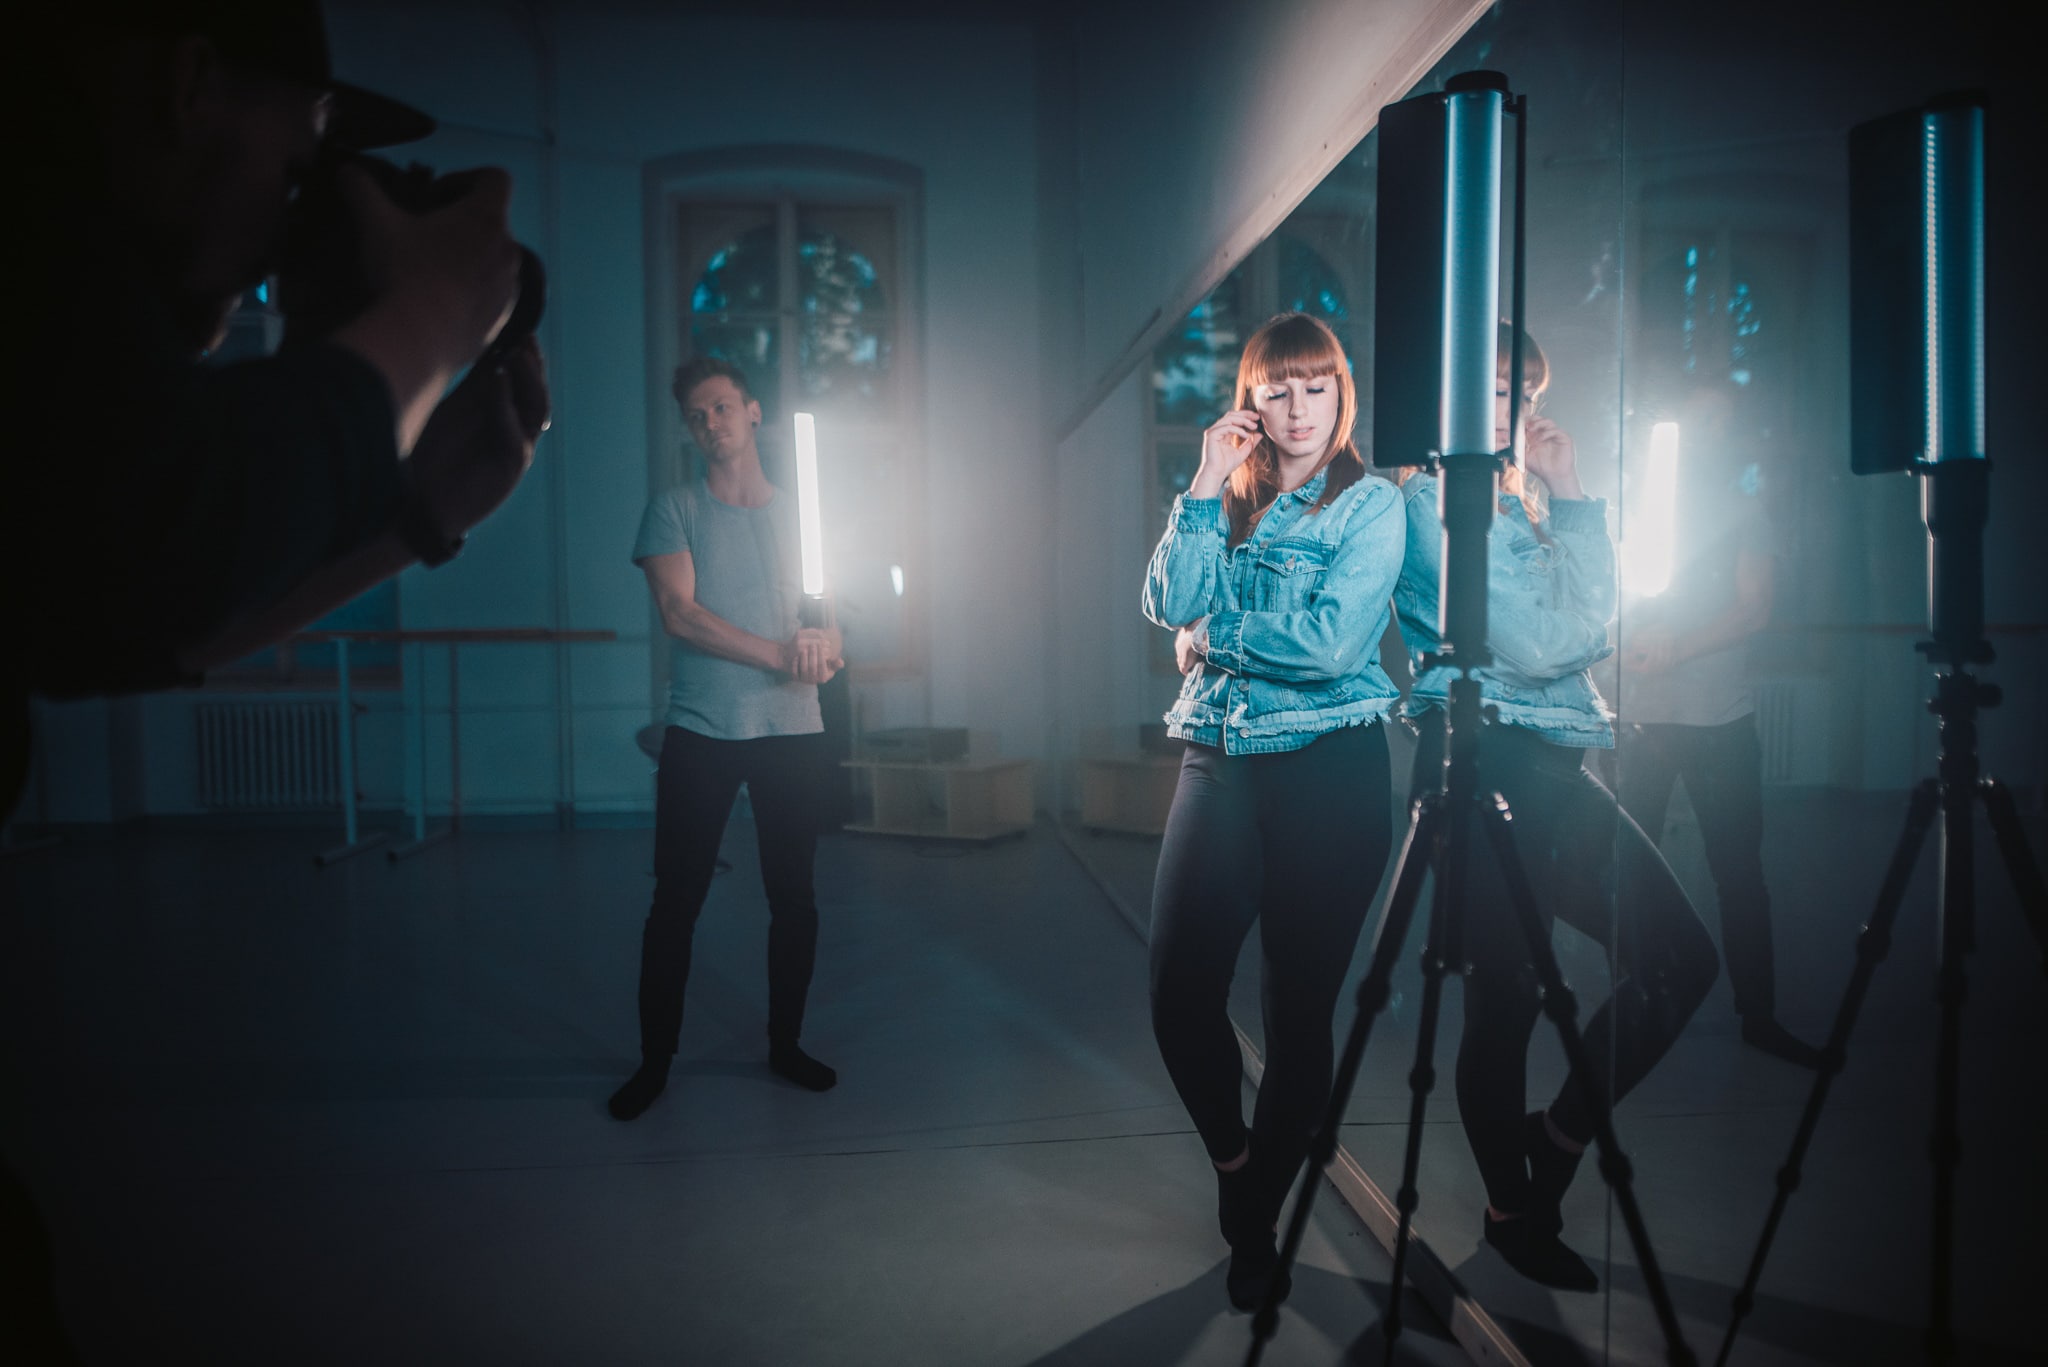
In this article we’ll be showing you both methods. Besides the items you’ve chosen, you’ll also need a flashlight, a headlamp, or maybe a flashlight app on your phone.
Watch our video where we explain it all for you!
Refraction and Reflection From an Crystal and a Prism
One simple and effective way to use a chandelier crystal is to place it right in front of your lens and rotate it until something interesting appears in the viewfinder. This could make light sources from outside of a scene be reflected in it—and also be scattered into a spectrum (as you can see in the left part of our picture). Or it could “refract” the image directly in the scene. That way you get a colored “ghost” effect (the right part of the photo).
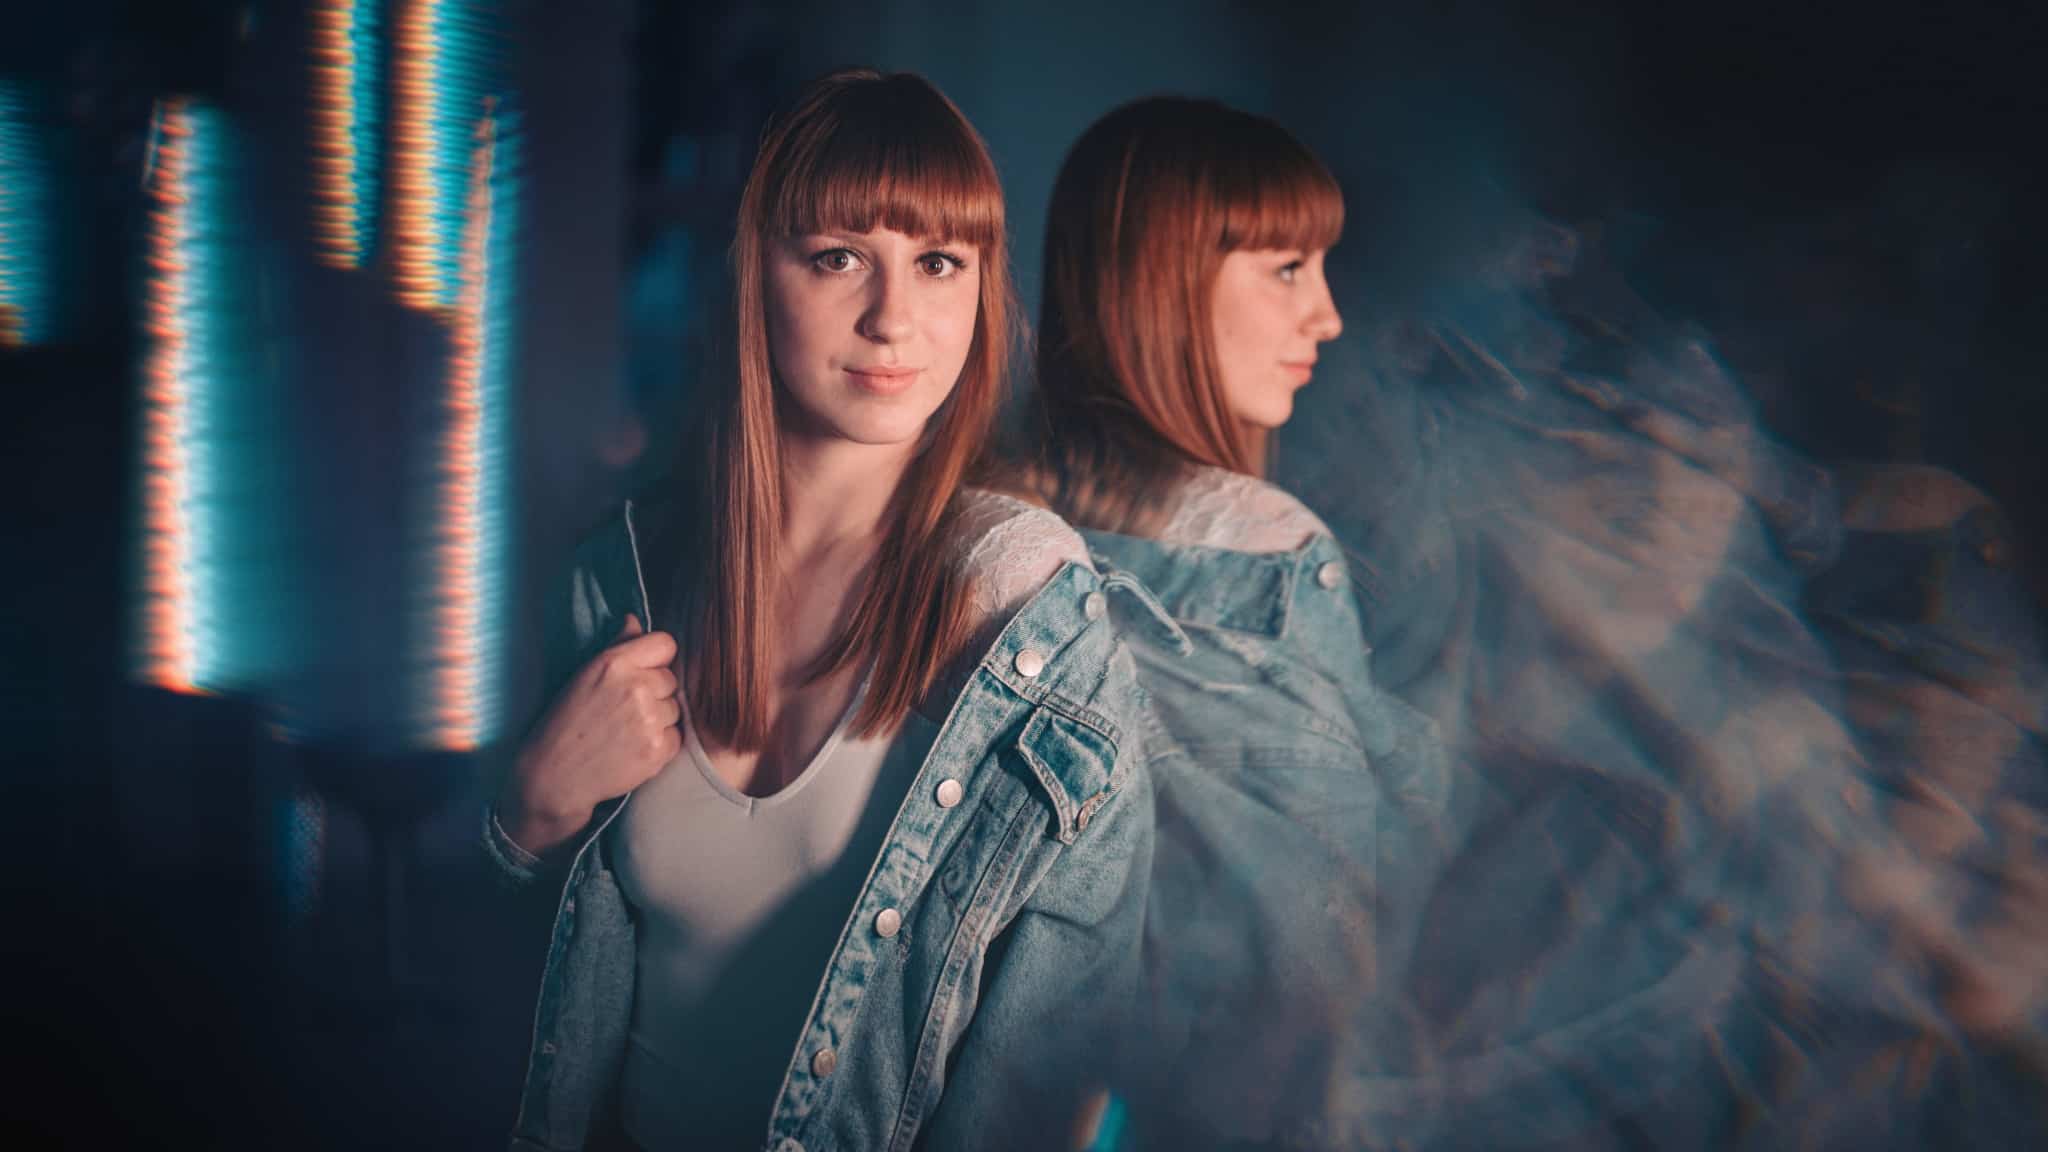
Nikon D750, 50mm, 1/125, f/1.4, ISO 100.
It’s good to place the crystal more towards the edge of the picture than towards the middle, to keep from deforming the model’s face. If you’re wondering how we got these effects on both the left and the right: this isn’t possible in one shot with one crystal. That’s why we stitched a panorama out of two photos to create the picture above. The workflow for this is fairly simple, and we’ve written a separate article about how to use panoramas in portraiture.
In the next photo, you can see the reflection from the prism. I didn’t reflect my the sharp light direct from my light source, but more the diffuse light a bit away from it. This produced a soft reflection. I also used the reflection to cover up the left part of the photo—it fit the composition well, but it contained nothing interesting.
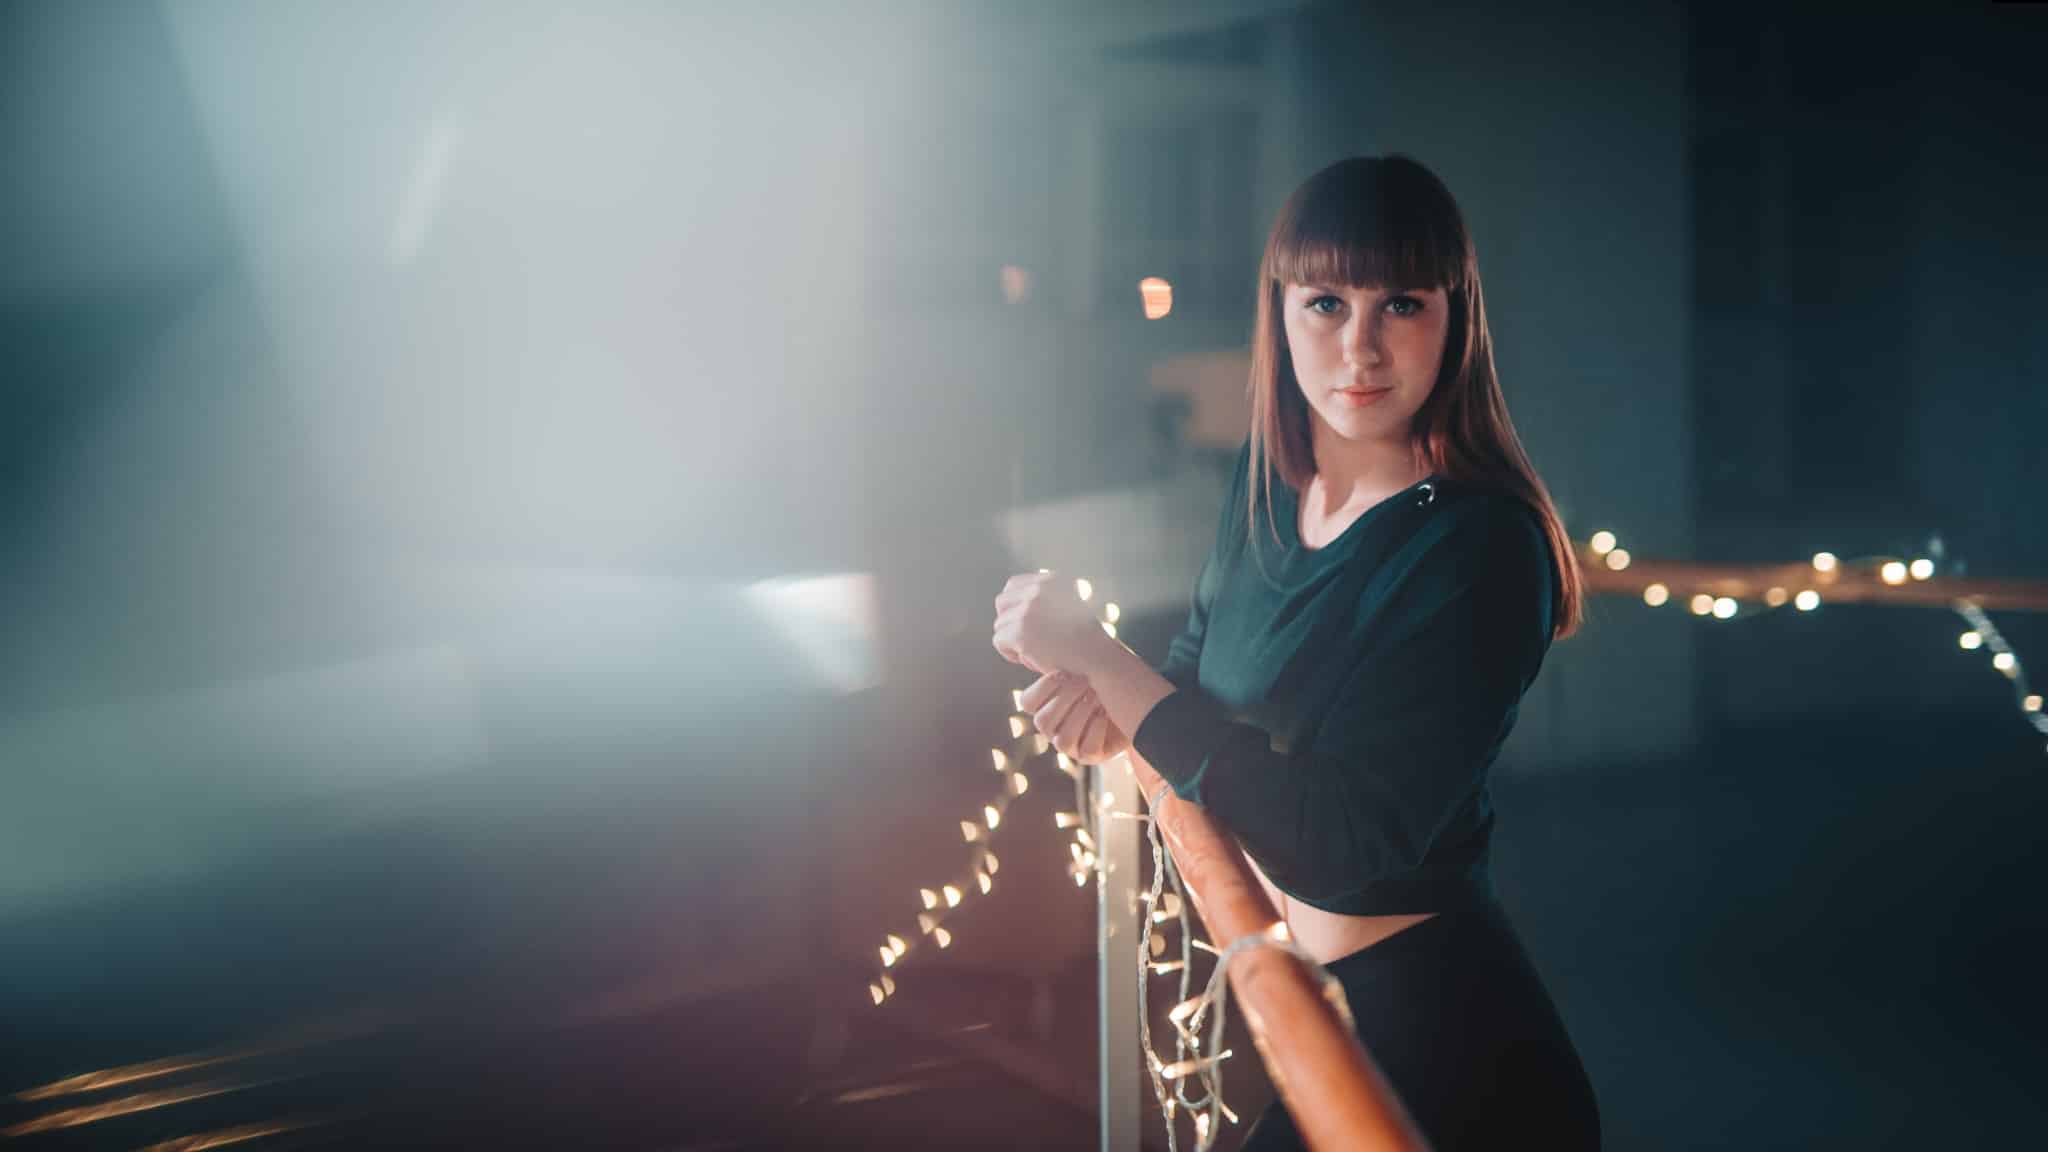
Nikon D750, 50mm, 1/125, f/1.4, ISO 200.
You can get interesting effects from other light sources too. For example, the next photo shows one way to make use of Christmas lights. With the help of a prism, we’ve created an eye-catching reflection that’s filled up the photo’s bottom portion.
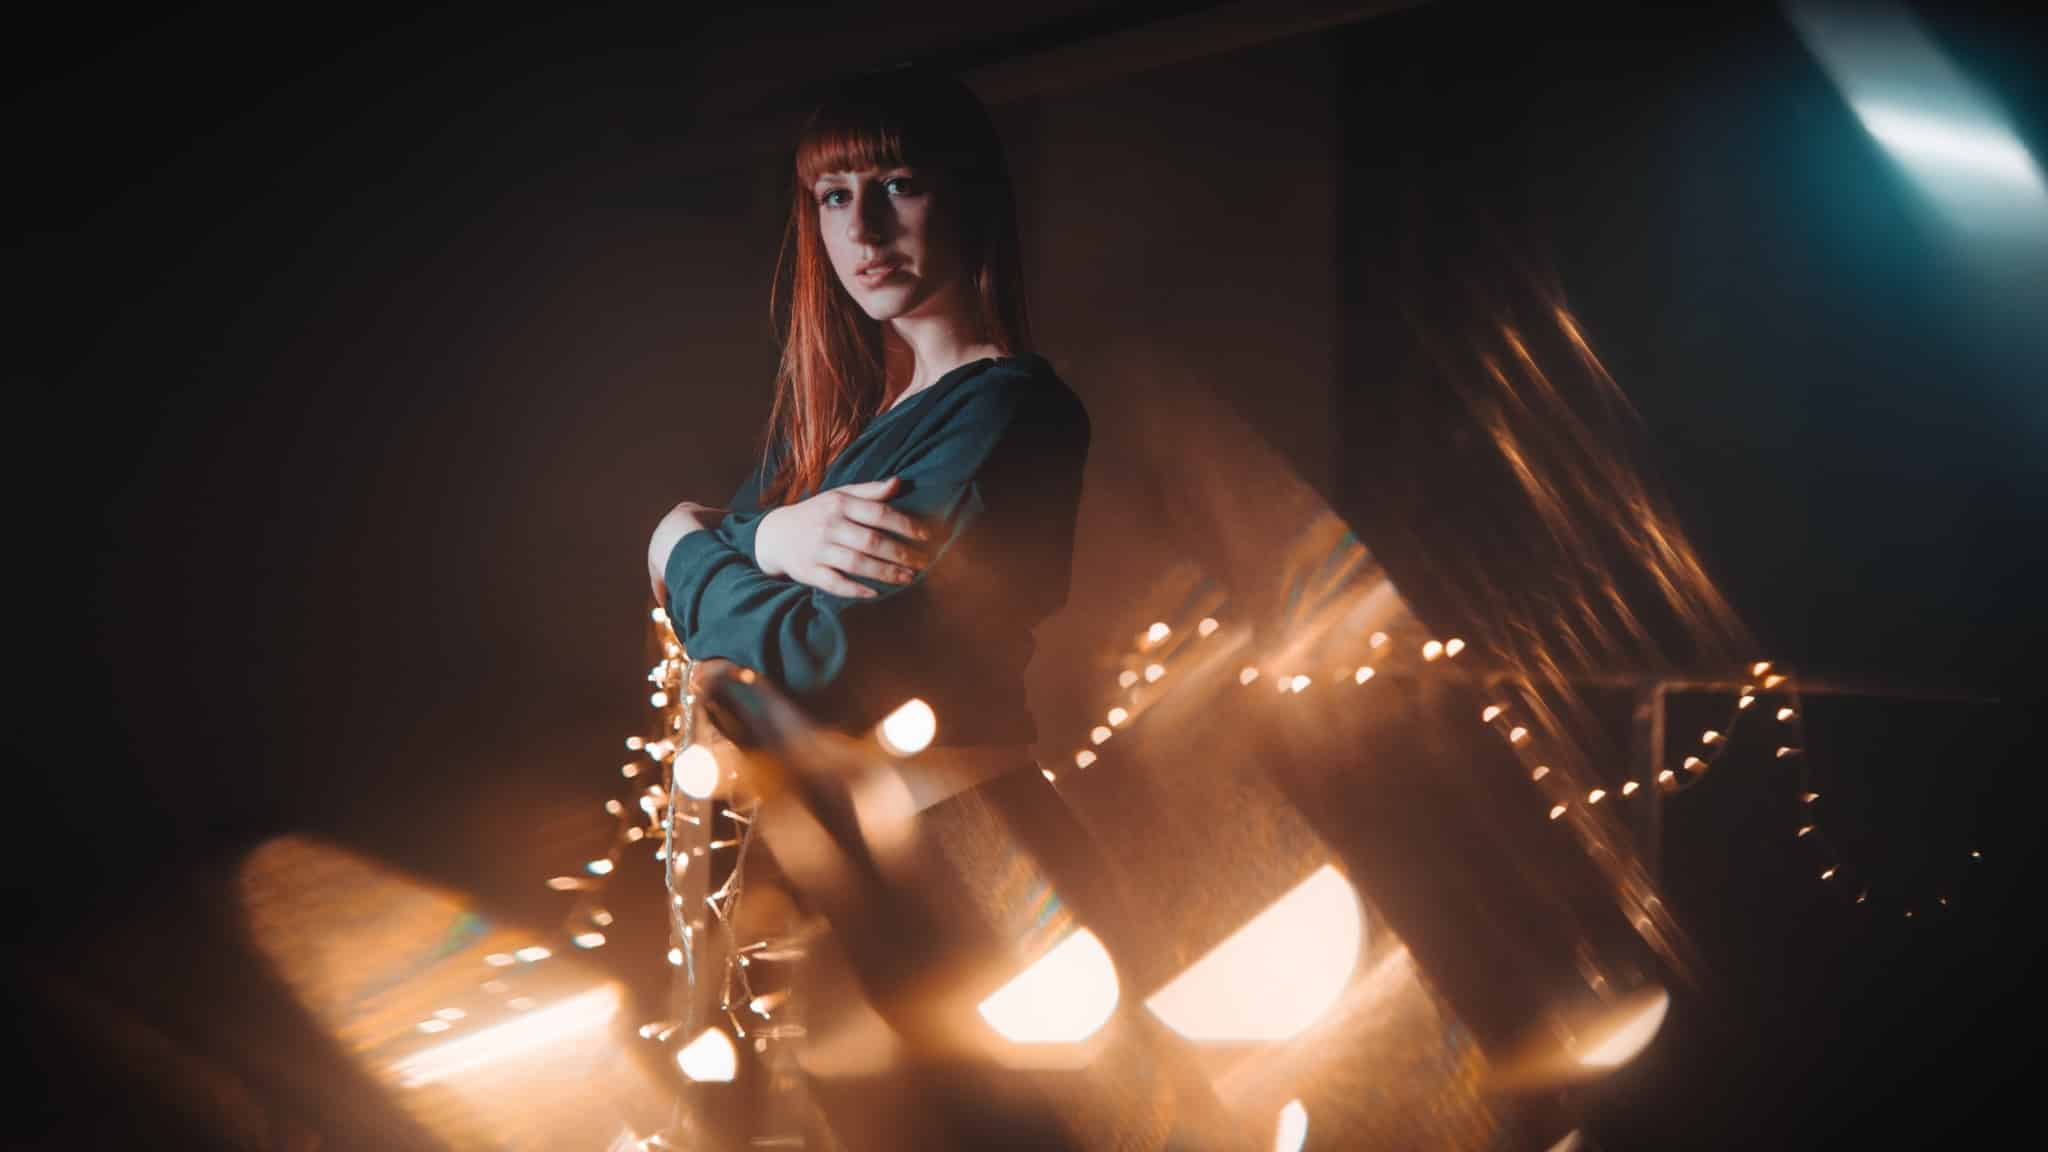
Nikon D750, 50mm, 1/125, f/1.4, ISO 200.
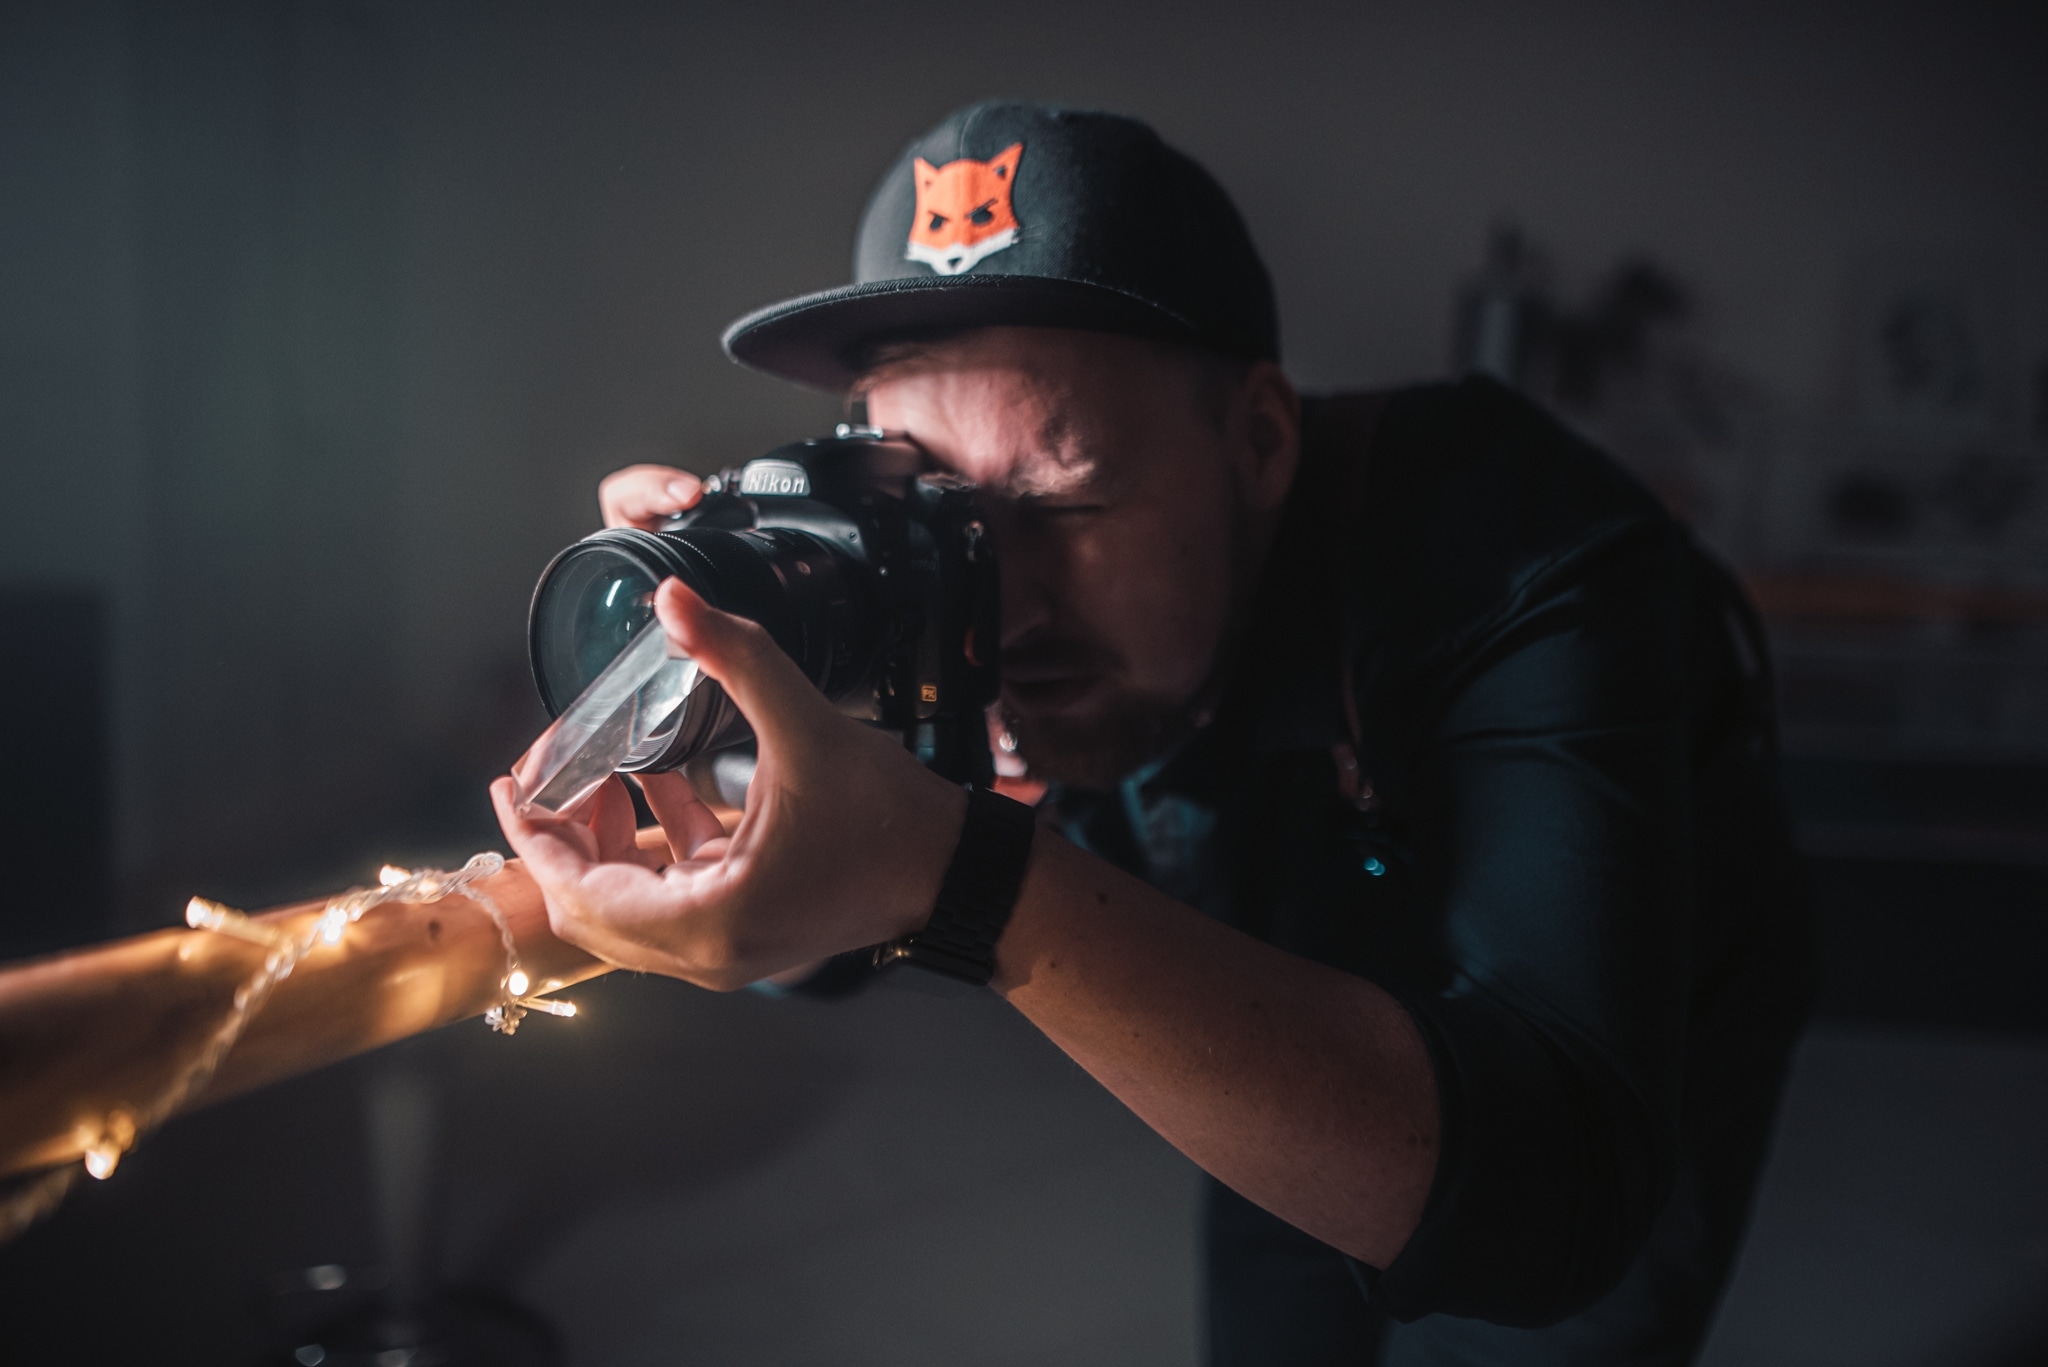
A Softer Effect
We also tried shooting with a single light source from the right. This time all that was produced in the crystal was a dull reflection, because instead of direct light, it was only reflecting soft, reflected light.
Nikon D750, 50mm, 1/125, f/1.4, ISO 100.
Reflections don’t look half-bad in black-and-white either.
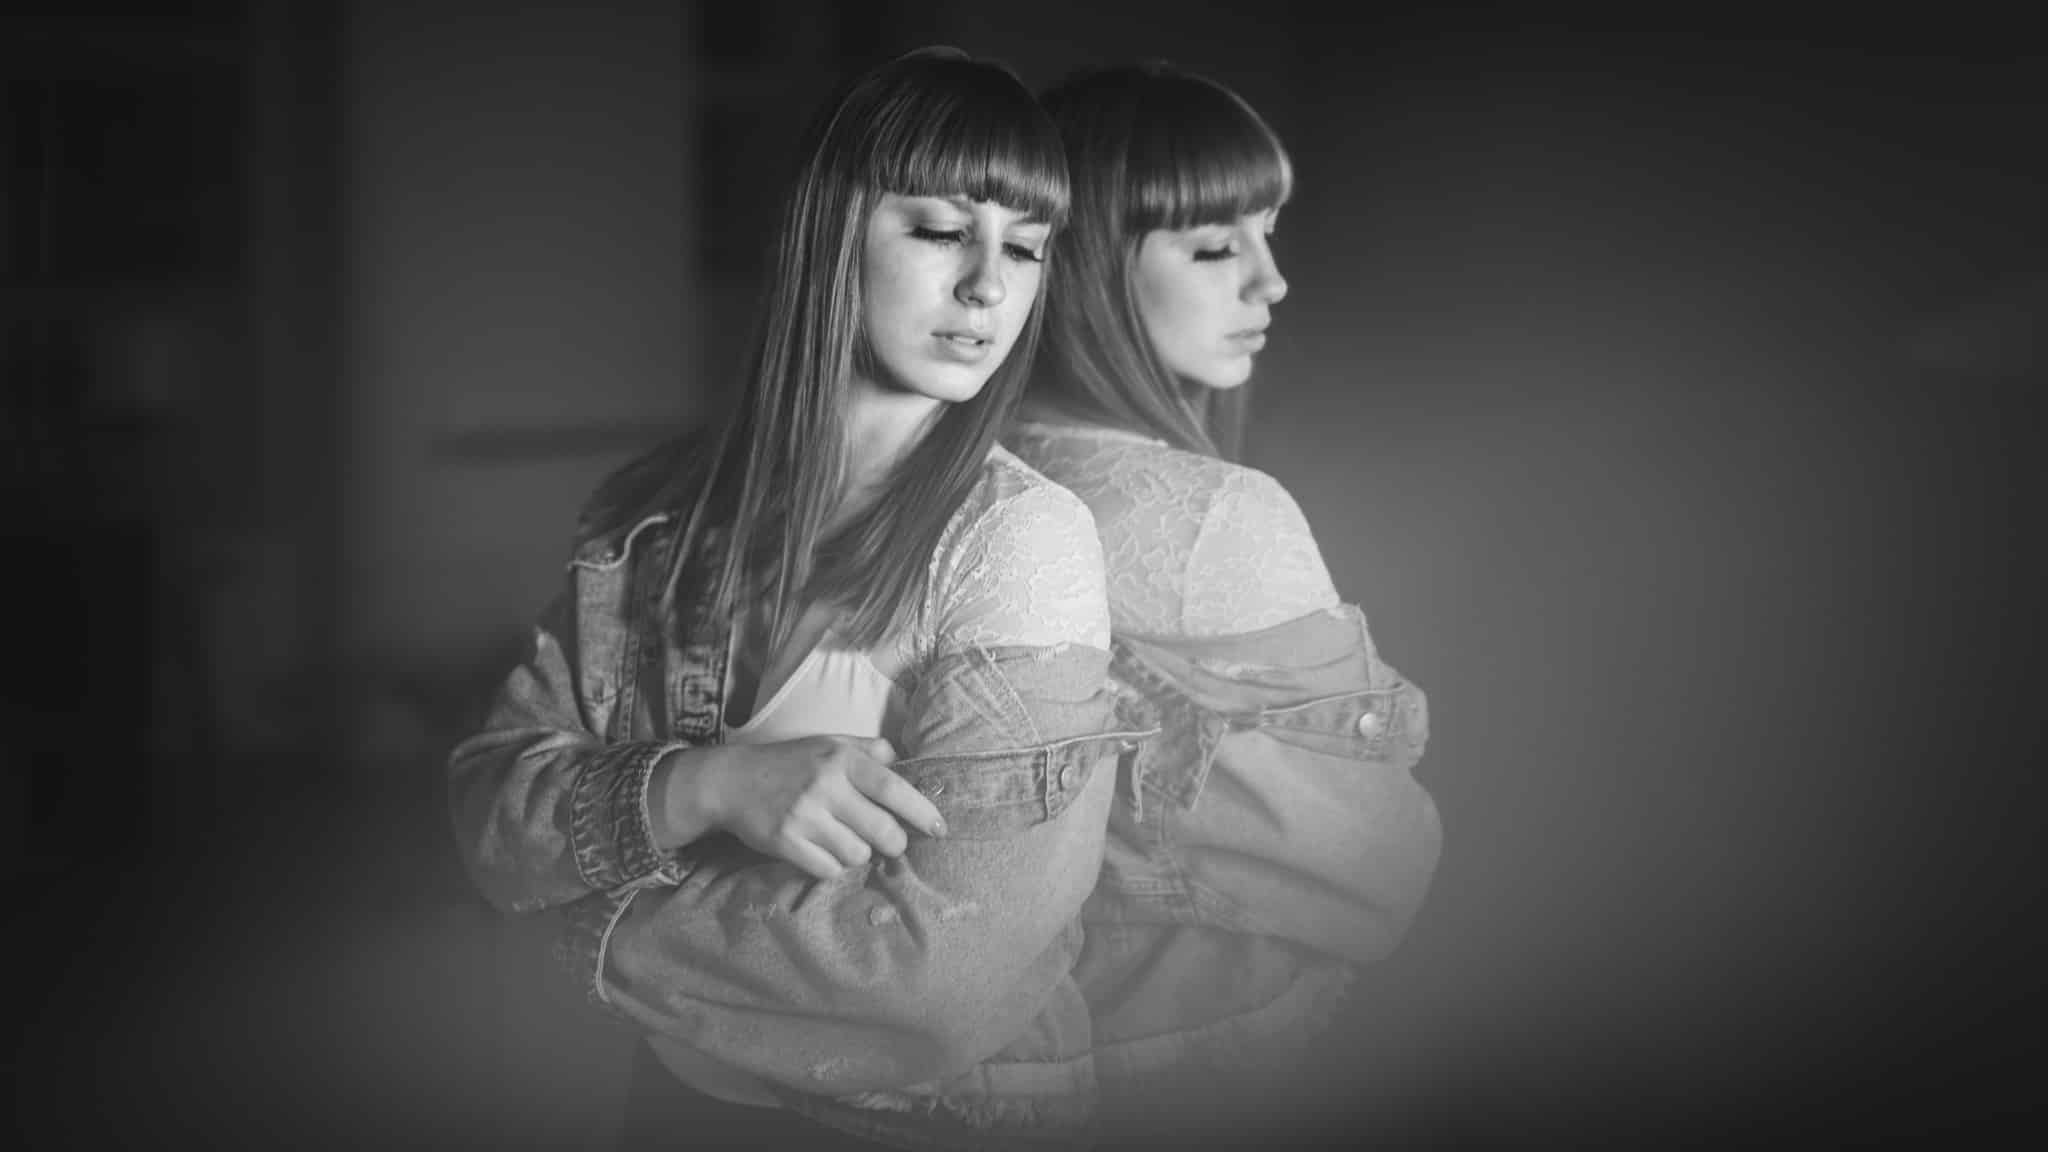
Nikon D750, 50mm, 1/125, f/1.4, ISO 100.
Mirroring in a CD
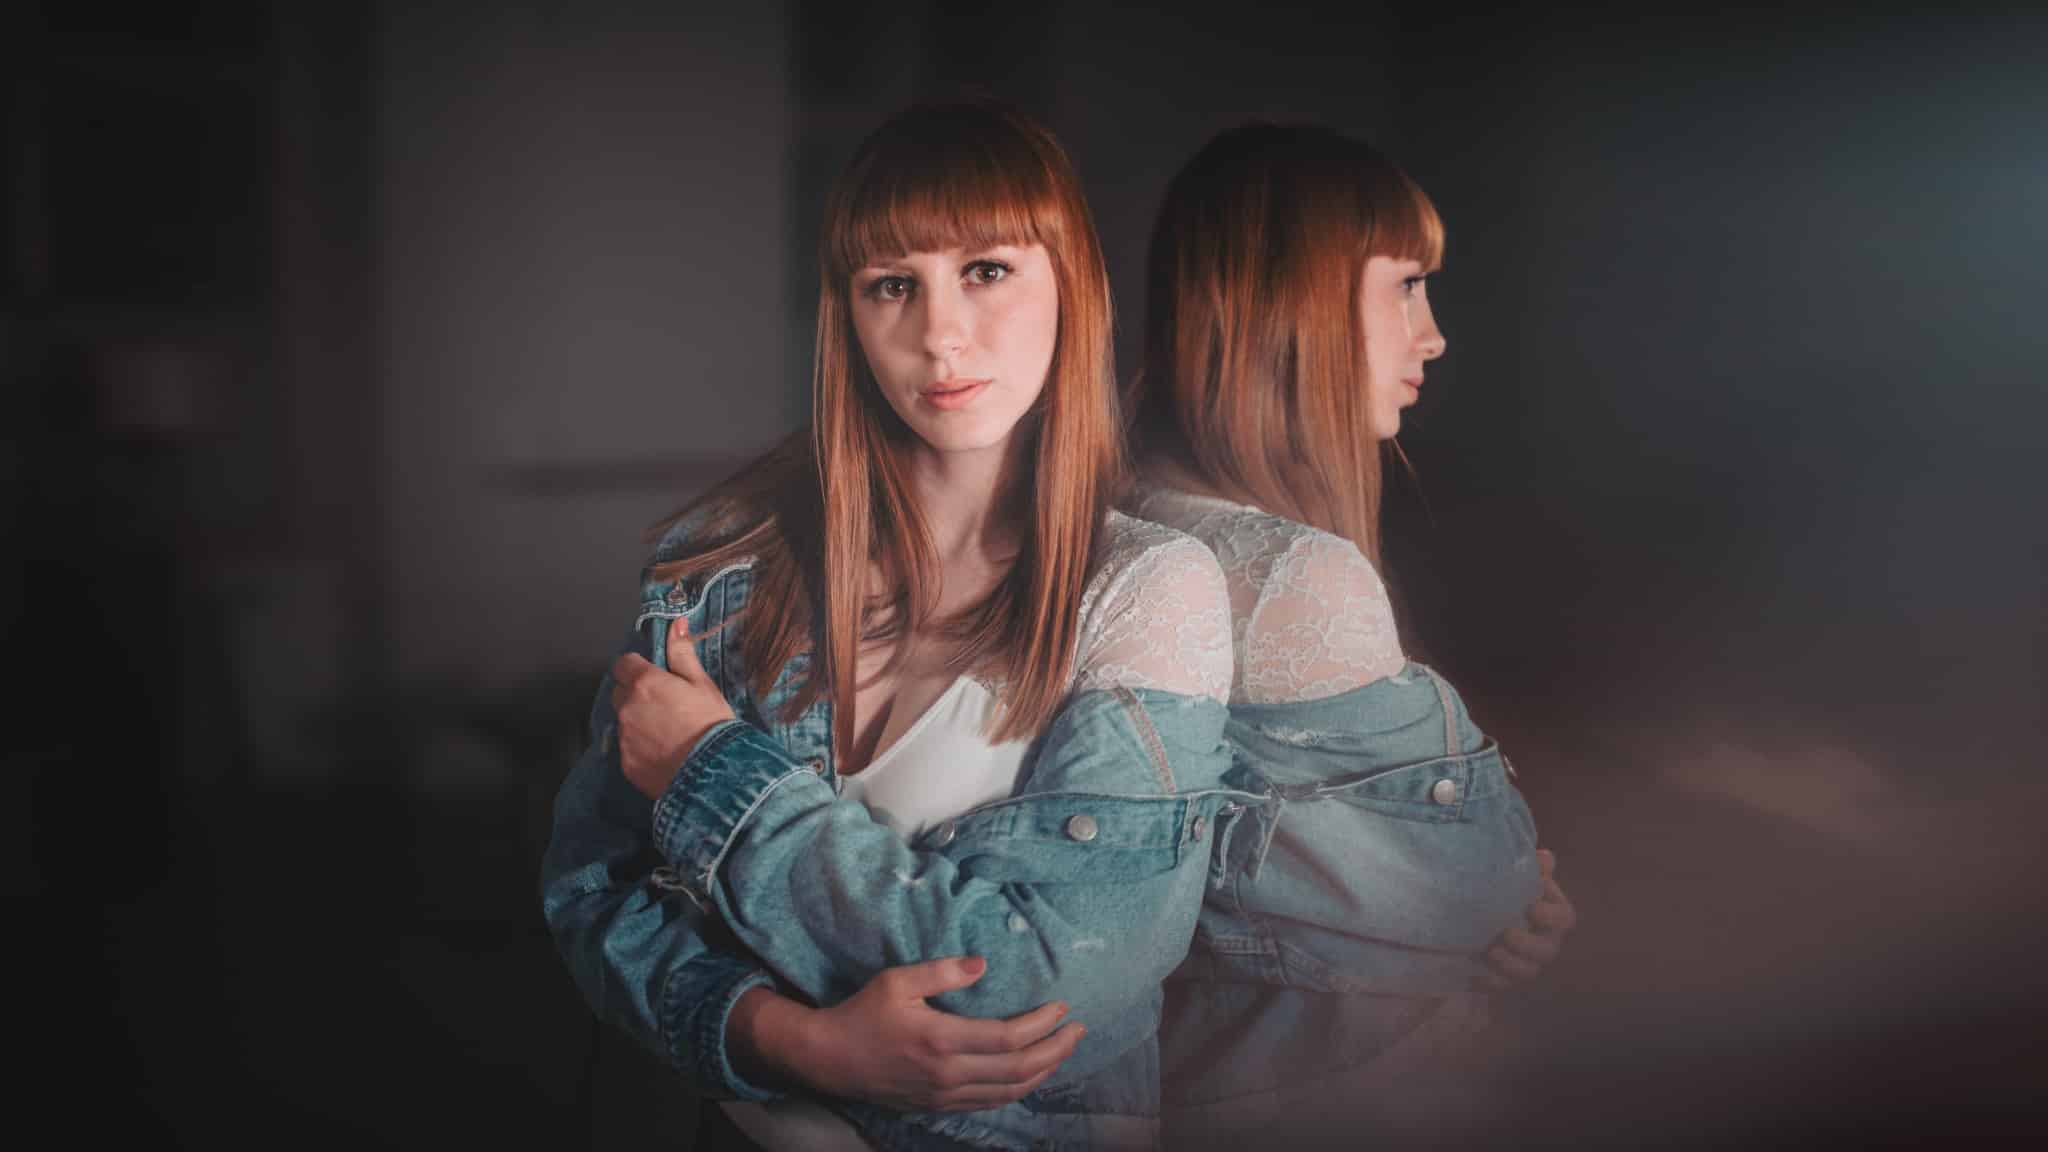
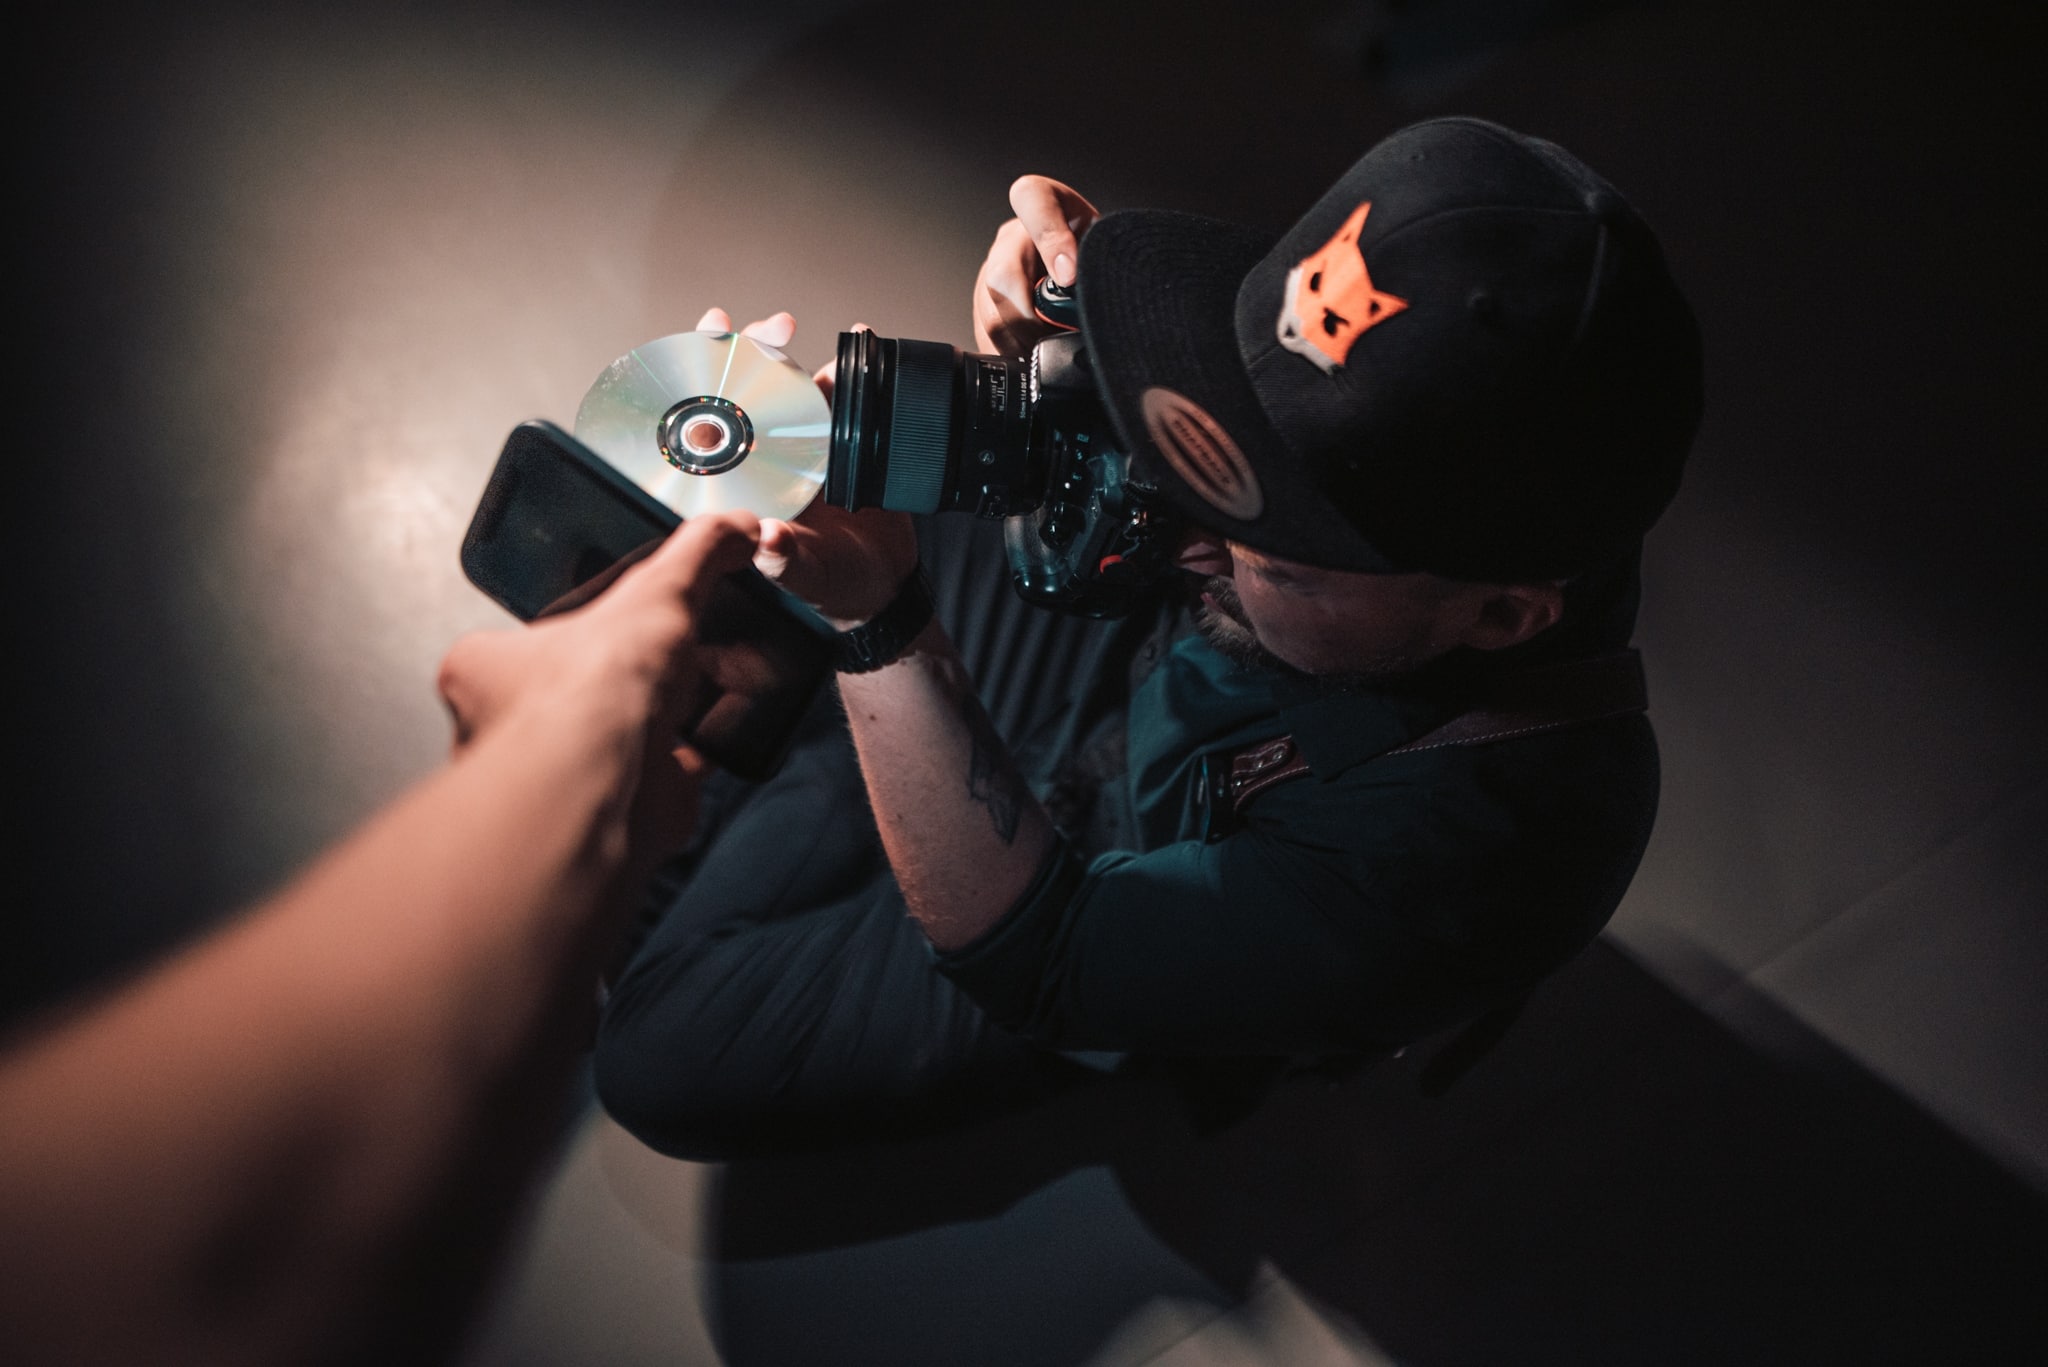
CDs may be an outdated medium, but in a shoot like this, you can still get great use out of them and their interesting shiny surfaces. Placing a CD right in front of your lens gives you a mirrored reflection. Here I used the reflection to spice up the bottom part of the photo. You can use a hand mirror or a phone similarly. Try doing your own experiments with symmetry here. If you’re going for a completely symmetrical photo, but it doesn’t work out during the shot itself, that’s OK. There’s an easy way for you to get perfect symmetry through edits on a PC.
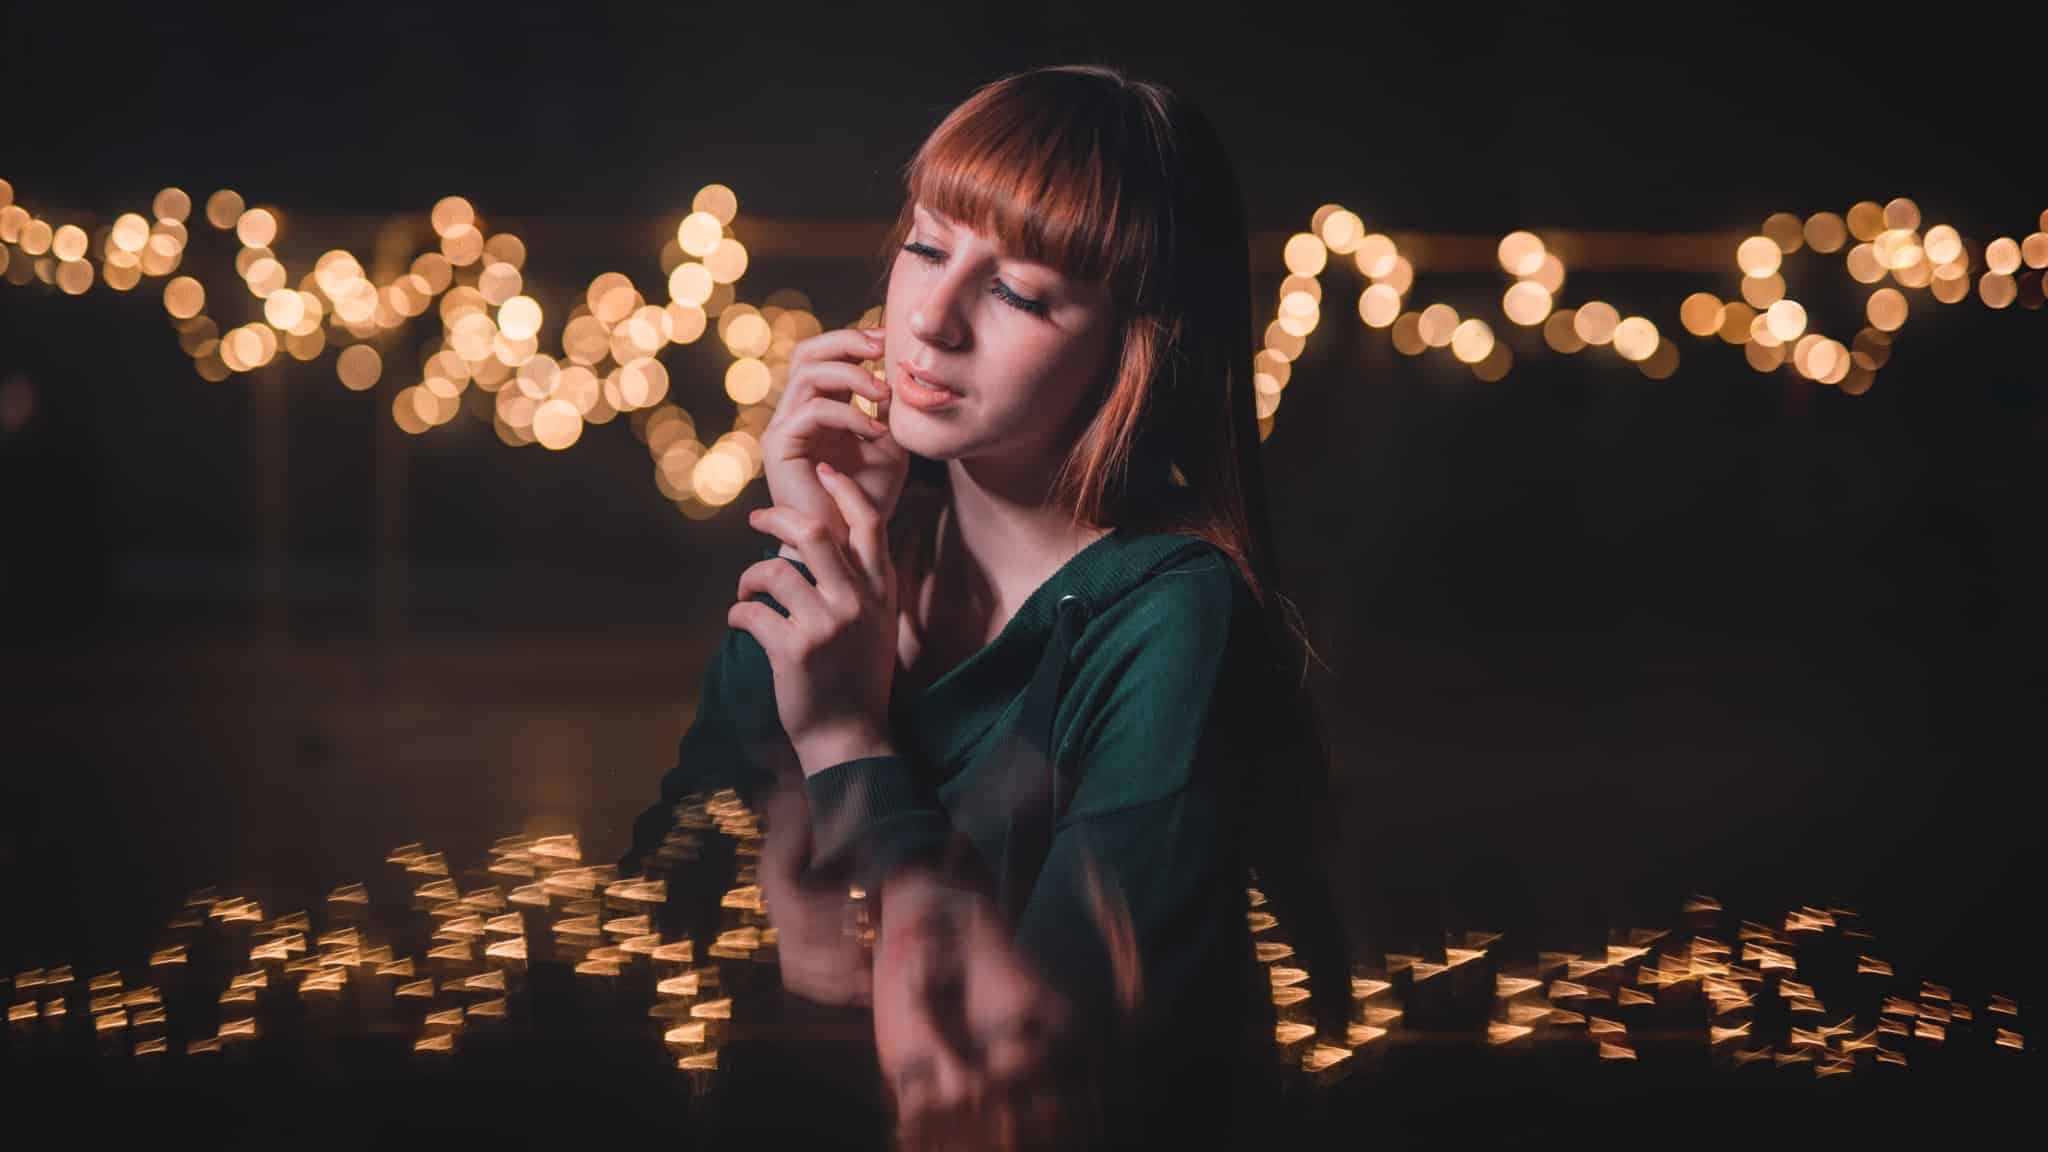
Nikon D750, 50mm, 1/125, f/1.4, ISO 200.
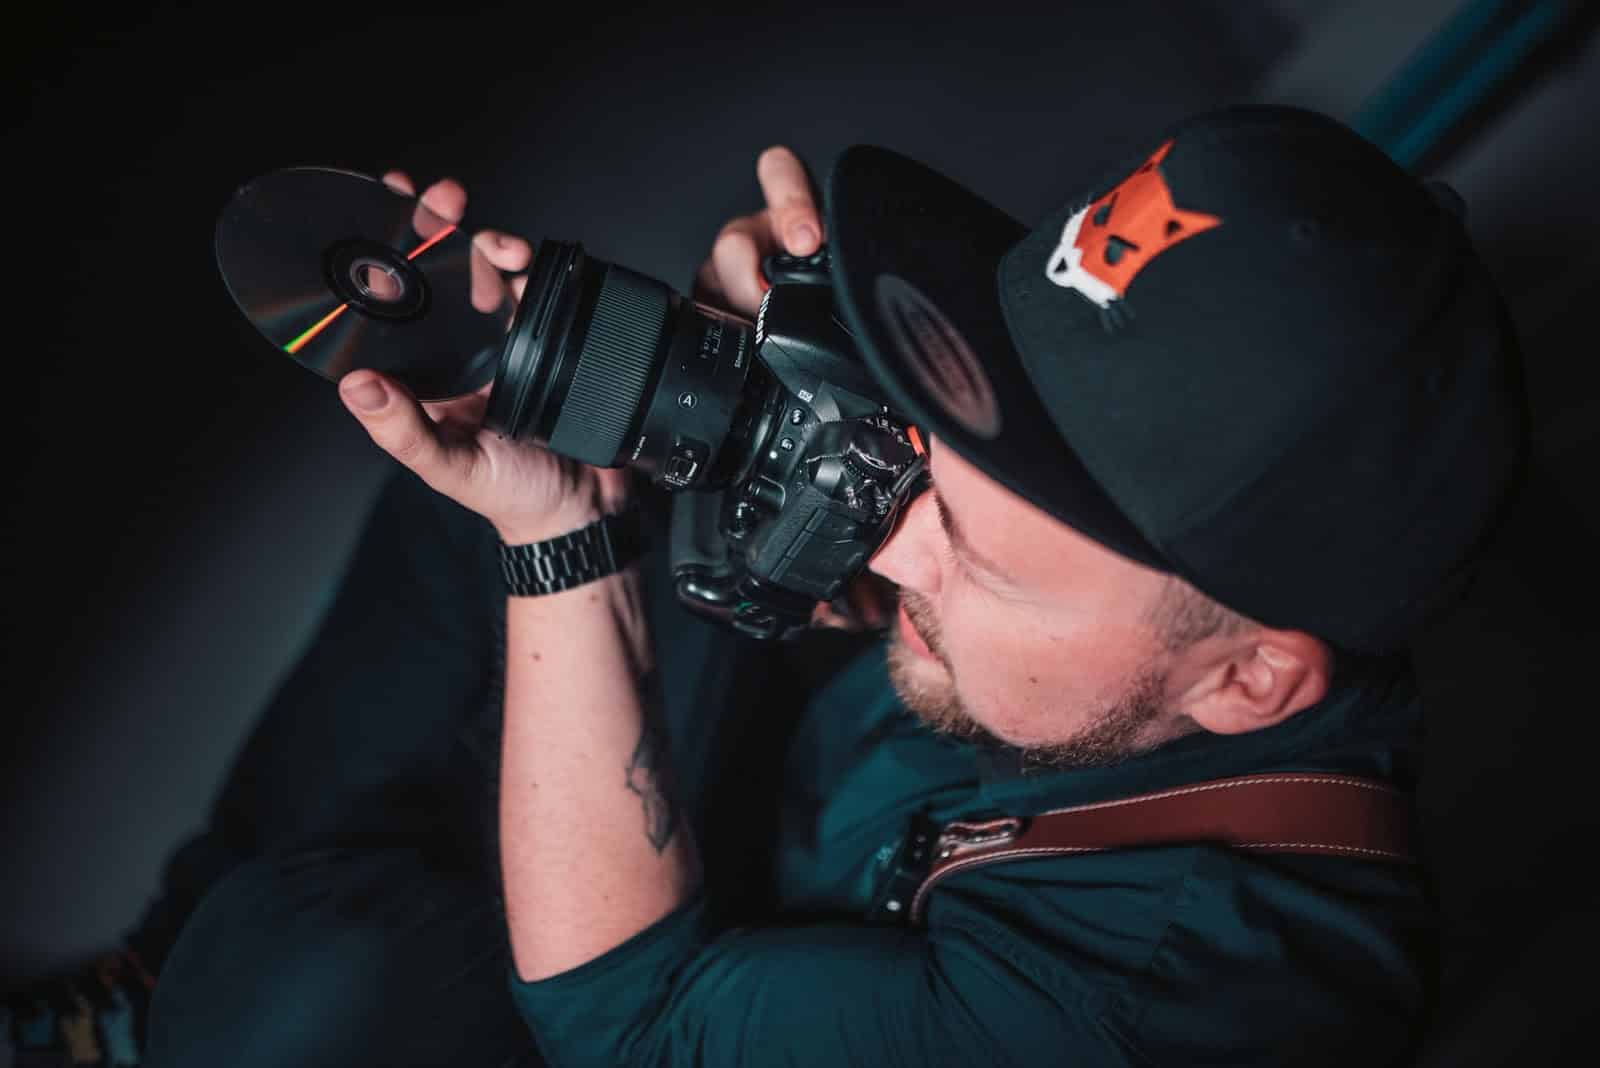
If we shine a light onto the CD, we can get colorful reflections as well.
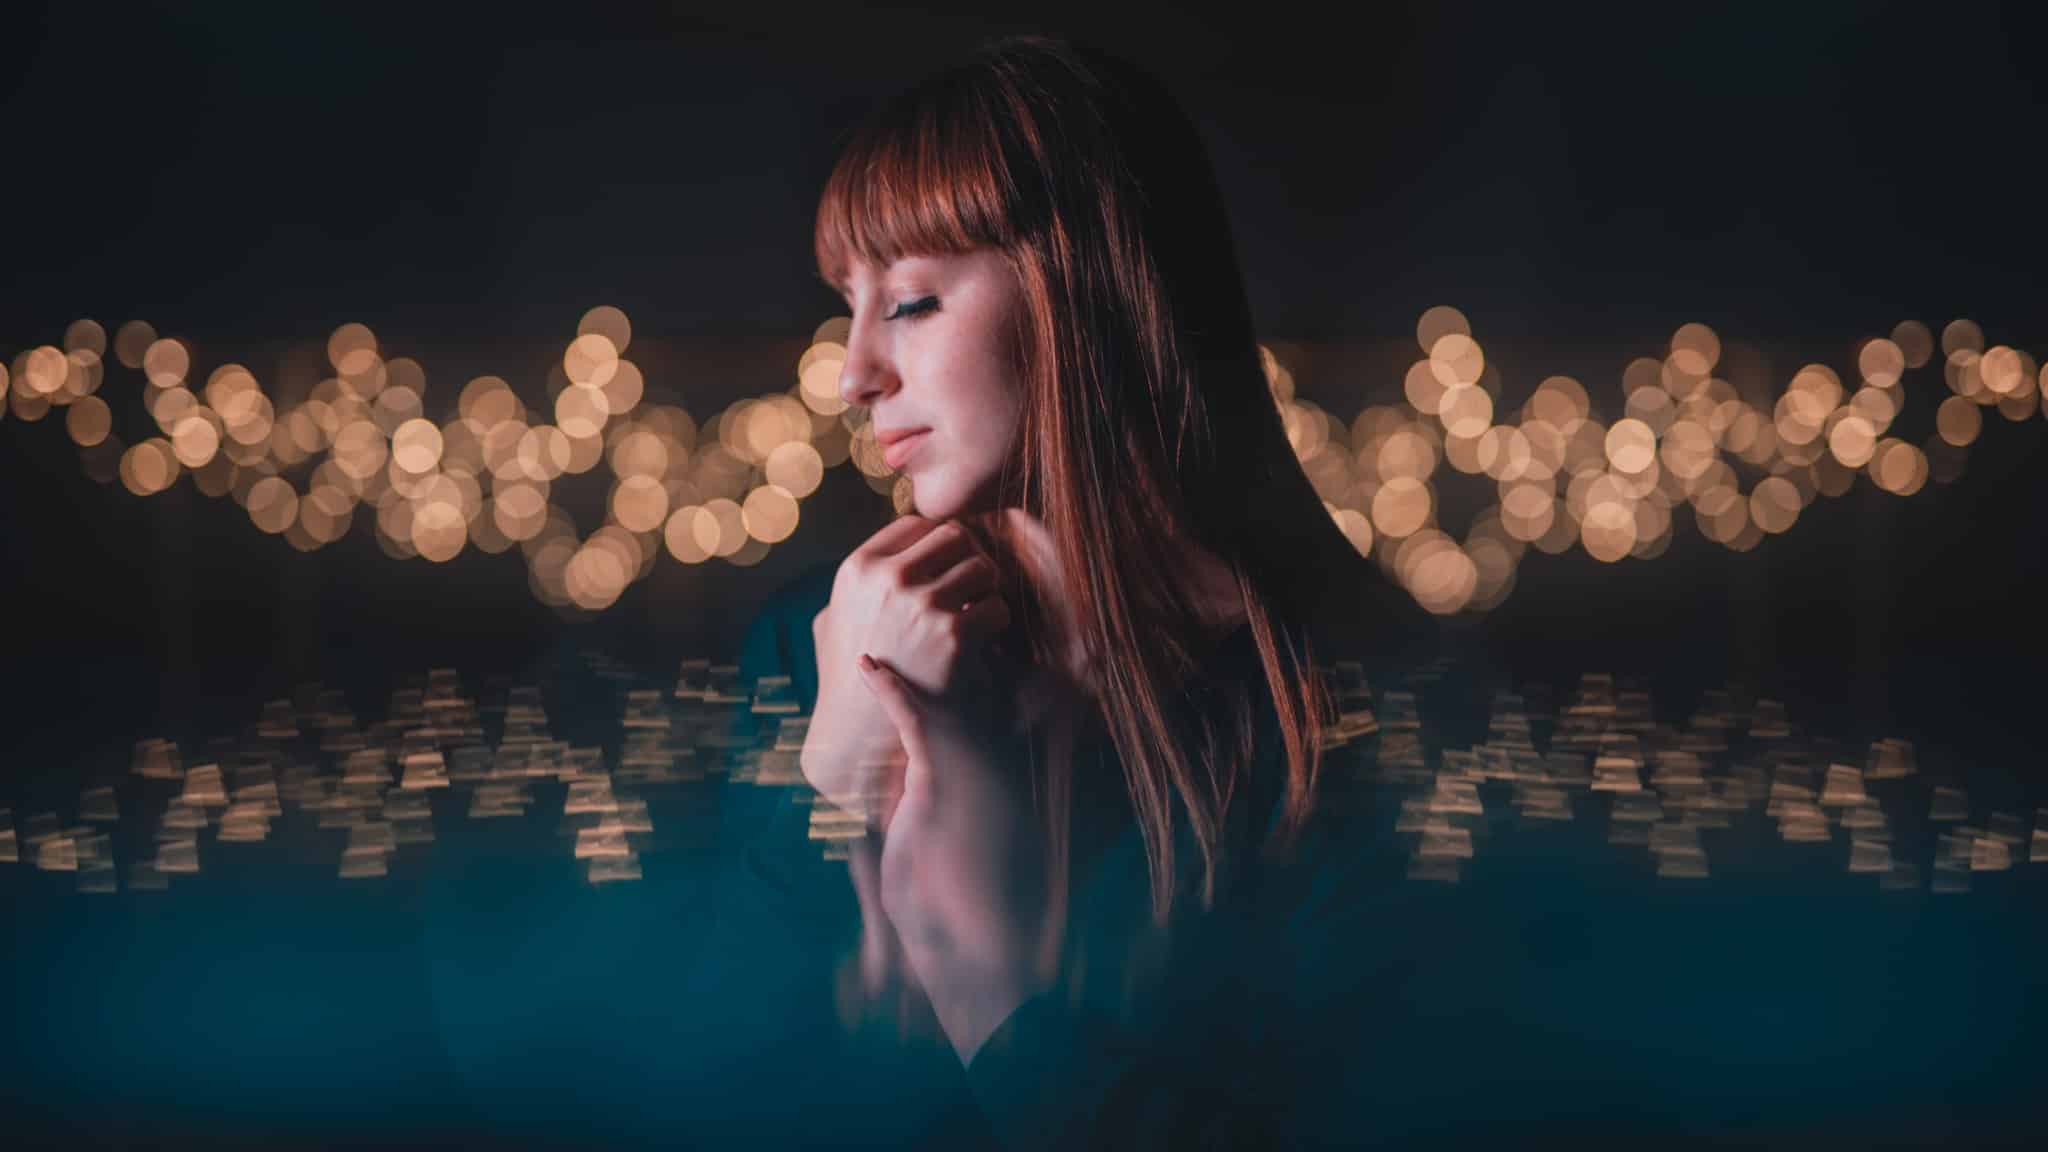
Nikon D750, 50mm, 1/125, f/1.4, ISO 200.
Shining Light through a Crystal
In this second part of our article, we’ll be looking at a slightly different technique—shining a point light source through a crystal. These are the kinds of patterns produced by the light from a pocket flashlight that I refracted using our crystal. I set the flashlight to the widest light cone available:
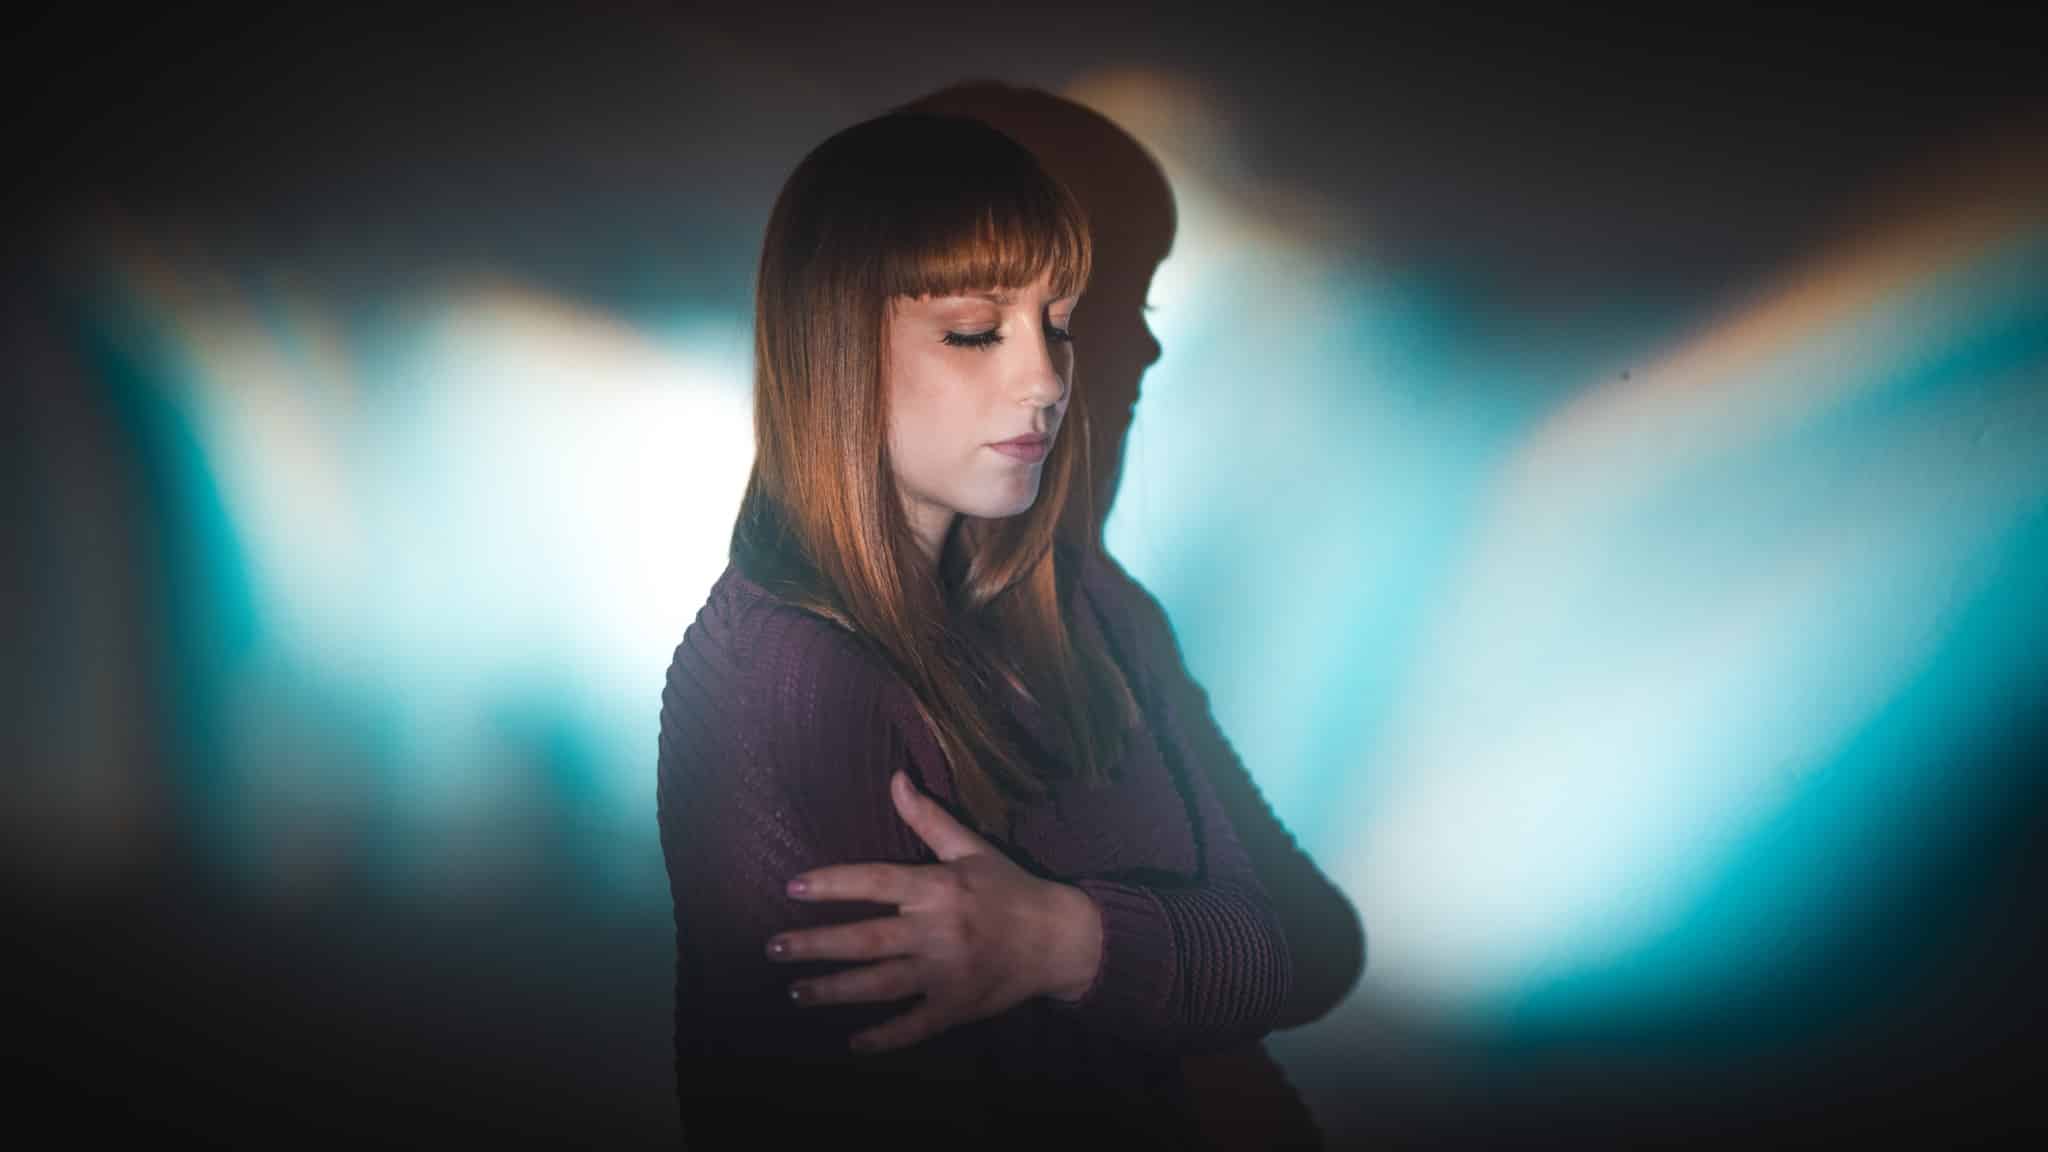
Nikon D750, 50mm, 1/125, f/1.4, ISO 1000.
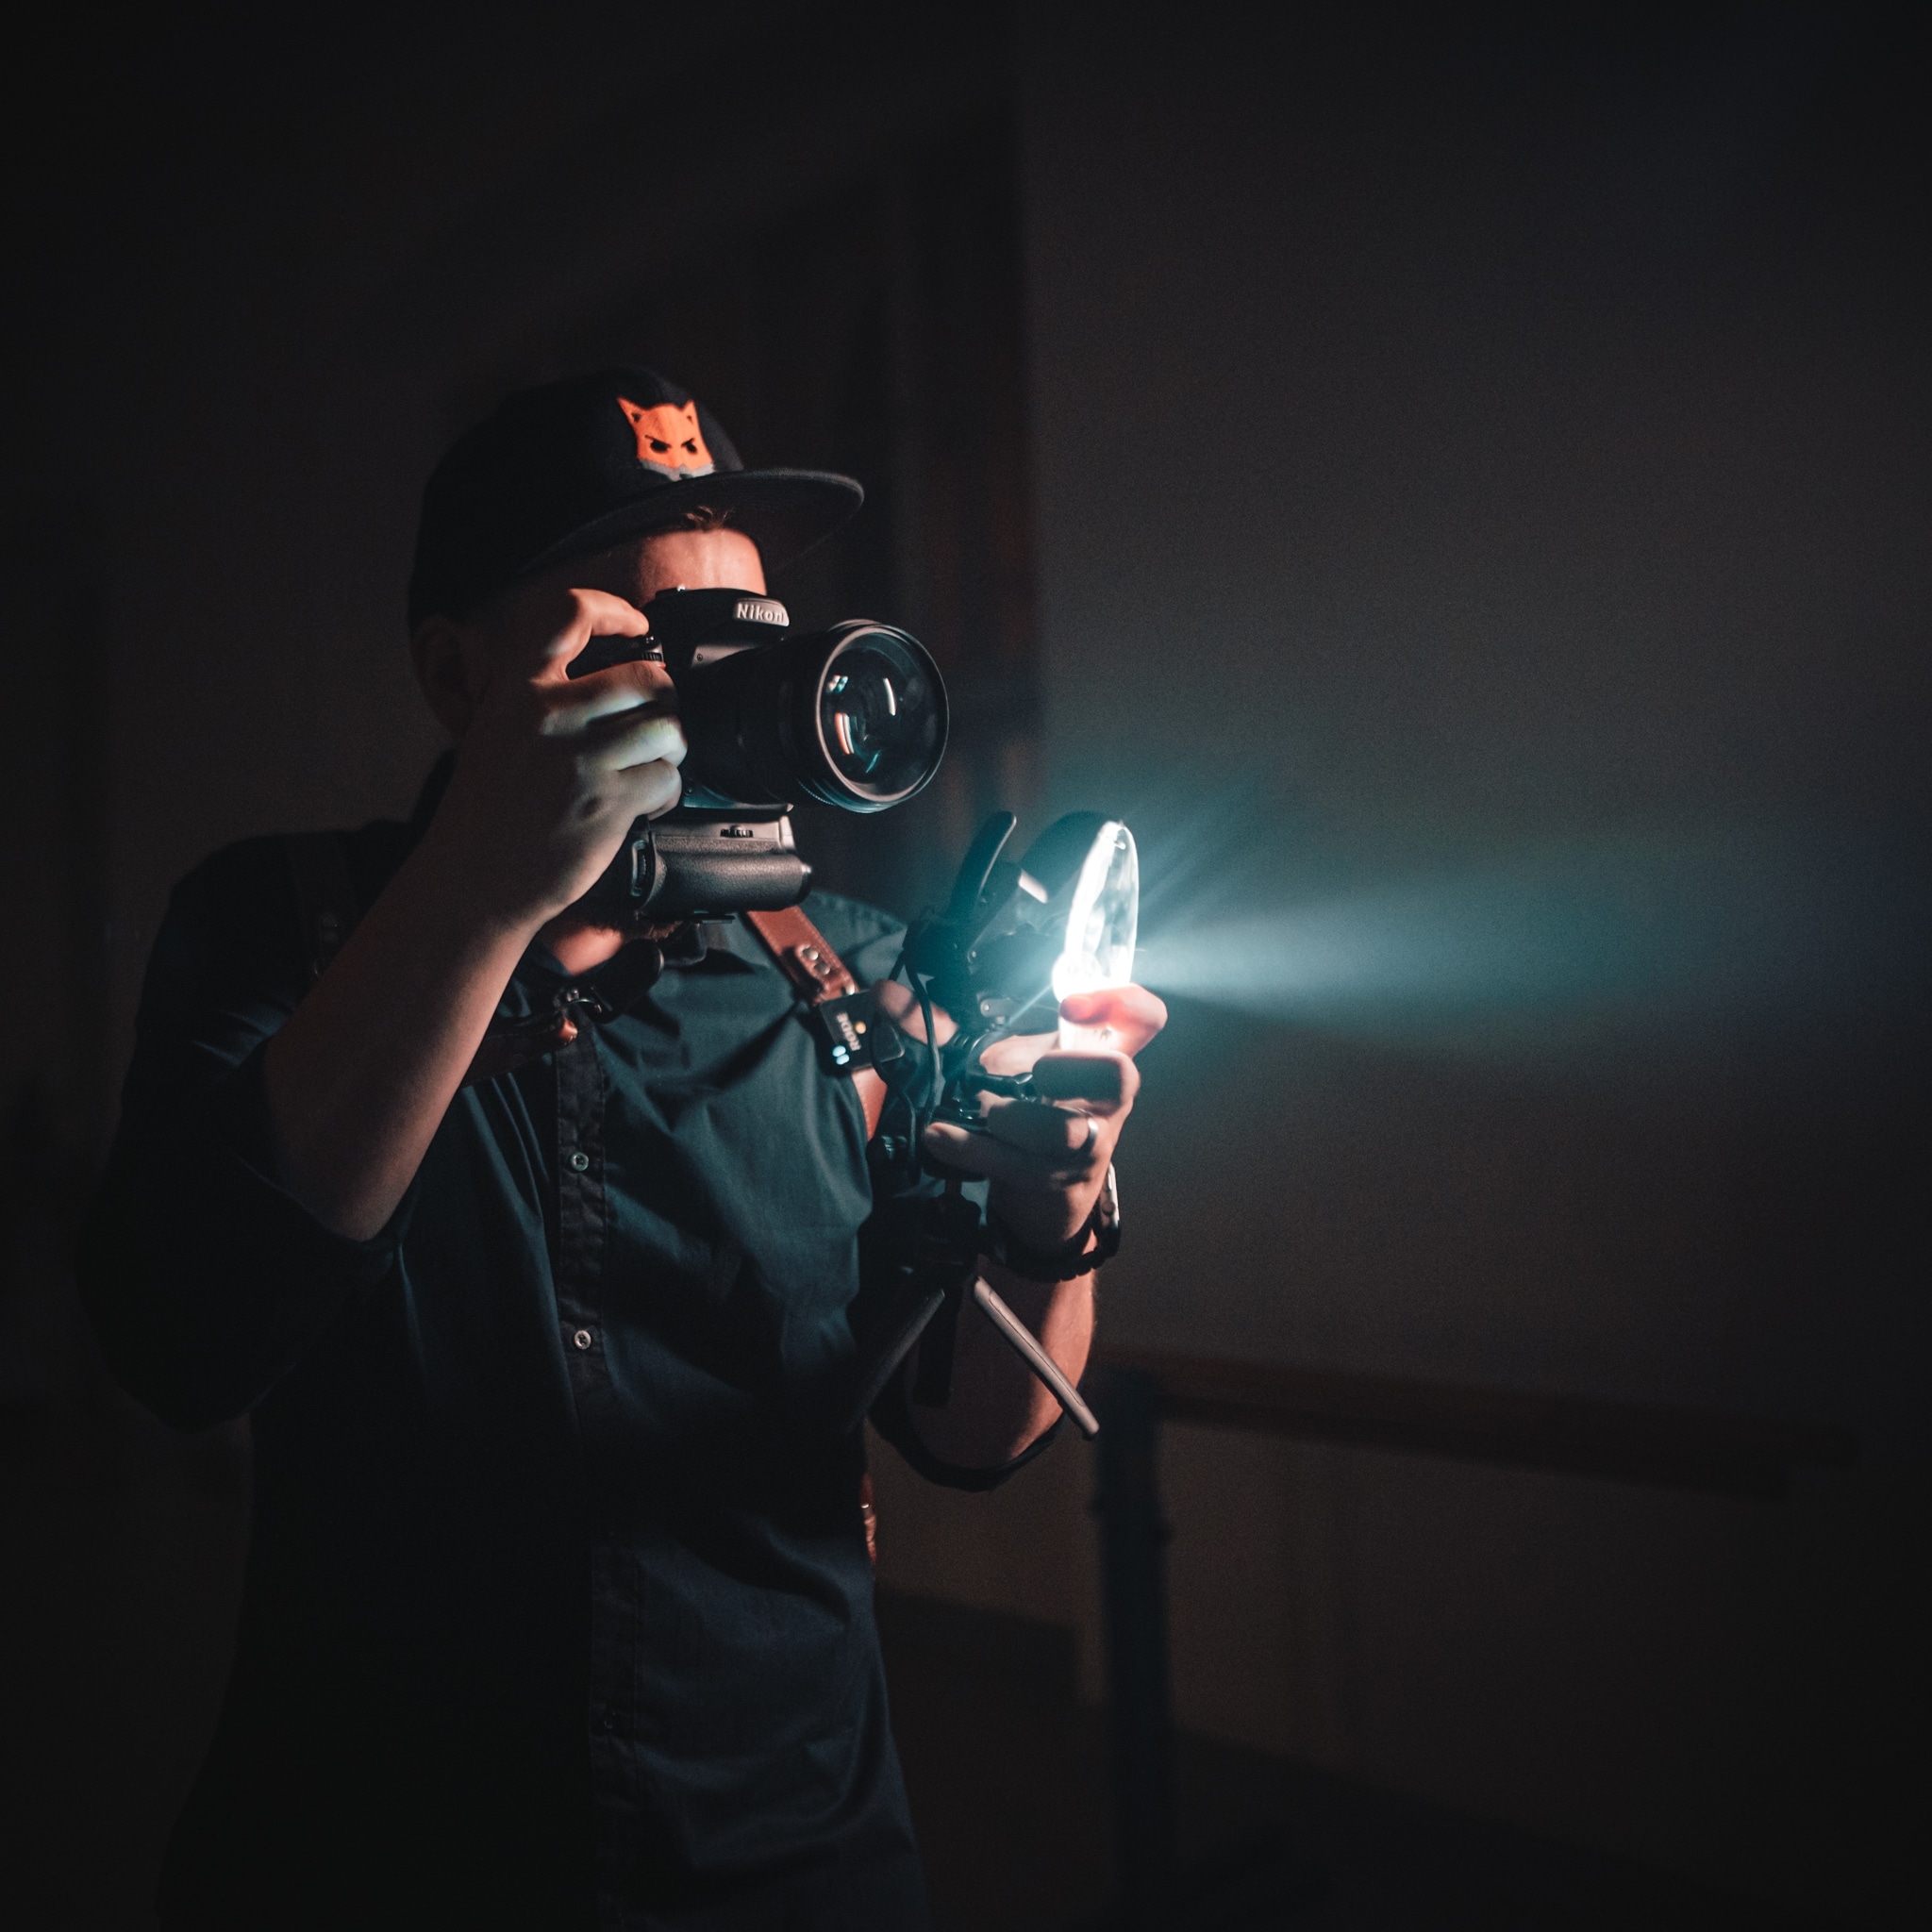
And here’s how I held the crystal and the flashlight. It’s less than entirely comfortable to hold a crystal and a flashlight in one hand while holding a camera in the other:
Setting a narrow cone of light gave a sharper effect, and the light was broken up into precise patterns:
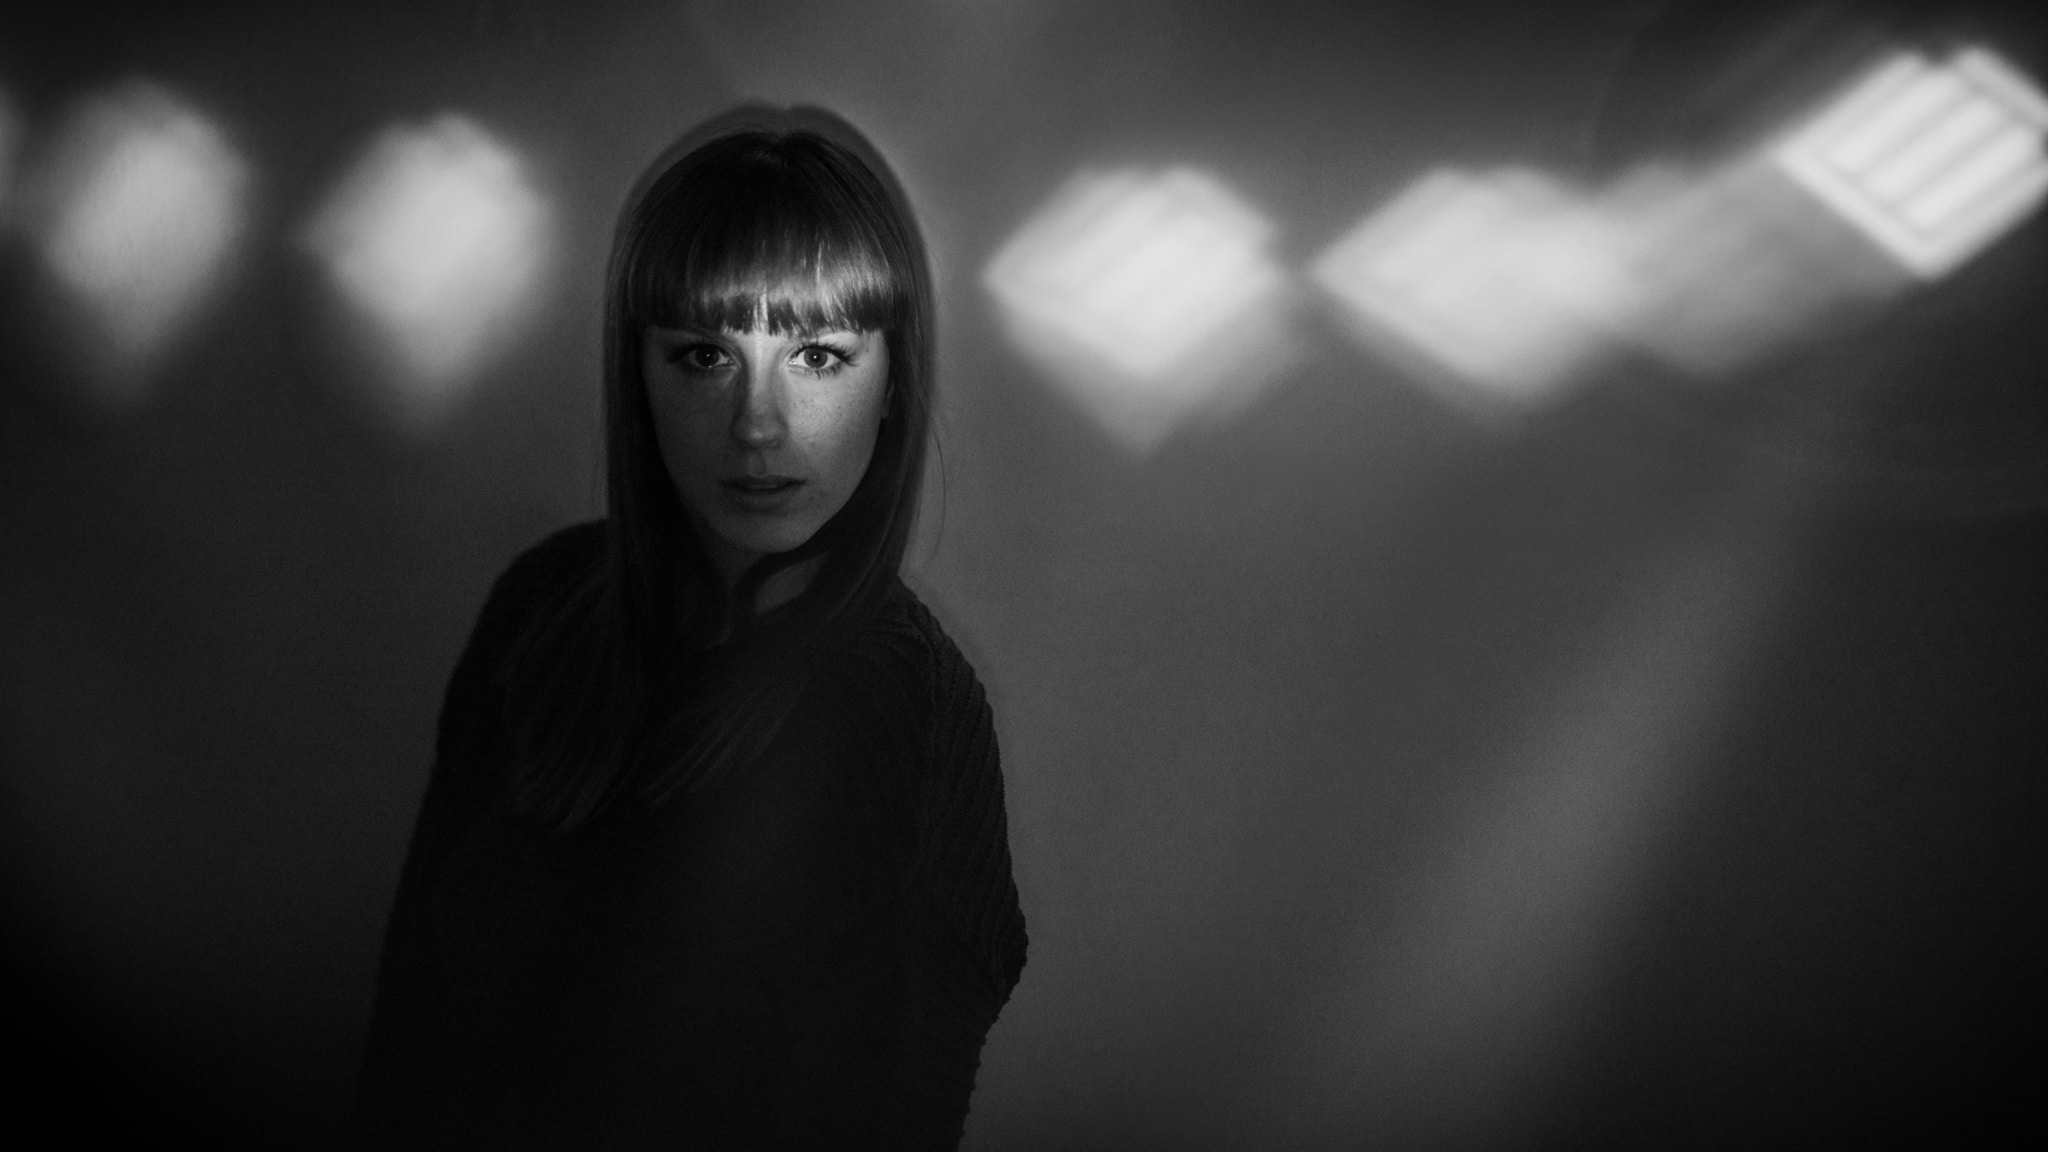
Nikon D750, 50mm, 1/125, f/1.4, ISO 1000.
Shining Through Larger Colored Glass Objects
And as our last refractor, we used an ashtray made out of thick colored glass. We shone a flashlight through it, gradually turning the light and watching for something interesting to appear.
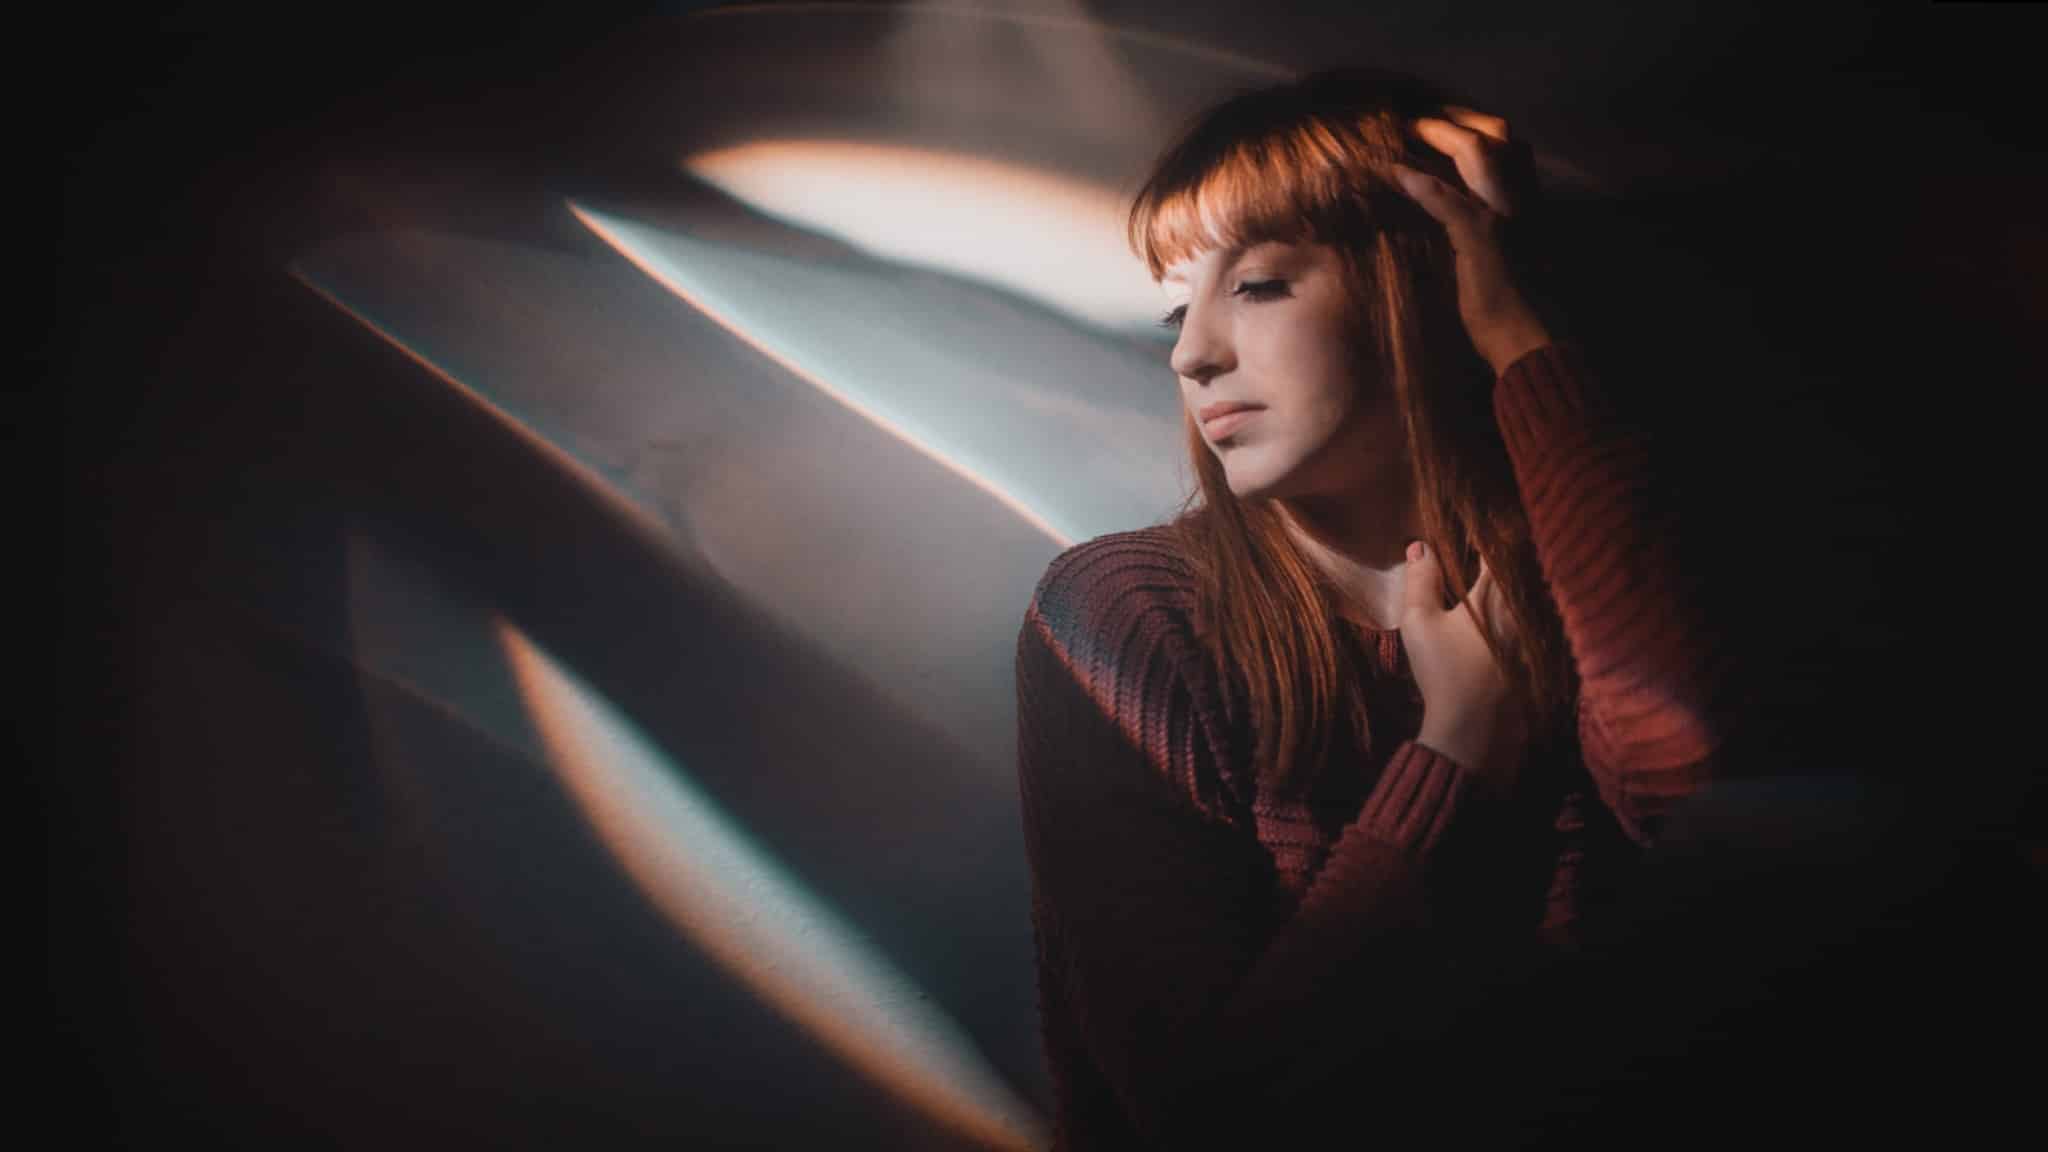
Nikon D750, 50mm, 1/125, f/1.4, ISO 800.
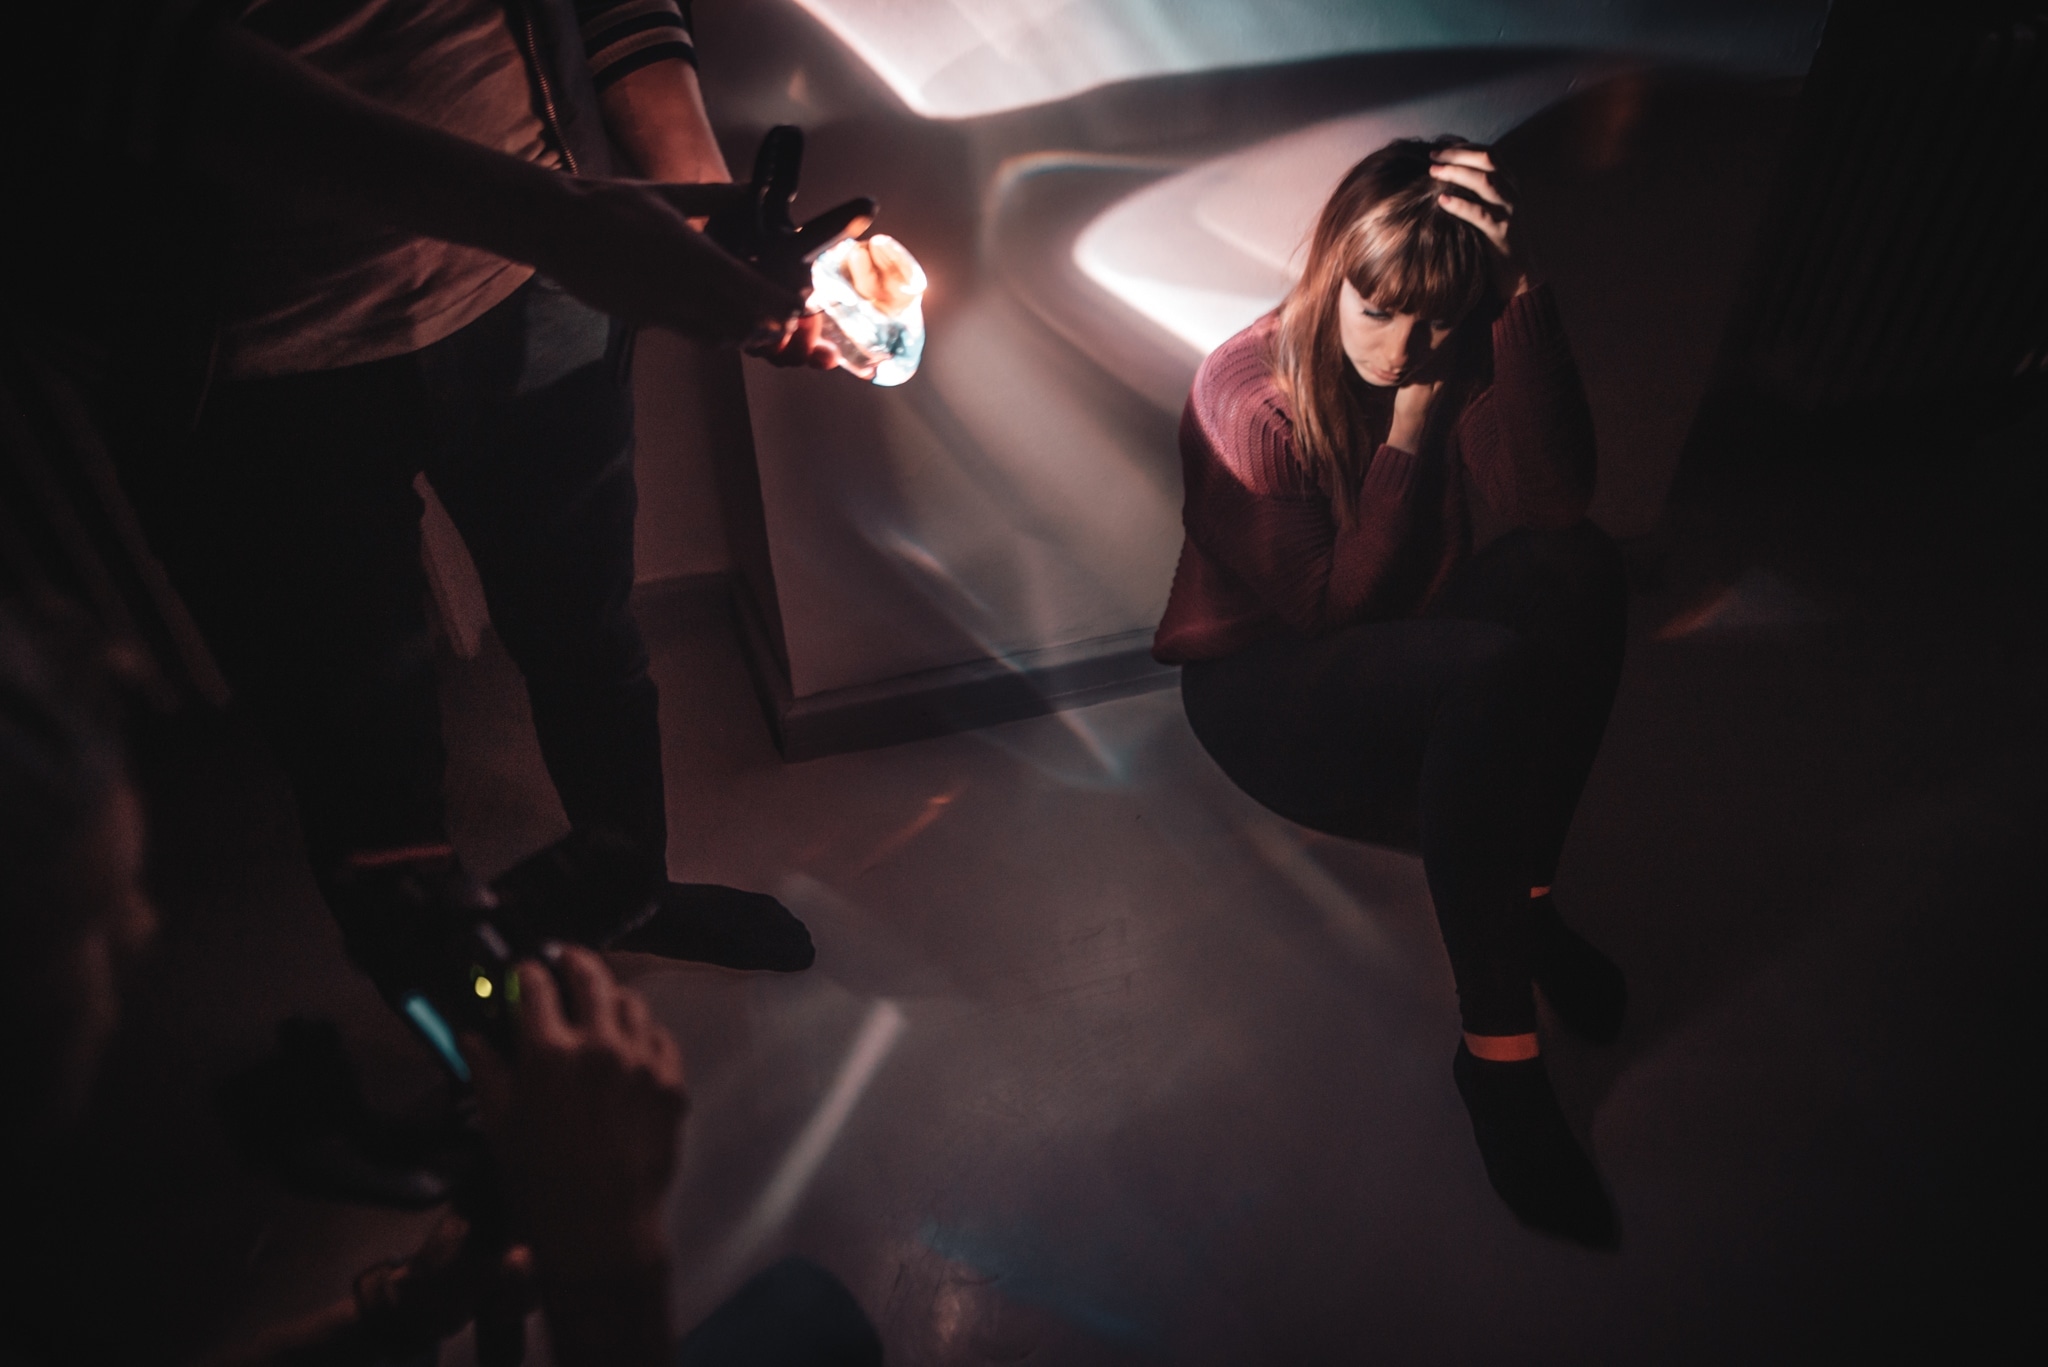
You’ll get better effects if you have someone with you to hold the light. For one thing, then you won’t have to concentrate as much on shining and moving the light, and for another, then you can light the model from the side, not from the direction of the camera. That will almost always be a more interesting lighting variant.
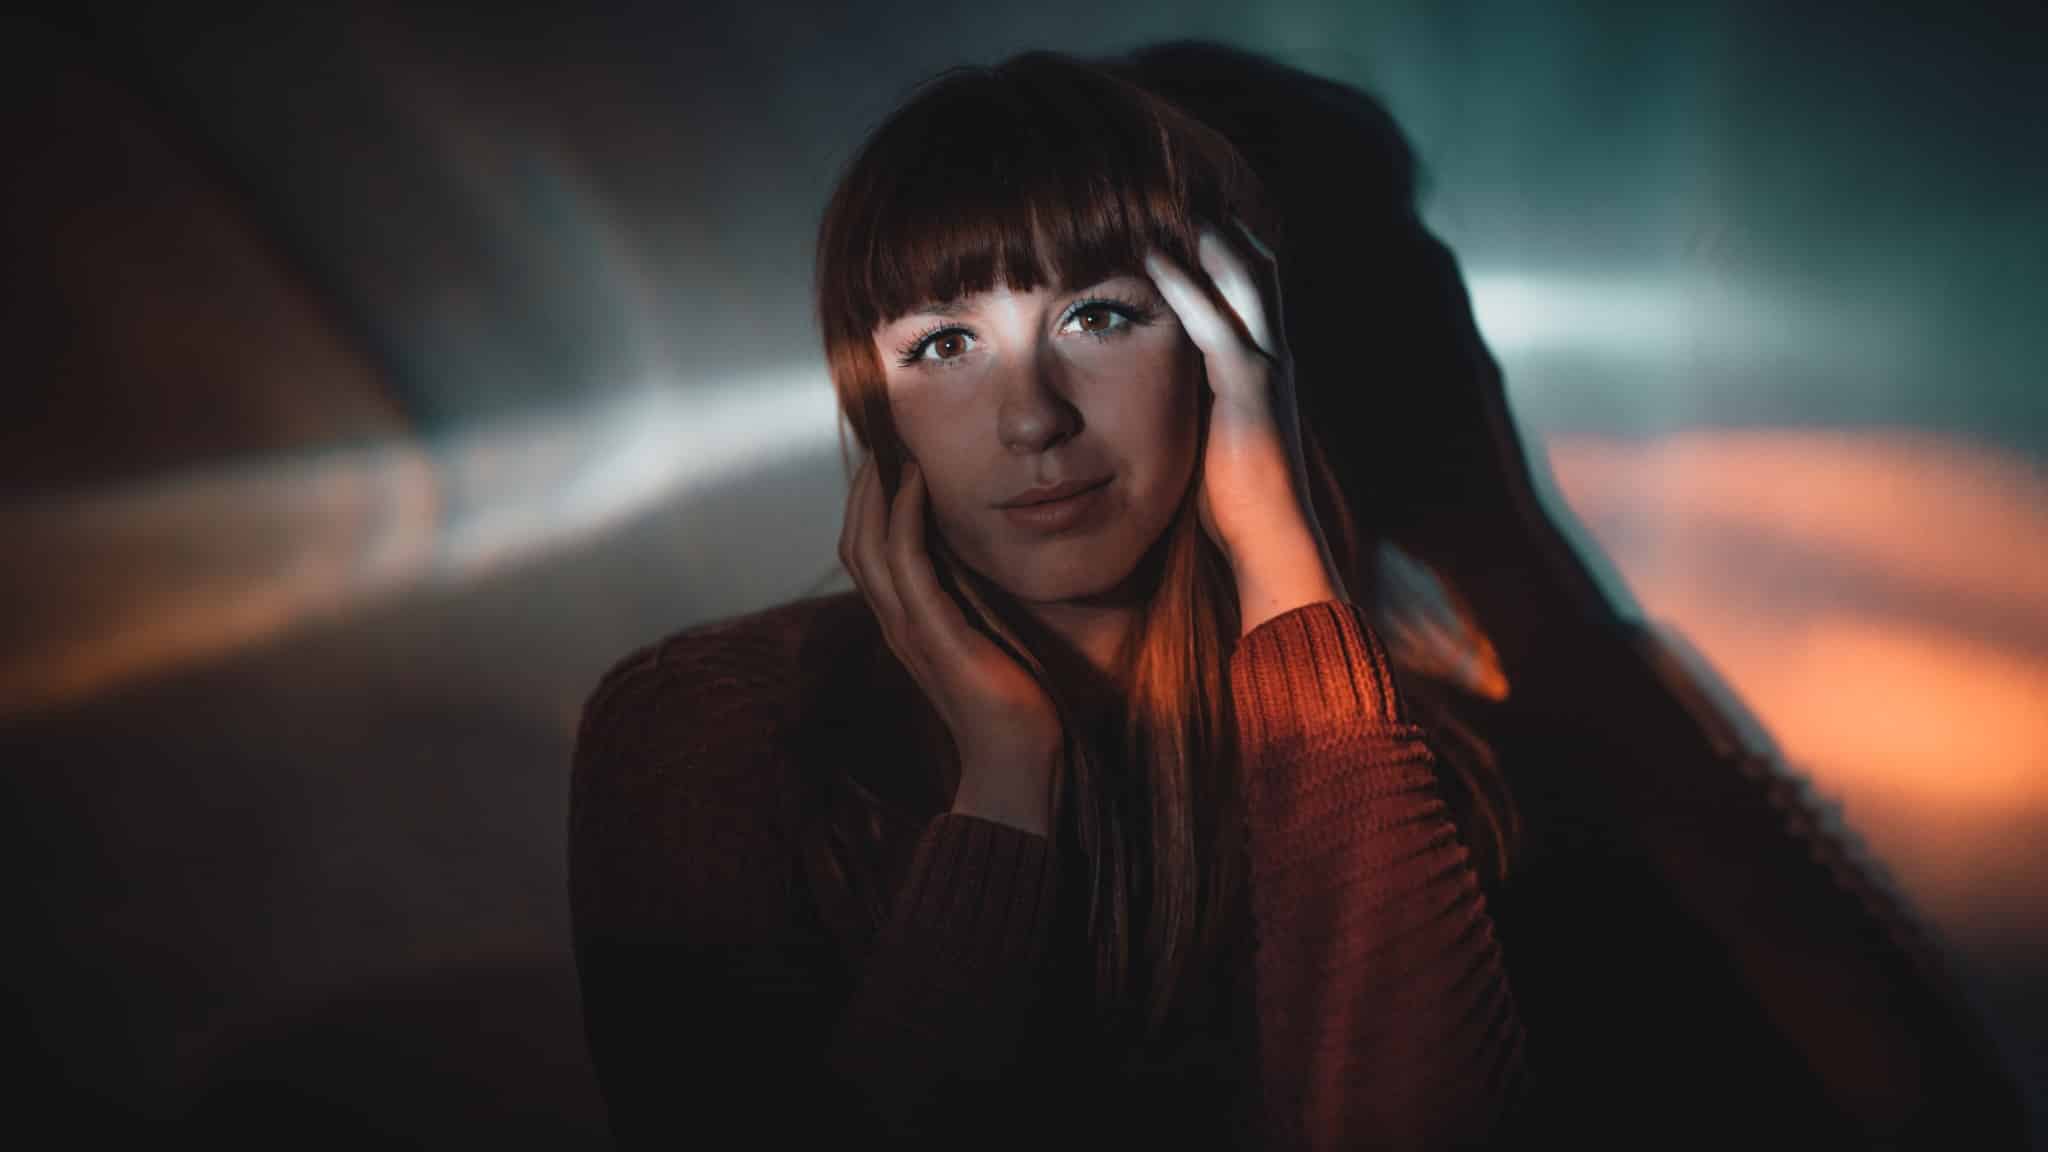
Side Light Produces Hard Shadows
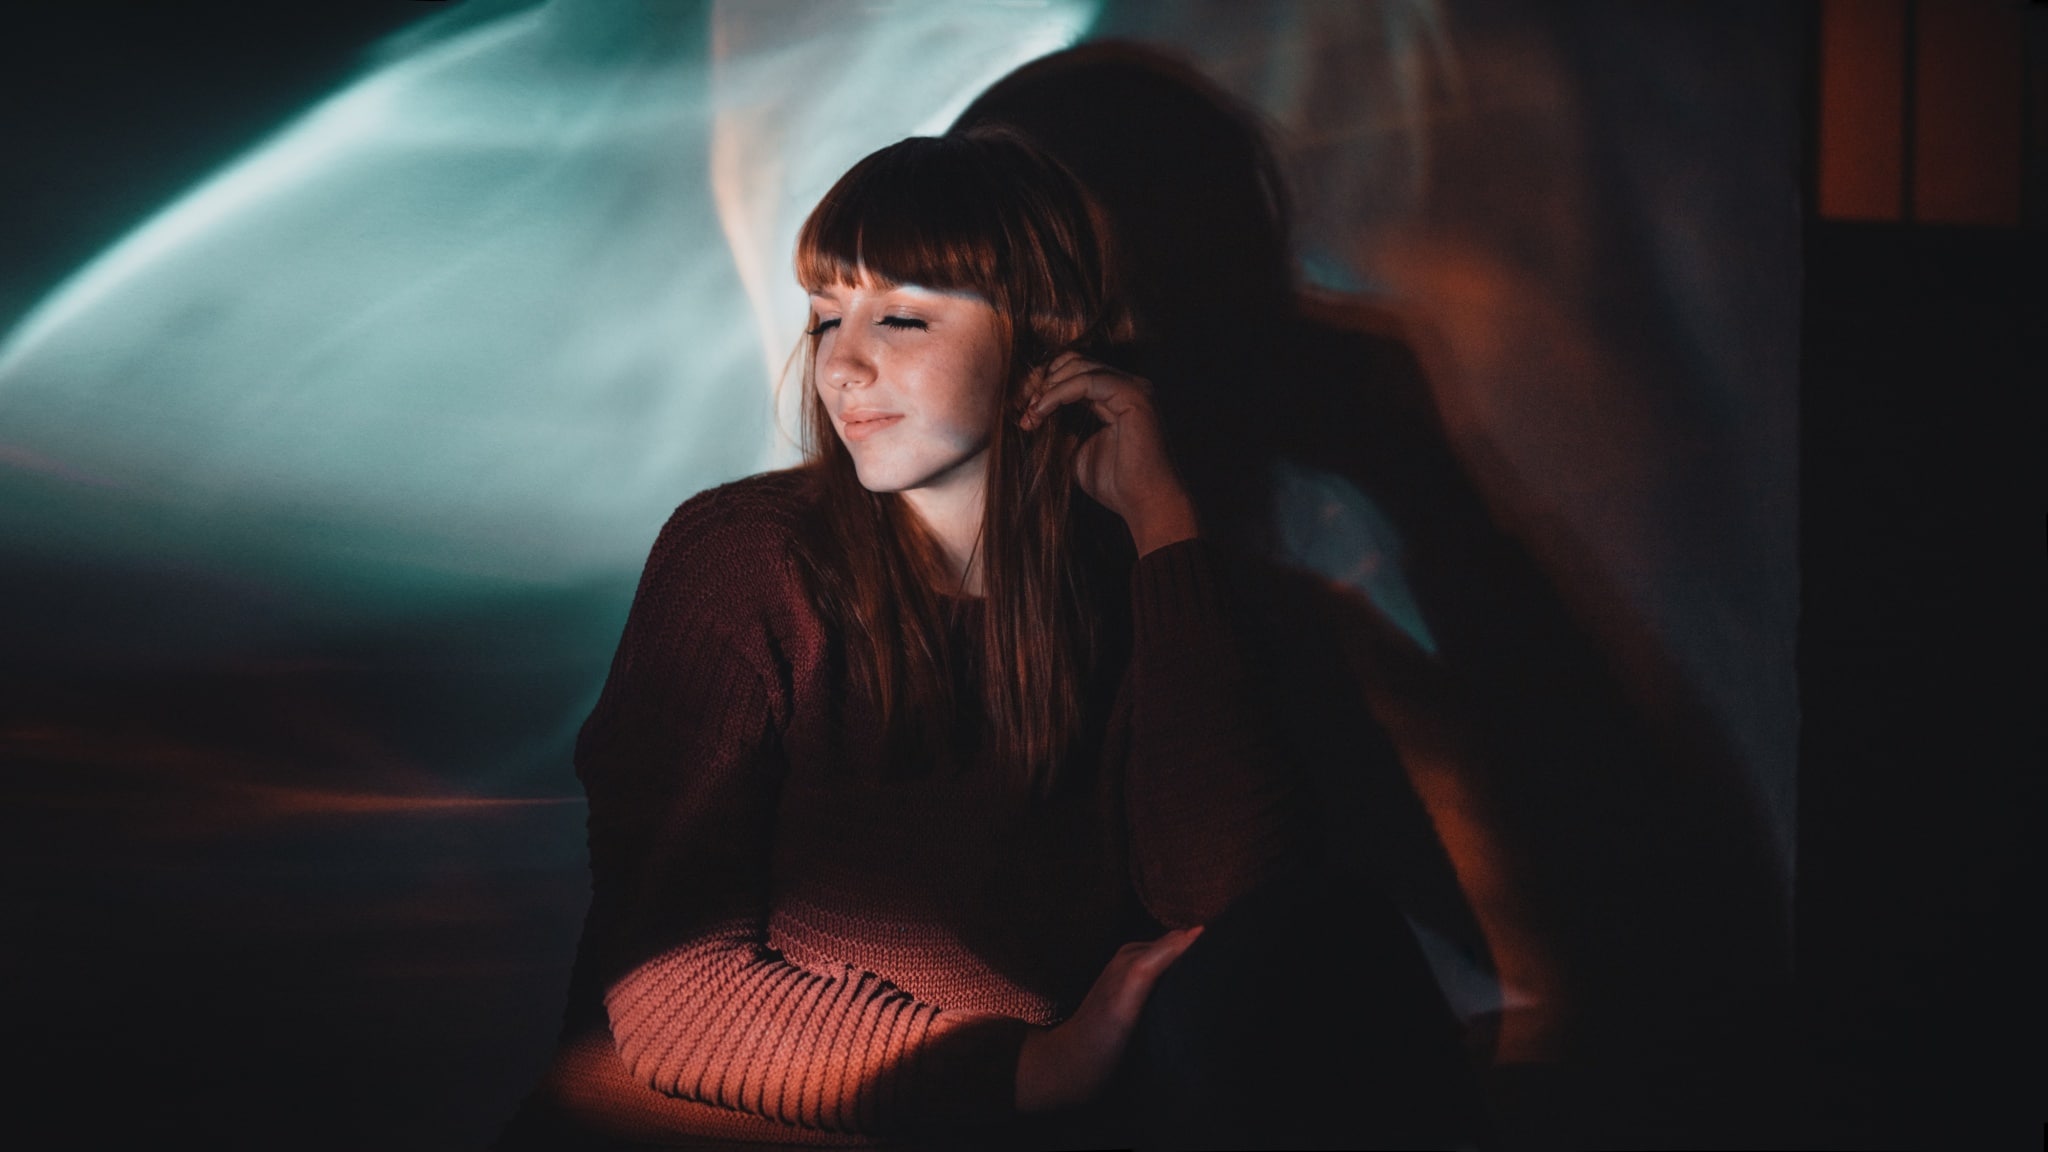
Glass objects refract light, but they don’t soften it. So when you take your pictures next to a wall, you get a sharp, but rather interesting shadow.
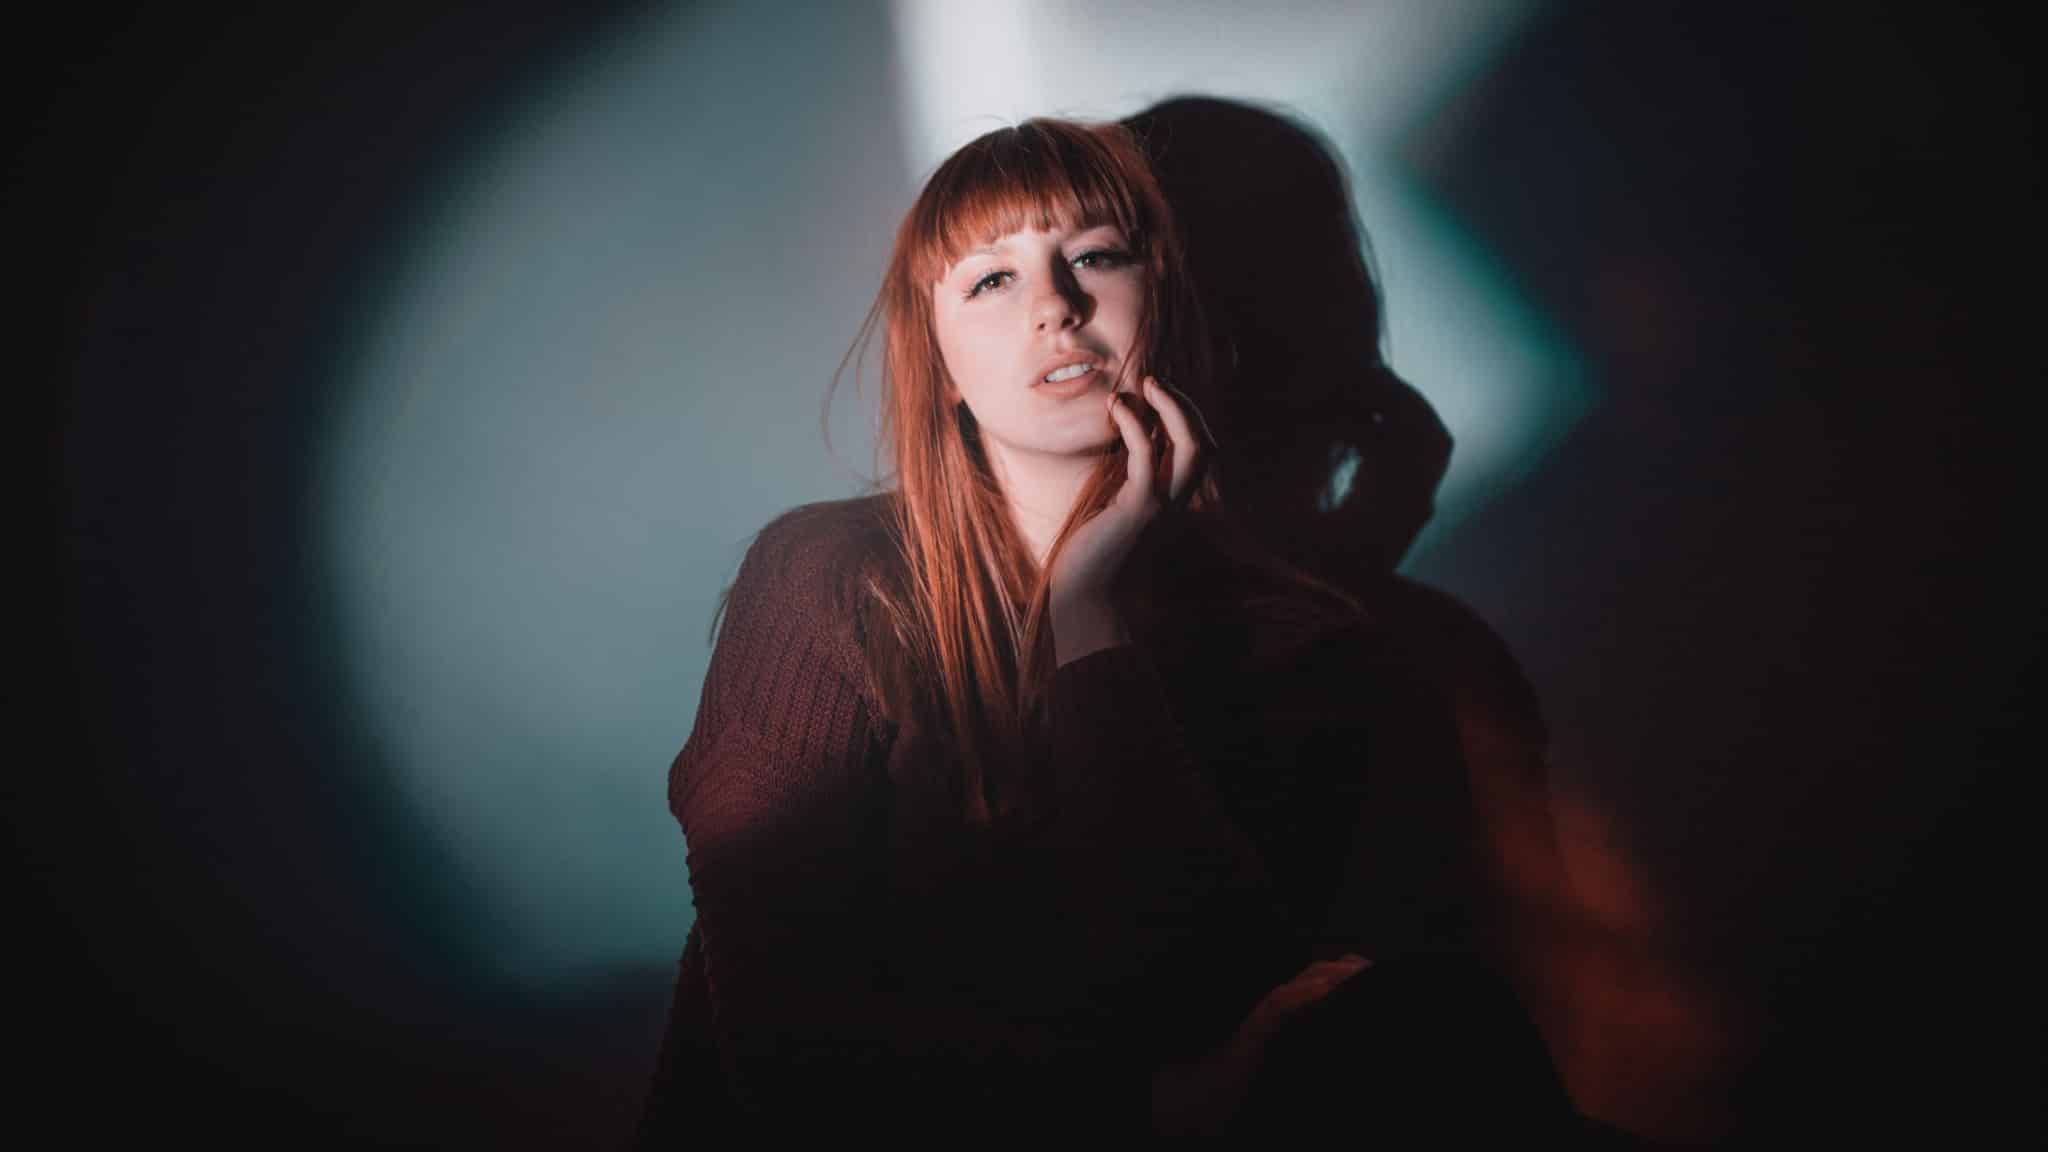
Colored glass produces interesting light effects at various angles. But you should expect more garbage shots than usual, because often an unflattering spot will be cast across the model’s face and so on.
Find Other Interesting Items and Experiment!
Just like every interesting effect, these effects become boring if they’re overused. But effects like these are still great for a change of pace and kickstarting creativity. This article is just a small example of what you can create with ordinary glass objects. But the possibilities are far broader! Take a look through your home, and you’ll definitely find something interesting.

There are no comments yet.