Why and How to Diffuse Your Light in Macro Photography
Macro photography is one of those genres where equipment really matters. Even in ordinary photography, it’s all about light, and in macro photography that goes double, especially when it comes to light diffusion.
Everyone who’s ever tried to shoot macro has asked themselves this question: Why aren’t my pictures as good as the ones out there that I admire? The answer is often simple. Often it’s just about a lack of the diffuse light that makes a photo special. Composition also plays an important role, but in this text we’ll concentrate just on diffuse light.
Different photographers appreciate different kinds of diffuse light; some prefer sharper shadows and higher-contrast light, while others prefer a minimum of shadows and lower-contrast light. Personally I’m among the second kind.
How to Diffuse the Light from a Flash
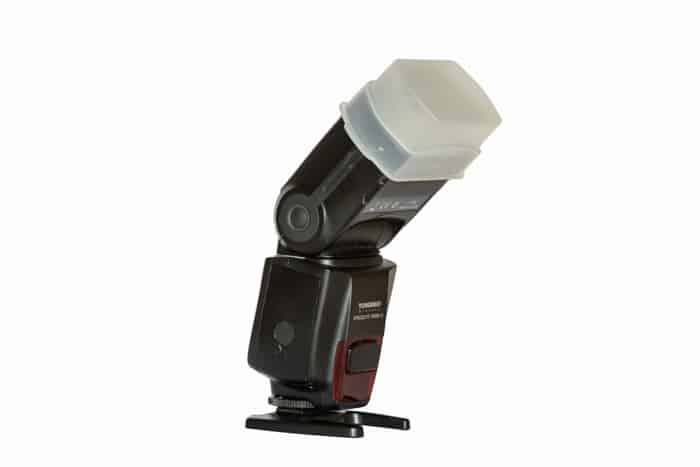
So how do you diffuse the light from your internal or external flash? One possibility is to buy a specialized diffuser that you mount onto your flash. If you buy one of these, you have to take into account that it’s a commercial product that’s made to sell, but maybe not to serve your needs. I personally own two of these commercial diffusers made for mounting onto an external flash.
I’m not satisfied with either of them, because I can’t affect the light diffusion enough to get the results I want without having to interfere in the intensity or direction of the flash.
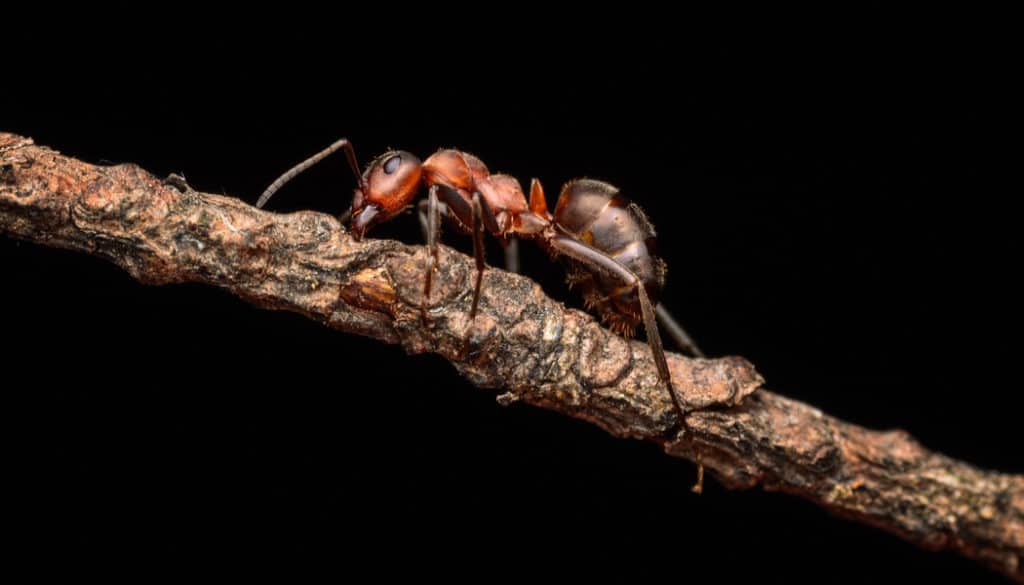
As you can see in the picture above, even after developing the RAW file, the results just aren’t right. Even though I used a basic diffuser, the light from the flash was sharp and “killed” the picture. The outcome of using the diffuser: light with too much contrast and not enough detail in the shadows. So here the plastic diffuser was no use.
Another option is diffusers made of cloth and reflecting foil that generally direct all light into one white square or rectangle. In other words, small softboxes for external flashes. These are much better at diffusing light. But they’re still not quite right.

Based on my experience, I can’t recommend even one of these diffusers. The main reason why is that they diffuse the light from a spot too close to the flash, and so they diffuse and soften the light too weakly. Another problem is the diffusion of the light before the lens. You can end up with your picture having an unwanted shadow from the lens or the lens hood.
The Solution to Bad Light Diffusion
So how do you avoid these problems? There’s a variety of ways to improve the diffuser you’ve bought and to spread out the light more and make the shadows softer. You can add another layer: tracing paper, white cloth, or even paper tissues. To tell the truth, the best choice is to throw out all the diffusers you’ve bought and make your own.
To get good light diffusion that makes your pictures look the way you want, you have to take into account both of the factors mentioned above: the need for the diffuser to be far enough from the flash source, and the need for the light to be diffused behind the lens, not in front of it. So where should you put your diffuser? Don’t place the diffuser on the flash; instead, put it on the end of your lens, and ideally on the start of your lens hood, so that it’s pointed in front of the lens, as you can see in the picture below.

By locating the diffuser on the lens, you avoid the problems I mentioned. You get a major advantage in that you can adjust the angle of diffusion, and through that the shadow intensity as well. The perfect angle of diffusion is 45°; that gives you enough diffusion and ideal shadow softness. To minimize the shadows, tilt the diffuser so it’s almost parallel with the lens. For sharper shadows, increase the angle of diffusion to 90°.
The Diffuser Itself
You can make your diffuser out of any material with a thickness of 0.5 to 1 cm. It just needs to be white and translucent. My diffuser is made from the foam filling of a tablet case: I cut a hole out of it for the lens hood and along the sides of the hole I placed a rubber band, to catch it onto the lens. You’ll need to practice a bit at first to keep your diffuser from scaring away the bug you’re photographing, but over time you’ll find that despite the very amateur look, there’s no better diffuser.
This diffuser naturally also has the advantage that you can use it with both internal and external flashes. But if you want a handy diffuser made for internal flashes directly, use a white film can and cut a hole for the internal flash into that. You’ll be pleasantly surprised by the results, and the purchase price is zero.

So why use diffuse light in macro photography? In the end the answer is simple: So that your pictures look the way you’d like. Never forget that light is your foundation, and that it’s important to work with it, and above all to know how to work with it.
There are no comments yet.