10 Tips for Speeding Up Post-Production—Save Time Editing Your Photos

Post-production is an essential part of photography, but it can easily turn into an endless process that drains your time and energy. Fortunately, there are ways to make editing faster and more efficient, without sacrificing quality. Whether you’re a professional photographer or a hobbyist who enjoys editing your own photos, these tips will help you spend less time at the computer and achieve more consistent results.
Before diving into editing, keep in mind that an efficient workflow isn’t just about speed. It’s also about having a solid system in place. With a clearly defined workflow in Zoner Studio, you can avoid chaos and needless re-editing. Let’s take a look at a few practical tips that can streamline your process.
1. Let the client choose the photos
Instead of spending hours sorting through hundreds of photos yourself, pass that task to your client. Let them select which images they want edited. You’ll save time and avoid situations where the client asks for images you’ve already deleted.
In my experience, clients often have different preferences than photographers. People see their own expressions and emotions differently, so it makes sense to leave the final selection up to them.


Let the client decide. It saves time and ensures they’ll be happy with the results.
2. Ask what the client expects from editing
The photos are for your client, not you. And clients often have a different vision for how their photos should look. Some want every skin blemish removed, while others want to keep it natural. Ask the client to write down what kind of edits they want for their selected images. This helps you avoid unnecessary adjustments and endless rounds of revisions.
The intended use of the photos is also important. Whether they’re going online, being printed, or used for a billboard, each requires a different editing approach.
3. Start with one sample photo
If the client has specific editing requirements, start with one photo to demonstrate your retouching style. Once they approve it, you can apply the same approach to the rest of the series. This avoids the headache of editing dozens of photos only to find out the client wanted something completely different.
Start with one photo, and after you get your client’s seal of approval, edit the others.
4. Keep your editing style consistent
The entire series should look cohesive. This means consistent exposure, color tones, and retouching style. This also speeds up post-production, since you can apply adjustments from a sample photo to the others in the series. If you’re using presets or batch editing, apply those at the start, before fine-tuning the details.
Of course, fine art projects may require different lighting and emotions. But for regular projects, the overall aesthetic of the photos should be consistent.


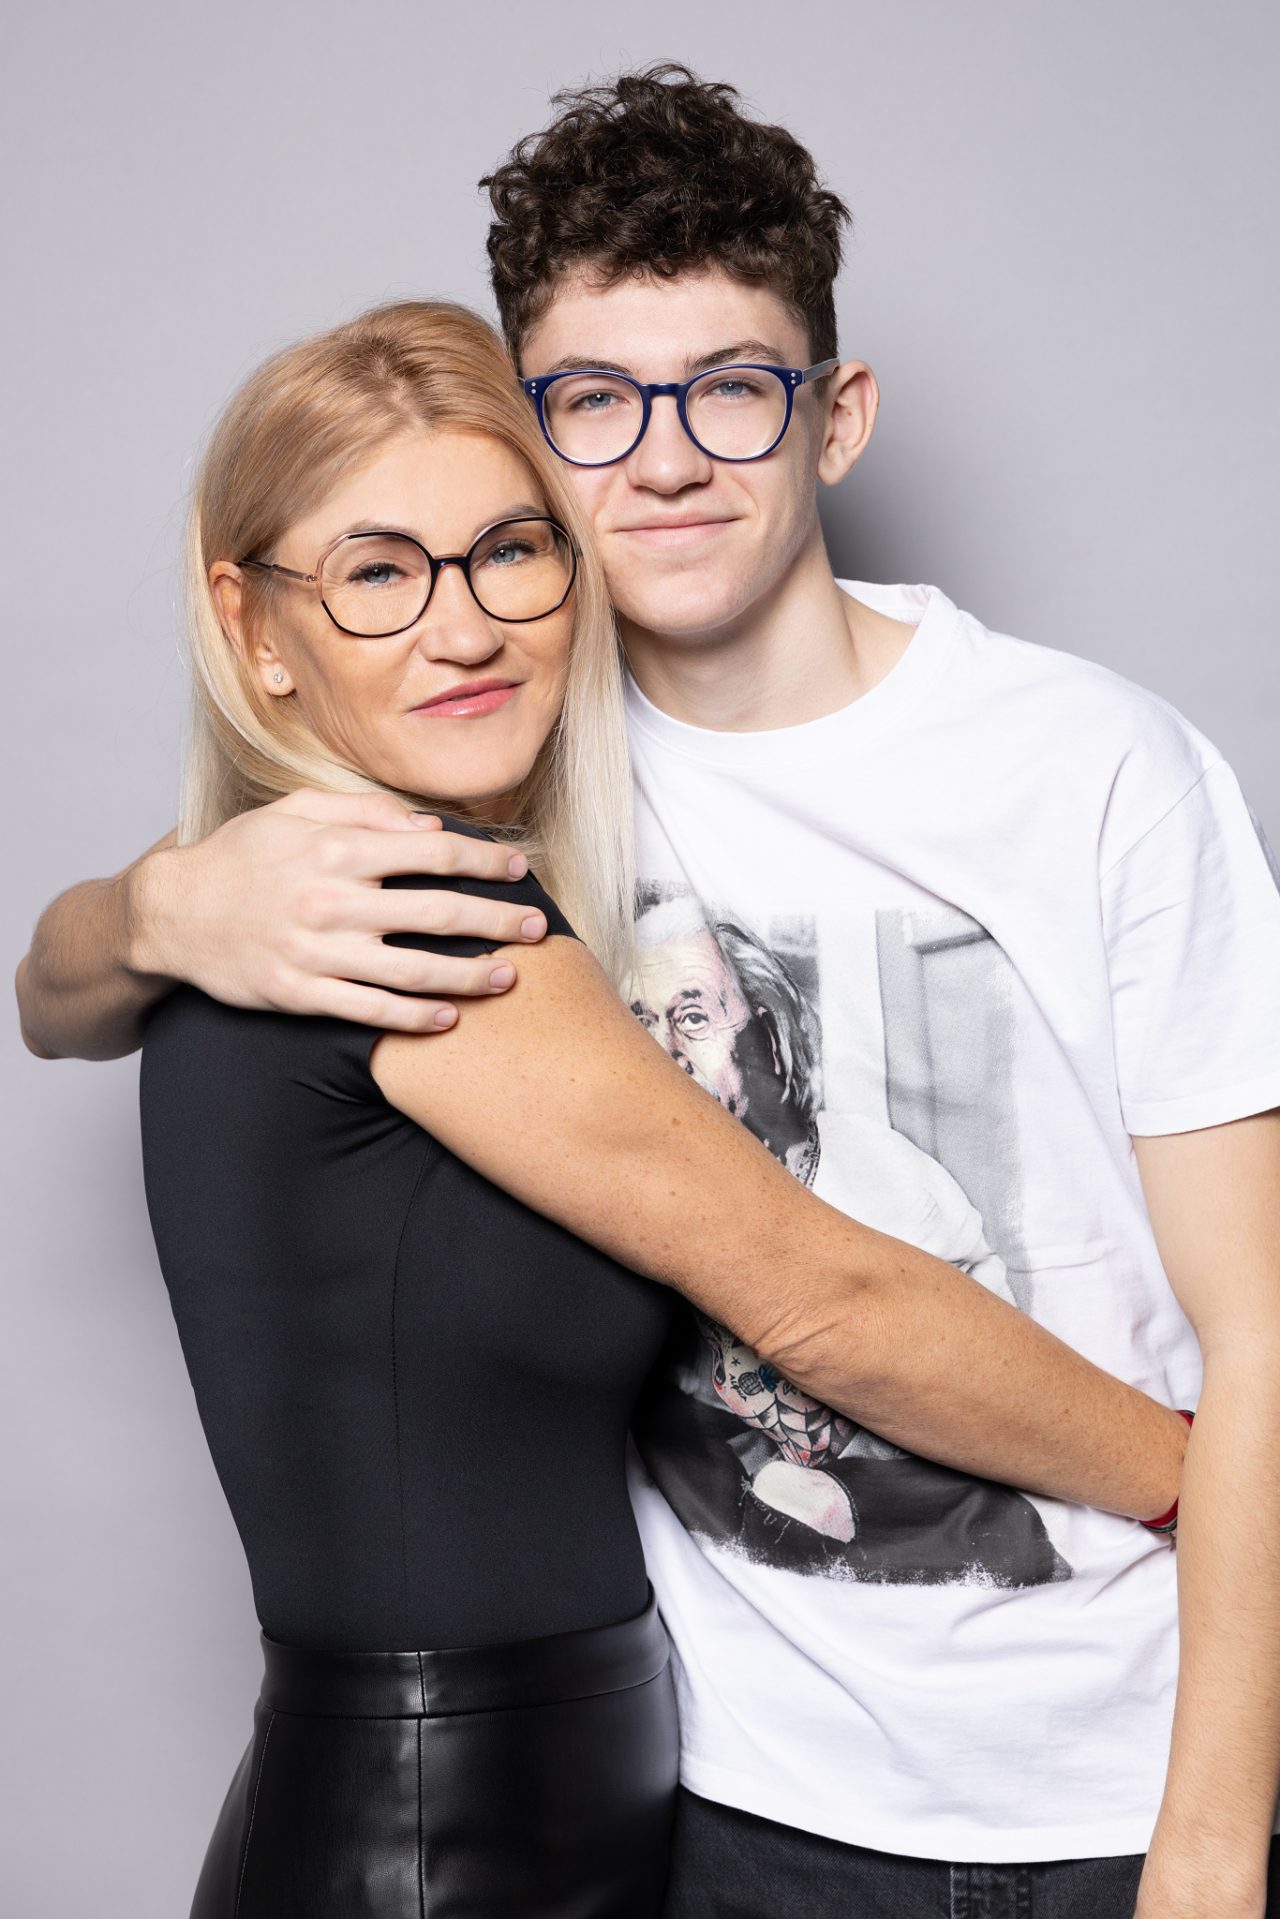


The entire series should look consistent. This means you can use presets or copy and paste adjustments.
5. Be consistent with retouching
There’s nothing worse than spotty retouching. If you’re removing blemishes, flyaway hairs, or a bra strap that’s sticking out, do it consistently for all your shots. Differences between photos can be distracting and look unprofessional.
Set clear expectations with your client about what kind of retouching you’ll do and stick to those guidelines throughout. This way, you won’t get caught making unnecessary fixes on some photos.
Don’t make unnecessary adjustments and maintain a consistent style. Inconsistent retouching looks unprofessional and wastes time.
6. Edit the whole series in one go
Try to finish the project in one working day. Taking long breaks or editing in fragments can disrupt your rhythm and make it harder to replicate the previous adjustments.
I once timed myself on two similar projects. For one, I edited all the photos at once. The other was done in pieces with breaks in between. The result? The second project took 40% longer! Of course, if you have a high volume of photos, breaks are fine, but don’t stretch a single project across too many sessions.
7. Keep editing clean and precise
Photos should look clean and natural. This means the skin and retouching must be precise. Remove distractions and refine skin tones, but avoid heavy smoothing or unrealistic adjustments. Overediting takes more time and often leads to worse results.
Make sure retouching is done carefully, but is not over the top. Clean, natural editing takes less time and looks better in the long run.
8. Track your time
Keep track of how long you spend on post-production. It’ll help you plan better and set fair prices for your work. You may discover that you’re undercharging for your work.
While this tip won’t directly speed up your workflow, it’s crucial, especially if you’re doing paid work. Time tracking helps you avoid spending unpaid hours on revisions and is equally useful for personal projects.
9. Deliver photos via an online gallery
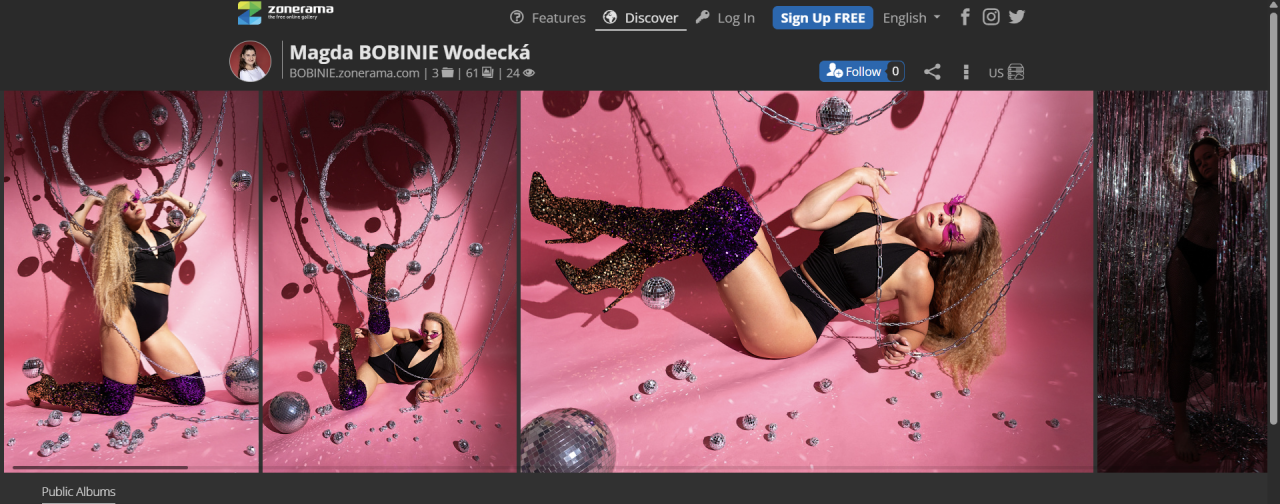
Don’t send photos via email or messaging apps. Use a professional online gallery, such as Zonerama, which is free and gives clients reliable and ongoing access to their photos. Plus, it saves you time you’d otherwise spend uploading or sending separate files or resending when a client accidentally deletes or misplaces photos.
10. Double-check everything before delivery
Only send photos once everything is complete. There’s nothing worse than sending photos in batches. It takes a lot more time than you think. Before you send the photos to the client, go through them one more time and make sure you haven’t forgotten anything. The little details and care you take leave a lasting impression. And a happy client is sure to return.



There are no comments yet.