3 Tips for Using Dodge and Burn To Edit Your Portraits
Editing portraits is a complex, multi-step process. An option for adding some pizzazz to your portraits is to use the Dodge and Burn technique which involves brightening and darkening certain areas of the photo. In this case, parts of the face. Take a look at this simple, 3-step process that will enhance your portraits using Dodge and Burn.
Dodge and Burn is an editing process as old as photography itself. Back in the analog days, Dodge and Burn was commonly used to enhance pictures across various genres. It can be found in the Editor module of Zoner Studio.
Dodge and Burn for portraits
In this article, we’ll look at using the Dodge and Burn technique to edit different facial features for portrait photography. It can be used to bring out the eyes, lips, or other distinctive facial features like the cheekbones.
The concept of Dodge and Burn for editing portraits consists of brightening and darkening certain areas to emphasize contours and contrasts and highlighting the facial features. The editing is subtle but gives noticeable results. We must be careful that we are enhancing the portrait and not completely altering it!

Editing the eyes
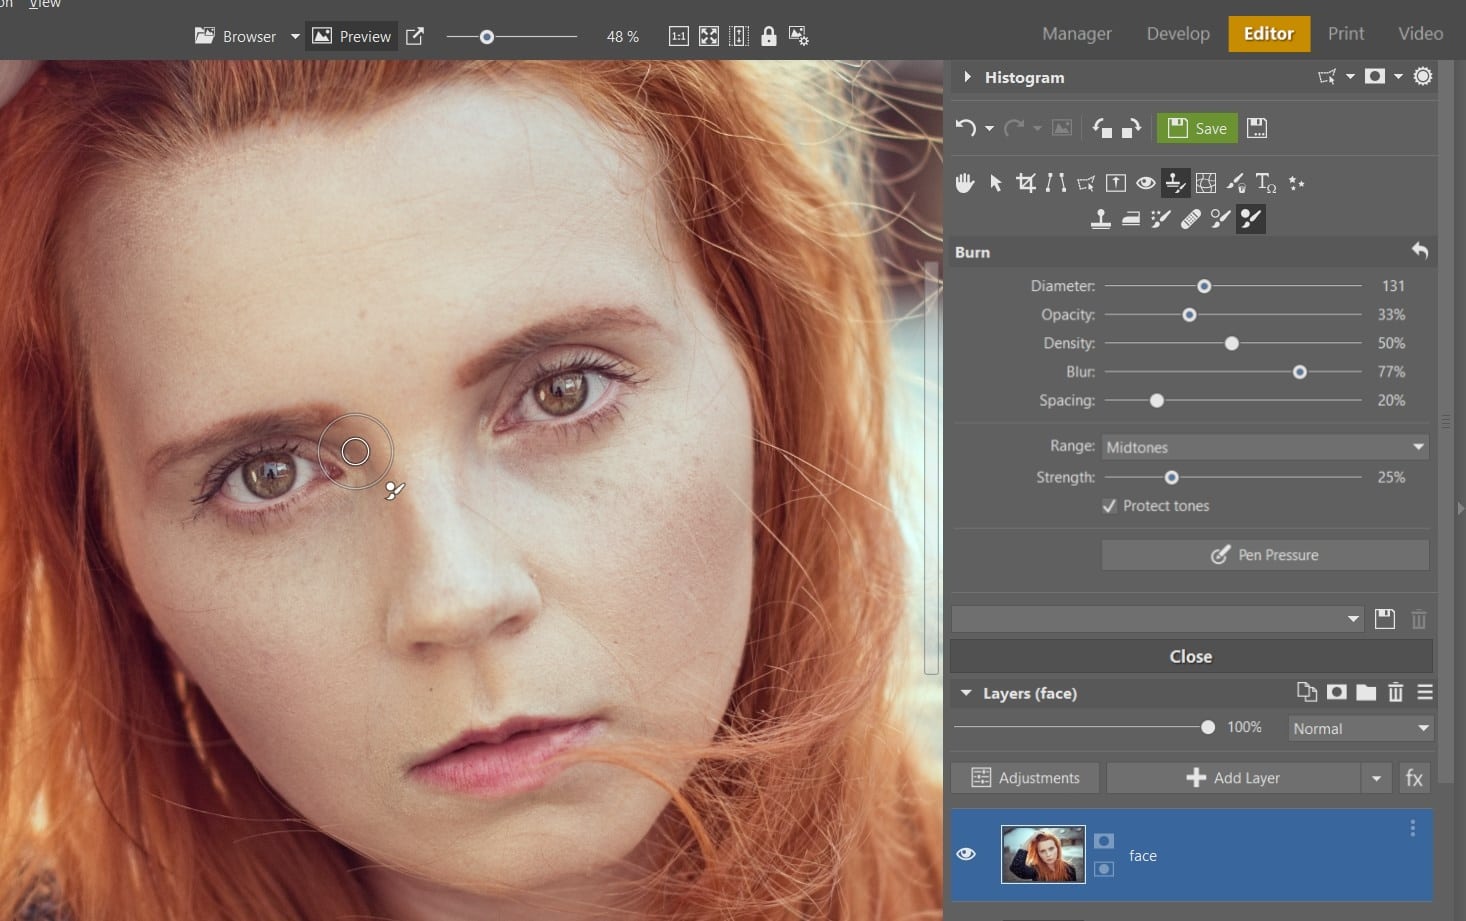
The first adjustment we will demonstrate will be for the eyes. Dramatic eyes are key to almost any portrait, so we’ll use Dodge and Burn to bring out the eyes.
After you have finished editing your photo in the Develop module, open it in the Editor module. Dodge and Burn is usually one of the last edits you’ll do to your photo. Duplicate the layer to get started. We are going to be using the Dodge(I) and Burn (Shift+I) functions under Retouching Tools.
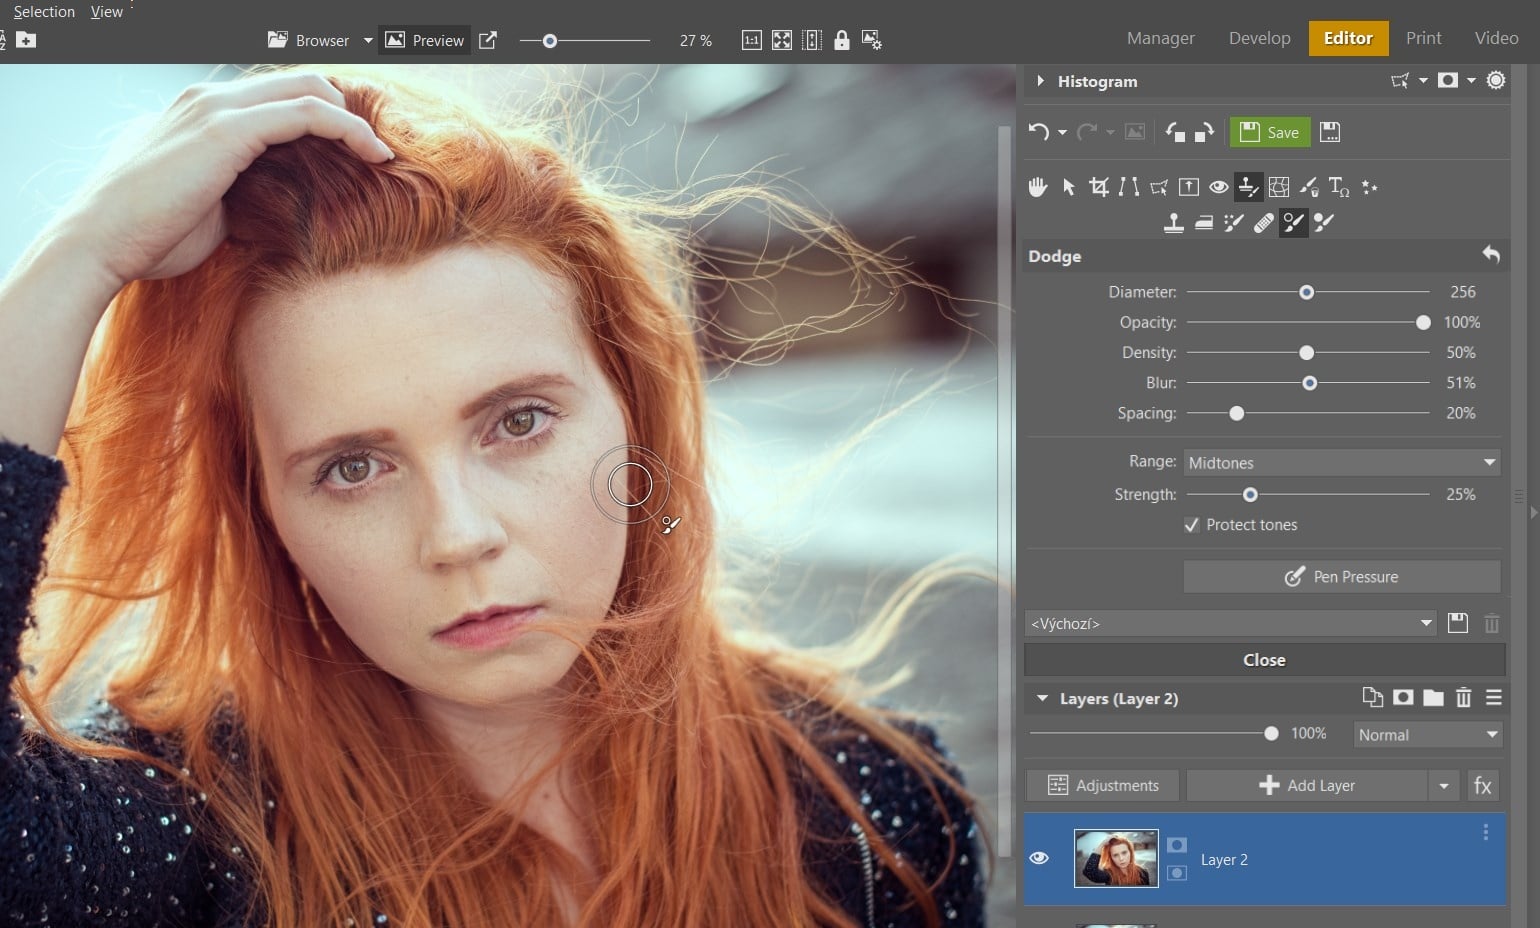
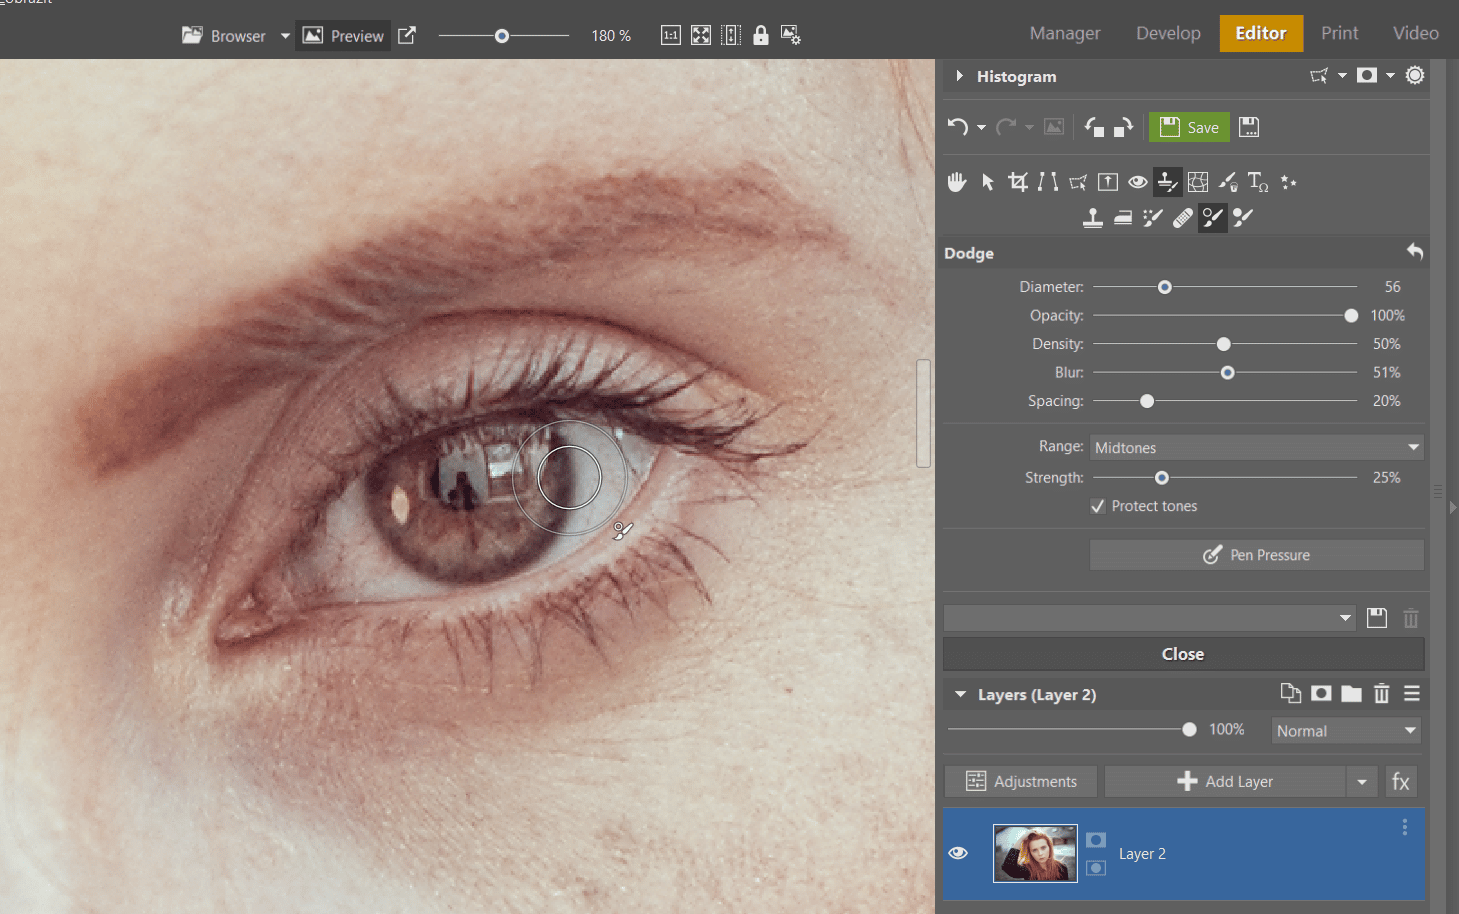
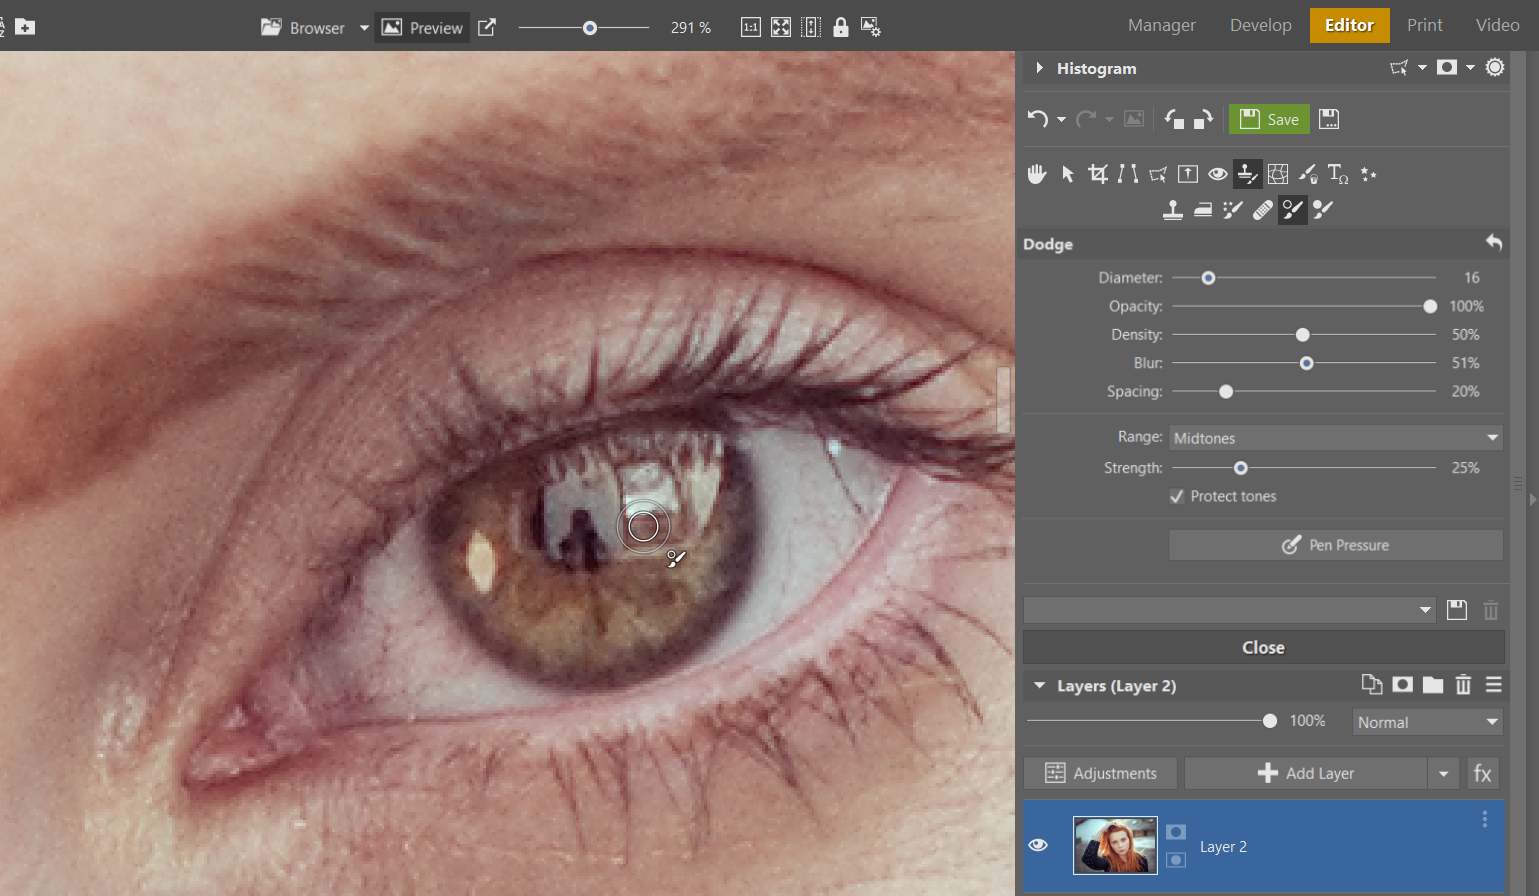
Use Dodge(I) to brighten the eyes. Set the brush Diameter as needed. Leave Opacity at 100%. Set Blur based on the situation – You can leave it at around 50% and make changes if needed. In the drop-down menu next to Range, leave the Midtones option. Move the Strength slider to a reasonable value, such as 25%. Next, use the brush to paint the entire eye (not the eyelids).

TIP: Monitor your editing throughout by hiding the edited layer (eye icon next to its preview) and zooming out to see the face as a whole. If you discover the editing is too much, undo (Ctrl + Z), lower the Strength slider, and try again.
Next, bring out the subtle reflections in the eyes. Zoom in your photo, reduce the brush’s diameter, and paint over the reflections in the irises one or two times as needed. It’s important to not overdo the adjustment. If you overemphasize the eye’s reflections, the subject will have glassy eyes. So be careful.
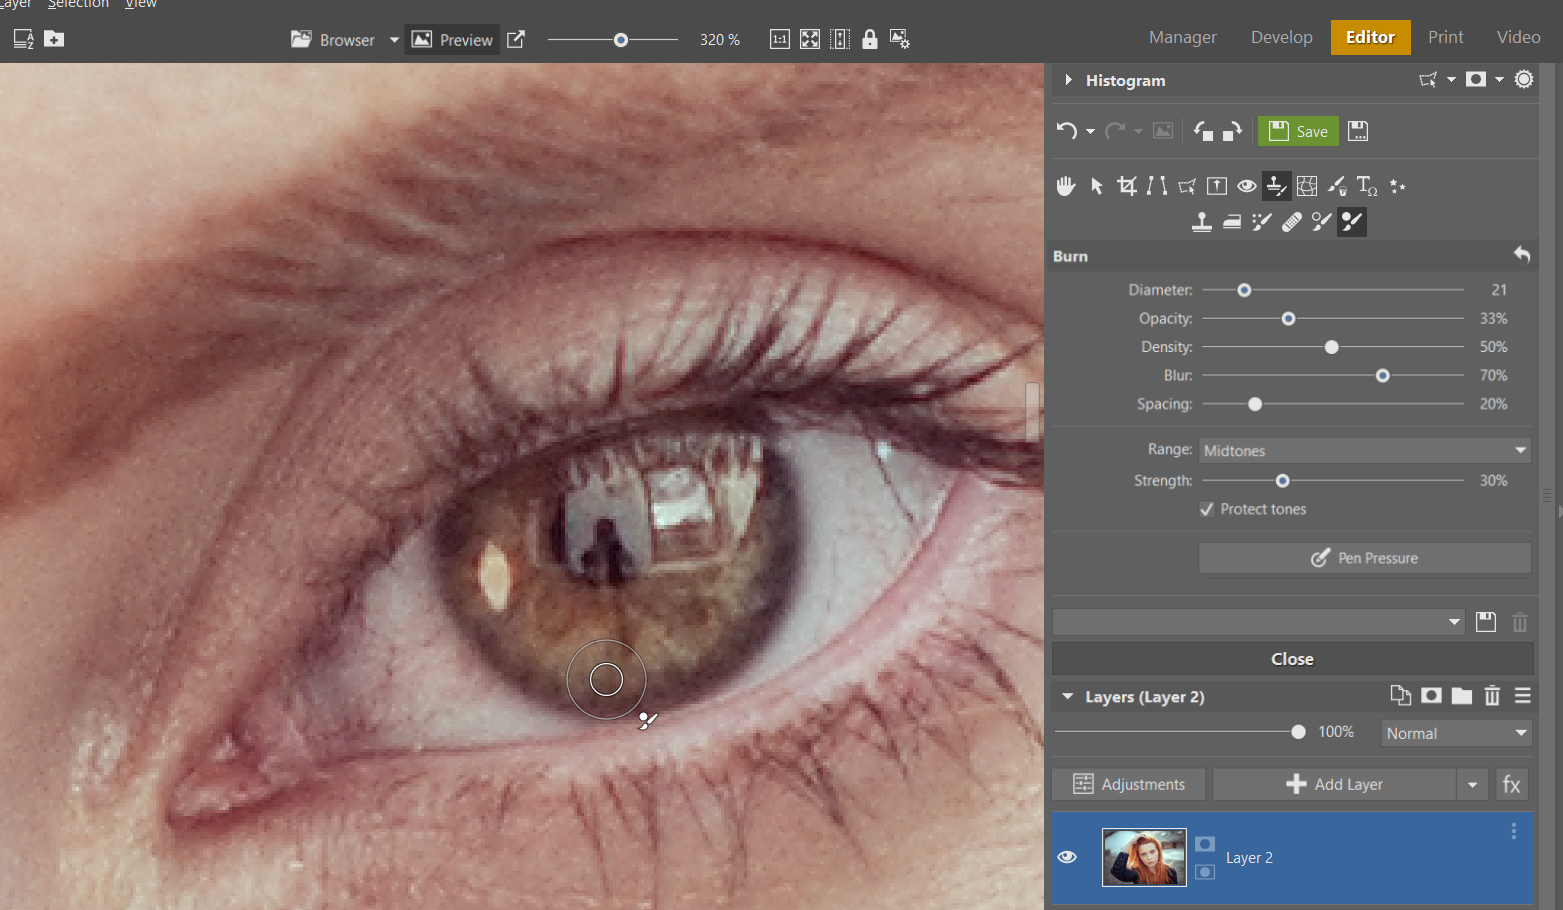
Finally, you can use the Burn (Shift+I) brush to bring out the eyes’ contrast by darkening the edges of the irises. This option doesn’t work for everyone but may be worth trying.
Editing the lips
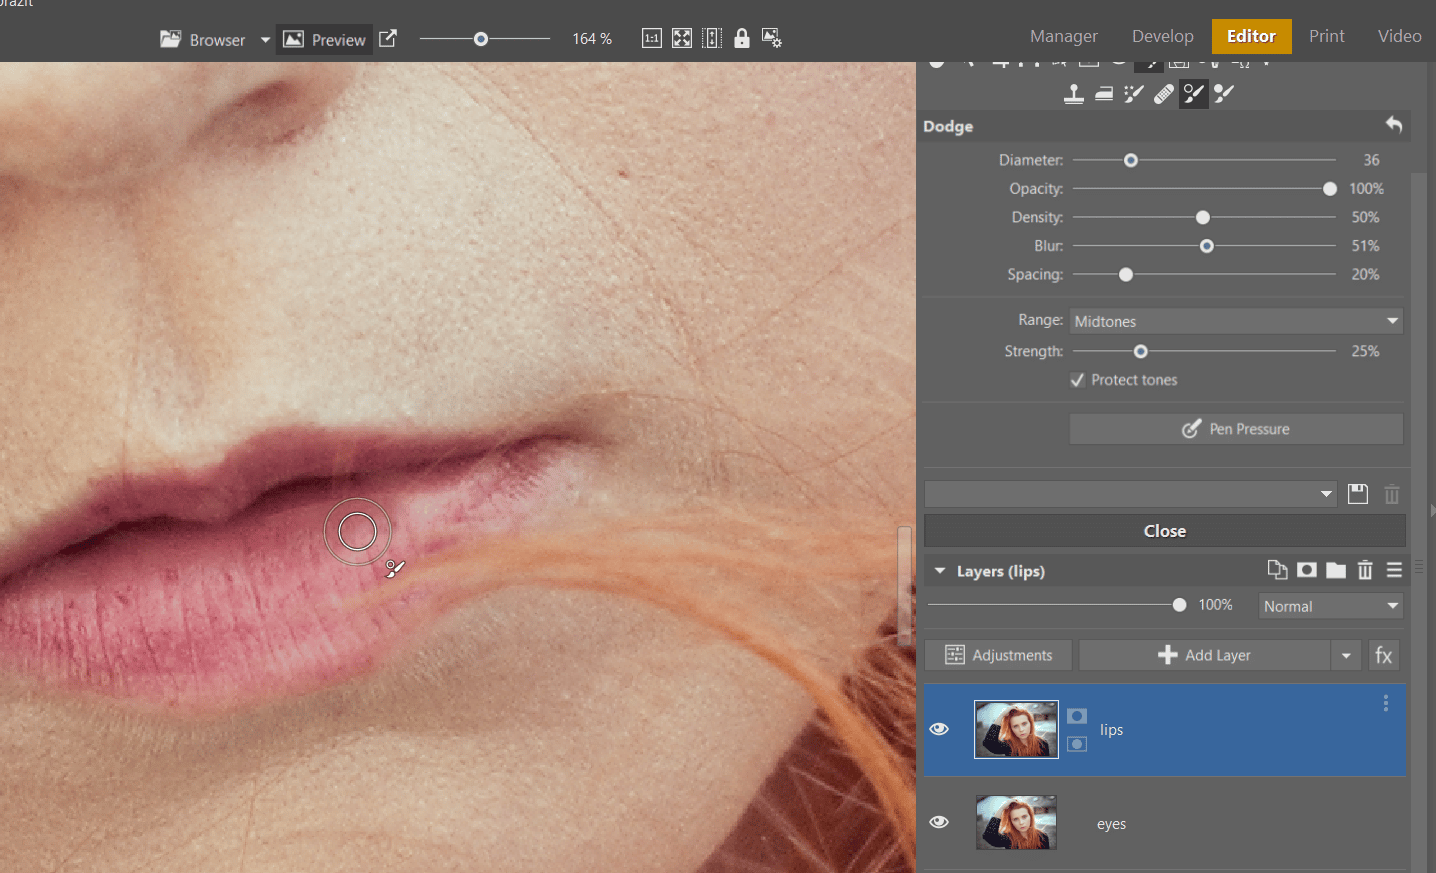
The eyes are finished. Duplicate your layer and move on to editing the lips. Don’t forget that Zoner Studio gives you the option to name your layers. Double click the name to change it. This comes in handy when working with multiple layers, like in our case.
Light usually falls on the lips from above. For this reason, the top lip is darker, and the bottom is lighter. You will bring out this natural quality by using Dodge and Burn. Use one or two strokes to darken the top lip and brighten the bottom lip. This way you add contrast and emphasize the lips.
Facial features
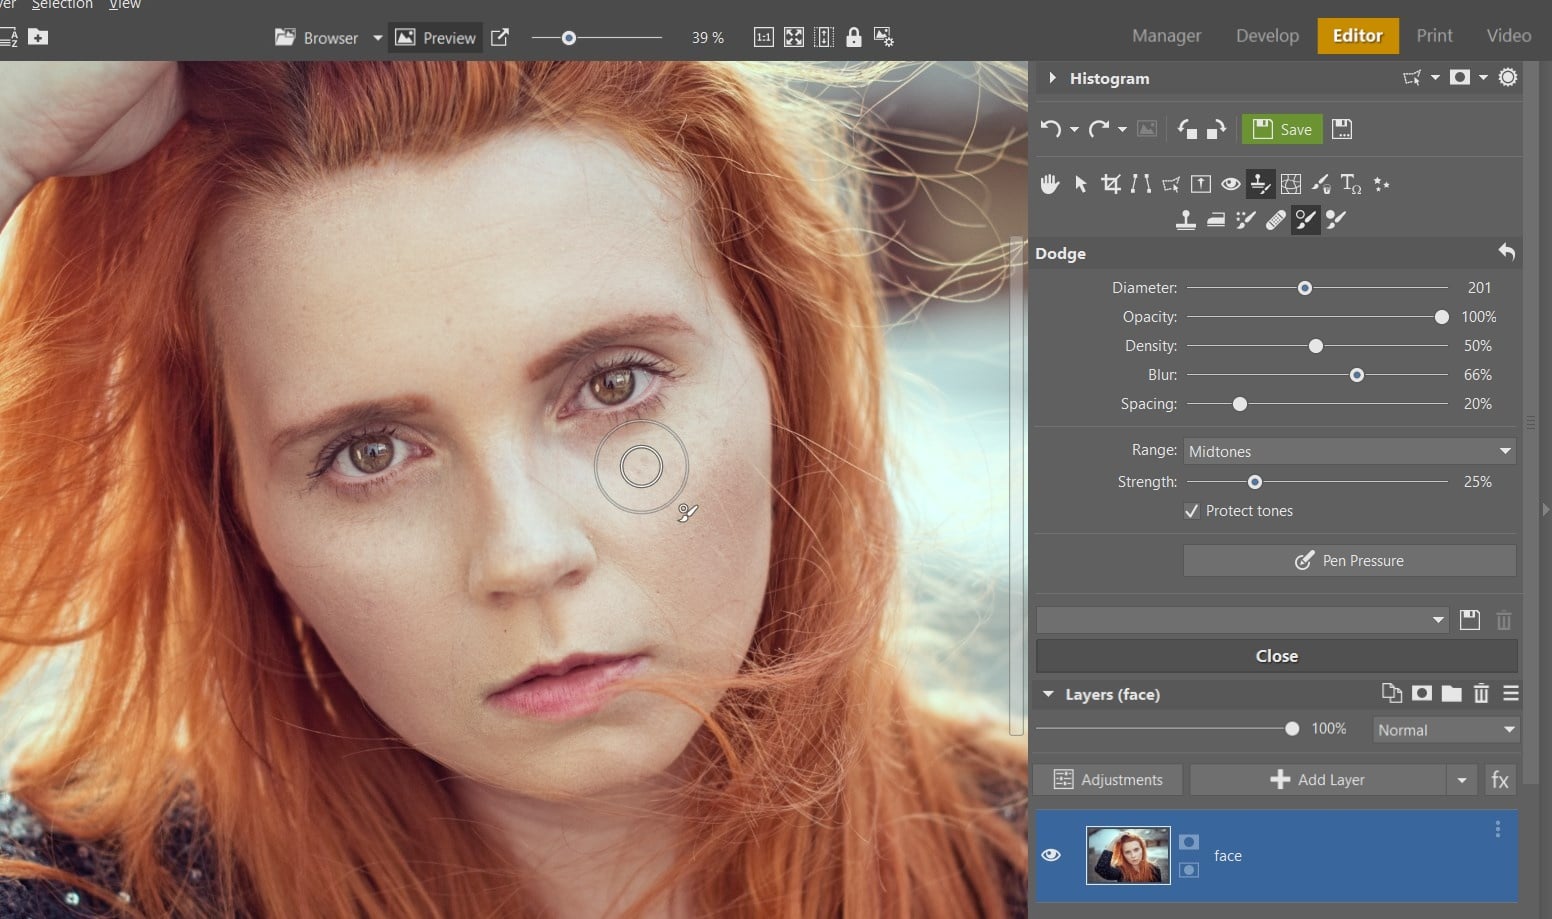
The eyes and the lips are done. Now, we will focus on other facial features. We’ll start with burning. Choose the Burn (Shift+I) brush to enhance the cheekbones.
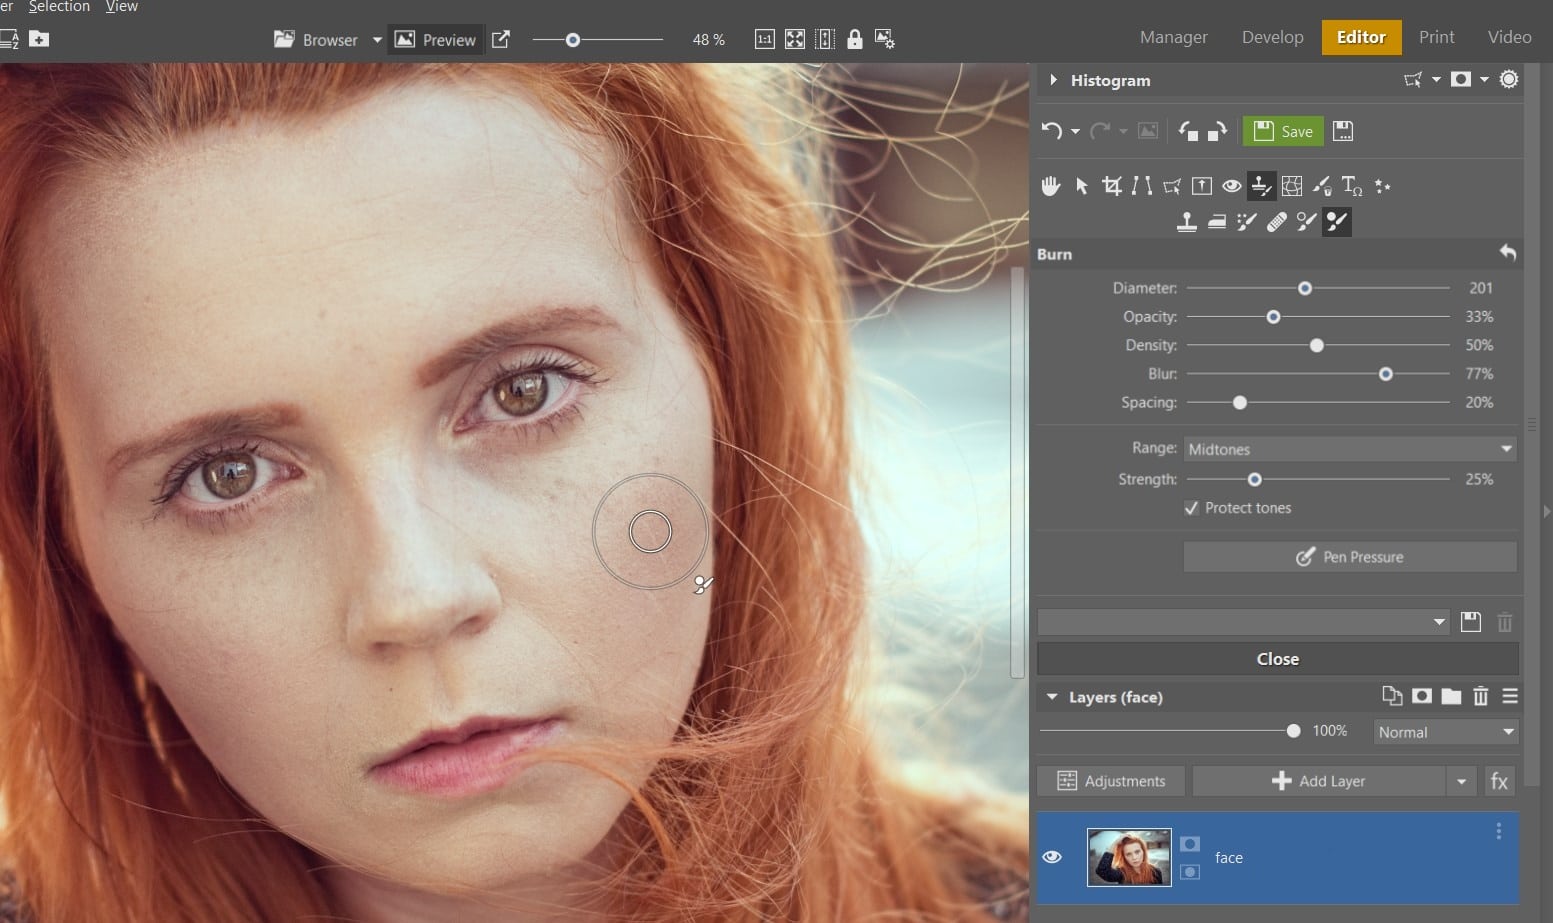
Next, work on other parts of the face where more dramatic shadows fall – emphasize these shadows by darkening them. These facial features include:
- Shaded side of the nose
- Space between eyebrow and eyes
- Shaded sides of the forehead
- Space below the lower jaw
Subtly darken these facial features. Finally, add some contrast to the hair by darkening it (using Burn). The hair frames the face and adding contrast nicely accentuates the shape of the face.
Don’t let yourself be tricked into thinking the edits you’ve performed are barely noticeable. Once you’re done, they will be noticeable as a whole in comparison to the before shot. For this reason, it’s important not to overdo the retouching – like with any retouching, it should hardly be noticeable that any retouching at all was done.
And now brighten using Dodge. Choose the Dodge(I) brush and gently brighten areas where light naturally falls. This includes parts of the forehead and nose, edges of the chin, and the area beneath the eye on the lit-up part of the face.
A little goes a long way
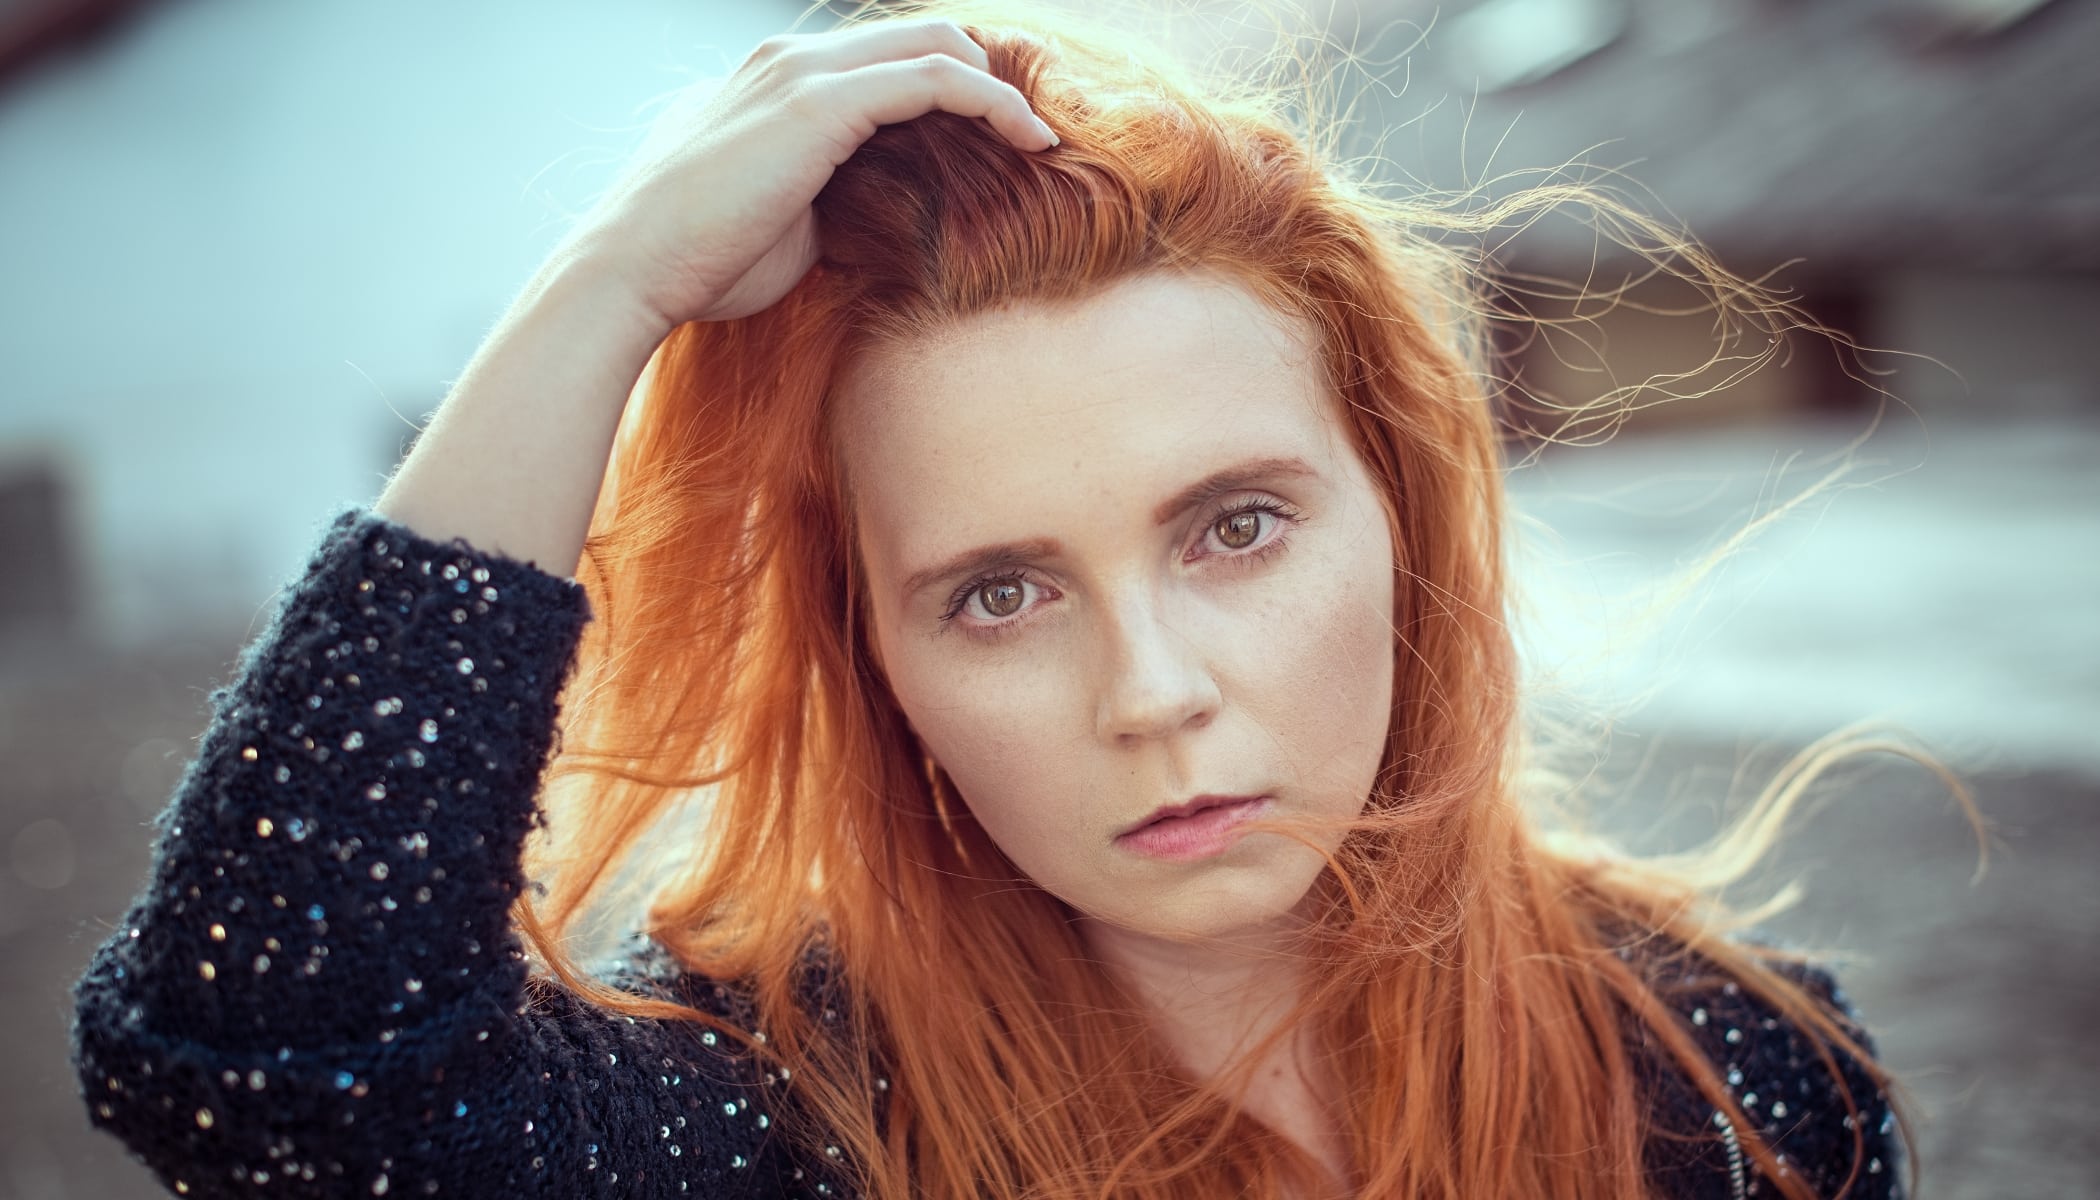
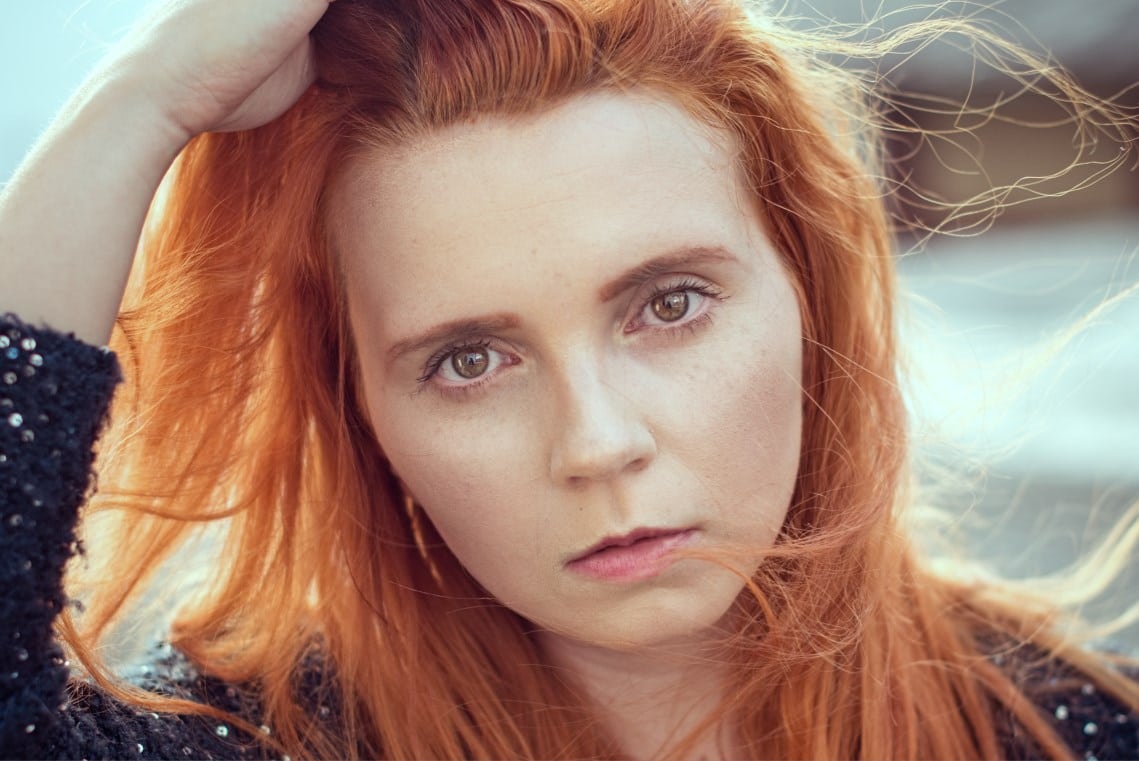
We’re done. When you see the before and after shots of the photo, you can see how some quick and easy editing can make a big difference in helping enhance your portraits. Try it out for yourself in Zoner Studio!
Before and after editing.
Mariusz
To see the difference, first pay attention to the eyes themselves. Move the bar quickly … On the right, the eyes sparkle and appear larger. Then compare the lips, cheeks, forehead. Notice how subtle the correction is….