Add Text, Arrows, and Labels to Objects—Discover Annotation in Zoner Studio
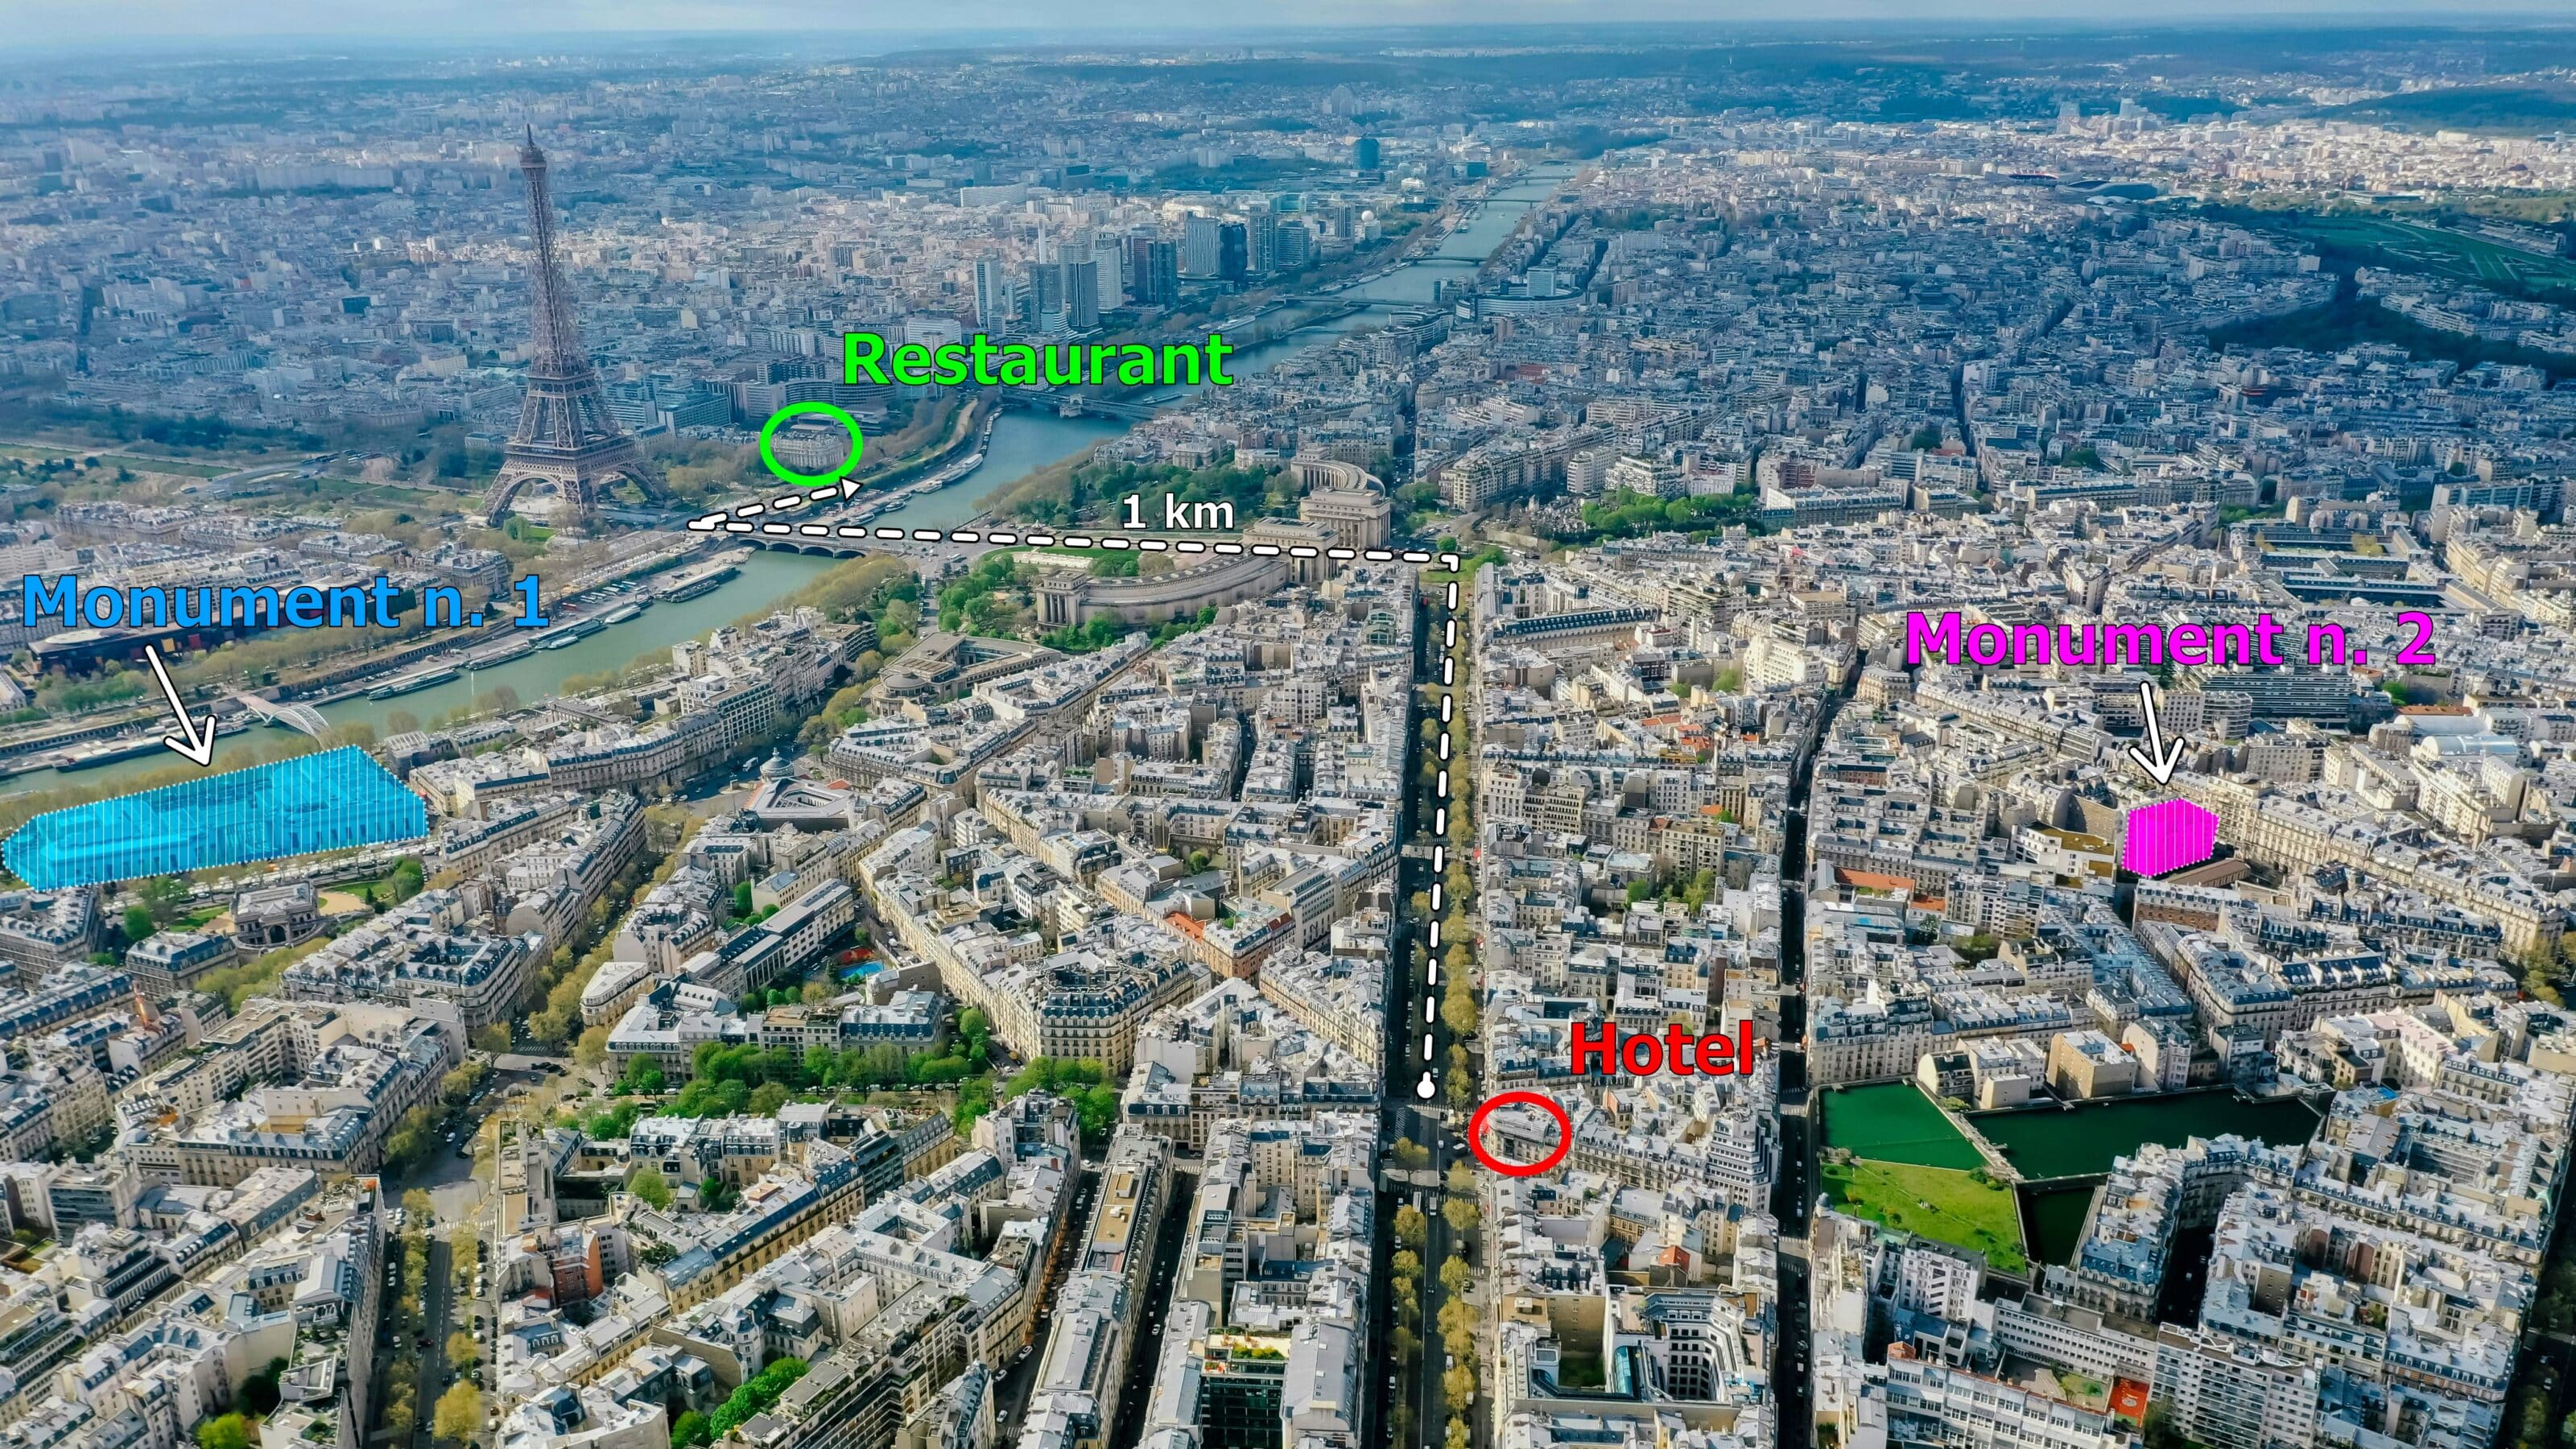
Clearly label your business or the hotel for guests or clients. Annotation in Zoner Studio can help. Easily add labels, arrows, or objects to images and photos to mark key locations and other important information.
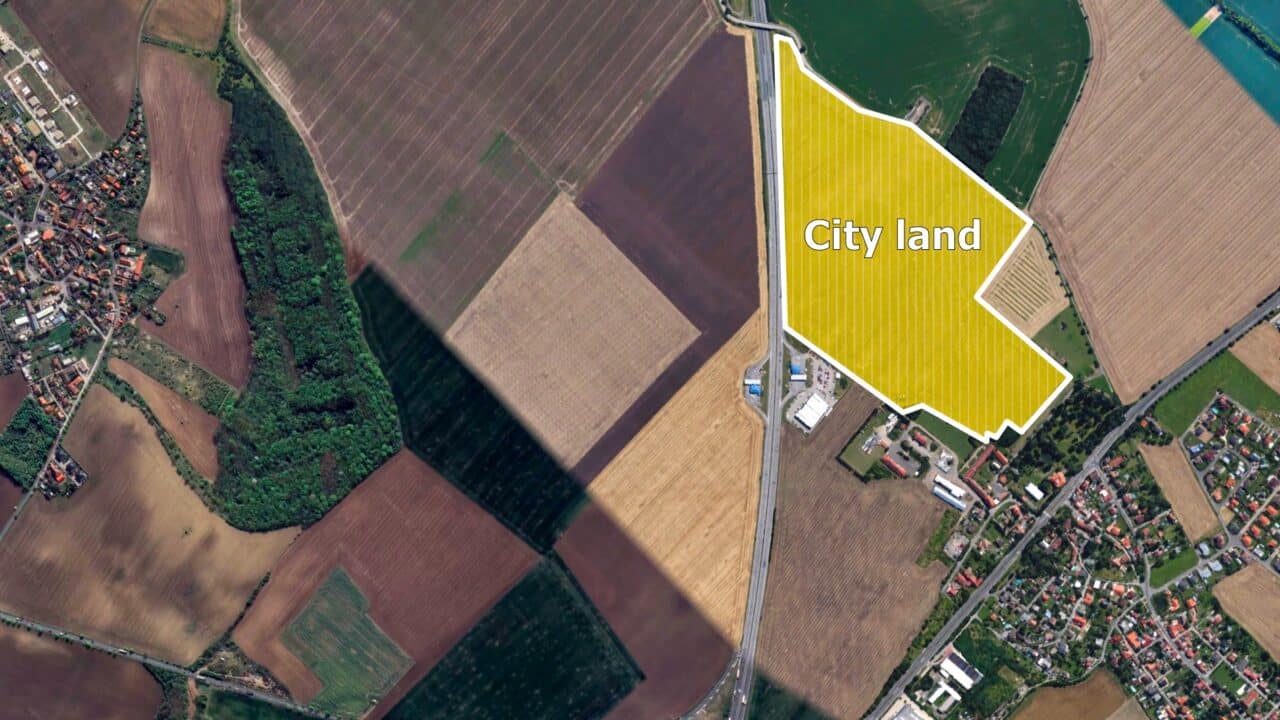
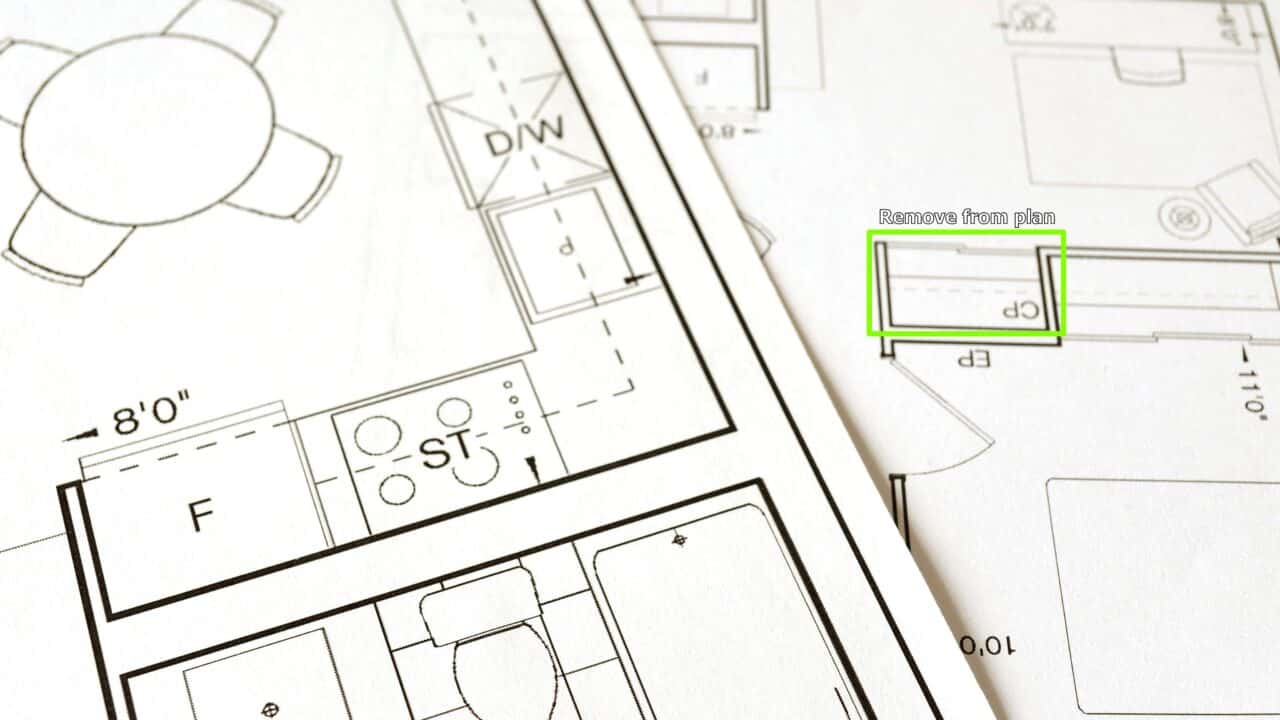
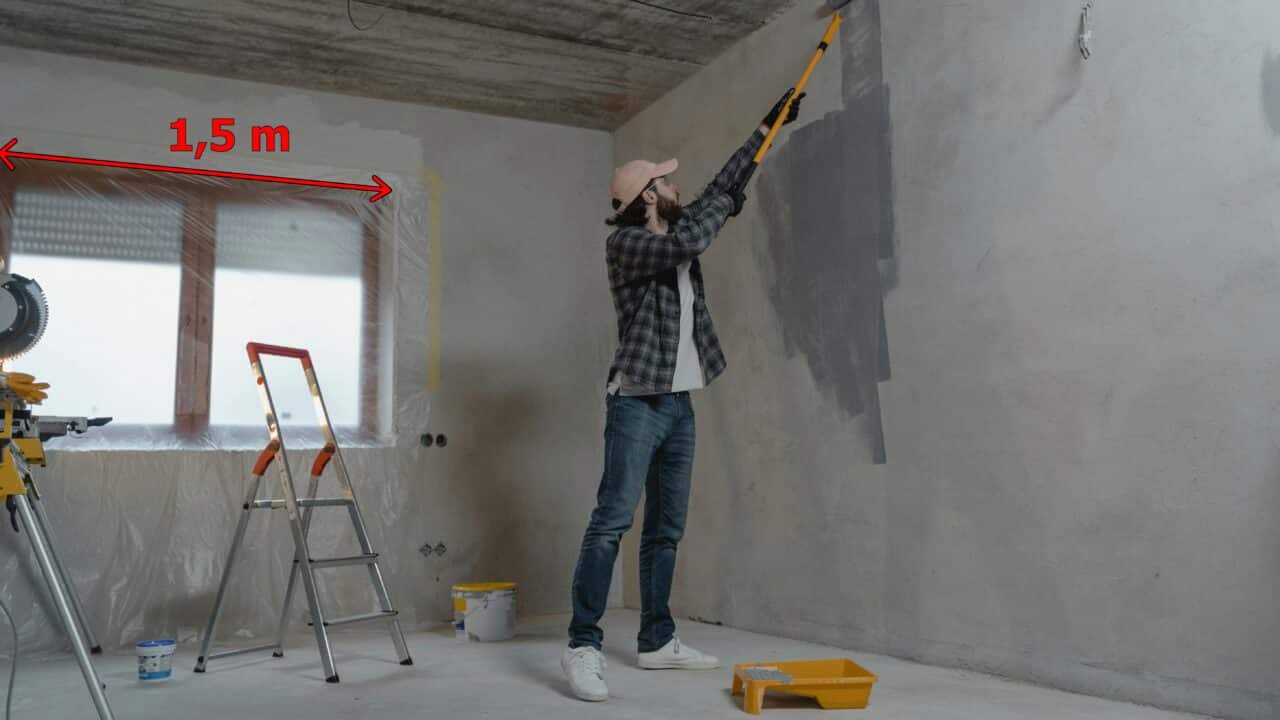
Annotation is the perfect tool, not only for navigation, but also for clearly communicating important information in the photo. You can use Annotation to indicate a route or the location of landmarks. In addition, Annotation offers a wide range of uses by adjusting the transparency, color, or outline of objects in the photo. Get inspired by the following examples:
In addition to the above uses, Annotation is also great for private use. For example, when you’re organizing an event and need to give directions to a large number of people.

Are you organizing a family trip and want to label the route on a map in advance? Do so quickly and easily with Annotation.
Show Annotation tools
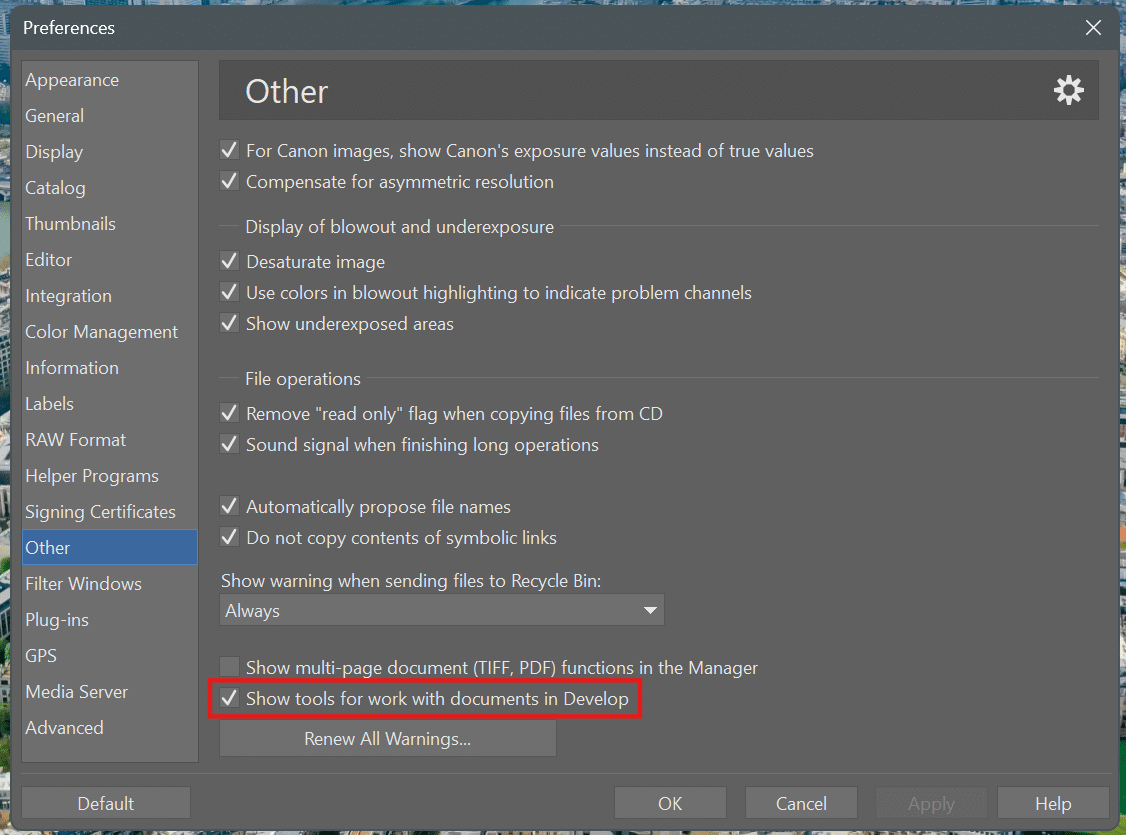
The default settings of Zoner Studio do not automatically display Annotation tools. You need to tell Zoner Studio to show them. You can do this using the keyboard shortcut Ctrl + M (Preferences) -> Other -> Show tools for work with documents in Develop.
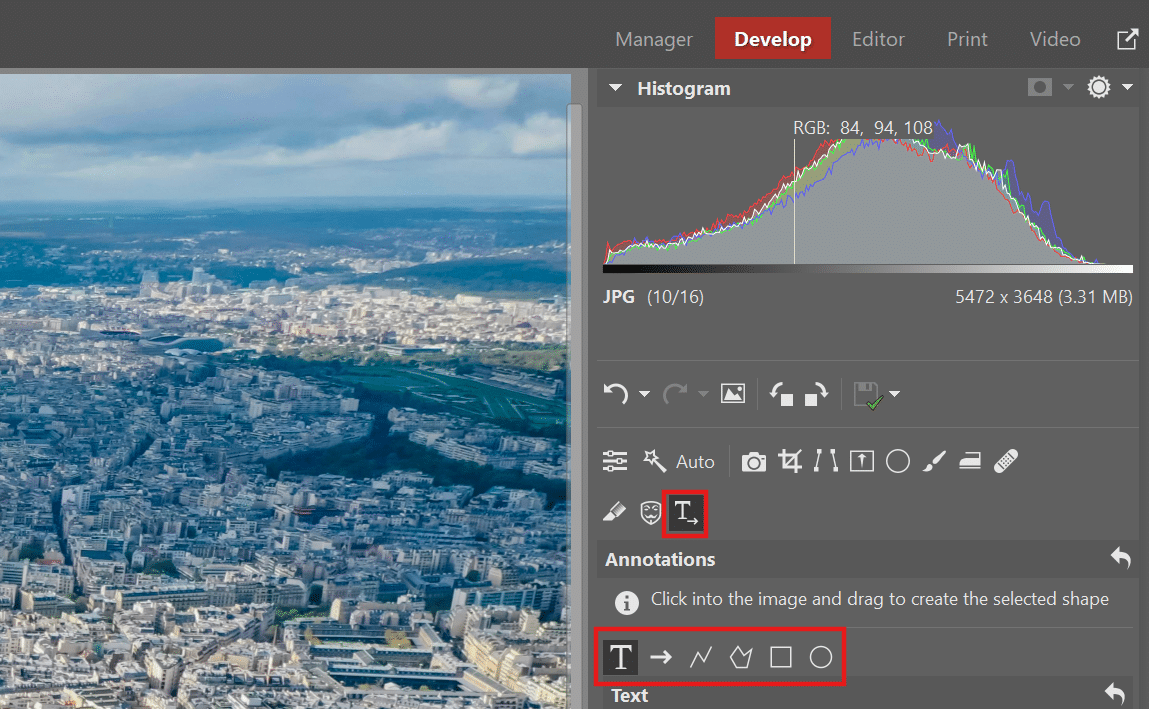
After you check this box, you can always find Annotation in the Develop module. Now you can get to work.
Circle start and end points
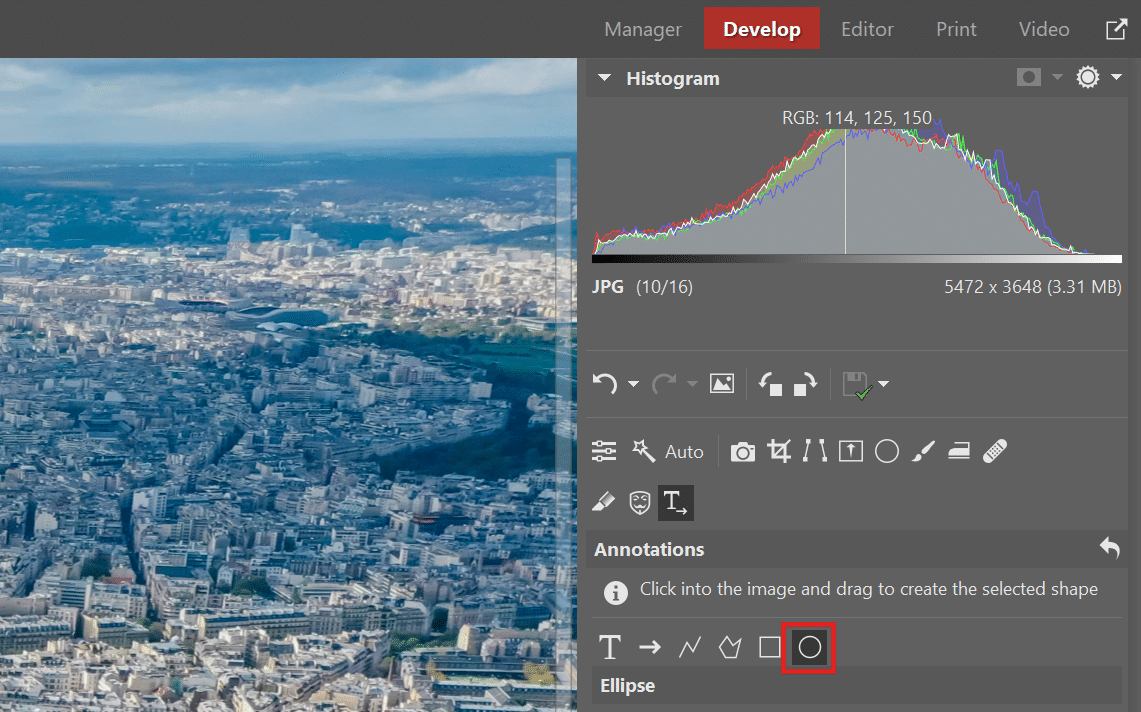
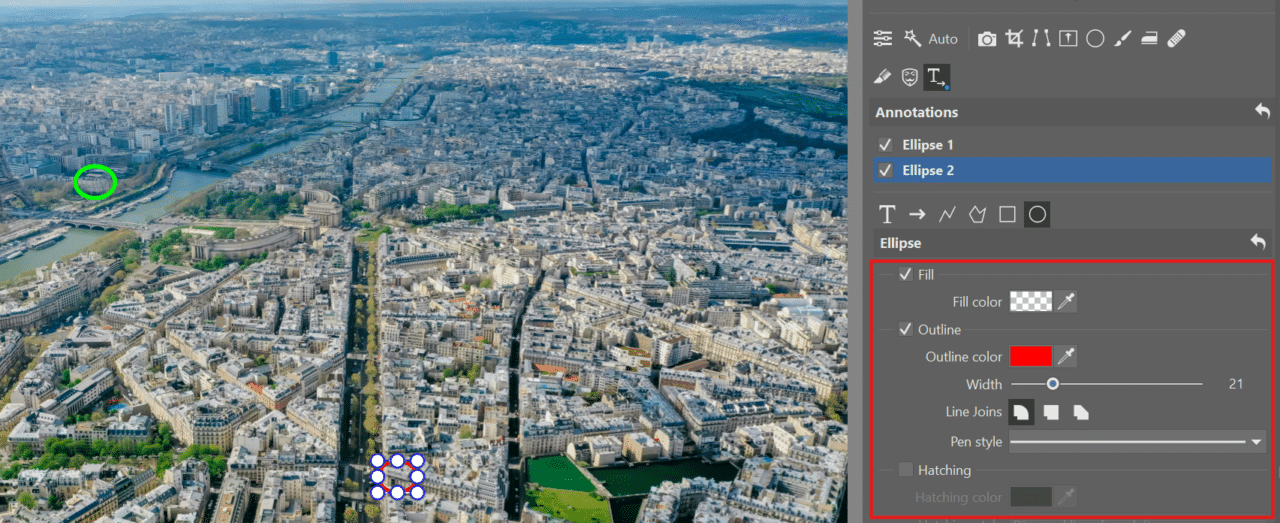
Use the Ellipse tool to circle a location of your choice. Ellipse and Rectangle are two simpler Annotation tools. We’ll get to the more complex ones later.
Choose the color, width, and fill for your circle.
Add labels
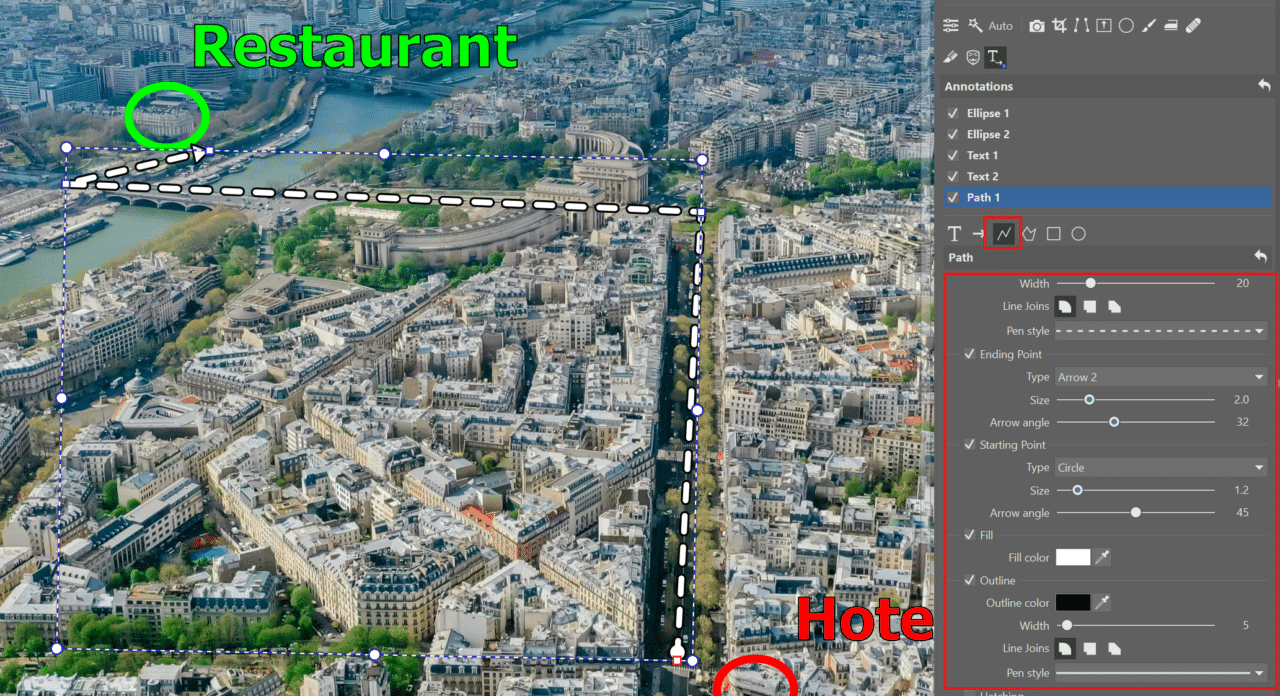
To better navigate the map, we need to add labels to specific places, in this case a Hotel and a Restaurant. Use the Text tool to add labels. Select a text box with the mouse and type the label. You can change the font, font size, or color.
Mark routes
If you want to connect locations and mark a route, use the Path tool. You can adjust many settings, such as width, line thickness, line style (dotted, dashed, etc.), and the starting and ending point (arrow, circle, etc.).
Outline objects and add arrows with labels
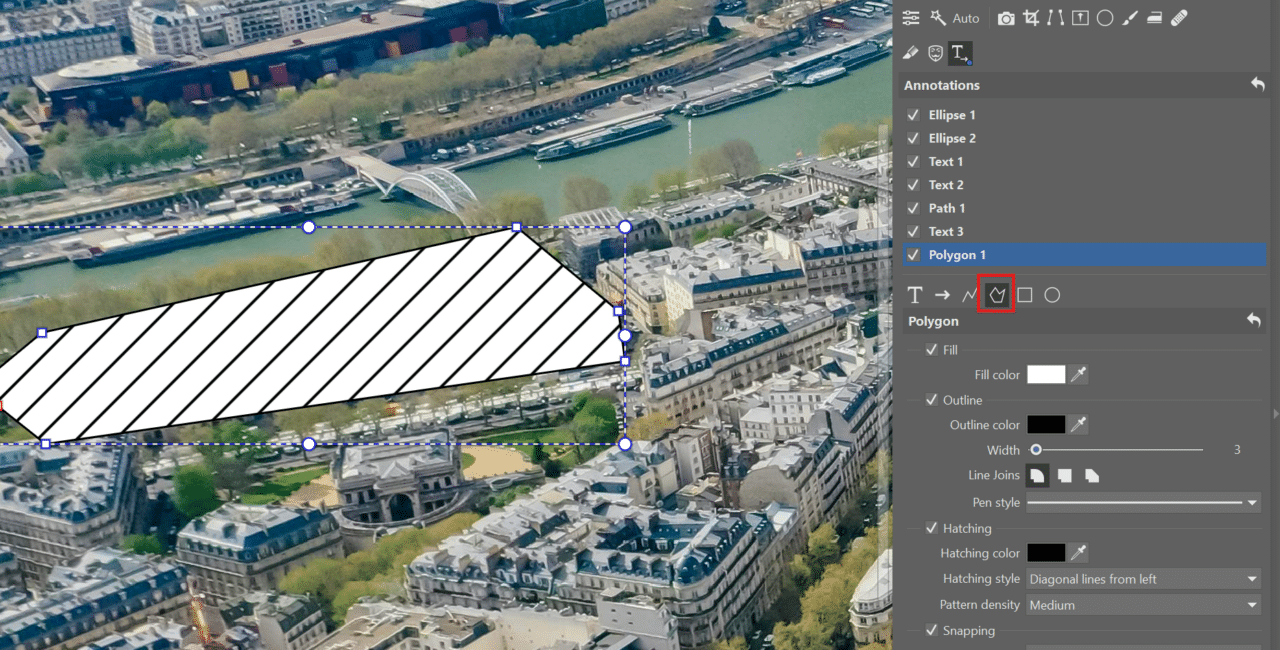
For more complex shapes, use the Polygon tool. Click around the perimeter to select an entire object.
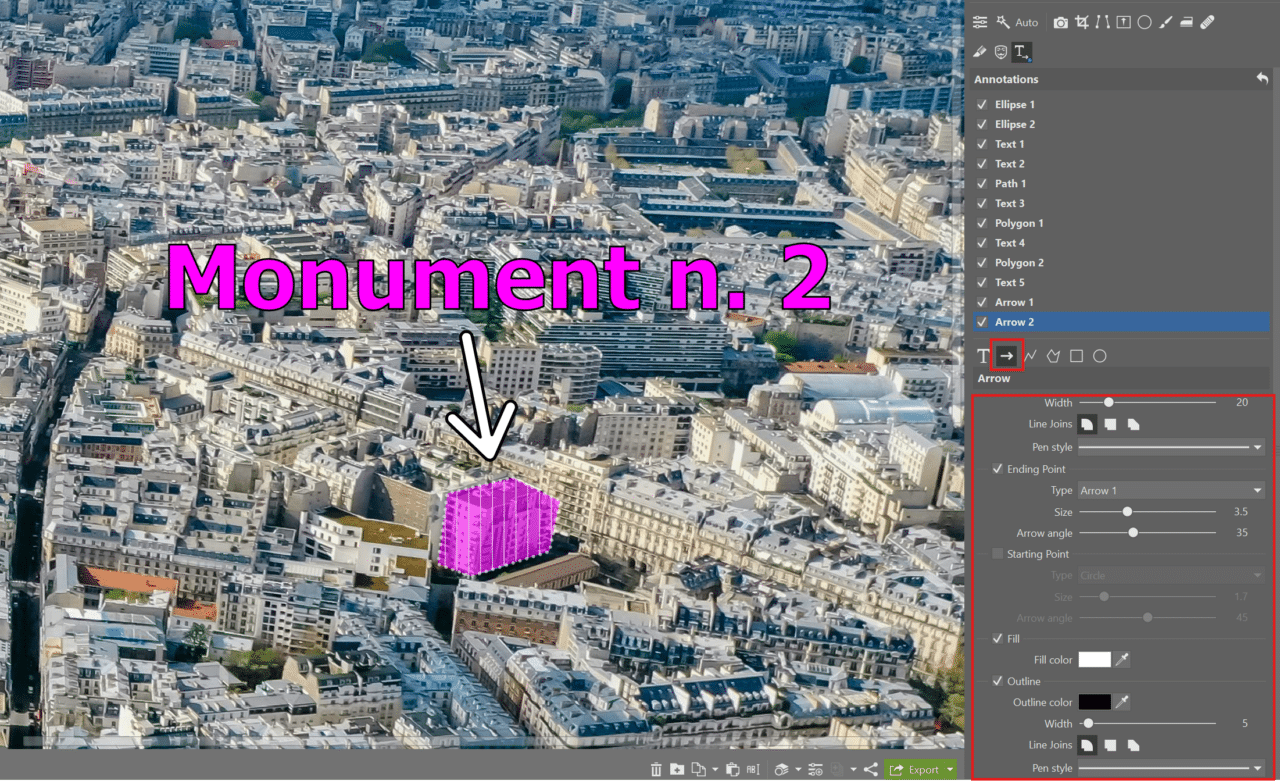
Use the Arrow tool to show which object the label belongs to. You can choose the color, shape, and size of your arrow.
You’re done!
Any shape, text, or arrow becomes a new layer. These are non-destructive adjustments, so you can move or modify objects any way you want.
Download Zoner Studio free for 7 days and try Annotation on your own photos.



There are no comments yet.