Built-In Flash—Friend or Foe?

When I first started taking pictures, I definitely thought flash was the enemy, especially built-in flash. After all, we know what harsh front light from built-in flash gives you—red eyes, a background that disappears into darkness, flat scenes with no depth, harsh shadows, and often an overexposed foreground. Add the cold tones from auto white balance, and you’ve got a textbook example of a failed amateur photo. So what can you do about it?
If that effect isn’t what you’re going for, you might be tempted to cover your flash with tape and never use it again. But beautiful, strong light isn’t always available, so sometimes you need to imitate it. The best solution is to invest in a good external flash, but that’s not always in the budget. We have to get creative and make the most of the built-in flash. And believe it or not, with a few tricks, you can get surprisingly good results!
In this article, you’ll learn how to:
- soften light from the built-in flash
- change the light’s direction by bouncing it off a wall or ceiling
- make a DIY mini reflector out of aluminum foil
- add color to your flash using plastic bottles or other colored materials
Here’s the lighting situation: a dark hallway with a dim bluish light on one side and a dim yellow light on the other. If we shot without flash, we’d have to raise the ISO. And as we all know, this means more digital noise. There’s also the issue of mixed color temperatures, which can be interesting, but isn’t what we want in this case.
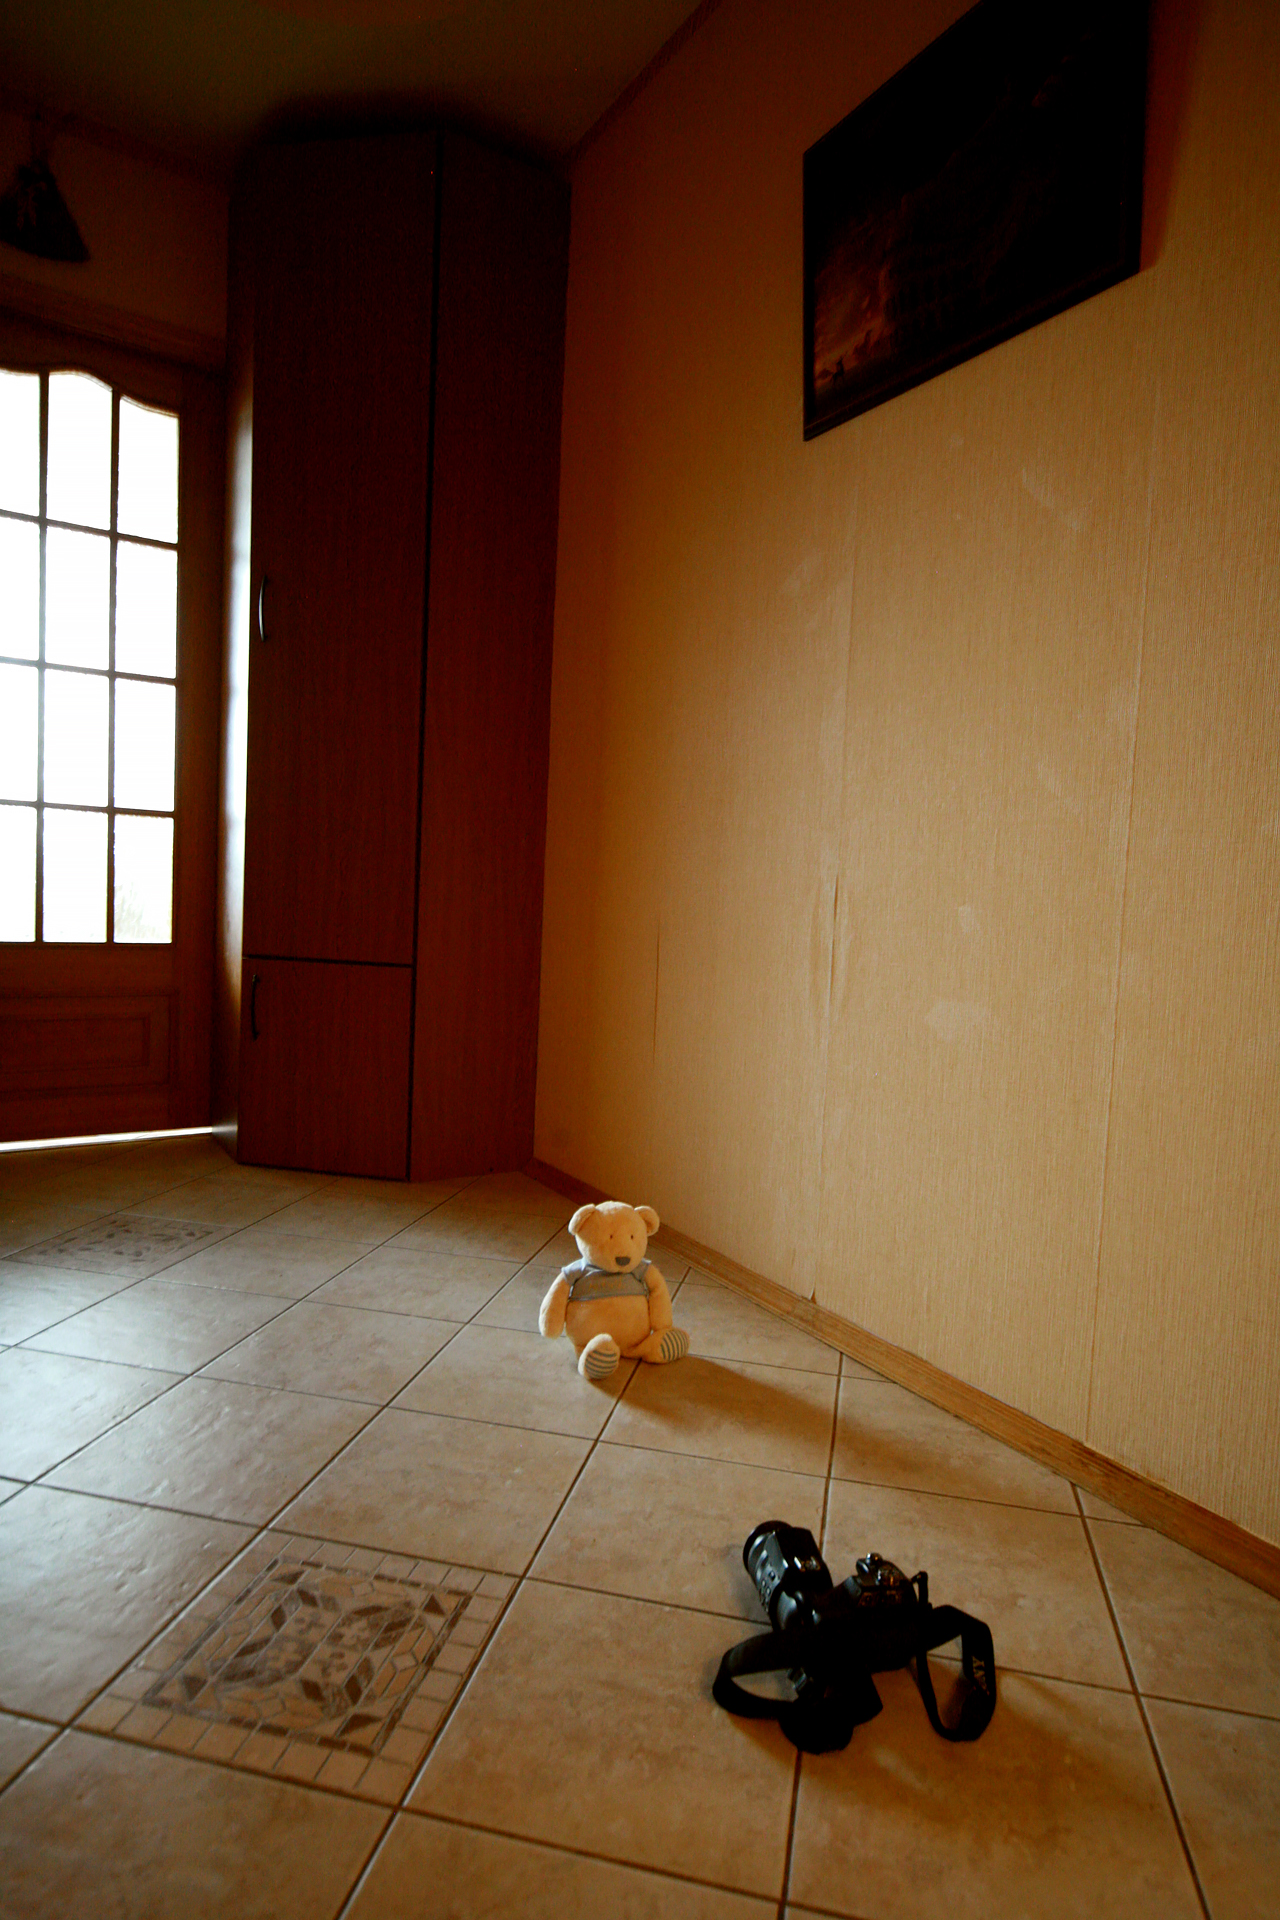
Our model is patient, so we could use a tripod and longer shutter speed. But when shooting a live portrait and wanting to keep your subject sharp, you have to use a shorter shutter speed. That means the scene needs some extra light.

Switching on the built-in flash gives me exactly the kind of harsh, flat photo I described earlier—thankfully without the red eyes.

Softening harsh light
Hard, head-on light rarely looks flattering. Let’s fix that. Take a regular sheet of white printer paper. If you’re shooting in a café or restaurant, a plain white napkin will work too. Hold it in front of the built-in flash and take a shot. You’ve just created a makeshift larger light source that nicely fills in shadows and gives the photo a softer feel.
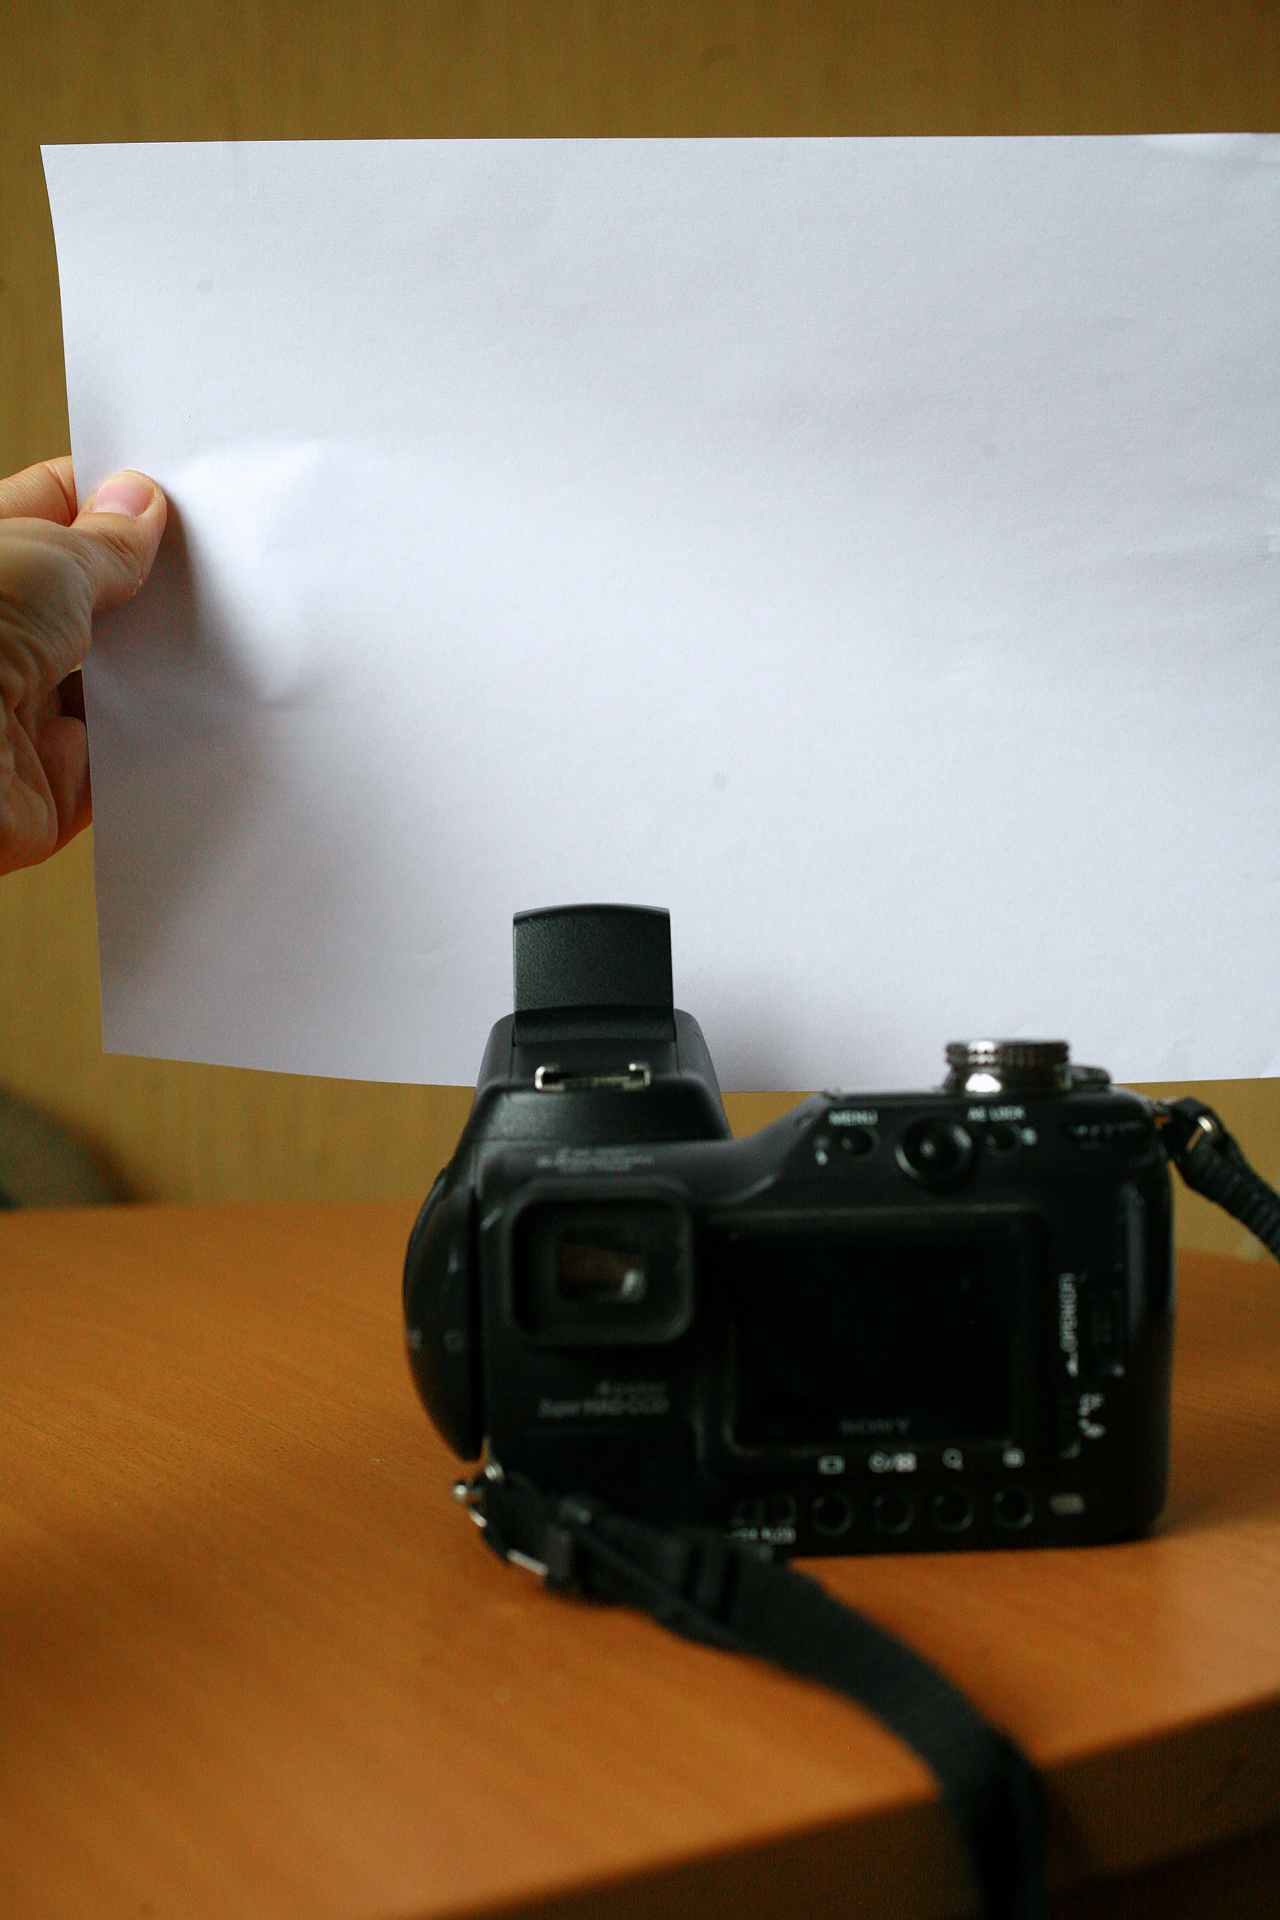

Diffusing the light using paper.
The shadows are much softer than in the first photo. Of course, waving a piece of paper around isn’t ideal, so let’s make the diffuser a bit more practical.


Changing the direction of light
Diffused light is softer, but it’s still coming from the front, which can make faces look flat and expressionless. To add shape, you need a light-colored wall. The trick is to place your slightly cupped palm in front of the flash to redirect the light to the side.
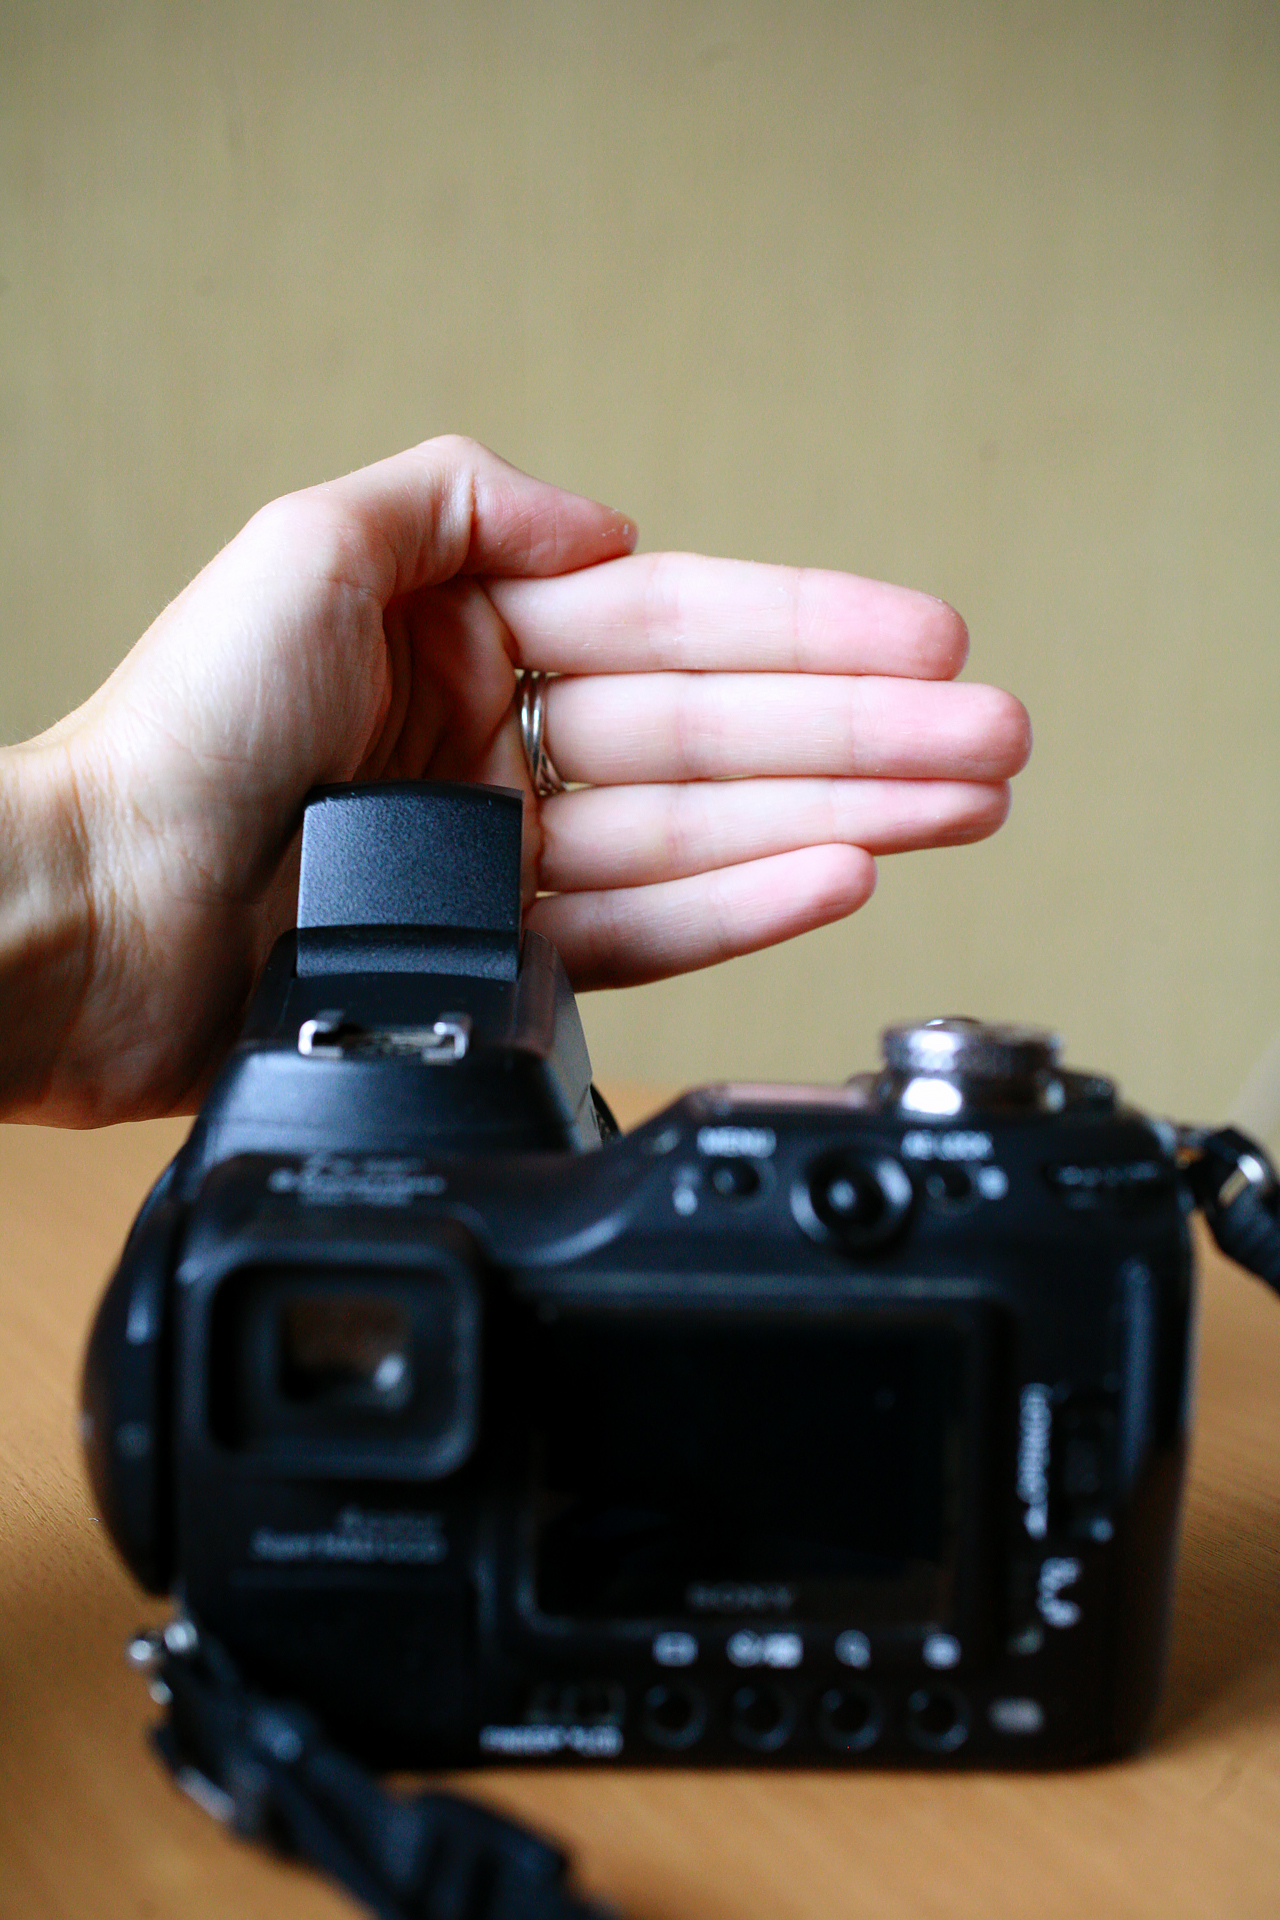
This trick won’t work perfectly in every situation, so keep a few things in mind. The light loses power along the way. The farther you stand from the wall, the less light bounces back. It’s best to move closer to the wall and, if needed, increase the exposure by one or two stops.
Also, light easily picks up the color of anything it hits. It takes on a warm hue when it passes through your palm, and a cool hue when it reflects off a blue wall. That’s why it’s best to shoot near walls that are white or close to skin tones. A black wall won’t reflect much light at all.
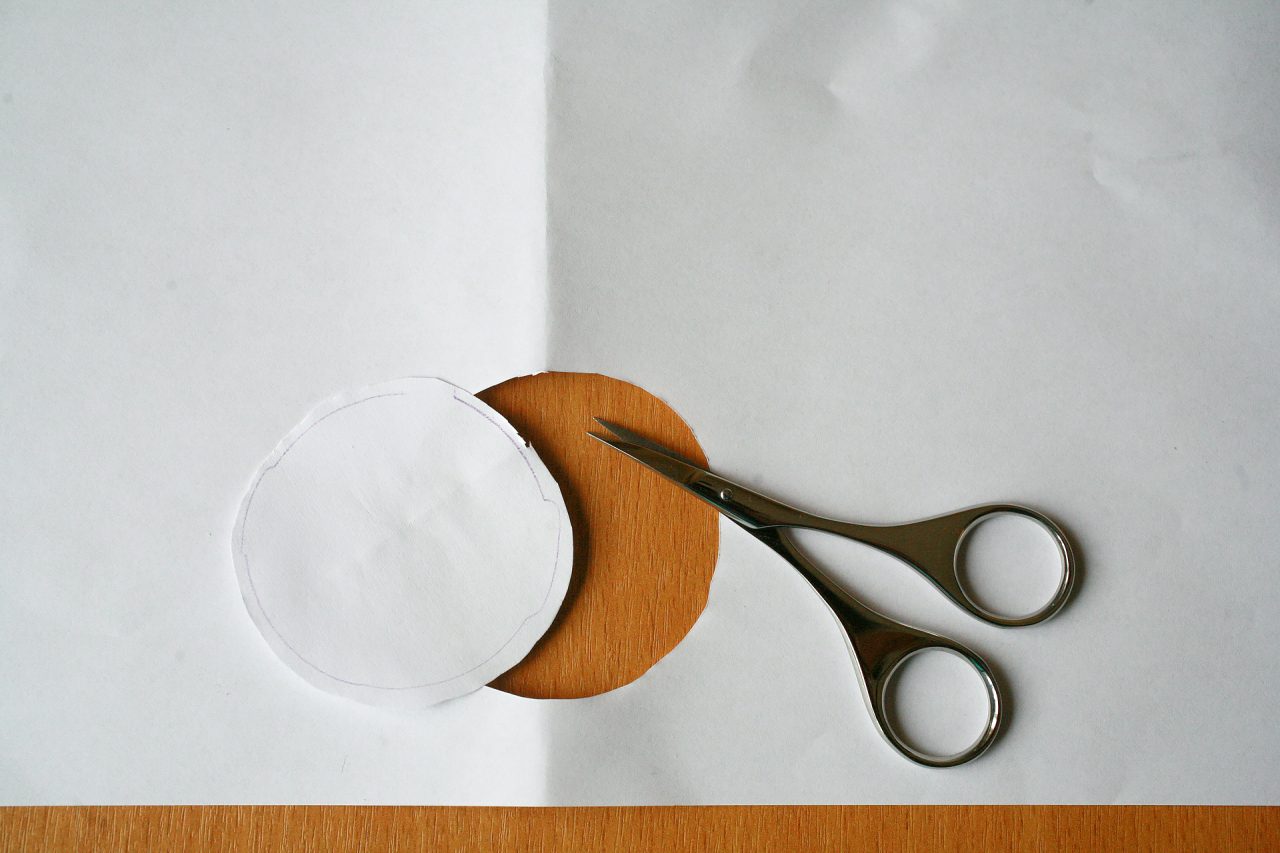
Personally, I like warm light, but sometimes it’s too warm. In that case, replace your palm with a piece of aluminum foil attached to cardboard. The crumpled foil creates tiny folds that scatter the light even more.
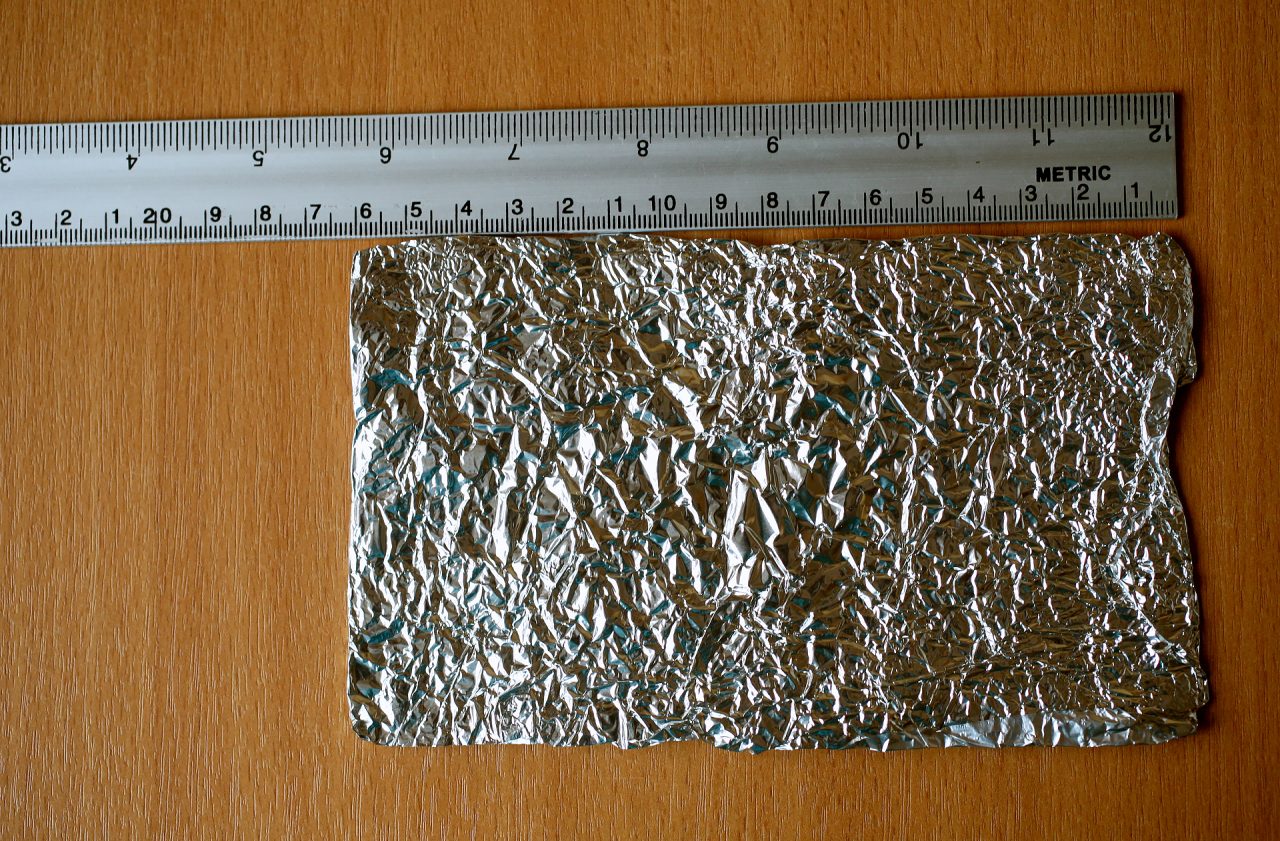


Before the glue dries, bend the corners—more on one side, less on the other. Place the card over the flash with the more bent side aiming the light beam toward the wall.
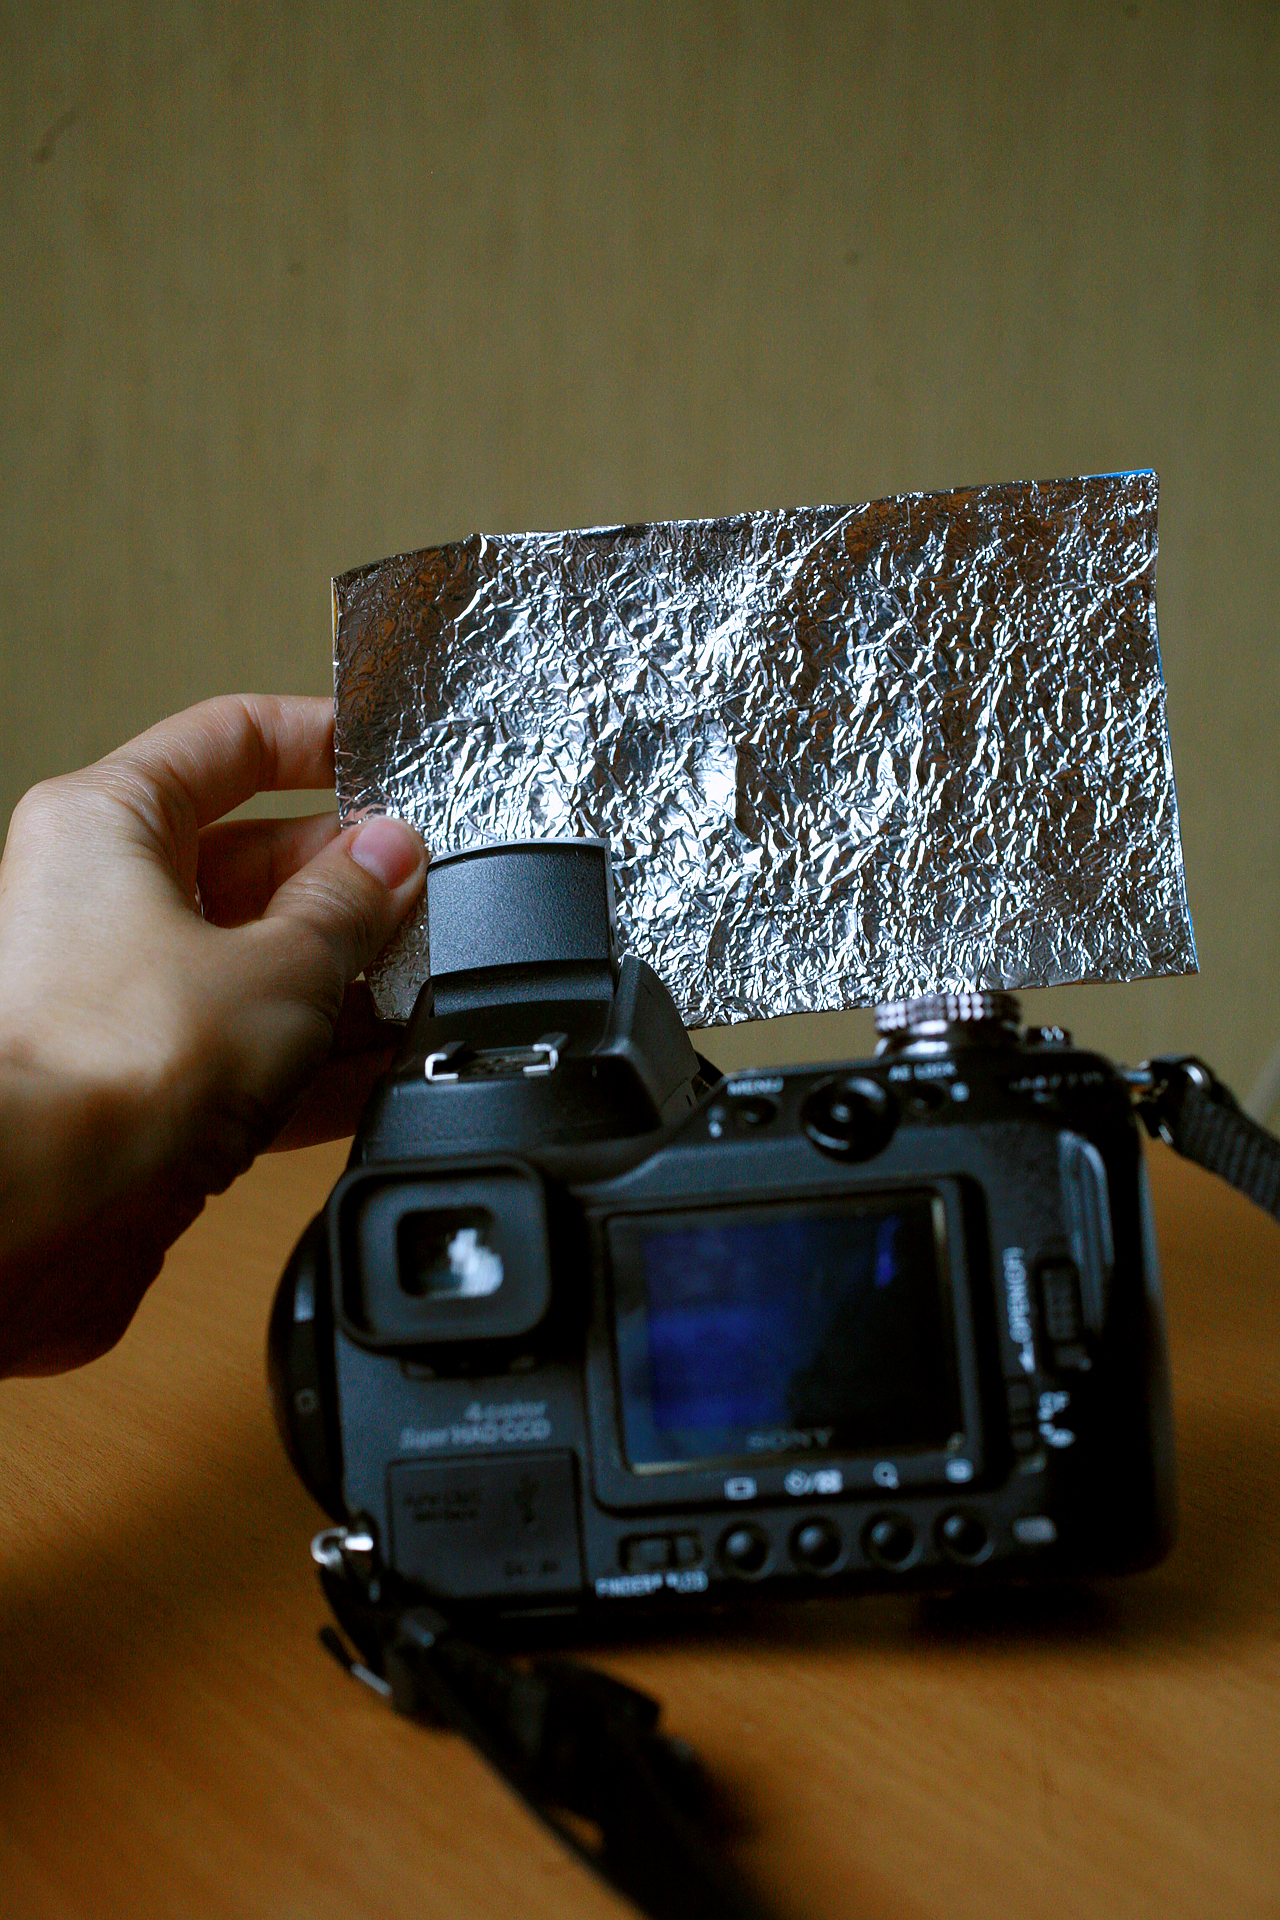

You can also aim the reflector at the ceiling. This option works well if you have a low, light-colored ceiling but no suitable wall. The result is diffused overhead light that illuminates both the subject and the background, giving the image a more natural look.


Flash and color filters
Now that you’ve mastered the basics, try adding some color. Flash light is white, but sometimes you want a different tone, especially when combining multiple light sources. Warm colors like yellow, orange, or red can balance out cool light. Blue and purple can add a mysterious atmosphere. Or you can go wild and experiment with Lomography effects.
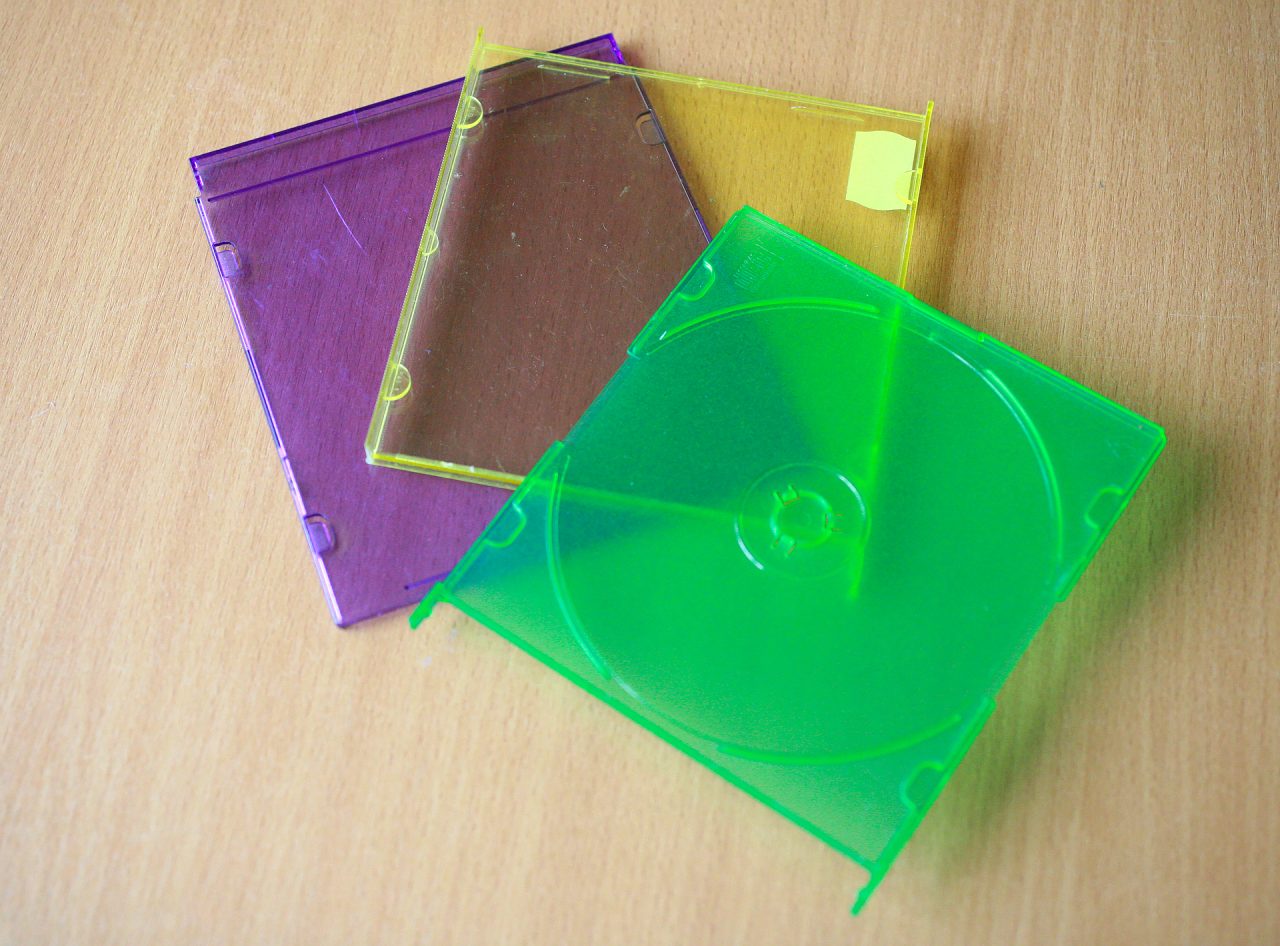
You can buy colored gel filters at photography stores and cut them to size. But if you don’t want to spend money, there are plenty of DIY options: old CD cases, transparent folders, or even pieces of plastic bottles can work just as well.

Try it out. Even a regular built-in flash can do more than you expect. And who knows, your new favorite lighting trick may involve nothing more than a sheet of paper. Have fun experimenting!
FAQs
How can I make flash photos less harsh? Soften the light by placing a sheet of paper, napkin, or translucent plastic in front of the flash. This diffuses the light and softens shadows.
Can the built-in flash bounce off the ceiling or wall? Yes. Redirect the light with your palm or small piece of aluminum foil. The reflected light is softer and looks more natural.
Why do people have red eyes in flash photos? Because the flash hits the pupils directly and reflects off the retina. Changing the angle of the flash or shooting from farther away can help.
How can I make flash warmer or more colorful? Place a piece of colored plastic, like from a bottle or CD case, in front of the flash. Warm tones like yellow and orange give the photo a cozier look, while cool tones like blue and purple add drama.
How can I avoid a black background when using flash? Use a longer shutter speed to capture ambient light in the background. The flash lights up the foreground, but the background remains visible.
There are no comments yet.