How to Retouch Away Wires, Trash, and More in Your Photos

When photographing landscapes, cityscapes, and popular tourist destinations, you often find distracting objects that can ruin an otherwise great shot. Fortunately, power lines, utility poles, trash, and other signs of human civilization don’t have to mean the end of a good photo. We show you how to use Retouching Tools in Zoner Studio to quickly and seamlessly remove unwanted objects and restore a clean look to your photos.
In this article, you’ll learn:
- Which Retouching Tools Zoner Studio offers and when to use them.
- When to work in the Develop module versus the Editor module.
- How to remove poles, power lines, and other distractions.
- How to work with Smart Healing.
- How to use the Healing Brush and Clone Stamp.
- How to use the Fill with Surroundings feature to quickly remove objects.
Using retouching to remove unwanted objects is a standard part of the photography workflow. Even though it might seem overly complicated at first, you can handle it in just a few minutes.

Which retouching tool should you choose?
To retouch your photos effectively, you need the right tools. Zoner Studio offers retouching capabilities across two modules—Develop and the Editor. Each has its pros and cons.
Develop:
- Adjust Exposure, Color, and retouch.
- Edit non-destructively—adjustments don’t alter original image data. However, the process is a bit slower.
Editor:
- Useful for more complex adjustments.
- Layers can help the process.
- Faster photo editing.
Depending on the image, the best approach is to combine the strengths of both modules.
Retouching photos in Develop
To remove wires in the Develop module, use Retouching Tools (J) in the right panel. There are four primary tools:
- Smart Healing
- Healing Brush
- Clone Stamp
- Structure Cloning
[retouching_tools.png]
Retouching Tools in the right panel.
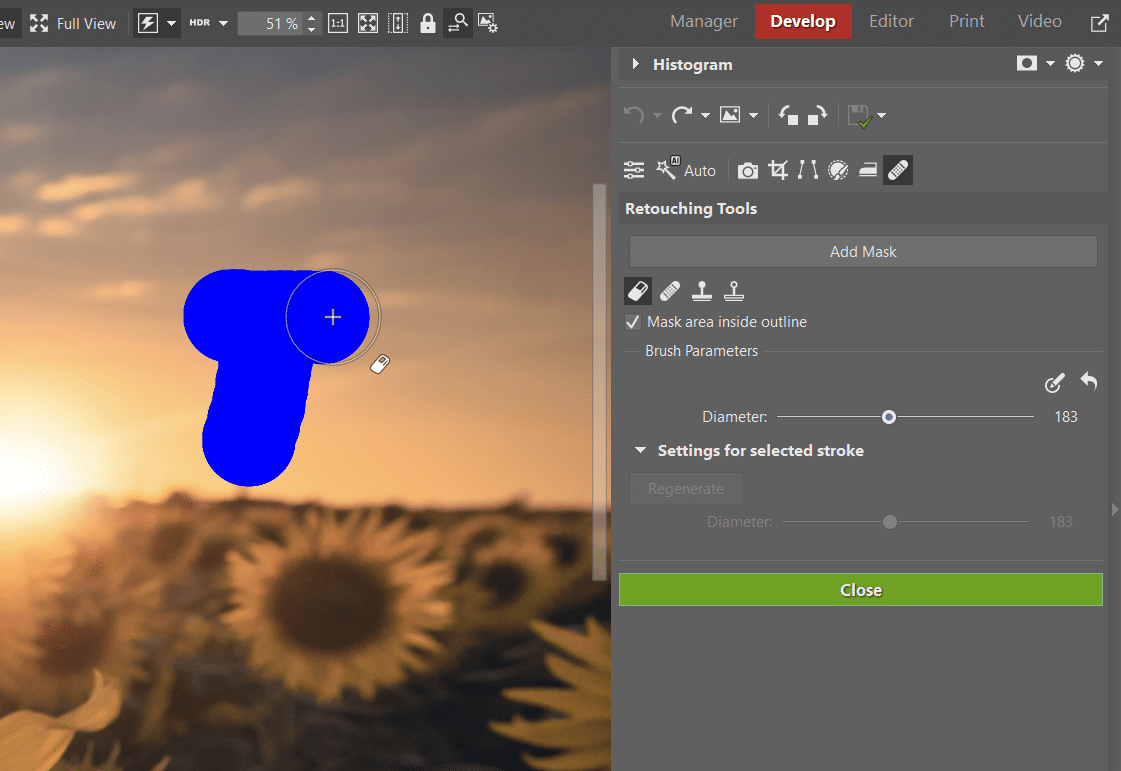
Smart Healing
If your photos contain small, isolated distractions, start with Smart Healing. Paint over the unwanted object and Zoner Studio automatically removes it. Larger or more complex objects may require manual tools, but Smart Healing is an absolute lifesaver for many situations.
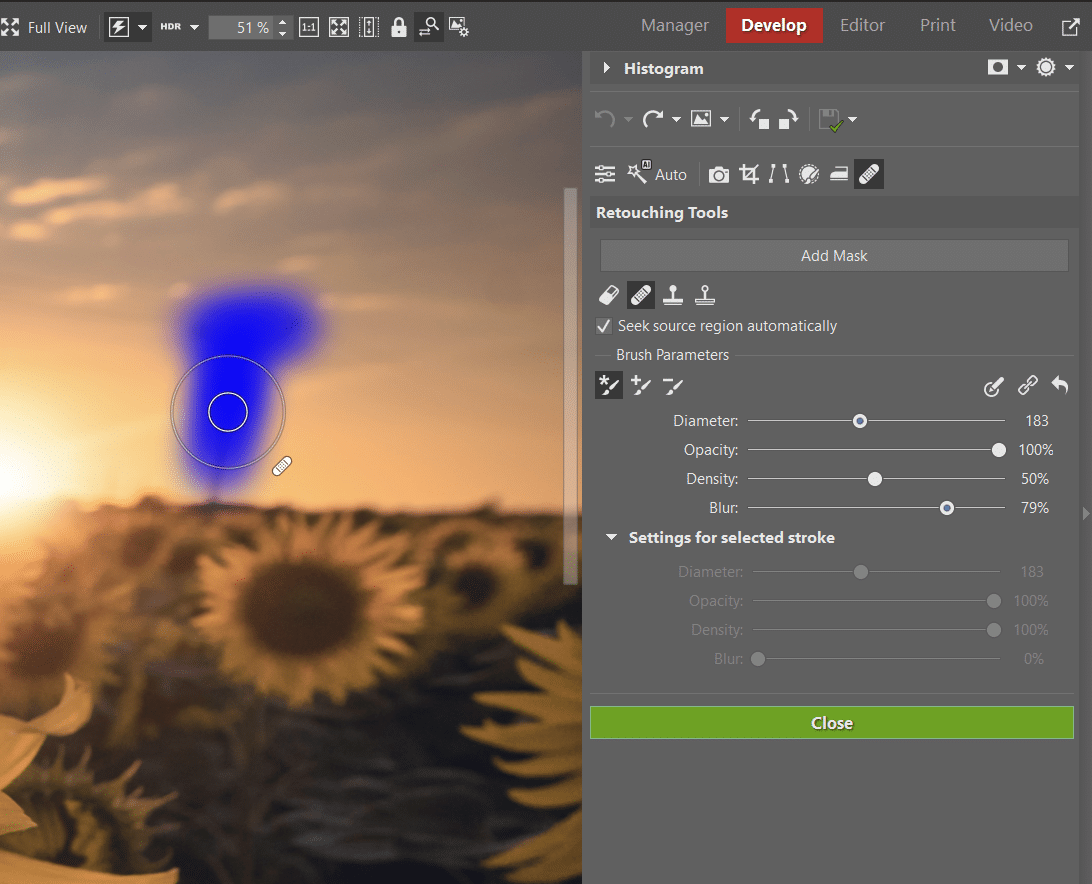
The Healing Brush
When Smart Healing isn’t enough, it’s time to switch to classic retouching tools. Even in the age of smart AI features, it’s definitely worth knowing how to use them. Let’s look at how we clean up an image using the Healing Brush and Clone Stamp. Start with the Healing Brush to paint over a utility pole. Be sure to avoid the part where it touches the horizon, which would result in a visible smudge.
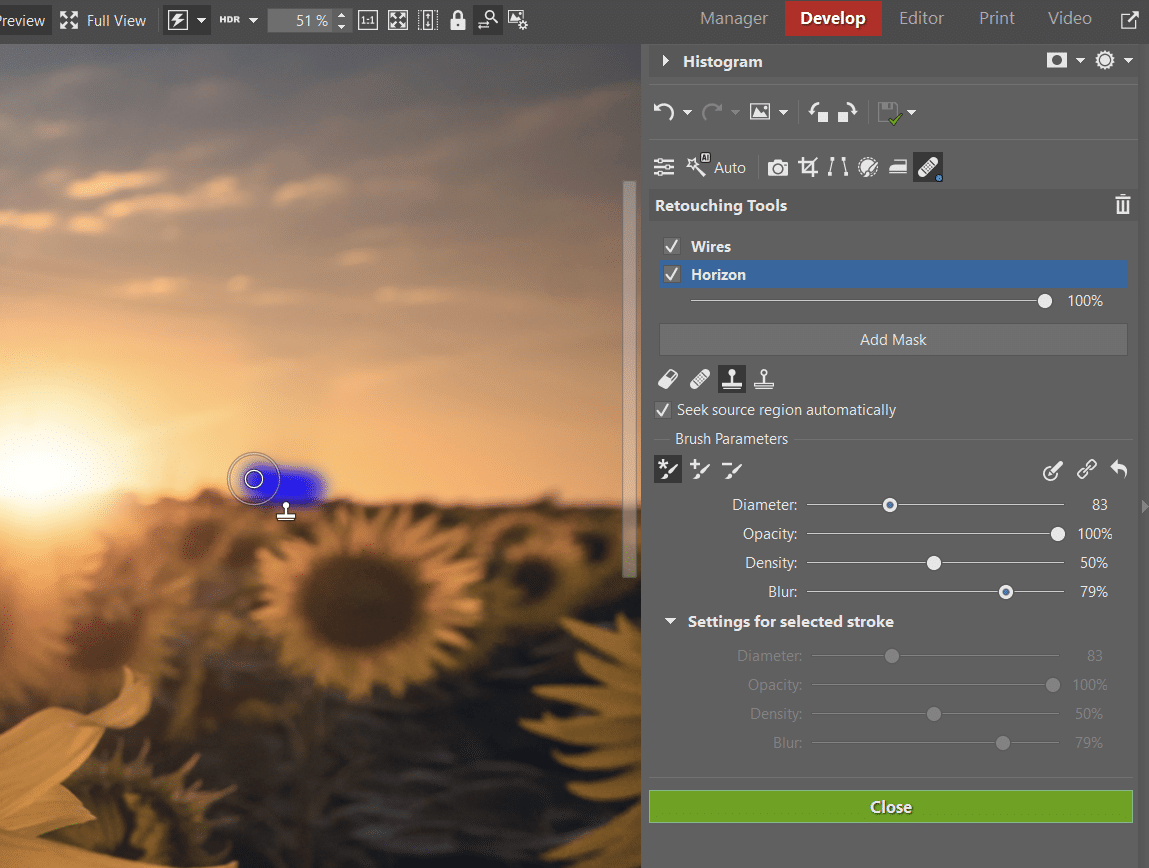
Clone Stamp
Use the second tool, the Clone Stamp, for the area where the pole meets the horizon.
First, click the Add Mask button to create a new mask where the adjustments will be applied. Each tool has its own mask. This way, you can adjust the settings separately and keep your editing more organized. You can also rename these masks to keep your workflow clean.
There are two ways to use the Clone Stamp, depending on your preferred workflow. Either hold the Ctrl key and click to sample the source area, then click again (without holding Ctrl) to apply it to the area you want to clone over. Or, paint over the area you want to retouch and then manually move the source area, just as you would with the Healing Brush.
Retouching wires and cables
When removing wires, switch back to the Healing Brush mask. Set the brush parameter to New Brush Stroke.
This method keeps your editing isolated to one organized mask, but ensures that each click creates a separate stroke. This allows you to adjust the source points independently, giving you greater control over the final look.

As you can see in the example above, drawing perfect straight lines by hand can be difficult. In these cases, it’s much easier to switch to the Editor module of Zoner Studio and use Selection Tools.
Editing photos in the Editor
Most of the tools in the Editor are the same as those in Develop. The only difference is that your editing is non-destructive. However, you can preserve the original image data by using layers. Always duplicate the original layer before you start editing so you can easily revert to the original image.
Then, use the Polygonal Lasso (N) under Selection Tools to select a single wire. You can select more than one if the wires are close together.

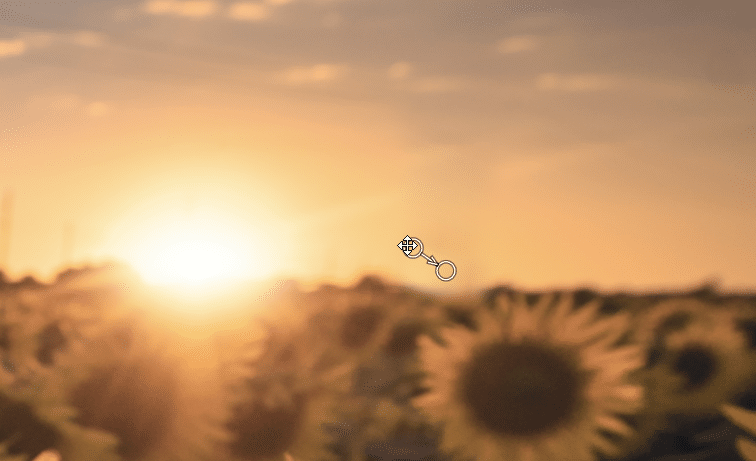
Next, go to the top menu and select Selection -> Fill with Surroundings (Shift+Del). This feature works best when there is a simple texture in the surrounding area, such as grass, roads, etc. Zoner Studio analyzes the area around the selection and uses that information to seamlessly patch the area.
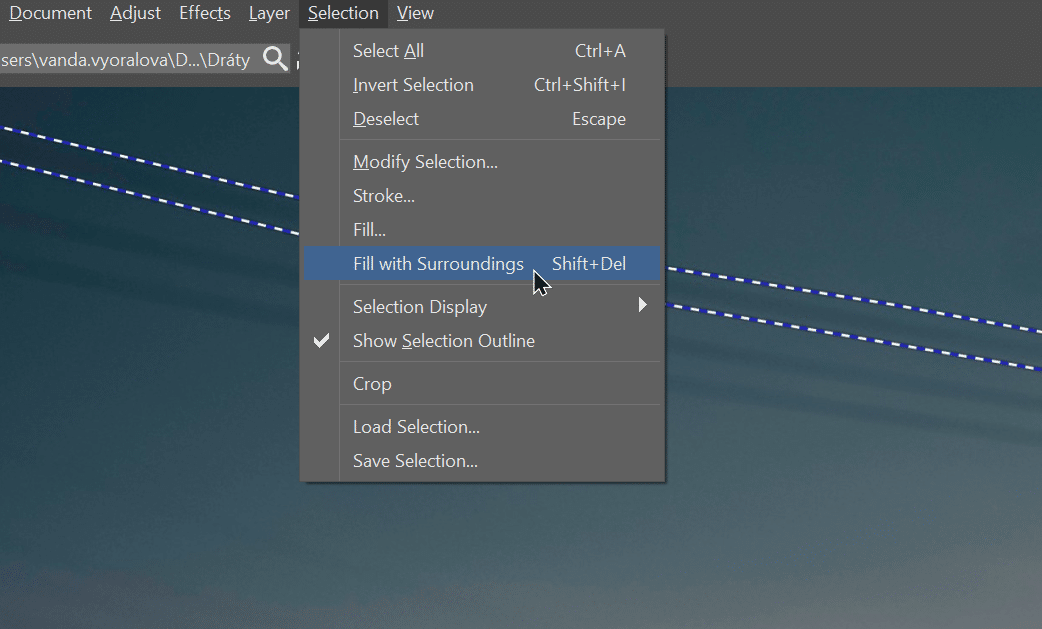


Photo before and after removing the distracting power lines.
Erasing traces of civilization
The world is full of beautiful places and views, but they’re frequently marred by signs of human activity. Don’t let power lines or litter spoil your photos. Download a free 7-day trial and see how easy it is to clean up your photos in Zoner Studio.
FAQs
How do I remove wires and power lines from my photos?
For small sections, the Healing Brush or Smart Healing works great. For long, straight power lines, it’s much cleaner to open the image in the Editor, select the wires with the Polygonal Lasso, and use the Fill with Surroundings command.
What is the difference between the Develop and Editor modules?
The editing in Develop is non-destructive, so the original image data is preserved. The Editor offers more advanced editing options, including layers, and is often better suited for more complex retouching.
When should I use Smart Healing?
Smart Healing is ideal for small objects, like trash, minor distractions, or small sections of power lines against a simple background.
What should I do if my retouching looks unnatural?
Try manually moving the source area from which the tool takes image data. For more complex scenes, it often helps to break the retouching process down into several small steps instead of one large brush stroke.
Can I retouch photos without losing my original file?
Yes. All editing in the Develop module is non-destructive. If you’re working in the Editor, duplicate your image onto a new layer before you start retouching.
How do I remove trash or other distracting objects from my photos?
In most cases, you can simply paint over them using Smart Healing. If the result isn’t convincing, use the Healing Brush or Clone Stamp.
There are no comments yet.