It only takes 4 simple steps to create a picture of you as a skilled lightsaber duelist. Want to look like a true Jedi, or are you drawn more to the dark side of the Force? The choice is yours: Zoner Studio can help you create lightsabers in all colors. Just take a suitable source photo, open it in the Editor, and in a couple of minutes, you’ll be done. We’ll describe the steps in this guide.
The article is over 5 years old. The information in it may be outdated.
We are working on its update. In the meantime, you can read some more recent articles.
It only takes 4 simple steps to create a picture of you as a skilled lightsaber duelist. Want to look like a true Jedi, or are you drawn more to the dark side of the Force? The choice is yours: Zoner Studio can help you create lightsabers in all colors. Just take a suitable source photo, open it in the Editor, and in a couple of minutes, you’ll be done. We’ll describe the steps in this guide.
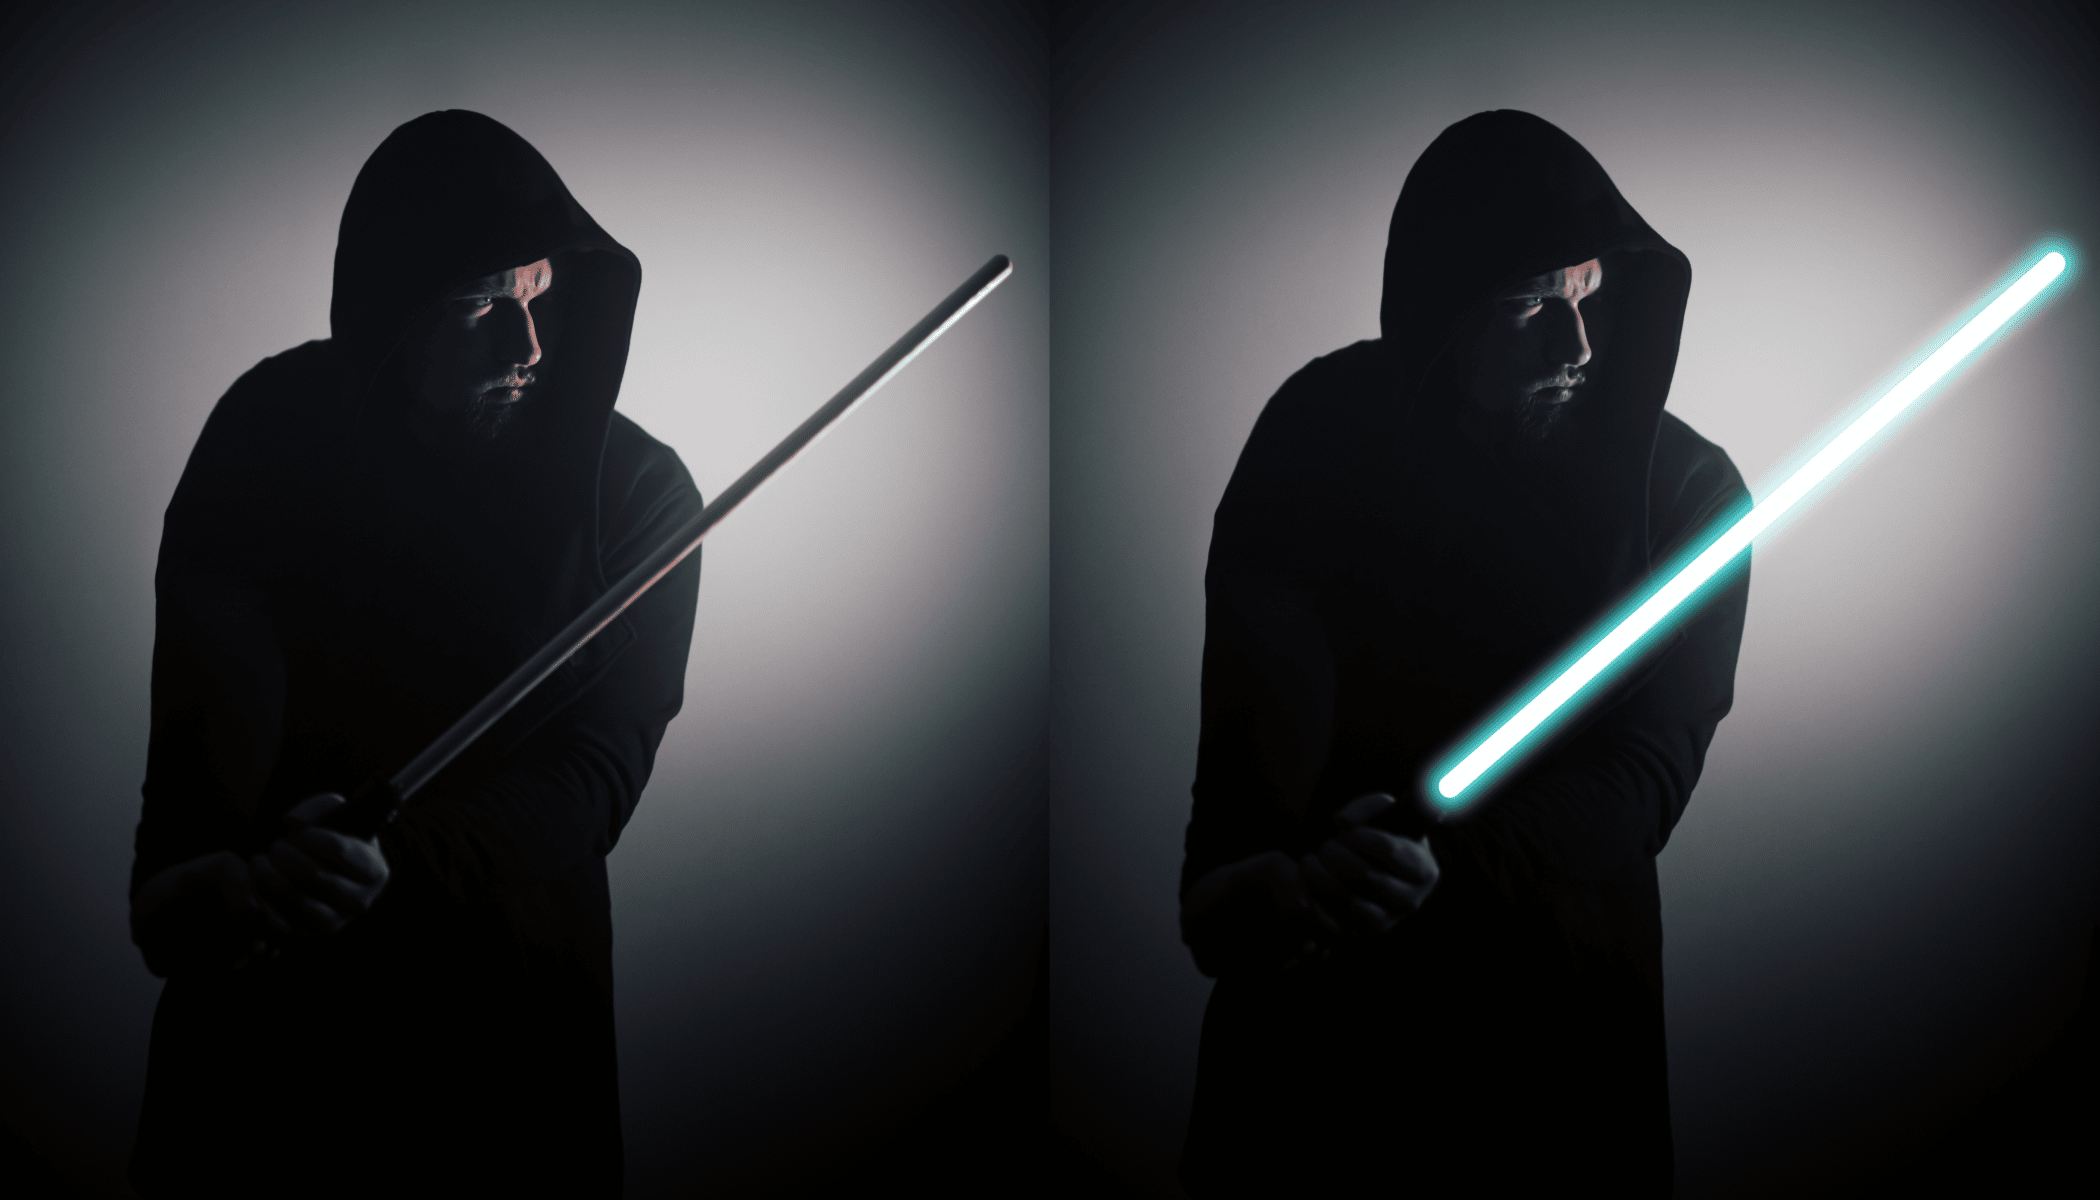
Adding very own lightsaber to a photo isn’t as hard as it might seem. All you need are a few props, a little lighting, and a few edits in Zoner Studio.
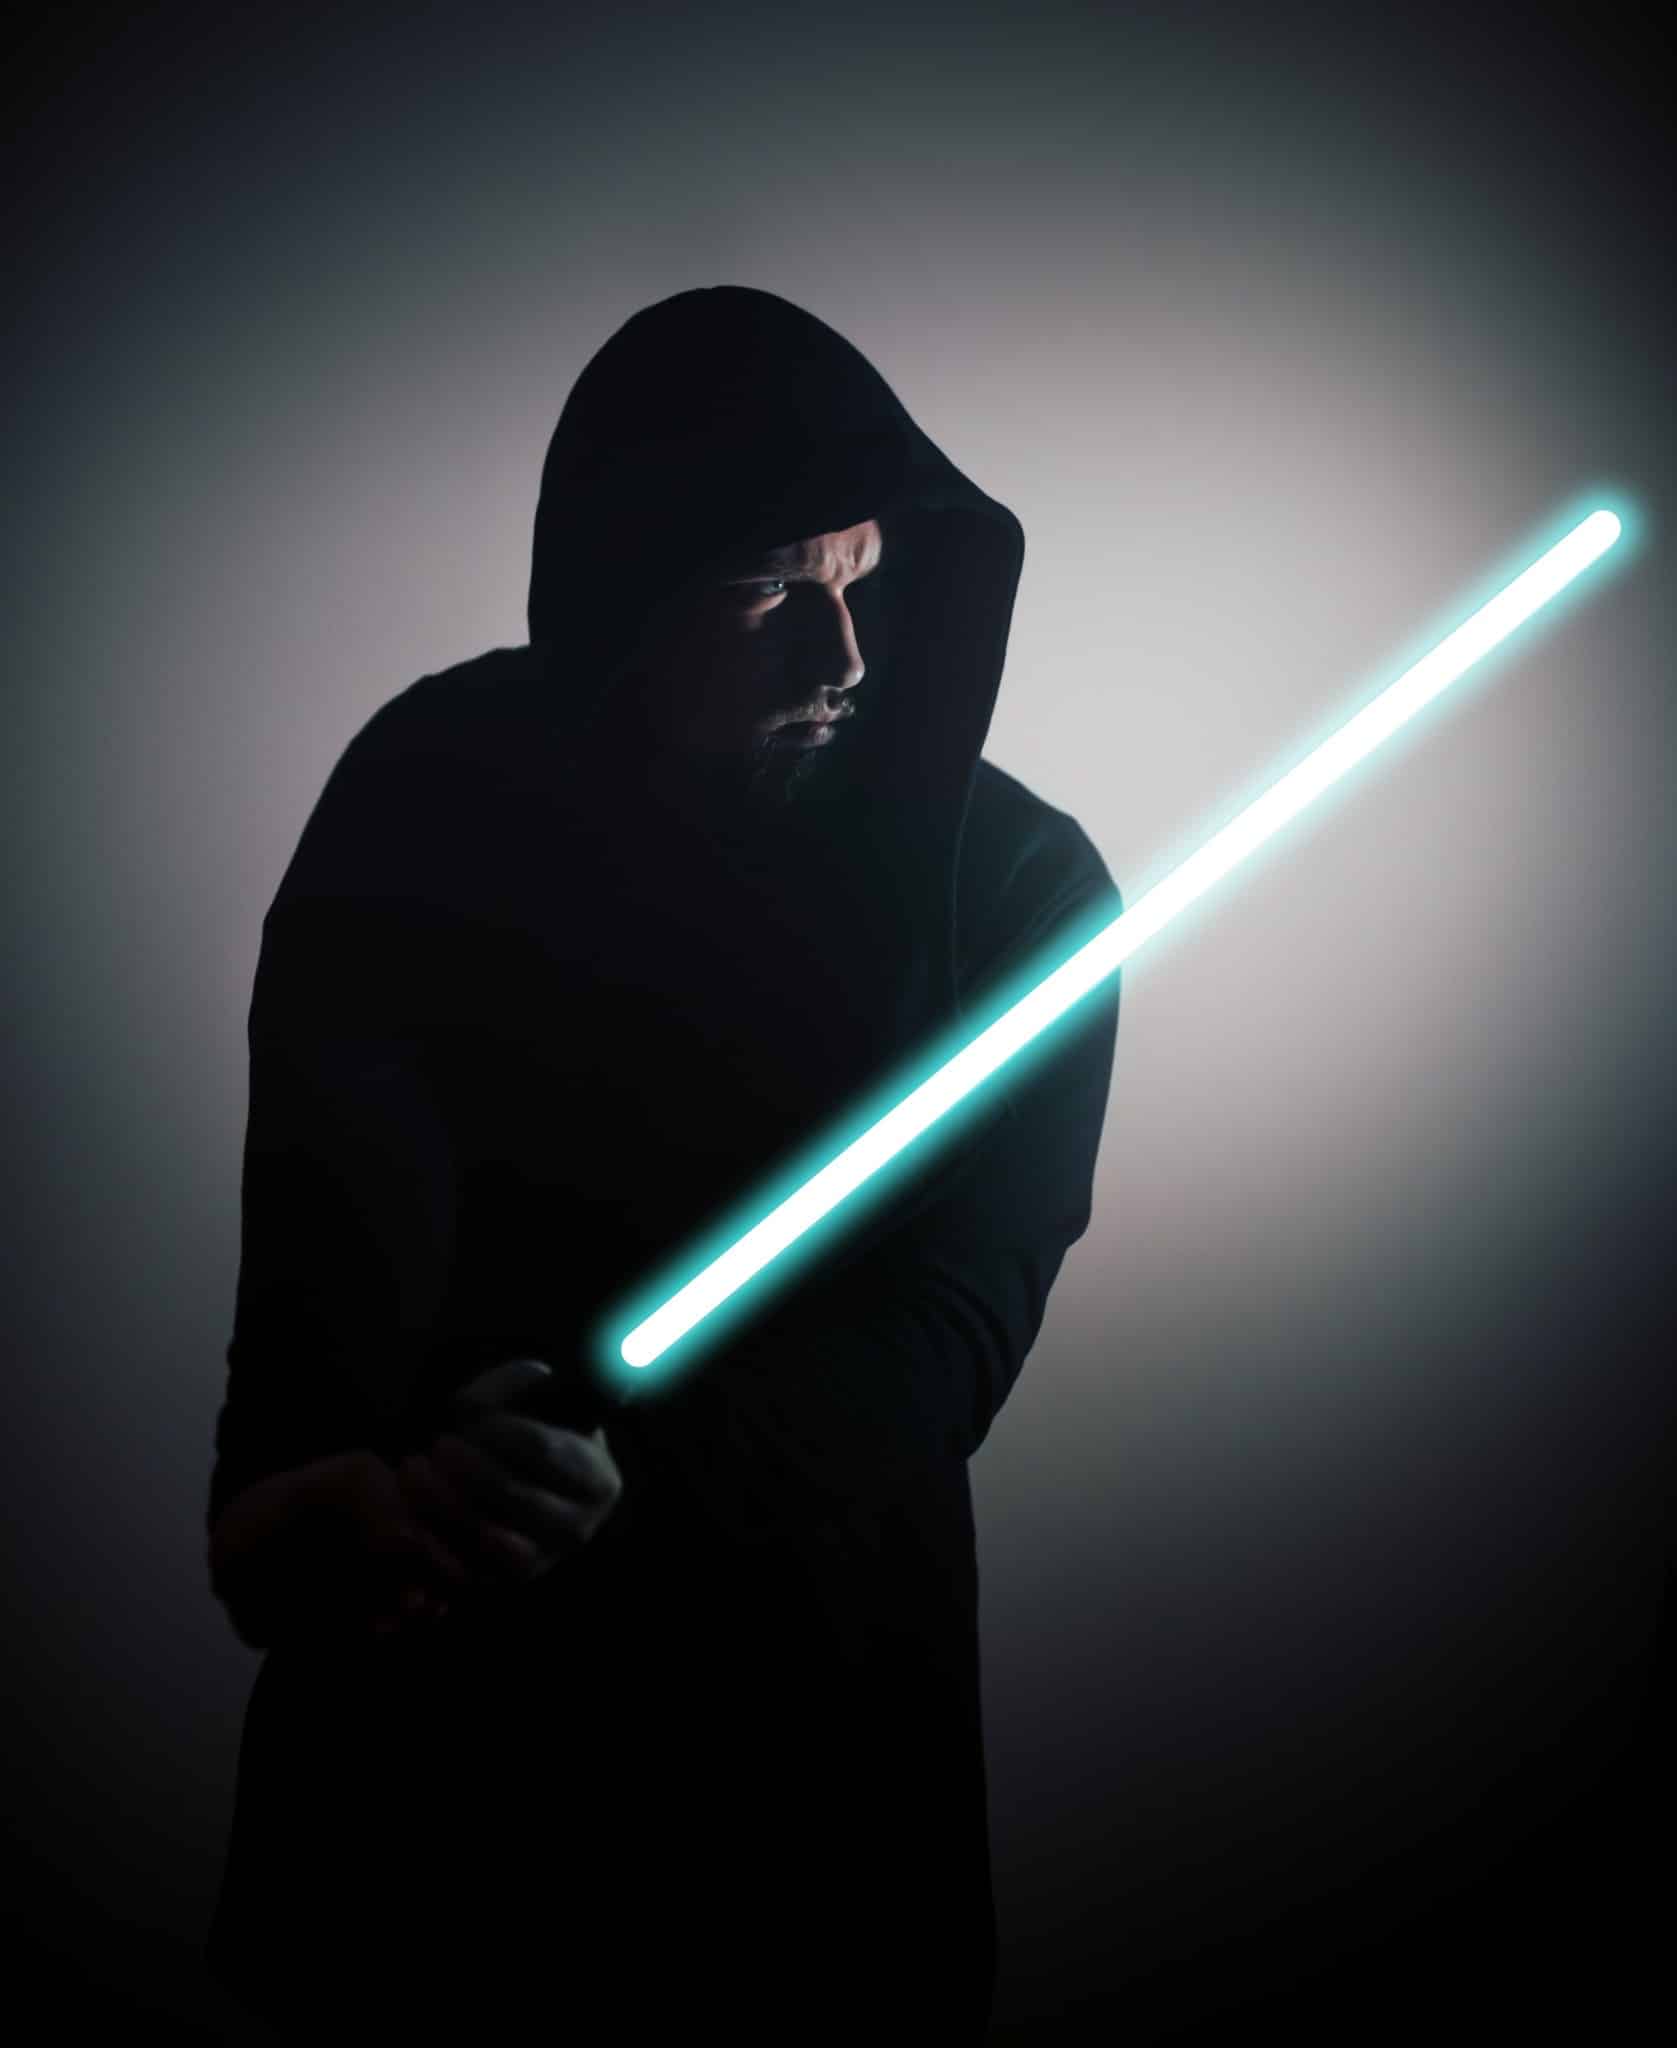
The example photo before and after my edit.
How Do You Take the Shot? It Just Takes One Lamp.
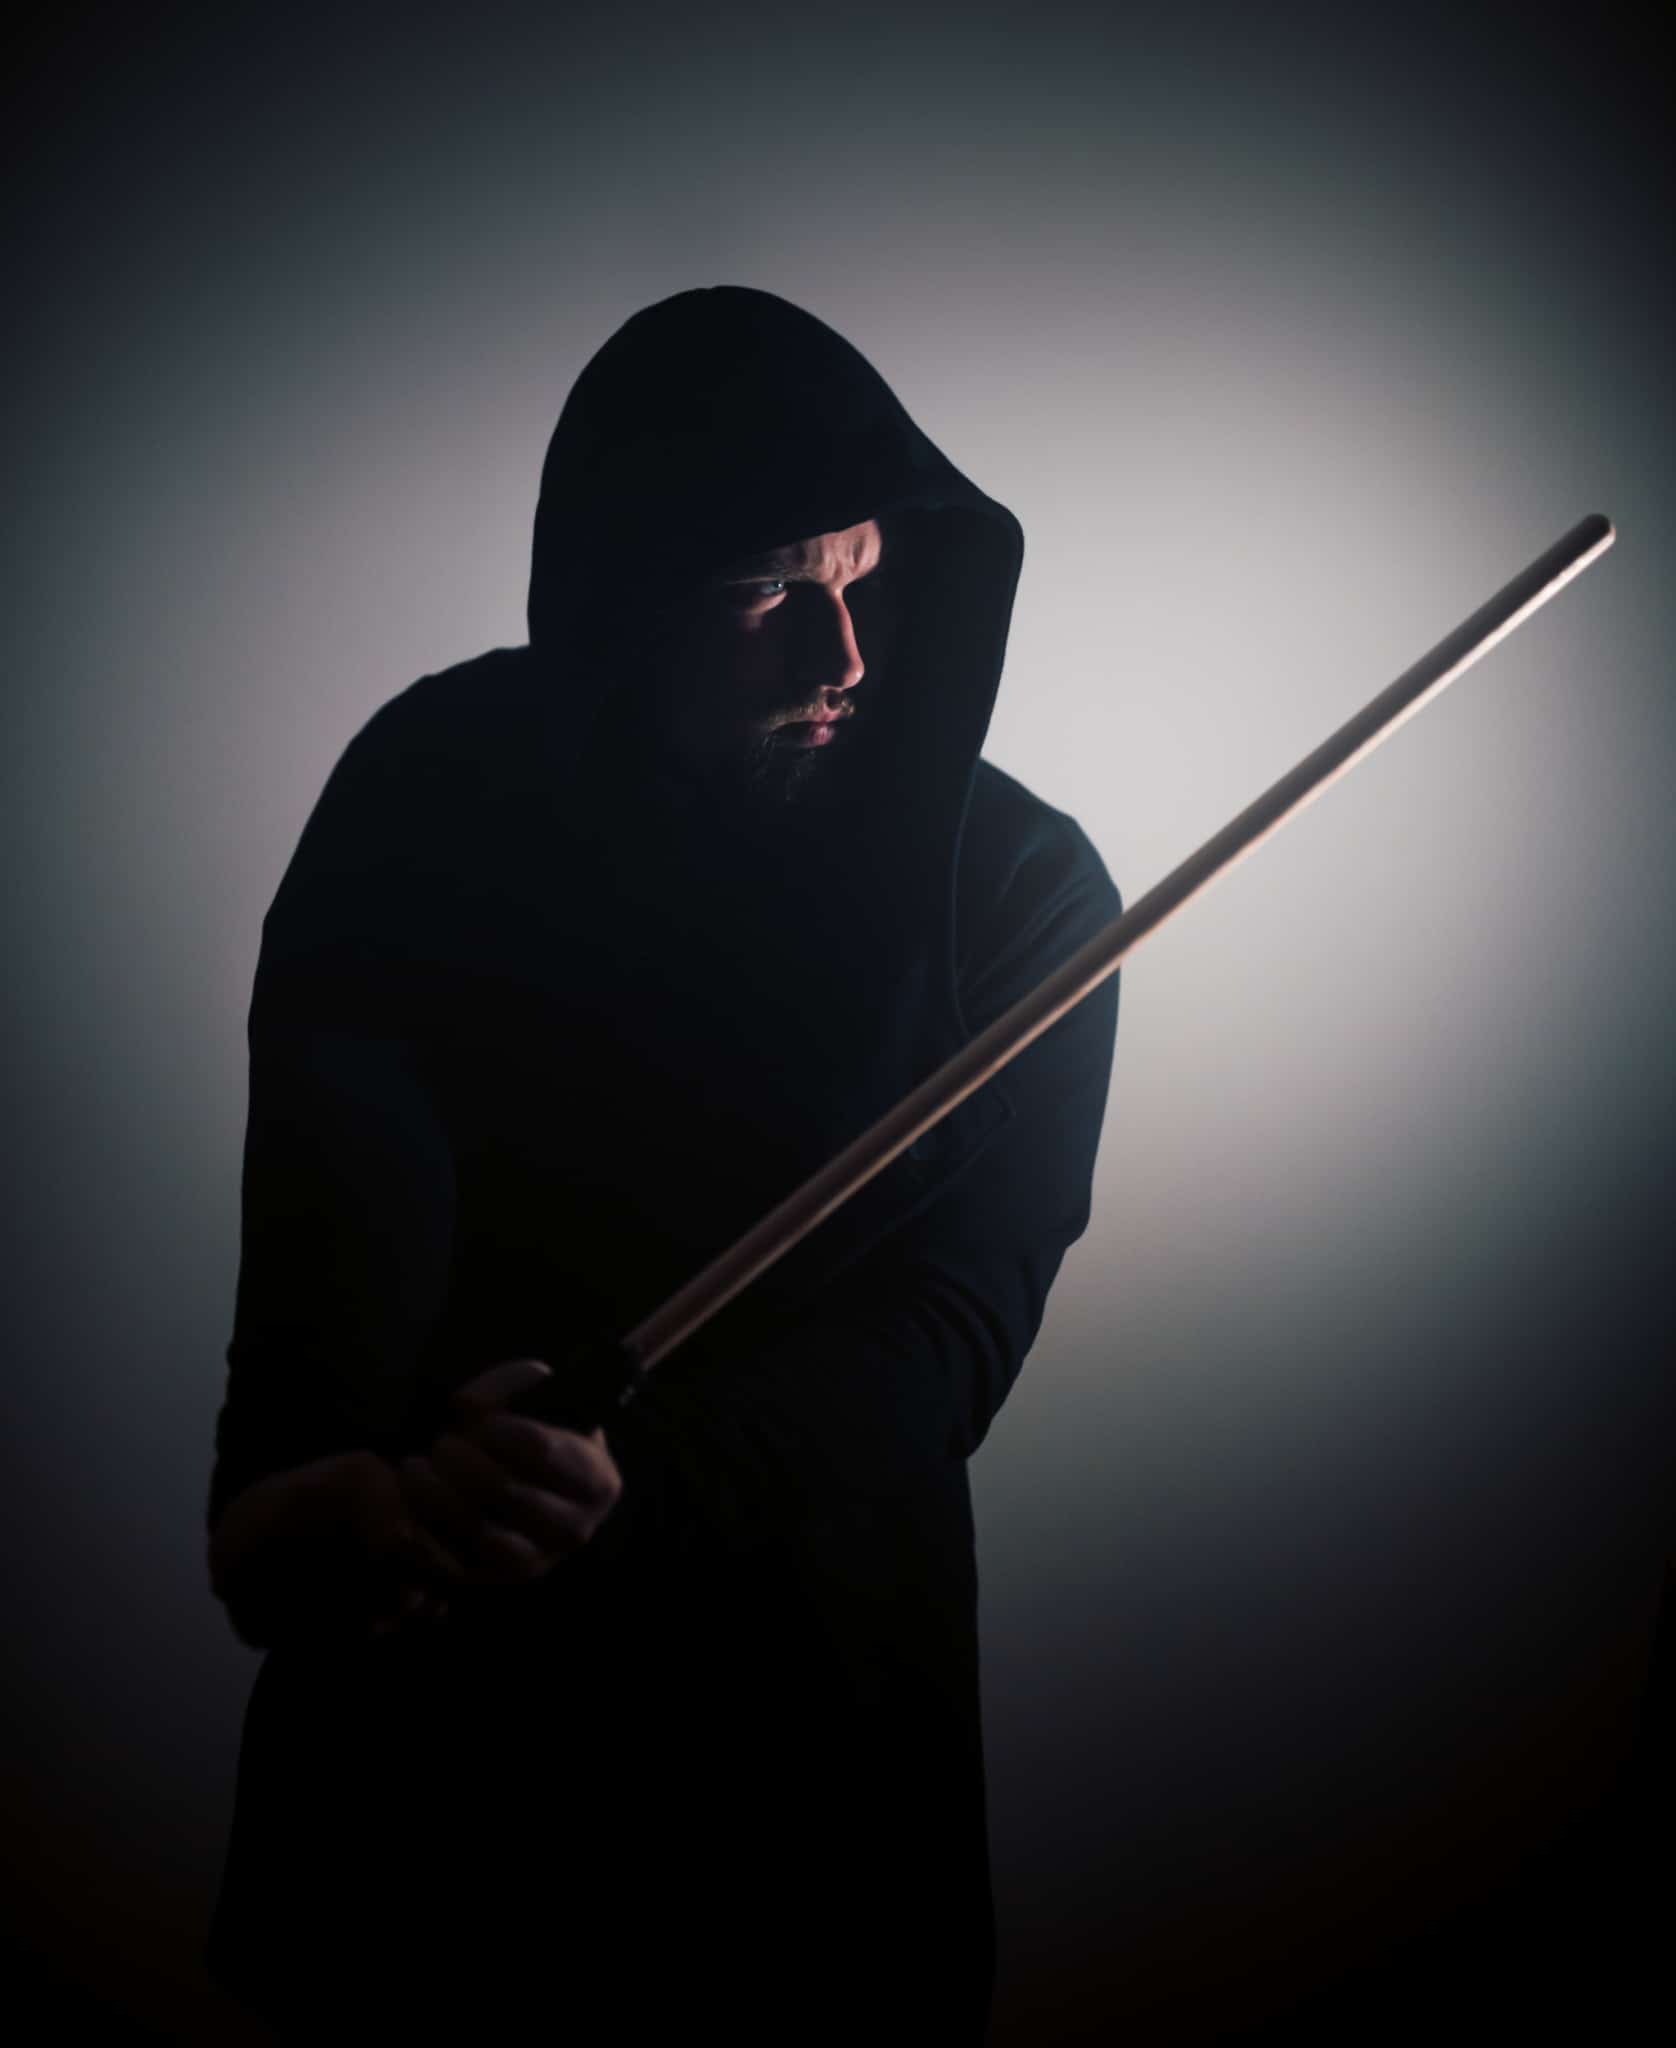
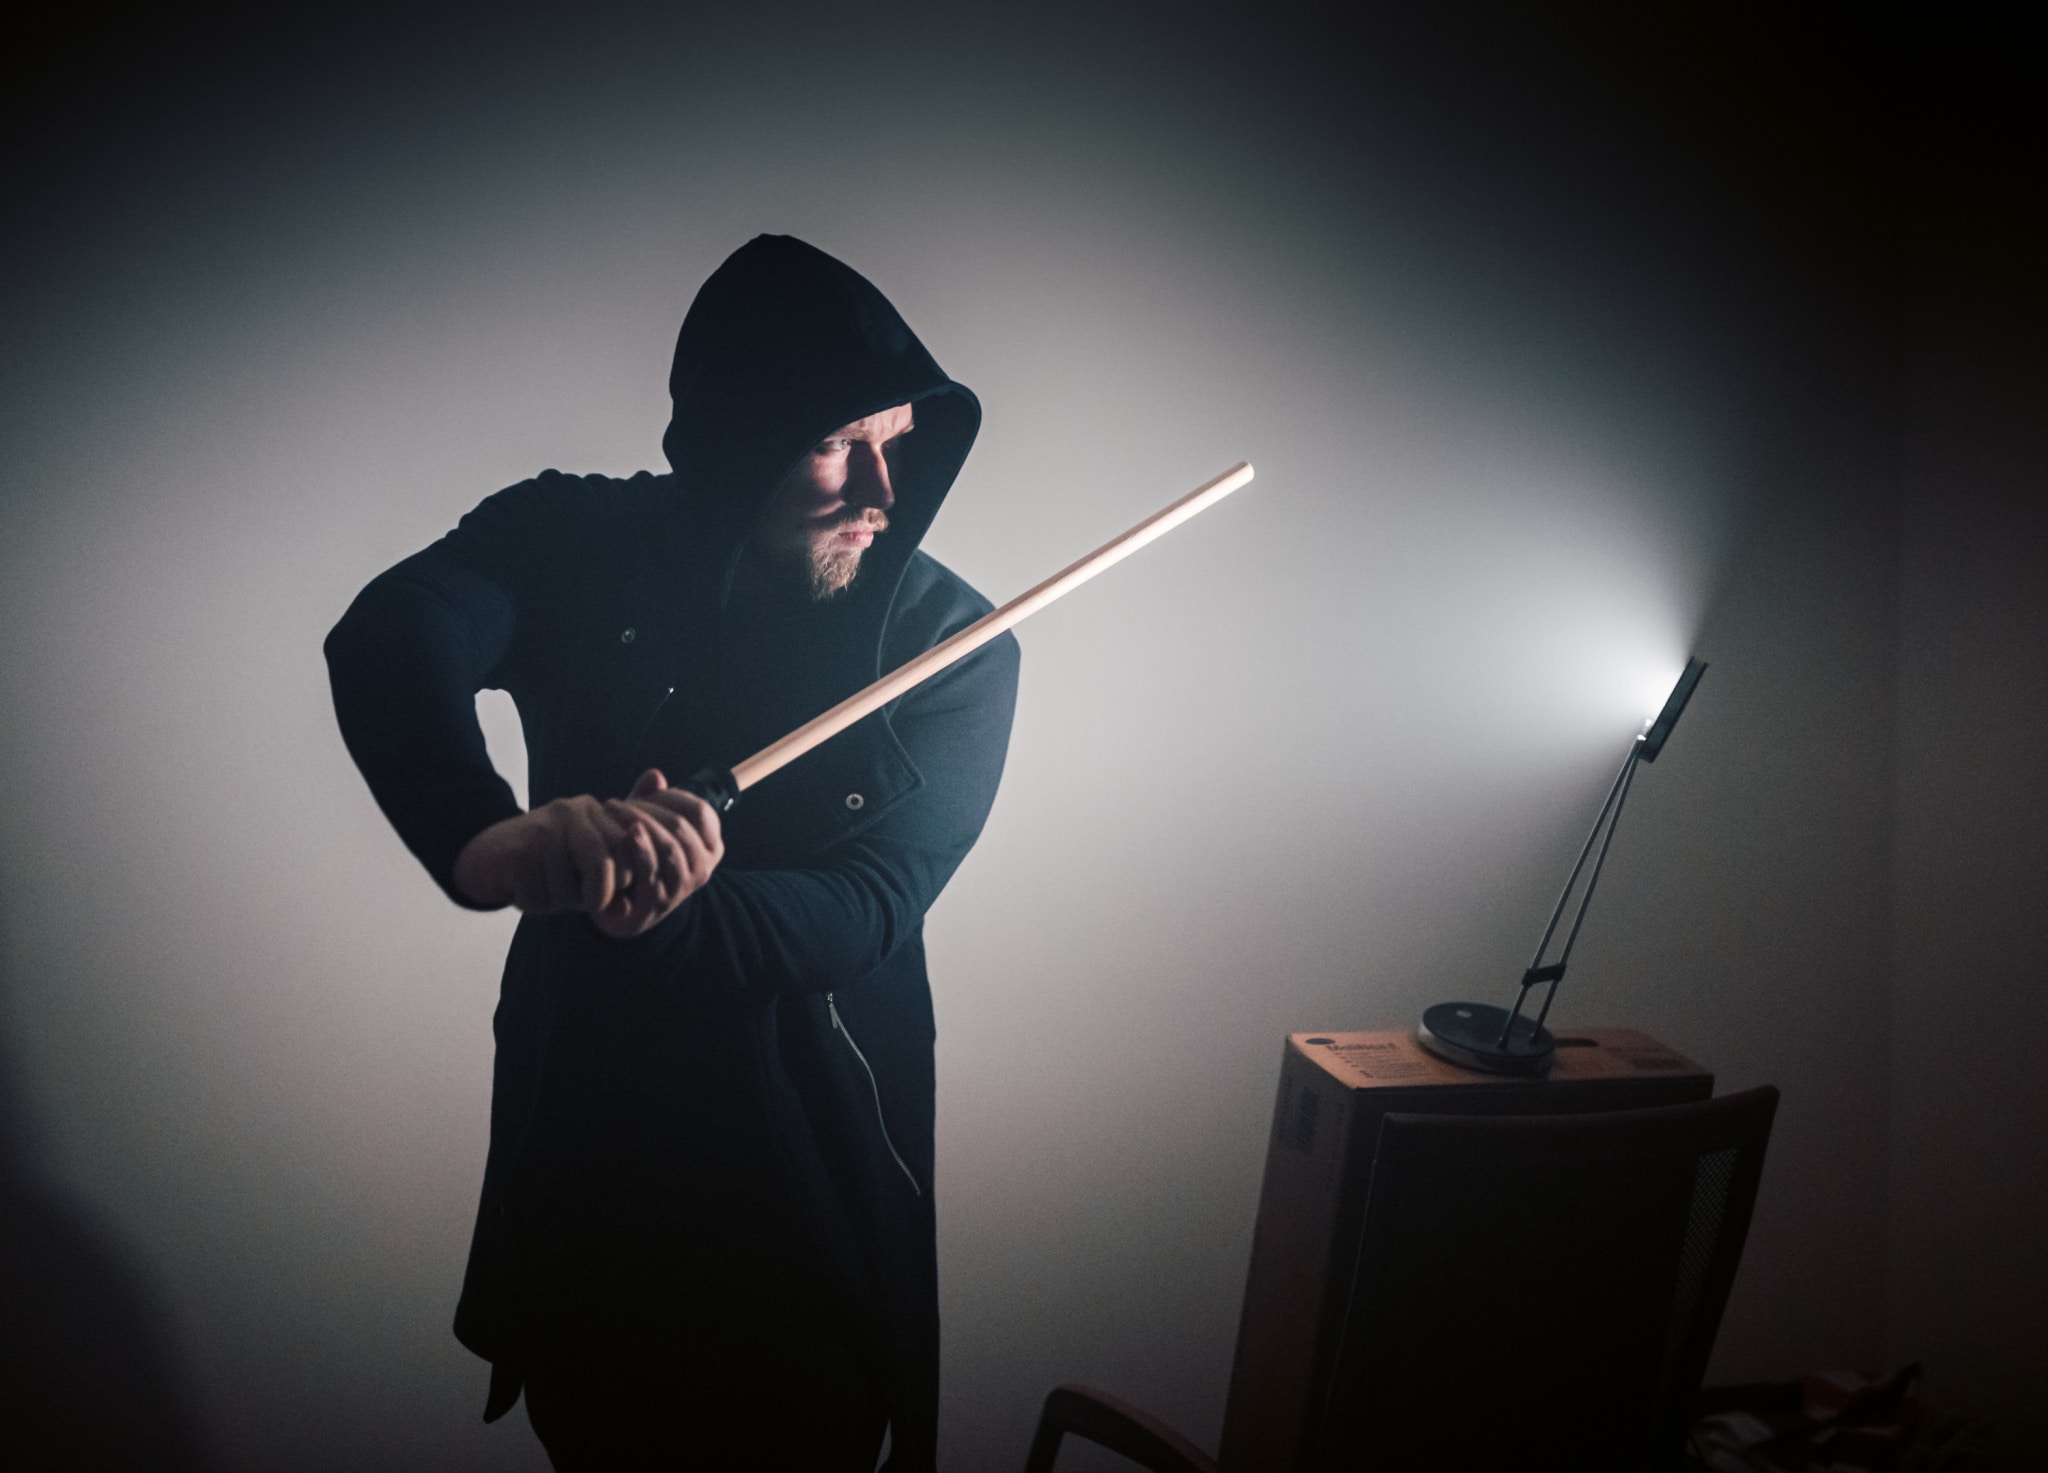
To create the source picture here, all I used was a broom handle—plus a black gimbal grip as the “hilt” (but you could use just about anything else). A small lamp that I placed onto a box took care of the lighting. The important thing is for the direction of the lamp’s light to match how the lightsaber would shine.
This is what my source picture looks like. The direction of the light from the lamp should match the direction of the light from the broom handle. Umm… from the lightsaber!
Now you’ve got your source photo, so let’s go step by step through how to turn the wooden handle into a lightsaber.
Start With a White Line
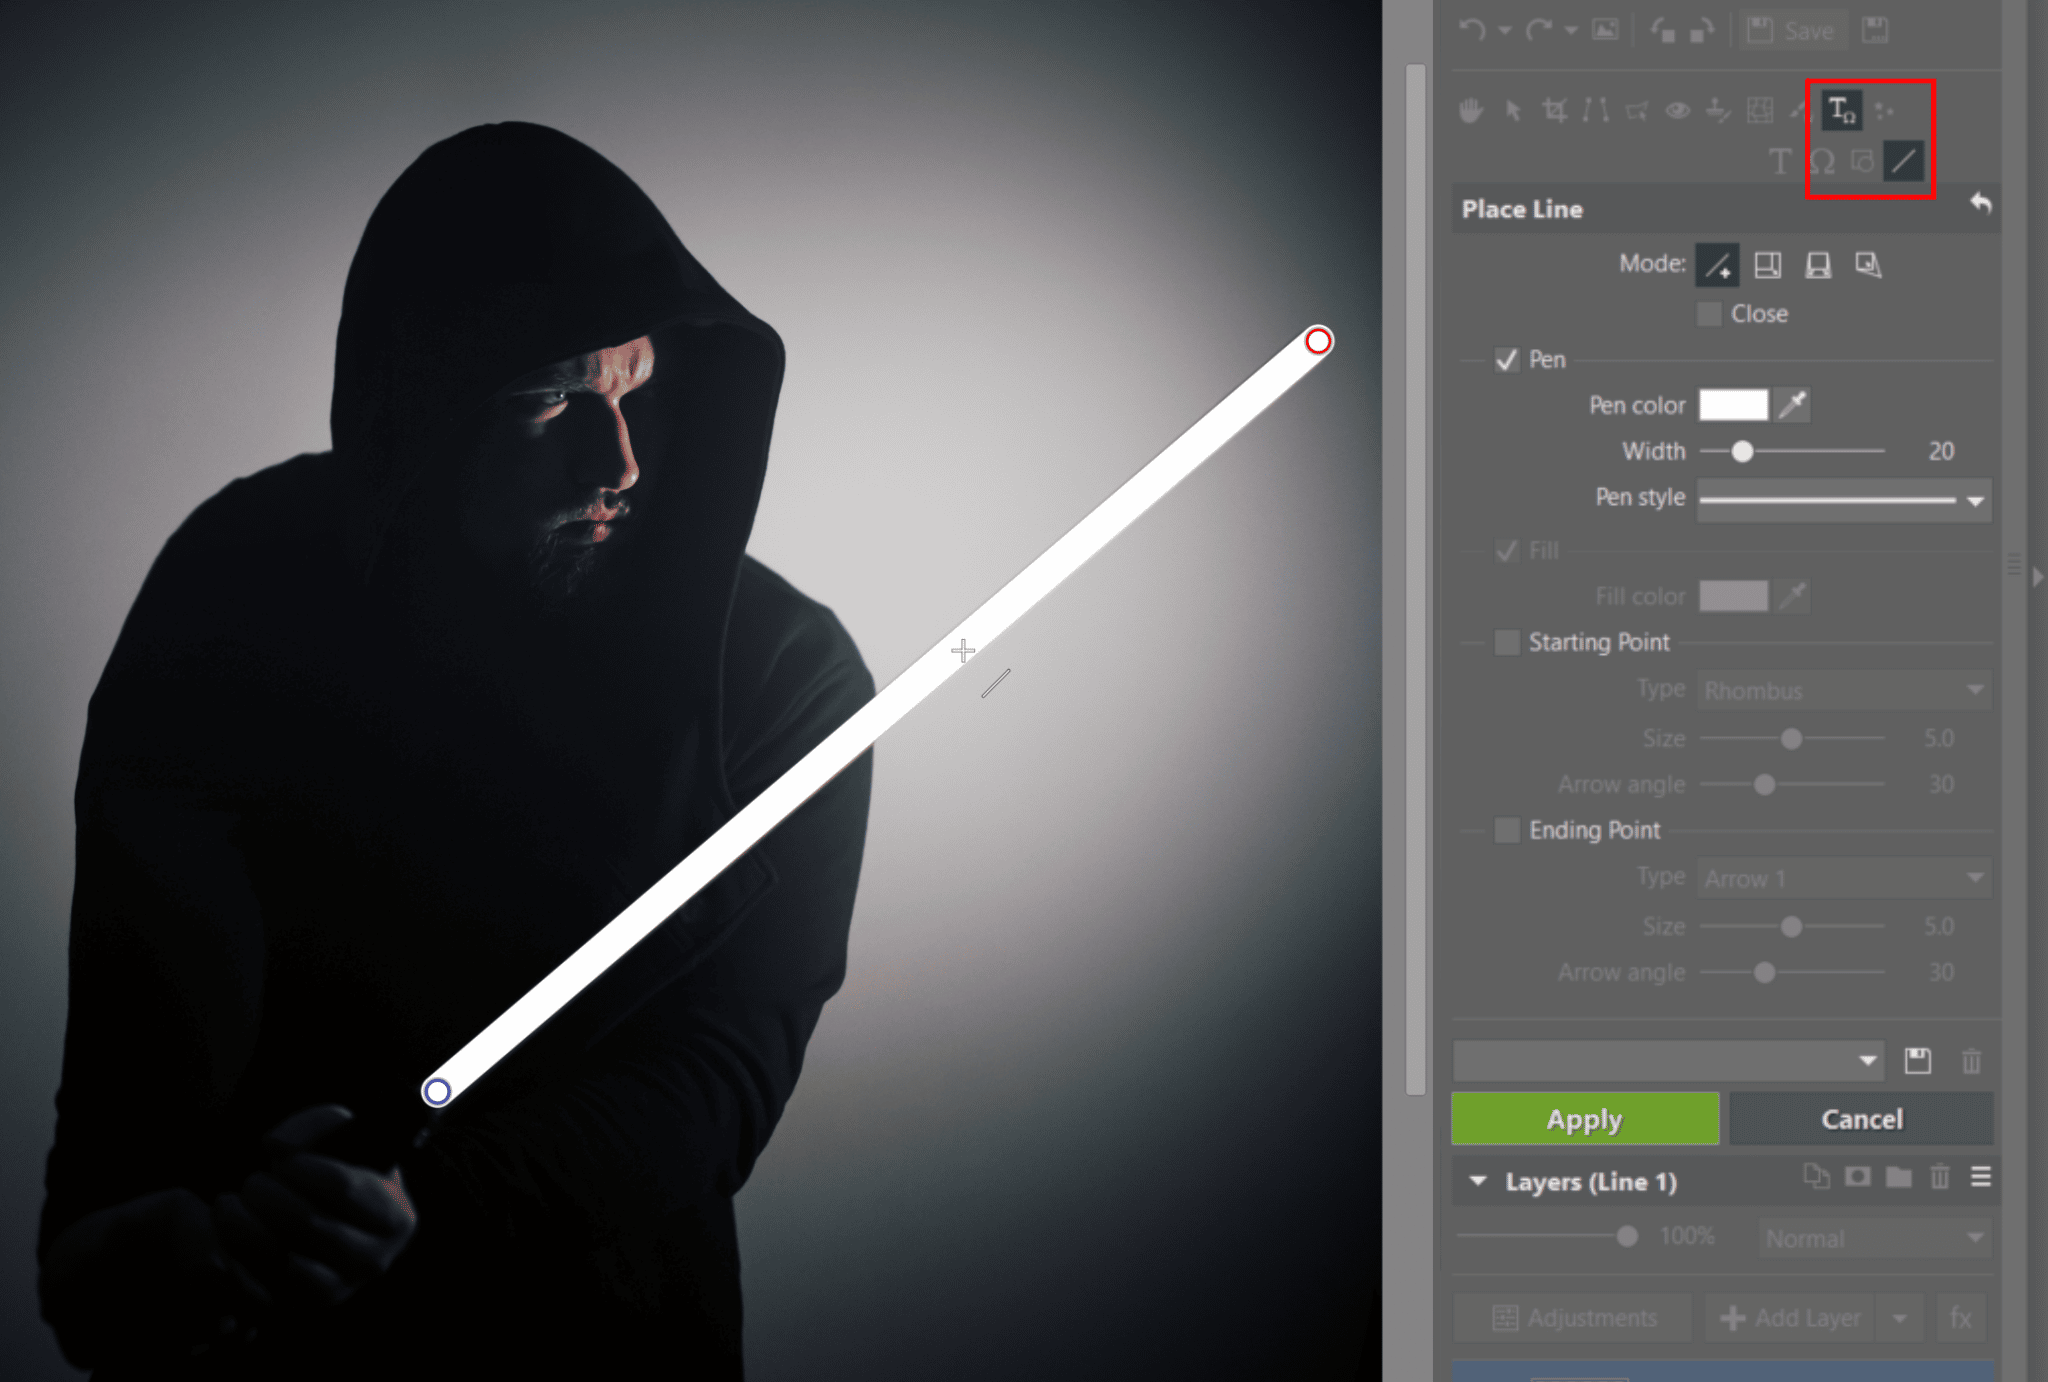
Open the Editor module in Zoner Studio and use the Place Line tool (D), which is one of the Placement Tools. Click and drag a line from the beginning to the end of the handle and give it an appropriate width. Choose pure white as the color. The line is automatically added to a new layer.
Add the line so that it covers the handle frop top to bottom.
And Now Light the Saber!
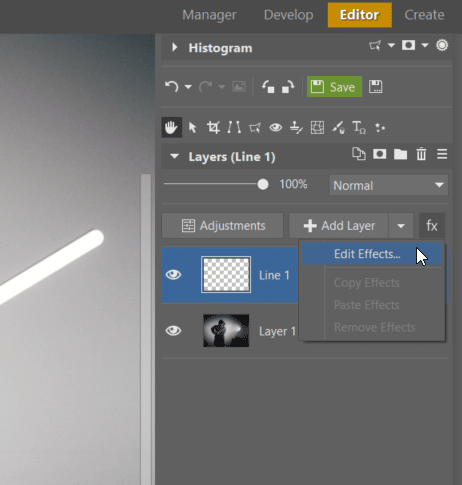
Click fx in the row of buttons above the layers, and then use Edit Effects.
Click on “Edit Effects.”
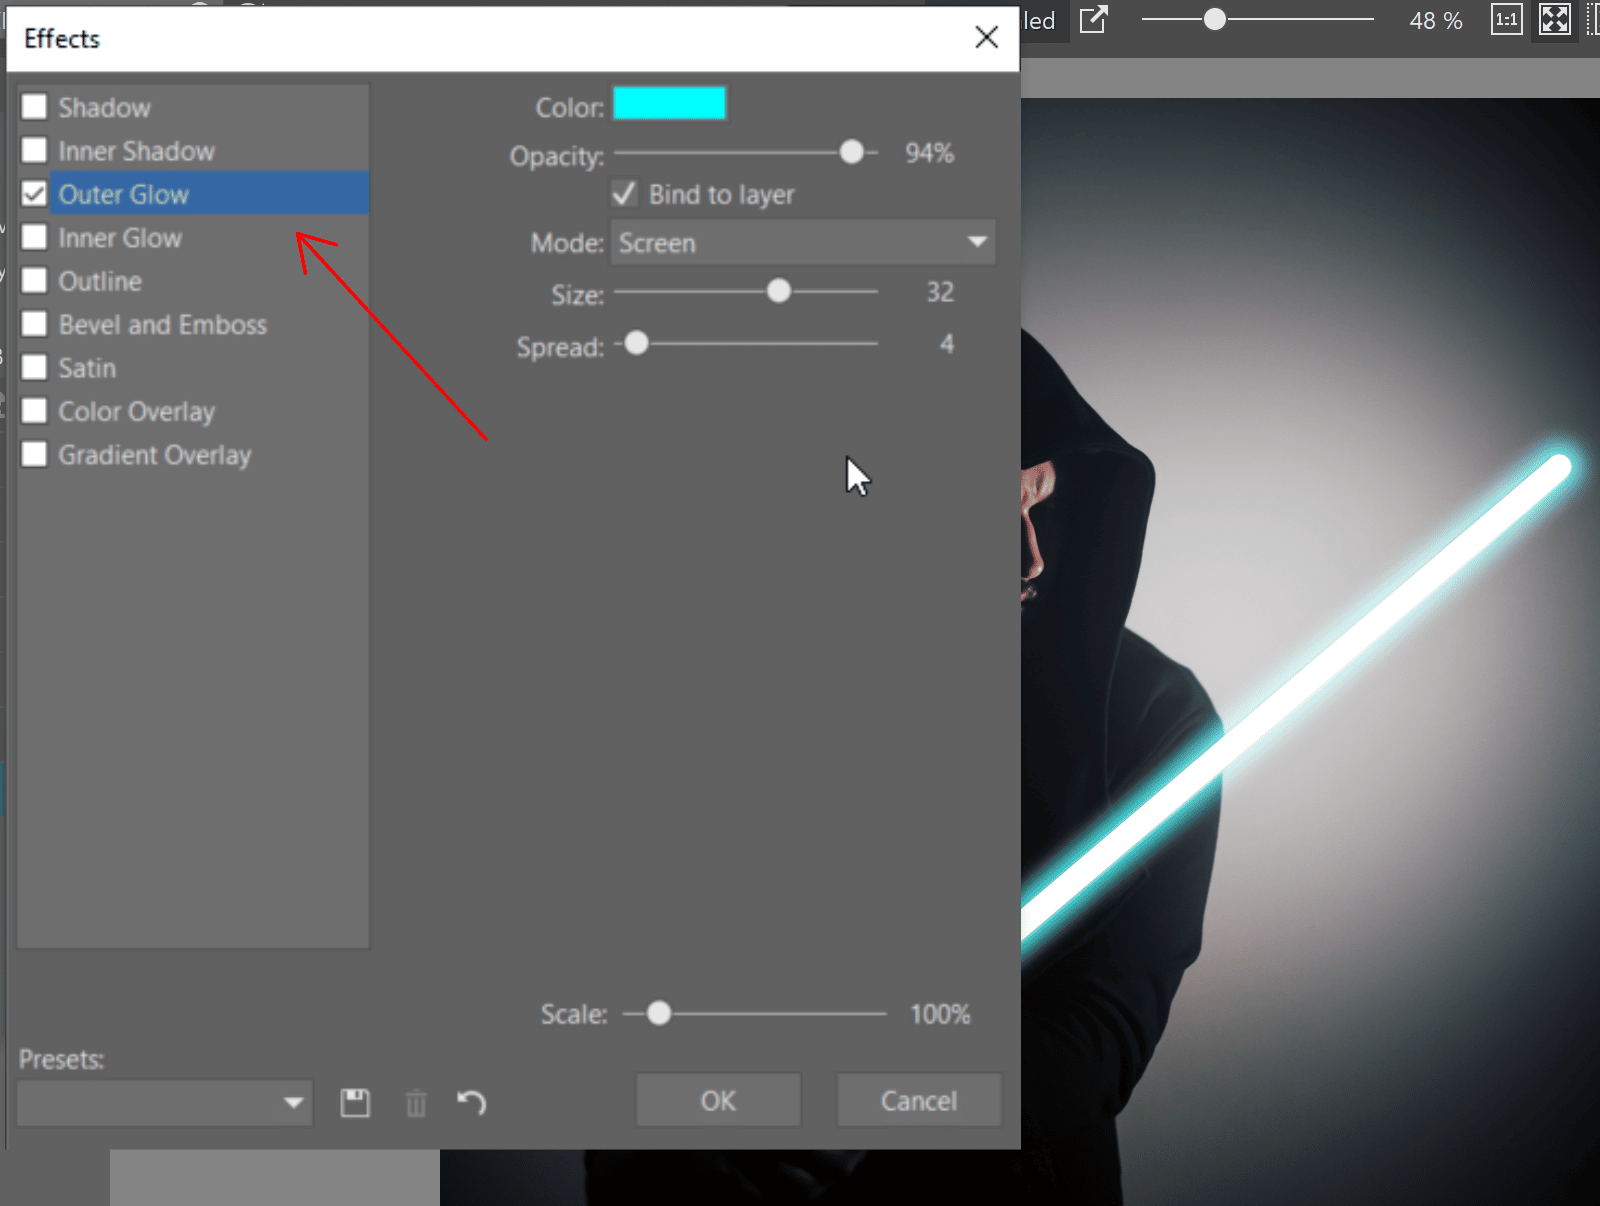
Turn on the Outer Glow option and choose a color based on which side of the Force you’d like to join. Then click OK, and you’re basically done and ready to save! Or you can keep going instead, like I did.
Now add Outer Glow.
Now Make the Saber Light Its Surroundings
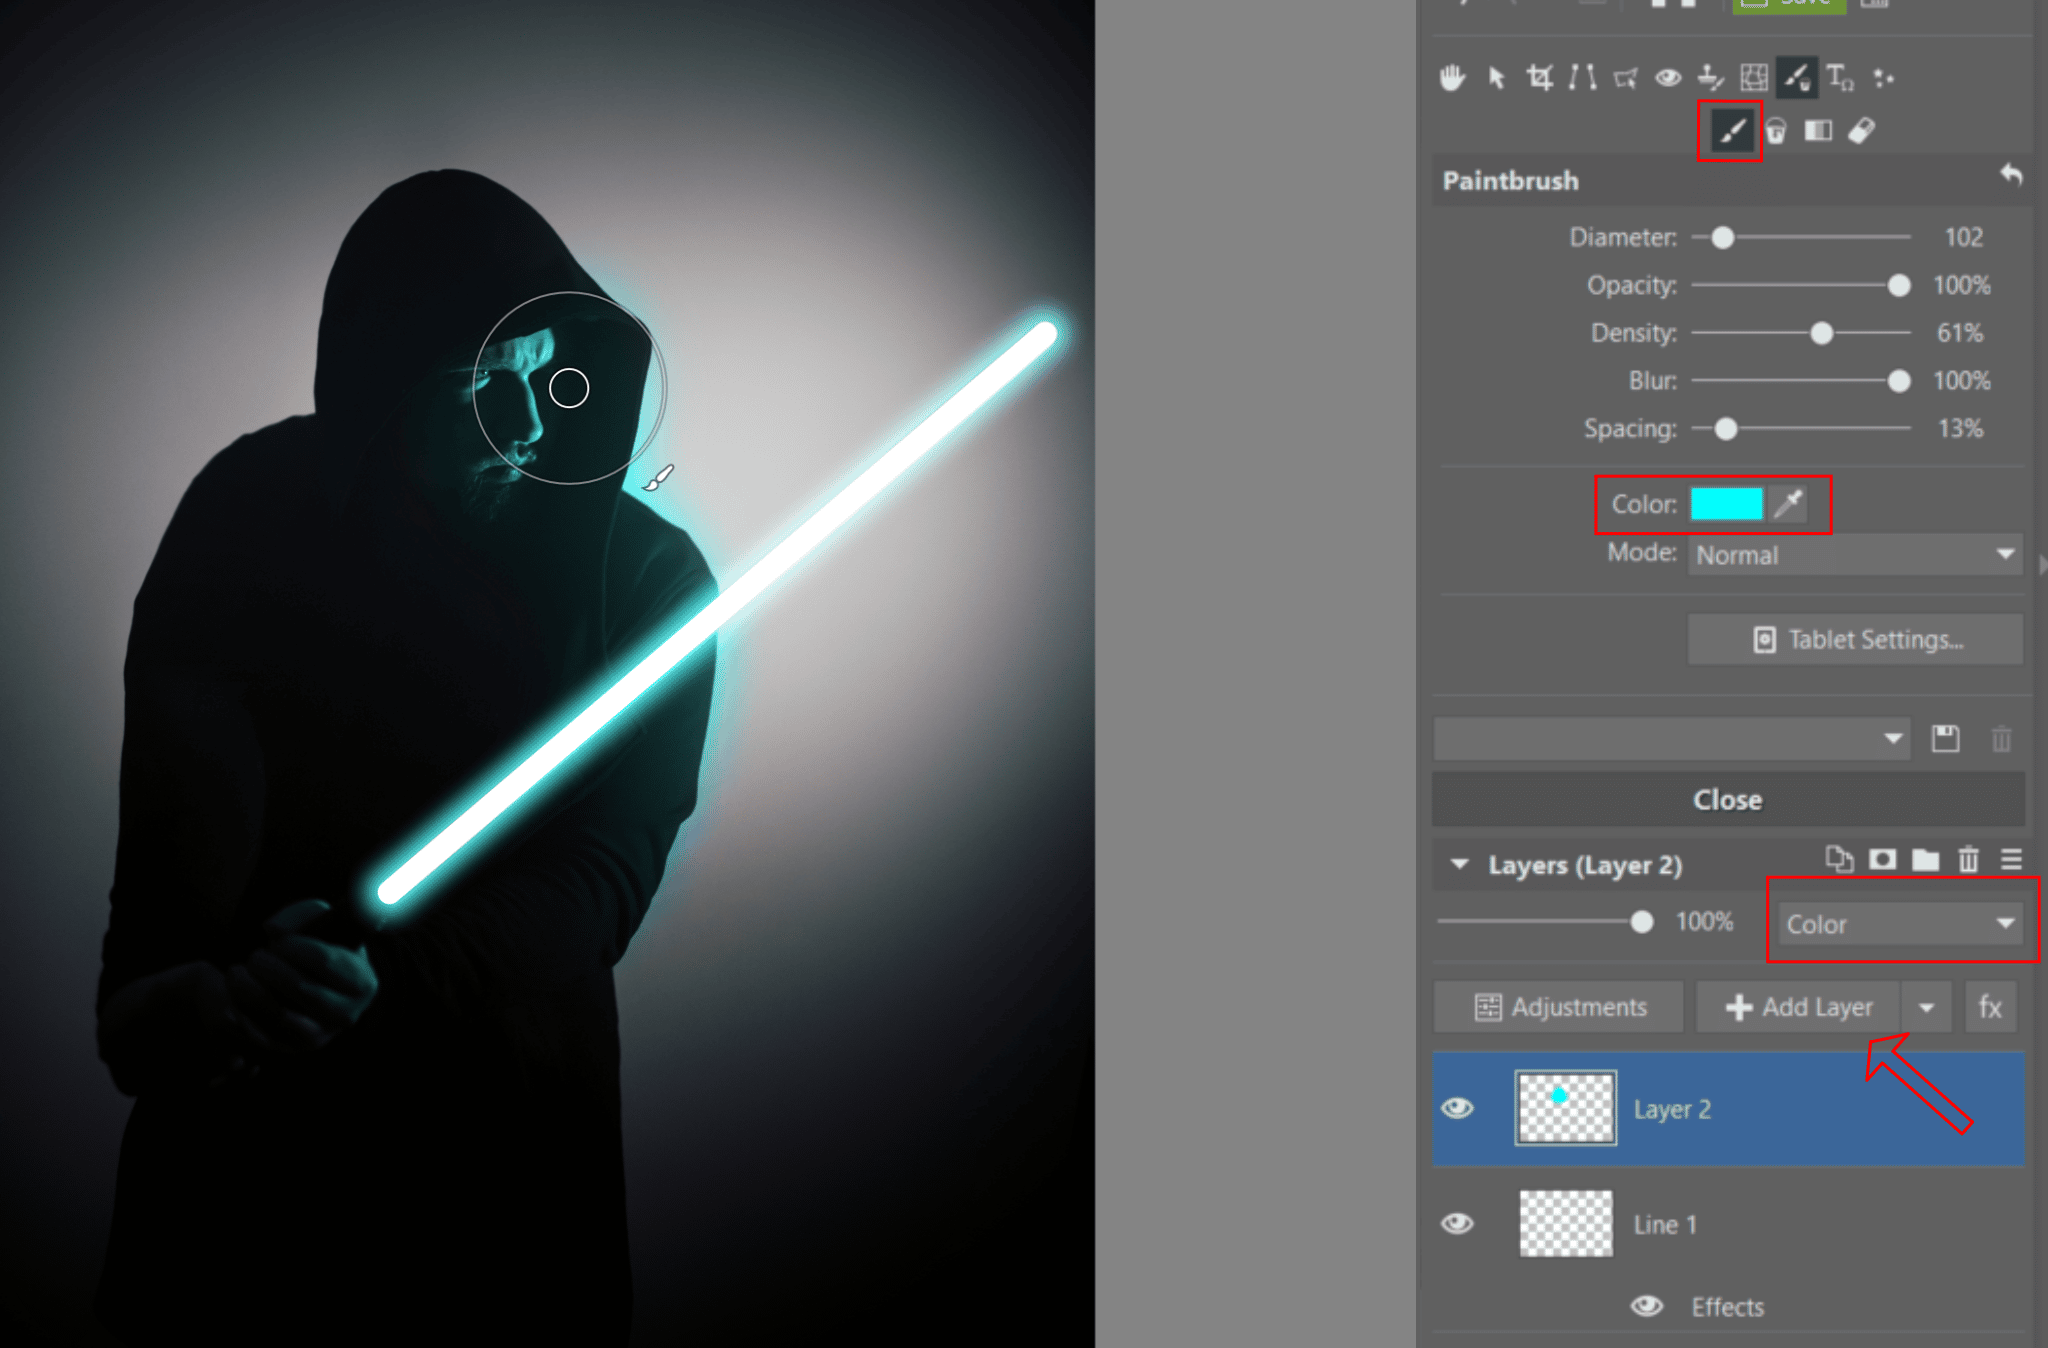
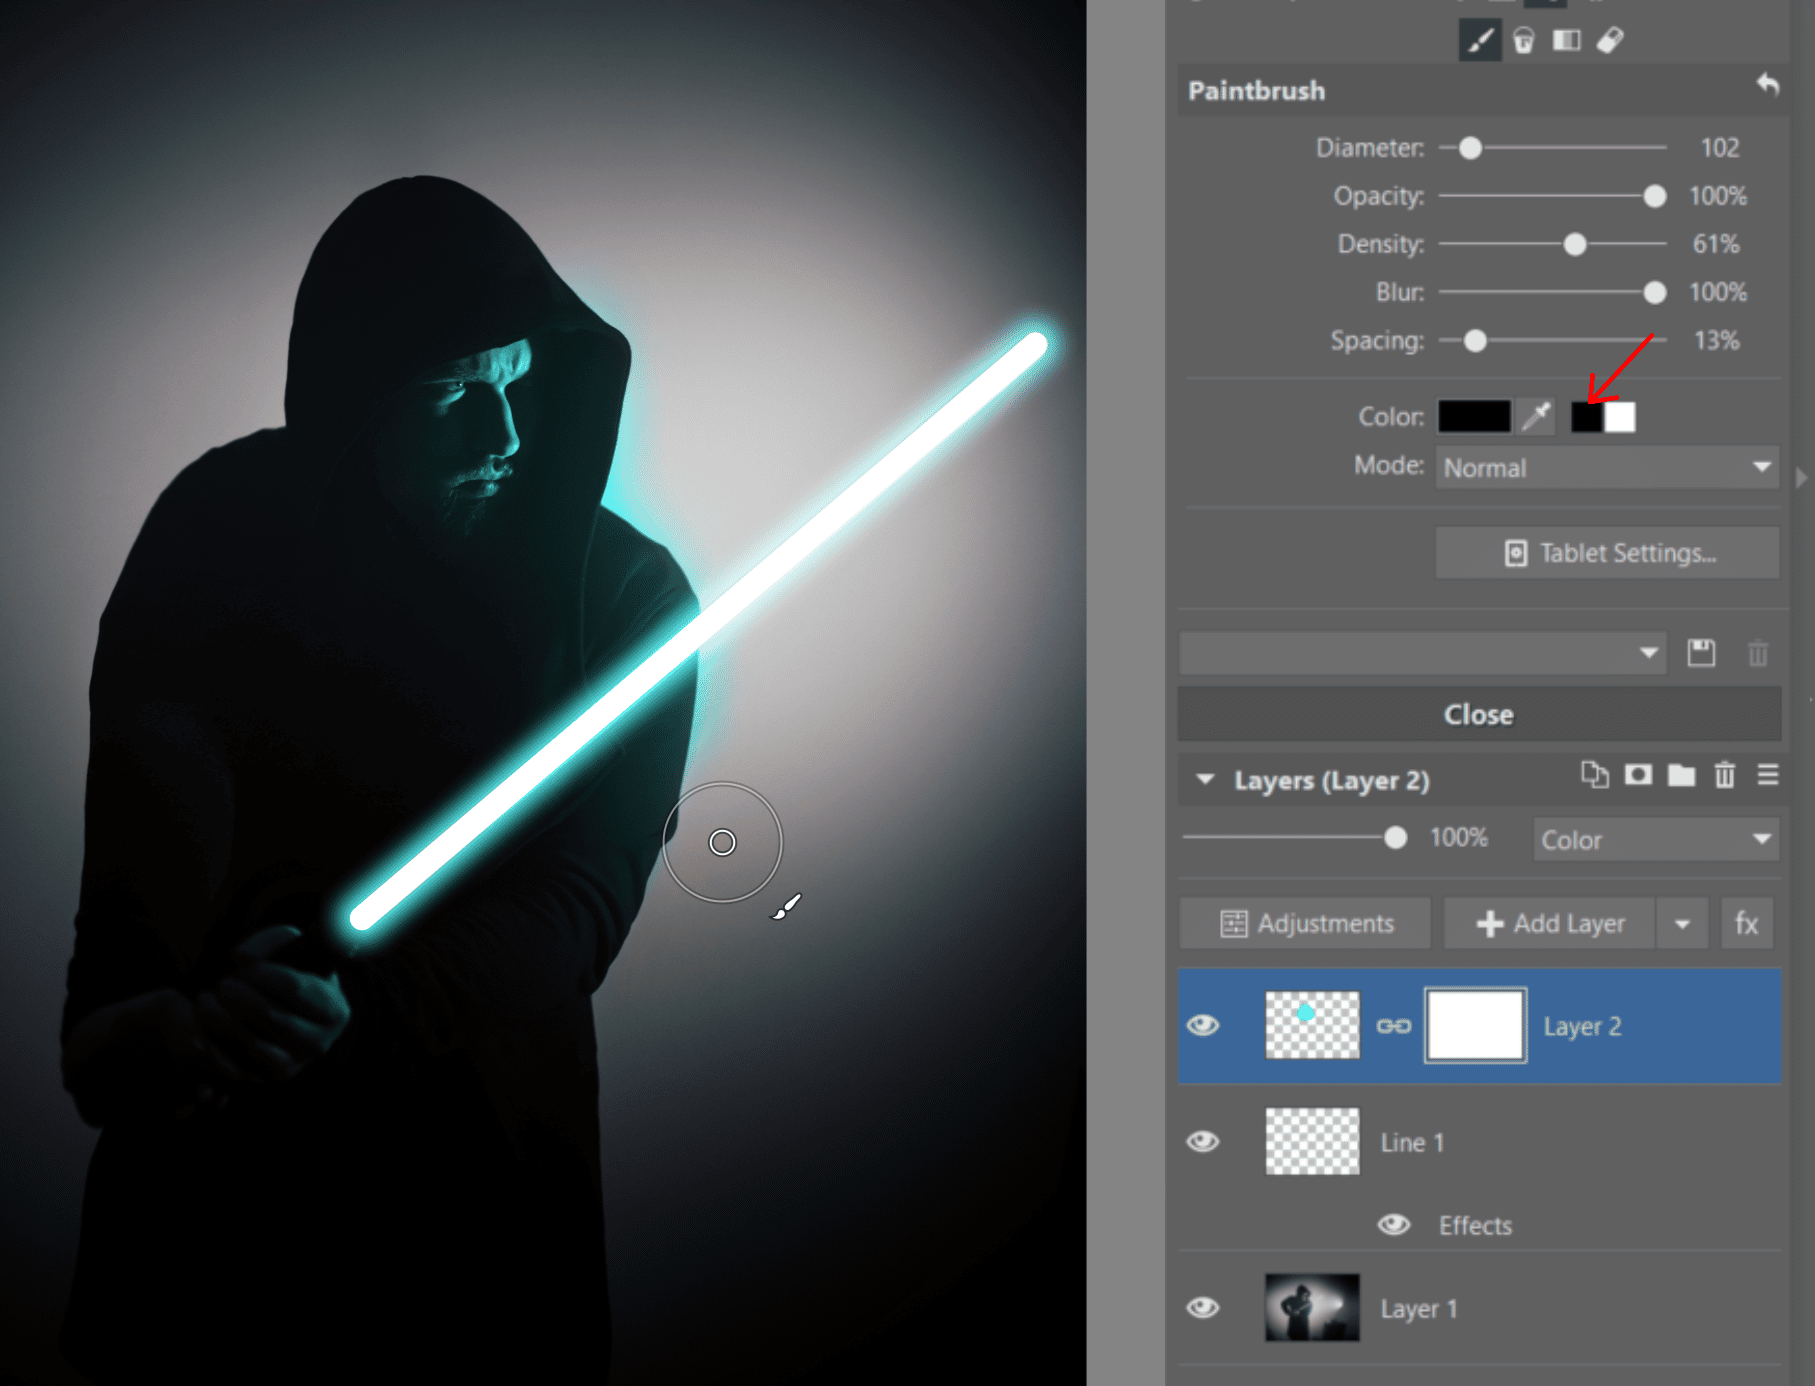
The lightsaber is glowing, so really, the light on its wielder’s face and hands ought to match the lightsaber. To achieve that, add a new layer, activate the Paintbrush (B) and change the layer’s mode from Normal to Color. Then paint the appropriate parts of the picture.
Fill in the effects of the saber’s light.
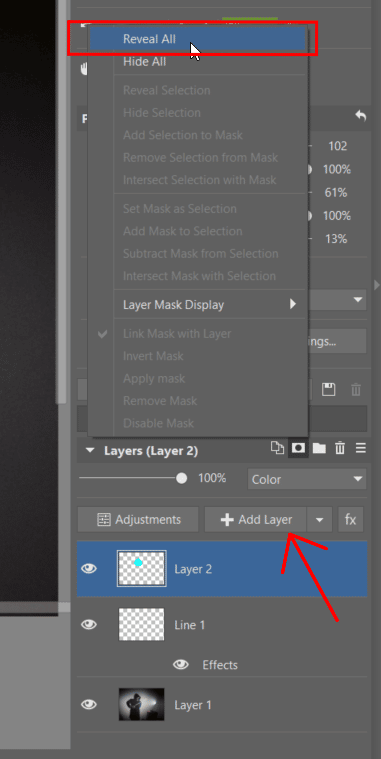
You’ll probably make a stroke or two in the wrong place. This is easy to fix by applying a mask. Start with the mask set to Reveal All and then brush black onto the mask to mask away bad strokes as needed.
Add a mask and fine-tune the details as needed.
Remember, drawing with black or white onto the mask sets what will or won’t be hidden by it. If the effect feels too strong to you, reduce the layer’s opacity.
Drawing black or white onto the mask sets what is and isn’t hidden by it.And you’re done!
Show Your Friends Which Side of the Force You’re On!
Download Zoner Studio, enjoy it 7 days for free, and create your own stylish lightsaber photo. Tried it already? Show off what you got in the comments!
Receive our weekly newsletter to stay on top of the latest photography trends
Subscribe to receive the best learn.zoner.com has to offer
By confirming the subscription, you consent to the processing of your personal data for receiving newsletter. Learn more in our privacy policy.
I most love taking pictures of people. Weddings, portraits, graduation photos, balls... I am always in search of backlight, but I enjoy various types of lighting and mostly like to use shorter lenses. I love my Nikon, my guitar, and a kebab. You’ll find my photography on my website or on Facebook.

There are no comments yet.