3 Tips for Creatively Presenting Your Photography on Instagram
Social media is a great place for photographers to showcase their work, and one of the most popular platforms is Instagram. But posting one photo at a time can get a bit repetitive. Here are a few ways to make your Instagram page more engaging and help you attract new followers or rack up more likes.
There are plenty of ways to make your Instagram page stand out. In this article, you’ll learn how to create:
- Posts with two overlapping photos
- Moving collages made from one photo split across multiple images
- Photos with frames
You pull off all these tricks with just a few clicks in Zoner Studio. Zoner Studio has tools designed specifically for Instagram and other social media platforms.
Instagram photo aspect ratios
First, decide what kind of post you want to create and prepare your photos with the correct aspect ratios. These vary depending on the type of Instagram post:
- Feed: 5:4 (portrait orientation)
- Stories and Reels: 9:16 (portrait orientation)
- Grid preview: no longer square, now 5:4—wide photos may be cropped significantly
Make sure your photos are ready in the correct aspect ratio so you know exactly what they’ll look like. You can crop directly in Instagram, but it’s better to do it beforehand in the Develop or Editor modules of Zoner Studio.

Stack photos in landscape orientation
You can stack landscape photos in the Print module of Zoner Studio with just a few clicks. Select Collage and create a new project. At the top of the right panel, open the Format drop-down and select Instagram – Portrait.
To stack two photos vertically, select the second template under Layout (two landscape photos on top of each other). Then drag your photos into the desired fields from the bottom filmstrip. Once exported, you get a single image with both photos, which won’t be cropped, that you can upload to Instagram. This is especially important for landscape shots.

One photo across multiple frames
You’ve probably seen Instagram posts where a single photo is split across two images. When swiped, it forms a continuous panorama. It’s a fun way to make your feed stand out and show off more detail. Zoner Studio can do this too and handles the alignment for you.

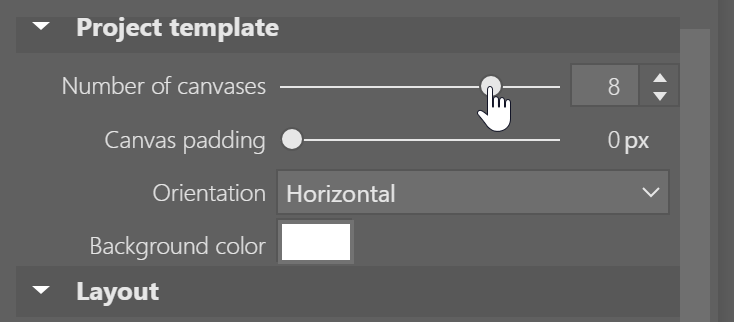
Again, head to Collage in the Print module. This time, choose how many canvases you want under Project template. You can adjust this with the slider or enter a number manually.
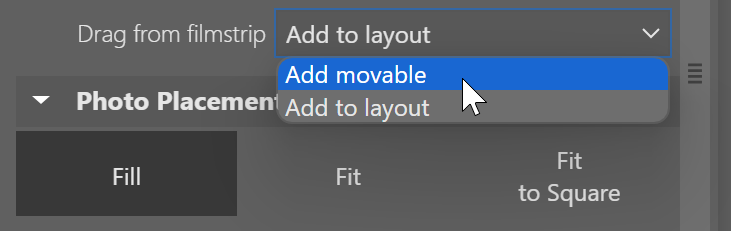
Before you start dragging photos, check how they’re added from the filmstrip. If you choose Add movable, the photo can be positioned anywhere. Add to layout fills a specific field of the template. You can switch between these modes depending on how you want your images added.
Then, just drag the photos from the bottom filmstrip to create a wide panorama.

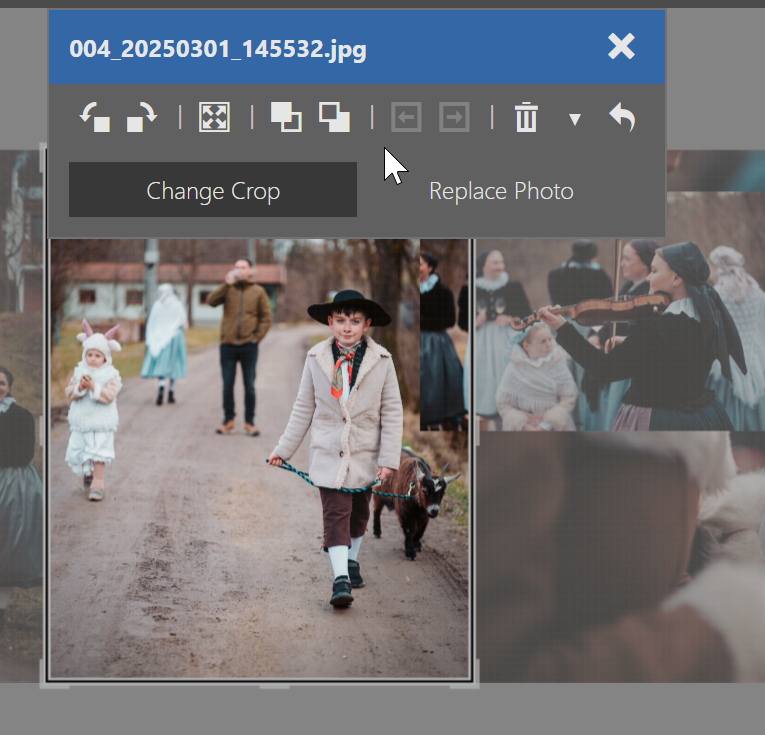
Use the tools above each photo to fine-tune your composition. For example, use Up/Down one level to control the stacking order.
When you’re done, click the Project Export button in the right panel. The photos are saved as separate files. Just transfer them to your phone and upload them in the correct order so the full image displays properly when swiped.

Adding frames to photos
Another way to avoid Instagram cropping your photos is to add frames. Of course, you lose some of the picture area and the photo will be smaller and take up fewer pixels, but you’ll preserve the entire image. There are many ways you can add borders. We’ll show you the simplest method with guaranteed Instagram-ready sizing.
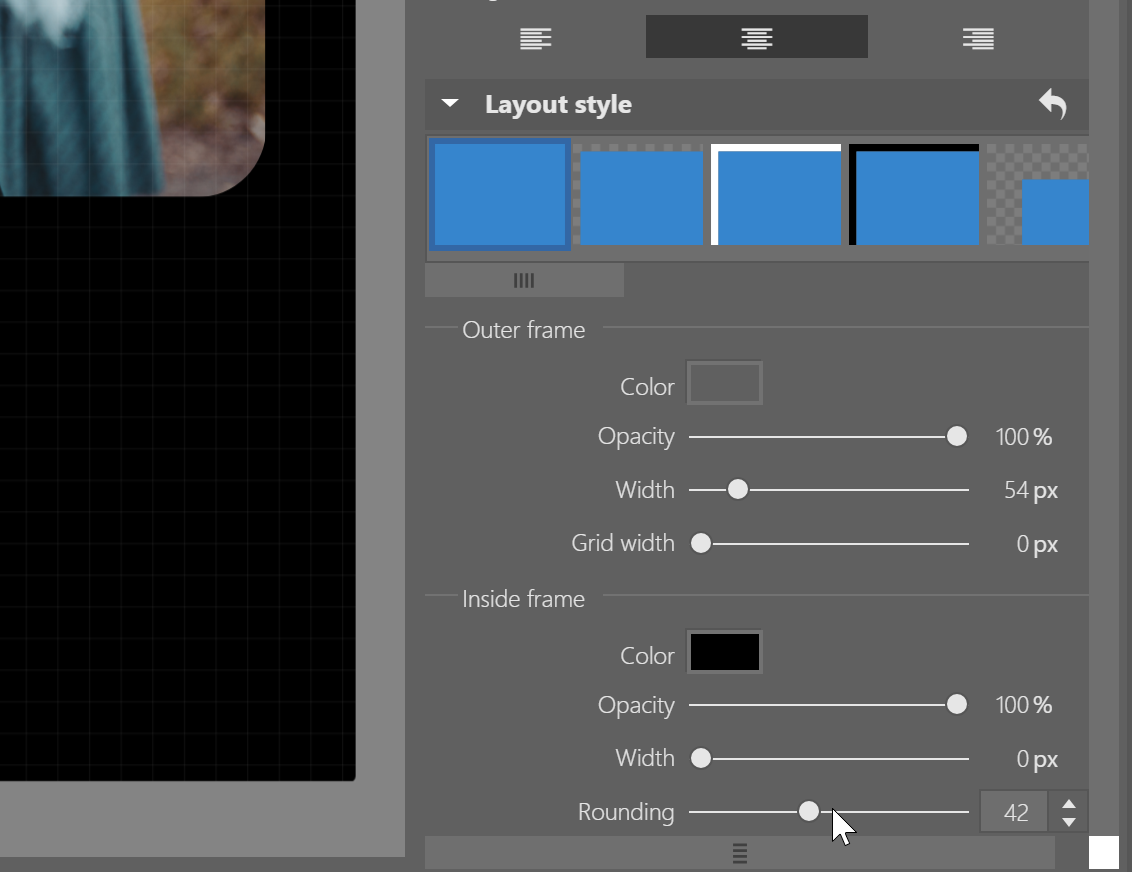
In the Print module, create a Collage and select Instagram – Portrait. Under Layout, choose a template with a frame and pick your background color.

Below, you can find more frame settings, like corner rounding and exact inner/outer frame width.
Spice up your Instagram today
If you like this style, give it a shot! This article covers the basics, but there’s a lot more you can do. Download Zoner Studio free for 7 days and try everything, limit-free. Time to step up your social media game!
There are no comments yet.