Turn Your Photography into Pop Art with the Editor Module

Feel the nostalgia of the colorful 1960s with some bold photo editing. Give your photos the pop-art look you love using Zoner Photo Studio X. All it takes is some searching through your Pictures folder to find the right photo. Your unique retro pop-art photo can be ready and printed in a few minutes, even if you’re no Andy Warhol. Read on to find out how it’s done.
Pop Art is a timeless and favorite long-time editing style. In addition to the work of modern artists, you may see Pop Art on posters. It’s not an effect that works on every photo, and you have to use it skillfully. But for some photos, especially portraits, Pop Art can look great. What do you think?
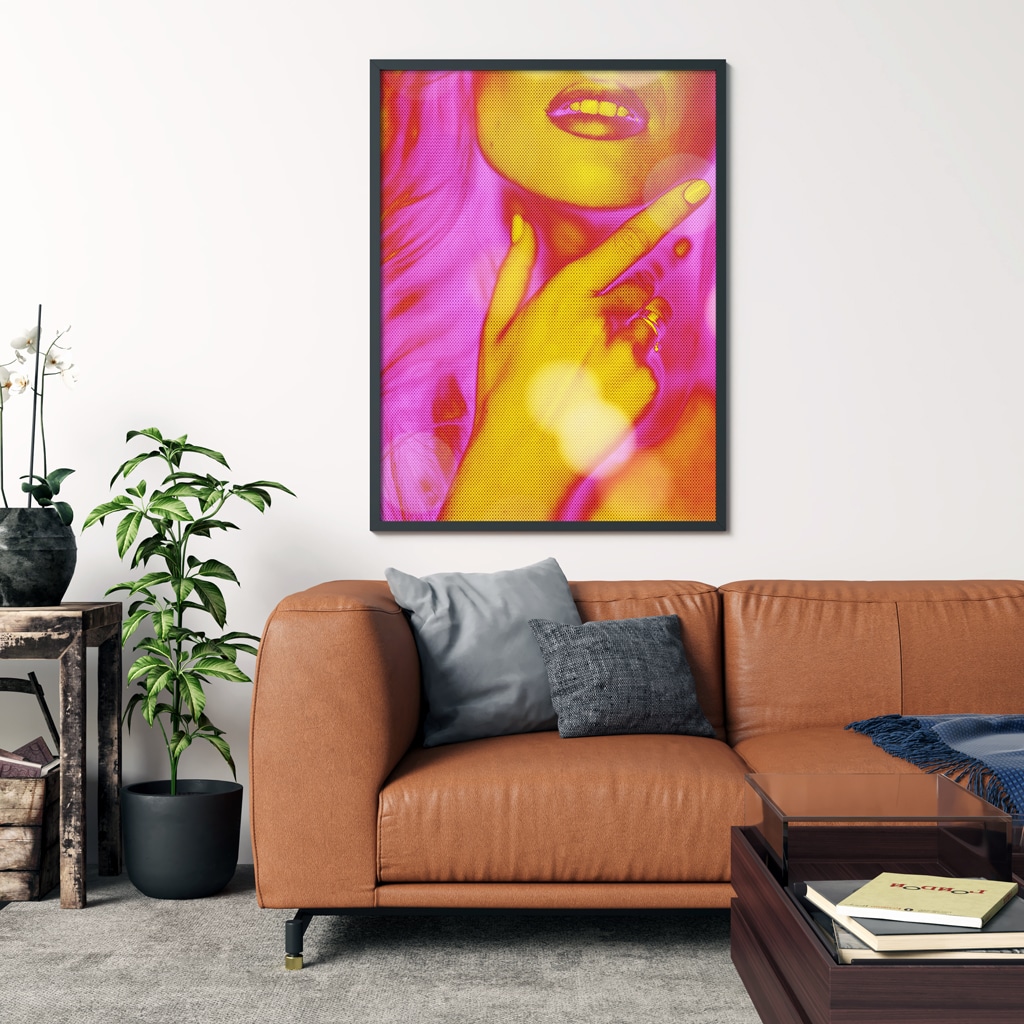

Use Pop Art pieces to decorate your home.
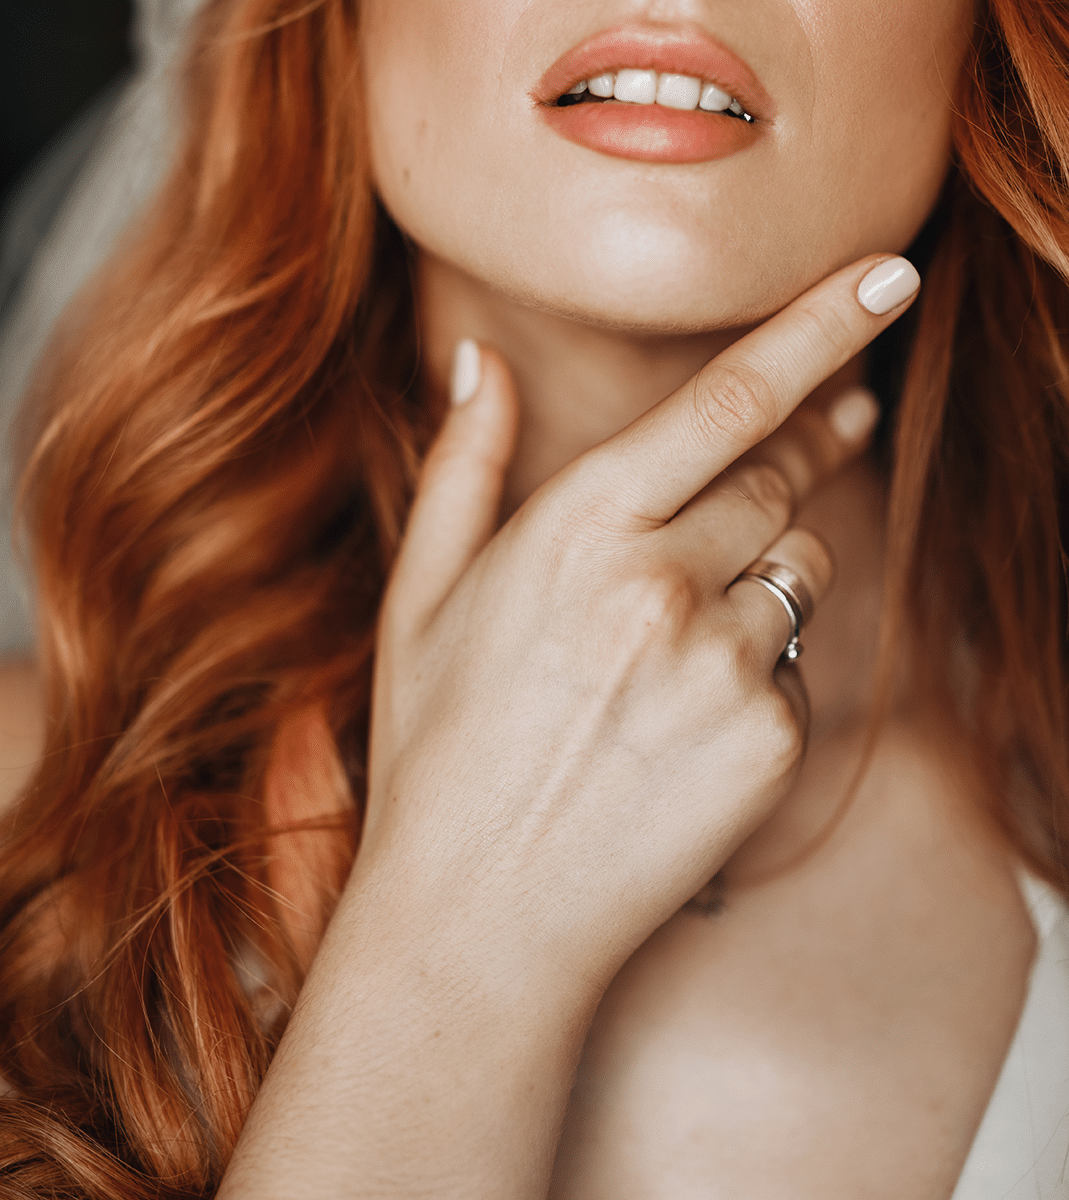
We’ll be using the Editor module. We chose the following photo for our demonstration of creating Pop Art using Zoner Photo Studio X.
Step one: Edit the source photo
First, apply basic adjustments to the photo, such as adjustments to tonality, color, and others. This is when you can crop the photo to accentuate the important areas (lips, hand) and remove distracting elements such as the clothing in the bottom right corner of the photo.

For the color toning effect itself, use the Gradient Map tool. Gradient Map uses the image’s toning profile apart from color shades. It applies colors you set using a color scale. You can find the Gradient Map tool in the Adjustments menu in the right panel of the Editor module.
Click the color picker to the left of the color scale and choose the shade you want to apply to the darkest parts of the image. We choose violet (R = 228,G = 96, B = 225). Use the same approach to select the color to apply to the brightest parts of the image. We chose yellow (R = 255, G = 255, B = 0). Gradient Map is an easy way to get the duotone effect that’s fundamental to the Pop Art look.

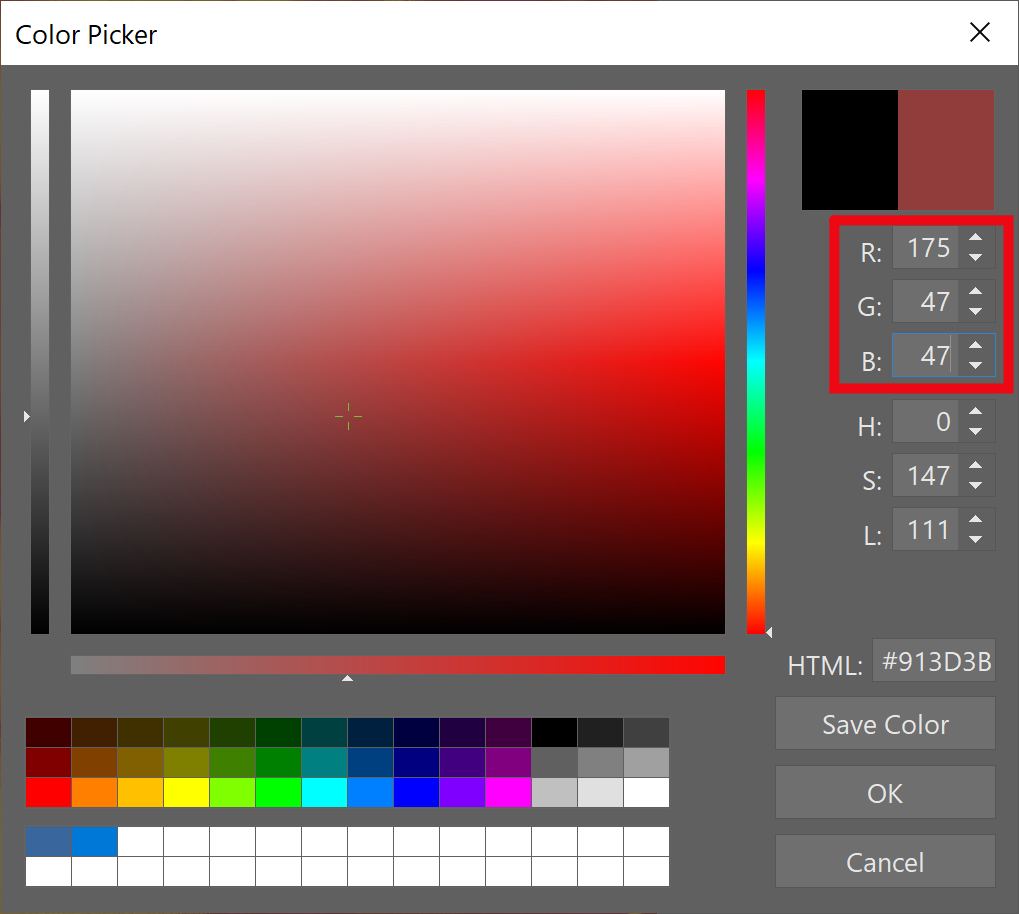
Our duotone photo lacks depth because the original photo has lost contrast. We restore contrast to the photo by adding a third color. To add another color, click Add in Gradient Map. We added dark red (R = 175, G = 47, B = 47).

Our image now has contrast, but is still fairly dark. Brighten it using Adjust—>Curves (Shift+C). You can add a Curves layer, just like we did here.

Step two: Halftone effect
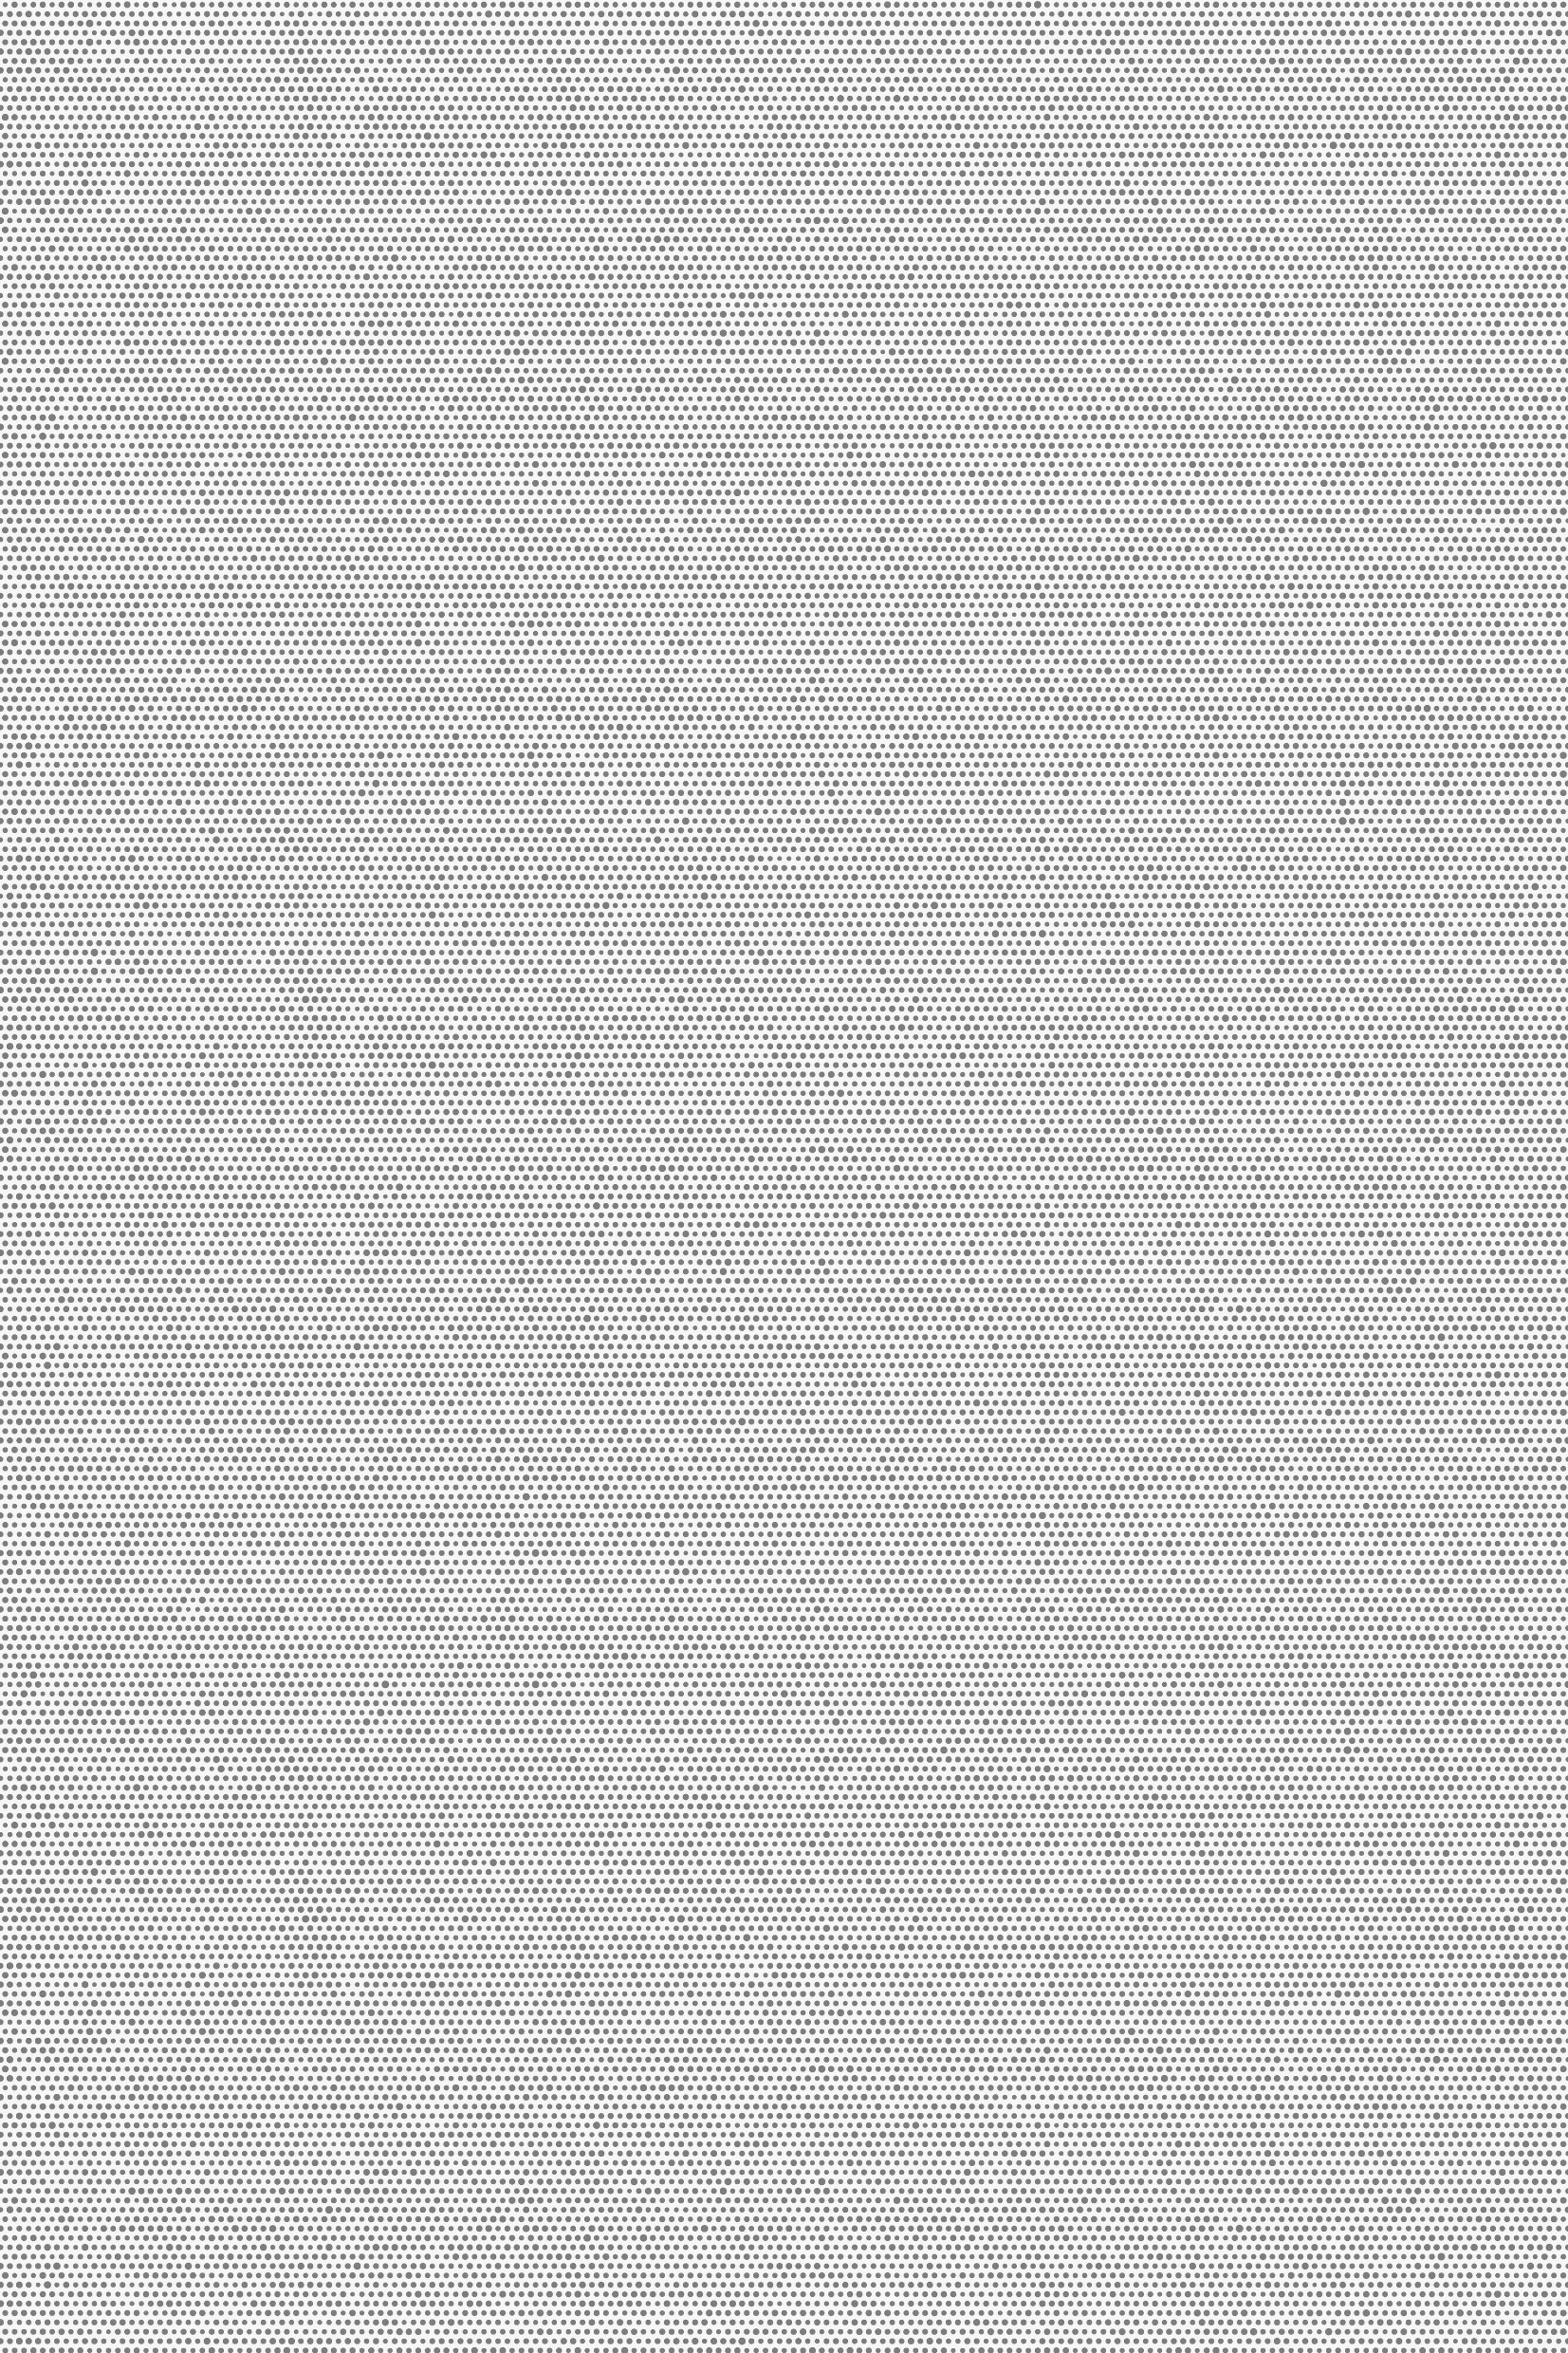
You can think of halftone as an effect that mimics the look of printed photos from old newspapers. Create this effect using textures.
Add the texture image as a new layer by going to Add Layer—>Paste from File.
Blend the texture layer with the photo using the Darken Layer Blending Mode and lower Layer Opacity to 50%.

Step three: Add bokeh
Finally, you can add depth to the photo by adding a bokeh layer. This step isn‘t necessary, but adds some notable flair to the photo.
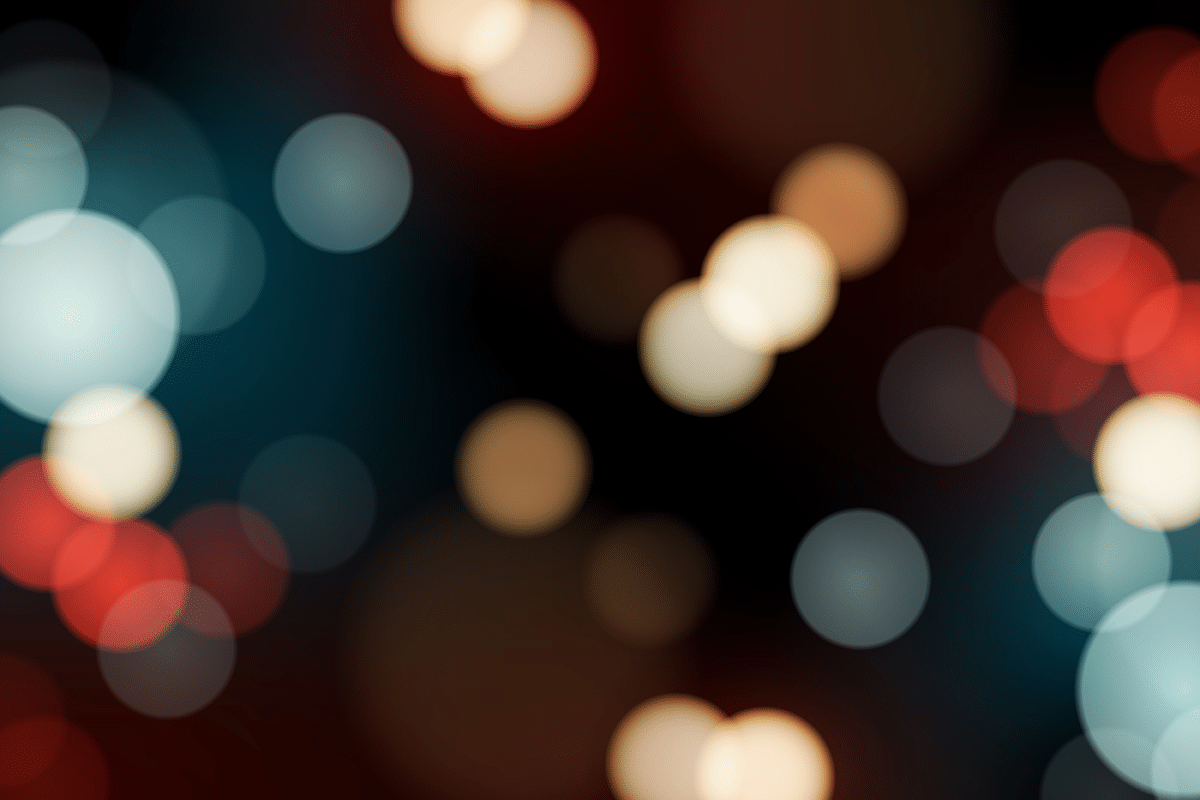

If you don’t want to use a stock bokeh image, you can try creating your own bokeh right at home.
Add the bokeh photo by going to Add Layer—>Paste from File. Adjust the size, position, and rotation of the lights using the Move and Transform (V) tool. Set the Blending Mode to Screen and Layer Opacity to 50%.

This is what our final photo looks like. How did yours turn out?
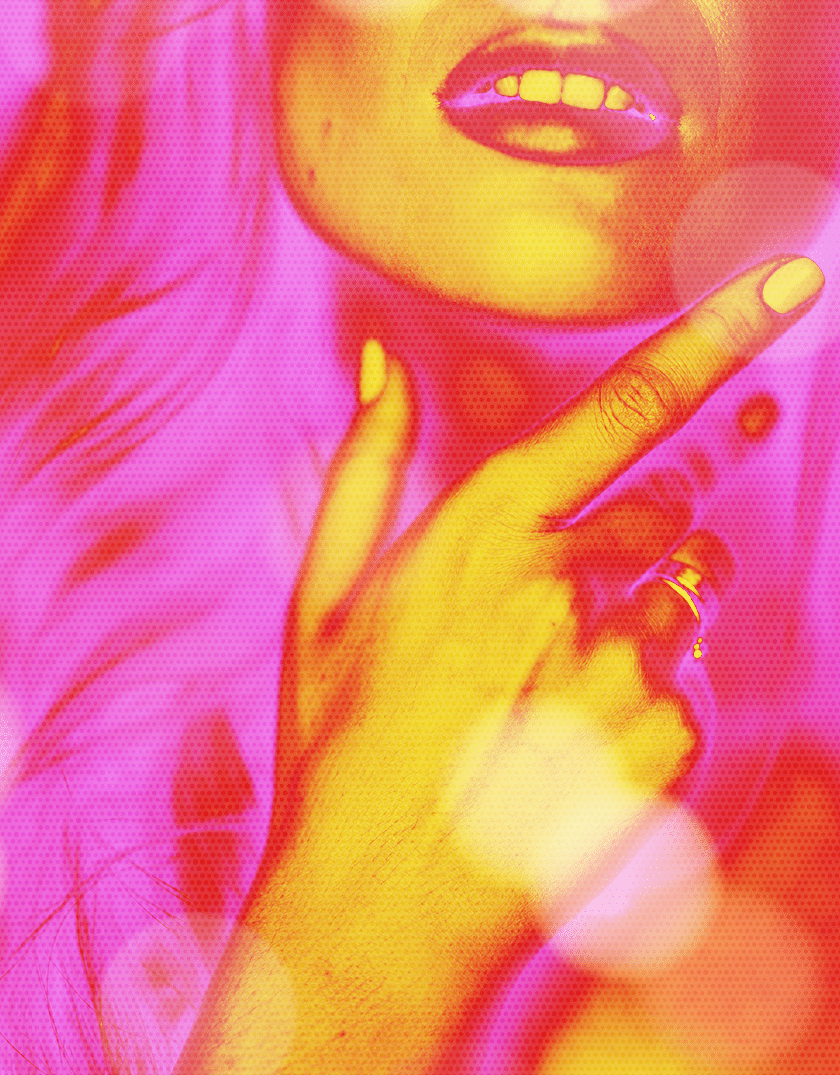
All done!
Download Zoner Photo Studio X free for 7 days limit-free and try experimenting with the Pop Art effect on your own photography!
There are no comments yet.