Creative Photo Editing for Wedding Photos
Photography trends are constantly evolving and changing, as we can see over and over again in wedding photography. Wedding photos are kept for a lifetime, so they allow us to compare photography trends across generations. Generally, you can see huge visual transformations. One of the photography trends we’ll demonstrate in this article is creating multiple exposures using two or more photos in one image.
Wedding photo composition can range from clean and simple to complicated involving several elements. If you prefer to visually fill the frame by combining images, then this is a good option for you. It’s a way of getting two different visuals into one picture where they partially overlap.
Choose your photos carefully, the rest is a piece of cake
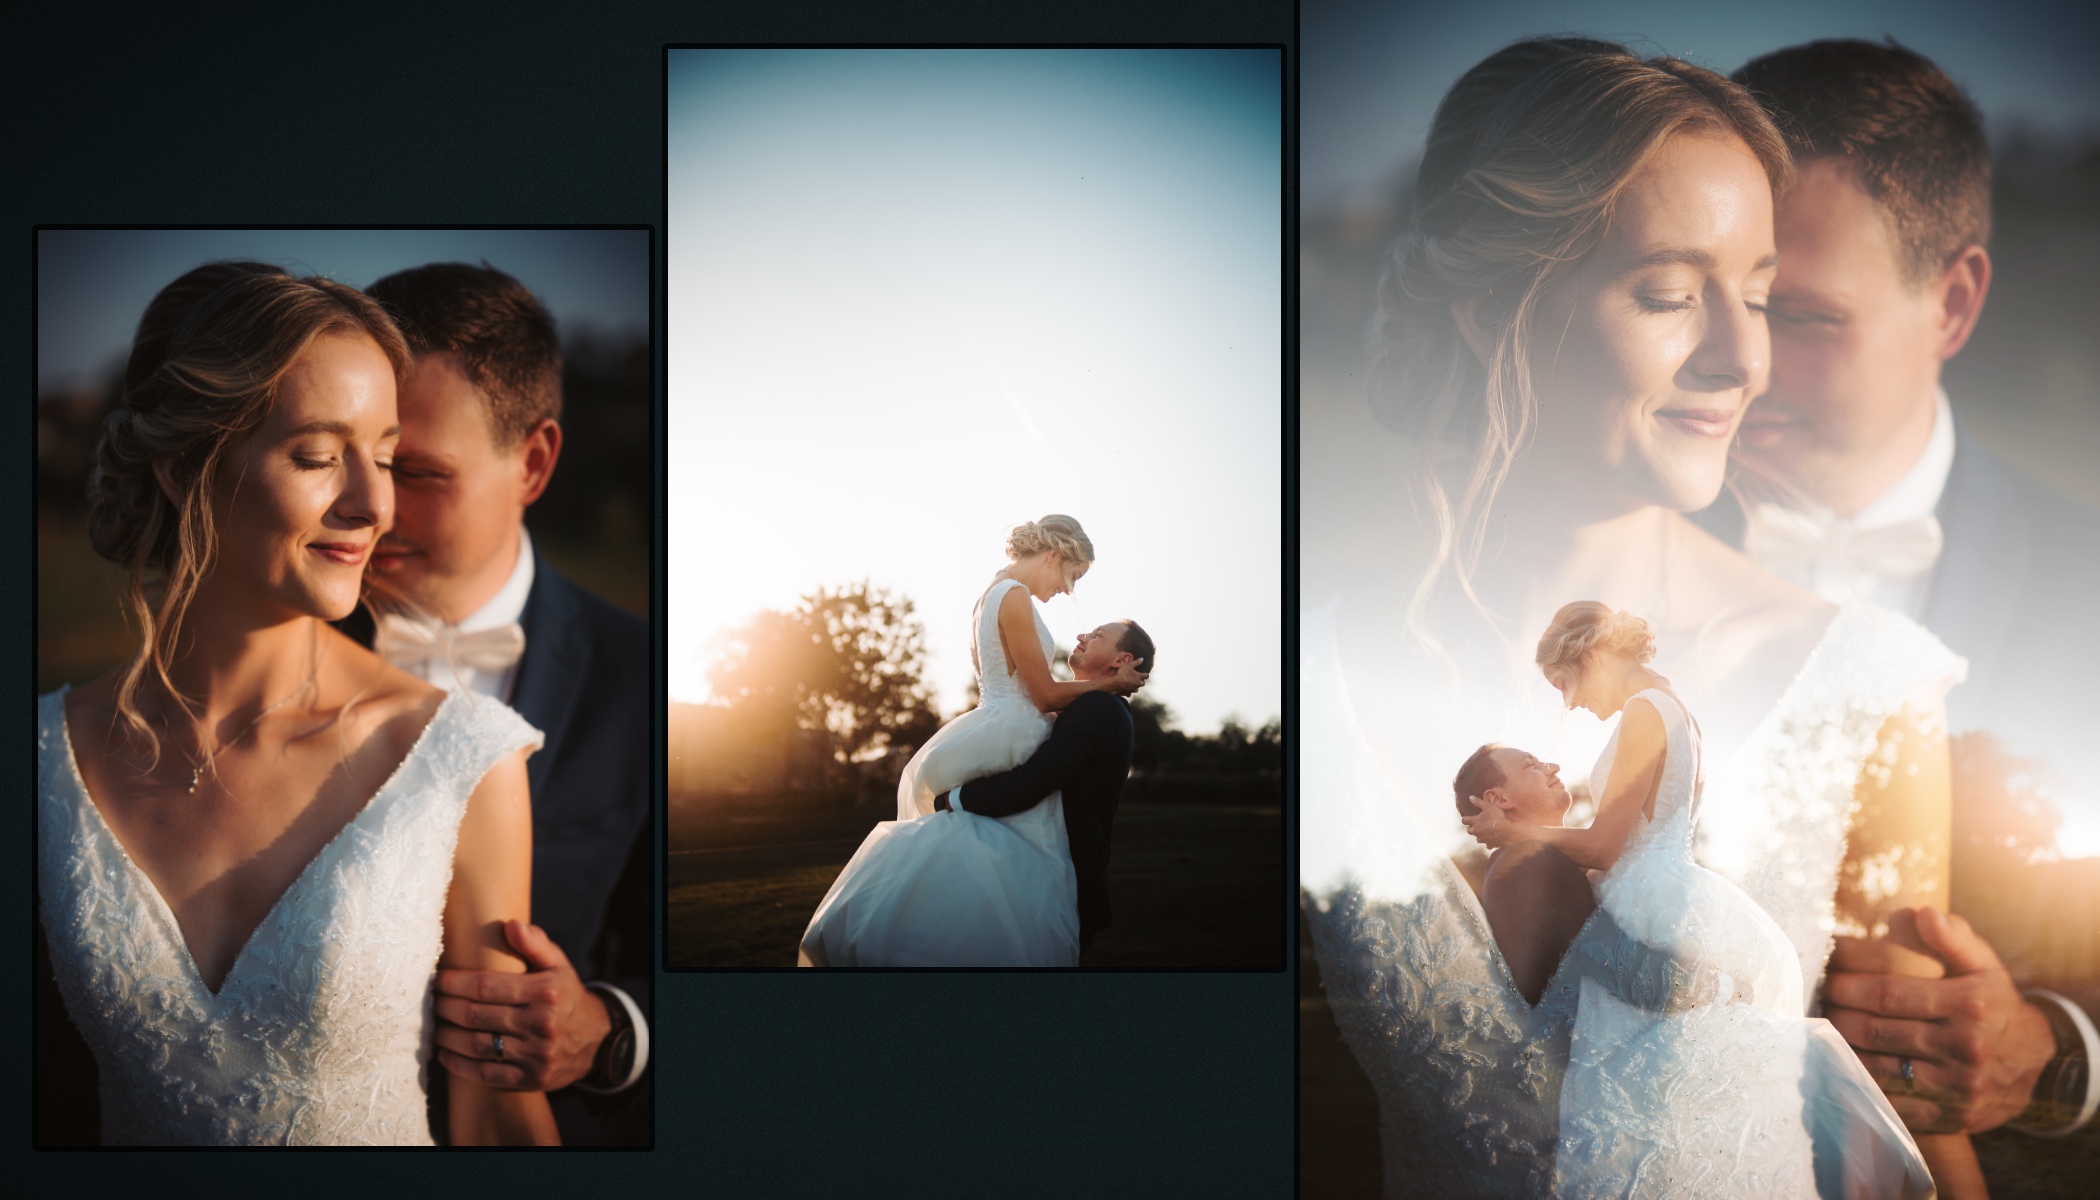
The concept of creating multiple exposures is simple. The trickiest part is choosing photos that go together. You’ll likely encounter issues with things overlapping that shouldn’t, or something in the way. We recommend combining photos that are taken at different distances, like a close-up and a long shot. This is because each of these photos has its own meaning, which is even more captivating when combined.
Double exposure in just a few clicks
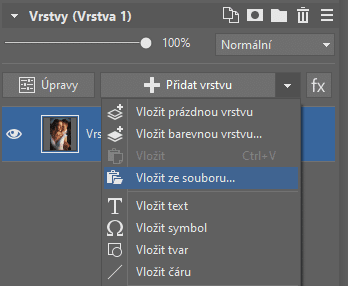
You’ve probably already edited all of your photos, so you can get right to combine them. Open the photo in Zoner Photo Studio X and go to the Editor module. To add a second photo, click the arrow next to the +Add Layer button and choose Paste from File. This creates a separate layer with the second photo which you can work with.
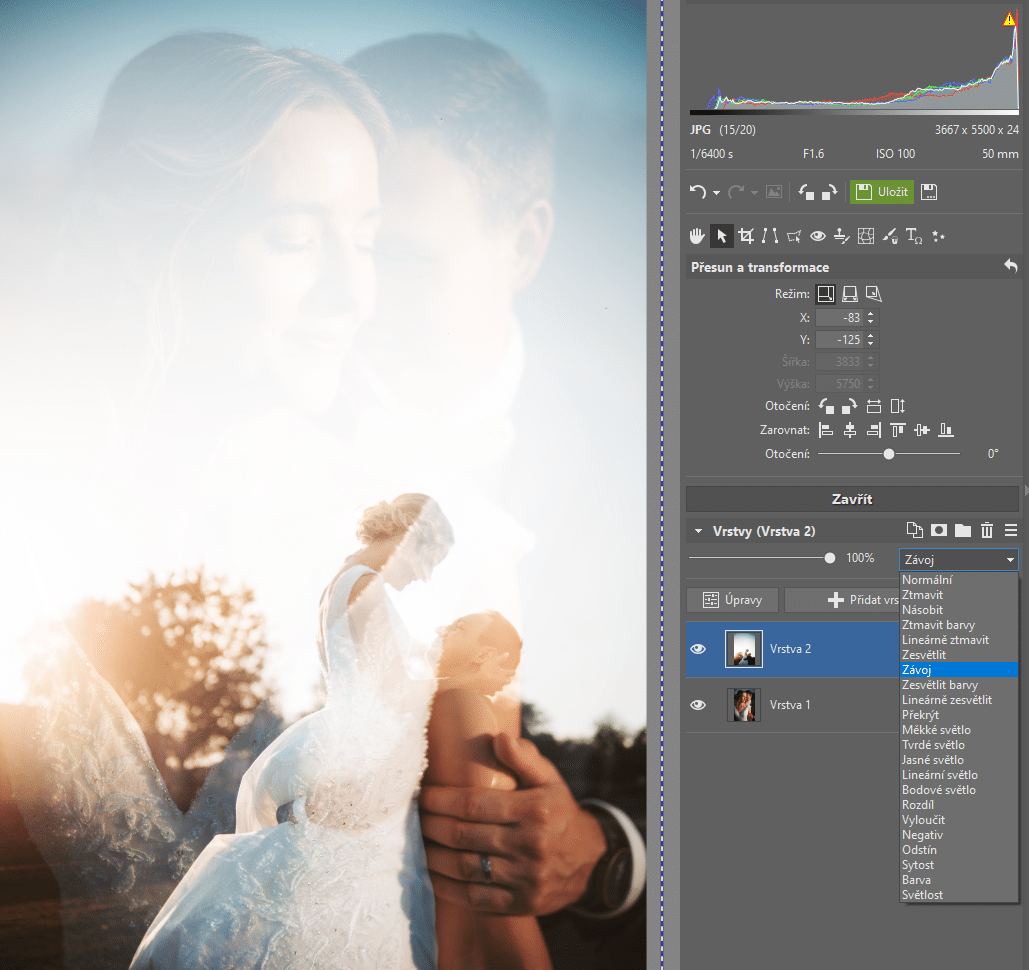
Next, open the drop-down menu with Layer Blending Modes and change it from Normal to Screen. This will cause only the light parts of the top layer to remain and the dark parts to become transparent. It doesn’t look quite right yet, so a few more adjustments are needed.
Negative Clarity is not retouching
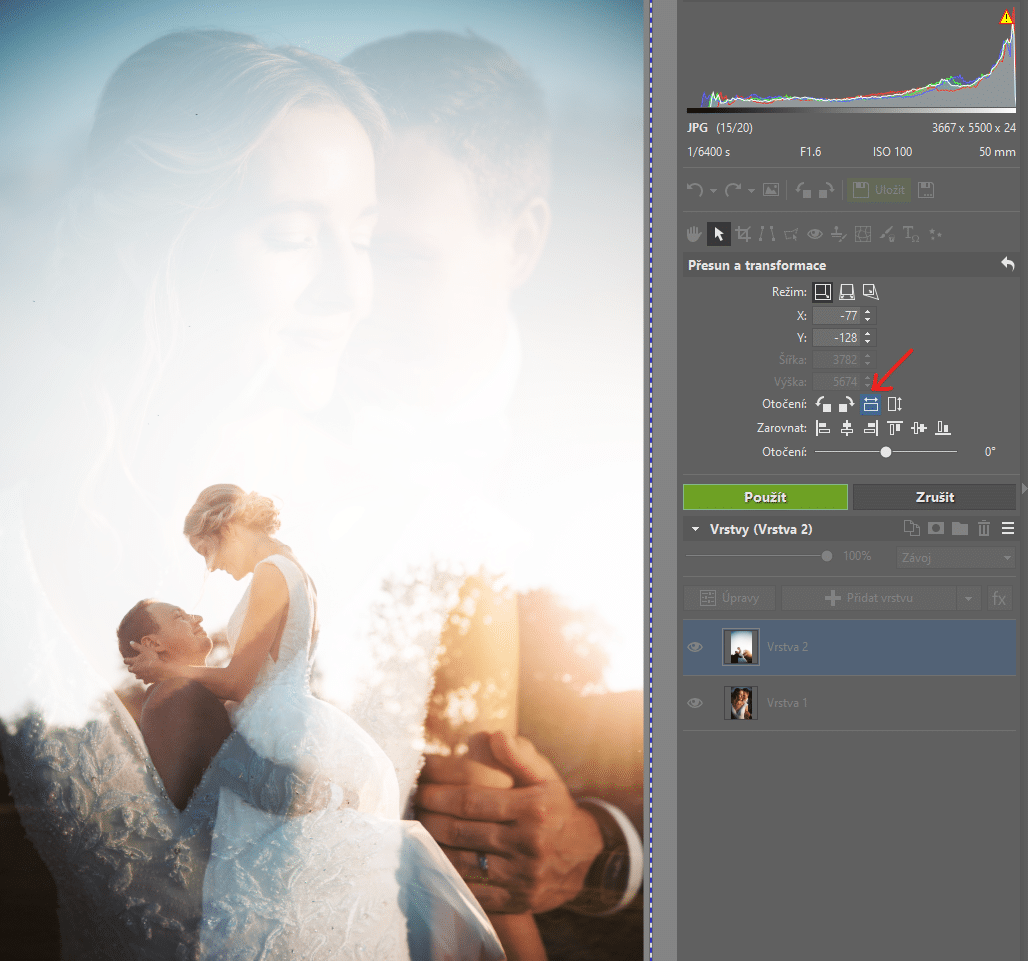
First and foremost, you need to fix the composition so everything fits in the frame. The main point of focus in the background photo is at the top right and in the second photo, the bottom left. To spread the viewer’s attention evenly, it’s a good idea to diagonally arrange these two main focal points. In this case, we can do this very easily by clicking the horizontal rotation icon.
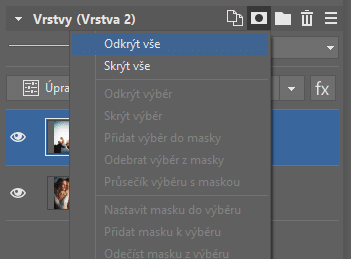
The background photo is too obscured due to the bright sky and the faces are hard to see. You can resolve this by using a mask. Click the Mask icon in the right panel and select Reveal All.
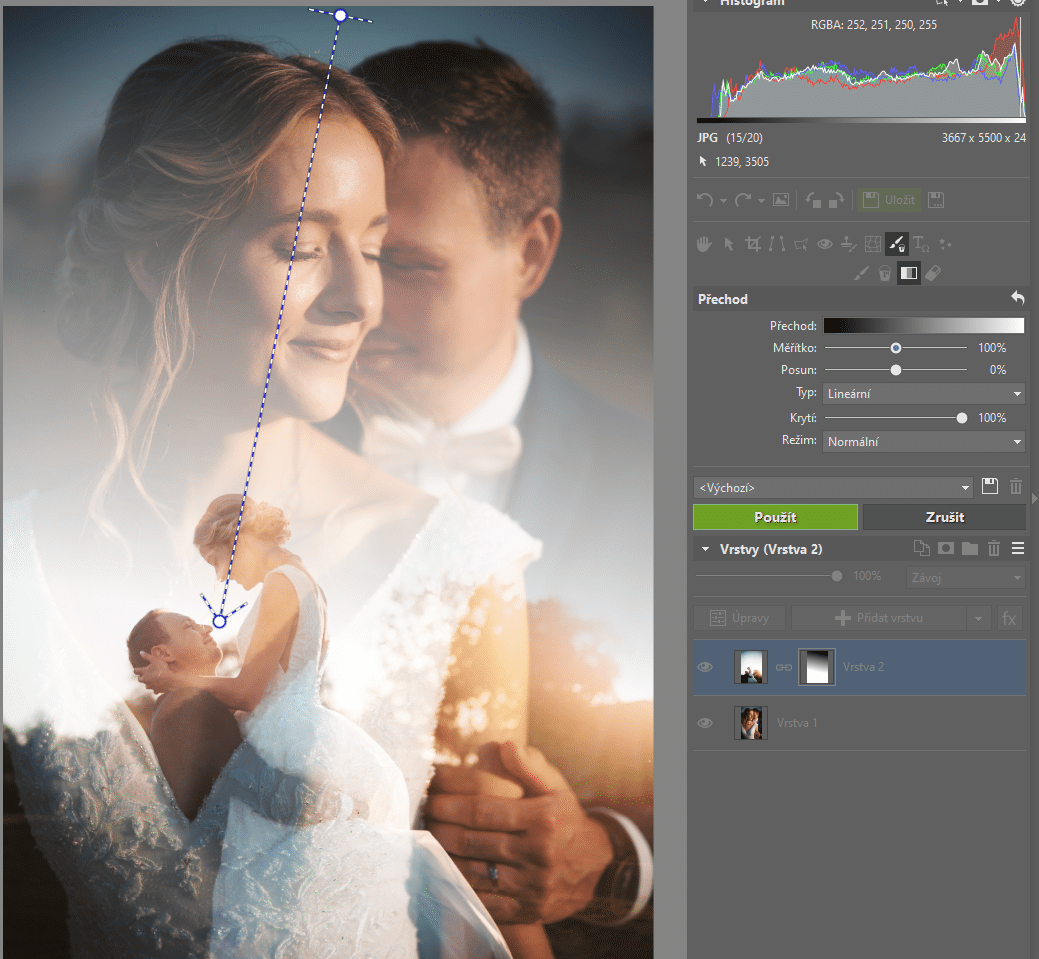
In this case, our goal is a smooth overlay starting from the top of the photo. For this purpose, it’s best to use the Gradient tool in Drawing Tools. By default, the gradient goes from black to white. If it doesn’t, click the refresh icon in the top right.
Click and drag from the top of the photo down to add the gradient to the mask.
Maybe this is just another photography trend of recent years that won’t last generations. Still, with this little experiment, you can make your photography more interesting and give your clients new photos that are sure to evoke fond memories. Combining two different images and creating a double exposure tells a story in a single photo.
Download Zoner Studio free for 7 days limit-free with all the features discussed in this article. Try combining photos and creating double exposures today!
Zara Lewis
"Hello Matej, your expertise in creative photo editing techniques for wedding photos is truly commendable. Your article provides valuable insights into preserving authenticity while enhancing visual appeal, which is crucial in wedding photography. I'm curious, have you ever experimented with product photo editing in this context? It could offer a unique way to showcase bridal accessories and add an extra layer of sophistication to the images. Find out more about it .