Cropping Photos: Guidelines for Professional Results

You took a photo, but once you open it on your computer, you realize something is missing. Cropping is one of the fastest ways to improve composition, remove distractions, and give your images a more polished and professional look. The right crop can change the aspect ratio, emphasize the main subject, and even rescue an otherwise ordinary shot. But like any editing, it comes with a few rules you need to know.
In this article, we cover:
- when and why to shoot slightly wider.
- how the Crop and Rotate tool in Zoner Studio works.
- how to choose the right aspect ratio (3:2, 16:9, Free ratio).
- how to use the rule of thirds, golden ratio, and other crop marks.
- how to straighten the horizon and avoid common beginner mistakes.
- when to use Perspective Crop and when Straighten Lines is a better choice.
- how cropping helps remove distractions and refine composition.
The best scenario is capturing a scene with well-thought-out composition straight in camera, but that’s not always possible. In documentary or sports photography, situations change quickly and there’s no time to worry about framing. In architecture, editing often involves straightening the horizon or correcting perspective, which can change the final aspect ratio compared to what you saw in the viewfinder. That’s why it’s smart to leave a little extra space around your subject and plan for cropping in post-production.
Crop and Rotate in Zoner Studio
You can find Crop and Rotate (C)in the Develop module of Zoner Studio. Click the icon to adjust the crop frame by dragging its edges or drawing a new one. To rotate the image, simply drag outside the photo.
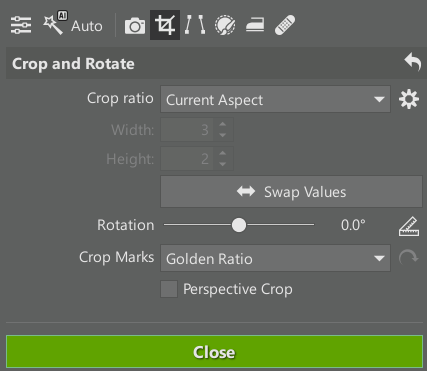
The Crop and Rotate tool includes several important settings, which we look at next.
Choosing the right aspect ratio
The first step is deciding on the aspect ratio for your final image.
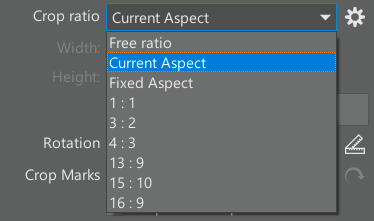
In most cases, Current Aspect is a safe choice. If your camera shoots in the classic 3:2 aspect ratio, the cropped images keeps the same proportions and only the resolution changes. This keeps your photo series visually consistent instead of mixing different aspect ratios.
Free ratio is useful for images that stand on their own, such as panoramas. Zoner Studio lets you crop without restrictions and define any frame you like.
Fixed Aspect allows you to enter a custom ratio or choose from presets. The popular 16:9 format matches HD and 4K displays and can give photos a more cinematic feel.
If you regularly use a specific aspect ratio, you can add it to the list using the gear icon.
The rule of thirds, golden ratios, and other crop marks
Crop Marks add guide lines to help you compose your image more precisely. The most commonly used are Golden Ratio and Thirds.
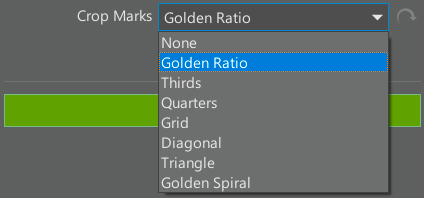
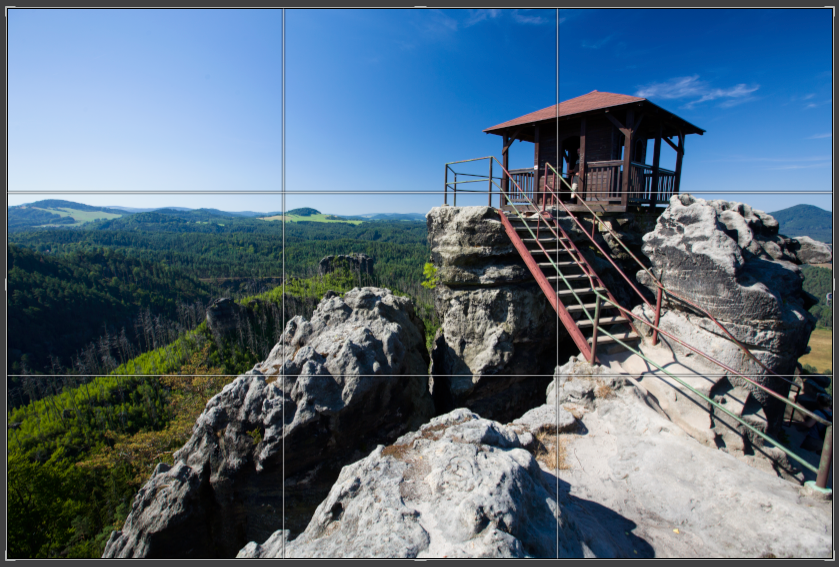
These lines help place your main subject based on the golden ratio or rule of thirds—near one of the four intersection points.
You can also use Diagonal or Golden Spiral crop marks.
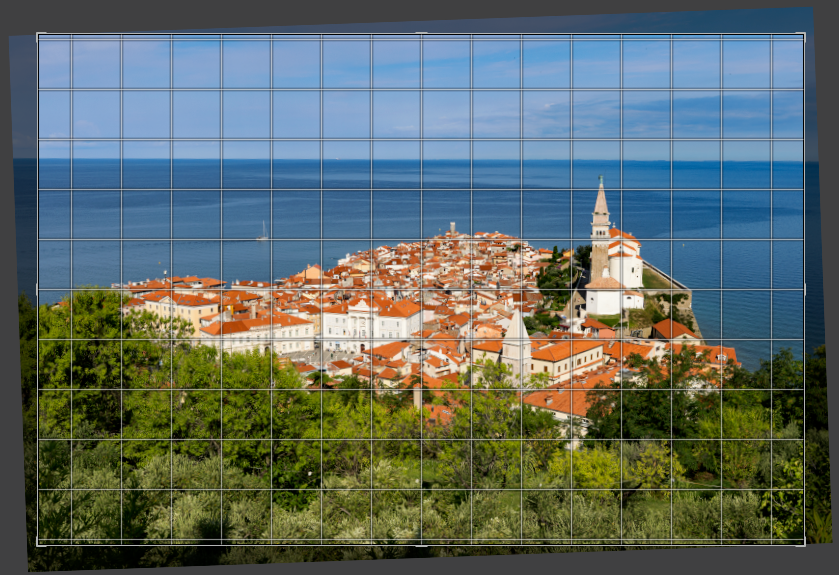
The Grid overlay is also very useful, even if not directly used for composition. You can use it to correct the rotation of the image, which makes it much easier to straighten a tilted horizon.
Correcting perspective with cropping
Enabling Perspective Crop changes how the tool works.
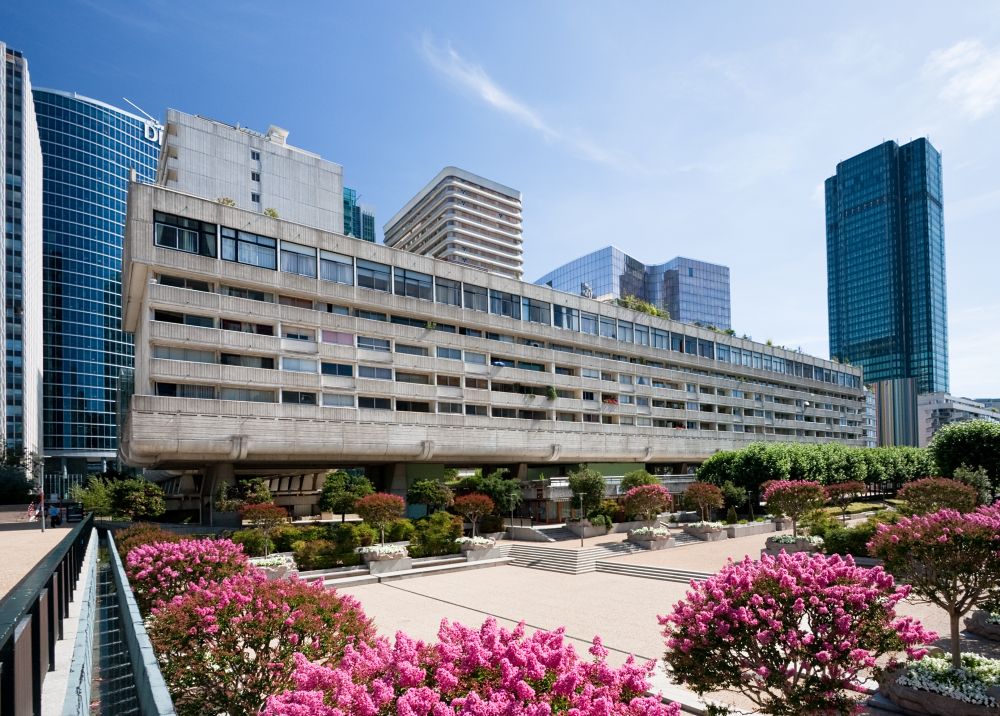
Instead of adjusting a rectangle, you define the four corner points of the final image. Zoner Studio then automatically straightens the photo.
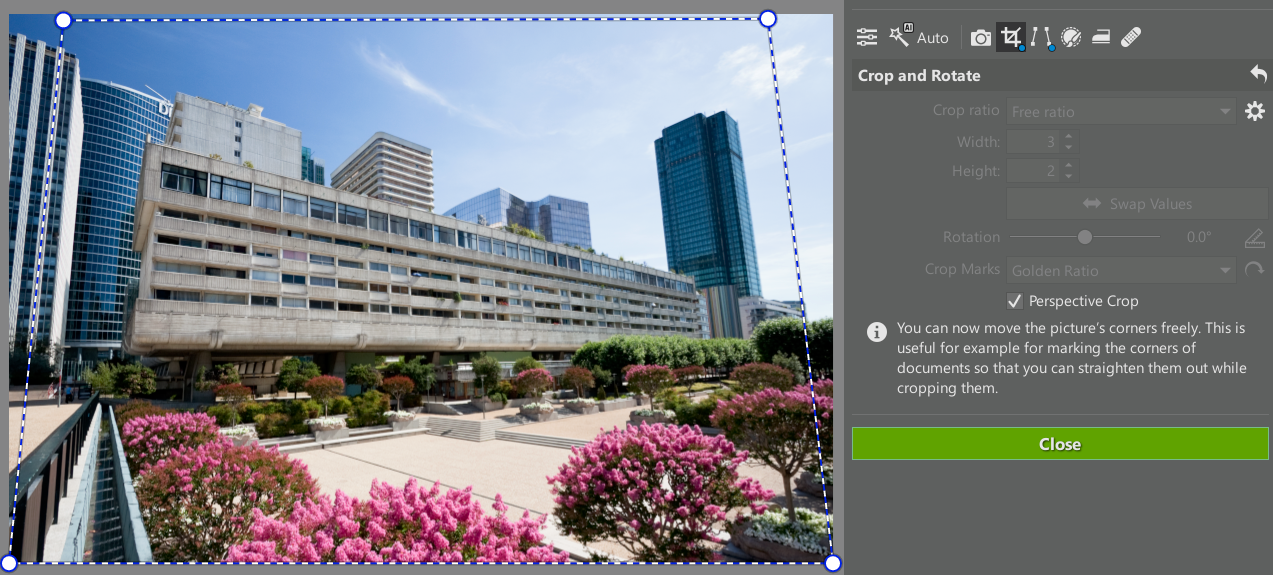
This is useful for architecture photos where vertical lines appear to lean or converge.
That said, it’s often easier to use the Straighten Lines feature in Zoner Studio first. It has more functions and it doesn’t limit further cropping, which you can still use afterward for fine adjustments. For more details, check out the article Do you have a crooked photograph? Straighten your horizon and perspective.
How to crop a photo
Now that we know how Crop and Rotate works, how do we use it on real photos?
Start by deciding whether the image needs perspective correction. This is mostly relevant for architecture photography. It isn’t necessary in many cases, or there simply isn’t enough space in the frame.
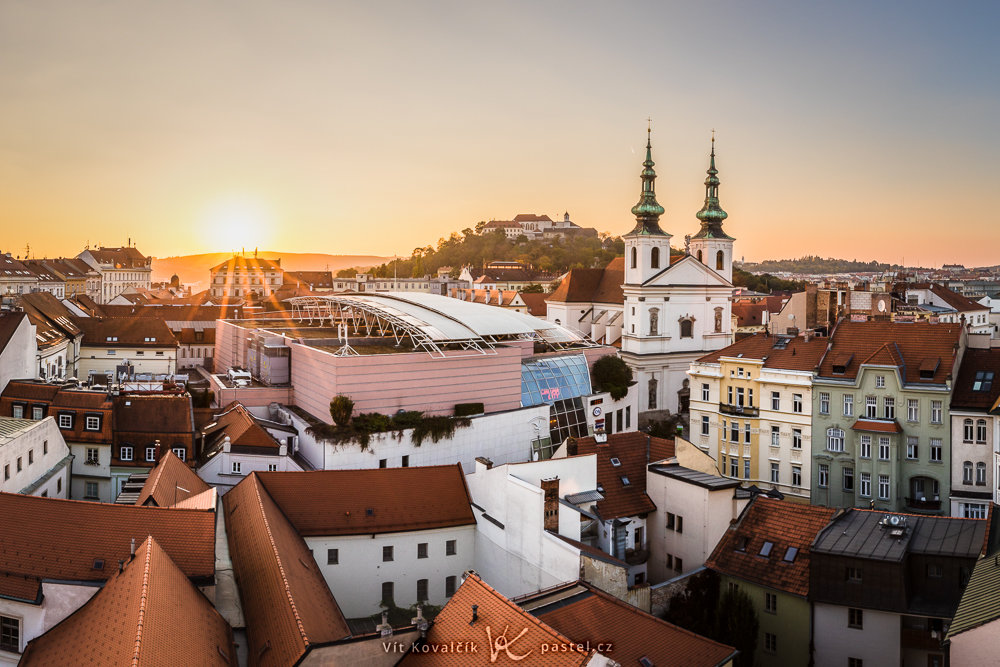
Other photos require different adjustments to composition, the most important being straightening a tilted horizon. This is one of the first things that gives away an amateur photo. You won’t see crooked photos from professional photographers, unless it’s intentional. Even professional photographers rarely get it perfectly straight in camera—they correct it during editing. Using the grid lines makes this quick and easy.
Another common issue for beginners is distractions along the edges of the frame. Yes, the main subject is in the center, but there is no reason to include trash cans, passersby, or unnecessary objects in the distance that have nothing to do with your photo and only distract the viewer. It’s a good idea to check the corners and adjust the crop if necessary.
Beyond that, cropping becomes a creative decision. If your subject sits near the center, try an alternative version placing it according to the rule of thirds or golden ratio. The crop marks earlier can help you explore different compositions.
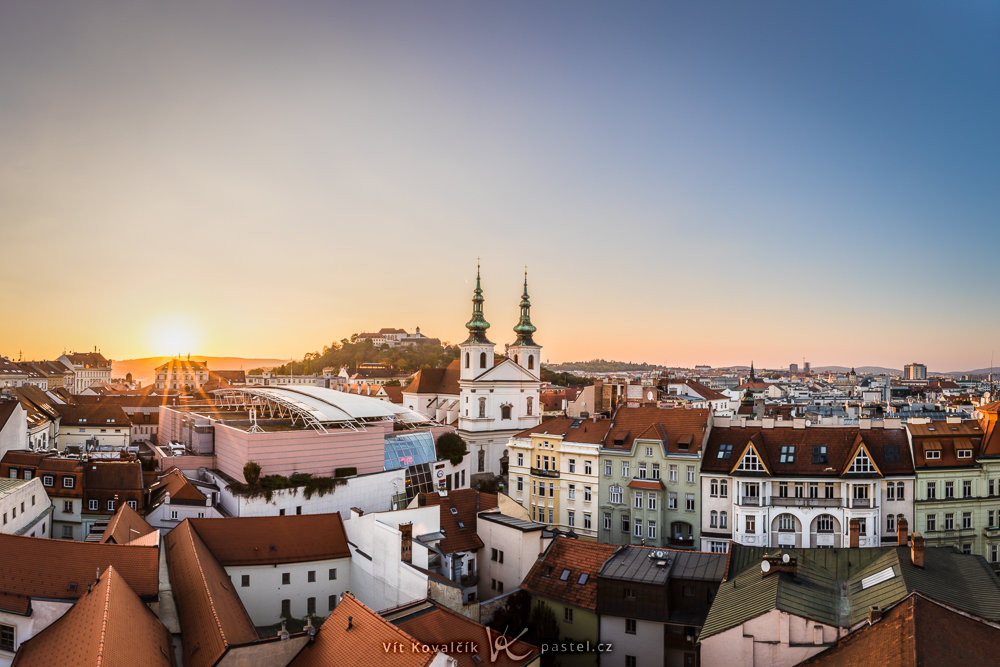
The rule of thirds works especially well when you have both a main subject and a secondary element in the background. Placing them on opposite intersection points lets you use the rule of thirds twice and makes the photo more engaging.
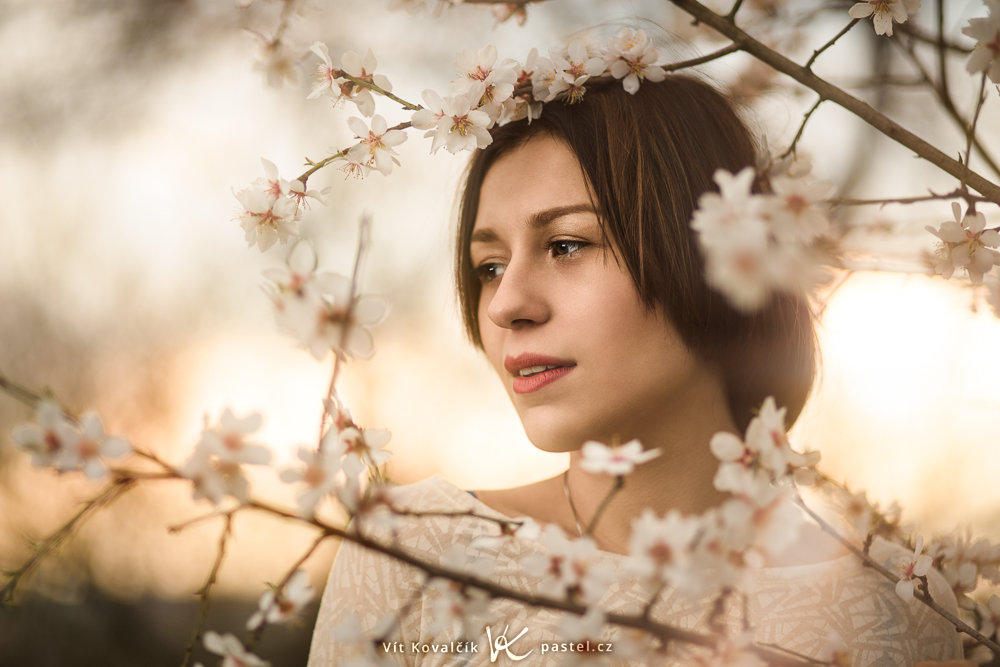
It’s important to note that in similar cases, you do not always have complete freedom when placing your subject. For example, when photographing people, it’s much better if they’re facing the open space in the photo than looking toward the edge. The same applies to vehicles.
How cropping can rescue older photos
It’s always best to get as close as possible to the desired result when shooting. Still, small adjustments are part of almost every editing workflow, and more significant crops can even save older photos taken before you paid close attention to technique. Now you know what you can afford to do when taking photos and how to proceed when cropping.
FAQs
How can I crop a photo so it looks professional? Focus on a straight horizon, removing distractions near the edges, and place the main subject thoughtfully—using the rule of thirds or the golden ratio.
Is it better to shoot close or take wider shots? In most situations, it’s safer to shoot slightly wider. This gives you room to crop and straighten later without losing important parts of the scene.
How do I straighten the horizon? Use the Crop and Rotate tool and align the horizon with the grid until it’s level.
How do I change the aspect ratio? In Zoner Studio, select a Fixed Aspect (such as 1:1, 3:2, or 16:9) or use Free ratio and set the crop manually.
When should I use Perspective Crop? It’s most useful for architecture photos where vertical lines appear to converge.
Does cropping reduce image quality? Cropping lowers resolution, but for online use or smaller prints, the difference is usually not an issue.
There are no comments yet.