DIY: Shoebox Negative Film Scanner
The article is over 5 years old. The information in it may be outdated.
![]()
We are working on its update. In the meantime, you can read some more recent articles.
Have lots of negatives stored away that you’d like to see on your computer so you can decide which negatives are worth developing—but negative scanners are too expensive for you? Make your own scanner in a shoebox. It’s cheap, quick, and easy.
There are lots of former film photographers out there who would appreciate having a negative scanner. But these scanners are nothing cheap. So in this article we’ll take a look at how to quickly and easily turn a shoebox into negative scanner.
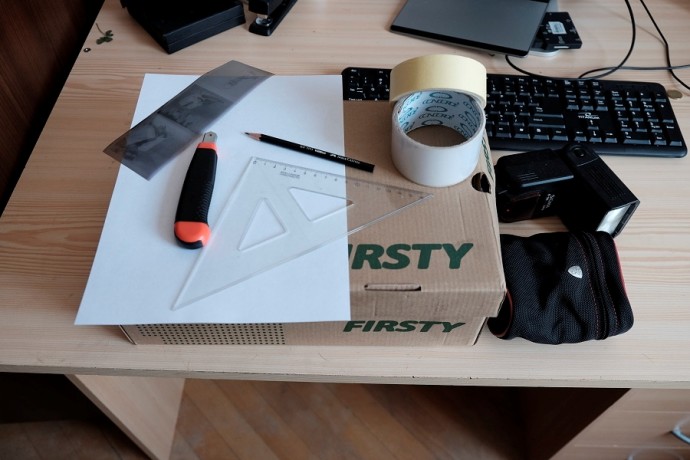
The things you’ll need for a shoebox scanner:
- shoebox (pick a tall one)
- standard sheet of white paper
- flash
- camera
- ruler
- pencil
- precision cutting tool such as an X-acto knife
- glue
- tape
The way a scanner works is relatively simple. It exposes an “analog” surface and transforms it into a digital image. For documents and printed photographs, that’s all there is to it. For film it’s more complicated. Film is relatively dark, and so in order to be scanned properly, it also needs lighting from the other side. Special scanners with a film scanning function are used for this.
Prepare Your Box
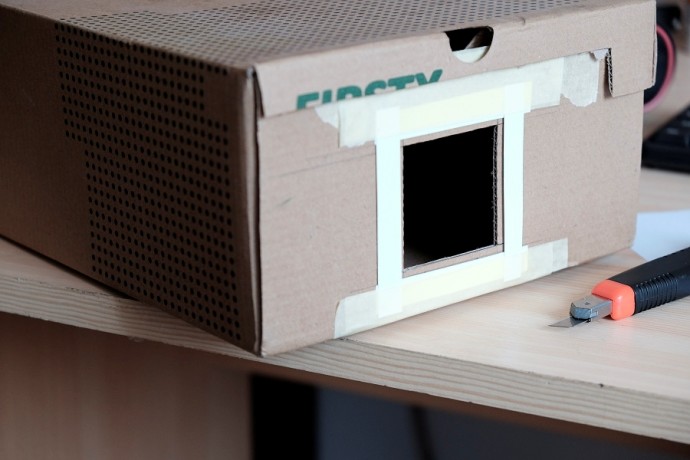
Step One is to prepare the box. You’ll be cutting two holes into it—one for film and one for the flash.
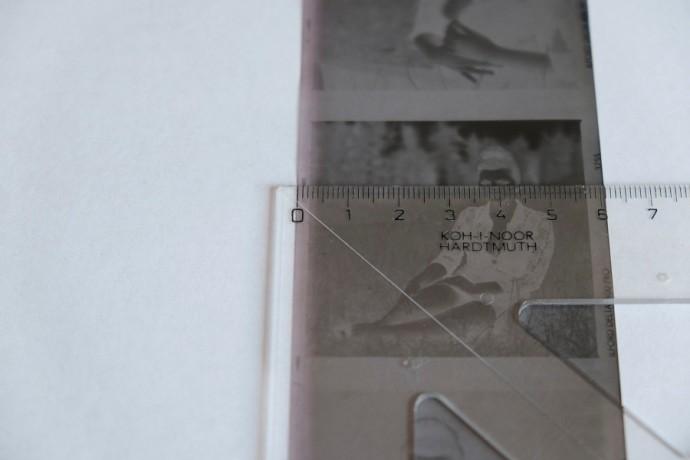
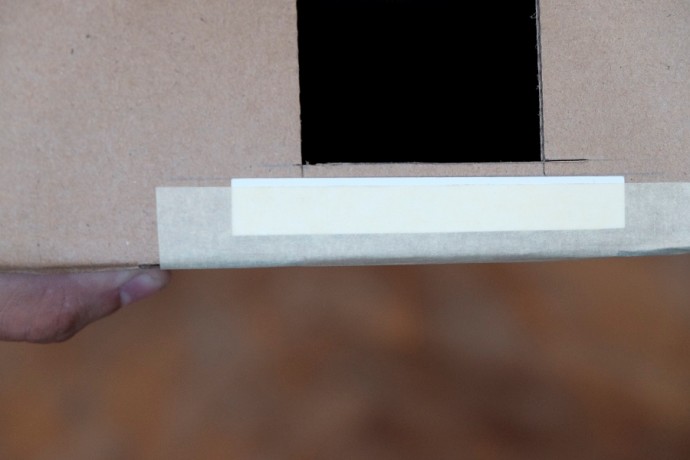
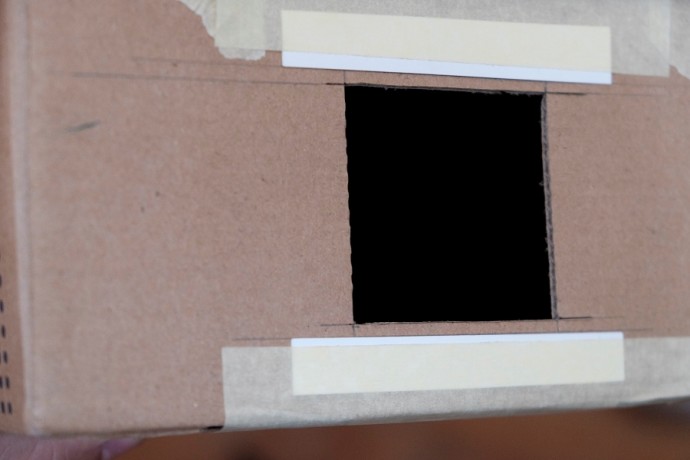
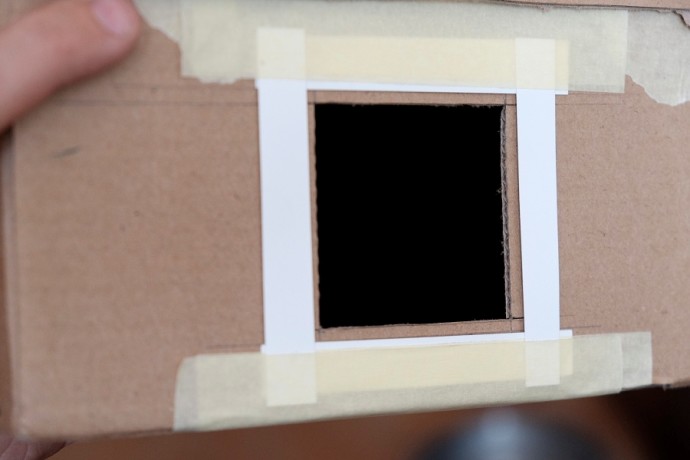
Prepare the film hole first. Just like modern camera sensors, film comes in different sizes. So start by measuring the frame size of your negatives. And then cut precisely that dimension into your shoebox.
Be precise, because it will save you editing work—you won’t later waste time cropping away “dead zones” in your digital images from scans.
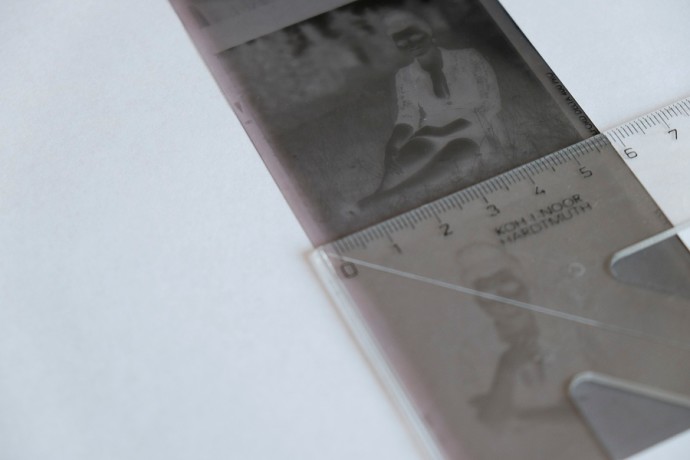
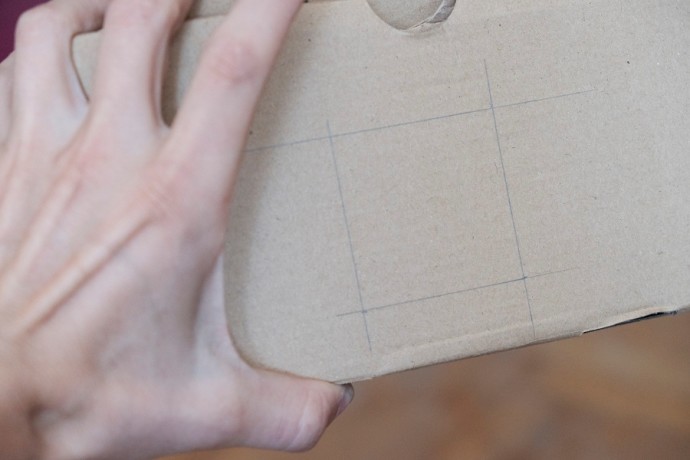
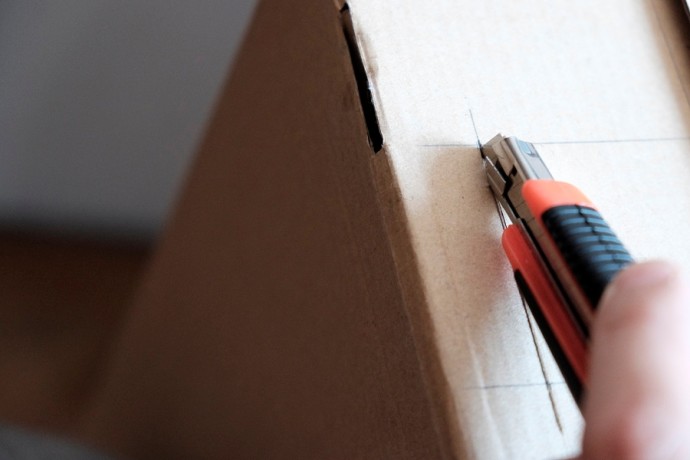
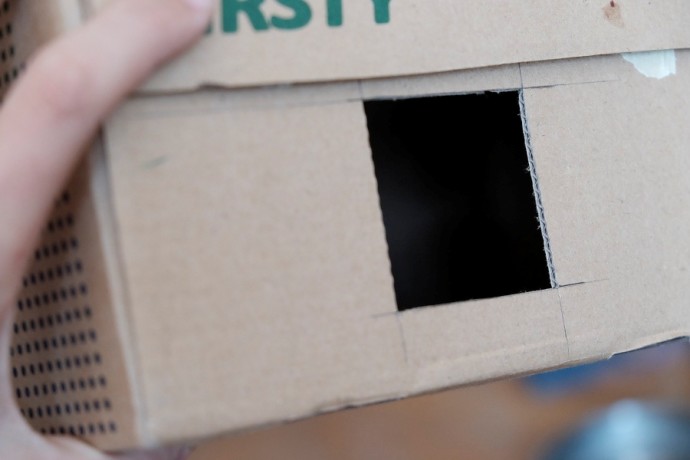
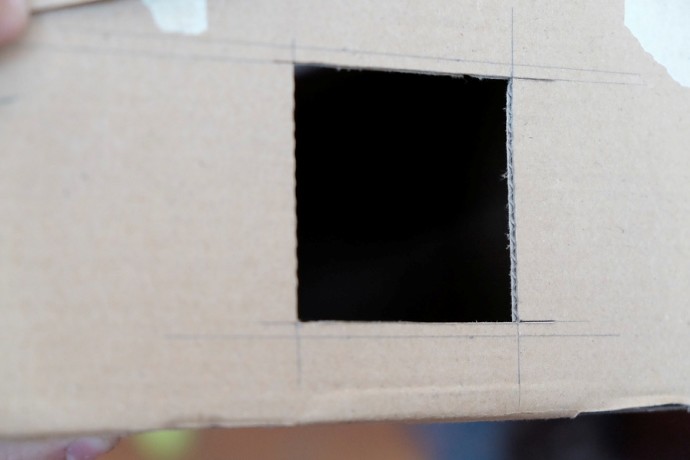
In the next step you need to measure the film again—but its whole width this time. This is so that you can add film-holding “rails” to the window you’ve cut into the box. This will prevent the film from bending.
Position Your “Lamp”
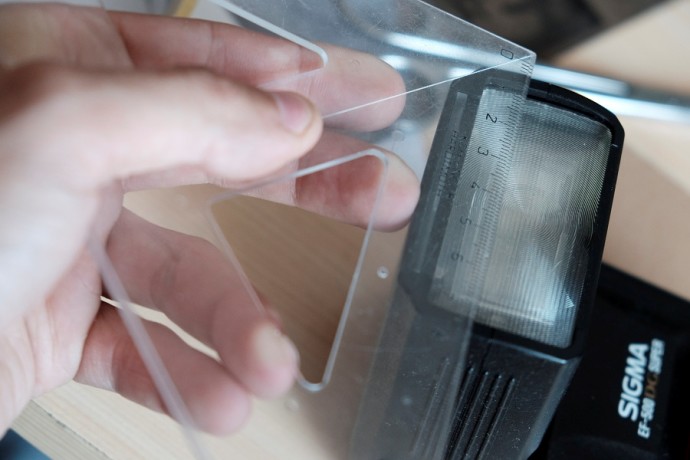
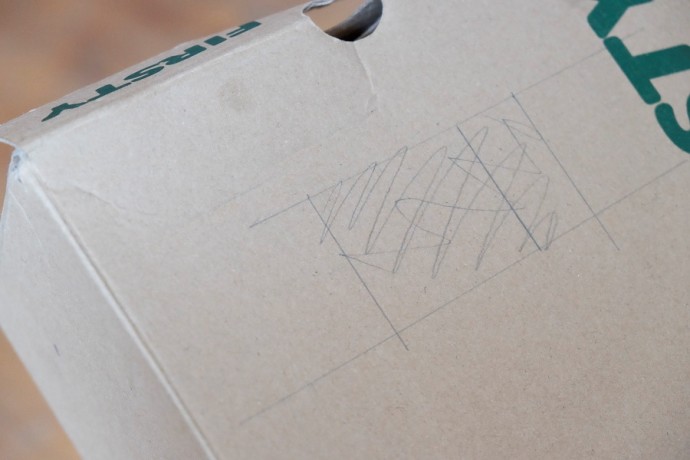
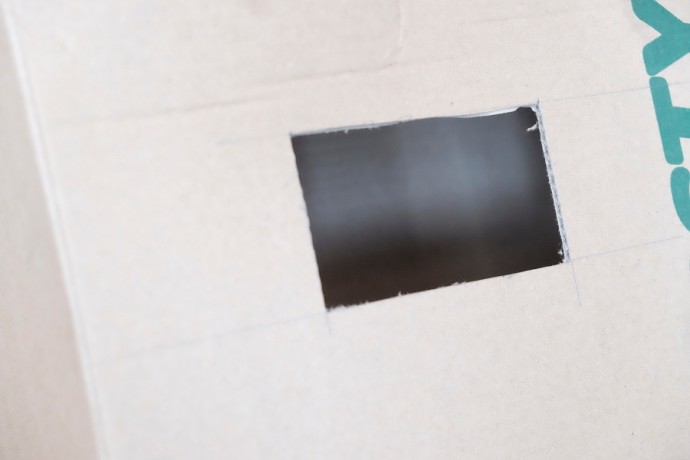
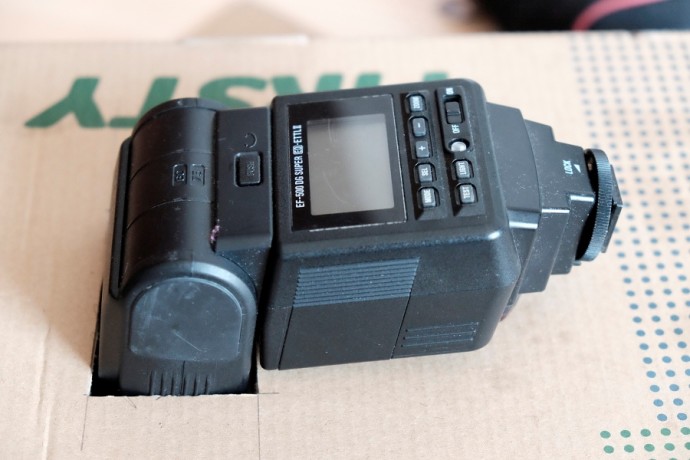
The hard part’s over. As the next step you need to create the back light that illuminates the film so that you are able to photograph it—that is, “scan” it. For this, use a flash that will be illuminating the film by firing into the box. So measure your flash’s size and cut a hole for it into the back part of the box.
A Neutral Background
In the next step, add a neutral background to the box. You’ll need your sheet of white paper for this. The flash illuminates it, turning it nice and white and making it reflect enough light to expose the film.
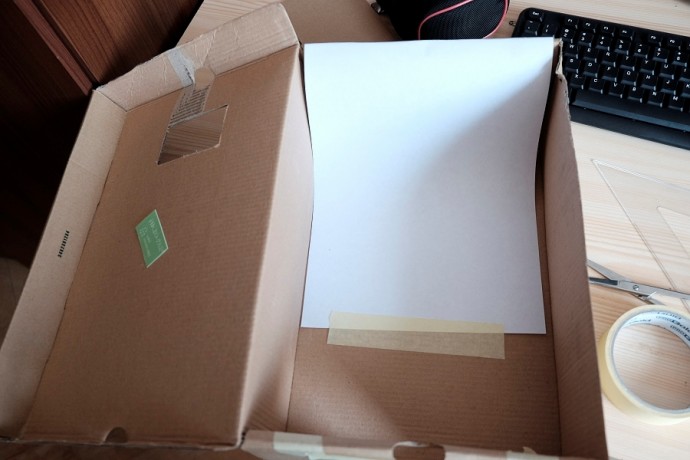
Above all don’t shine the flash straight onto the film, because that will overexpose it. Your digital images would then show nothing but the output from the flash, instead of nice negatives.
After you’ve placed your neutral background in the box, add the film and the flash.
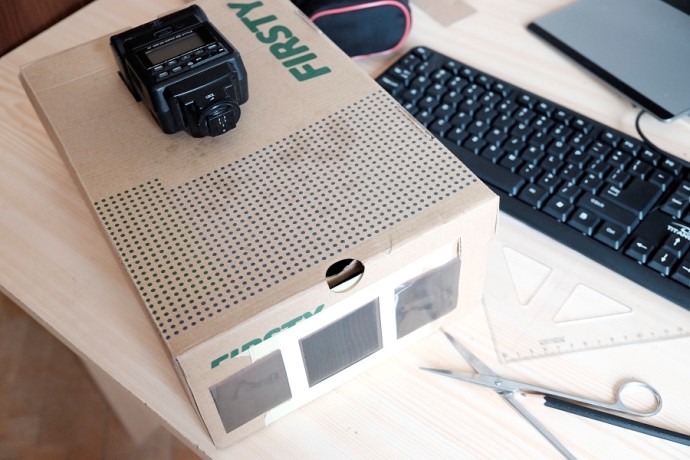
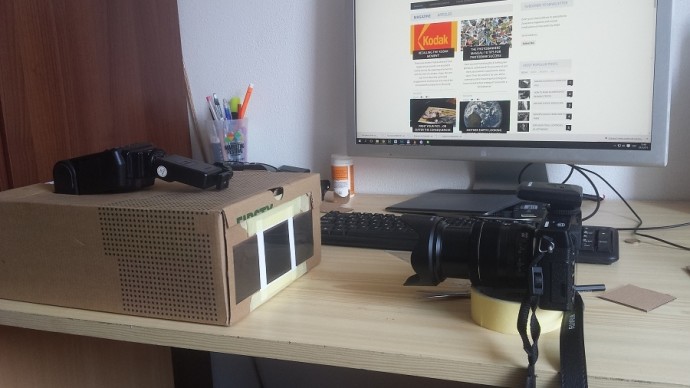
Then all you need to do, is to focus your camera on your film and photograph it. Use a cable or a remote trigger to fire the flash.
Creating Your Positives
Now you’ve created your negatives. They will look like this when viewed on a computer:
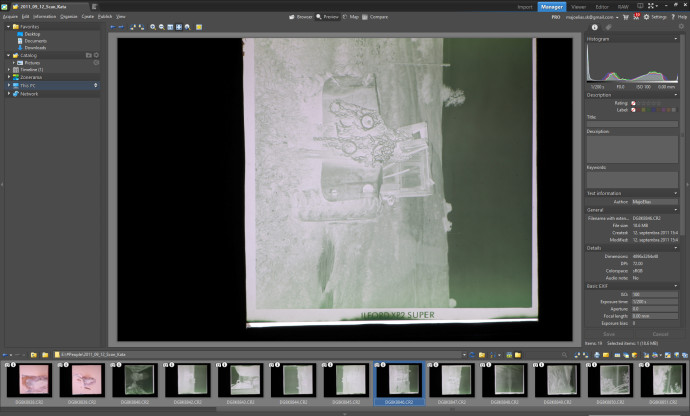
Now you just need to invert the negative into a positive. Do this via the Zoner Studio Editor. Use: Menu > Effects > Negative.
In Zoner Studio you can also go on and fine-tune the photo as you’re used to doing with any other digital image.

Tips in Closing
- Use a small aperture—really small. That will increase the depth of field, so that your picture is sharp throughout.
- Also try various combinations of flash strength and aperture size until you find the best combination to give you a balanced image.
- Use a diffuser on the flash for softer light. That way your whole film will be illuminated evenly.
- I also recommend going for a taller box over a shorter one. Otherwise your flash “lamp” could end up interfering with the film, giving you unusable pictures.
These Scans Are Previews
The photos you create this way will serve you best as previews; they’ll let you know which photos from your film are worth developing.
They’re not completely limited to just that; you can publish them on the Internet—but first retouch them, remove the dirt from them, etc.
We’ve deliberately left our sample picture untouched so that you can see that a shoebox scanner has downsides, too.

TerryB
Majo, you’ve been watching too much Blue Peter, a very popular BBC TV series for children. Just kidding. Although there are a number of relatively inexpensive ways of easily copying negatives, these are all related to 35mm. Your DIY copier can at least do roll film cheaply when one considers the price of a bespoke roll film scanner.
Kadir
To buy a dia & negative scanner is much more simple & CHEAP way than this Way!
Also, I did an eguipment like this on a wood chassis. There is no need DANGEROUS, “Sensor Killer” direct flashlight. A 5 Watts white small “econo type” 220 VAC bulb to back side is enough.
Shooting mod is “A = Aperture” f stop is 7.1 – 8, AF is Macro… With cameras timer or remote control! That’s all…