External Flashes—The Ons and Offs
The article is over 5 years old. The information in it may be outdated.
![]()
We are working on its update. In the meantime, you can read some more recent articles.
Most cameras have a built-in flash. But much more can be done with an external flash, especially when you position it away from the camera. There are a few issues you have to solve with an off-camera flash though, such as how to actually tell the flash to fire.
An internal flash in a camera can be a great photography aid. It’s always there for you, helping you take pictures that the light otherwise wouldn’t let you. But it has a weak output, and it’s stuck in place facing forwards, which limits how useful it is. But if your camera has a hot shoe mount, you can buy an external flash and mount it there.
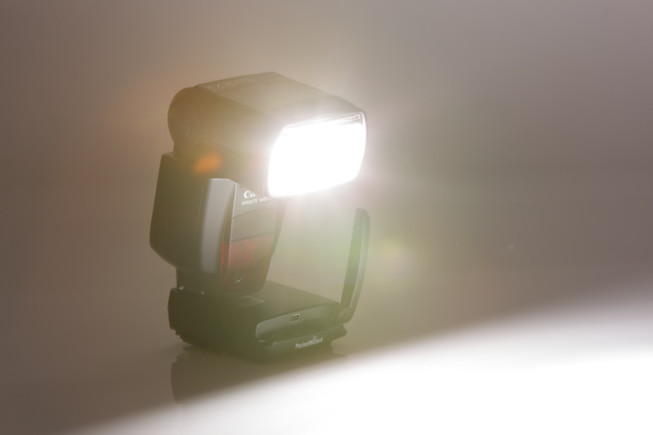
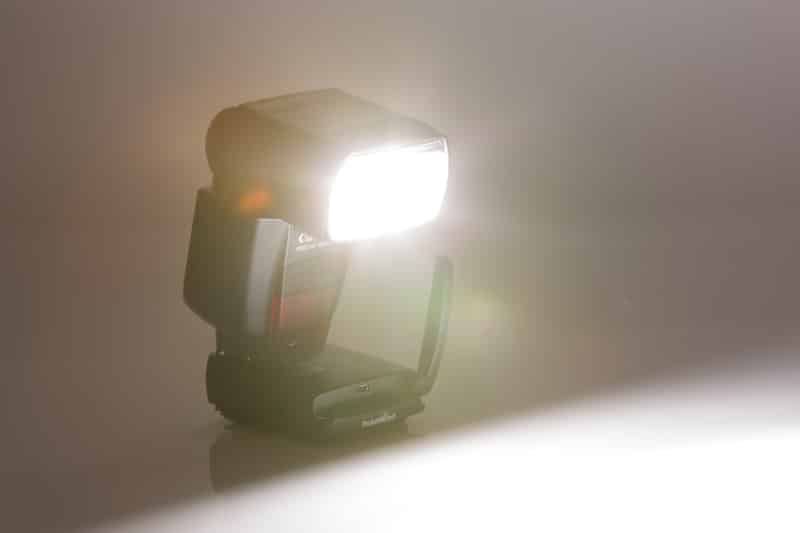
External flashes are powerful, and usually they can also be rotated or tilted. That way you can do things like point the flash towards the ceiling and let the light bounce down onto the scene, giving you more pleasant lighting. Since the light is bouncing off a large surface, it’s much softer and evener than light from a flash simply pointed forwards. A flash pointed forwards sharply emphasizes every trait and usually darkens rapidly with distance (if you don’t use “slow-sync” flash.)
Taking It off the Camera
Both internal and external flashes can be fully automatic. The system for that is very simple: when you press the trigger, the flash fires, not once, but twice in quick succession. (So quick that your eye often doesn’t notice it.) The first flash, just before the shot itself, is weak. The camera electronics only use it to measure how much it influenced the scene. A second flash is then fired with a precisely measured intensity. This measurement system is called TTL—Through The Lens.
By taking the flash off the hot shoe and placing it away from the camera, you can take things up a level. In practice this means carrying around a small spotlight for illuminating the scene, or just the model, from various positions until you get a photo unlike what other photographers would have. But using a flash this way does bring with it a few technical problems. Let’s take a look at them.
The most important thing is to answer the question of how to make the flash fire simultaneously with your shot. This is not easy—it’s all about synchronizing things down to thousands of a second.
X-sync speed
There are lots of technical solutions available, but to understand them, you need to understand one concept: X-sync speed.
In ordinary DSLRs, there are two curtains right in front of the sensor. One of them opens up just before the shot to let light in, and the other one closes after the exposure time to block the sensor again. Wikipedia has a great animation of this:
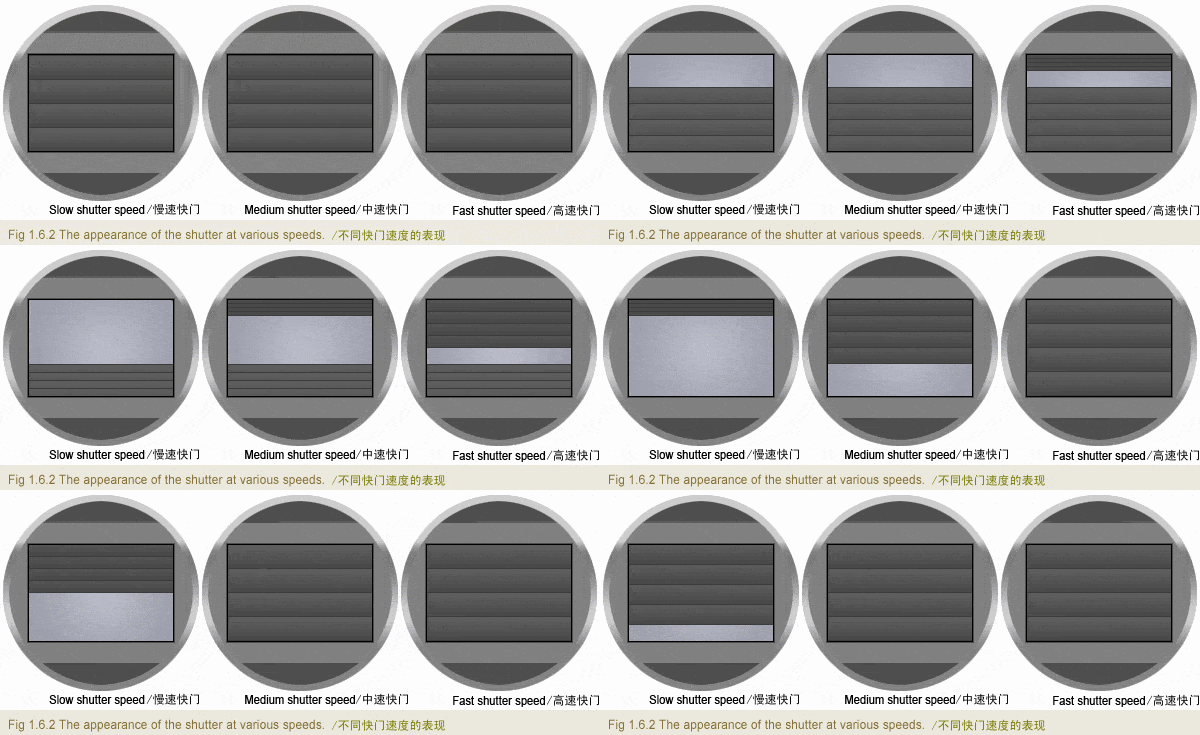
And that’s just the problem: no matter when the flash might fire, only the part of the sensor between the two curtains will be illuminated. For this reason every DSLR, and nowadays other cameras as well, has a specified X-sync speed that specifies how short the exposure time can be while still leaving the flash able to illuminate the whole picture. For most DSLRs this is 1/200 s. The Nikon D40, with its electronic shutter, has it at 1/500s. The EVF Fuji X100 even has X-sync at around 1/1000-1/2000 s (where other limits come into play).
The shorter the X-sync time, the better. You can tell this when taking pictures with a flash outside in daytime. With an X-sync time of 1/1000 s, the surroundings can be five times darkened five times as much as at 1/200 s. The flash intensity will stay the same. That means you are putting out a flash intensity five time stronger relative to the surroundings!
However, X-sync speed is not an absolute limit. Internal flashes work around it by switching into a special mode (called High Speed Sync or Focal Plane Flash). Instead of one flash, this mode emits a long series of short flashes—about 50,000 discharges a second. This gets the same final effect as nonstop light, so the whole frame is filled even with very short exposures. But this mode requires complex communication between the camera and the flash, which takes a lot of processing power.
With all that in mind, here are the remote flash firing techniques and technologies out there today:
Nikon (and Canon) Remote TTL
If you have a DSLR and a remote flash, they may be able to remotely communicate without your needing other accessories. This applies for the Canon model EOS 7D (only!) and for many cameras from Nikon. Here the internal flash encodes TTL information into the pulses in its flash, and the remote flash reads and adapts to that information, as long as the two flashes can “see” each other. Nikon’s remote TTL is so advanced, though, that some models can perform remote TTL even around corners. Here again everything happens in the milliseconds before the shot, so the human eye doesn’t notice anything strange happening.
If your model is not supported, then both Nikon and Canon enable you to use an external flash on the camera (a “master”) to control other flashes (“slaves”). Naturally this requires some special equipment purchases and considerable extra weight. But there are special lightweight flashes made specially for this purpose. Here too, the remote units need to be able to see the camera… and sometimes that’s a pretty inconvenient restriction.
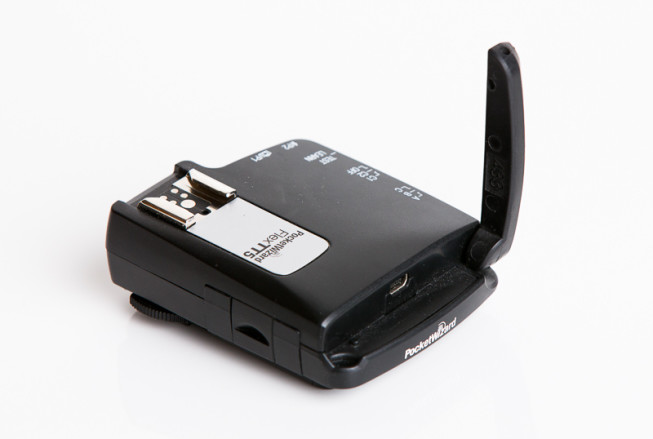
That’s why there are third-party accessories that can encode TTL into a radio signal, eliminating this restriction. Examples include the RadioPopper product line and the competing PocketWizard FlexTT5 and MiniTT1. Of course, these do have a disadvantage: you need to have both the original flashes and these special remote firing devices, so this technique is among the most expensive.
Meanwhile, there’s been a revolution recently in the Canon line. The 600EX-RT flashes can communicate via radio, again eliminating visibility constraints. This is among the most advanced flash systems, although it has a price to match.
Optical Triggers
Probably the most primitive method. It’s also the most universal one. This is a small cube inserted into the hot shoe mount. It contains an optical sensor monitoring its surroundings. When it sees that a flash has fired, it tells its connected flash to also fire.
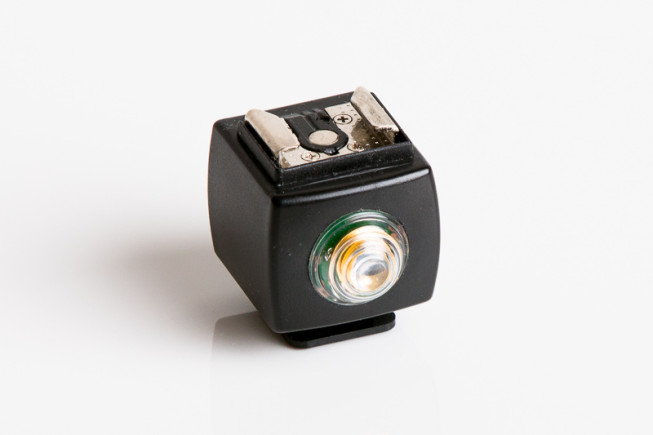
The great thing about this solution is that it’s not tied to specific camera and flash brands; they can be combined as needed. It seems that right now the Yongnuo brand flashes from China are in fashion (although I have no experience with them), as are the Nikon SB-24, 25, 26 and 28. These are cheap since they don’t have all the features of modern flashes, and yet they’re highly reliable, with great performance (and I do have experience with them).
They are triggered via another flash, either the camera’s internal flash or any other connected system. No hot shoe mount on the camera is needed.
When the internal flash can’t be switched to manual mode and always emits two flashes, you need a slightly more advanced cube that knows to ignore the first of the two flashes. Otherwise the flash will seem to fire all right, but it will actually come at the time of the first flash firing, a critical few milliseconds too early.
With this firing type the flash has no way to talk to the camera about flash intensity, so you have to set it manually in advance and, if you’re not satisfied after the shot, you have to go back to it and manually adjust the flash strength. (For the critics among you: I’m skipping over thyristor flashes for simplicity’s sake.)
You’ll need to shoot in the camera’s manual mode, but that is normal whenever you’re using an external flash anyway, so it’s no real restriction.
Strong sunlight can be a problem for optical triggers, as it can make them overlook the first flash, and so the external flash is never told to fire.
Cable Triggers
This technique uses a special cable that’s slid into the hot shoe mount on one side and attached to the flash on the other side. In the simplest scenario, this just sends the order to fire the flash, making it similar to the optical flashes above. But some special, much more expensive variants can send complete TTL information and make the flash behave exactly as if it were on the camera’s hot shoe mount. But you are limited by the cable and its length (and even with TTL you can’t control multiple flashes independently).
Simple Radio Triggers
Probably the best and most popular variant when it comes to price and performance. These triggers can send the order to fire the flash, and nothing more. This makes them very universal, but here again you have to set the flash intensity directly on the flash unit(s).
There’s an enormously wide range of these. The gold standard here are the Pocket Wizard Plus and the MultiMax, which are extremely robust and reliable up to hundreds of meters, making them widely seen among professional photographers. There is a lite variant called the Pocket Wizard PlusX. There’s also competition in the form of the less expensive Elinchrom brand from Switzerland. These are also very reliable up to 100 meters. Then there’s the flood of myriad Chinese triggers, like Phottix, Cactus and Yongnuo.
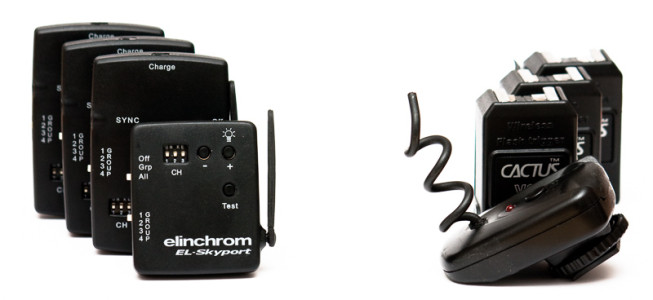
Some brands are more reliable, some less, but all of them are getting more reliable every month. These models have very low prices, making them definitely a suitable choice for beginners’ experiments. You’ll definitely want to check reviews before buying, though.
For comparison: A Pocket Wizard Plus III costs $150, but a Cactus V4 costs only about $20. When choosing equipment, remember that you will need two devices, a transmitter and a receiver. (Some devices can behave as either a transmitter or a receiver, but you’ll still need one for each role.)
What Does the Future Hold?
That’s it for my review of today’s options for remotely controlling a flash. But I can’t tell you tomorrow’s. Every couple of months some kind of revolutionary new gadget comes out, so don’t take this article as the eternal truth about external flashes. Take it as a taste of the options available in early 2014. I hope that I have broadened your horizons a bit and maybe brought you a clearer view of the more complex aspects of flashes.

There are no comments yet.