Macro Photography Accessories: 6 Hacks That Will Improve Your Macro Photos

Macro photography is much more than just a macro lens and flash. There are many different types of backgrounds, as well as accessories for arranging macro subjects such as insects. These accessories may not even look like they’re meant for macro photography at first glance. Let’s take a look at some hacks that will make doing macro photography a bit easier while at the same time upping the quality of your macro images.
Macro photography takes patience. If you plan to do macro photography in an at-home setting then you will need a few things besides your camera. We chose the accessories that we use most frequently.
Brushes
If you plan to shoot dead insects, whether you find them yourself or they are entomological objects, brushes will make your job much easier. However, use care when choosing your brushes. I recommend using the smallest brushes regardless of how firm the insect’s shell is. A brush that is too hard can deform or disfigure the insect.
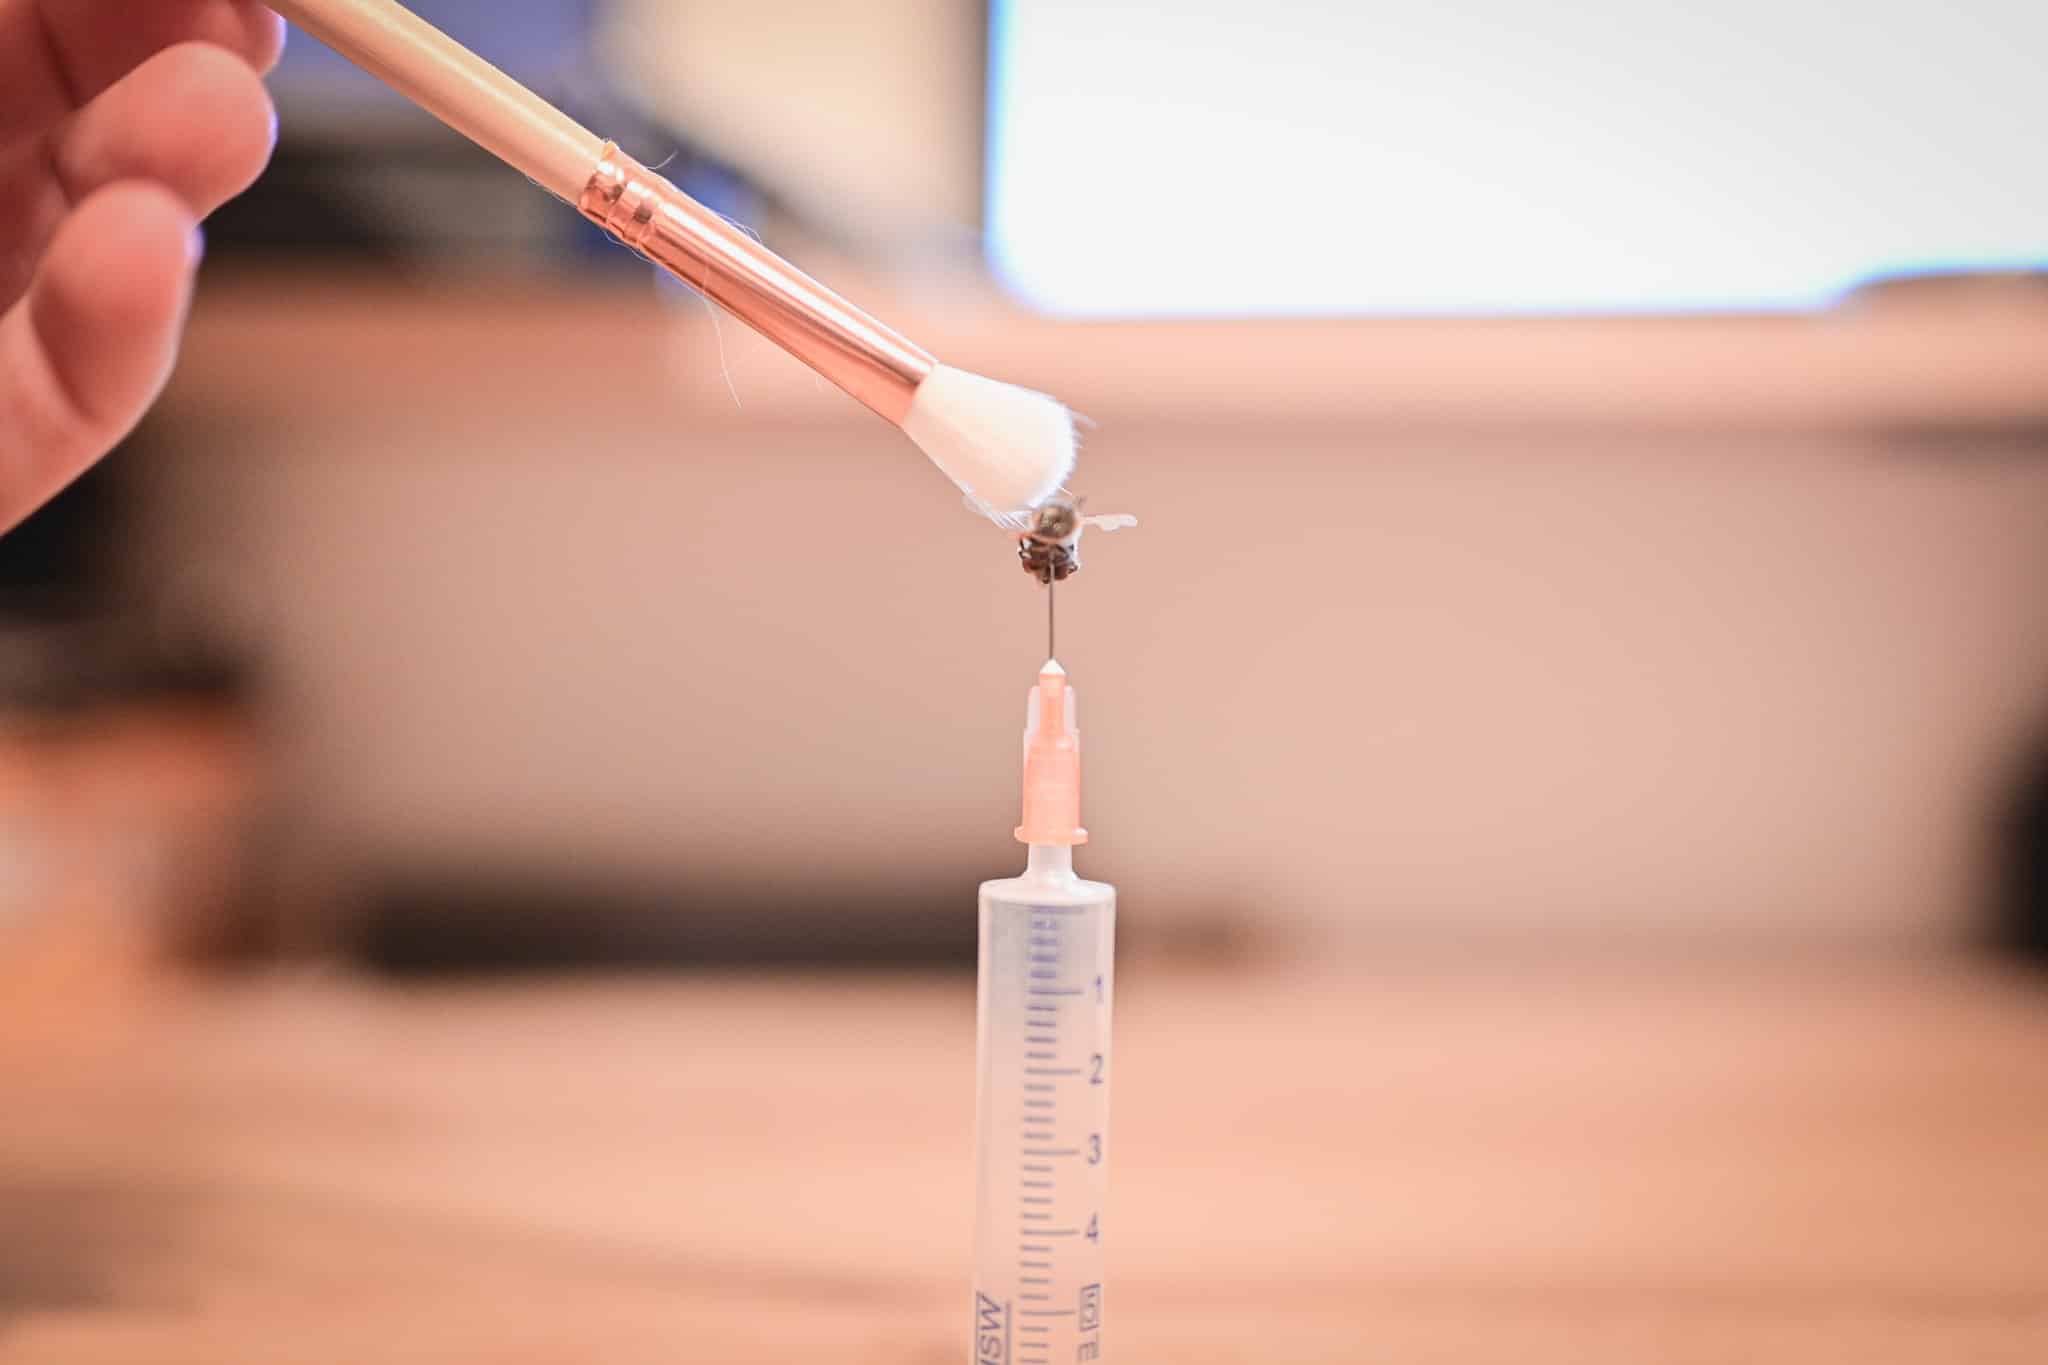
After searching for a long time, I found that ordinary drugstore makeup brushes are best for cleaning dust off dead insects. Despite their softness, it still requires some skill. Nevertheless, soft brushes are still better than hard paintbrushes or those used to clean photo equipment. I recommend storing them in Ziploc bags and cleaning them using an air blower ball before use. This brings us to our next macro photography accessory – air blower balls.
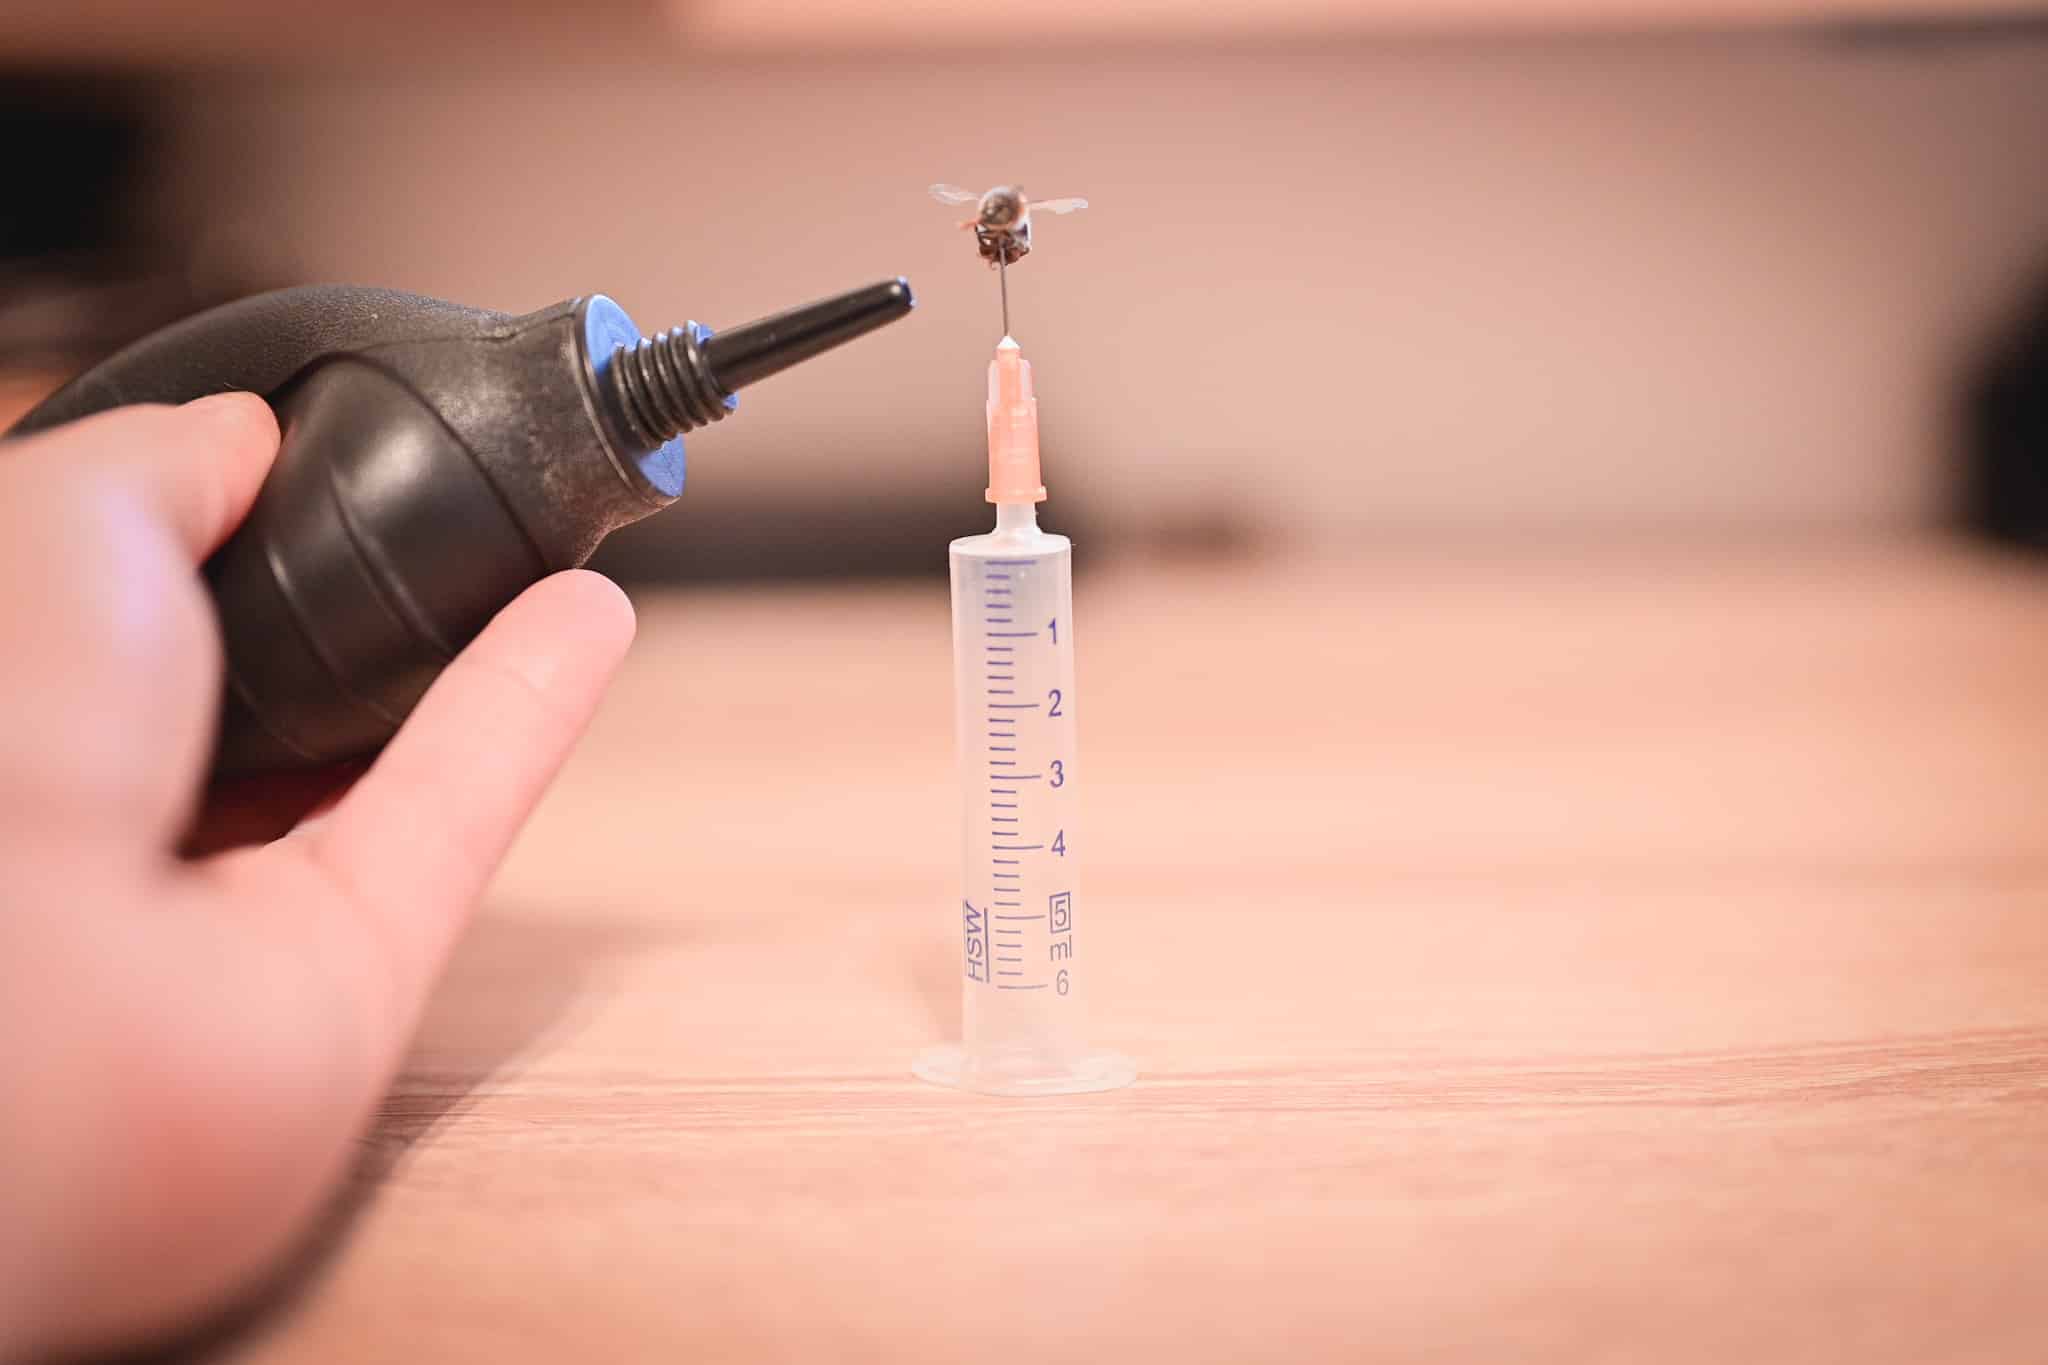
Air blower ball
Another option for cleaning insects is to use the same air blower ball you use to clean your lenses. If you don’t want to use brushes, you can try blowing dust and other impurities away using this ball. Either way, it’s always best to try one of these methods before later needing to use Zoner Studio to retouch a large amount of dust and other impurities. Ideally, you’ll use both the brush and blower method for cleaning your macro subjects.

Background
Whether you are shooting macro at home or in the great outdoors, you can make use of several different backgrounds. You only need some colored paper for this purpose. If you want to take your macro photography background to the next level, you can create your own background and print it out on plain paper. Even though the background will be blurred in the photo, it adds a new dimension to the image.
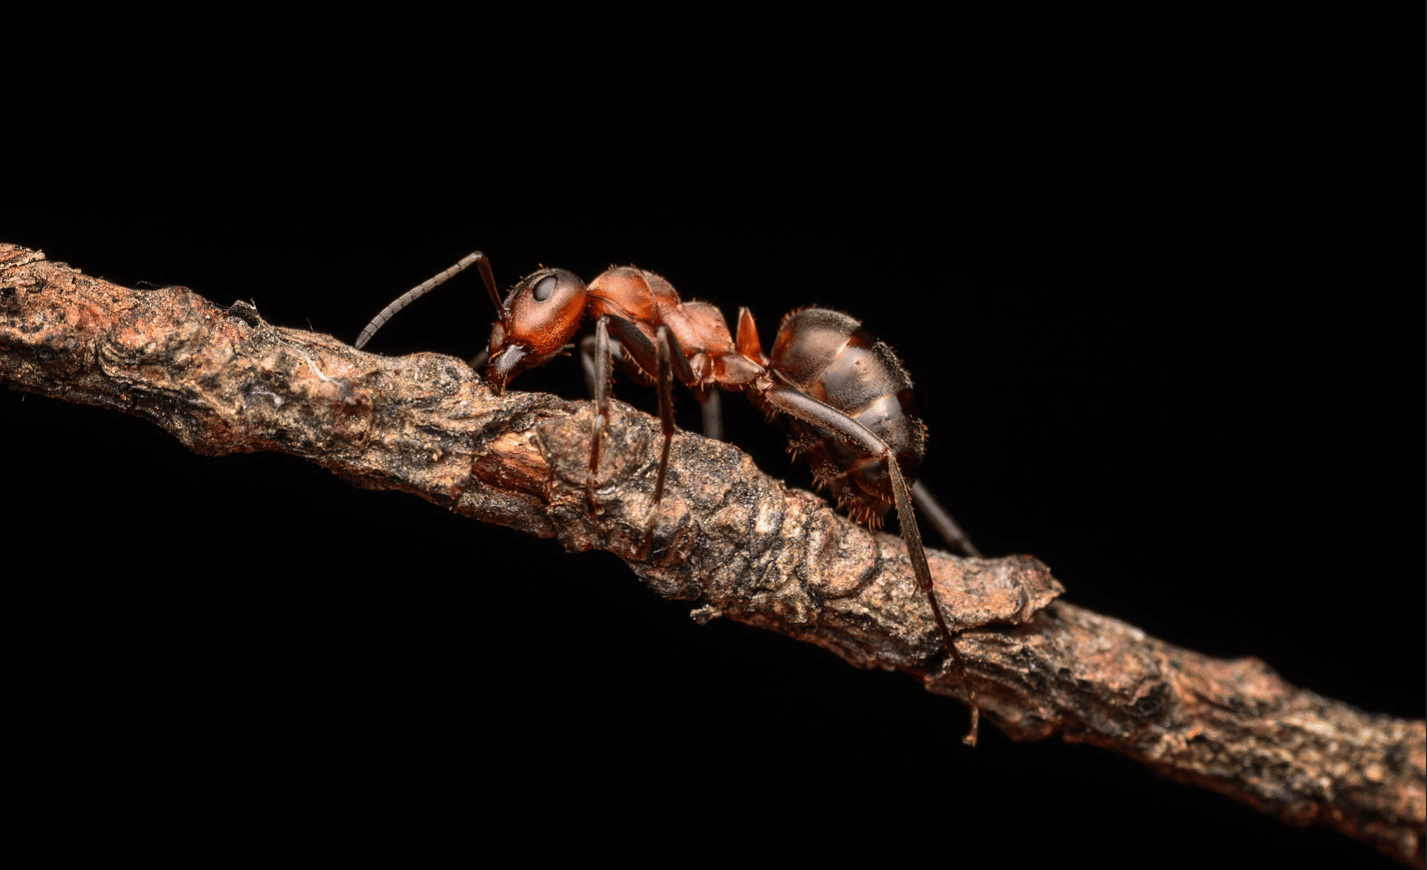
Black backgrounds are the most universal type of background and are best used for “gallery” style photography. Black paper backgrounds can also be used with lighting. The trick is that the black paper reflects the subject (if the subject is shiny) and beautifully outlines its contours.
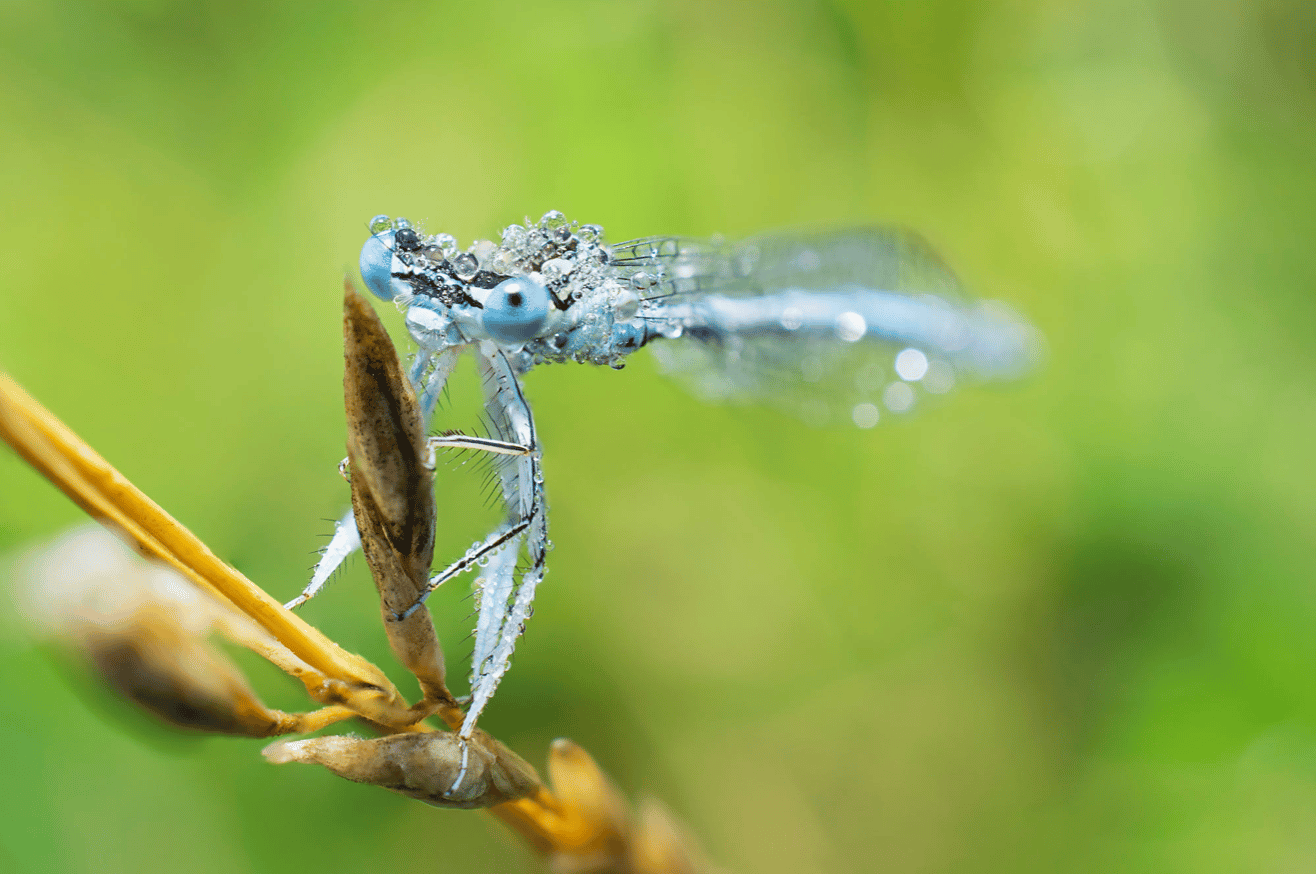
Artificial dew
Photos taken of insects in the early morning look best mainly because of the morning dew on them. Morning dew can be recreated, even at home. All you need is an ordinary spray bottle that can be bought almost anywhere for just a few bucks. The secret lies in the liquid you put inside the spray bottle. Ordinary water quickly evaporates and won’t make as nice water droplets. It’s best to use a mix of water and glycerin.
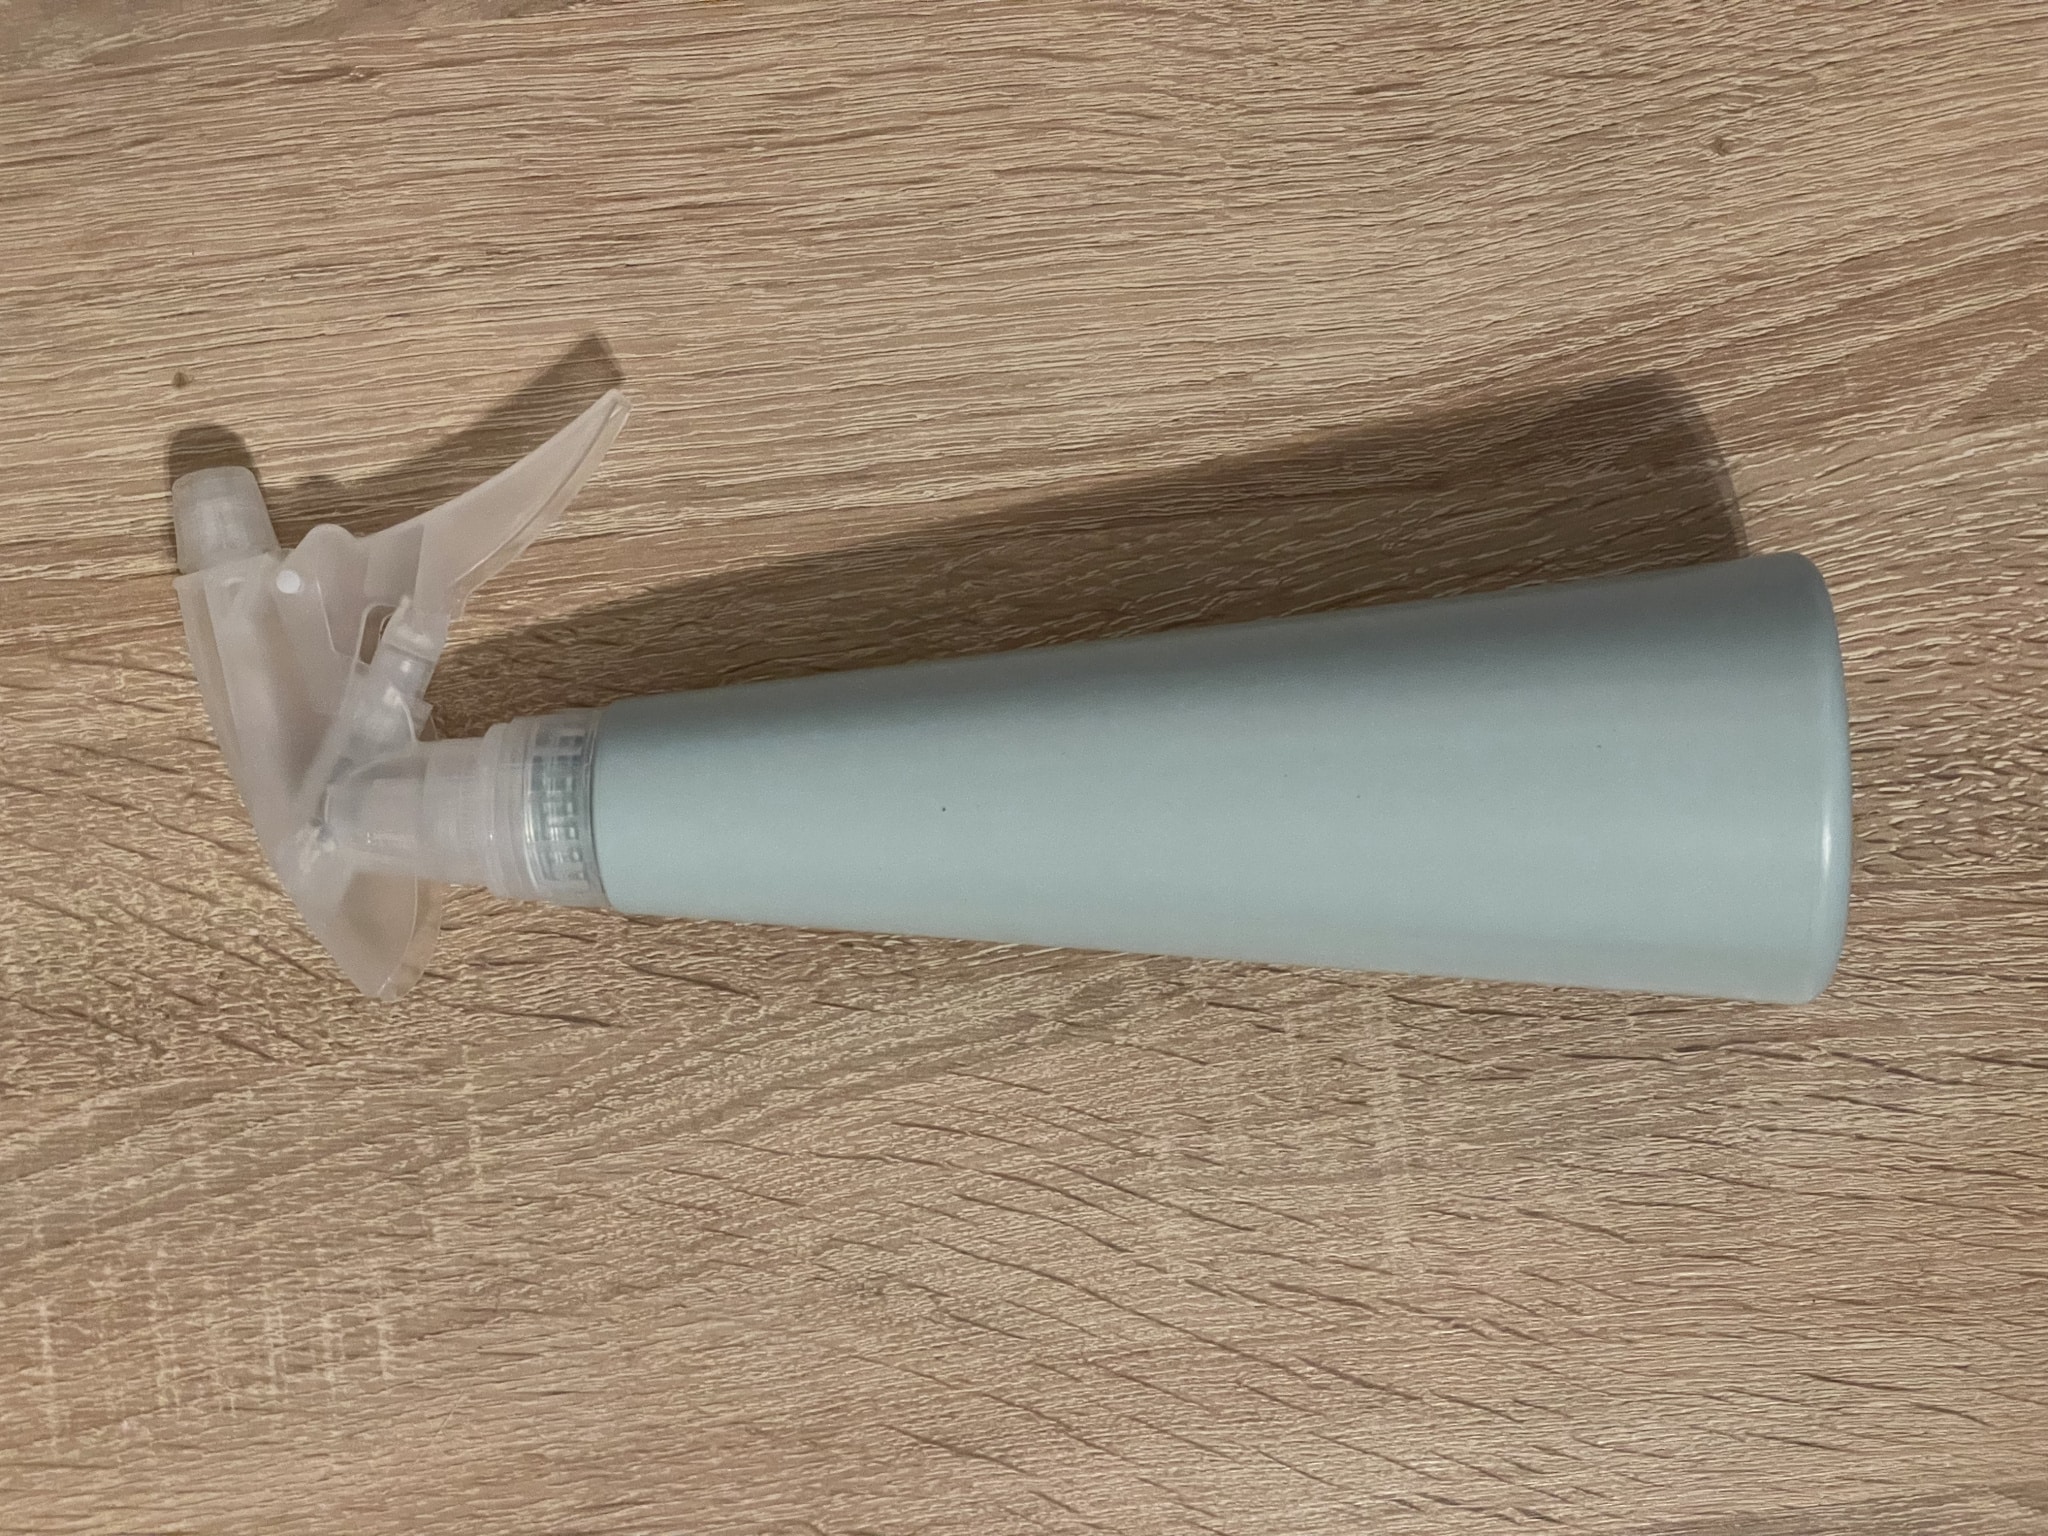

Glycerin is thicker than water and makes better droplets that won’t evaporate so quickly. Artificial dew can also be used also when doing flower or product photography. This method is effective, but it won’t fool the trained eye of an entomologist. If you use it on dead insects, the droplets will look different than they do on live insects, as dead insects no longer have their natural surface tension.
Mounting
Now we get to the biggest problem you’ll encounter when photographing dead insects – mounting the insect so that it remains unharmed. The best way to do so is to use entomological pins and tweezers. I personally don’t use them because I’ve found a tool that better suits me. I use an insulin needles or ordinary syringe to pin the insect.
The biggest advantage of using a syringe is its sharpness which allows for penetration through a hard chitin shell. I personally don’t use entomological tweezers as turning the insect over on its back and pinning it from the bottom is enough for me.

The advantage of using a syringe is that its unsharp side is flat and can stand up. Or put it and the pinned insect on a short needle and use it as a stand. This option is slightly more stable.
Lighting
The most important part of macro photography is the lighting, which can be a bit of a science. Every macro photographer has their own idea of what makes the best lighting. Some prefer ring lights or macro flashes, while others are more DIY. I fall into the DIY category and like to use what I have at home or can find at the store.
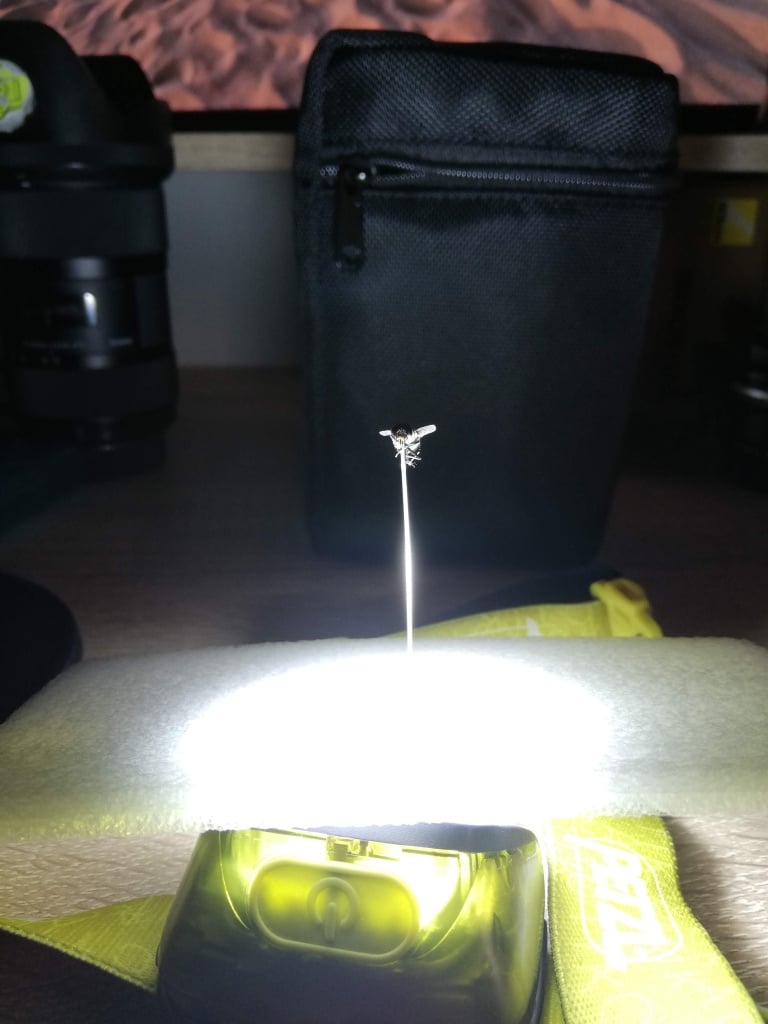
When shooting at home, my lighting mostly consists of two headlamps with a flash as my key light. When shooting outdoors, I sometimes attach the headlamp to the flash for enough light when focusing and I use the flash as my key light. I’ve also been using a diffusor for many years that helps diffuse, or spread out the light. My diffusor is a piece of white plastic that attaches to my lens at a 45° angle. It may not seem like it, but the angle at which the diffusor is attached matters as different angles produce different lighting of the insect.
There are no comments yet.