Food Photography Capture Shots That Look Good Enough to Eat
Food photography is an art and one of the most challenging genres of photography. It requires a blend of aesthetics, technical skill, and meticulous attention to detail. It also involves food styling—the careful arrangement of food to enhance its visual appeal. The ultimate goal is to create eye-catching images, whether for a restaurant menu or the pages of a cookbook.
The photo must showcase the food in a way that makes it look mouthwatering, fresh, and irresistible—good enough to eat. If the dish isn’t appealing to begin with, even the most skilled photographer won’t be able to save it. In this article, I’ll share my top tips and best practices for achieving picture-perfect results in food photography.

Food sparks passion and evokes hidden desires. Food holds secrets and offers unique experiences, and yet remains one of the most basic human needs.
For me, cooking is both a way to relax and an opportunity to take control of the entire process—from the initial idea to the final result. I do all of my own food styling and table decoration to ensure every detail aligns with my vision and standards.
I enjoy experimenting with new recipes, always adapting them so the food not only tastes great, but also looks amazing in photos. After shopping and checking my supplies, I carefully plan what I’m going to cook, ensuring the final dish will be visually appealing and ready for its moment in front of the camera.
I try to ensure that all parts of the photo work together visually and that all the effort—running around the kitchen and sometimes burning my finger or tongue while tasting—is worth it.
Sometimes, I do a preliminary sketch of where the plate, bowl, or other items will go. However, when it comes to the actual shoot, I end up moving and adjusting everything. I often dig through my props, looking for the perfect fabrics and utensils to make the whole look cohesive. At the same time, I like incorporating the ingredients that I’ve used while cooking—whether it’s herbs, spices, fruits, or vegetables.
Once everything’s ready—from the dishes to the background, to utensils and other details—I start with a few test shots without the food being plated. If I’m not happy, I adjust the composition, rearrange the decorations, and reshoot until I achieve the look I’m after.

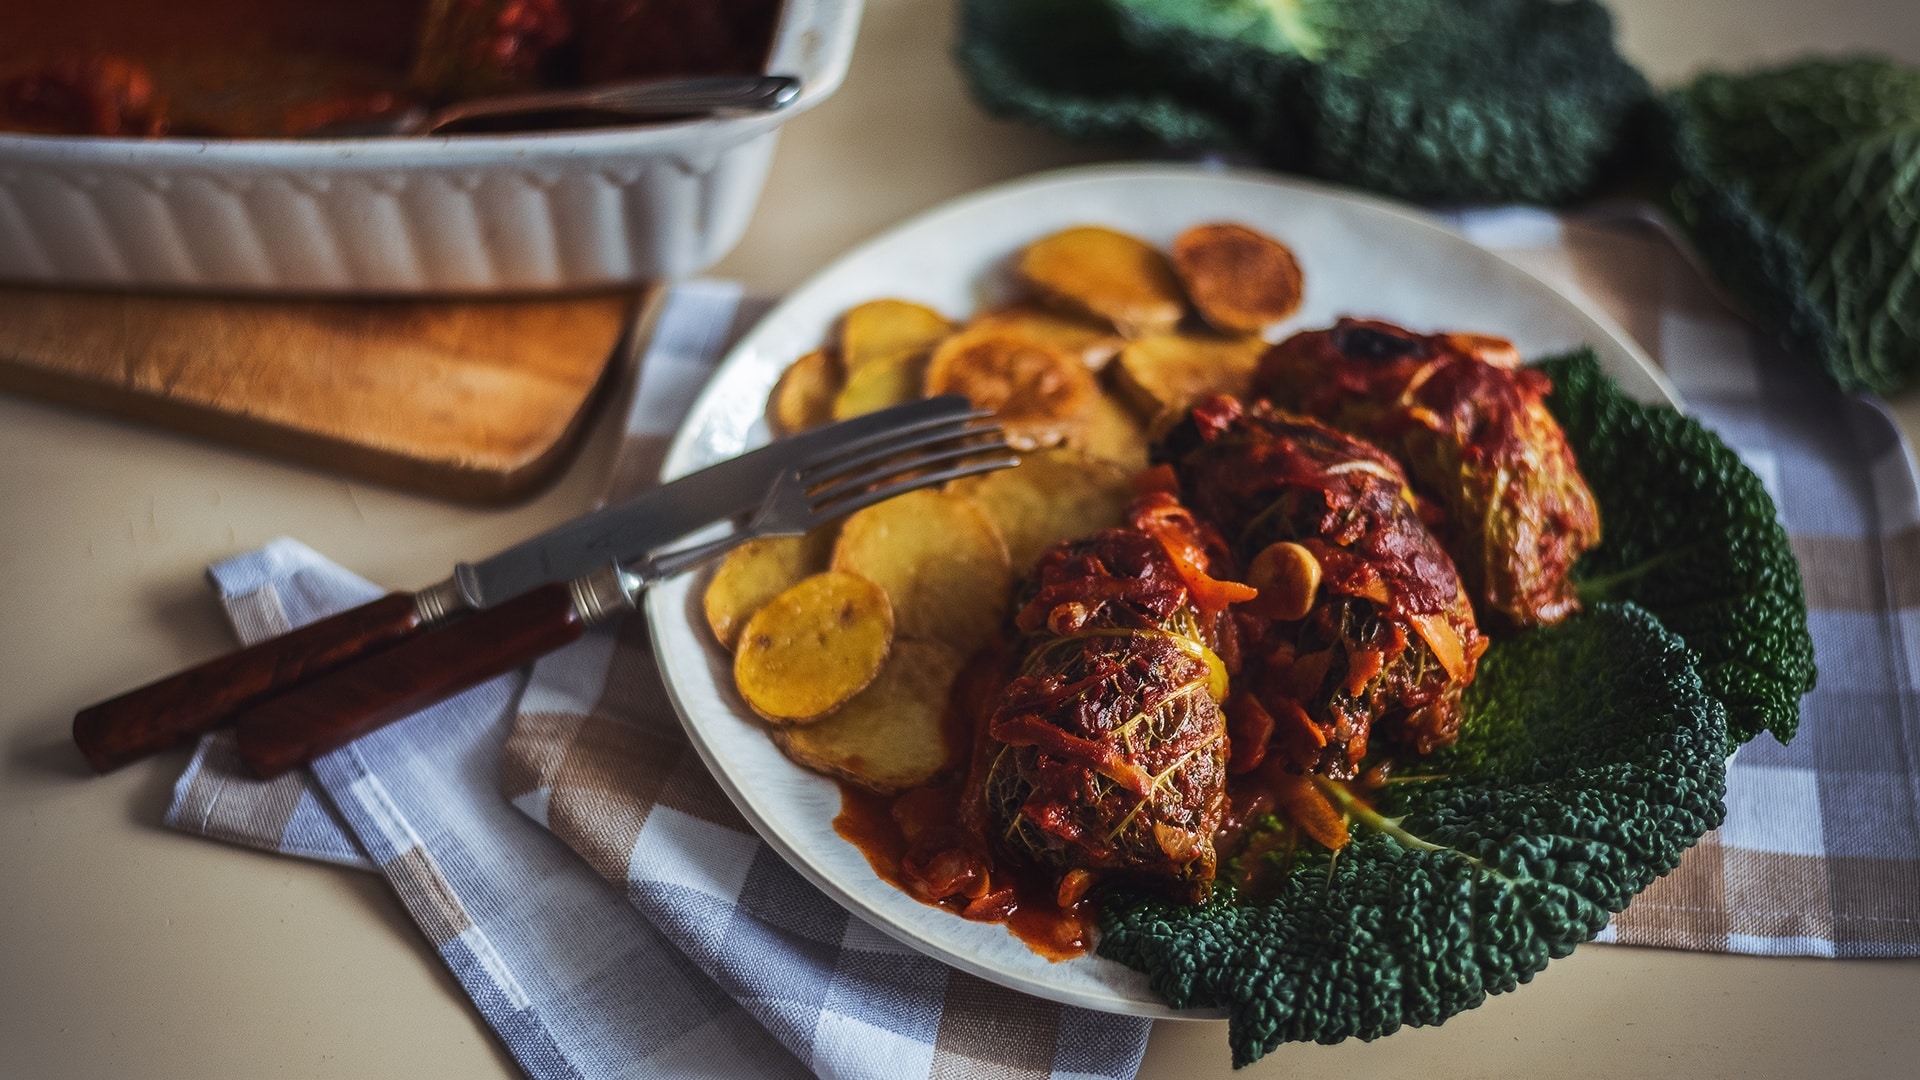
Only then comes the time to plate the food. For this step, it’s important to consider the type of food. Some dishes can be served cool, but chicken, for example, can start losing volume as it cools, or soup can develop an unsightly skin. On the other hand, dishes that are too hot can fog up the lens. That’s why each step must be timed carefully to ensure that the results look perfect.
Lighting: The key to a perfect photograph
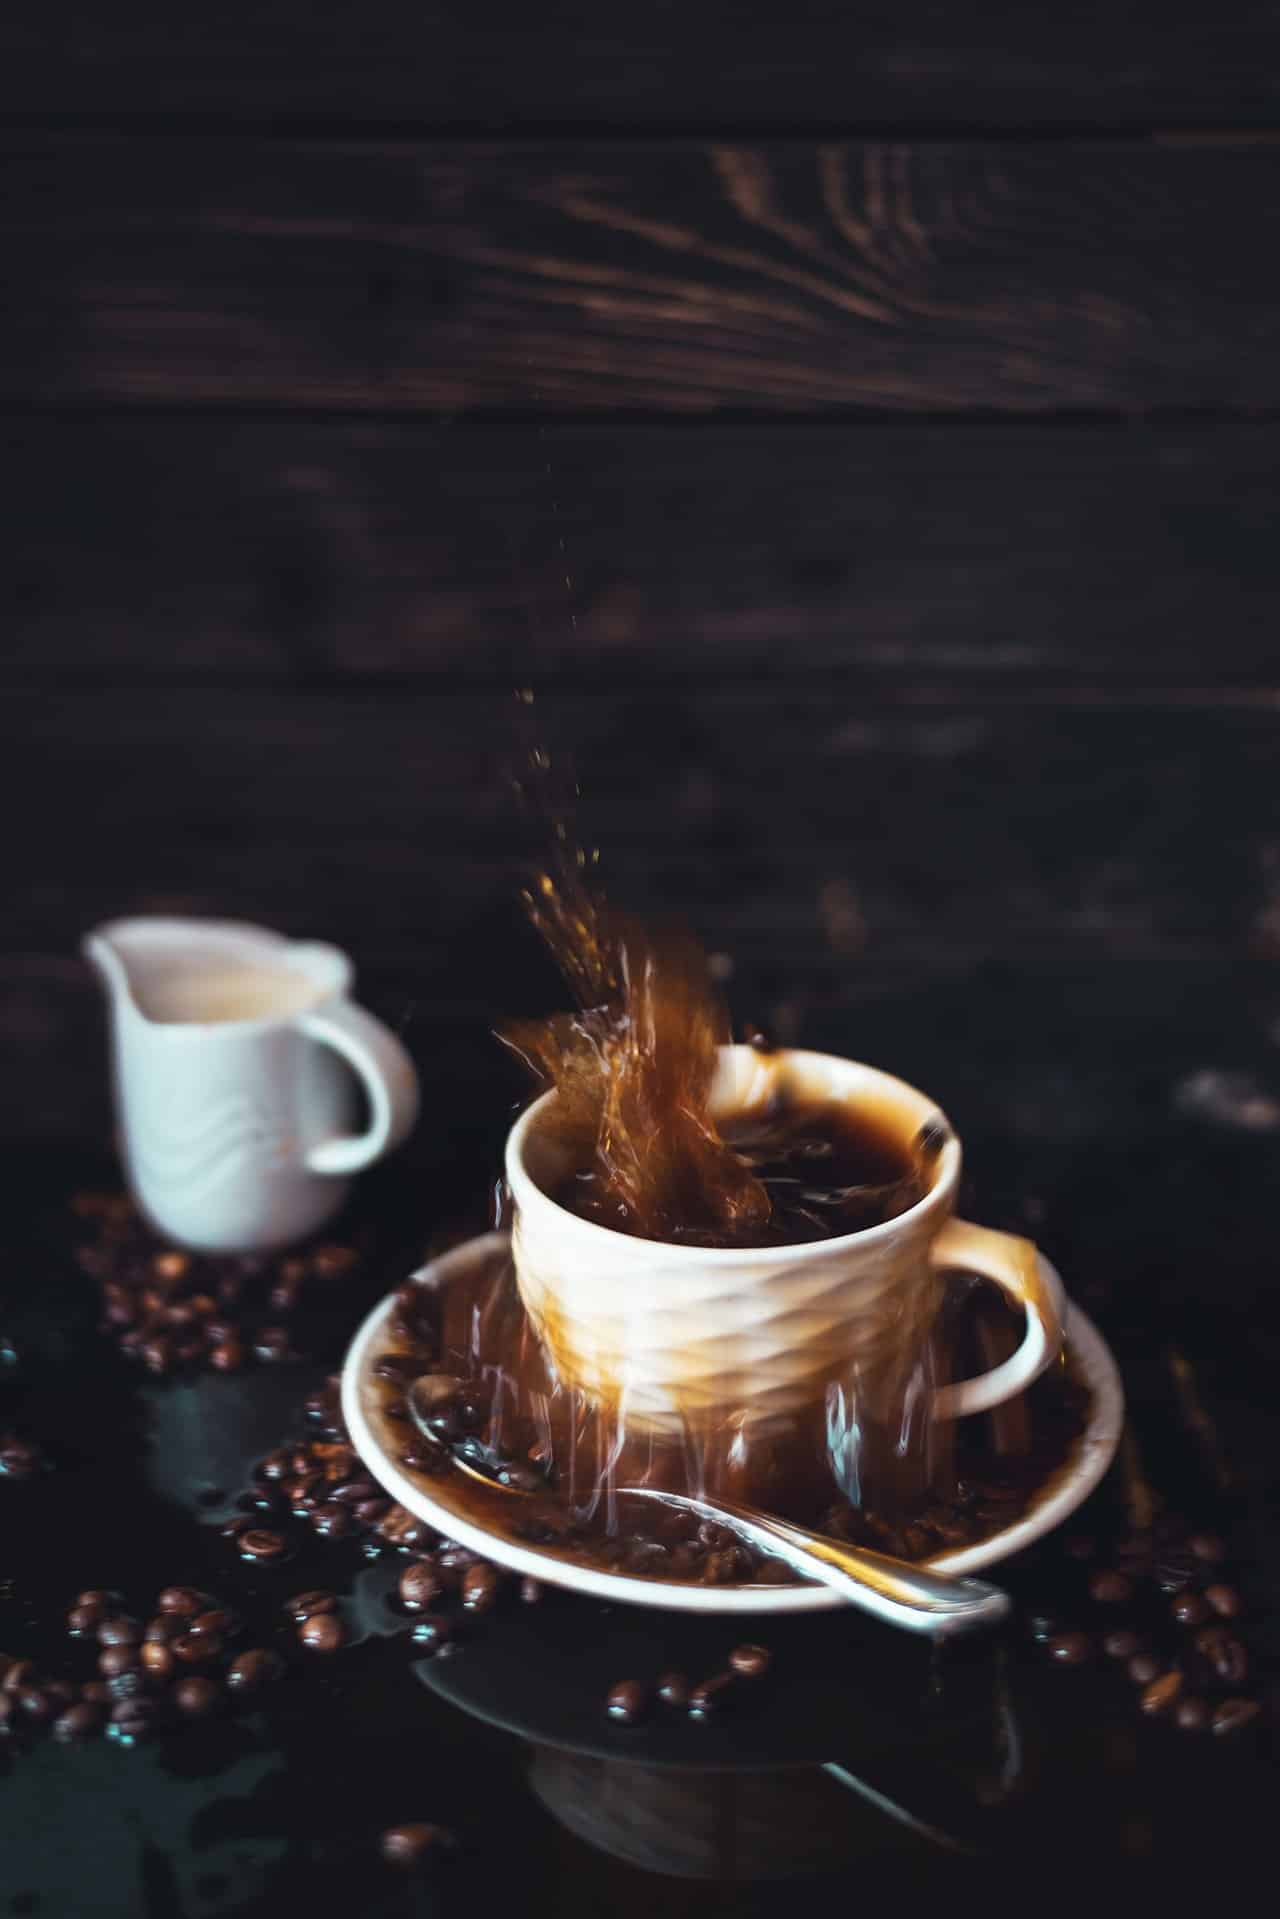
Light is an essential part of any great photography. When it comes to food photography, I prefer soft, subtle light that can bring out the colors and texture of the food while avoiding harsh, distracting shadows.
Natural light
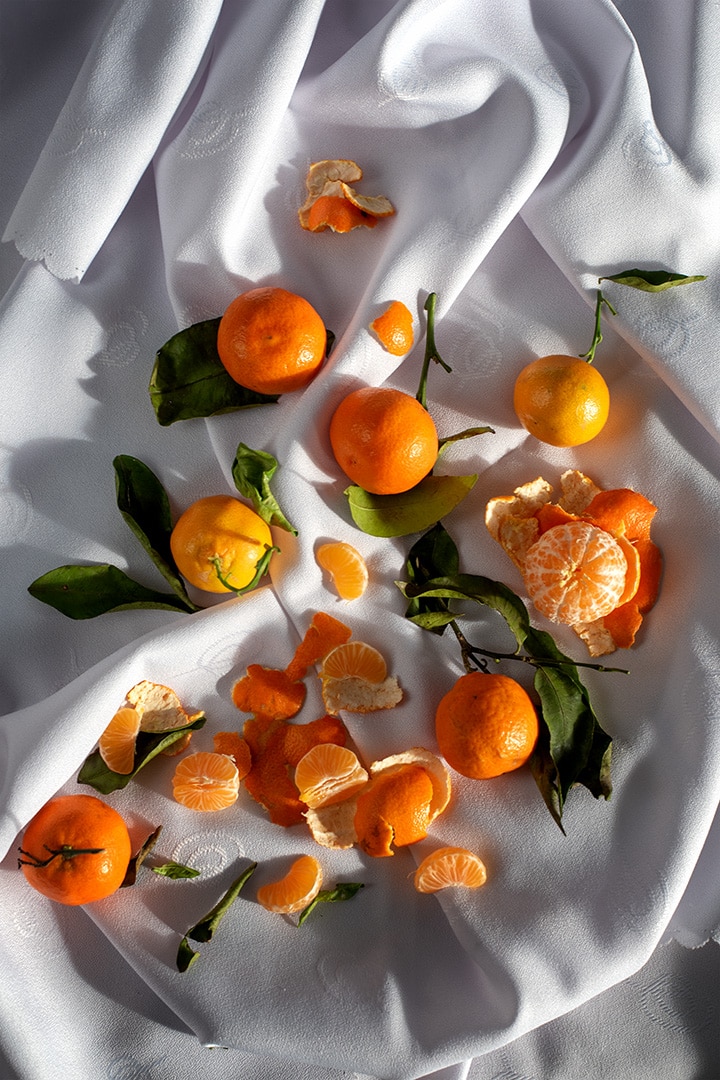
Daylight is perfect for food photography. It makes the food look natural and you don’t have to worry about a lack of diffused light. I usually shoot near a window and use diffusers like white cloth or paper to subtly soften the light. If the light is too strong, I use a curtain or diffusion panel to soften the light and create a more pleasing atmosphere.

Artificial light
When natural light isn’t an option, or I need consistent results, I use artificial lighting. To achieve soft shadows and even lighting, I use softboxes or reflectors in white, silver, or gold. A gold reflector adds warmth and makes food look more appealing.

Try experimenting with side lighting or backlighting. This type of light adds depth and texture to your food, while still looking natural.
Staging food: The art of food styling
Before the actual shoot, I always consider the story I want each photo to tell. Every detail should enhance the atmosphere, drawing viewers in—not just to admire the food, but also to want to taste it too.
Freshness and textures
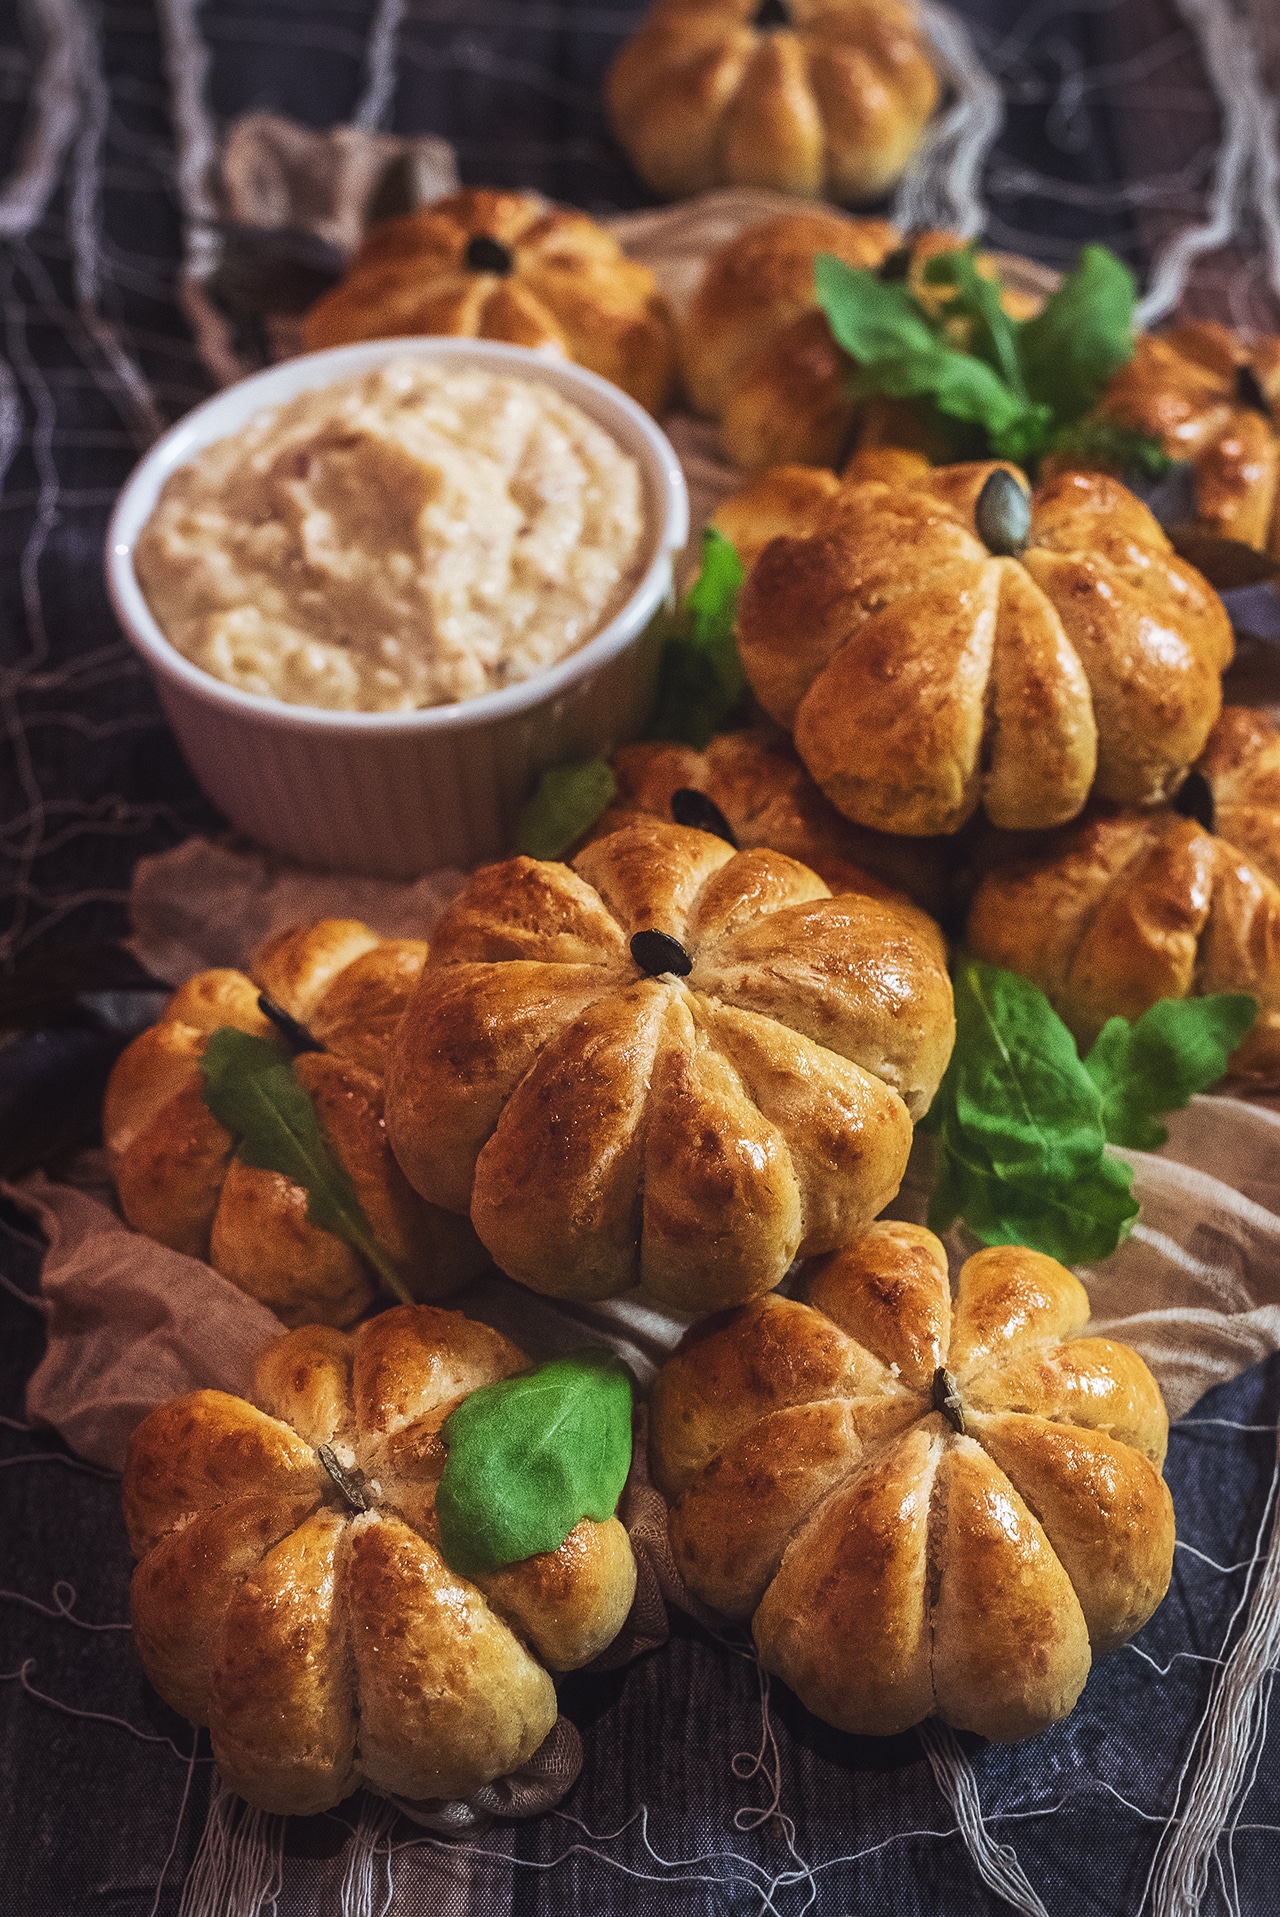
The key to great food photography is to make the dish look fresh and irresistible. For instance, I use a spray bottle with water to freshen up vegetables and brush certain ingredients with oil to give them a subtle, glossy finish.
Texture takes center stage—a crispy surface, a juicy finish, or delicate cream adds authenticity and irresistibility to a photo.
Close-ups and layers
- I always put the main dish in the spotlight, but I also work with close-ups and layering. Herbs, spices, pieces of fruit, or cutlery can bring a scene to life and add depth.
- I’m not afraid to work with multiple levels—for example, I add props in the foreground and background to create a more dynamic composition.
Props
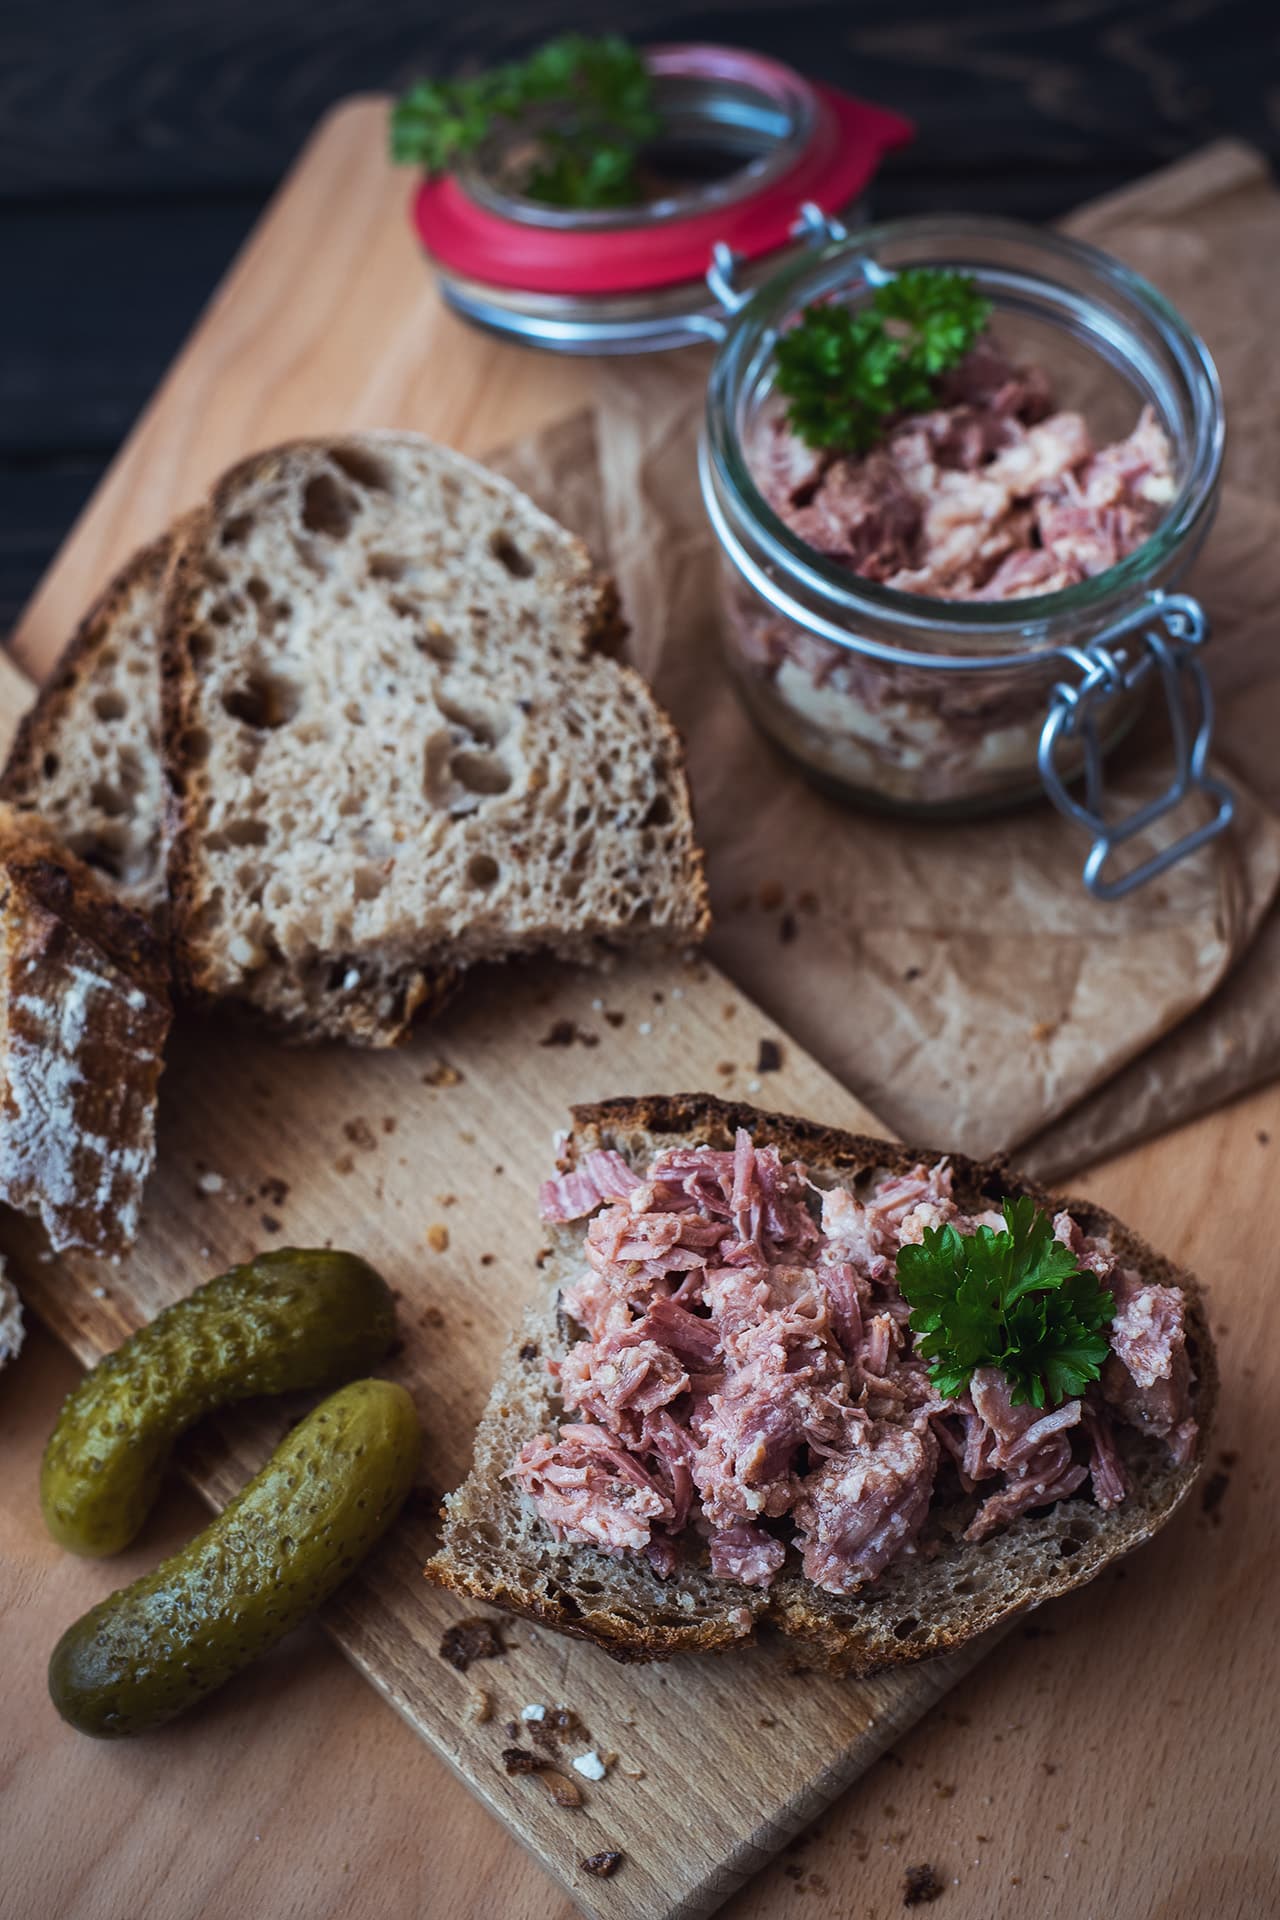
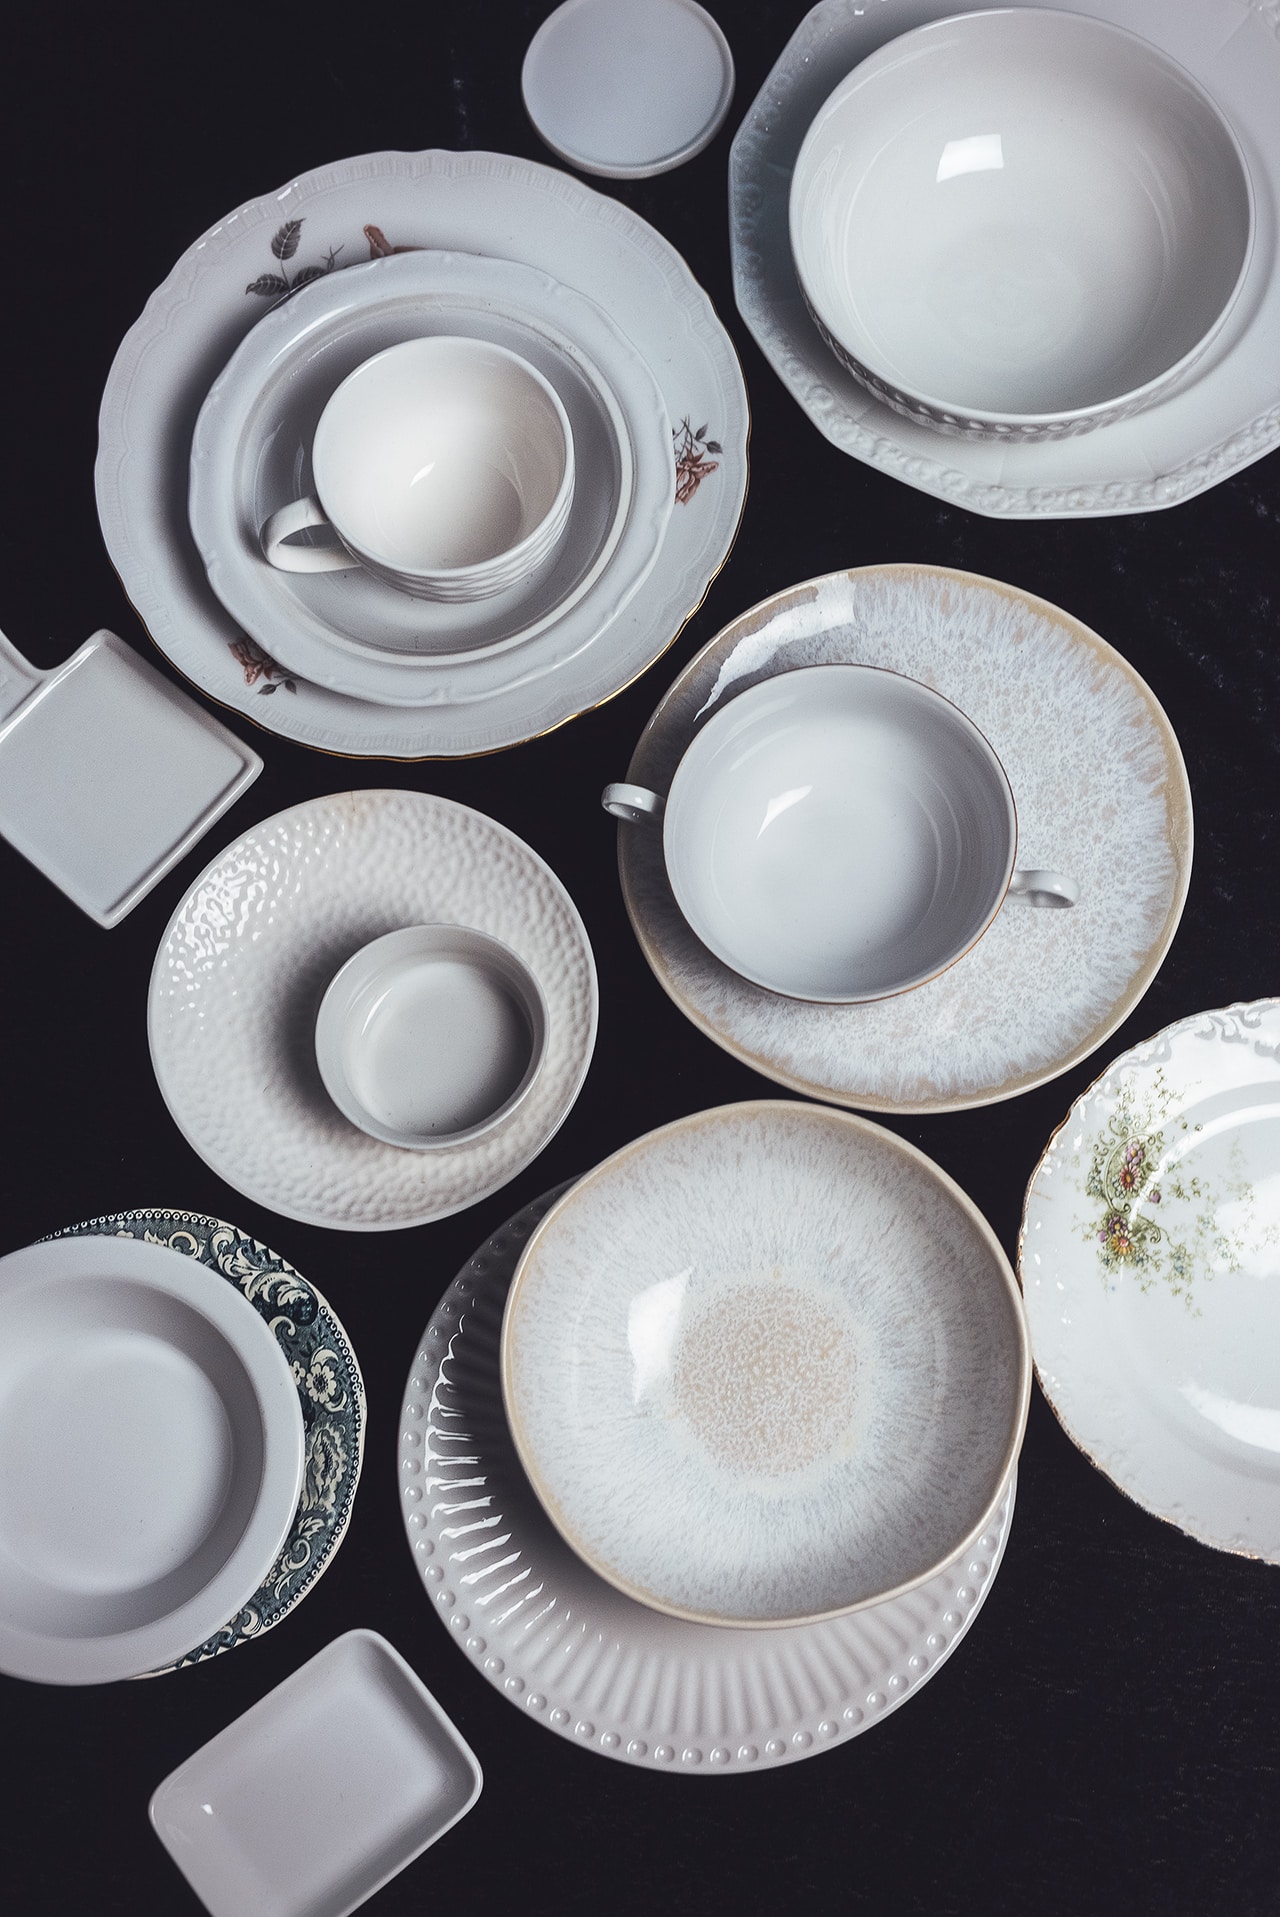
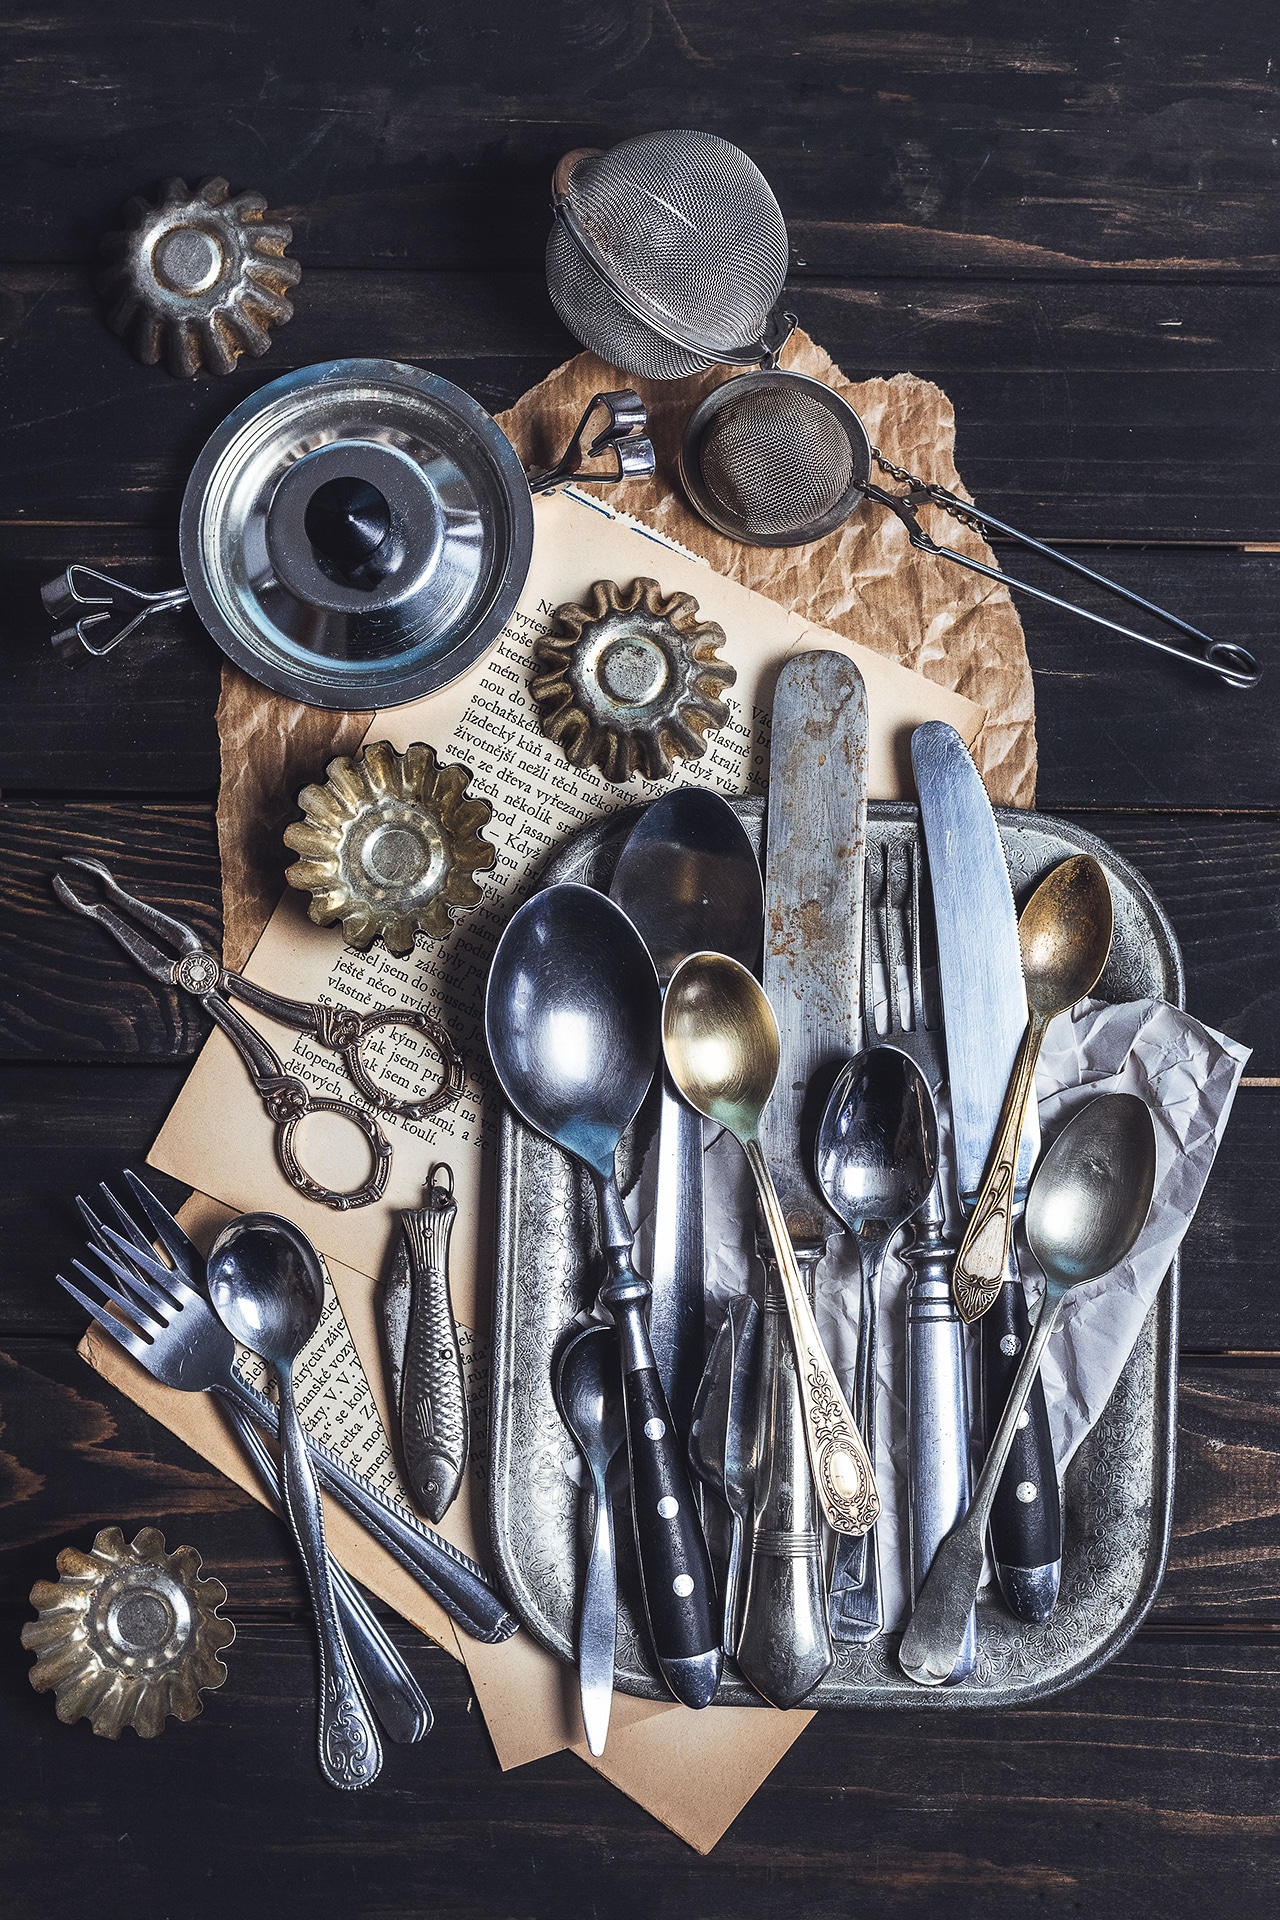
- I rely on simple dishware that allows the food to take the spotlight. I love using handmade ceramic plates, vintage cutlery, and natural materials that give the photo a distinctive style.
- I carefully match the props to the type of food—rustic ceramics complement homemade meals, while elegant porcelain enhances more sophisticated dishes.

The arrangement should support the photo’s main idea. Imagine the scene as a whole, but pay attention to the small details that make it memorable.
Composition: How to arrange the scene
Composition is essential for creating a visually compelling photograph. The proper placement of elements in a scene can transform an ordinary image into a captivating work of art that draws viewers in.

The rule of thirds
Divide the image into thirds using two horizontal and two vertical lines. Position the main subject at one of the intersections. This creates a natural sense of balance and adds a dynamic quality to your photos.
For example, when photographing a plate of food, you can focus on a specific detail, like a garnish of fresh herbs or a juicy piece of meat.
Leading the eye
Diagonal lines or circular arrangements are a great way to direct the viewer’s attention to various parts of the photo. These elements introduce movement and a natural flow to the scene.
For instance, angling silverware, or scattering spices thoughtfully can lead the viewer’s eye toward the main dish.

Negative space
Leave part of the photo empty—negative space gives the viewer a place to rest their eyes and brings out the main subject. This technique is particularly effective if you’re using a minimalist style or want to emphasize the elegance of the dish.
More composition tips
- Symmetry and asymmetry: Symmetry creates a sense of harmony, while asymmetry can add interest and dynamism.
- Different angles of view: Try shooting from different angles—a bird’s eye view, at eye level, or at a 45°angle. Each angle gives a slightly different feeling to the photo.
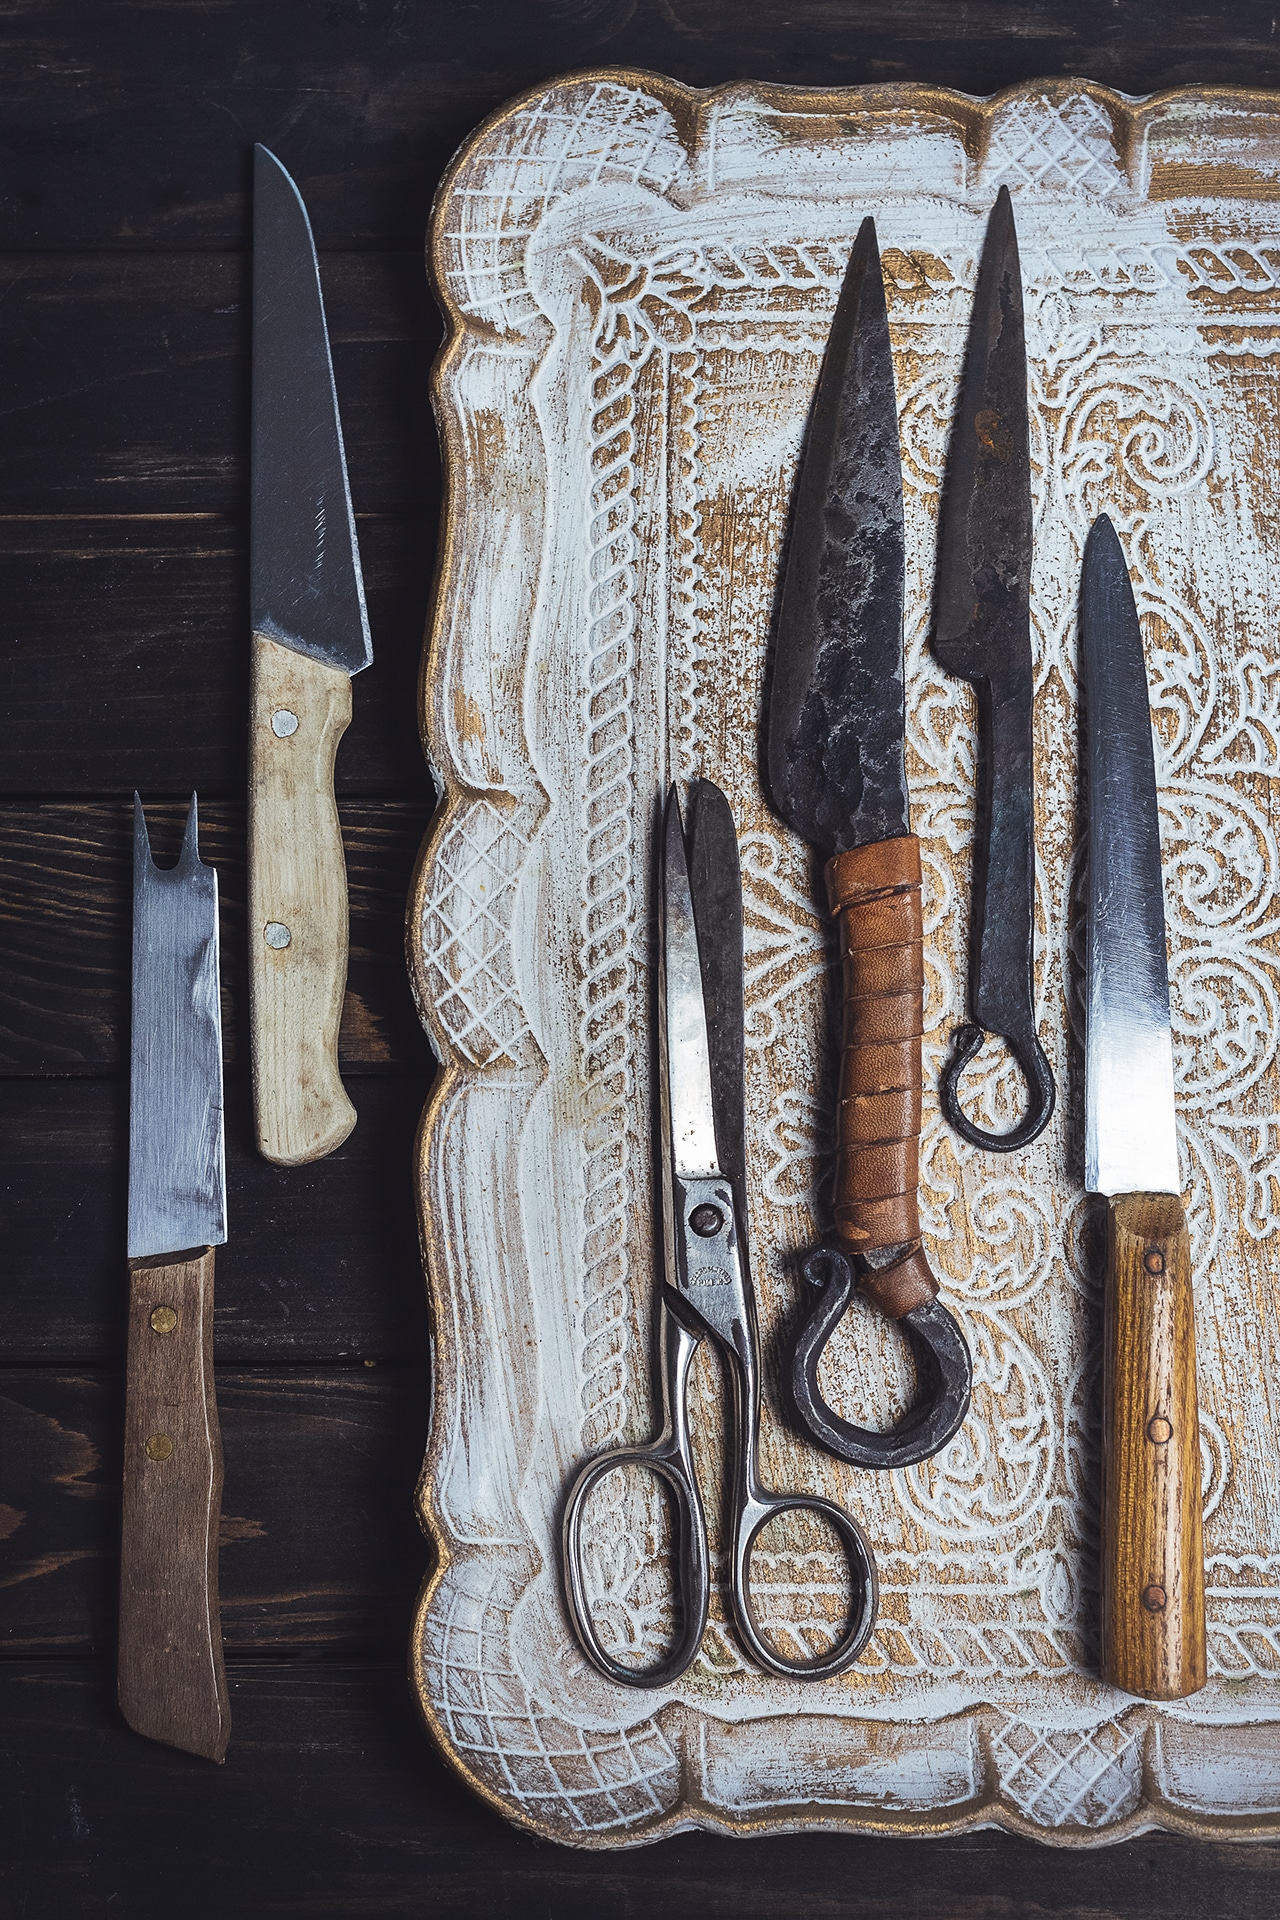
- Framing: Use natural or artificial frames, like the edge of the plate, silverware handle, or even shadows to highlight the main subject.
Composition is a way to play with space, light, and shapes. Experiment, mix and match, and find your own style that sets your food photography apart from the rest.

Background creates atmosphere
The background is an essential part of any photo because it enhances the setting and emphasizes the main subject. The right background not only draws attention to the food, but also adds depth and meaning to the composition. I often design or customize backgrounds myself.
Painting the props
To achieve a unique look, I paint the wooden panels using acrylic paint. I use sponges and brushes to add texture and patina paint for a rustic, distinctive finish. This type of background is perfect for dishes that are meant to evoke a cozy, homey feel, or vintage style.

I choose my colors based on the mood I want to evoke—warm colors for coziness and cool colors for an elegant look.
Fabrics
Old tablecloths or pieces of delicate fabrics are great for creating a soft, romantic background. Fabrics add a certain softness to the scene and help soften strong lines or sharp transitions in the composition.

I love combining different textures—like cotton with delicate lace, or linen with a vintage touch, which goes well with dishes made of natural or rustic elements.
More background tips
- Minimalism: For a clean, modern look, simple backgrounds like white or gray paper, wooden panels, or smooth fabrics.
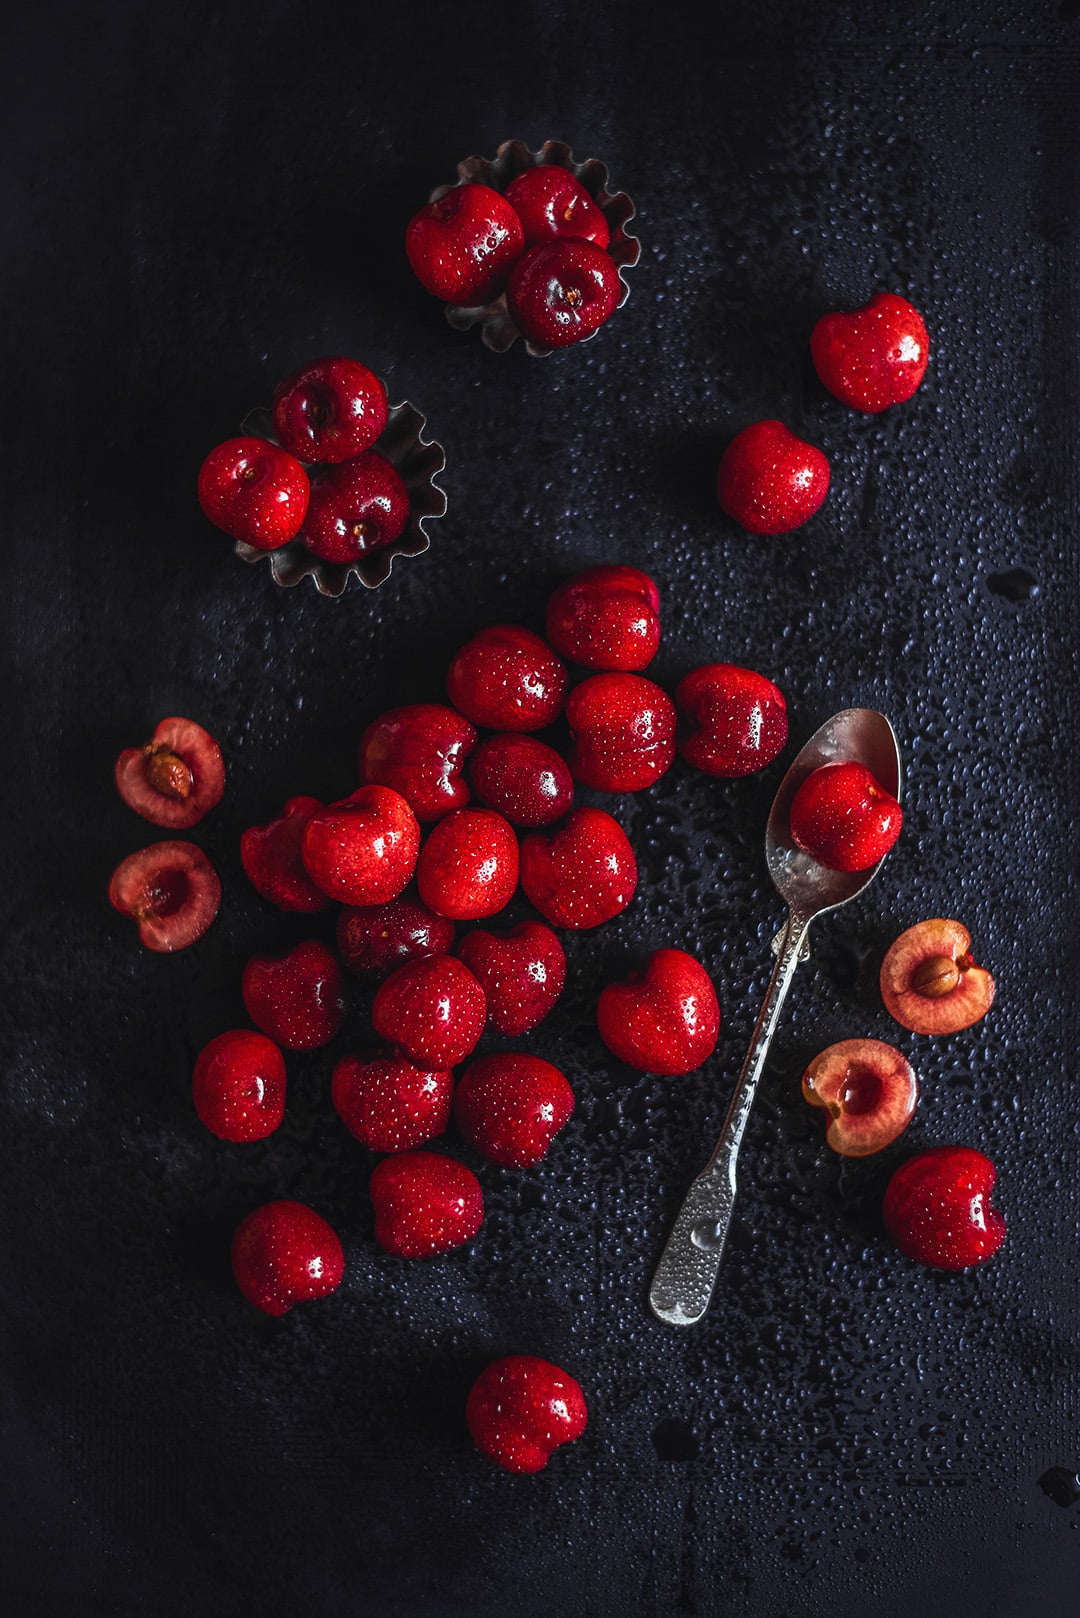
- Color balance: The background should match the colors of the food, but not overpower it. If the food has bold colors, I choose a neutral background to make it stand out.
- Natural materials: Wood, stone, slate, or slightly worn ceramic tiles can give photos an organic and authentic feel.
The background serves as the foundation that enhances the overall impression of the photograph. It provides a space for the photo to tell its own story.
Tricks for better results
Keep it realistic
- Balance is the key to success. Avoid overloading the scene with too many props. The main focus should always be the food, which should look natural and irresistible.
- Remember, less is often more. Use props that complement the atmosphere, but don’t distract from the food itself.
- If you use garnishes like herbs, spices, or fruits, make sure they are fresh and natural-looking.

Keep dishes looking natural
When arranging food, avoid overly perfect, artificial setups. A touch of “imperfection” can give the dish a sense of authenticity and freshness. For example, bits of food left on the edge of the plate, or splatters of sauce can add vibrancy to a photo.
Use textures
- Combine various textures—such as a crispy crust, delicate sauce, and soft vegetables. These contrasts bring out the details and add depth to the photo.
- Experiment with different angles and lighting to emphasize the textures of the foods.
Editing food photography
Subtle post-production can go a long way in helping you achieve the perfect result. Adjustments like slightly softening the highlights, tweaking contrast, or enhancing saturation can improve a photo. But be careful not to lose the natural appearance of the food. Even in post-production, authenticity is key.
With these tricks, you can make the food in the photo look natural, fresh, and tempting—leaving viewers with an urge to taste it right away.

Food photography: Practice and experimentation
Food photography is all about practice and experimentation. Try new techniques, explore different styles, and enjoy the process of creating. Every photo offers a chance to learn something new.
Food photography is an incredible journey—technically challenging at times, but always creative and delicious. 😊
If you’re interested in Soňa Šerá’s approach to food photography and other genres, read our interview. Ready to give food photography a try yourself? Start with Soňa’s recipe below.
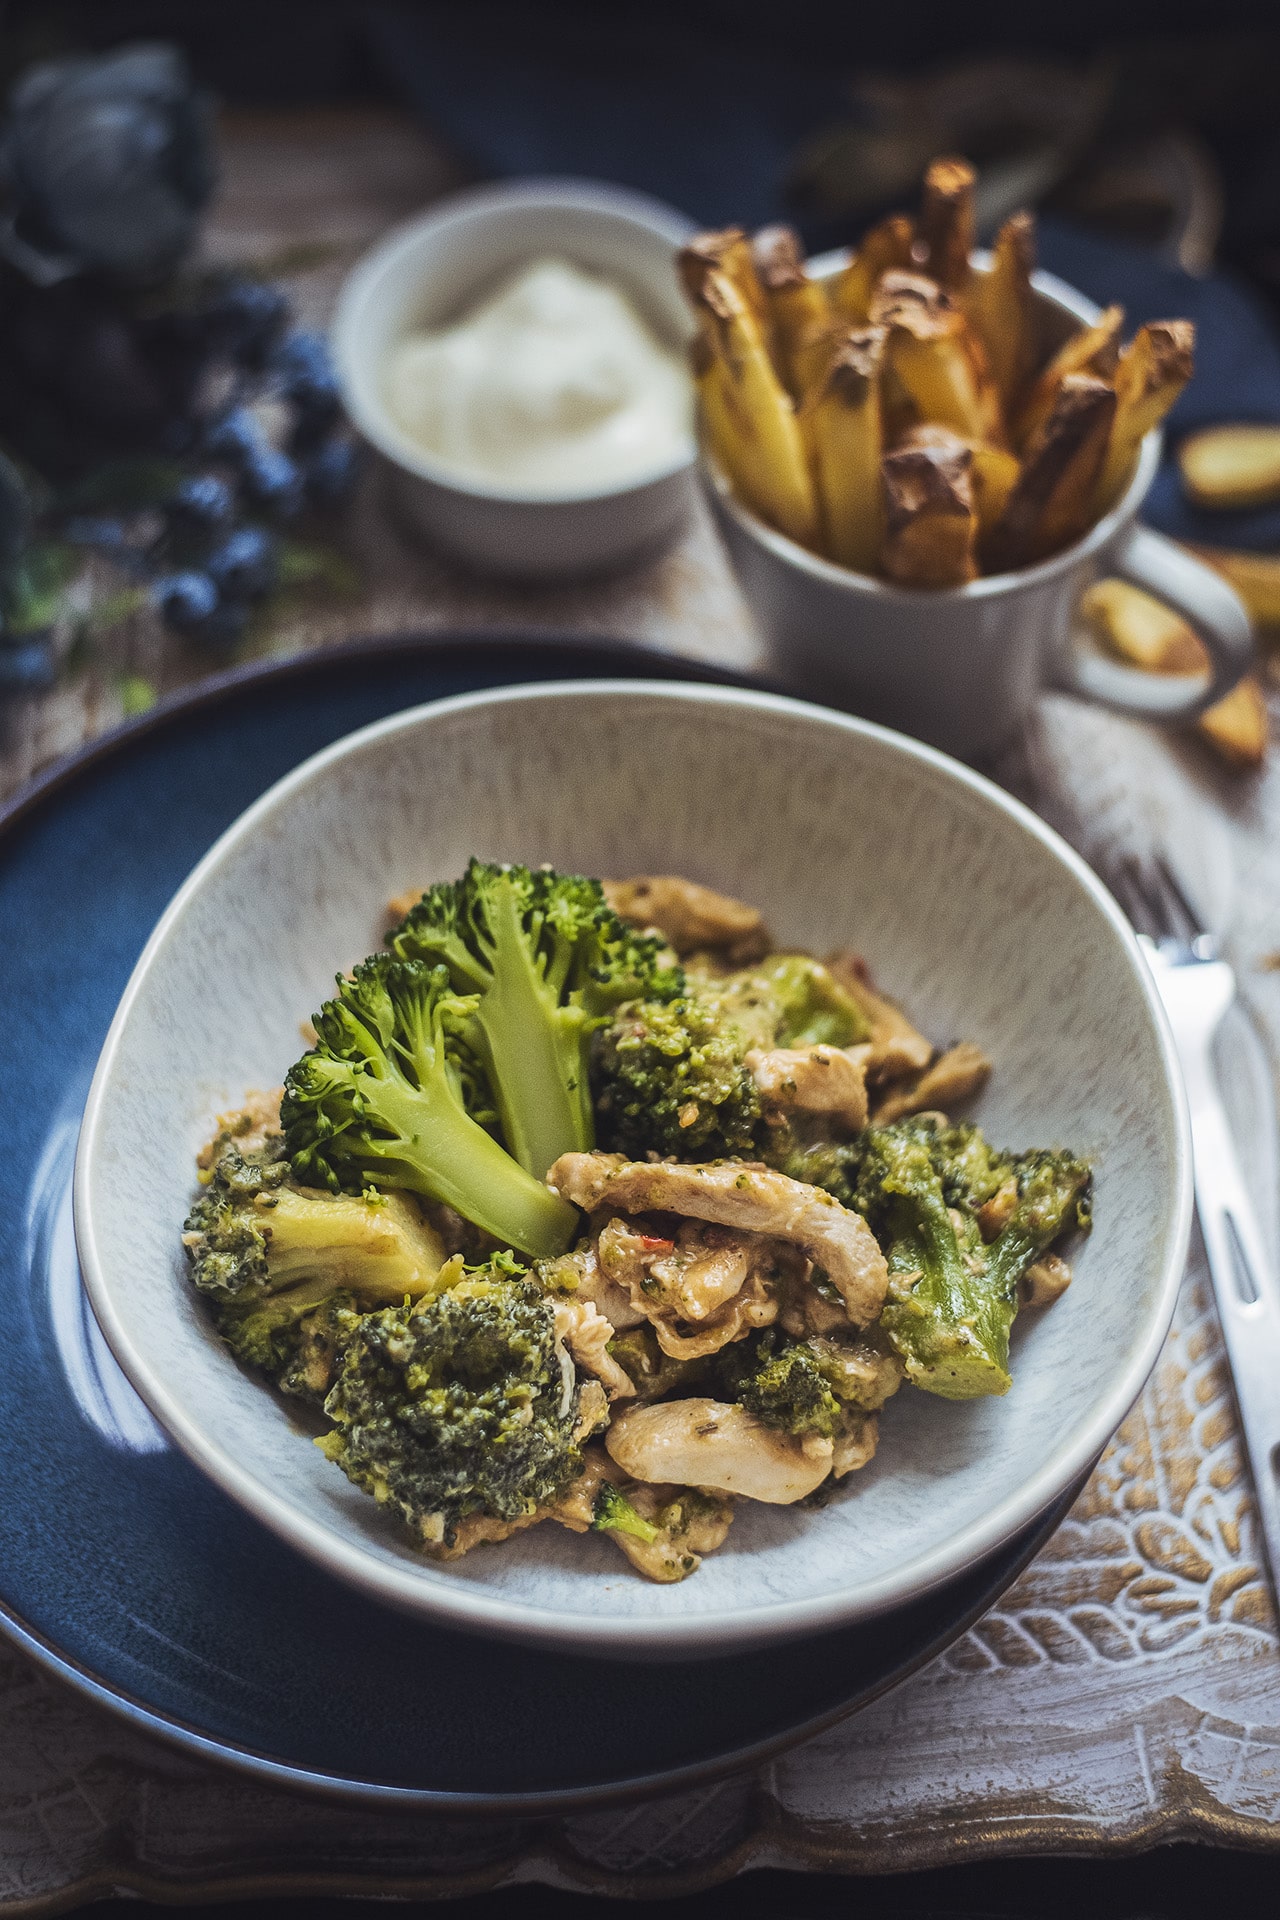
Chicken with broccoli and homemade french fries
This quick and tasty recipe is perfect for anyone craving a healthy yet satisfying meal. Marinated chicken breast, broccoli, and crispy homemade fries guarantee delicious results every time.
Ingredients:
- 3 chicken breasts
- 1 head broccoli
- 5 large potatoes
- Salt and pepper
- 2T gluten-free soy sauce
- 1T tangy mustard
- 1T sweet chili sauce
- Olive oil
Method:
- Cut the chicken breasts into pieces, and mix with spices, soy sauce, mustard, chili sauce, and olive oil. Marinate in the fridge for at least 2 hours.
- Slice the potatoes with the skin on, soak in cold water, and then boil for 4 minutes. Drain, pat dry, and bake in an air fryer or baking sheet in the oven for about 15 minutes.
- Cut the broccoli into florets and boil in salted water for 5 minutes.
- Heat the olive oil in a pan, add the marinated chicken and sauté. Once the chicken is done, add the broccoli, and stir to heat through.
Serve with crispy fries and enjoy a delicious and healthy lunch or dinner.
Bon Appetit!
There are no comments yet.