Get Better-looking Facebook Photos!

The article is over 5 years old. The information in it may be outdated.
![]()
We are working on its update. In the meantime, you can read some more recent articles.
Facebook is definitely a great friend to every photographer. But also at the same time it’s also their enemy, censoring photos and lowering their quality. Today we’ll explain a few tricks for working with the largest social network—Facebook—and for getting top quality for the photos you upload there.
Facebook is notorious for diminishing the quality of photos uploaded to it. We love photography, and so we care about keeping photos top-quality, and you can see that on our Zonerama galleries for example: they never reduce uploaded photos’ quality in any way. But we can’t ignore the fact that Facebook is where photos get seen the most. And if a photo is original enough, it can really take off on Facebook, with numerous views, shares, and comments.
A Resolution That Works
We’ve seen the best results from uploading photographs with a dimension of 1000 pixels on the shorter side. That gives a resolution of roughly 1500×1000 pixels. Resharpen the photo by about 150% using the Brightness method while shrinking it to that size. A picture with this resolution will look very good even on full HD monitors. Some might say that a resolution that large has no place on the Internet, since someone might abuse the picture. But if you’re worried your pictures will be abused, you shouldn’t be putting them on the Internet at all, because that possibility always exists.
The other thing to keep in mind is that on Facebook, people aren’t too interested in photos’ technical quality. Meanwhile, however, your photo may get shared and commented on by a number of people. It may even be successful enough to go viral. In that case, you do want its technical quality to be as good as it can be.

Saving For the Web
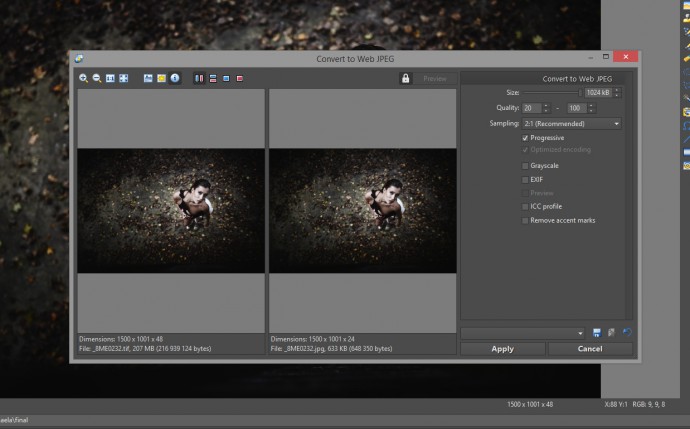
When you want to publish your photos on Facebook, run them through the Convert to Web JPEG function if possible. This function in Zoner Studio strips a photo of any data not needed for publication, such as its EXIF data, leaving only the image inside. It also has an option to reduce a photo’s quality—reducing its size as well. Leave the quality at maximum, however. Facebook will do the shrinking for you. The important thing is to upload your photos at the resolution mentioned above.

Upload Photos at Maximum Quality
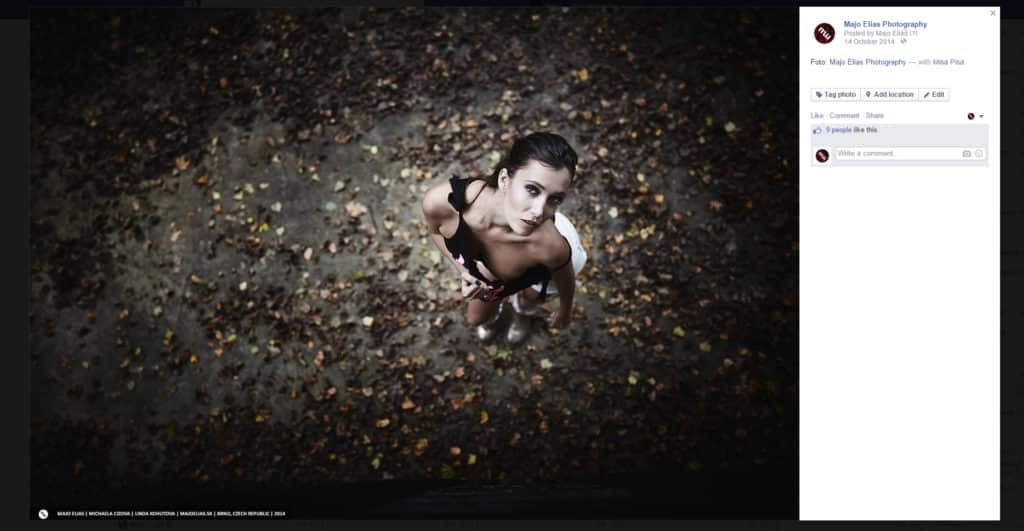
When you’re uploading photos to a Facebook album, note the checkbox at the bottom for uploading photos at maximum quality. Make certain to turn this option on. Just take a look at the difference.

What About PNG?
Facebook also accepts images in the PNG format, which is lossless, and so your photo will arrive at Facebook at even higher quality. Unfortunately however, Facebook converts it upon receipt and stores it as a JPG image.
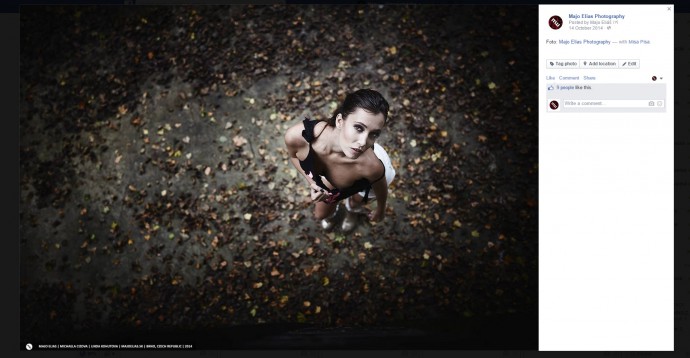
Here’s an example of how a photo looks after upload to Facebook in the PNG format.
Even though Facebook reduces photos’ quality, it’s still the most-visited social network. Because of that, photographers have to adapt to Facebook. You can use Zoner Studio’s Save as Web JPEG feature to ensure your photos reach Facebook at maximum quality.
To close things out, here’s one last look at the photo we were working with above. For the best view of it, we recommend clicking Facebook’s “Enter Fullscreen” button—that’s the double-arrow icon at the top right of the photo window. By the way, while you’re on Facebook, take a moment to follow the Zoner Studio group—that way, you’ll be the first to know about every new Zonerama article!

Harry Reid
Good practical advice, well done.
Ken
All very interesting. I have been loading my photos up to Facebook a lot larger than what you recommend, 1500 x 2048 and some even larger. I think they look fine but will try your sizes and see what happens. Thanks.
Zoner
We’ll be glad if you let us know if you see some difference.
Jeff Williams
Facebook always shrinks images to a preset size, but the original uploaded image is still there. To save the biggest and best quality copies of images that have been posted you need to right click on the image and select “Open in a new tab”.
On the new page that has opened select the “download” link to the right of the comments, this will allow you to save a copy of the original image that was posted, no matter how big it is.