How and Why To Photograph Textures
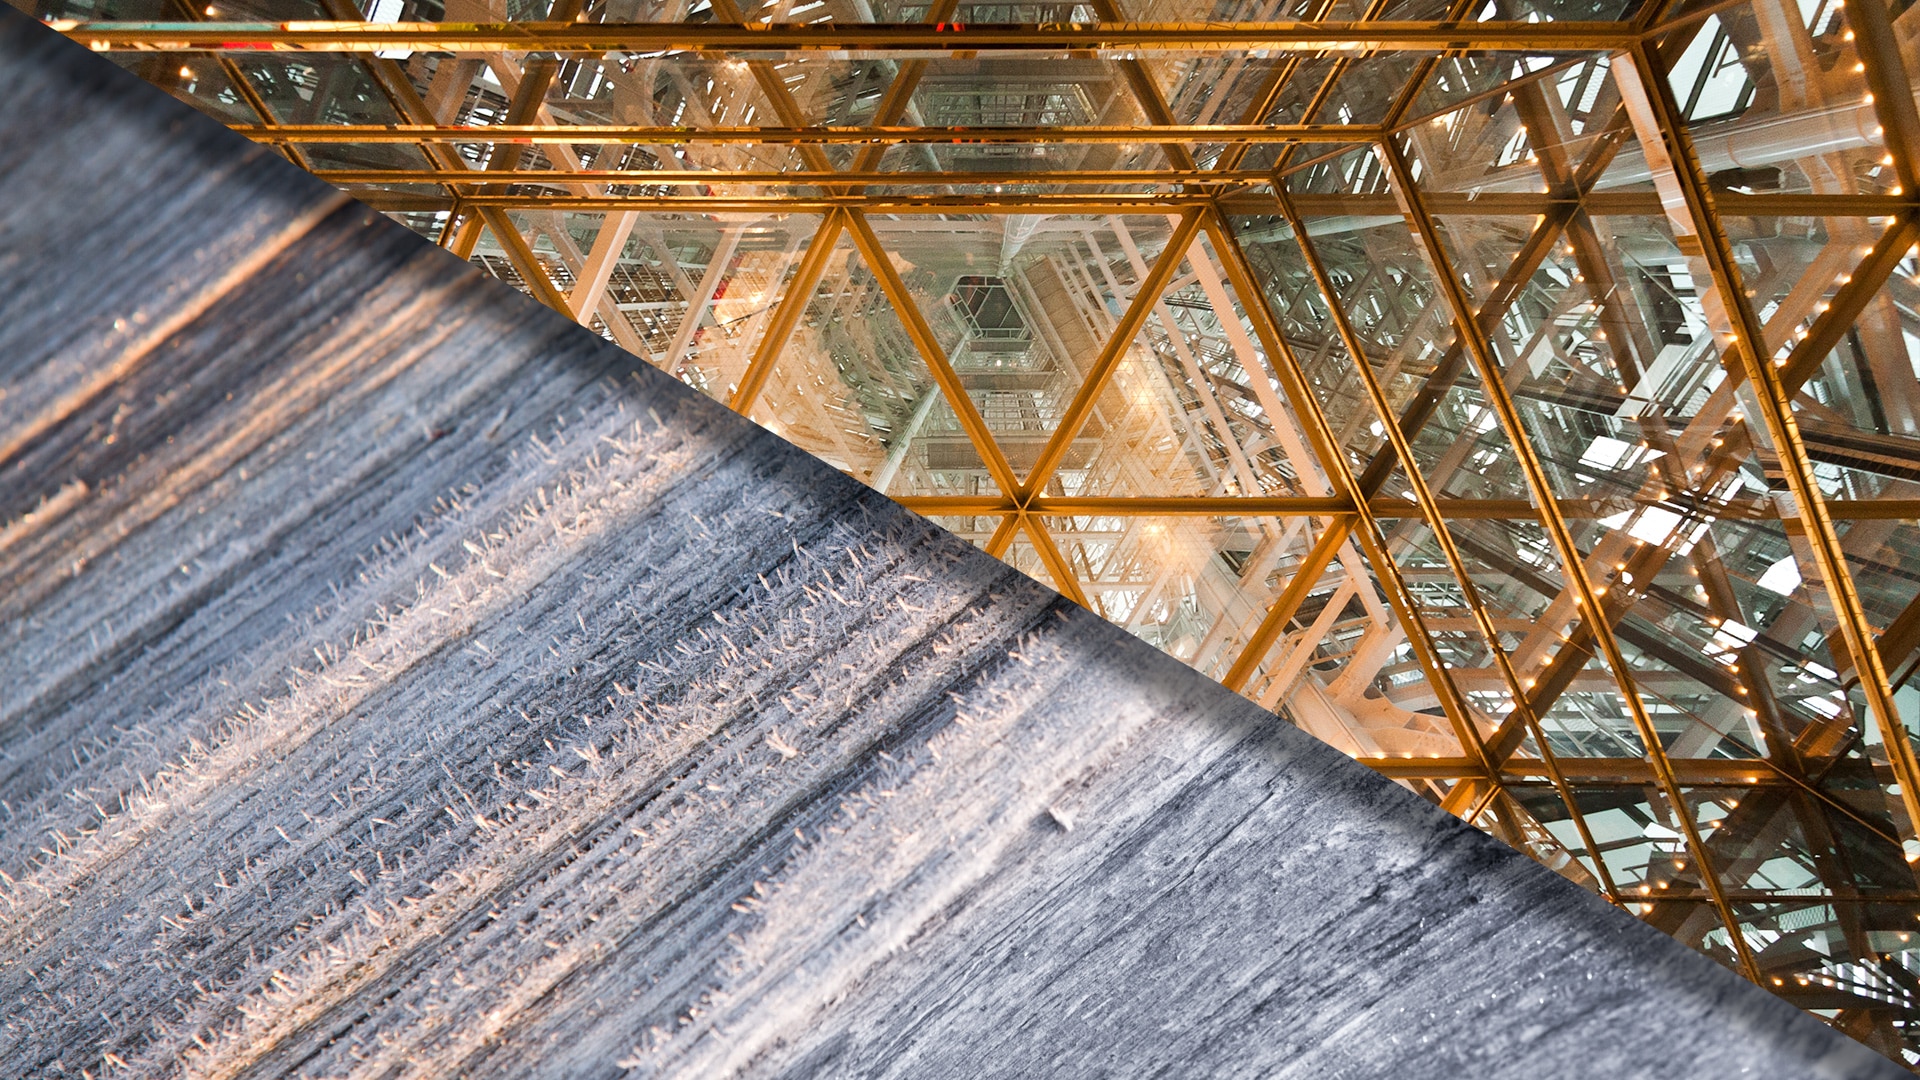
You don’t always have to shoot big, wide scenes. There is beauty in the details. Details can be found all around you and there are many options for using them in your photography. Read about what the photography of textures and patterns is and the best way to shoot them.
What are textures and patterns?
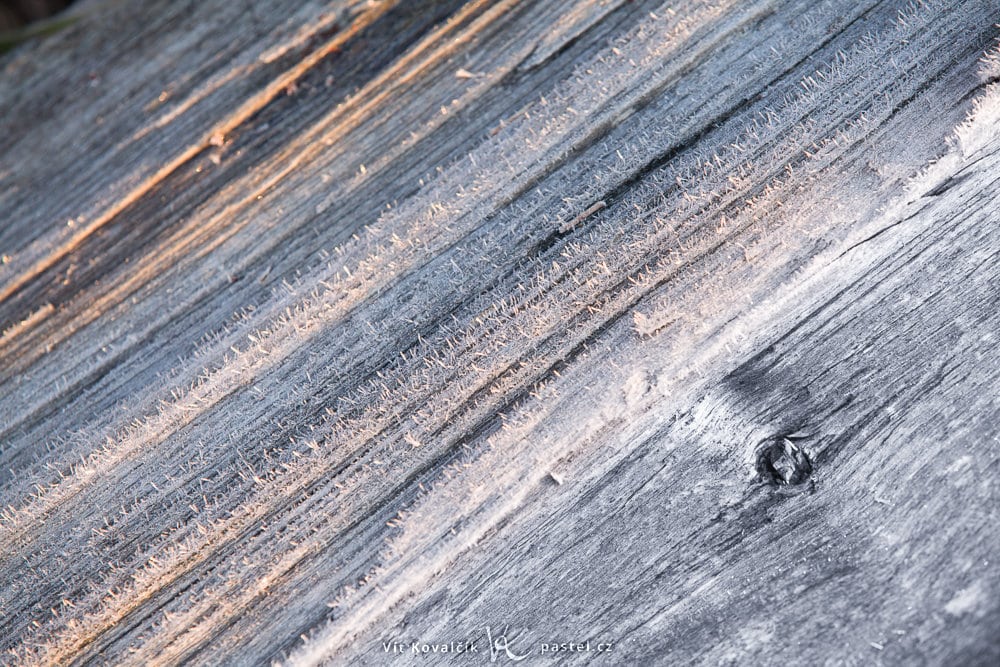
The terms texture and pattern can mean many things. In general, we understand texture to be a close up that visibly captures an object’s surface in detail. It is often shot at a ninety-degree angle:
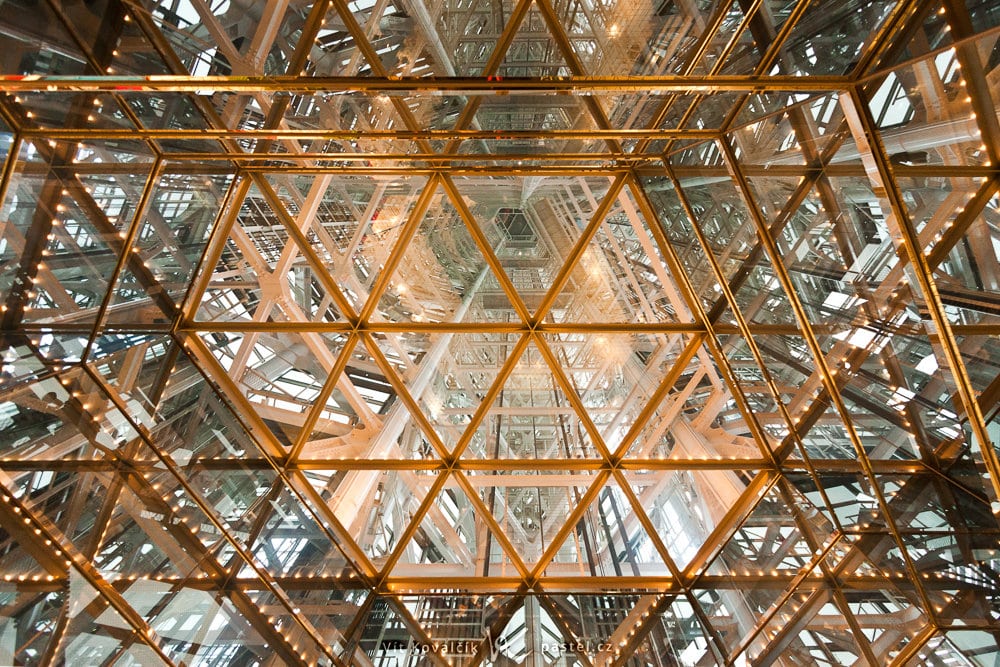
On the other hand, the term pattern generally refers to a grouping of similar objects that form a harmonious whole.
Why photograph textures?
Because they look cool! And not only that – textures come in handy for adding unique effects to your photo’s composition. Even seemingly not photo-worthy pictures work well when put together. For example, in our recent article where we put portraits of models together with photos of the forest.
Texture and pattern shots can also be used as backgrounds – not only for your computer desktop but also as a base for a collage. Due to its unobtrusive appearance, texture photography comes in handy when you need to add text to your photo.
Last but not least, shooting textures is an excellent photography exercise. Because the subject is abstract, you don’t have to worry about the weather or directing your subjects/models. The key is to master the composition.
Where to find textures
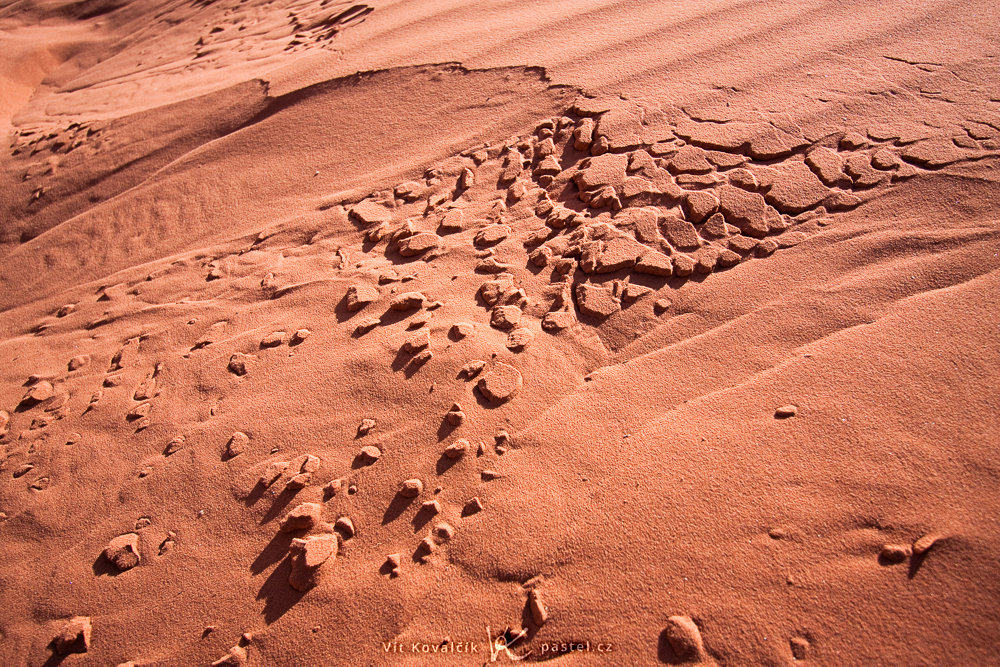
Textures and patterns can be found almost anywhere. It doesn’t matter if you’re in the city or the middle of the forest. The beauty of natural textures is their irregularity and unpredictability. Every tree stump you come across is different and gives you a new photographic opportunity. On the contrary, the beauty of man-made objects lies in their regularity, or at least the regularity of the elements from which they are composed.
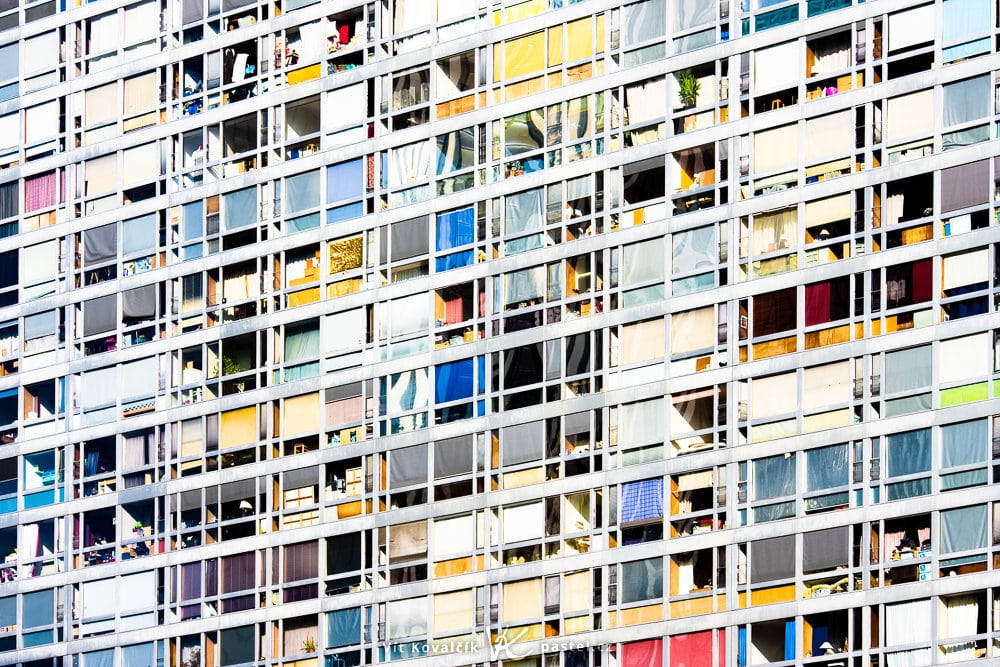
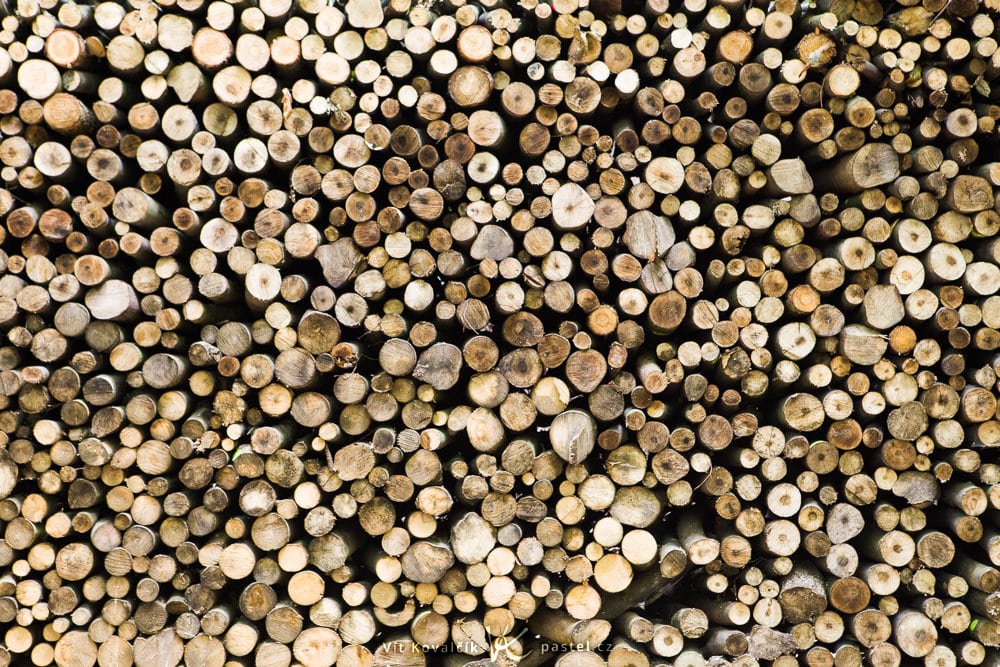
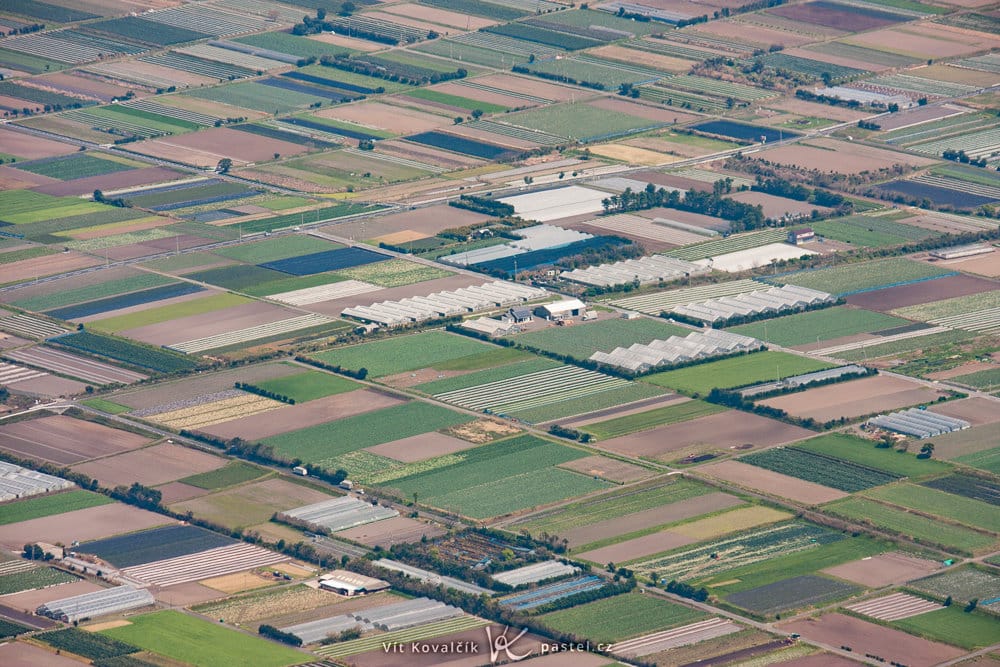
There are also many different options depending on the scale of the object. It can range from centimeters to kilometers. In the latter case, it is usually a cutout of a much larger area.
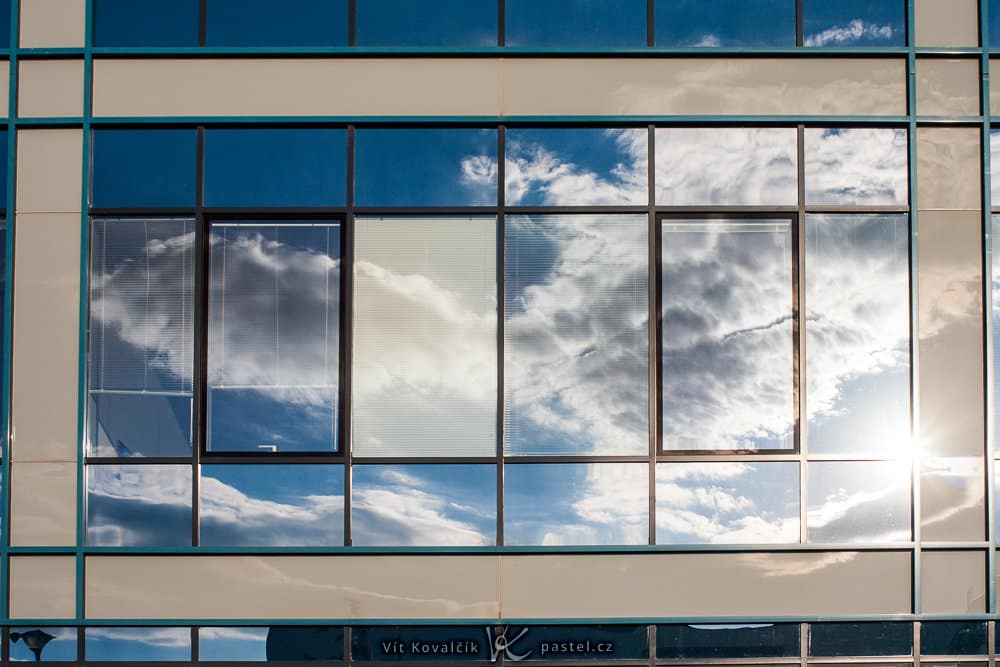
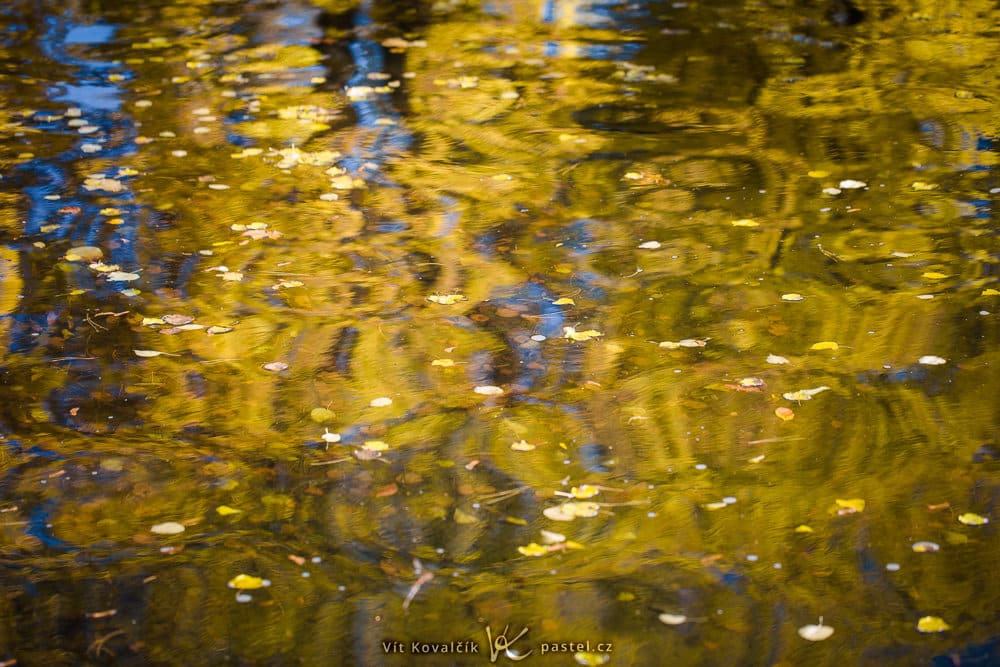
Textures within textures are also interesting. We can get reflections in the window (if we are shooting in a more urban area) or on the water’s surface (when we are in the great outdoors). If used repeatedly, they would bore the viewers, but these types of images are a welcome change from time to time.
How to shoot textures and patterns
Leave out any distracting elements
The absolute most important thing to do is photograph the texture or pattern itself and leave out any other distracting elements that don’t belong.
For example, when we shoot the texture of wood, we have to fit the shot into a uniform space. If the edge of the bark creeps into the shot or grass in the background, it becomes a completely different photograph.
Similarly, in the example below, the end of the fence and a gray hole in the picture were in the original:
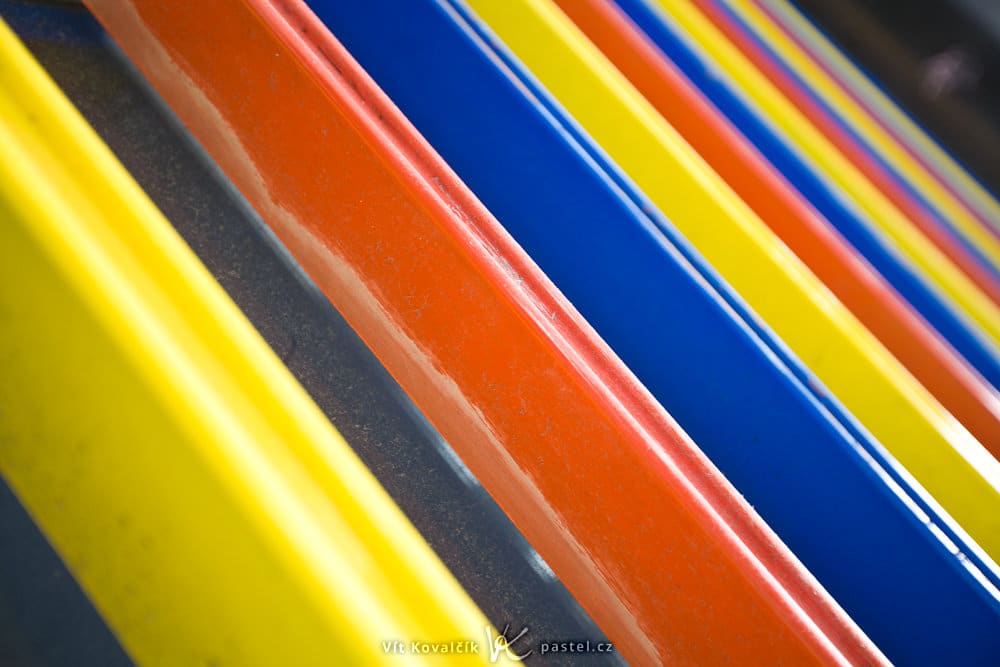
In order to improve the picture, I cut this part off (together with the top part of the photo to maintain the same aspect ratio) and the result is as follows:
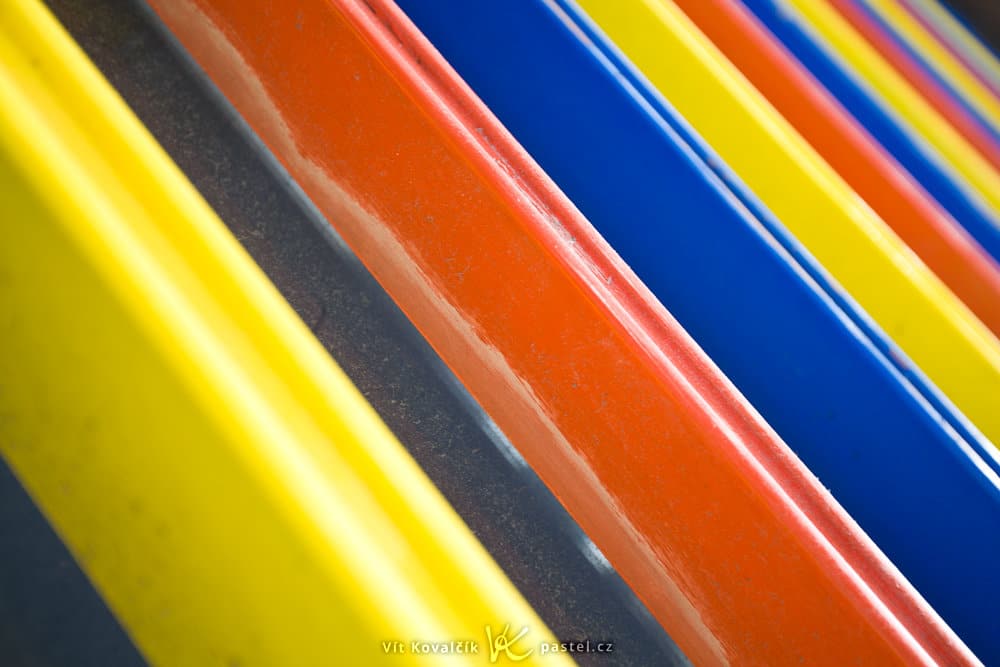
Sometimes we’re moving around in such a small space that a small movement of the hands makes perfect composition a challenge. I handle these situations by purposely having my photo take up a larger amount of space and cropping it later on the computer. Working with the mouse (or tablet) is much more precise and lets you create the shot you envisioned.
2D or 3D
Each time you shoot texture photography, you will be faced with the crucial decision of shooting the object with a plastic effect or toning down its 3D qualities as much as possible to capture its true texture.
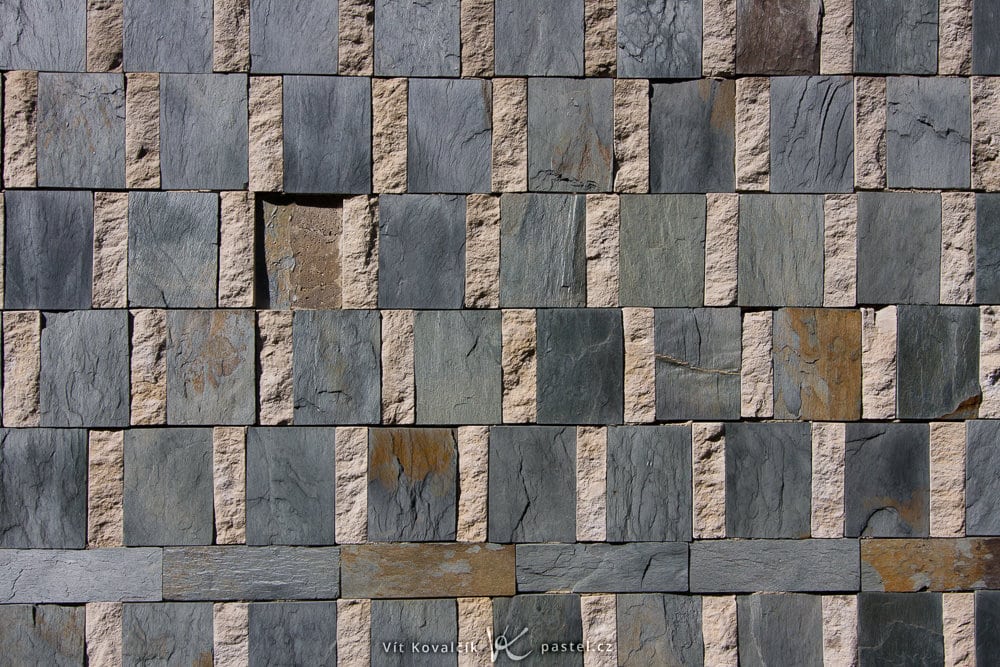
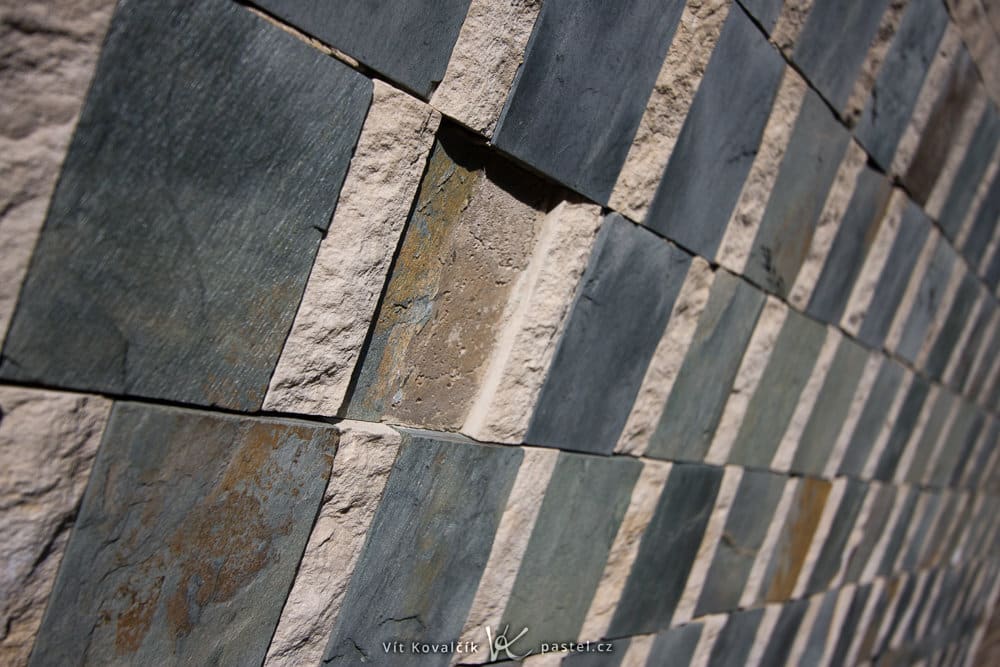
Both versions have their pros and cons. Sometimes one of these solutions offers itself and is significantly more attractive. However, even the “boring” version has its merits. Below is an image that I’ve had success selling to stock photography sites. Even though it’s not very visually appealing, it must be useful for some graphic designers. Though I have other photos in a similar style that no one wanted. Often it’s a matter of chance.
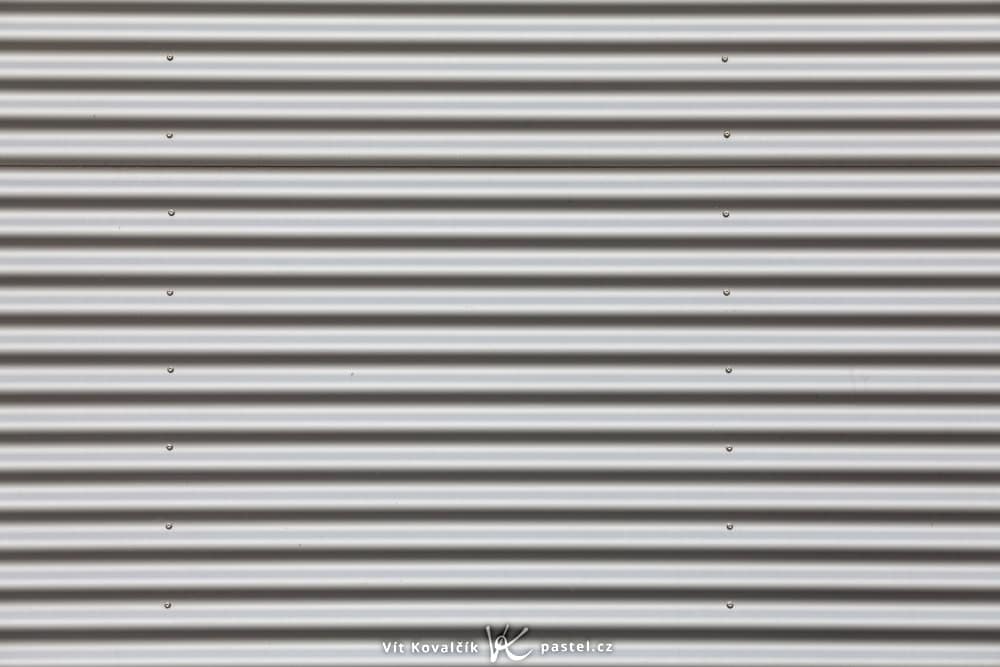
If you are unsure, it’s best to try multiple angles and choose the best one later. Or, keep multiple versions for different uses.
Make use of diagonal lines
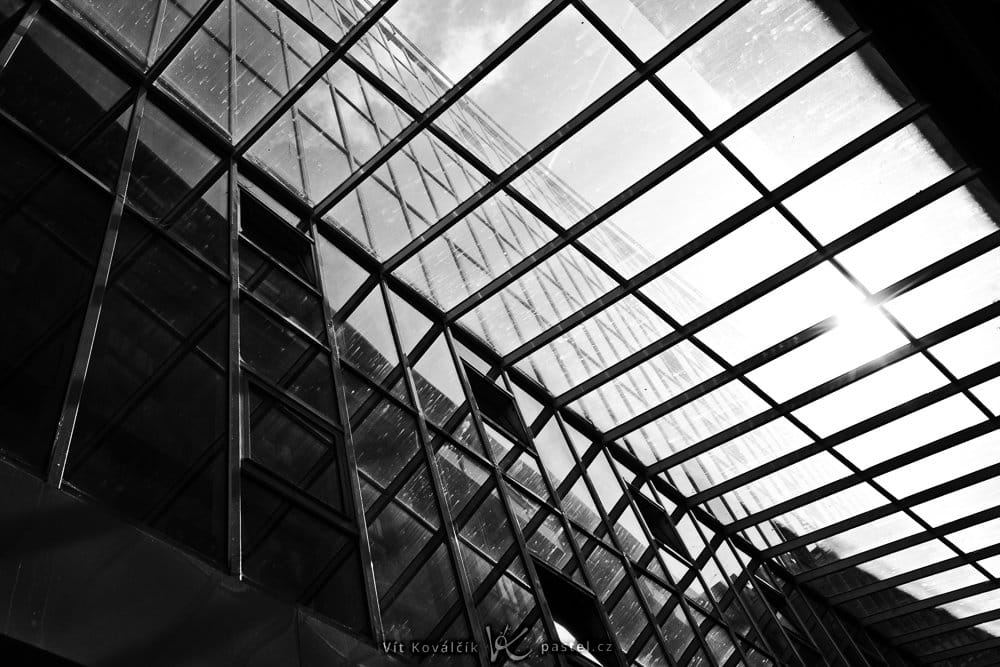
Diagonal composition livens up the view of an otherwise static object. It doesn’t need to always be used and sometimes the rule of diagonals can’t be applied. However, with an abstract subject like this, it makes the shot more dynamic.
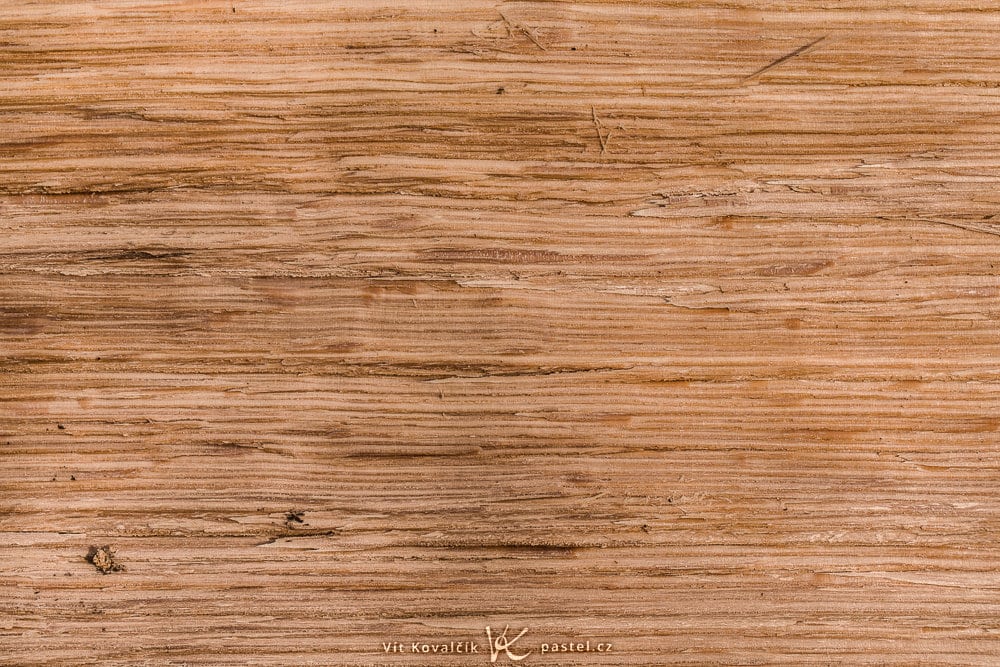
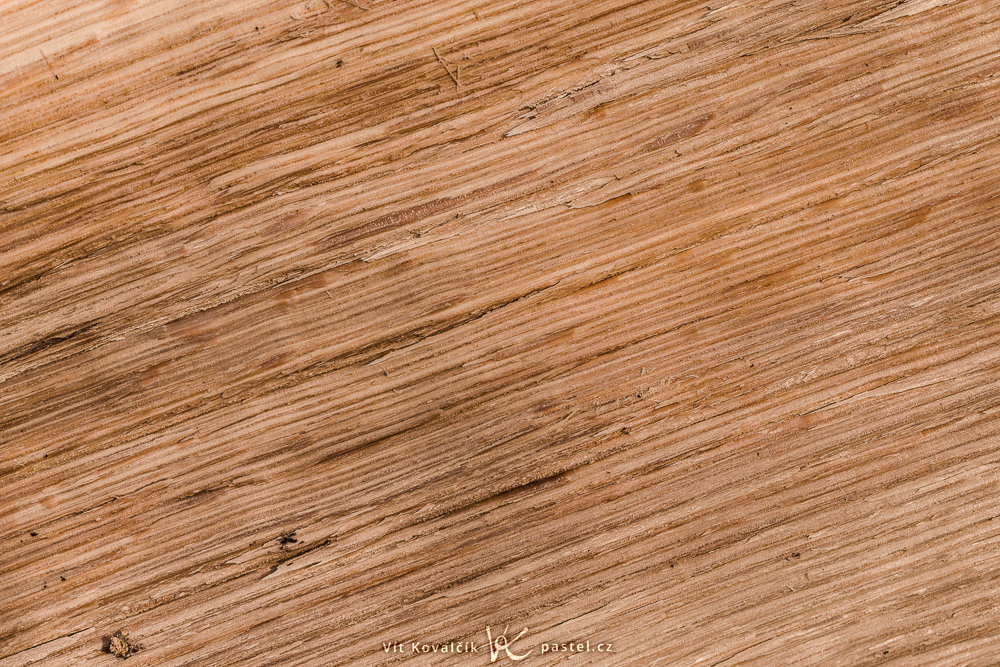
Of course, not only these simple things can be shot diagonally. There are more complicated examples that draw the viewers’ eyes diagonally.
Texture and patterns for more captivating shots
If you haven’t tried shooting textures and patterns, it may be time to start looking around more closely. With careful observation, you not only get the chance for some interesting shots, but you develop your unique photographic view of the world.

There are no comments yet.