How Can You Get Good Profile Photos? Watch for These 6 Things
Sure, you can go to a friend, hand them your phone or camera, and let them just take a snap. That’s one possibility. But you’ll get better results if you think a little first. A profile photo is actually a portrait, and so it follows portraits’ usual rules. Master the basics among these rules, and you’ll take great profile photos one after another.
Portrait photos overall are a broad topic—a topic that wouldn’t fit into just one article. But there are certain mistakes here that photographers make repeatedly and that are easy to fix. So I’ll go through these problems one by one and talk about how to deal with them.
I’ll be using a wintertime portrait to illustrate all of these problems. I’m aware that a stocking cap isn’t a typical portrait accessory, but it does serve as a reminder that you can always use whatever props you happen to have at hand.
What Focal Length?
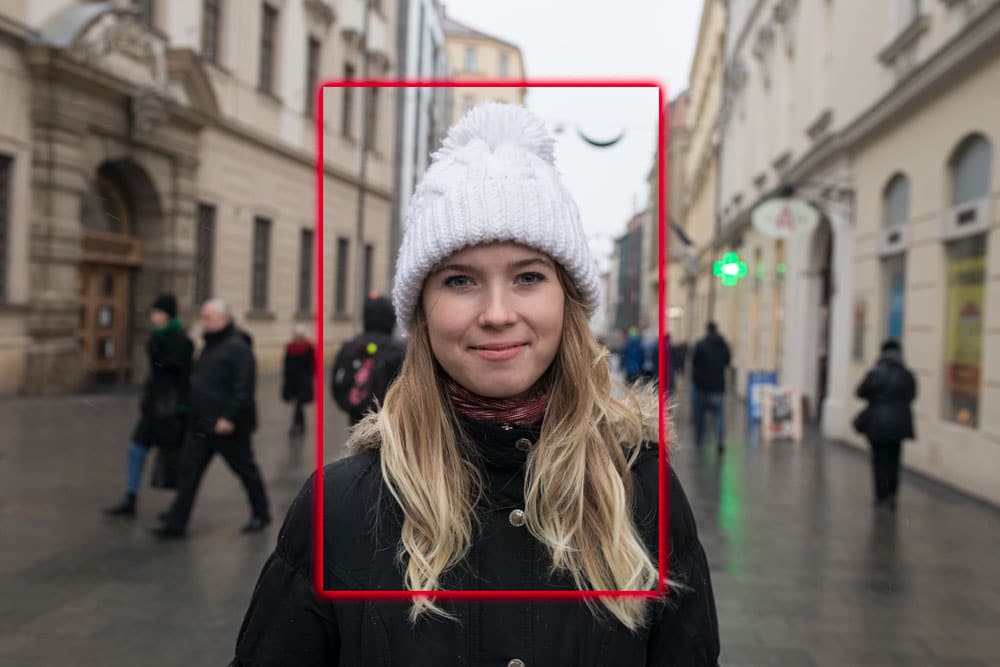
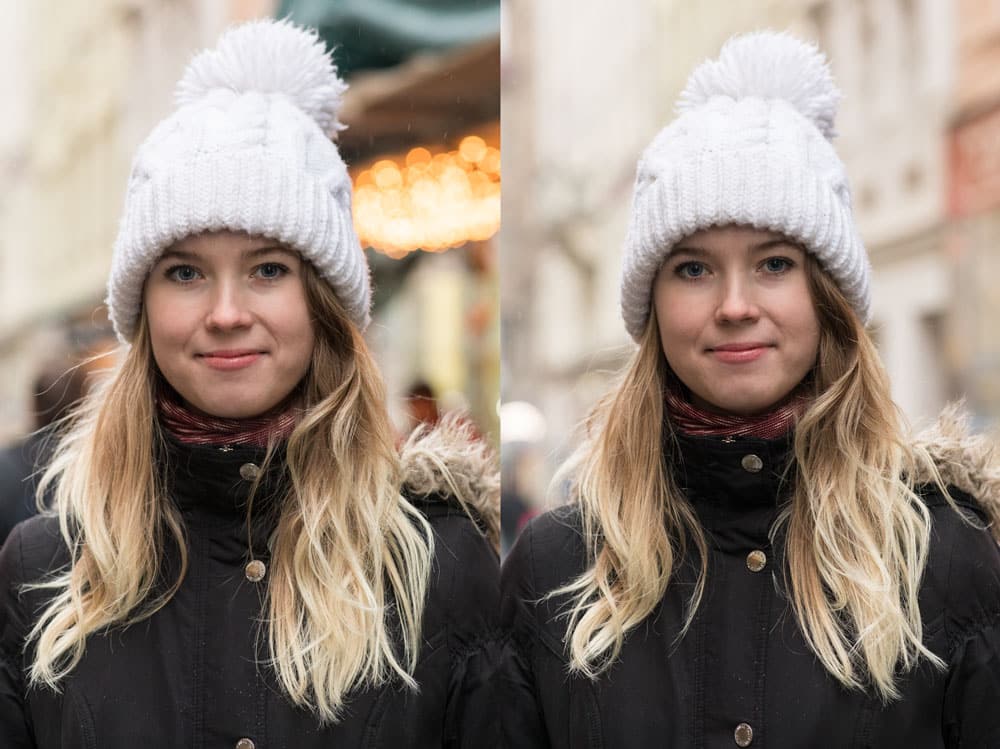
Perhaps the most common mistake is going too wide. More precisely, the problem isn’t the angle itself; instead, it’s trying to fill up most of the frame with the subject’s face. To fill up the frame like this, a photographer has to stand too close to their subject, and then the poor subject’s face is deformed by the highly distorted perspective. Their nose is bigger, their face is rounder, and suddenly they’re complaining that they sure don’t look like that in the mirror.
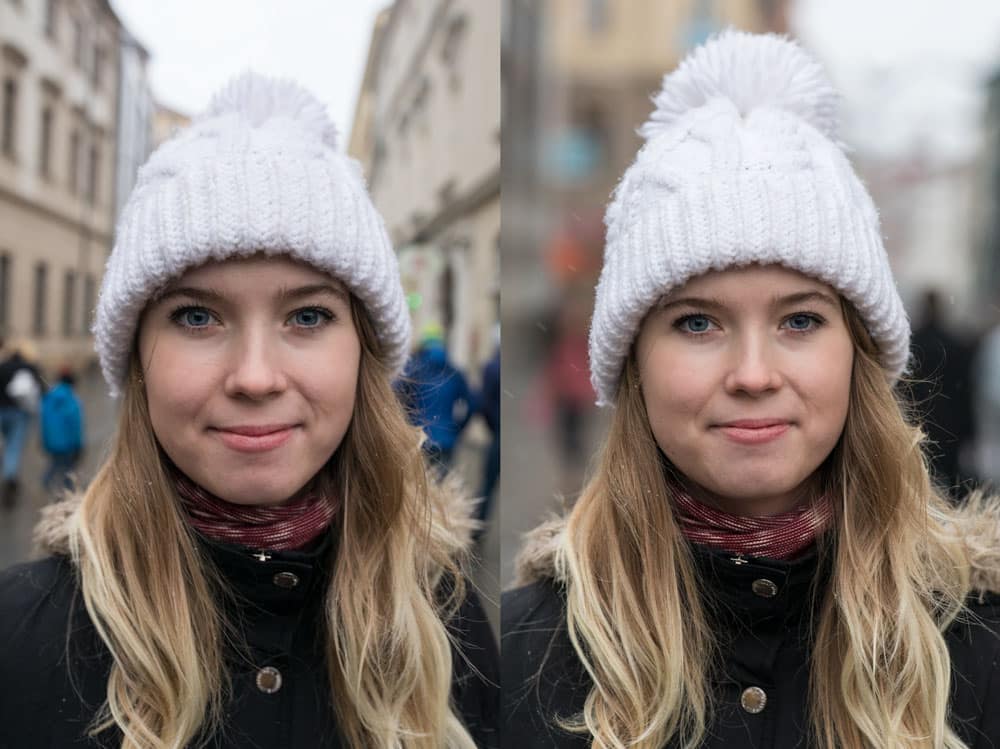
The solution is to use a longer focal length, one that forces you to stand farther away. The ideal length is different for everyone, but it’s generally from 80 to 120 mm full-frame equivalent, though you can feel free to use something even longer than that. Lengths of over 200 mm will slightly optically flatten the subject’s face, but this is still a much smaller problem than overly wide angles are.
Since phones have a single lens, you can’t change the focal length, but here you can shoot from a greater distance, so that your subject’s head occupies only a quarter of the frame, instead of the whole frame. Crop the photo after the shot, and you’ll have a higher effective focal length and thus a more appealing portrait.
To get a more precise idea of how perspective can deform faces, see our article on portraits at different focal lengths.
Blurring the Background
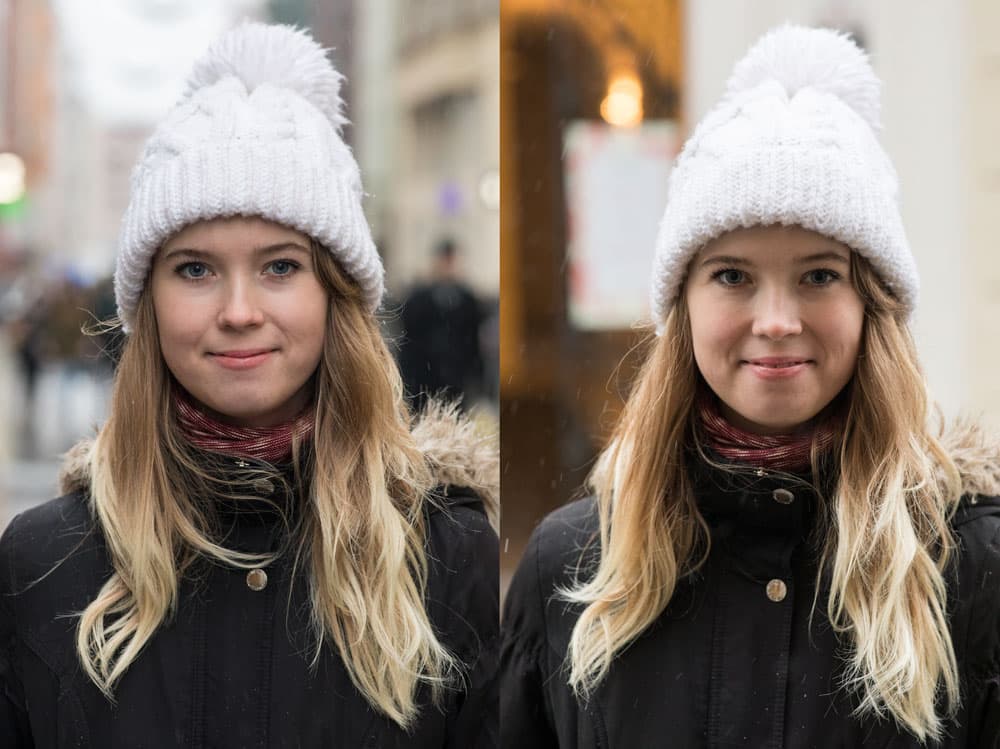
Portraits generally have a stronger impact when you use the lowest possible f-number (the widest possible physical aperture), to blur the background. The simplest approach here is to set Aperture Priority (Av) mode on your camera, set the lowest number available, and let the camera take care of the rest of the settings.
The blurring also typically changes as the angle of view changes. Generally the higher the focal length, the blurrier the background, and thus the smaller the part of the background you’ll have to worry about. The disadvantage here is that increasing blurring gradually cuts away context, until it becomes impossible to tell where a photo was taken. Although this can sometimes be an advantage instead.
Most of the pictures for this article use a length of 85 mm and an aperture of f/4 on a full-frame camera, because if the f-number were any lower, the background would be too blurred for illustrative purposes.
For some examples of different degrees of background blurring, see our article on depth of field when photographing people.
Focus on the Eyes
When you’re shooting with a phone, nearly everything will be in focus, but with anything better, you’ll need to watch the focal point. For basic DLSRs, the commonly available cheap lens will be something like a 50 mm with a speed of f/1.8 (a 75mm full-frame equivalent for Nikon, and an 80mm full-frame equivalent for Canon), where the depth of field is so small that you’ll need to focus on the closer eye. Just focusing on your subject’s chest won’t be enough, as this can cause visible problems.
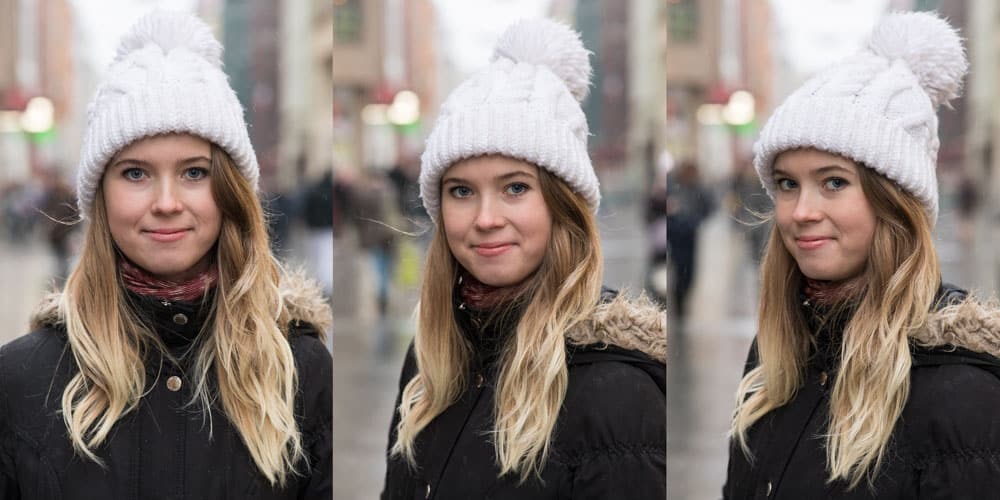
Pose Them at an Angle
If your subject is facing straight at the camera, you get a passport photo. Sometimes that’s a good thing, but this pose is not by far good for everyone. So ask your model to stand at a slight angle towards you—neither head-on nor turned to the side.
So their shoulders will be angled, and you’ll have two options regarding their head. Either it will be turned straight towards the camera, which will feel more direct and open, or it will be in roughly the same direction as the rest of their body, and only their eyes will be turned towards the camera. This gives you a more complicated and sophisticated version. It often pays to try both approaches and then choose the better one—everyone’s served best by something a little different.
What’s in the Background?
So far I’ve mainly been discussing camera settings and your subject themselves. But you also need to be careful about the background, because it rounds out the picture.
Beginners often ignore the background and don’t worry about whether there’s a forest behind their subject, or a couple of fallen trash cans instead!
So when you look around, try to choose a background that isn’t distracting and if possible, also one that’s all one color. That is, don’t just avoid those trash cans, but also avoid e.g. the borderline between a forest and houses, as this will be more distracting than if the whole background were occupied by just a series of (unobtrusively colored) houses, or just a forest.
If there isn’t an ideal background around, at least ensure that there aren’t any flagpoles sticking out of the subject’s head, and the same goes for traffic signs, etc.
It’s not enough to only consider how distracting your subject’s background is. You also need to consider how far away it is from them. While it’s possible to photograph someone standing directly in front of a wall and still get a good photo, it looks better to leave a little space behind them. The larger distance will give the background that classic blurry look, and so the sharp thing in the picture—your subject—will stand out.
Light
I’ll have to admit, this section is a little complicated. Light itself isn’t visible in the air, so judging light is, more than anything else, a matter of guessing and of experience taken from your photos that went well (or poorly) in the past.
Still, there are a few guidelines for what to use in certain situations, and some other guidelines on what to avoid.
In general, it’s tough to get a good picture when you’re facing towards a light source. Although… it’s not impossible. With some practice and some post-edits on a PC, you can still get impressive pictures with the sun in the frame, as you can see in our article on shooting against the light. All the same, sometimes it’s an unnecessary extra worry, and it’s easier to just shoot some other way.
Light Indoors
Watching nearby light sources is especially important when you’re indoors. The human eye adjusts quickly, so you don’t even realize just how dark it is in some parts of a room.
When your friend asks you to take a picture of them and the only light source around is behind their head, you’ve got a problem. A light background with a dark face that’s only receiving a small amount of light isn’t an ideal situation. It’s better to angle your friend slightly, reposition them, or go around them—whatever it takes so that their face is illuminated.

If you’re indoors in the daytime, then generally a window will be acting as a light source, and here again it’s hard to get a good picture when you’re facing straight at it. You can get impressive pictures when your subject is standing perpendicular to the window. You can get some very gentle light for your shots if your subject is looking into the window and you’re standing between them and the window.
Light Outdoors
The situations you’ll encounter outdoors are far more varied. It’s hard to give completely general advice, but overall, it’s simpler to take your pictures in the shade.
When you’re shooting under sunny skies, it may at first seem good to shoot in the direction of the sun’s rays. However, if you do this, your subject will be facing directly towards the sun, which will make them squint. And what’s more, depending on the sun’s exact position, dark and ugly shadows can appear on their eyes and face. So it’s better to have the sun somewhere to the side and behind your subject, outside the frame.
In the city, meanwhile, it’s good to pay attention to nearby buildings and to the routes through which light is arriving, or the places from which it’s being reflected.
Other Possibilities
The approaches I’ve described above are simply some basics that you can put to use if you don’t want to worry about any complications. If you’re more curious, on the other hand, and you want to experiment, there are lots of possibilities for how to do that.
Some examples include a more personal approach and work with the model, advanced technical options like work with a flash, or more striking graphical edits, or simply entirely different locations than just standing out in the street. Your options really are endless.

There are no comments yet.