Remove Vignetting, Aberration and Other Lens Defects with Lens Profiles
Vignetting, chromatic aberration, barrel distortion, and other image distortions are lens defects found in every lens to varying degrees. While they aren’t obvious in some images, they are very noticeable in others. Fortunately, they can easily be fixed. All you need to do is learn how to use the proper settings.
Each lens has its own lens distortion and optical lens defects. If you shoot in RAW, you can use lens profiles to correct them automatically.
Lens profiles are tools that are used to correct lens defects. These profiles use various measurements that tell us which types of distortion a certain lens model exhibits. These then create “templates” of distortion and optical defects for the lenses. Lens profiles use these templates to automatically correct the lens defects in an image.
Lens and camera profiles in Zoner Studio previously required the installation of the Adobe DNG Converter. The Adobe DNG Converter contains LCP profiles for lenses and DCP profiles for cameras. Now everything you need is built right into the program and there is no need to install anything. However, if for some reason the supported lenses and cameras in Zoner Studio are not enough, you can still download the DNG converter.
Optical lens defects
Vignetting—A reduction in brightness in the corners of the image as compared to the center. In most cases, it can be corrected during shooting by closing your aperture. However, sometimes this isn’t possible because the scene is poorly lit, or you don’t want to close your aperture very much to get a shallow depth of field.
Chromatic aberration—A common optical defect caused by the camera lens not being able to focus all the color components of light into one point. This results in visible color fringing around objects, especially where dark and light areas of the image meet.
Chromatic aberration can be further divided into axial, lateral, etc. based on its occurrence and effect on the photo. For our purposes, suffice it to say that it manifests itself as a color shift that is noticeable on the contrasting edges of the photograph. Typically, there is red, purple, blue, or yellow fringing around the edges of the photo.
Spherical aberration—Straight edges bow outward and the image is barrel-shaped with a characteristic rounded curve toward the center, with pincushion or wavy distortion in the other direction.
How to correct lens defects
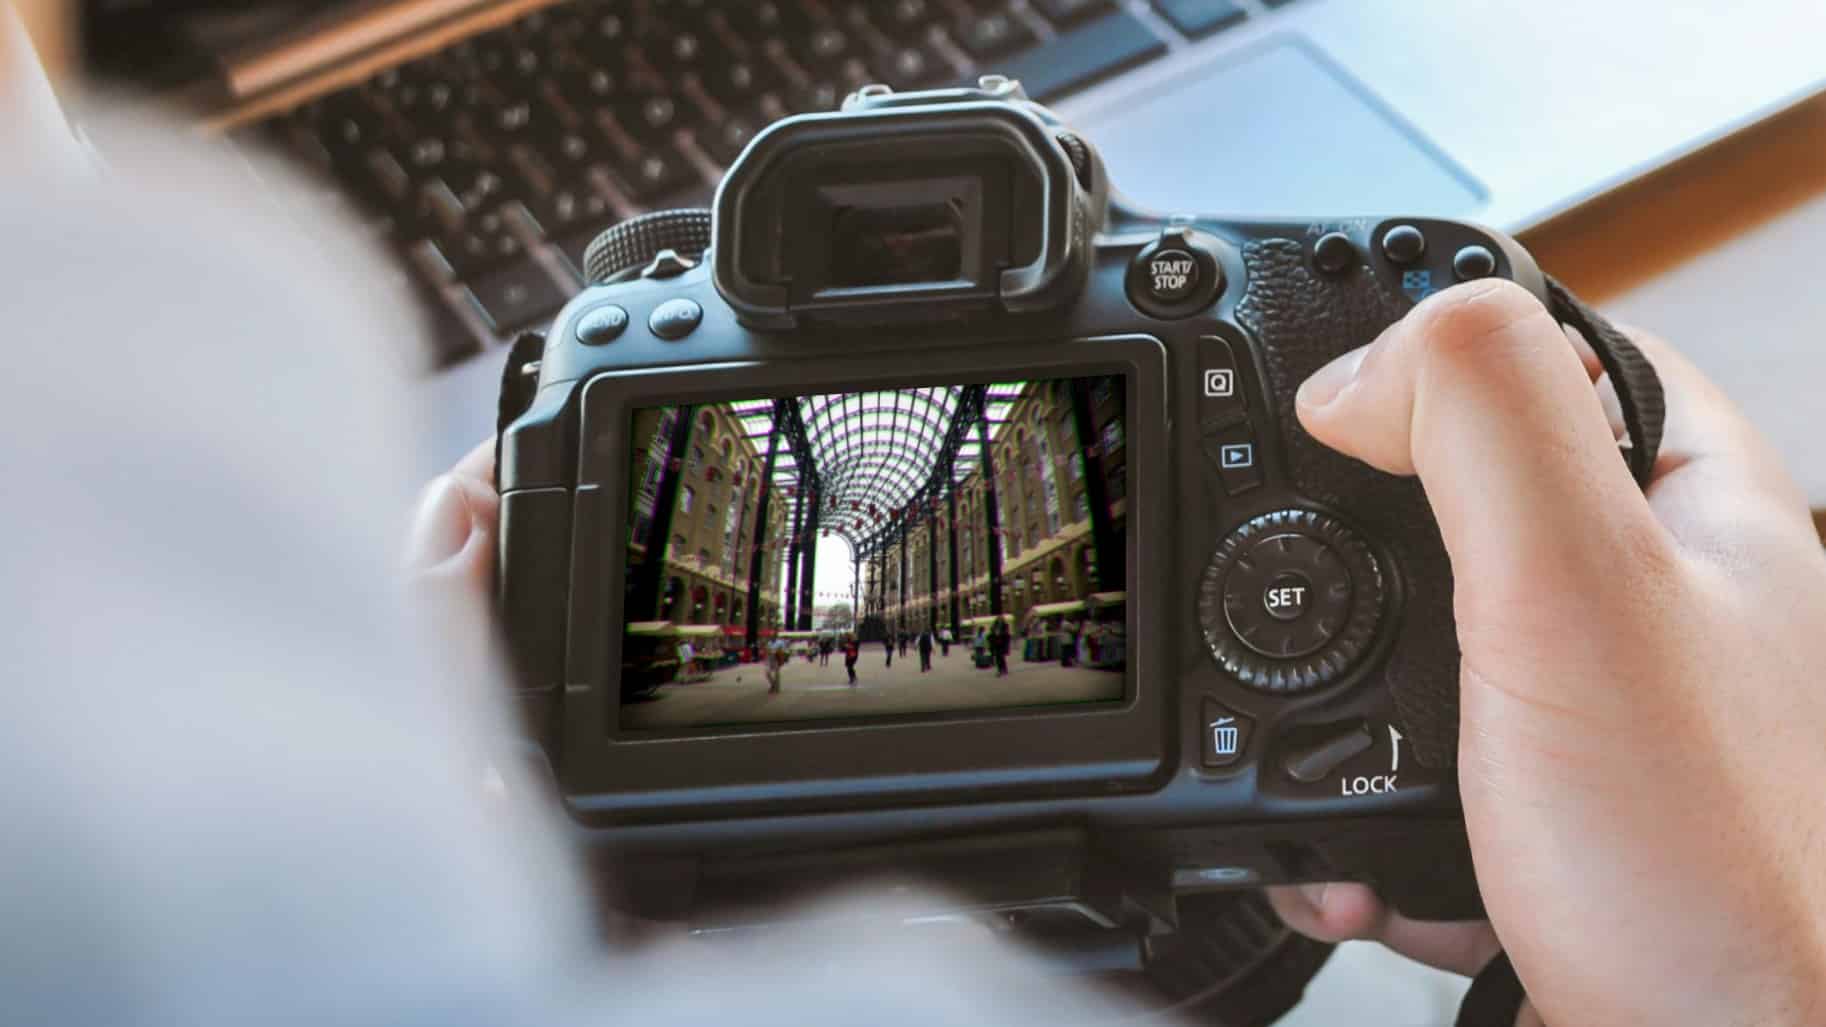
In order to correct lens defects like vignetting, barrel distortion, or chromatic aberration, open the RAW image in the Develop module of Zoner Studio. In the right panel, click Camera and Lens (M).
Lens profiles are built into Zoner Studio and you can find them in the drop-down menu in Lens Profiles. Find the right lens profile for your model in the drop-down menu. No lens profile is assigned by default. Open the drop-down menu and select No Profile. Zoner Studio selects the correct lens profile based on the EXIF data of your photos and applies the necessary corrections.

Sometimes Zoner Studio can’t find your lens automatically. This is most likely because the lens data was not stored correctly in the EXIF data. In this case, select the From List option and manually search for your lens in the list. Zoner Studio applies all necessary corrections meaning you don’t have to worry about anything else.
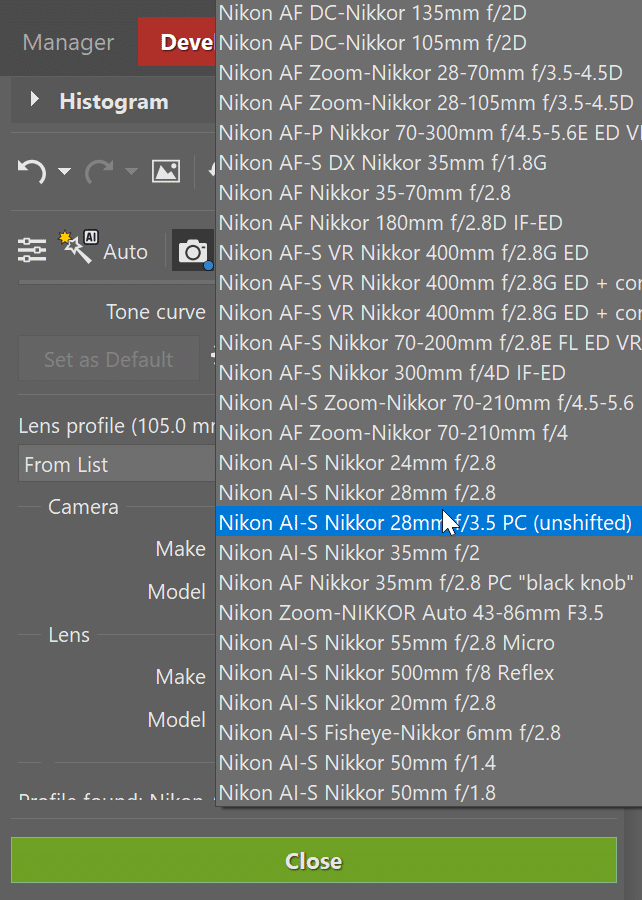
If you can’t find your lens in the list, you can download the lens profile online. Choose the From File option in the drop-down and use the + icon to select it from your computer.
After you select a lens profile, optical lens defects are corrected automatically. But sometimes that’s not enough. That’s why Zoner Studio has additional tools to help you get rid of lens defects for good.
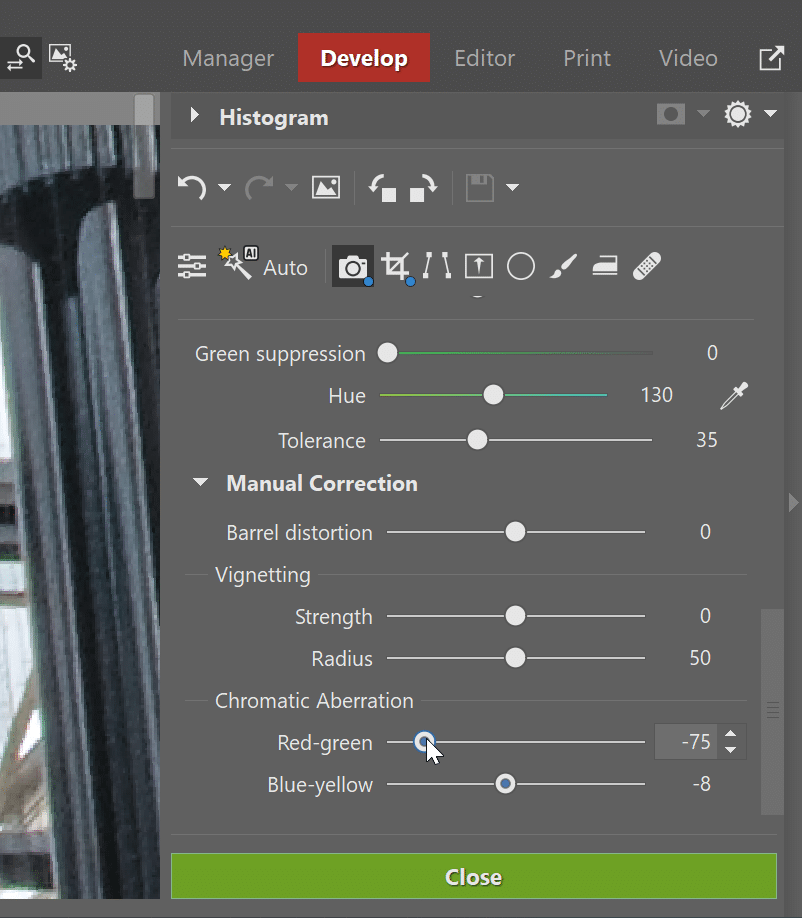
Correct lens defects manually
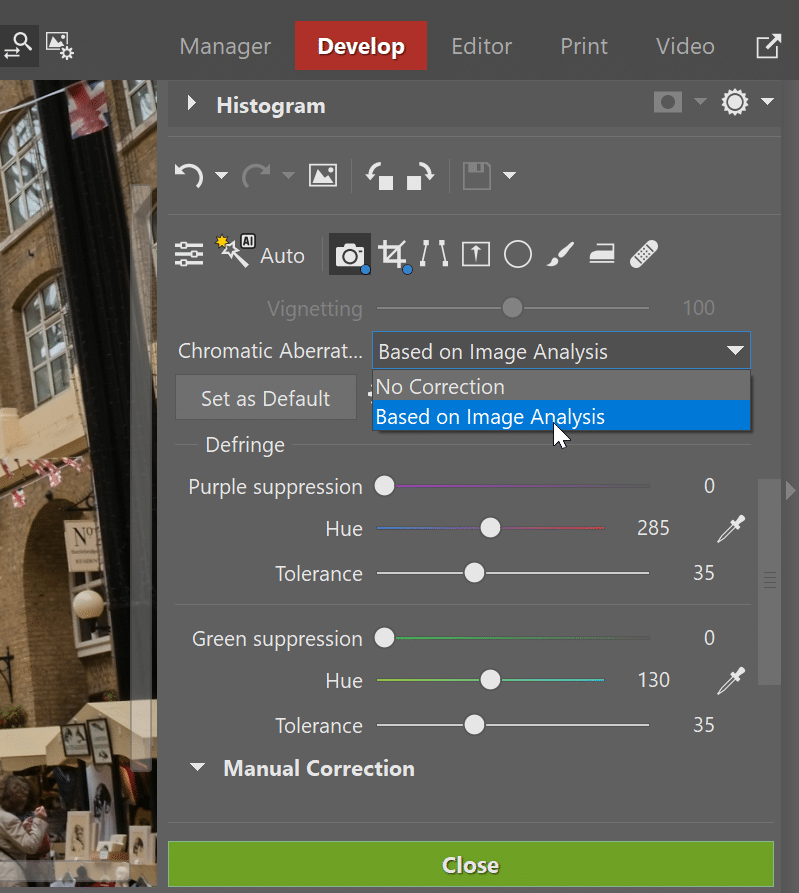
To correct chromatic aberration, go to the Chromatic aberration section. Then, select Based on Image Analysis in the drop-down menu. Zoner Studio detects chromatic aberration caused by the lens and attempts to correct it. The advantage of automatic detection using image analysis is that it not only works on RAW files, but also JPEGs. Additionally, it does not require having an assigned lens profile.
If you are still not happy after applying automatic corrections, you can use Defringe and Manual Correction. Use the sliders in these sections to manually fine-tune barrel distortion, vignetting, and chromatic aberration.
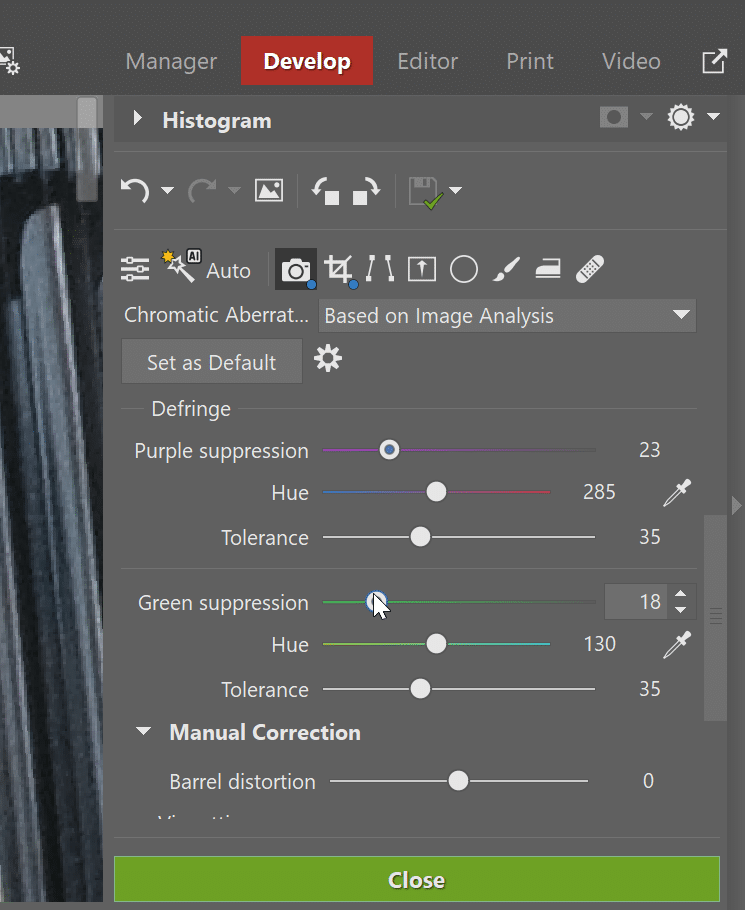
Defringe
If you have issues with color fringing around purple or green contrasting objects, use the Defringe function. Defringe works by using the sliders to reduce these colors or adjust their shade to make them less distracting. The Tolerance slider is used to specify the extent of the adjustment. That is, how wide an area around the color fringing Zoner Studio applies the adjustment to.
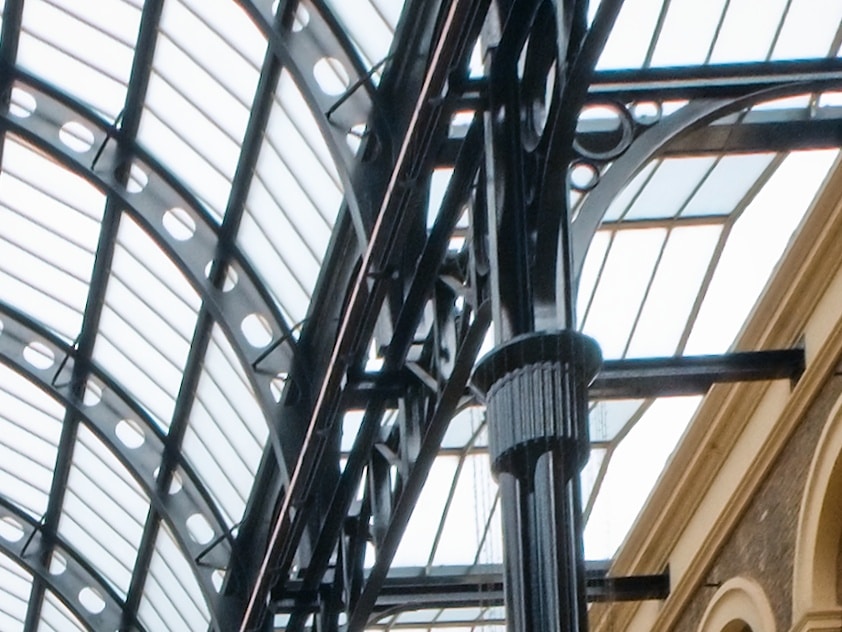
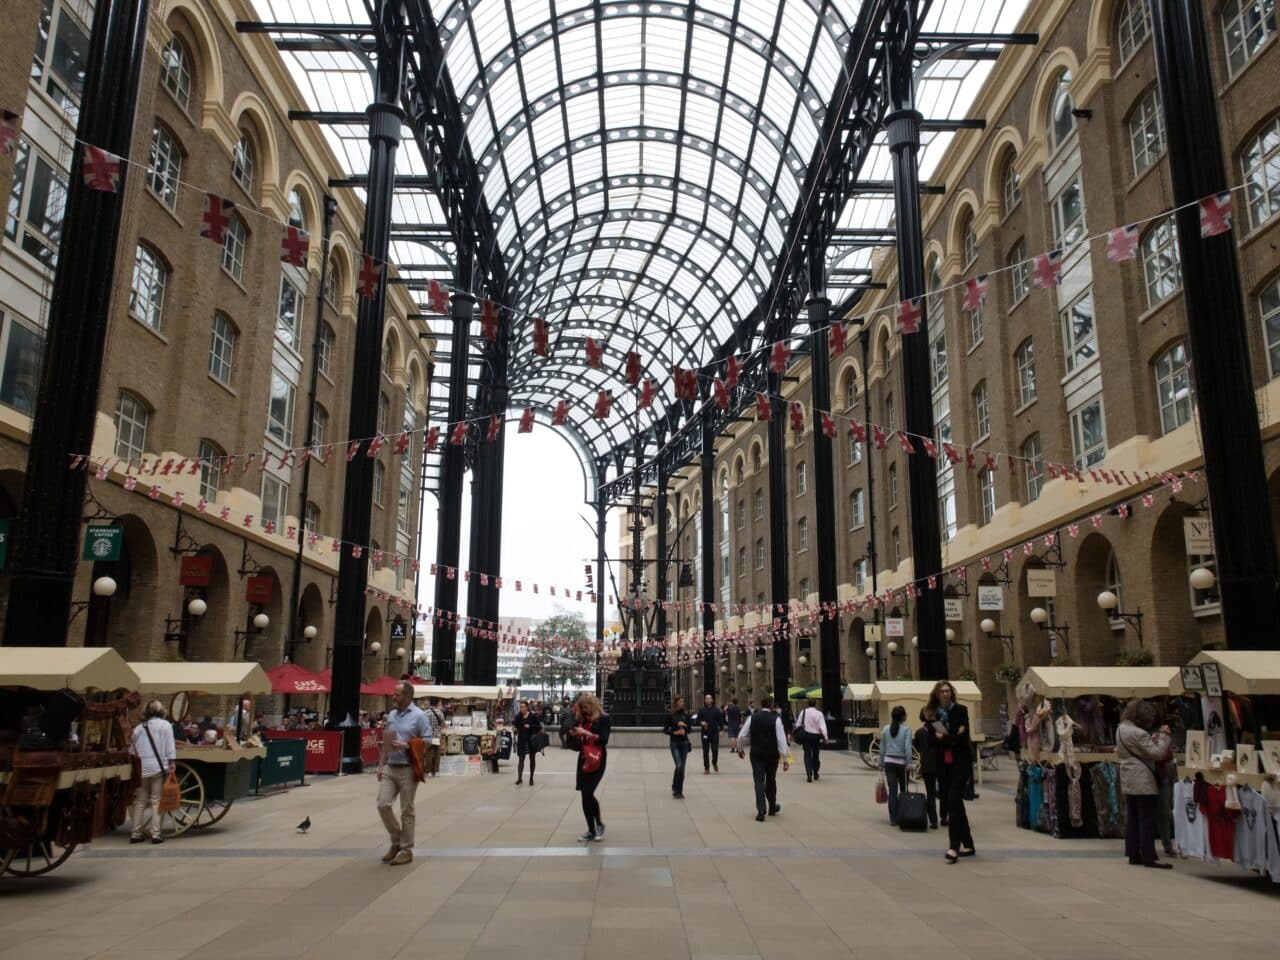
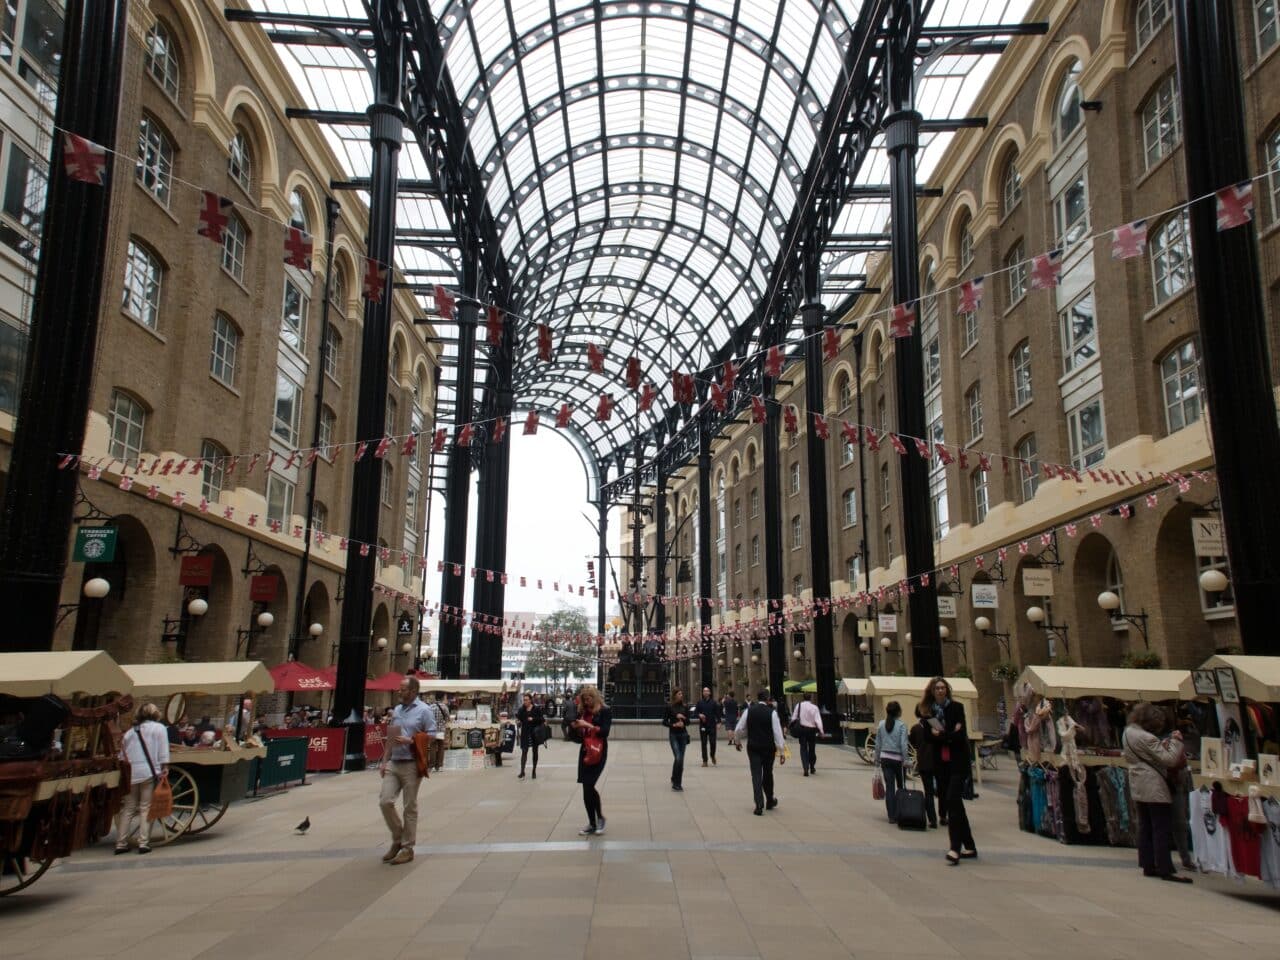
Before and after corrections for optical lens defects.
tbarkeh
With DNG converter installed, still can’t find C:/ProgramData folder. Where else might the DCP files be located?
stephane v
Thank you for the article. I am using a micro 4/3 olympus camera and my understanding is the profile info is embedded in the raw file. Do you know whether zoner is using that information ? Is there a way to verify ? I have both profiles set to ‘default’
Erik Piper - Zoner Software Customer Support
Hello tbarkeh,
The ProgramData folder has the “Hidden” property in Windows, which means it’s only visible in the Windows File Explorer if you’ve turned on Windows’ option to show hidden files. (See for example the Vista/7/8 instructions here: http://www.howtogeek.com/howto/windows-vista/show-hidden-files-and-folders-in-windows-vista/.)
Hidden folders are still visible if you’ve written a path (e.g. “C:\ProgramData“) in the path bar that goes straight to or through that folder, but you won’t see them when just browsing unless you’ve turned on the above-mentioned option.
DEJ
Thank you for the good explanation of lens profiles and defects. But, I’m puzzled by the meaning of the check-boxes for warp, etc. The article sounds as though warp, chromatic aberration, and vignetting will be automatically done if I use a lens profile. But, none of the boxes are checked even after I’ve loaded a profile. Do I need to check the warp box if I want warp correction, or does checking the box turn warp correction off because it’s already being done automatically because of the lens profile?