How to Calibrate Your Monitor for Photography

A photographer may be able to edit world-class photos, but if their monitor alters the way certain colors look, the result will be far from desirable. Even if the user doesn’t see this, others will. Fortunately, there are ways to calibrate your monitor to go from color approximations to accurate results.
Debugging a monitor’s color and brightness issues is a process that is often overlooked, but is quite important. Especially for individuals that take photography more seriously and further process their images after taking them.
It’s worth giving up some time, and sometimes some money, to move your photography up a level. Because this topic is quite broad, I’ve decided to split it into two articles. The first article is mainly an explanation of how everything works, and in the second article, we’ll get into more specific calibration methods.
Calibrating vs. Profiling
Calibrating and profiling are two terms that are used interchangeably. For the sake of simplicity, I have combined these terms in the article’s title as well.
Calibration means the user tries to set the display settings as closely as possible to the desired result using the settings that the monitor offers – color temperature, contrast, brightness, etc. In other words, the user adjusts anything they can find in the display settings menu.
This process can be used in conjunction with a built-in look-up table, or LUT, which can be created by calibration hardware. (Technically speaking, this table can be managed by a graphics card or monitor, but from the user’s perspective, it doesn’t make a difference).
Profiling is the second step. Profiling tells the applications what colors to expect from the monitor. This is extremely important, especially if the monitor’s color space is larger than an sRGB color space (the standard RGB color space used on the internet and other places). Profiling tools can measure what colors the monitor displays and then create what is called a display profile. Using this display profile, applications correct their output and arrive at the most accurate display.
How to recognize inconsistencies
You can use the same photo for comparison across multiple devices. Each device will most likely display different colors, but if one of the images is significantly different, it is a red flag. However, the source of the problem is not clear. If you already edited the image, different colors on different monitors may point to an error on your end.

A DIY solution that doesn’t require an additional screen is to use a reference image. There are two easy options here: a grayscale chart or stock photos.
Displaying your monitor’s grayscale chart should show all neutral colors. These colors should not visibly “leak” into any colors. Relying on the naked eye is not accurate because it depends on the surrounding light and other factors. But you should still be able to get a rough idea of the state of your monitor. For instance, it’s usually easy to see if only a part of it is colored, or if light shades are tinted to one color, while dark shades are tinted to another.

Another trick is to look at stock photography sites. For instance, I searched the word travel. The images should appear realistic. Even though stock photos tend to be slightly brighter and a lot more colorful, they can serve as a useful benchmark. You can then compare color and brightness between the stock image and your image. As an aside, most people discover they can use at least 50% higher contrast.
There are also websites for home testing of monitors and basic calibration. For example, Photo Friday Monitor Calibration offers a basic method for finding the right brightness for your monitor, or Lagom LCD Monitor Test is a more general option that includes adjusting the gamma settings.
However, the best method for calibrating your monitor is using hardware calibration.
Colorimeter
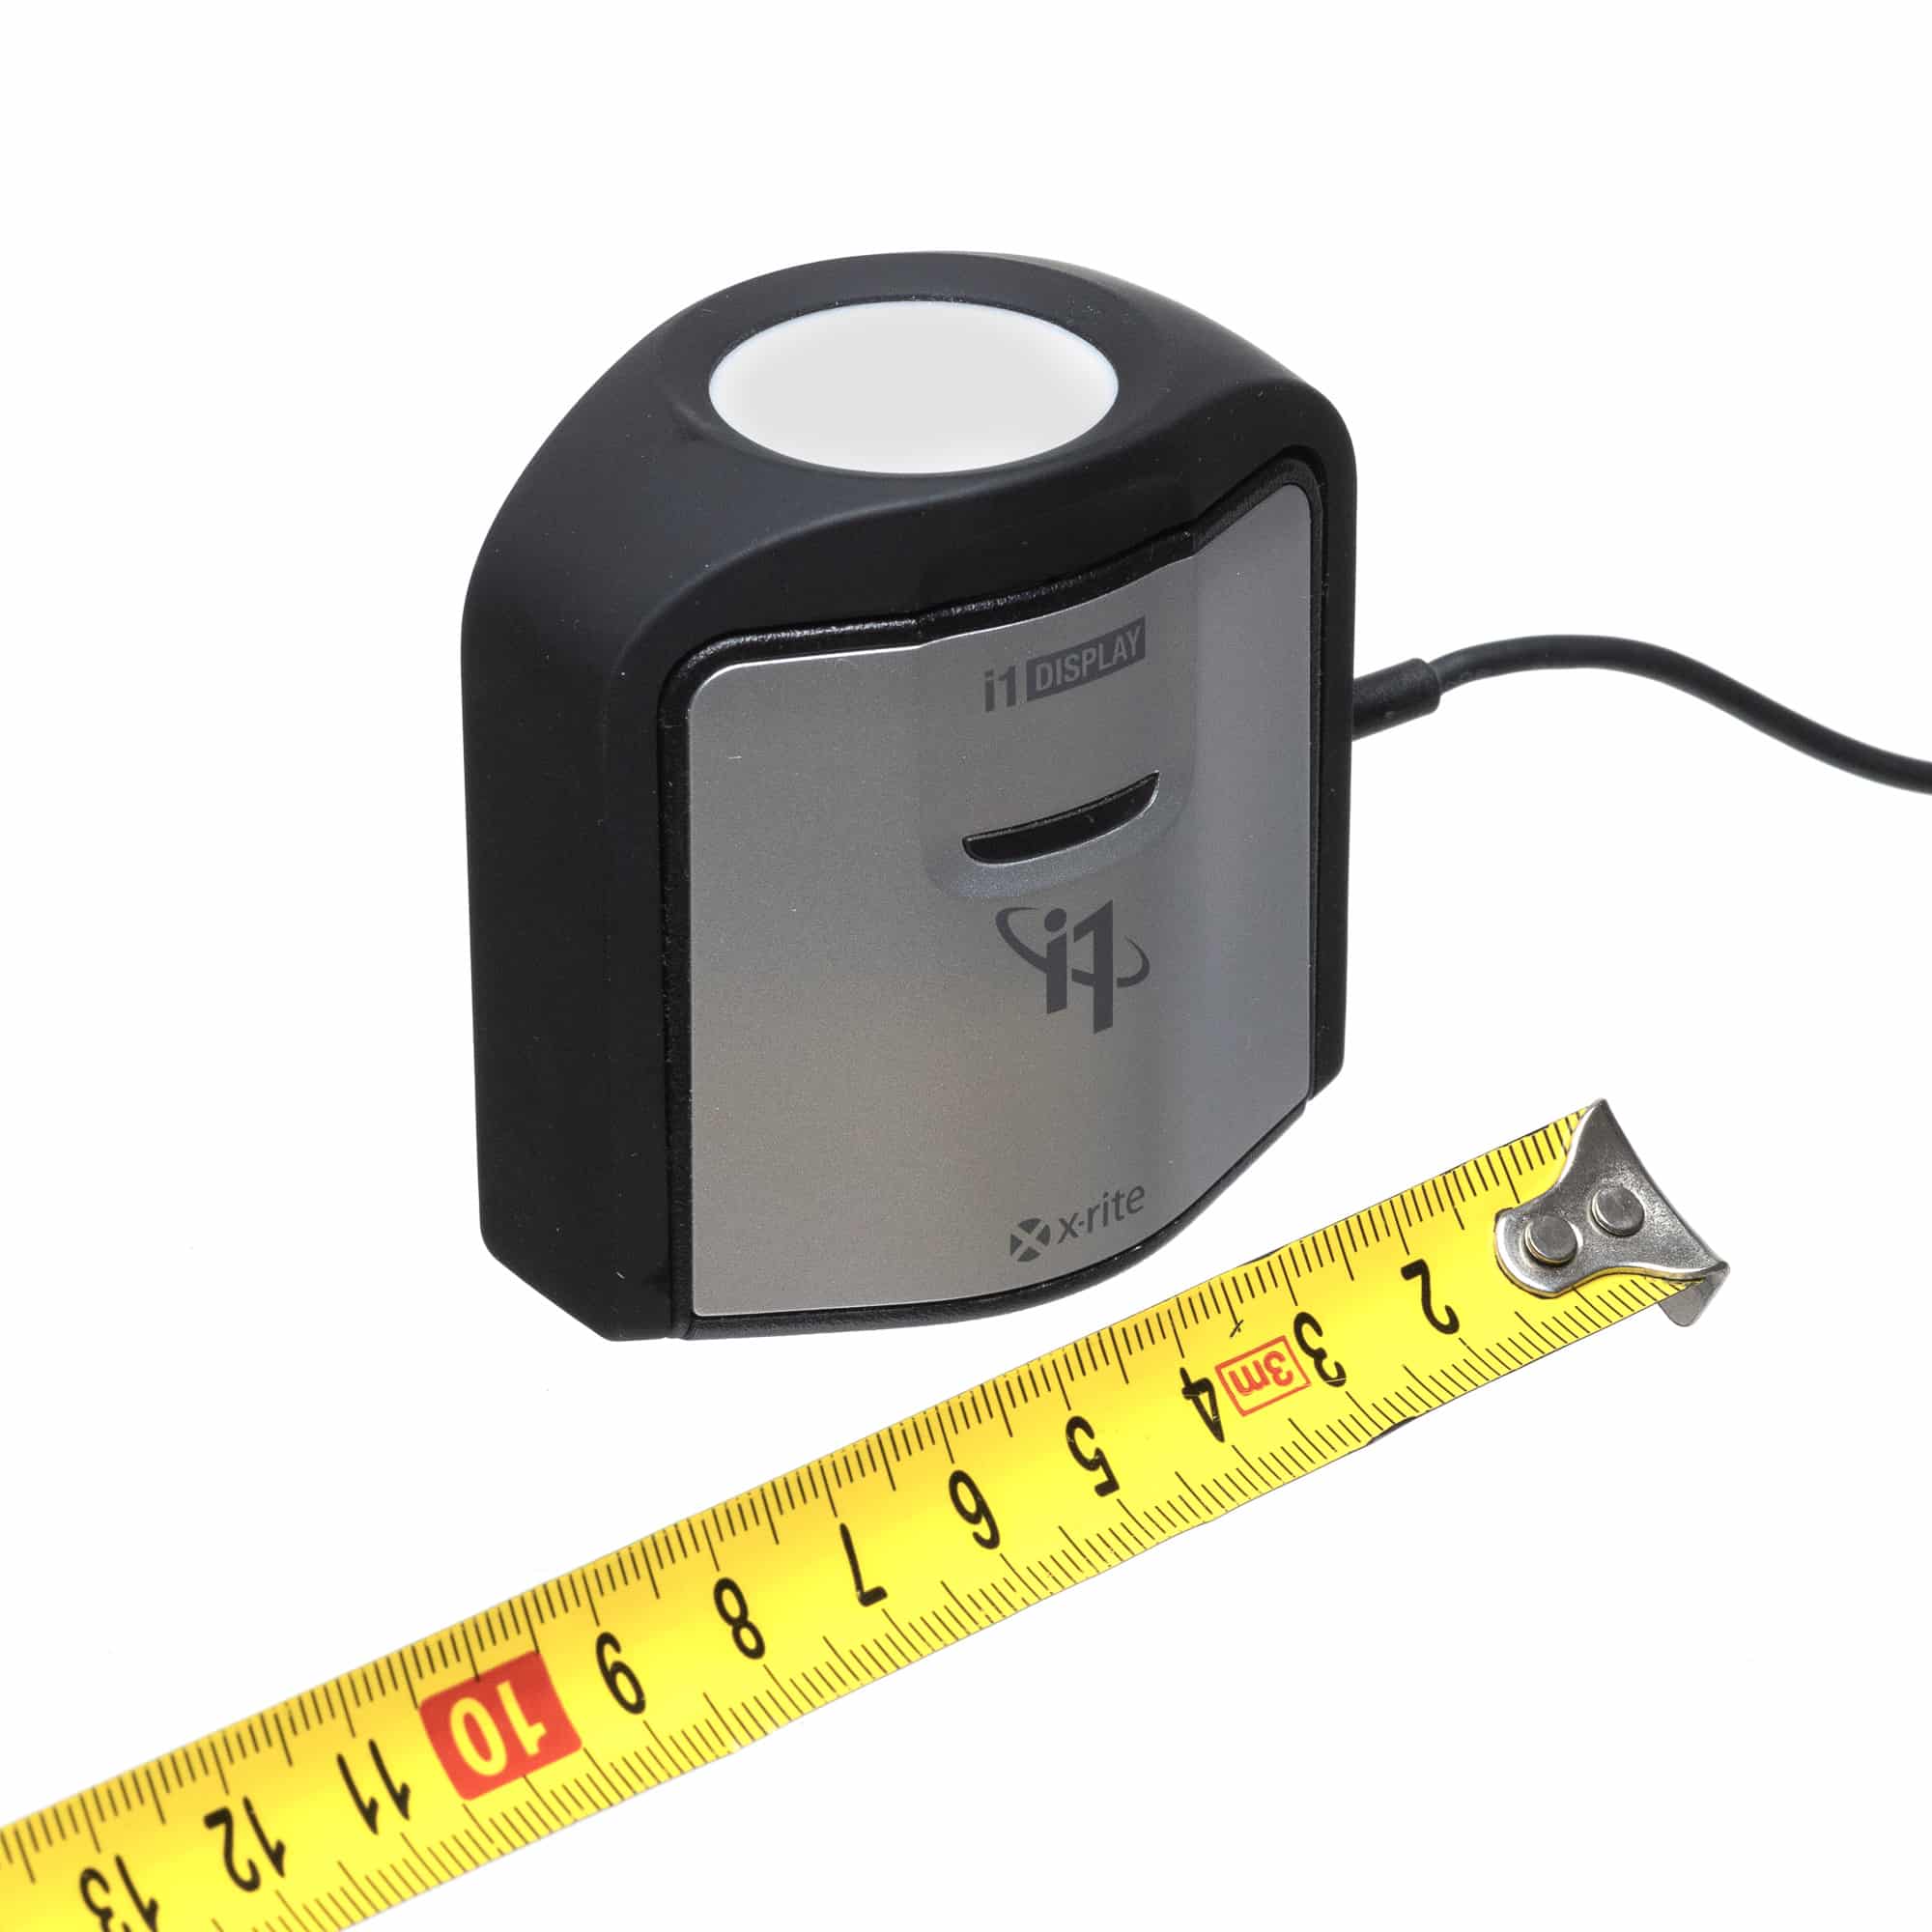
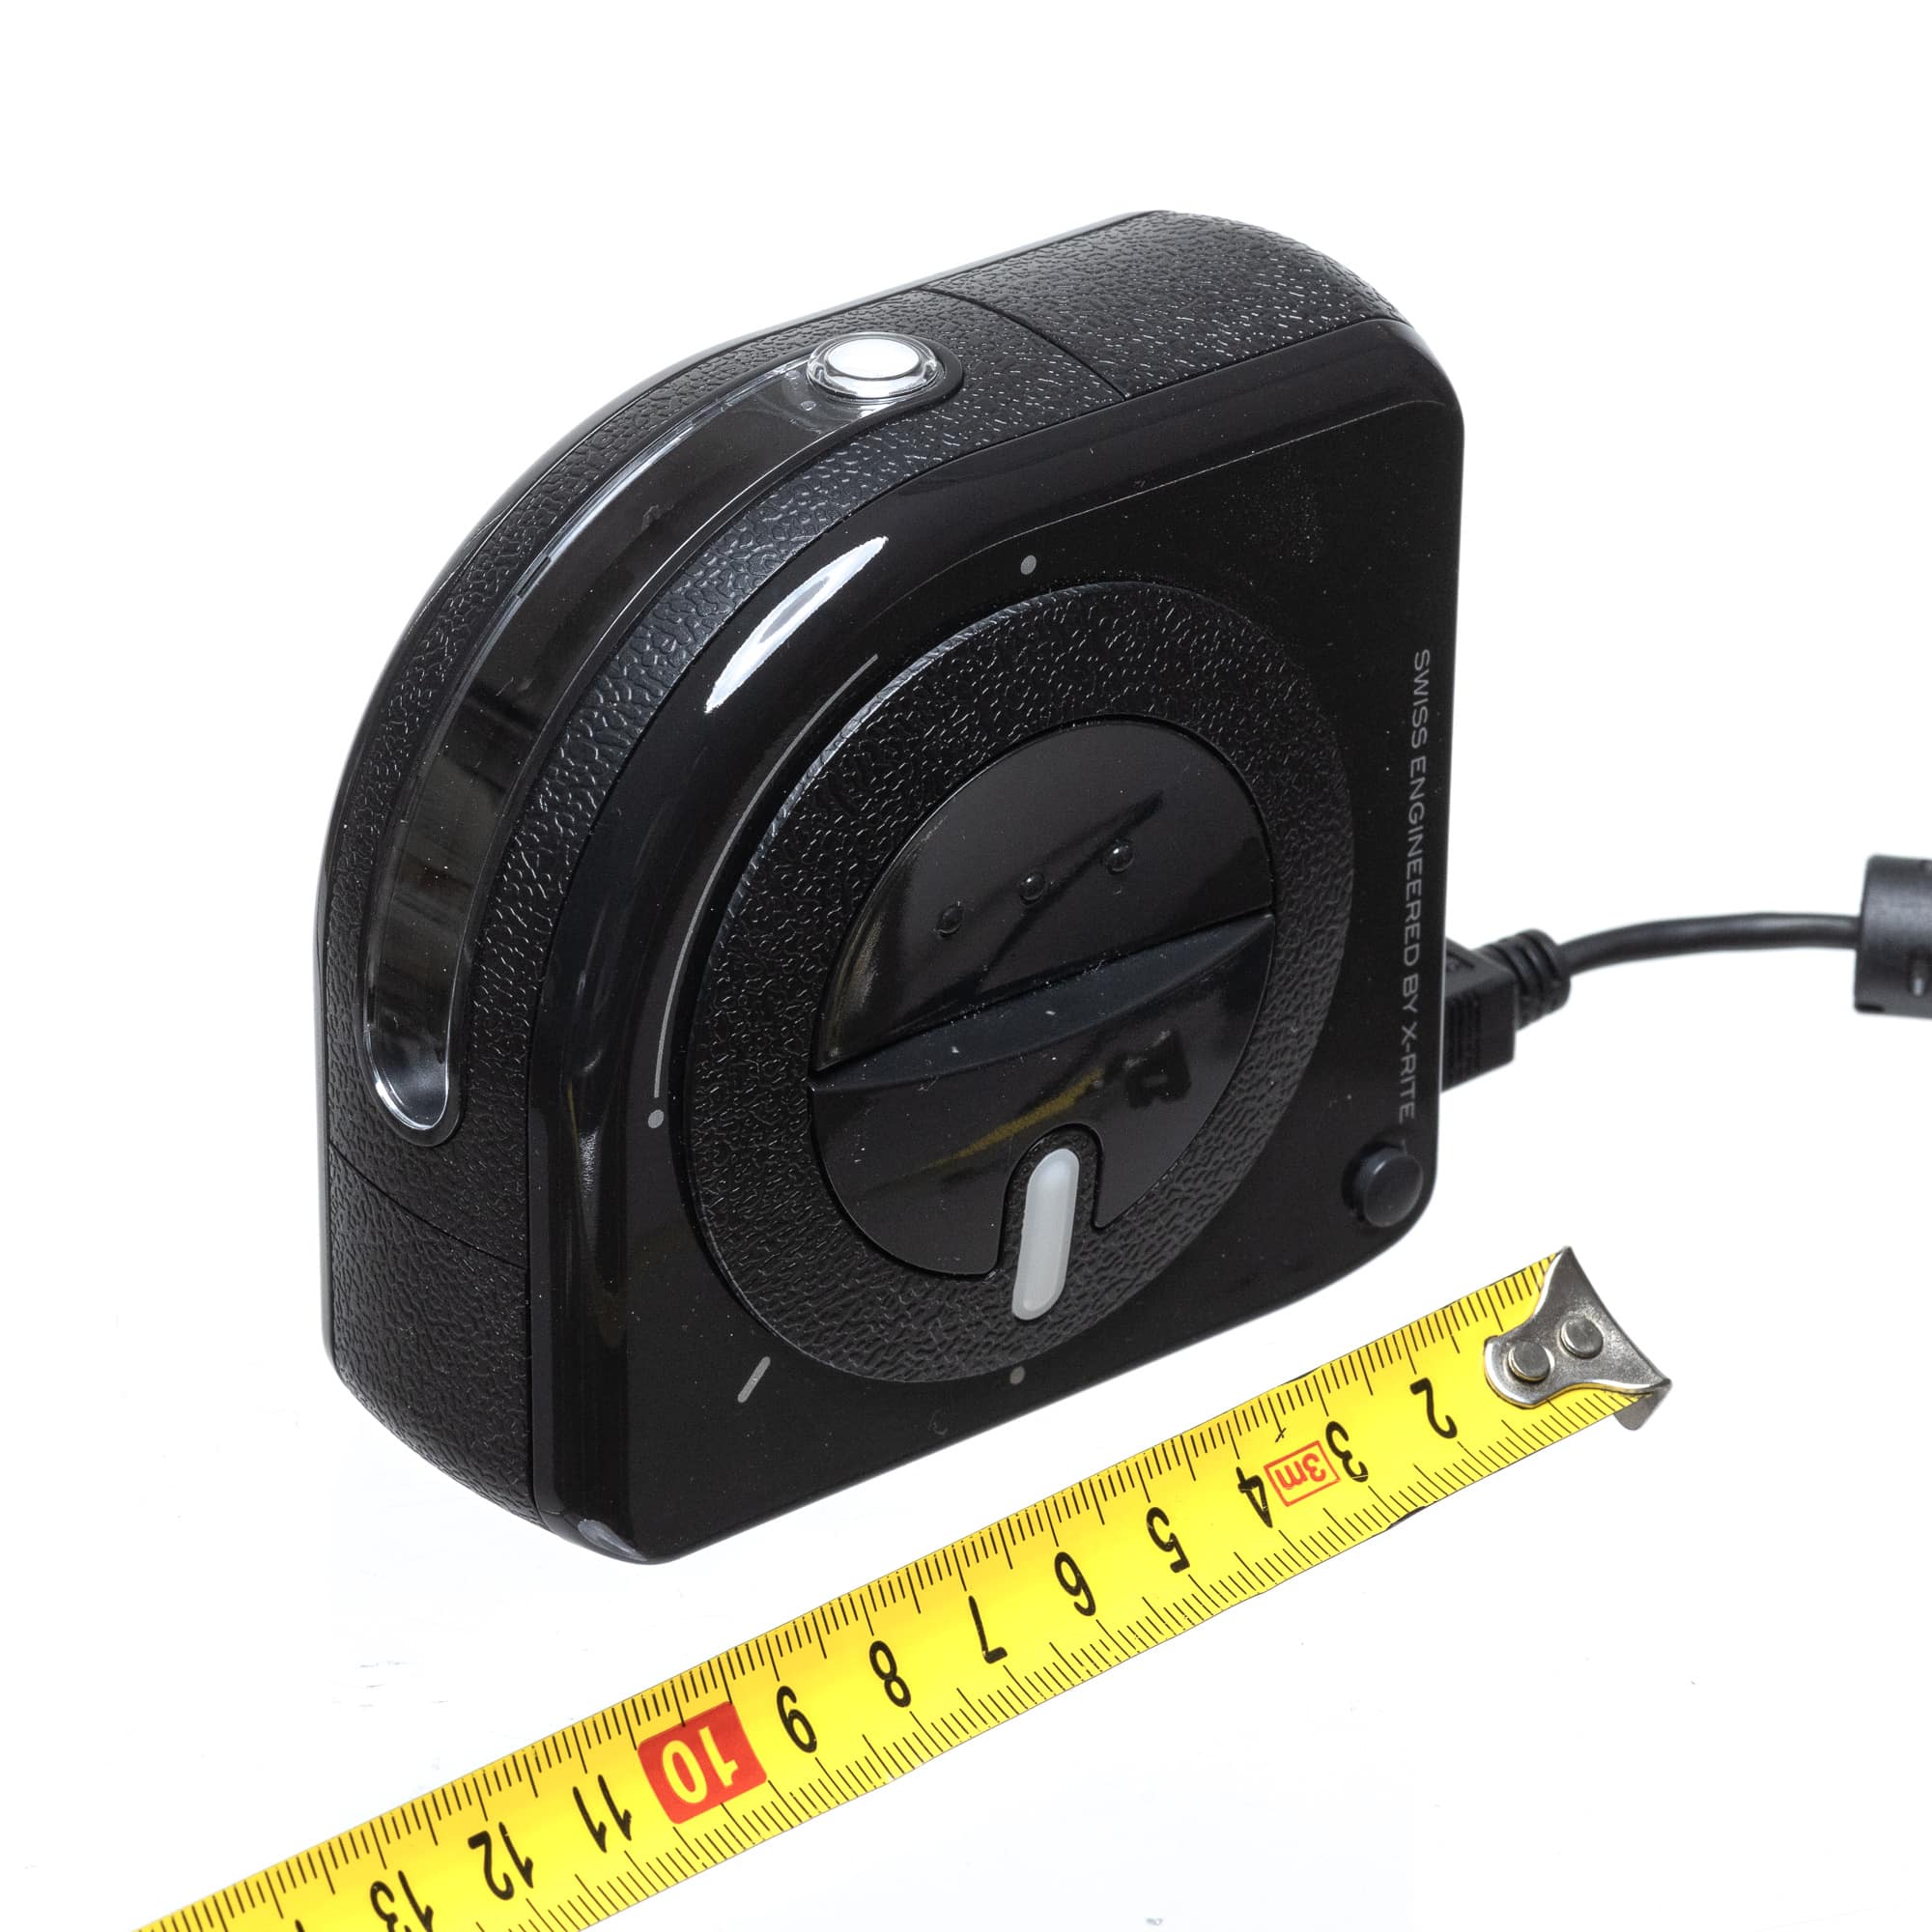
There are two main types of hardware calibration: Colorimeters and spectrophotometers. They come at different price points, but can usually be rented from a camera equipment rental company at an affordable rate. The calibration and display profile will most likely last years.
A Colorimeter contains three color filters – usually red, green, and blue, and there are three sensors behind them. It is placed so that light from the monitor enters its front side. Then, depending on the results of the sensor, the colorimeter can recognize specific colors and their brightness.
The drawback to using a colorimeter is that the filters slightly change color over time so that ten years later, the calibration tool itself will be off in color. Colorimeters also can have problems with displays that have an unusually wide range of colors, although today they can handle standard wide gamut monitors. And of course, colorimeters require incoming light so they can measure a screen or projector, but not paper prints.

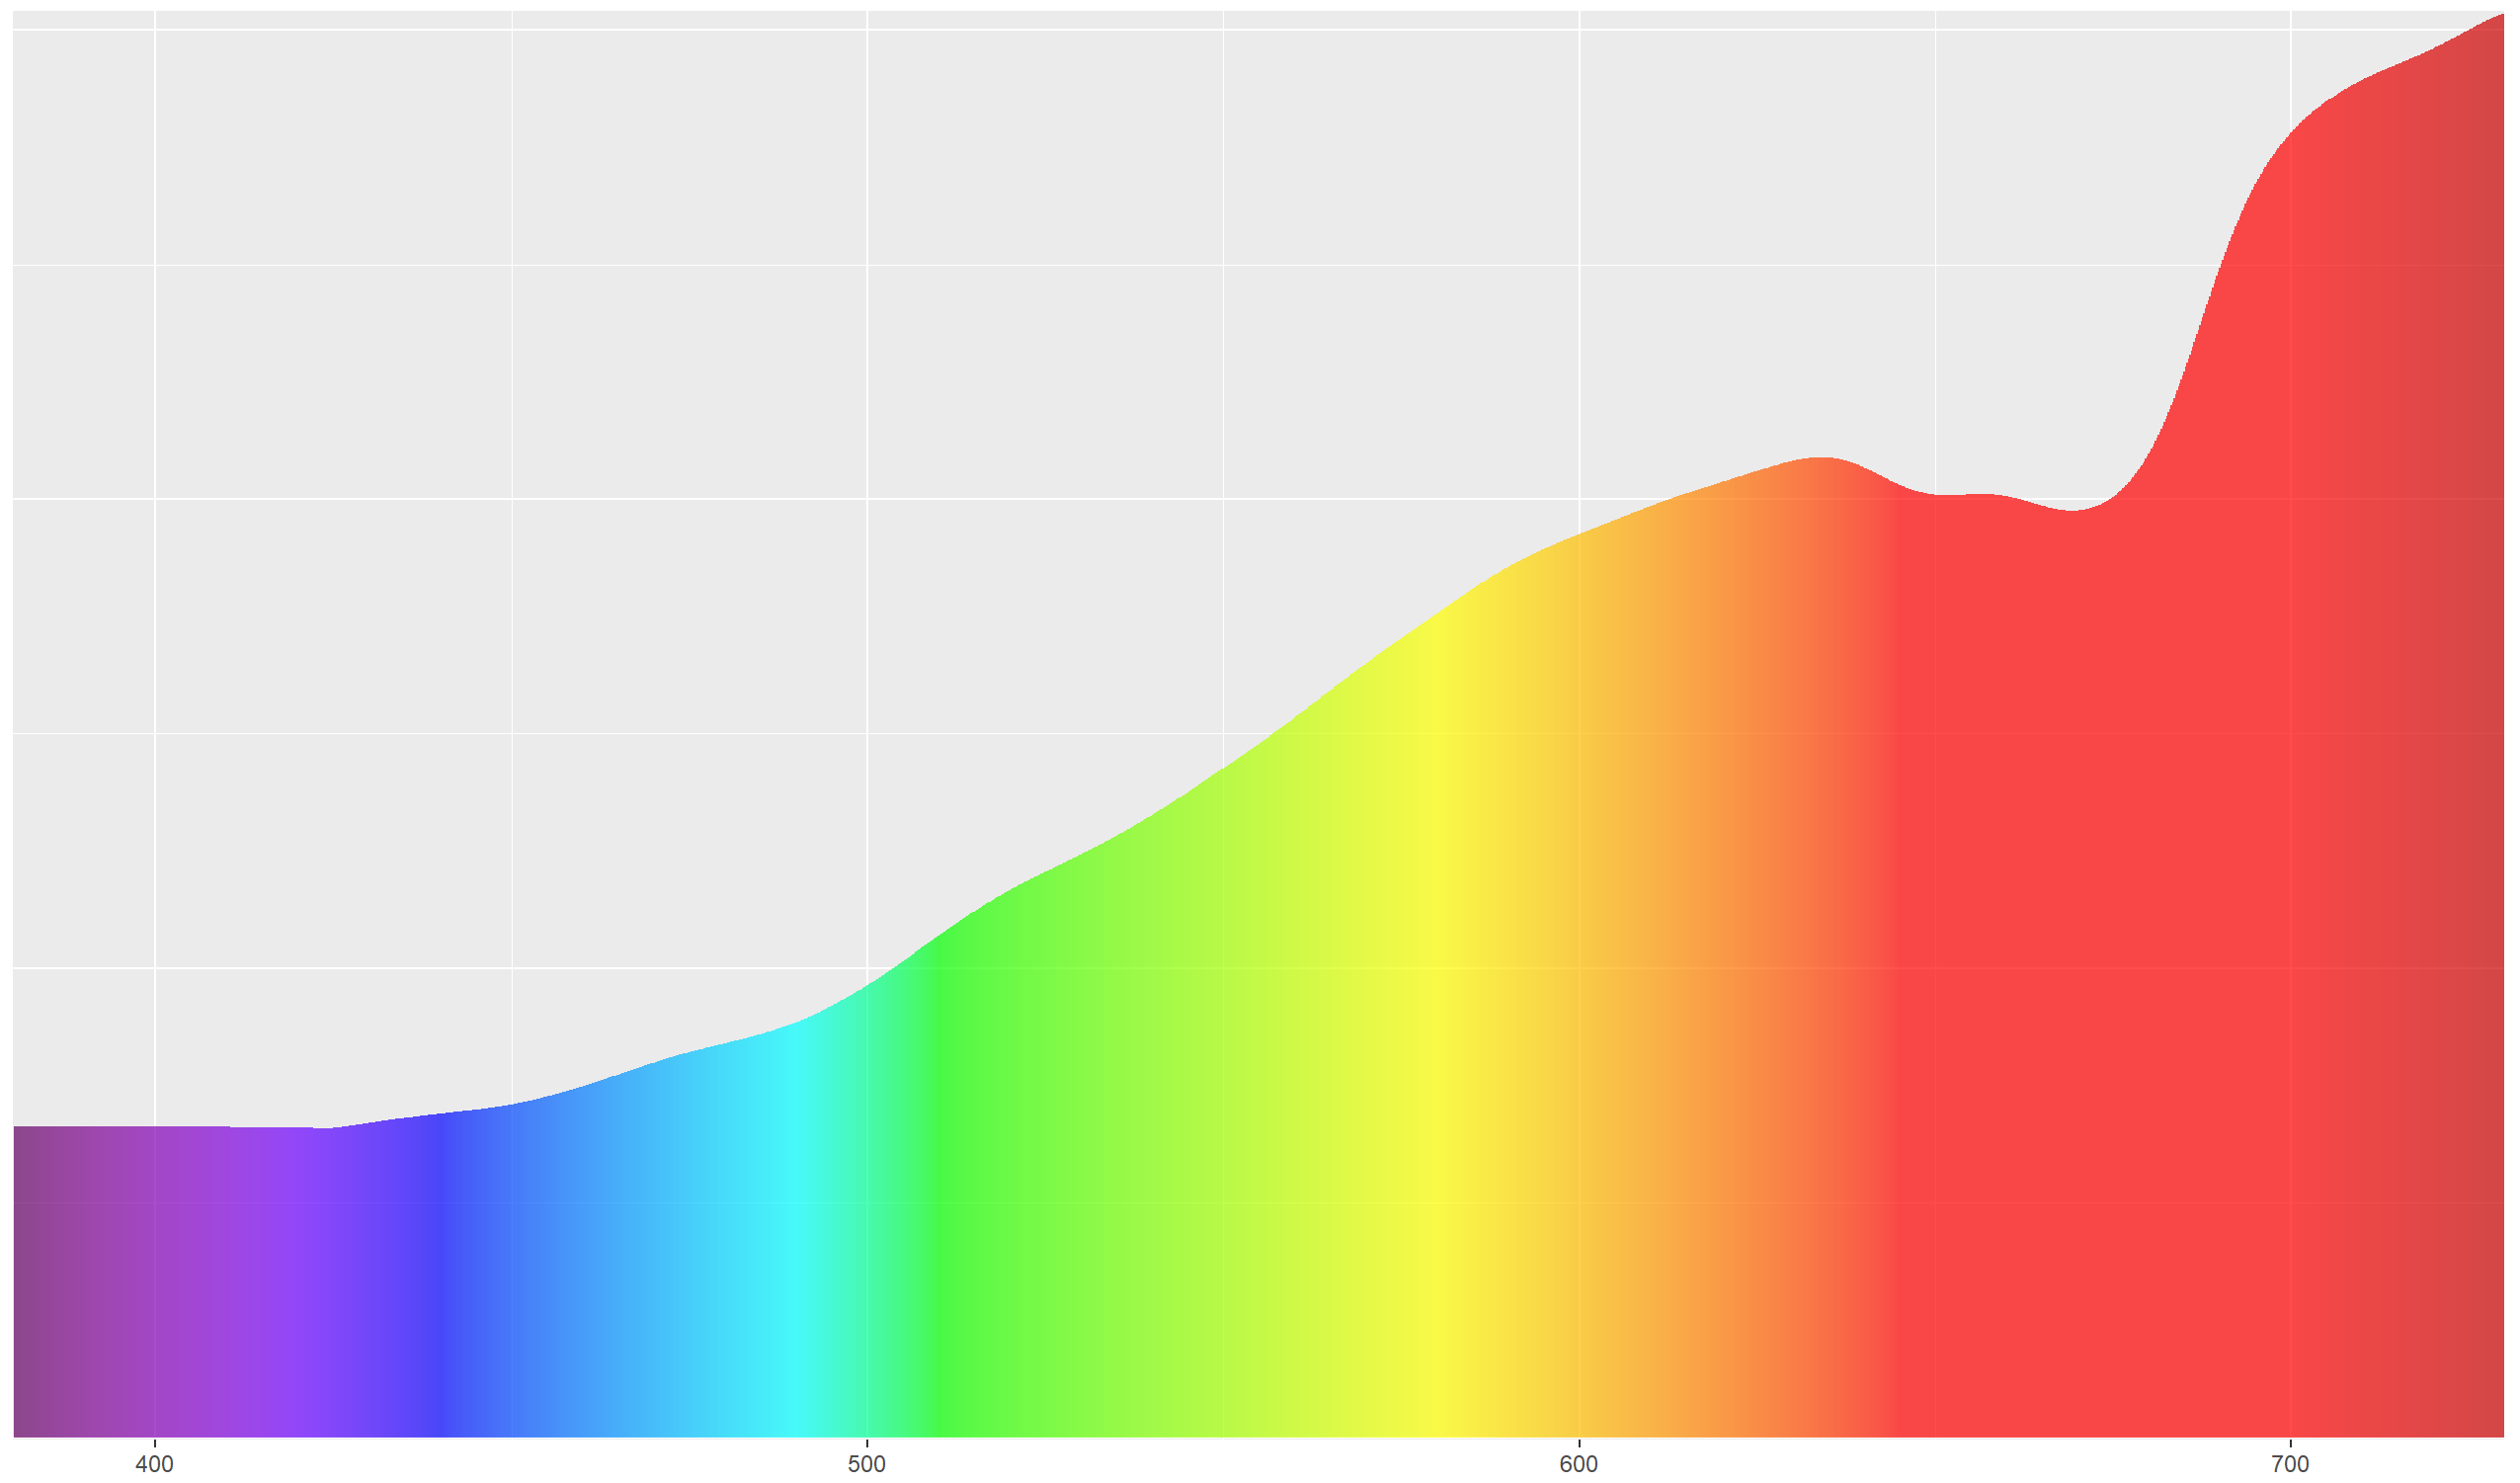
Spectrometers or spectrophotometers look similar and are used in basically the same way, but contain a different calibration device. With spectrophotometers, the incoming light is scattered across the whole color spectrum and the calibrator can analyze this. Instead of only three readings, it produces a series of numbers that correspond to different wavelengths. For my monitor, this was a total of 106 readings from a single measurement.
Spectrophotometers can read light much more accurately and typically come with a light source so they can measure light from printed paper as well.
The downside to spectrophotometers is they are more expensive and worse at measuring darker color tones when compared to a colorimeter. Breaking down light into lots of values means that each one of the hundreds of tiny sensors inside only gets a small fraction of the light, sometimes causing digital noise. (The calibration freeware ArgyllCMS can use spectrophotometers to calibrate the colorimeter and thus avoid most of its drawbacks. However, we are treading very complicated waters here.)


Using calibration hardware
Calibration hardware is relatively easy to use, but it’s still a good idea to understand how it works.
In the second article on this topic, we’ll go over what settings to choose when using calibration hardware and what display profile to use.

There are no comments yet.