How to Do Newborn Photography
Newborn photography is extremely popular. Everyone wants to record memories of their baby starting from birth. A newborn photo session is usually done when the baby is just a few days or weeks old. Let’s see what is involved in this type of shoot and how it’s done.
Newborn photography is done when the baby is less than two weeks old. During this period, the baby is still most comfortable in the fetal position, they can be positioned easily, and spend most of the session asleep.
When babies are older than two weeks, they usually don’t sleep as much. As they grow, their cartilage gets stronger and it’s more difficult to wrap them. It’s important to emphasize this timeframe to potential clients and tell them to contact you immediately after their baby is born, even from the hospital. It’s a good idea to plan the photo session ahead of time so your client can plan doctor’s appointments and anything else the newborn baby needs.
What do you need for newborn photography?
Newborn photography is a very challenging genre and one session can take an average of 3.5 hours. The timing also depends on how cooperative the baby is, how often they get hungry, if they fall asleep or cry, and whether they are comfortable being touched and moved by the photographer. You’ll need:
Patience—Lots of patience. Sometimes the baby can cry throughout the session, and you will need to try to soothe them to sleep. Some basic knowledge of taking care of babies will come in handy. If you’re new to newborn photography and don’t have experience with babies, you may not know how to handle them. I recommend talking to a lactation consultant or someone else who specializes in babies.
Beanbag—Plus fabric for laying out beneath the baby, basket, and pillows to lay the baby on
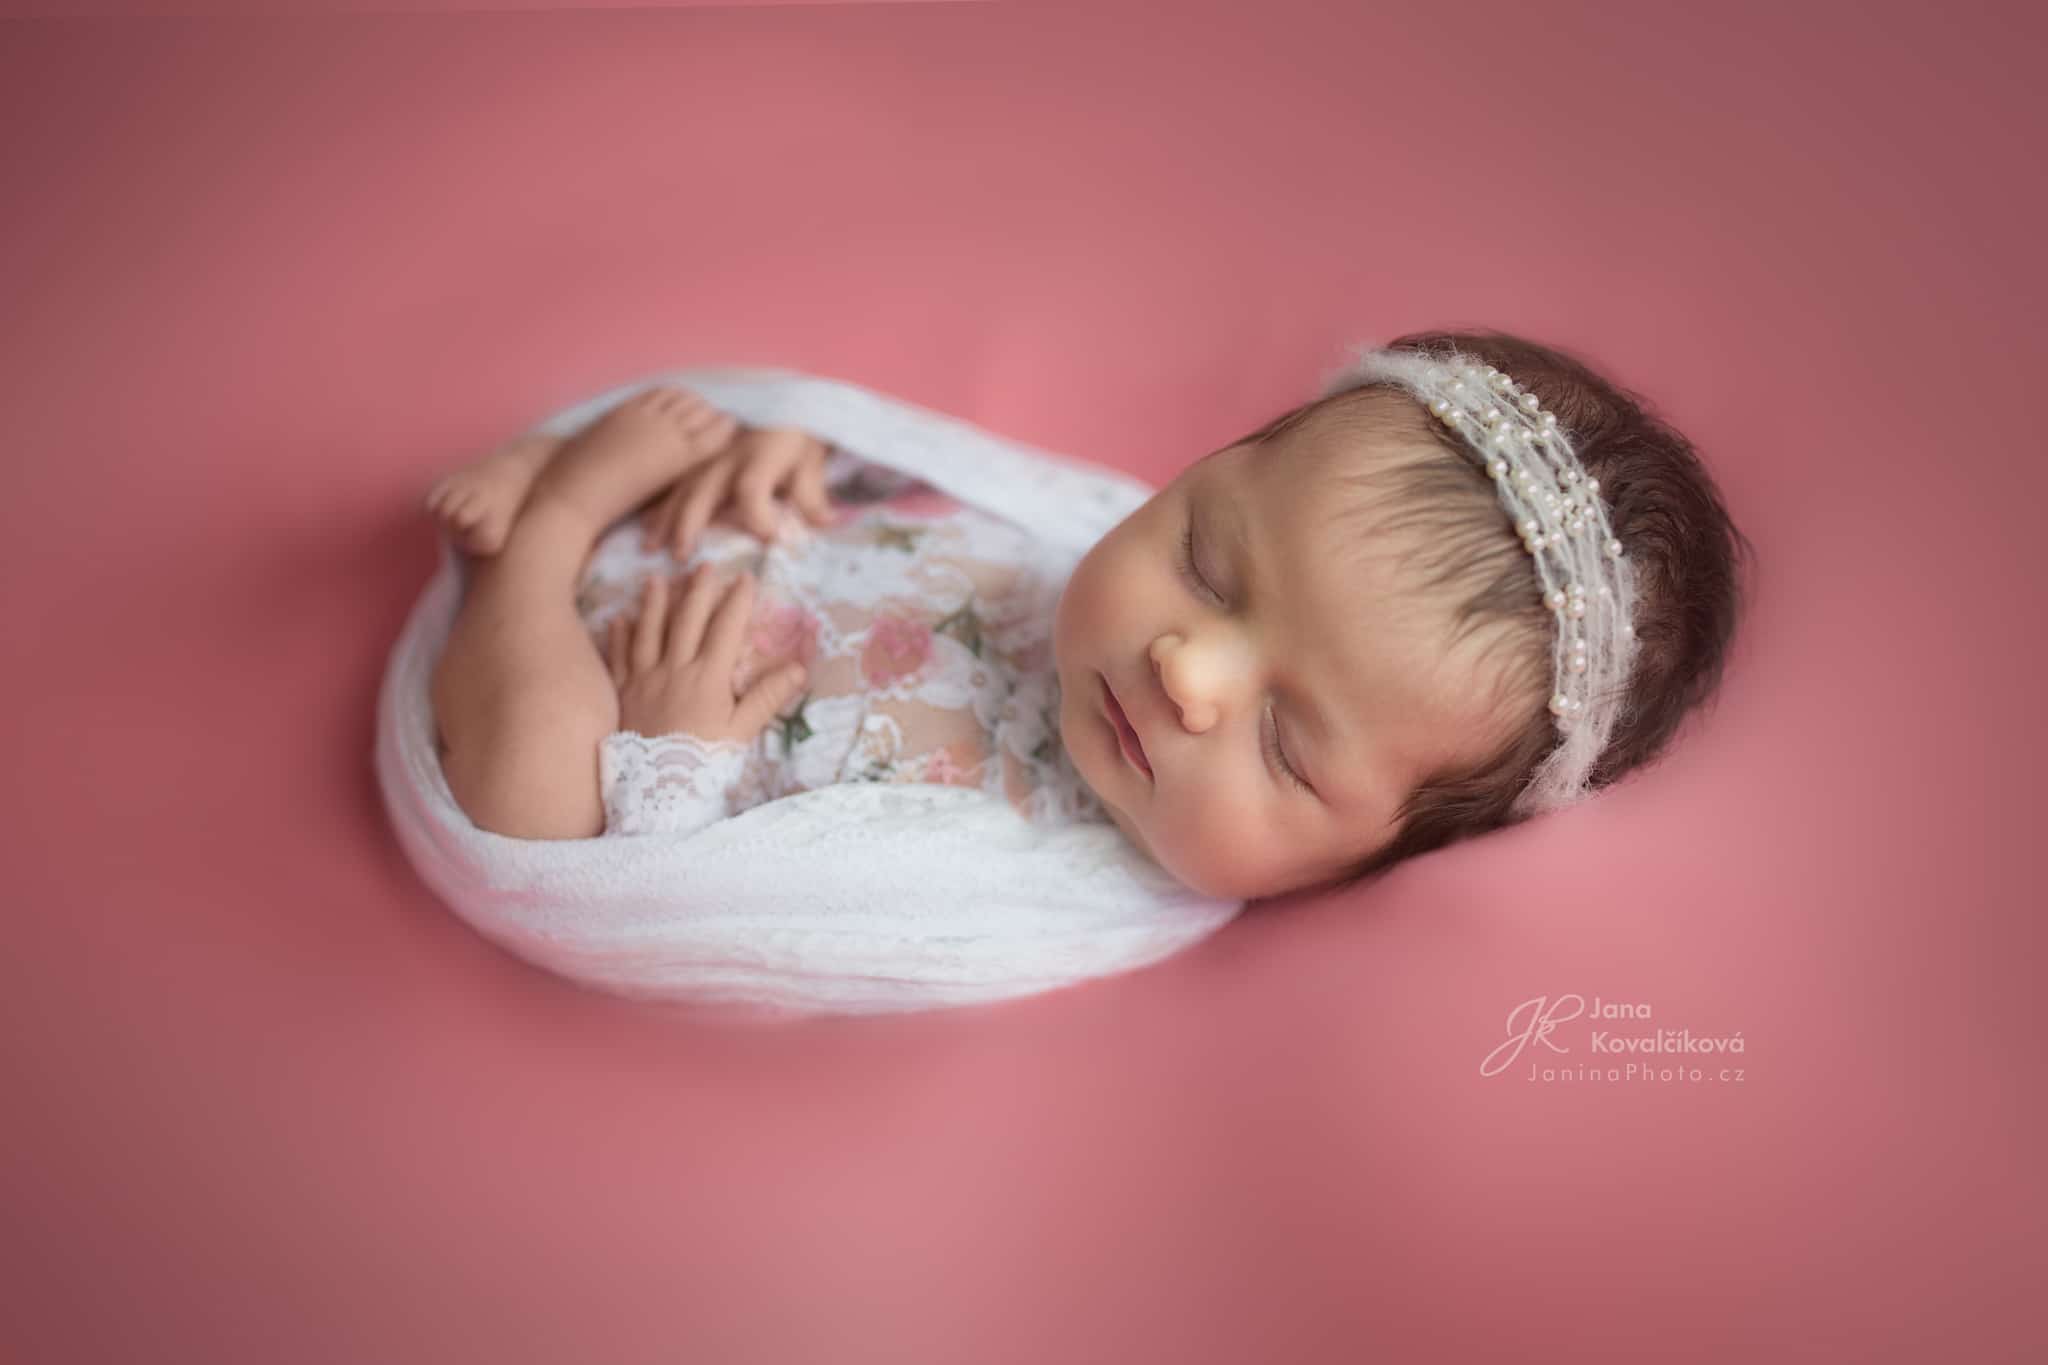
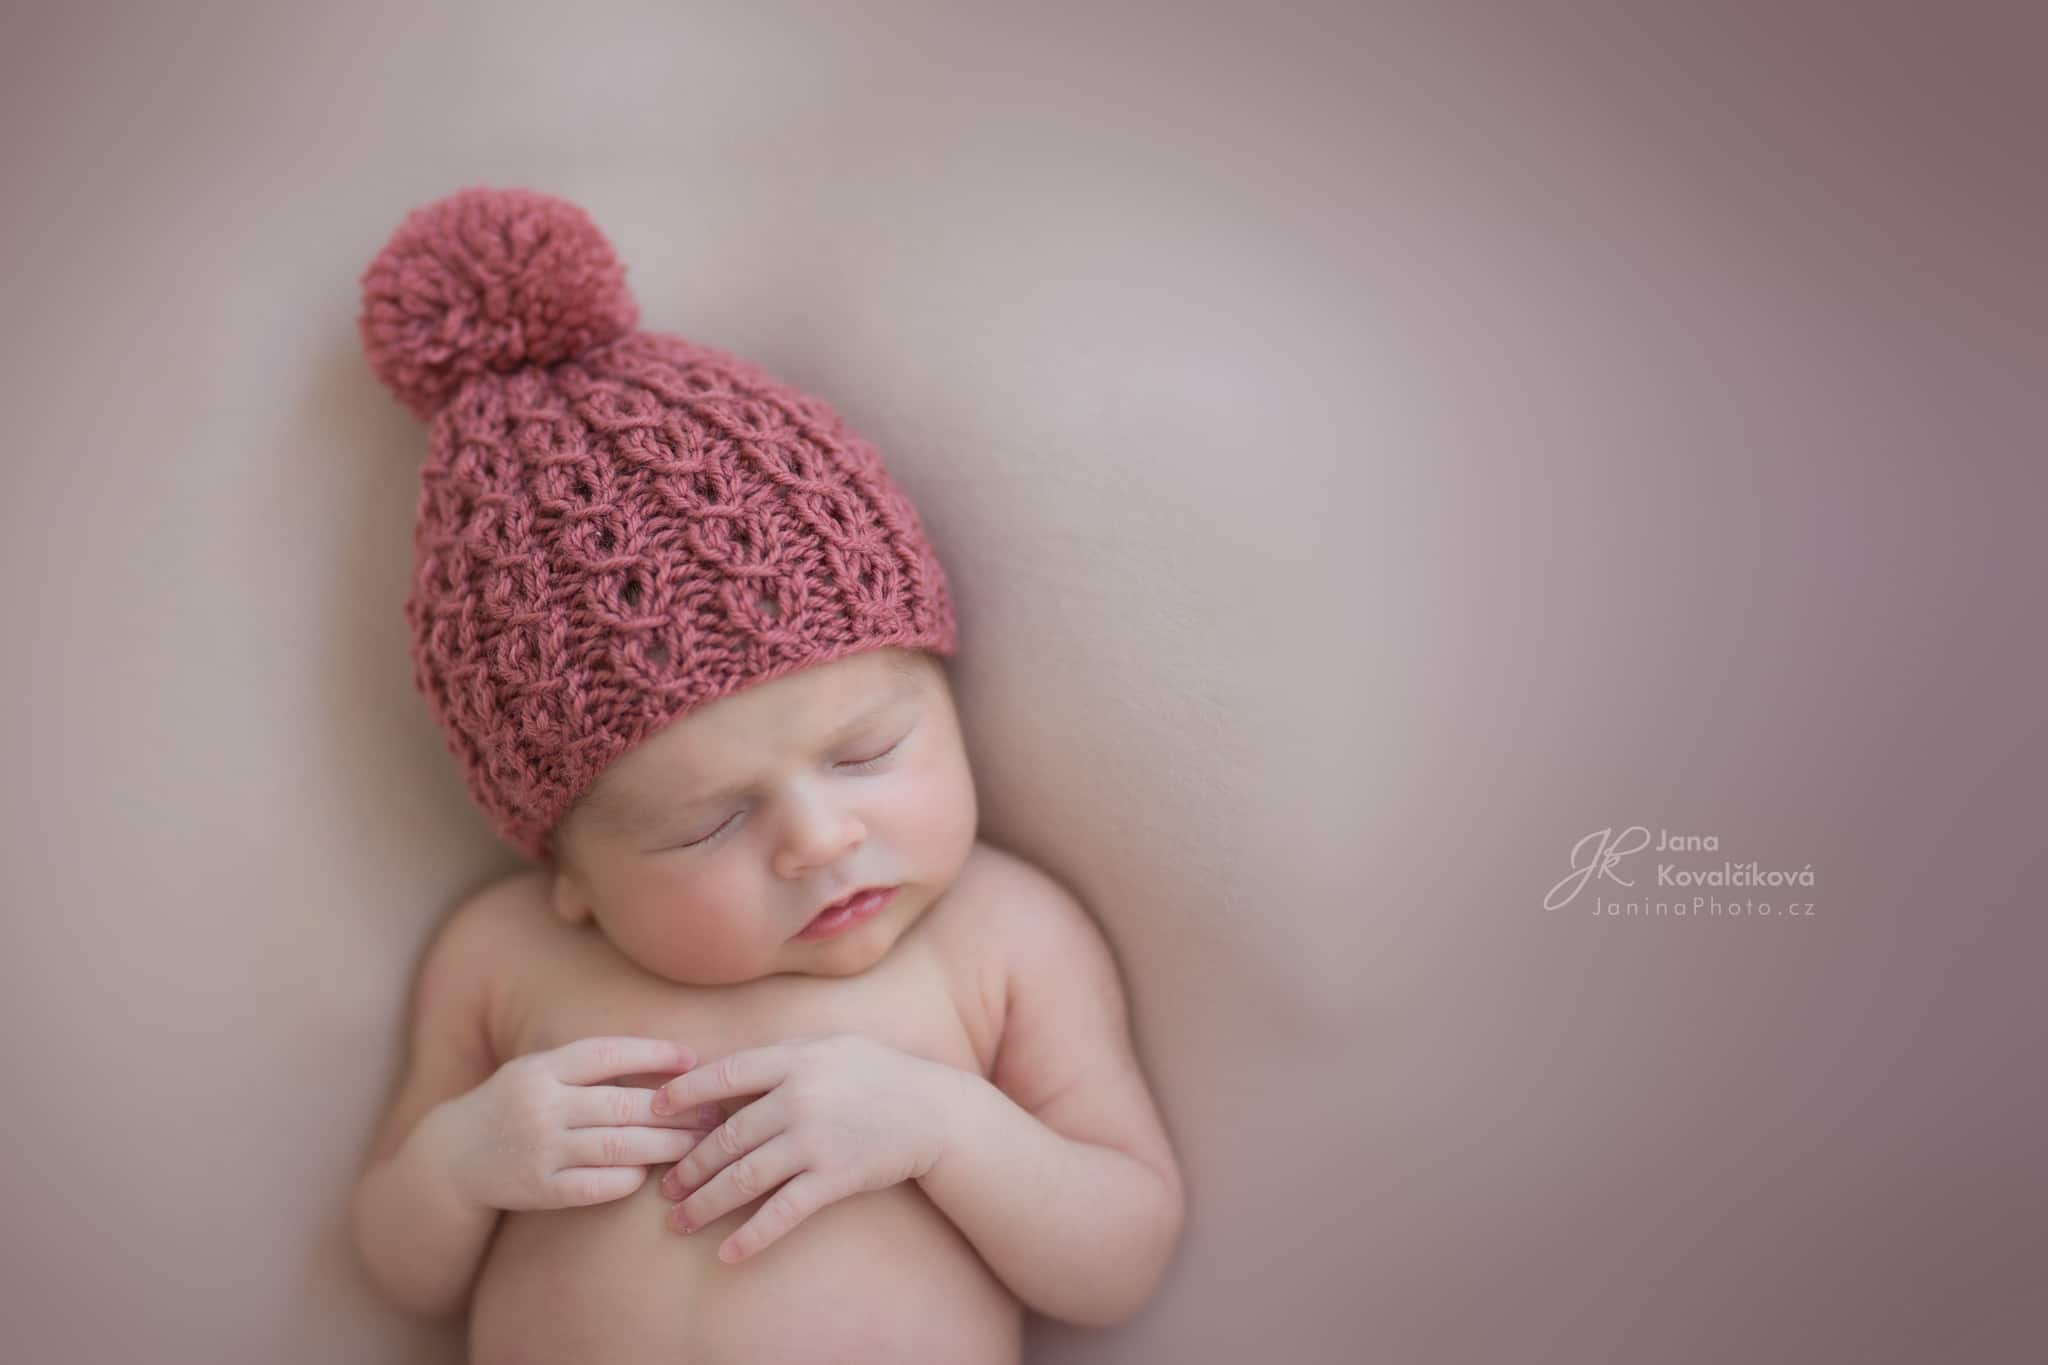
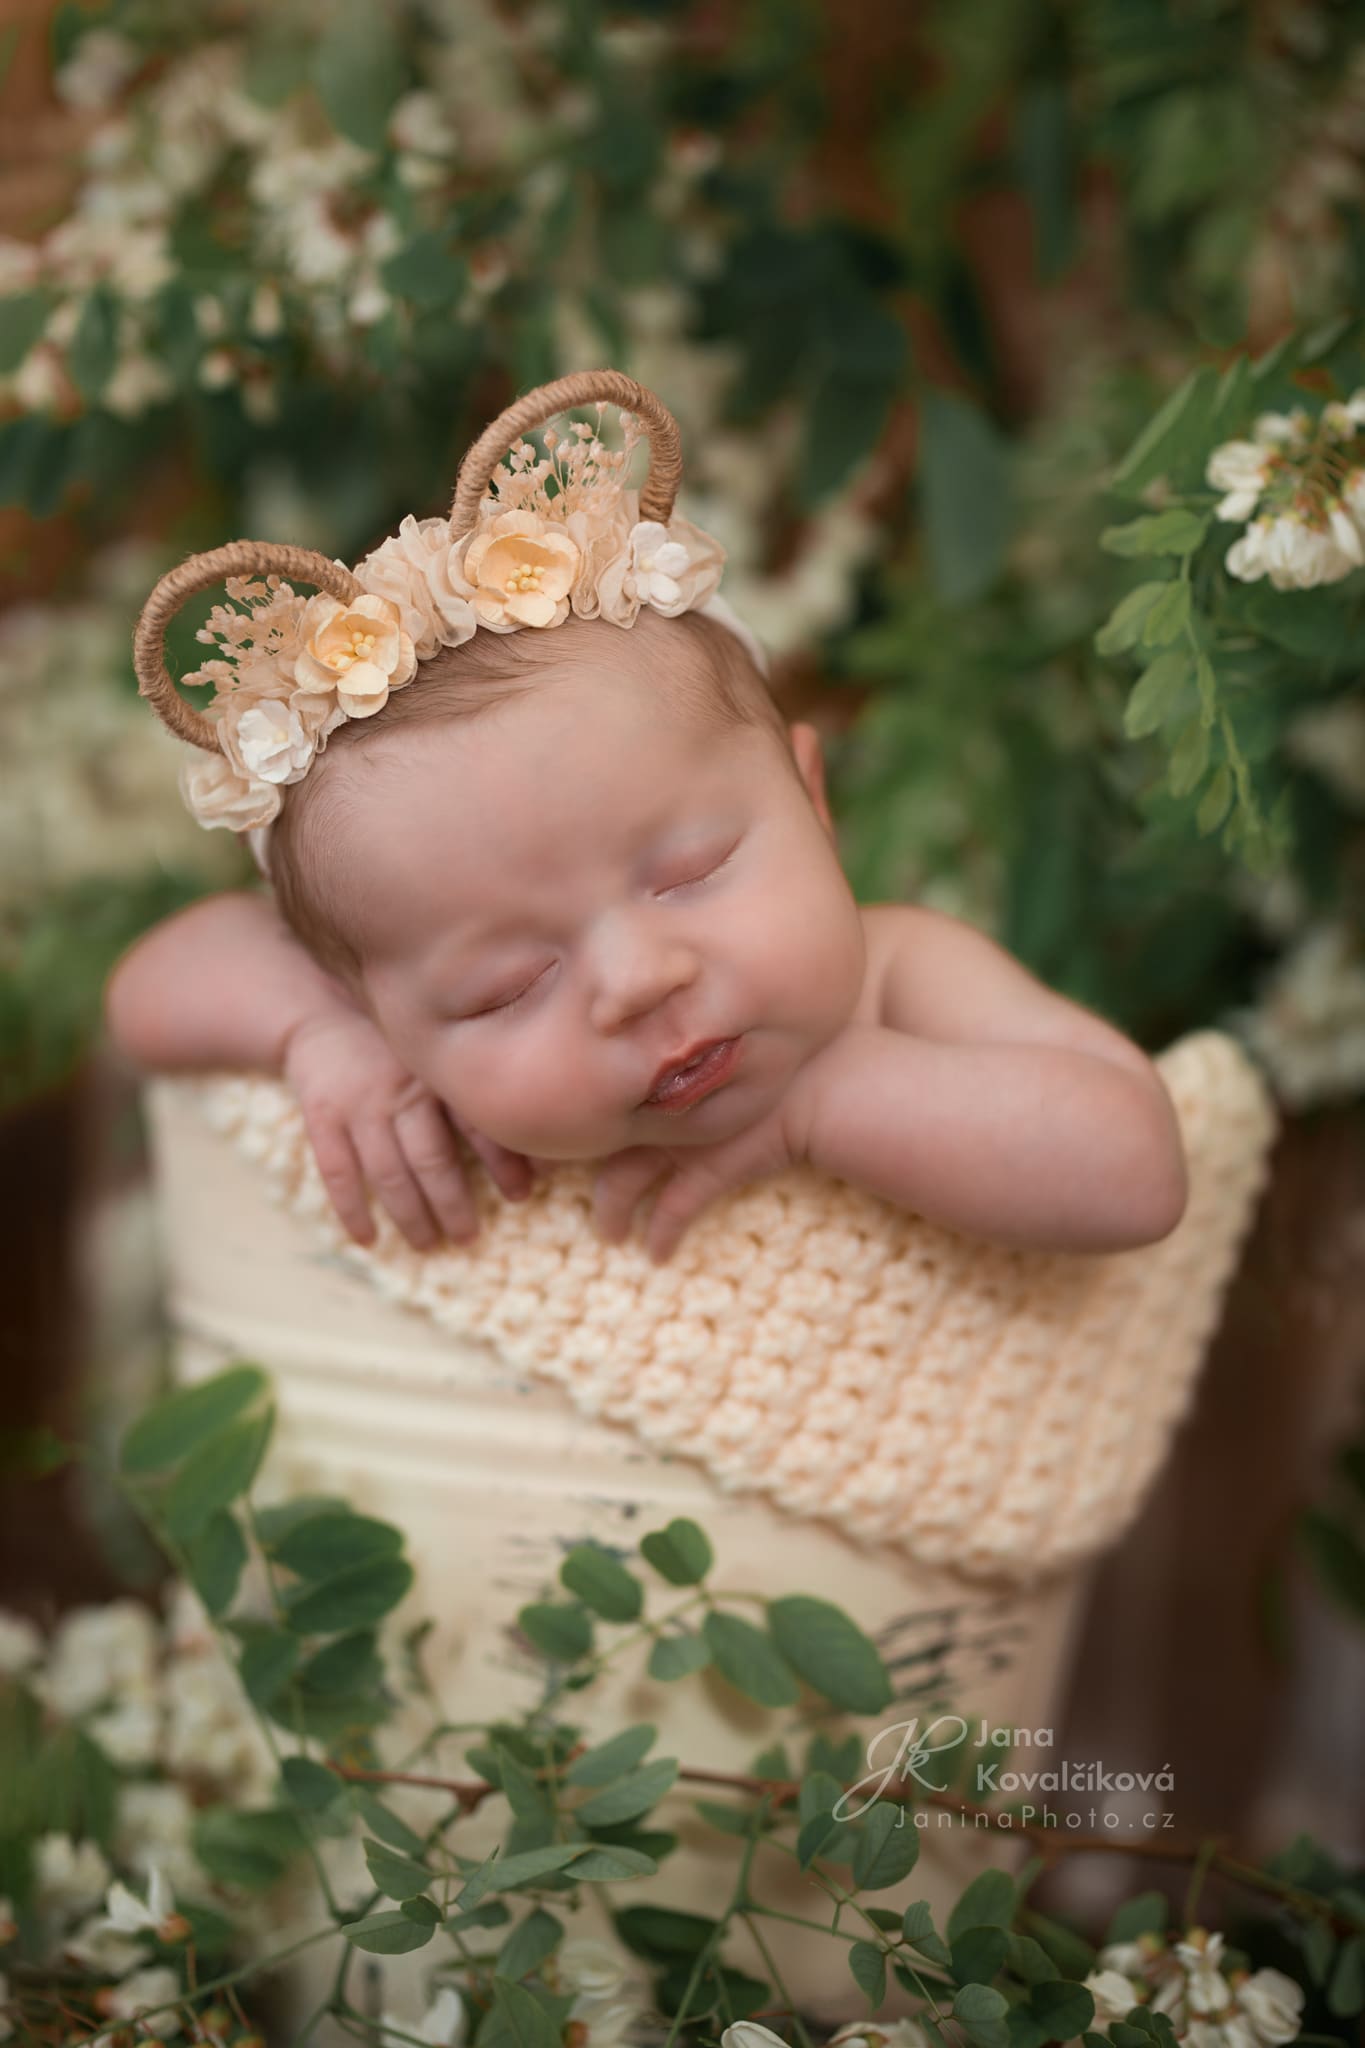
Props—For starting out, a few wraps for wrapping the baby. Later you can add cribs, bassinets, buckets, baskets, hats, outfits, headbands, fur blankets…
Warm room temperature—Make sure you keep the room warmer than usual
White noise—Babies are accustomed to white noise from the womb, and it helps them fall asleep
Lens —A 35mm or 50mm prime lens, or both. A macro lens will come in handy for detail shots.
Pacifier—Helps soothe the baby. The baby will then focus on things other than being moved or manipulated.
The shoot
The following things are the most important for me when doing newborn photography:
- Lighting
- Positioning
- Composition
- Camera angle
Lighting
Lighting is a key part of any type of photography. Newborn photography is no different. You can either use natural light or shoot using artificial lighting. There are advantages and disadvantages to both.
Natural light is soft and looks most natural. The disadvantage is that you must rely on the weather. Your lighting conditions can change, even in the middle of a shoot.
As far as artificial lighting or studio strobe lighting goes—a large umbrella is used with the softest light to achieve the most natural-looking lighting conditions. The advantage of artificial lighting is that your lighting conditions are consistent.
I personally use natural light and I’ve never done newborn photography any other way. Photographers I’ve spoken to who have experience using many different types of lighting maintain that studio strobe lighting is the best type of lighting for newborn photography. The undeniable advantage is having the same lighting conditions and shortening the amount of time spent in post-processing.
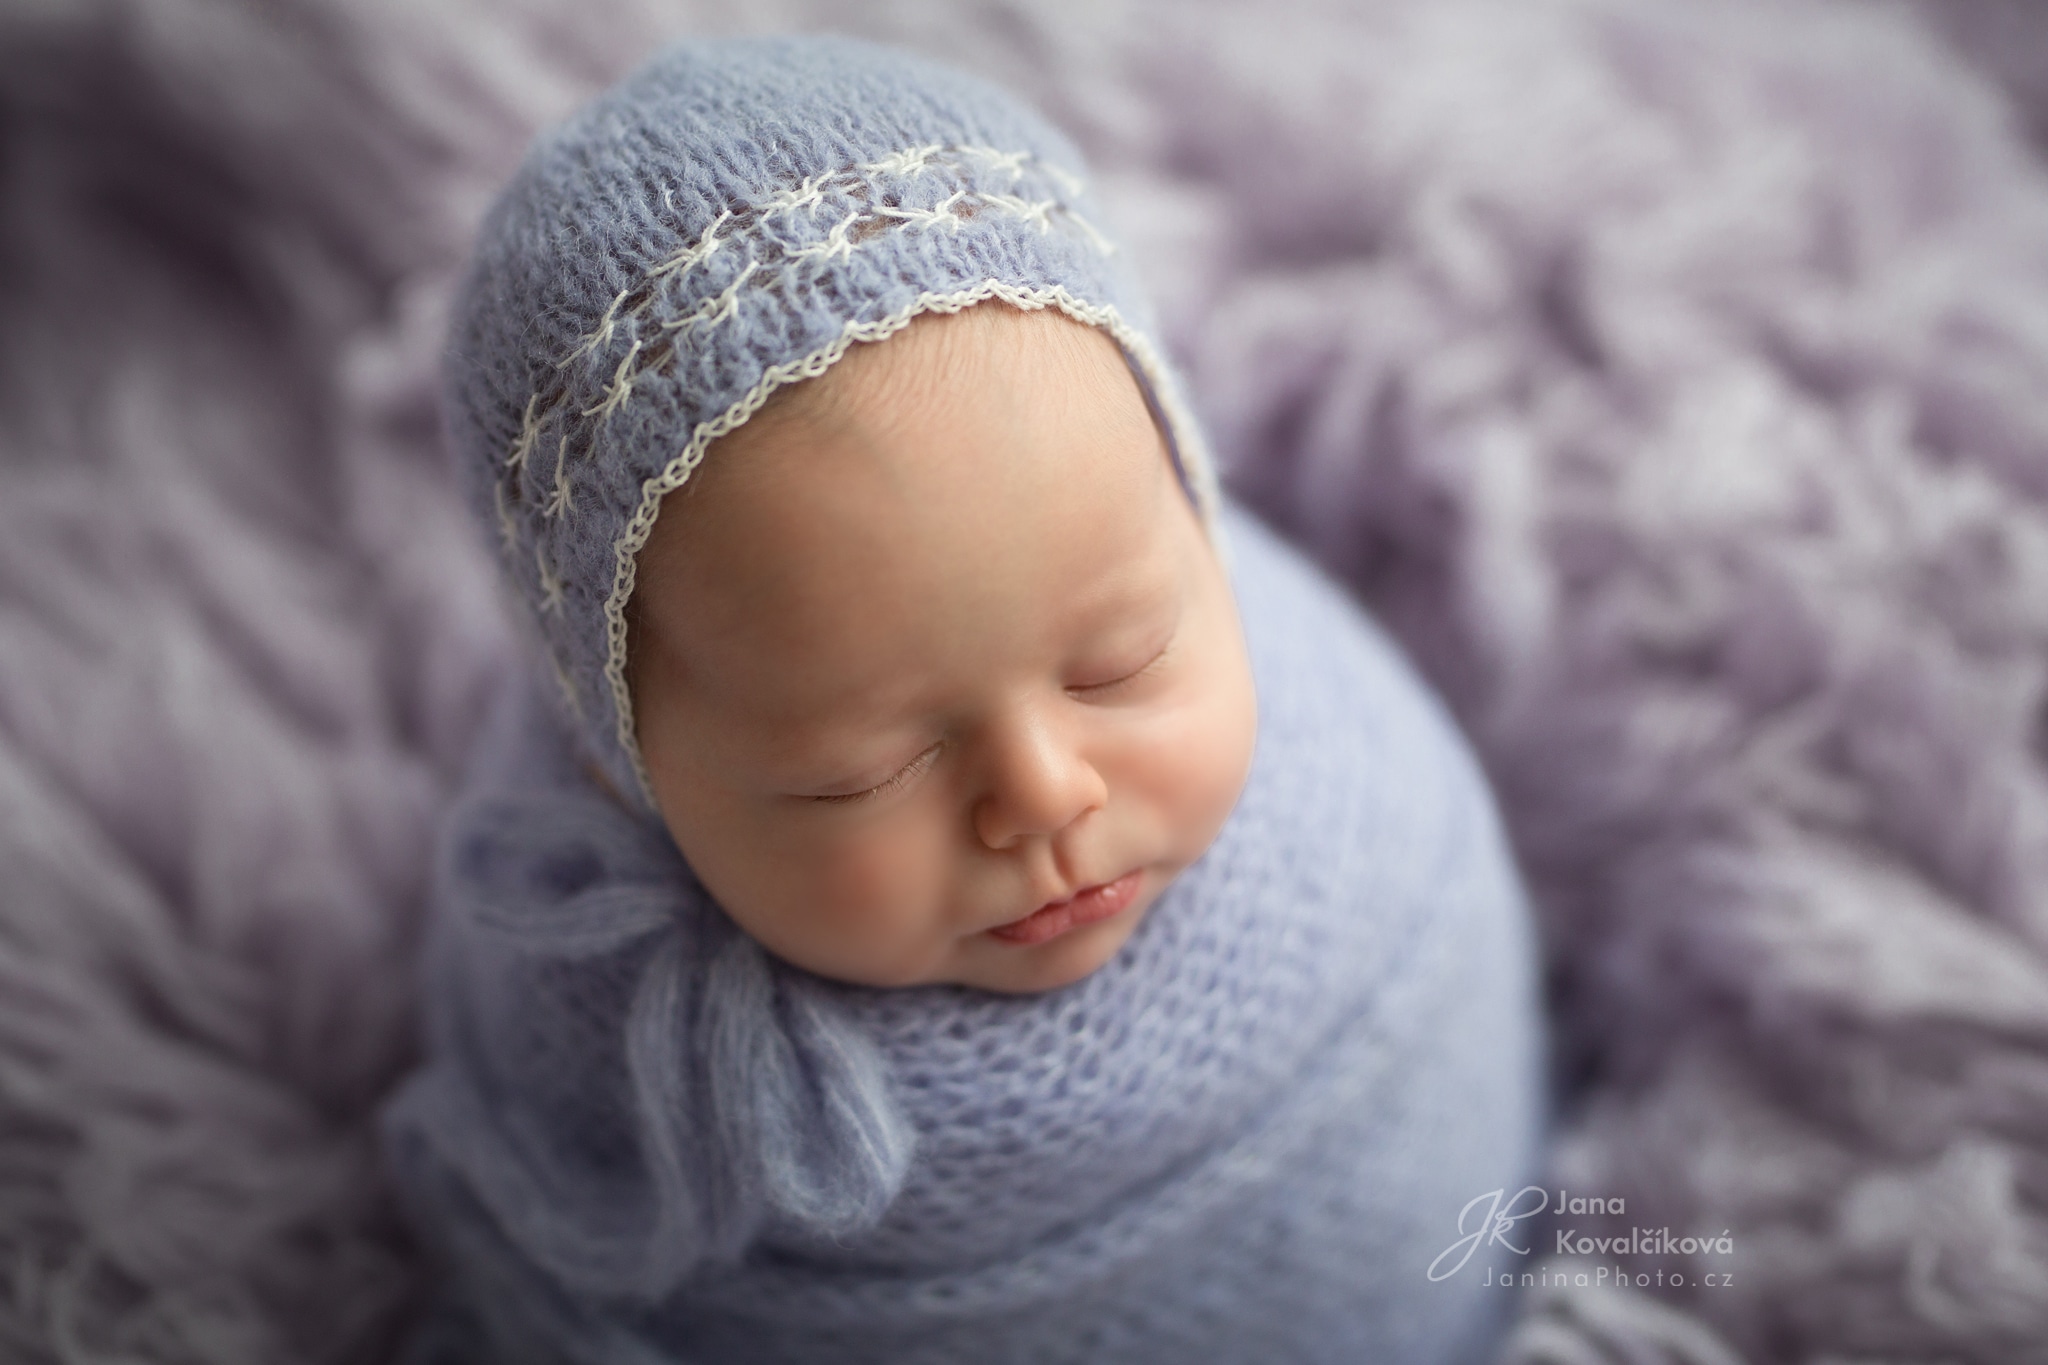
The key to lighting a newborn shoot is to light the baby from the top of its head, which also affects the camera angle and how the baby is positioned. Position the baby so that the head is supported as best as possible and is turned towards the camera. I also watch to make sure enough light is on the baby’s head as well as the hands and camera angle.
Canon 5D, Sigma 35/1.4, 1/2000s, f/1.8, ISO 400, focal length 35mm
Canon 5D, Sigma 85/1.4, 1/1250s, f/1.8, ISO 400, focal length 85mm
You can also try shooting in backlight, but the shadows must be attractive, like with a classic portrait. Avoid any overly dramatic lighting, especially from below. The baby is soft and tender and we want it to look that way in photos. Any dramatic lighting would take away from the baby’s natural softness.
Camera angle
The right camera angle is another key part of newborn photography.
With portrait photography, you can experiment more when it comes to camera angles. You can try different angles and experiment, if it is flattering to your subject. For example, you can shoot from below to make your subject’s legs appear longer. If the photo looks good, there’s no reason you can‘t experiment with different camera angles.
However, with newborn photography, everything is slightly more rigid. You don’t shoot from the baby’s feet unless you are doing a close-up. The angle and camera direction are always done so that the baby‘s head is as close to the camera as possible and stands out most. We shouldn’t see up the baby’s nose. Nostrils are incredibly limiting because a baby’s nose is not developed yet and you can see into the nostrils from the front, unlike adults. You must position the baby as best as possible, prop the head up, and take pictures from above with a slight tilt.

Canon 5D, Sigma 50/1.4, 1/3200s, f/1.8, ISO 400, focal length 50mm
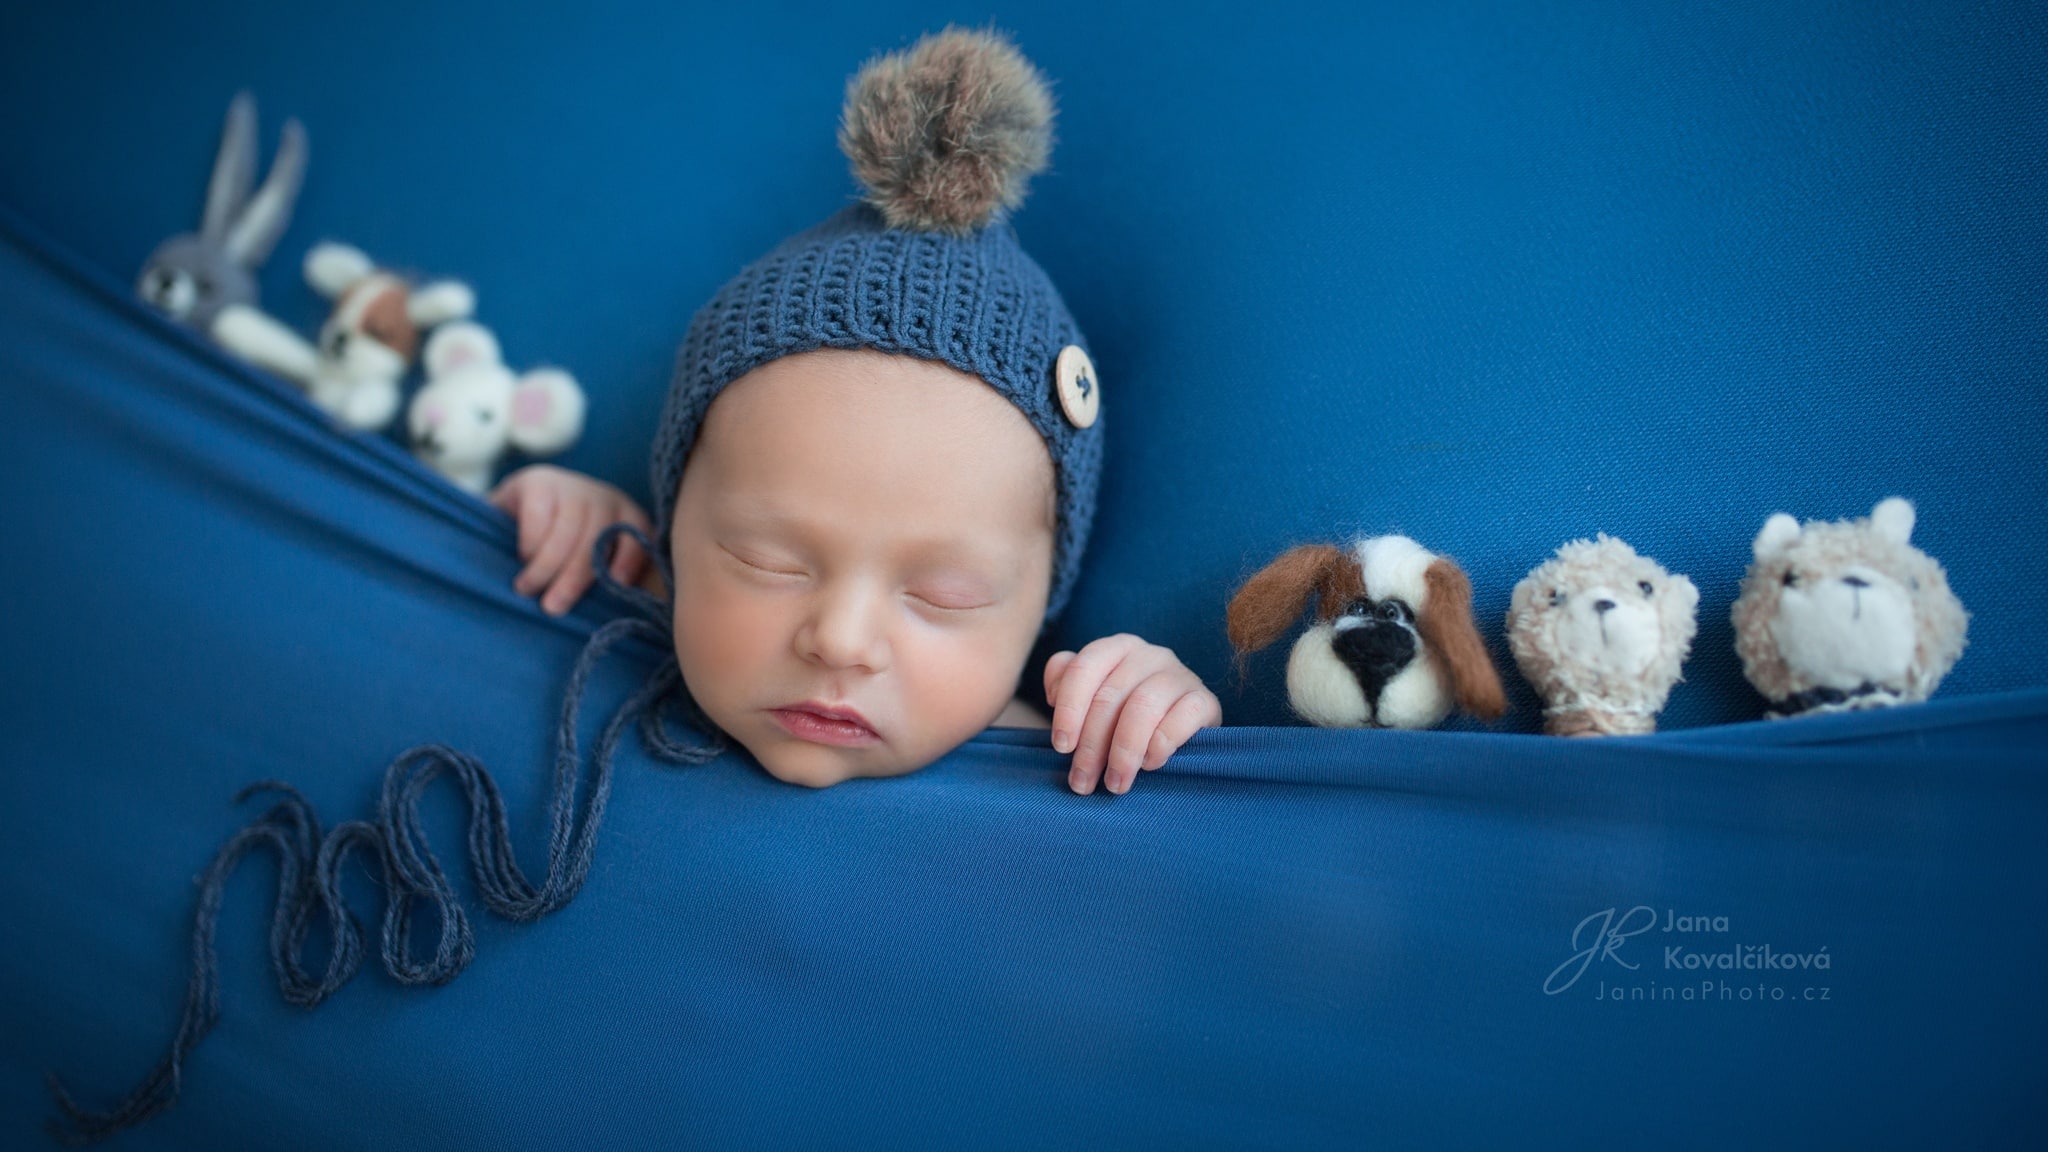
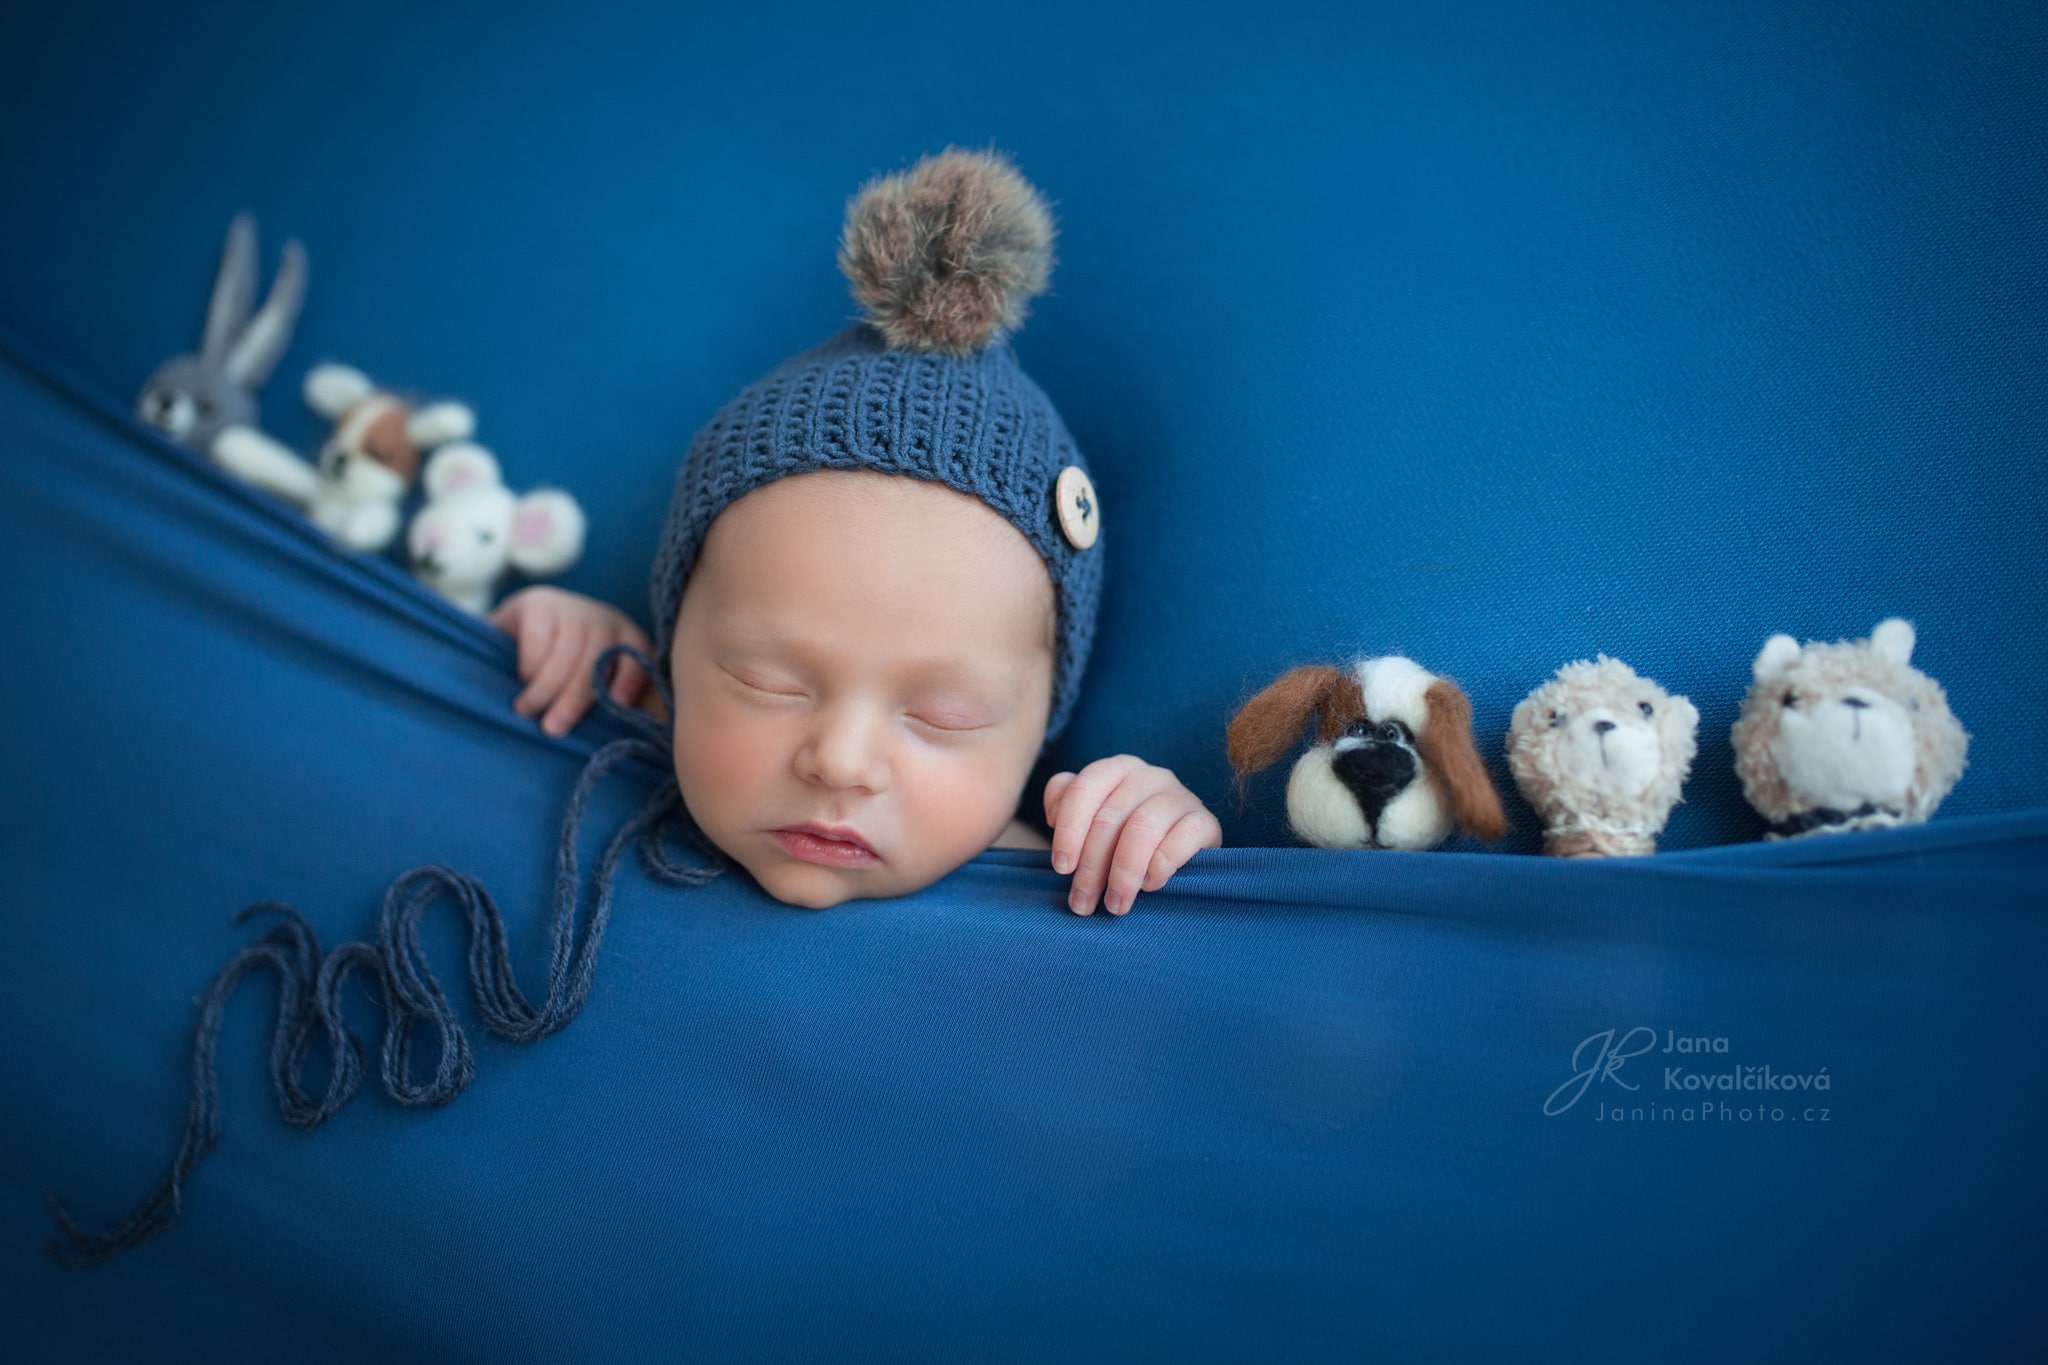
Positioning the baby
Positioning the baby is the most difficult part of newborn photography. Each position has a name and every photographer has a few favorites they use most often. It all depends on how cooperative the baby is and if they can be put to sleep. Most babies will manage to sleep soundly for about 45 minutes and that’s the time to get the baby into several positions on the beanbag.
However, a small percentage of babies won’t fall asleep soundly, and it’s up to you whether to go ahead with positioning the baby on the beanbag, wrap the baby, or put it in a basket, bassinet, or other place.
I can say for myself that even if the baby is restless and doesn’t want to sleep, I always try to take a picture of the baby on the beanbag because parents usually want these types of photos. It’s also a good idea to establish some sort of workflow with smooth transitions from one position to another.
Some of the poses I use are:
Side lying pose
In this position, the baby lays on their side. Their arms are folded beneath their head. I straighten the legs to make it look nice. I also don’t forget to support the head. I use a pillow for effect, which the baby can also hold.
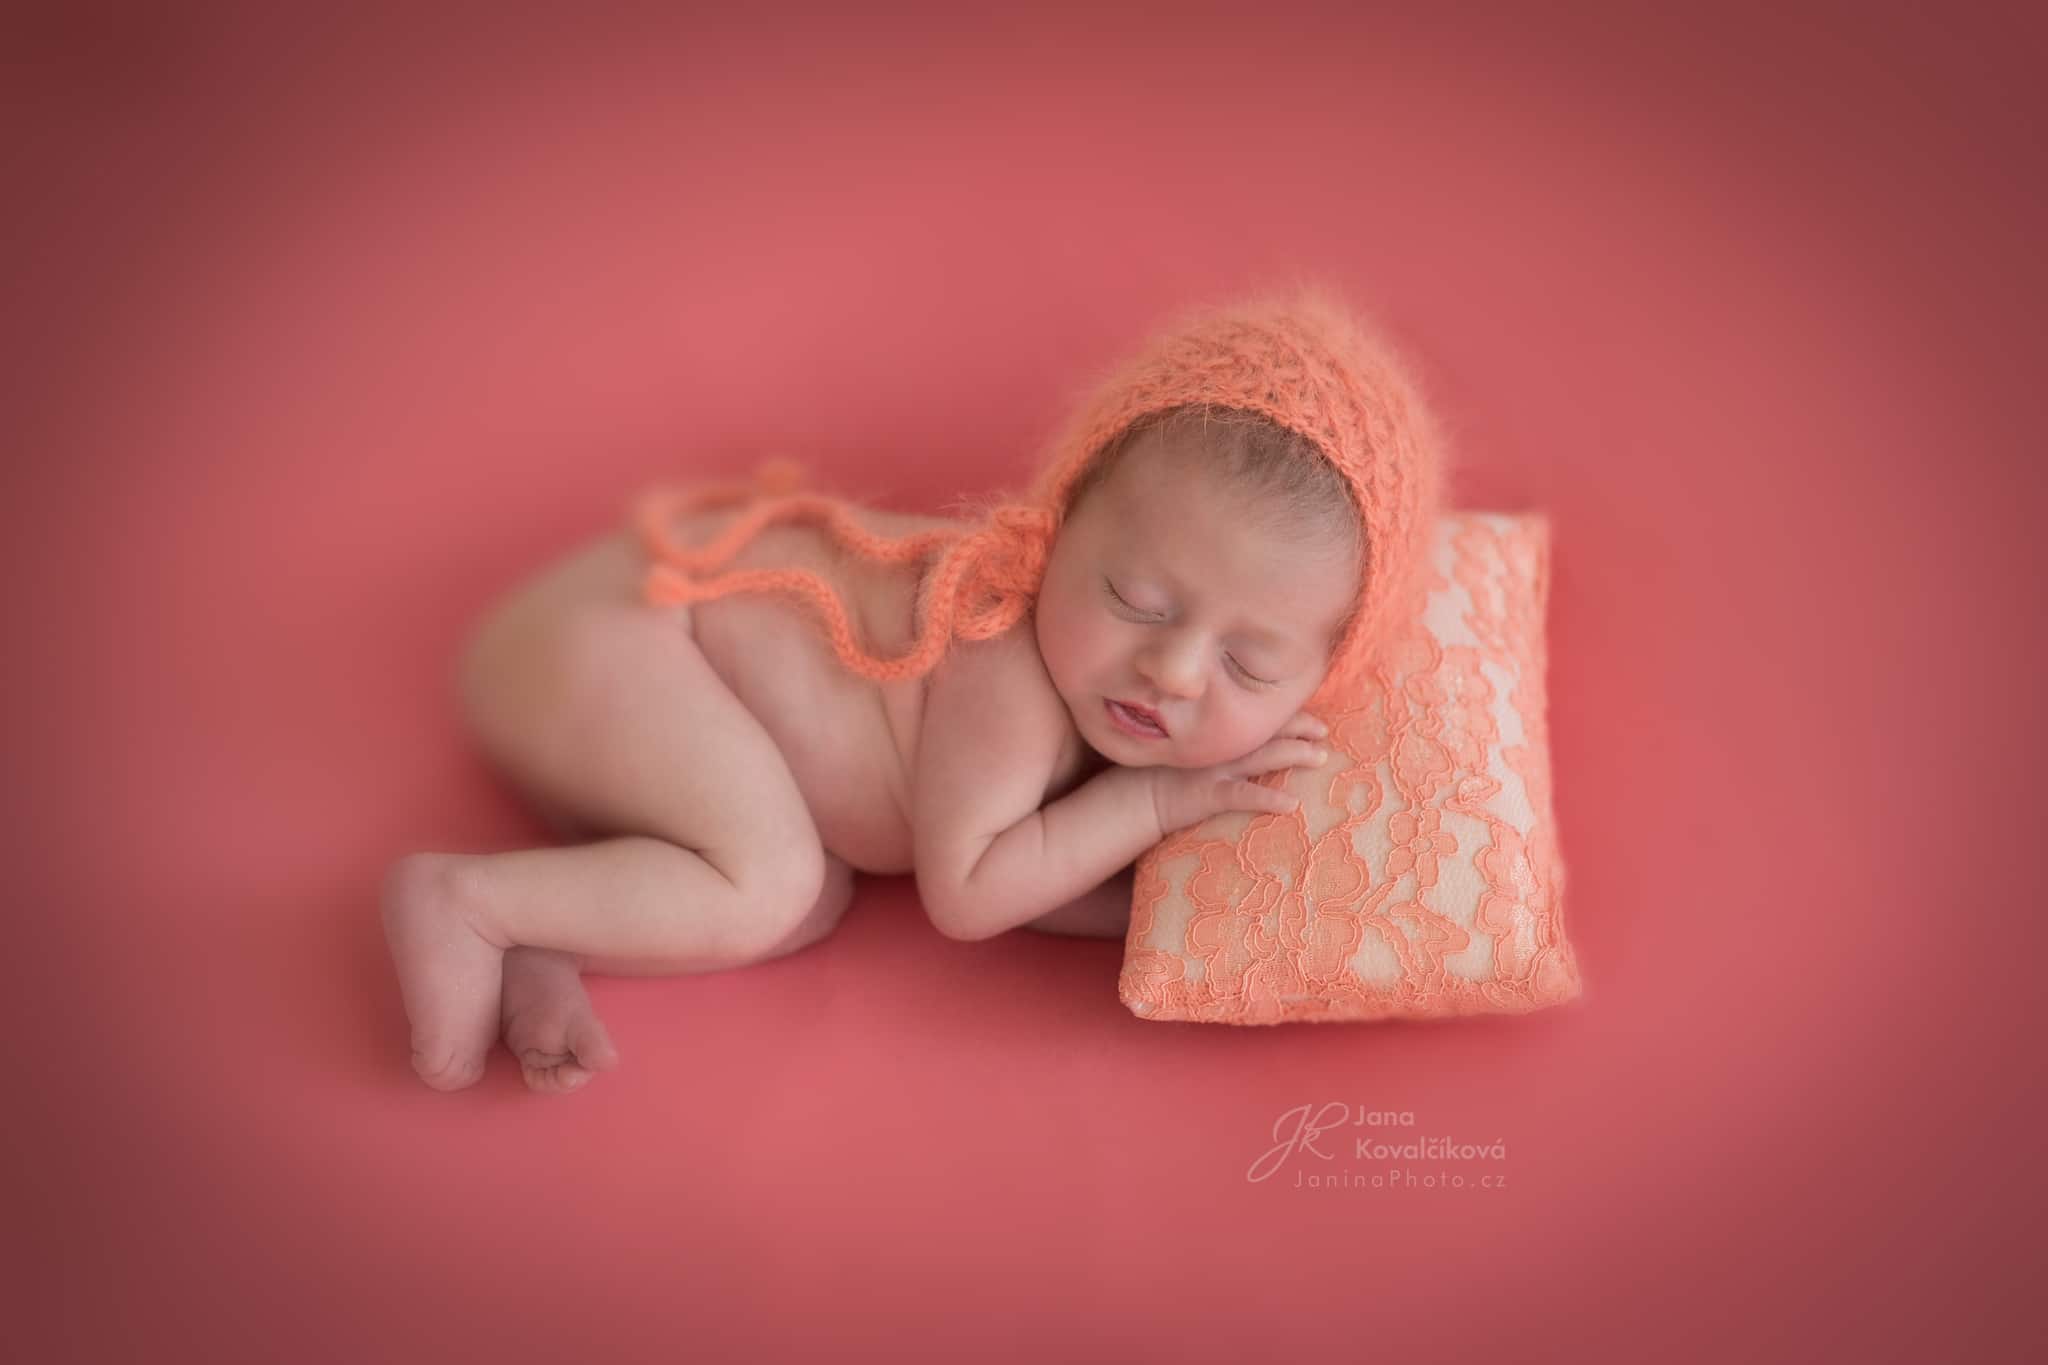
Canon 5D, Sigma 50/1.4, 1/1250s, f/2, ISO 400, focal length 50mm
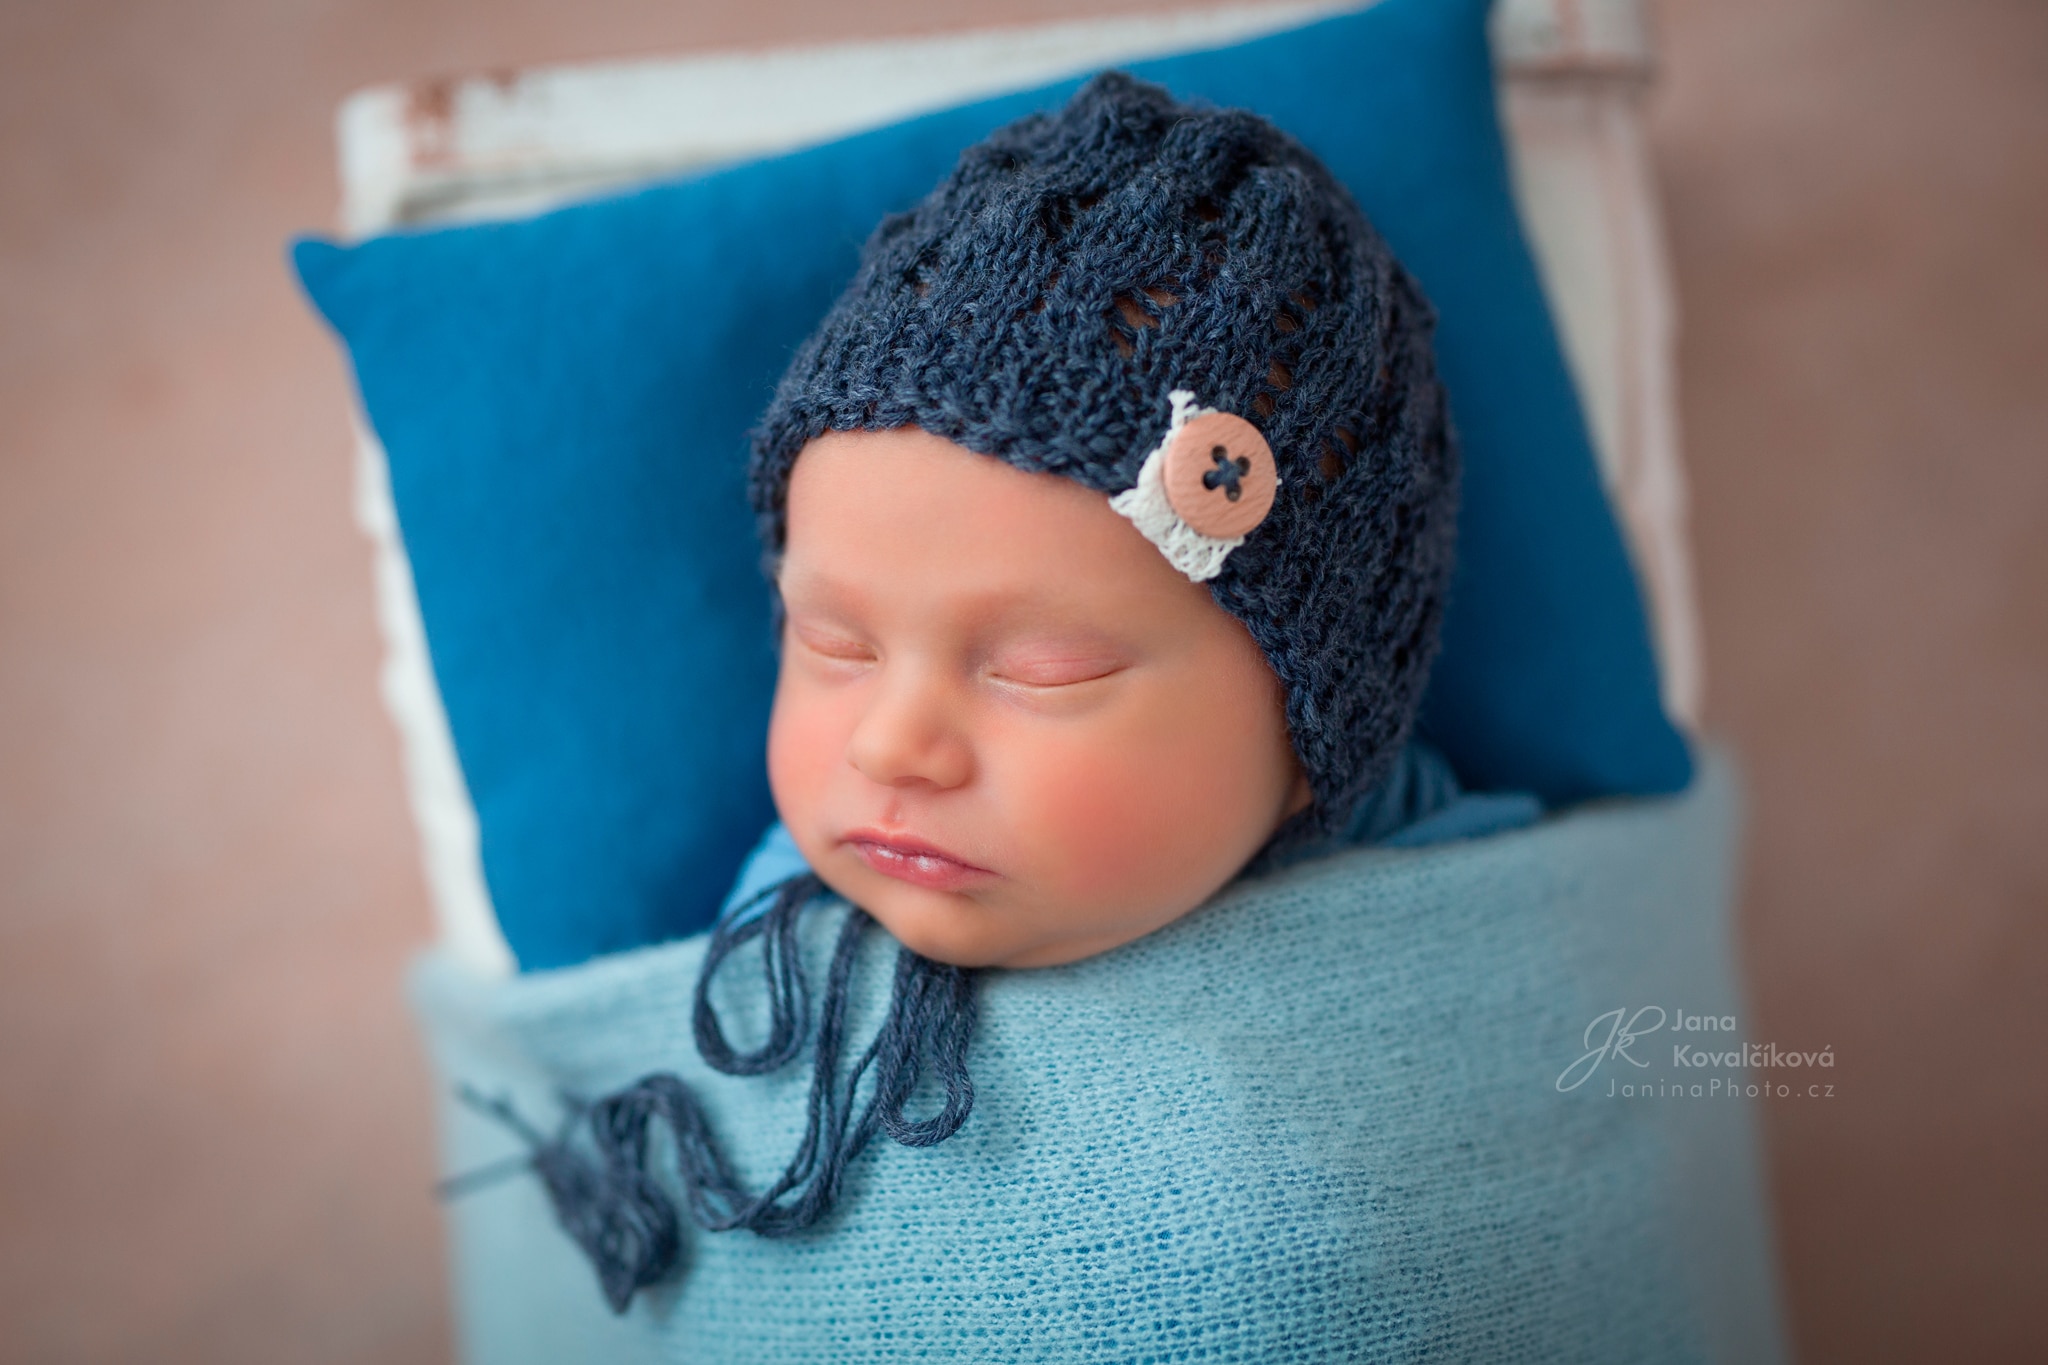
Potato sack pose
I wrap the baby nice and tight so their legs are folded and their arms are folded underneath their chin for support. The wrap is tightened at the back of the neck to hold the head and support it from both sides. One side is supported by the hands under the chin, and the other side of the wrap is secured. The hands can peek out from under the chin, but they don’t have to. It’s up to you. The baby is basically standing on a fur blanket over the beanbag and is well padded from below.
Canon 5D, Sigma 85/1.4, 1/400s, f/1.8, ISO 400, focal length 85mm
Chin in hands
This position is often done on a beanbag, crib, bassinet, or basket. I like doing chin in hands in a bucket. Fold the hands under the chin and either the assistant holds the head up (and you later edit out the hand) or the head is slightly tilted to the side because the baby can’t hold it completely straight on its own yet.
Very rarely does a baby stay in this position after the assistant holds the head and then tries to let it go. If the baby stays in position, you are very lucky and don’t have to retouch anything. I usually leave the head slightly tilted to the side.
Canon 5D, Sigma 85/1.4, 1/200s, f/1.8, ISO 200, focal length 85mm
It’s important to mention that if you’re taking pictures for clients, it’s a good idea to get as many shots from each position as possible. Once you are able to position the baby, then you should:
- For the side laying pose, first photograph from the head in the direction of the light, then from above, then get a portrait, and then, head detail and hands detail, halfway up the body. Finally, put on a hat and wrap the body. For girls, you can use headbands. You can end up with a good number of photos from each pose for your client portfolio. The parents will have plenty to choose from.
- For the potato sack pose, photograph from the front, along the light, in backlight, and do a close-up of the face. Put a toy in the baby’s hands, put on a hat or headband, and again, you have a minimum of five different photos for the client to choose from.
Composition
Composition is also very important when doing newborn photography. You can follow the same principles of composition you would for a traditional portrait or landscape photo. I let my intuition and feelings guide how I choose the composition for my photographs.
When it comes to composition, I can say that I use the golden ratio and rule of thirds, central composition, and lines, usually with wood floors as a background or base.
It’s important to clean up the background a bit. For example, straighten out the fabric on the bean bag so the eye goes to the baby and not the fabric. It’s also a good idea to decide if you want very sharp photos where both baby’s eyes are sharp. If you want the rest of the body to be sharp or if you prefer just the eyes to be sharp and keep the rest of the photo out of focus. This will decide your lens and camera settings (especially aperture).
Pay special attention to retouching. Right after birth, the baby may be very red, full of colored spots, skin imperfections, etc., which no mother wants. Even for the photographer, it’s important to play around with the baby’s skin complexion using retouching software, such as Zoner Studio.
Anja
Amazing pictures, great work! Anja from https://anjajepsen.de
Jana Kovalčíková
Thank you souch 😊.