The Best Angle, Lens, and Aperture: Take a Look at How to Do Portraits Right
Portrait photography is one of photography’s basic genres. Like the others, it has its specifics that are good to keep in mind so that you can get the very best photos.
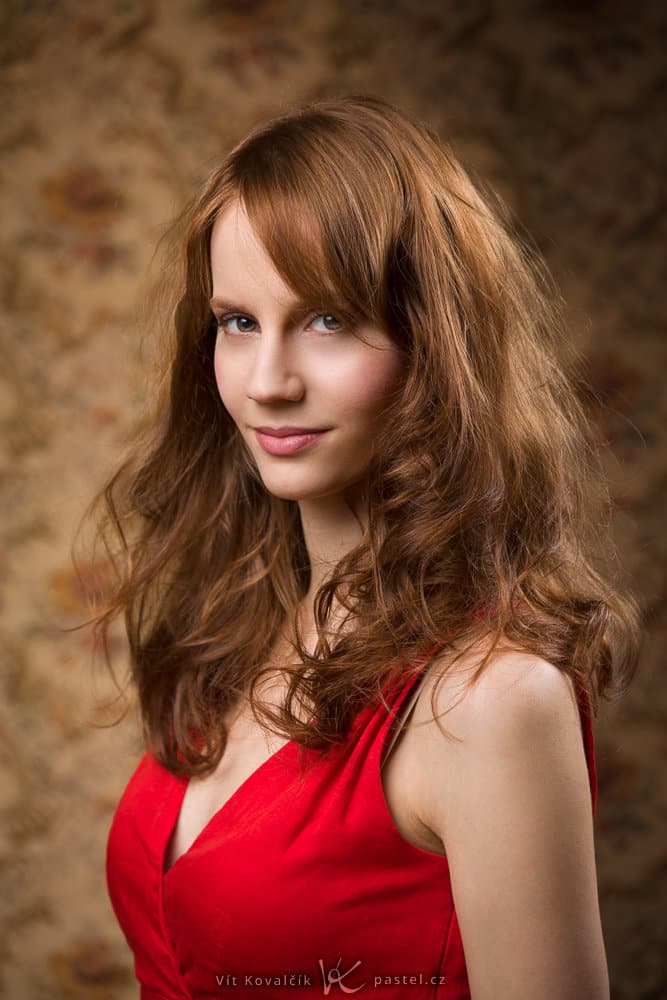
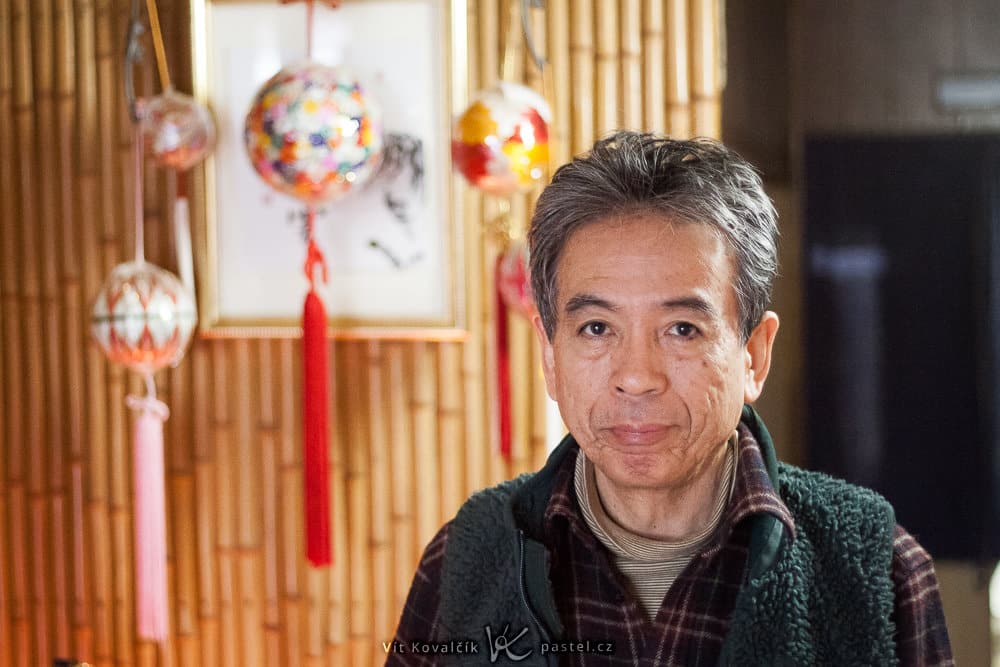
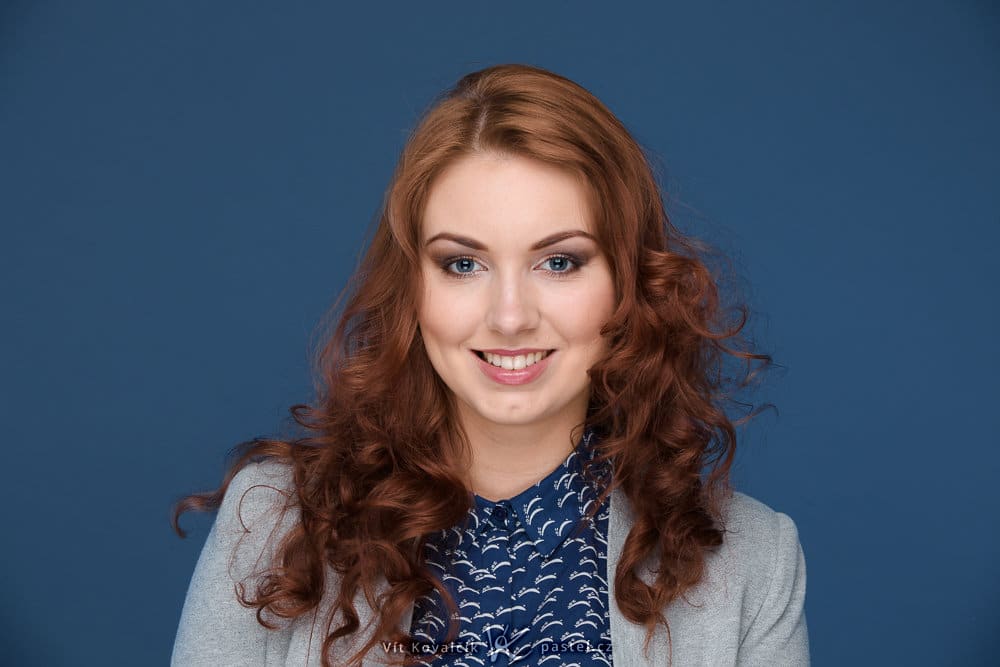
Every photographer understands portraiture a little bit differently. I don’t mean the style itself, the lighting, or the pose, but instead the basic question of which part of the subject to actually photograph. Perhaps the most common is the “head and shoulders” type, where the face dominates the picture, it’s easy to read its emotions and see all of its details.
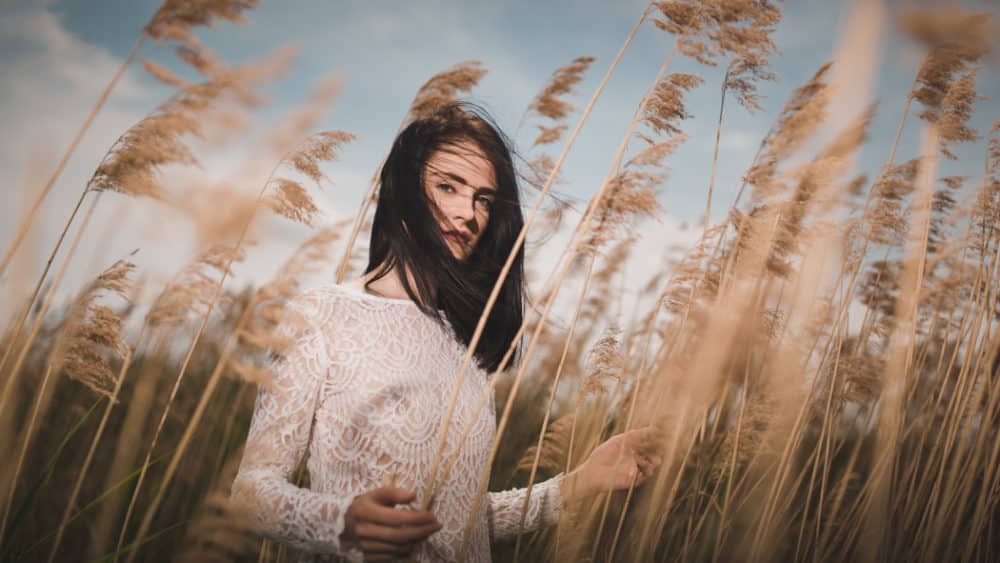
This approach can be extended downwards so that the arms and perhaps part of the surroundings also make it into the picture.
But sometimes a very wide photo that captures a person in the context of their surroundings is also considered to be a portrait. It might be a teacher in his office; the photo below might meanwhile be called a portrait of this gymnast.
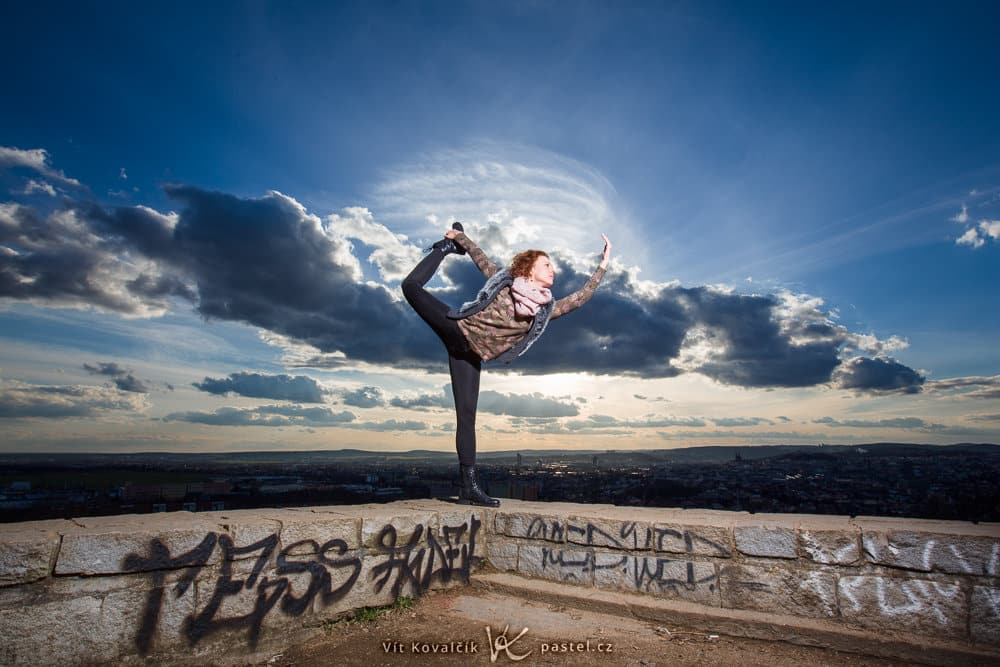
But I’ll ignore that last type in this article and focus only on the closer shots illustrated in the beginning.
Focal Length, or: Using the “Right Zoom”
For portraits, you’ll generally use lengths from 85 mm to 135 mm (full frame equivalent). Lengths below, say, 50 mm will force you to stand so close that the model’s head will be heavily deformed by perspective distortion, which they will not appreciate. Lengths above this range, however, are fine; the only trouble is that they can feel flat and less impactful.
Don’t forget to check out the article Why Should I Zoom in for Portraits?
A Low F-stop Prevents Distractions
Besides focal lengths, there’s also another typical shot parameter to manage—the f-stop, which you want to have low. That will let you focus on your subject and wonderfully blur the background so it won’t distract. That puts your model at the center of attention.
Unfortunately, ordinary DSLRs with a sensor smaller than a full frame by a factor of 1.5 or 1.6 are often shipped with an 18–55/3.5–5.6 lens. With these, at the long end you get a focal length of 55 mm x 1.5 = 82.5 mm full frame equivalent. That’s a great length for portraits, it’s true. The trouble is, that leaves you unable to take the f-stop below f/5.6, which is still too high.
That’s why cheap 50/1.8 lenses are very popular. With these you can get a similar focal length while using a much lower f-stop. They’re among the best candidates for a beginner’s portrait lens.
For full frame cameras, there are lenses that can blur the background even more. One of the more extreme examples is the very fast Canon 85/1.2 lens. But compared the previous lenses it’s expensive and heavy.
Focus Right
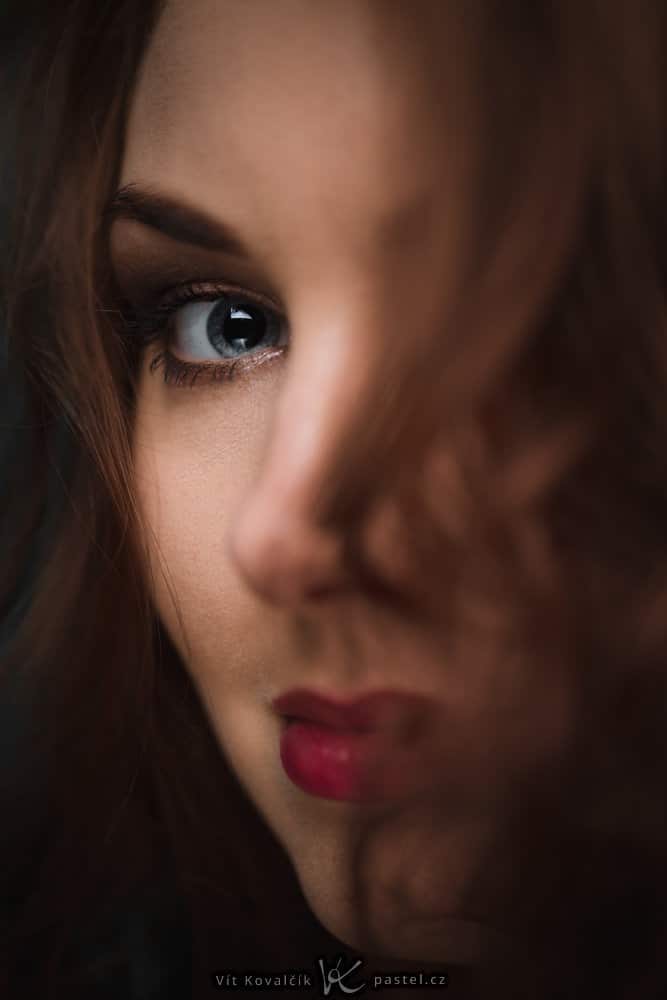
When you use a low f-stop, you’ll get a small depth of field. Even though you intuitively know that you need to focus your subject, that may not be enough, because their whole body may not be in focus. Because of this, you need to focus on their eyes. If you can’t even get both eyes in focus, then it’s best to focus on the closer one.
The case where one eye is covered is an exception here. In that case you focus on the other eye.
Here we’re working with tolerances so tight that even for professionals, it’s common for some shots to have bad focus—it may be an error in the camera settings, an auto-focus mistake, or a slight shift by the model just before the trigger is pressed. It’s always best to take several shots for a portrait and re-focus for each one.
If you don’t get any sharp photos even despite this, you can try sharpening in Zoner Photo Studio.
Don’t Be Afraid to Advise Your Model
There’s no universal guide for how your subject should face you. They can even have their back turned and still give you a good photo. But it’s good to advise an inexperienced model.
I’d recommend two things especially—take note of how their head and body are turned relative to the camera.
A beginning model will almost always face straight towards you and not have any other ideas than that. This pose can certainly work, but it doesn’t suit everyone.
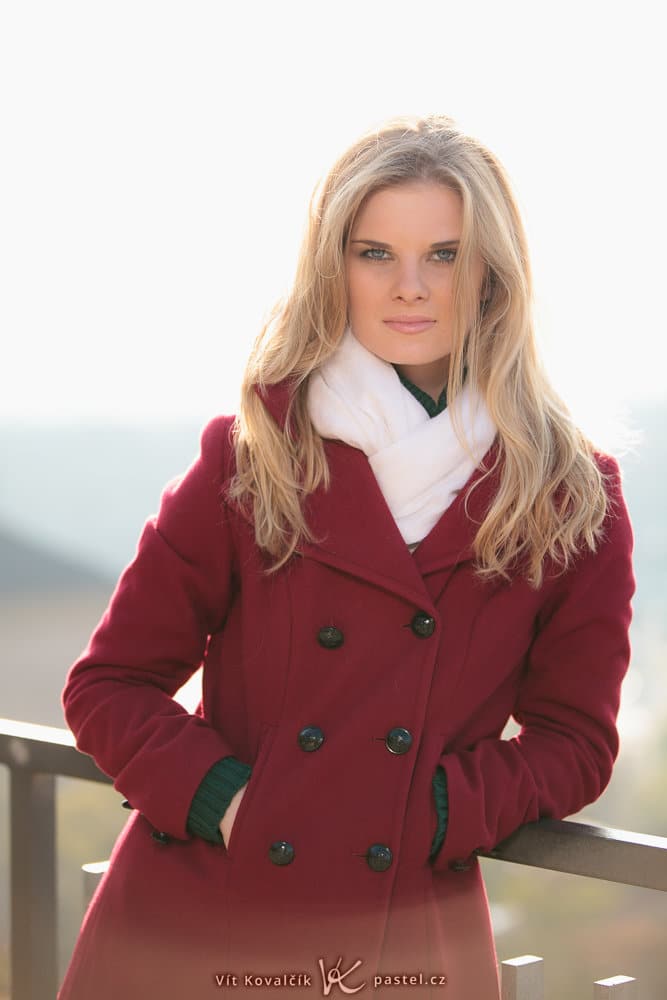
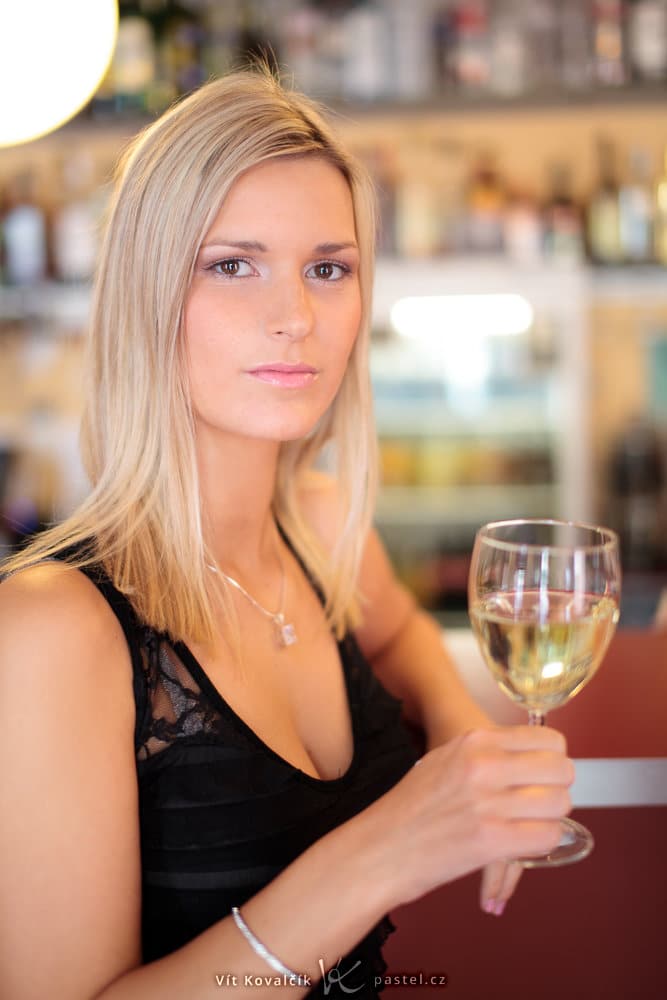
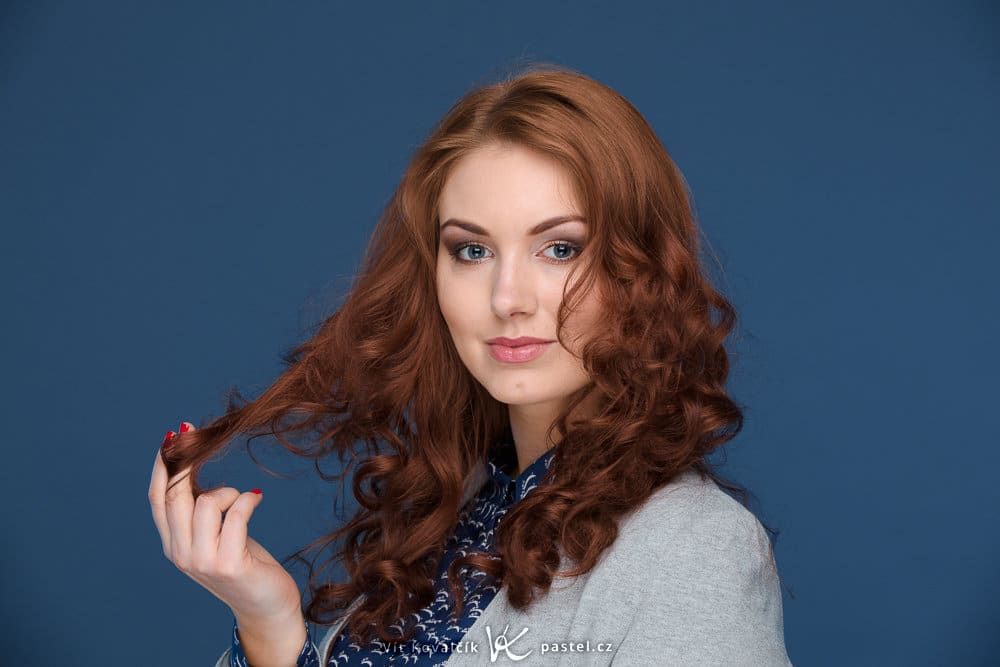
You generally get a more elegant photo if you tell your subject to turn slightly sideways. That also gives them two ways to turn their head—either straight towards the camera, as in the photo above, or slightly to the side, but with their eyes still watching the camera. That second pose looks gives a much more sophisticated effect.
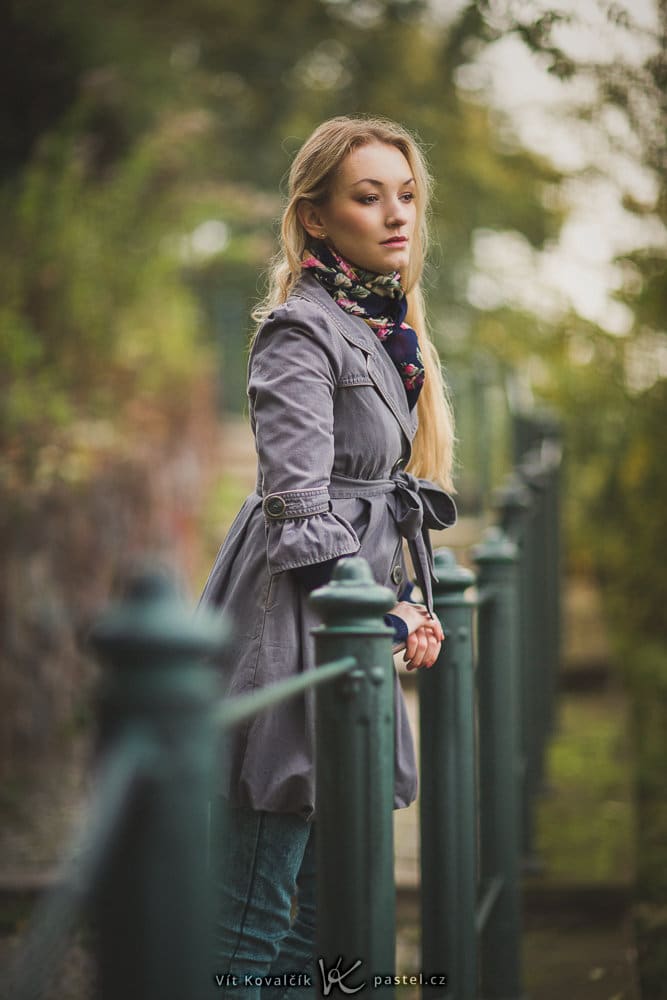
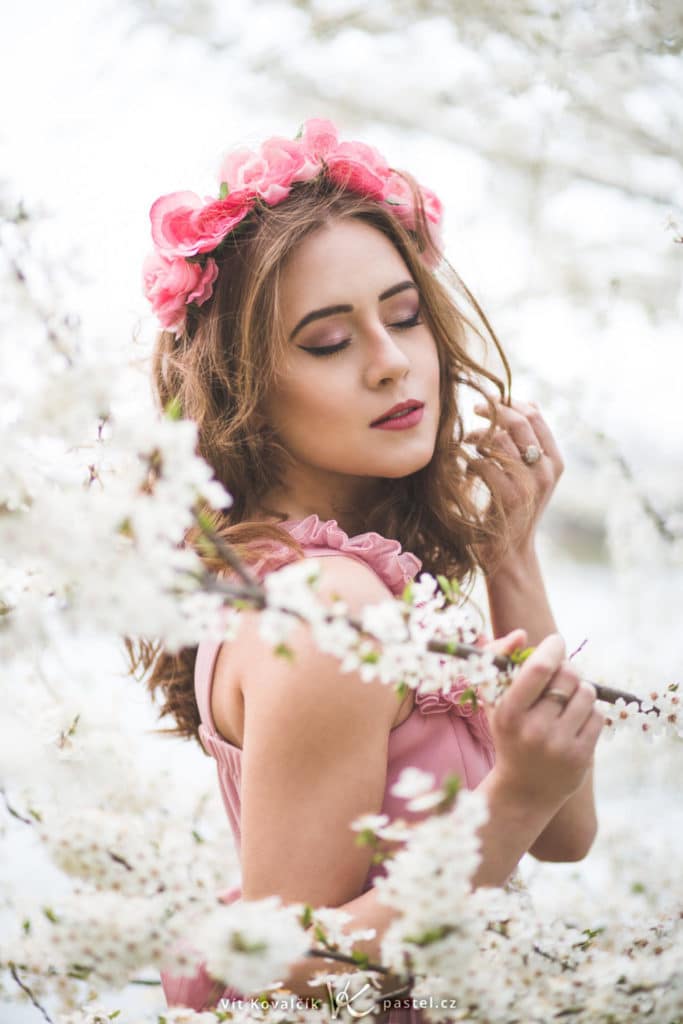
Of course, they don’t have to look at you at all. Note how in this photo the model is atypically standing precisely at right angles to the camera.
The Shot Height
In nearly all of these sample photos, I shot from the height of the model’s eyes, which is the most common variant. Shooting from below is tricky, because for the model to look at you, they have to lower their head, which can give them a double chin. So it’s rarely recommended.
But you can try shooting from above. This gives your photos some flair, and your model will never get a double chin. On the contrary, this tautens the skin on their neck, and so they’ll tend to look thinner—which they definitely won’t mind.
Composition
For portraits the usual rules of composition apply… although many of them won’t find use in this genre. But you do need to watch the model’s background. If a tree or even a single pillar in the surroundings is growing out of their head, that’s a mistake.
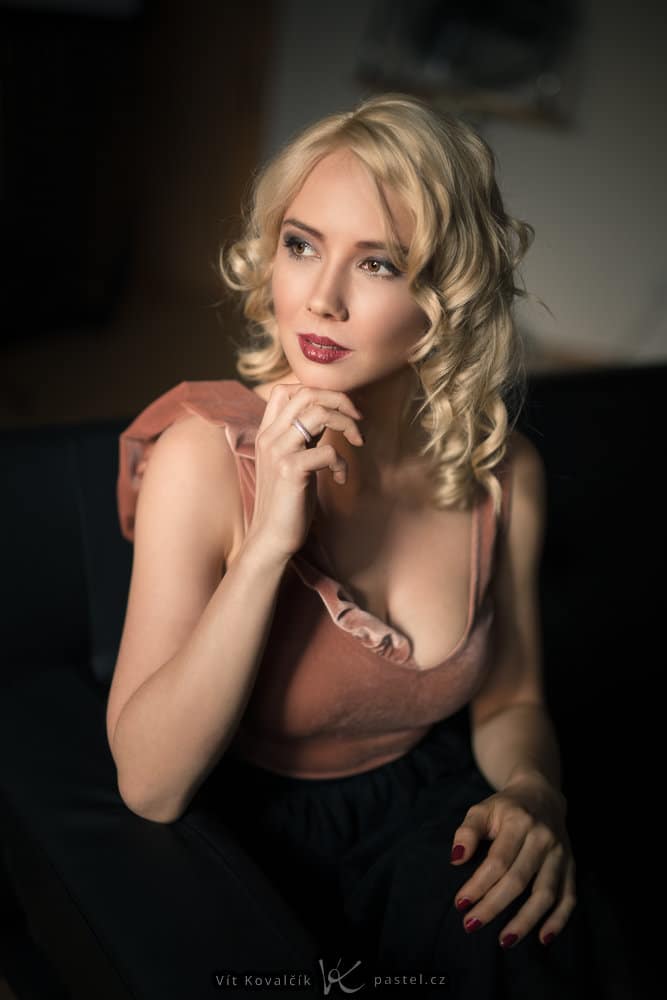
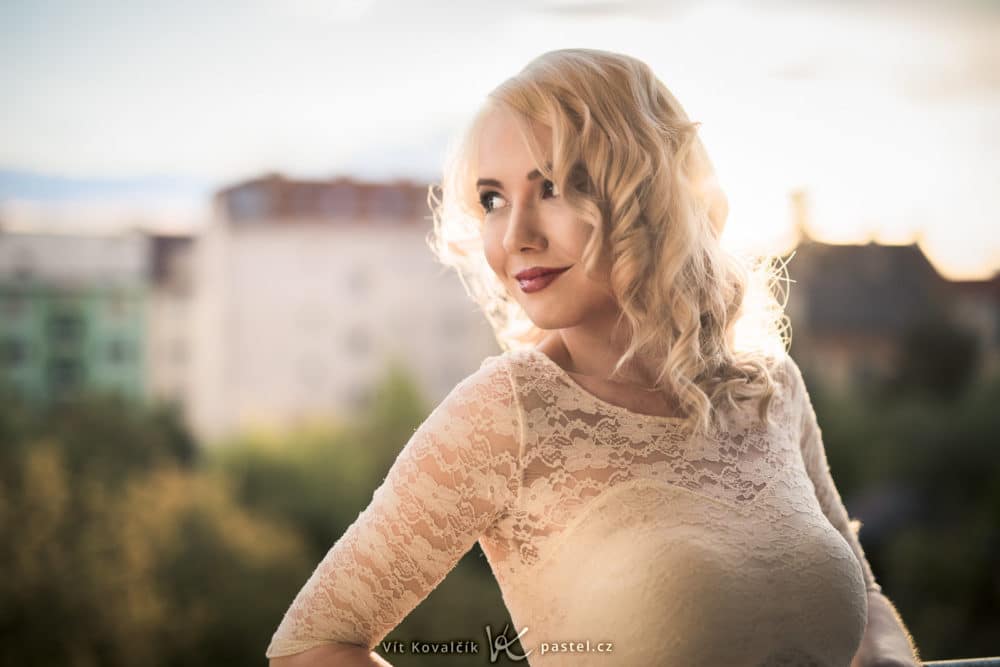
There’s another rule that’s specific to photographing people: If a person is looking to the side, then their gaze should be aimed at the part of the photo where there’s the most space. Otherwise they may be “staring at the wall,” which feels strange.
Experiments Are Welcome
Your by-the-rules shots can go quite quickly. But only then does the fun begin—fun with thinking and experimenting on how to get the most out of the scene, the weather, and the model’s ability to improvise. When all of these “ingredients” come together just right, you’ll get a picture that’s yours alone.
There are no comments yet.