How to Enhance Product Photos Using Reflections
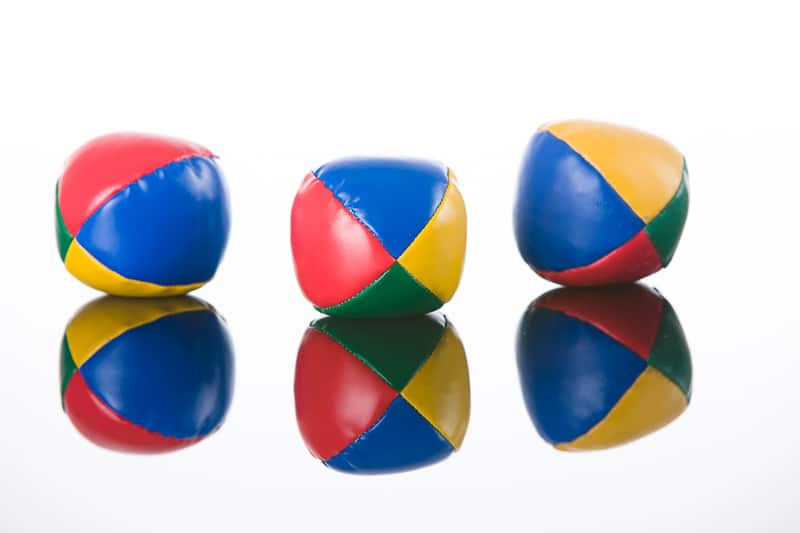
Are product photos with white backgrounds starting to get boring for you or your clients? Don’t worry, it’s not your only option. Today we’ll look at a different take on product photography.
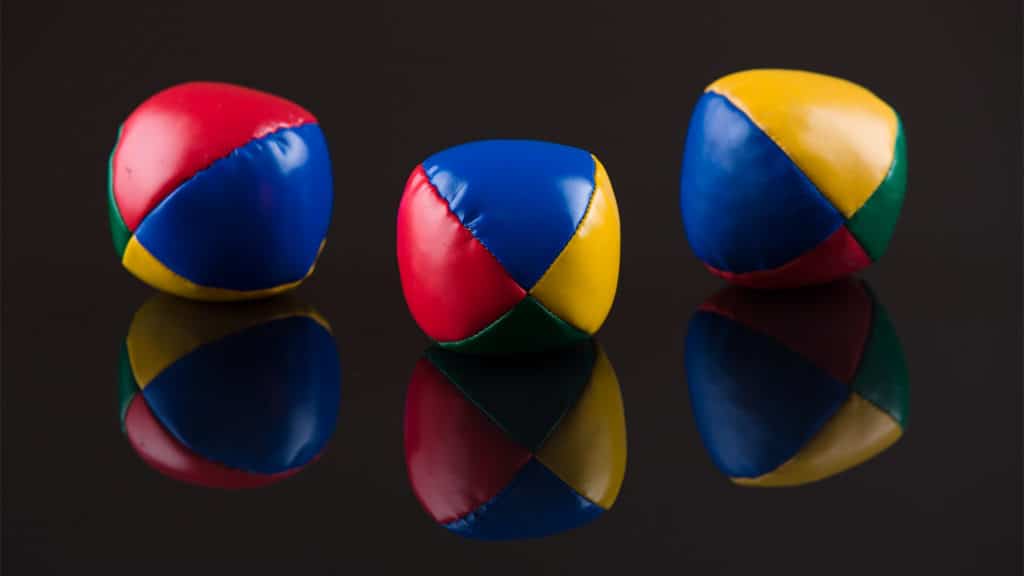
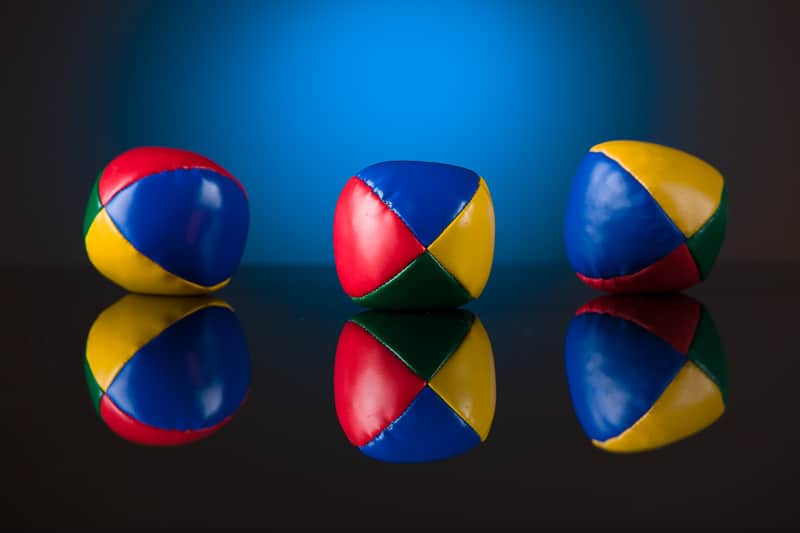
Just creating a dark background would be easy enough—for that we’d use black paper or a black plastic sheet (or the black felt that’s supplied with some diffusion boxes). But let’s set our sights higher—let’s try to get a reflection, and what’s more, to keep it undeformed.
We can get the most perfect reflection from glass. But careful, there’s a catch! Normal glass actually creates two reflections. One appears on its upper surface, and one on the lower surface. You can see this effect on an ordinary bathroom mirror, but not if you look at it head on—in that case, the two reflections lie on top of each other. But you’ll notice them if you enter the bathroom and look past the mirror at something at a sharp angle, as if you were photographing along the glass.
When you use glass in product photography, you have to work around this problem: you either get black glass, or paint the back of normal clear glass using black paint (the cheaper option). I’ve done wonders with the second of these variants for years.
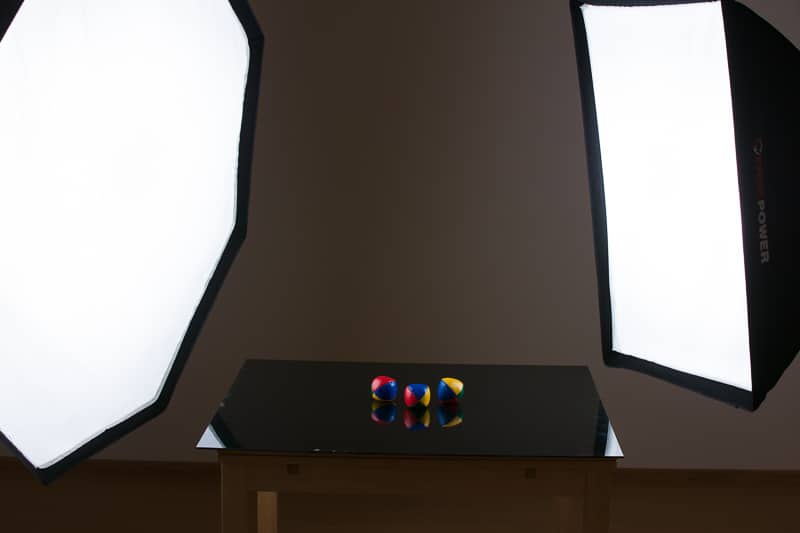
Because the glass is not bent gradually upwards like the paper and plastic in our earlier articles were, we now have to pay attention to the background. Sometimes we’ll need to shoot from a higher angle so that the edge of the glass doesn’t appear in the shot. We can also move the table far enough away from the wall to turn it black and make the edge of the glass invisible. Or admit its presence, leave it in the picture, and make it look deliberate.
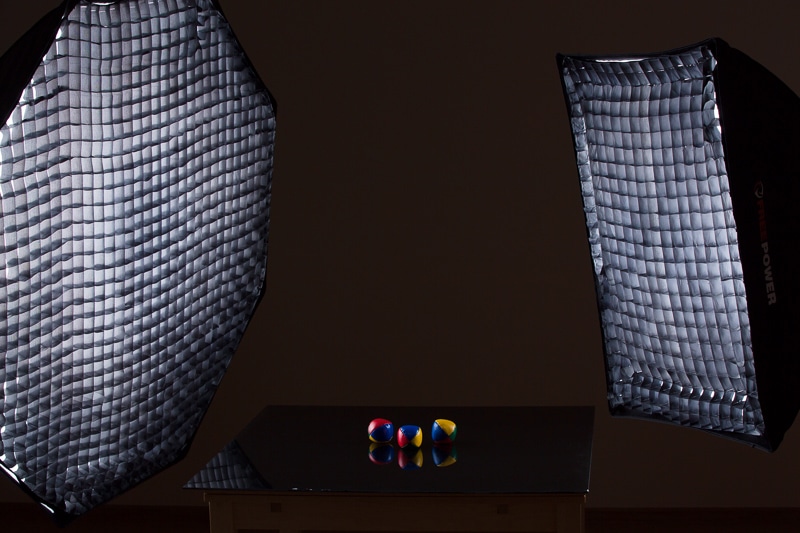
If you have a chance to make use of a “honeycomb” (a softbox grid), you can use that to diffuse light onto the walls as well.
Even though it looks like we’ve only switched from a white background to a dark one here, we’ve actually opened up the route to a whole new and powerful way of arranging the scene. This opens up new possibilities:
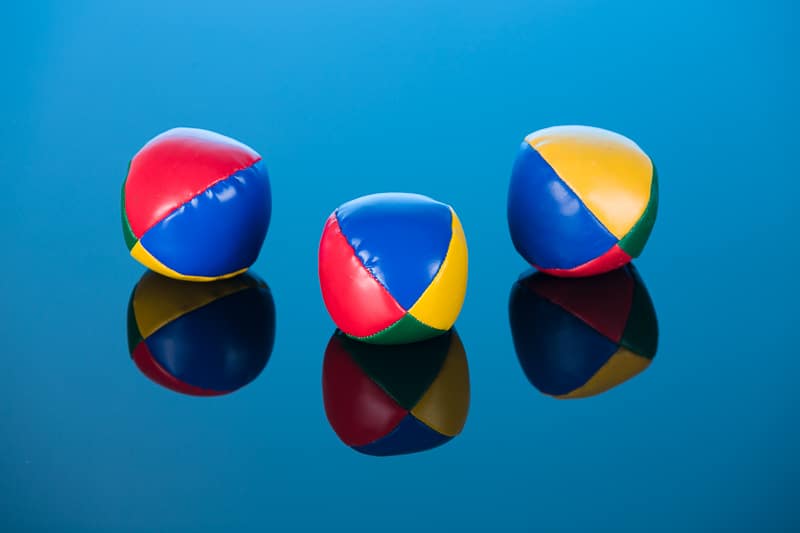
A white or colored background with a perfect reflection
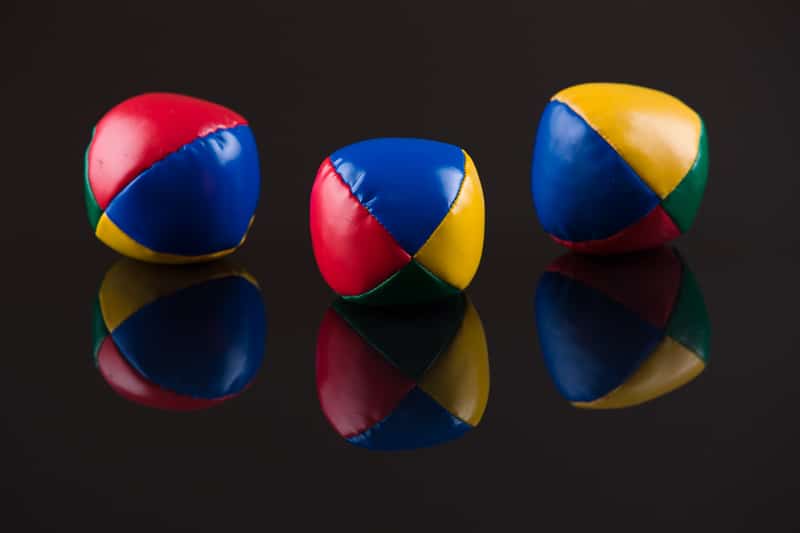
The base under the product from the previous example wasn’t black because of the black glass. It was black because nothing was reflected inside it! If we move in a little closer to the wall that we’re lighting in white with a second light, this gives the base the same color, and our black glass turns white.
If you’re not a fan of pure white, you can also use a color gradient.

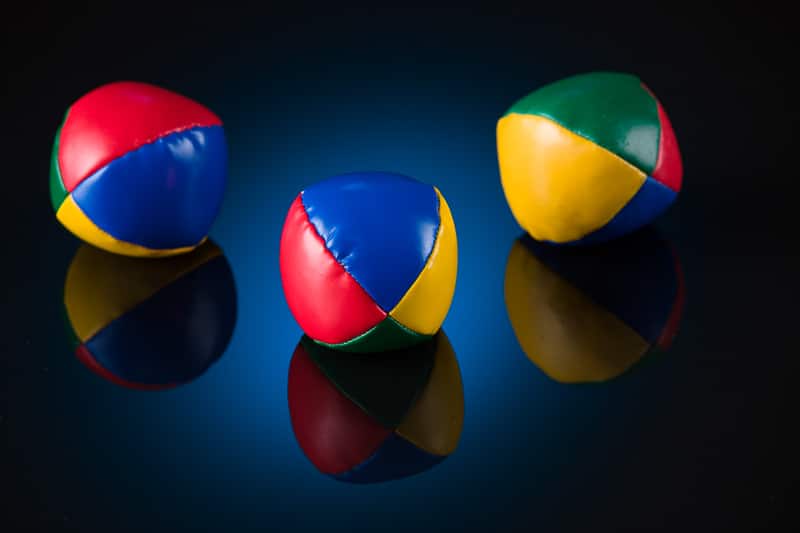
With colored filters on your lights, you can fine-tune the color as needed. Another useful trick is to light only a part of the wall or to shape the light—typically into a circle—and align its reflection with the object.
Another major advantage is that the product can now be lighted separately, and that this light will not ruin the base.
More to Come
Now we’ve looked at some more complex product lighting, but there’s still one more lighting article to come. It will answer the question of how to do product lighting when the product itself is reflective.
TerryB
Nice. All done with the magic of light. It shows what the eye sees isn’t necessarily true! Thanks for the demonstration.
Aja Vorackova
You’re welcome, we’re happy you like it. :)
Mark
Fantastic article! As a photographer who primarily shoots people and nature, this is VERY helpful to better understand still life and product photography. Thanks so much!!