How To Find the Perfect Light for Portrait Photography
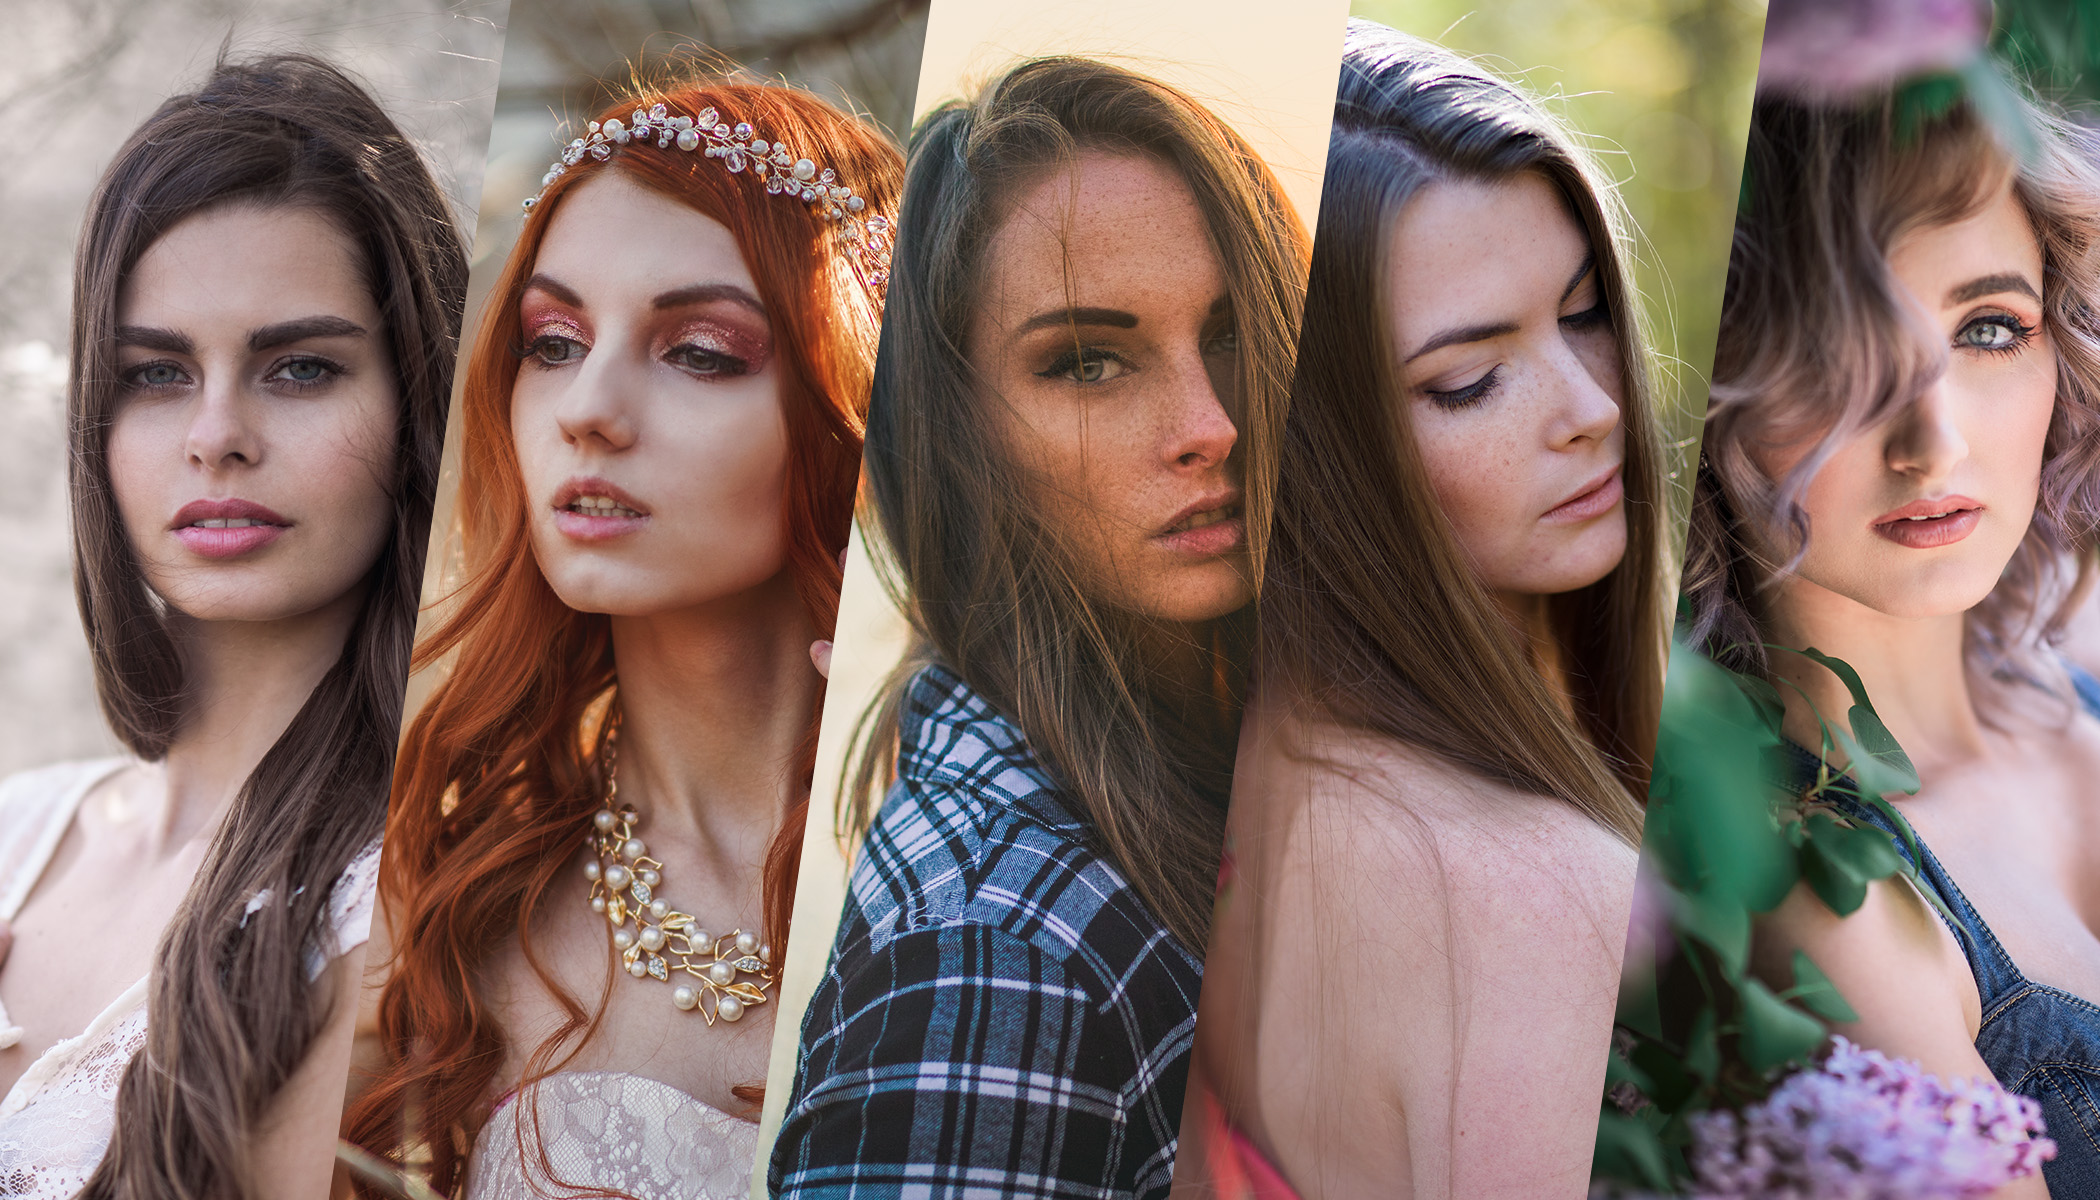
Portraits are one of the most common genres. What photographer hasn’t taken pictures of friends, family, or themselves while traveling or at a party? But to take your photos to the next level, it’s important to understand how to find and work with the perfect lighting. In this article, I focus on working with light outdoors, look at specific real-world situations, and share my tips for getting the best possible light from the scene.
While there are plenty of great places to take portraits indoors, this article is all about shooting outdoors. Even though outdoor conditions can be similar, every situation is slightly different depending on the available light.
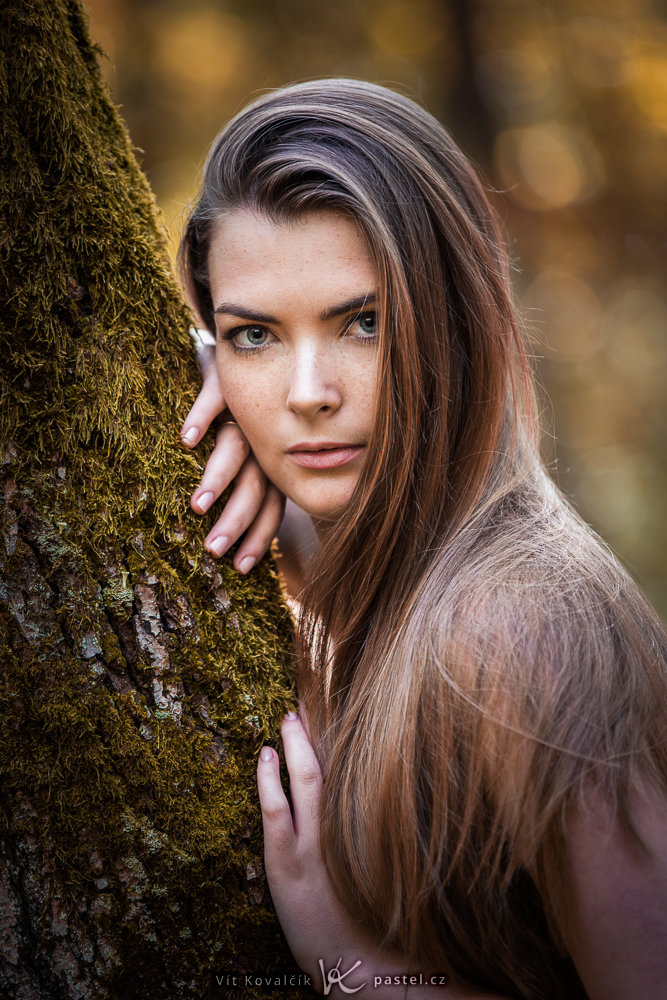
Pay attention to the face
The face is the most important part of the photo, though portraits include plenty of other visual elements. It’s ok if the background or clothing isn’t perfectly lit, but the face has to look good.
Wider shots that include more of the surroundings in the composition are more forgiving. The face is smaller in the frame, so any lighting issues aren’t as big of a deal. But the tighter the shot, the more visible any shadows, wrinkles, or uneven lighting will be. That’s why I’ll mainly focus on close-ups, where lighting has the most impact.
Canon 5D Mark IV, Canon 70-200/2.8 II, 1/500 s, f/2.8, ISO 100, focal length 200 mm
Soft vs. hard light in portrait photography
It’s generally safe to use soft, diffused light that doesn’t leave harsh shadows on the face. I purposely didn’t say it’s always the best because direct sunlight can produce bold and dramatic portraits with its strong shadows. But it’s riskier. It depends on the direction of the light and whether your subject is squinting or blinking, which can be uncomfortable and unflattering.
That’s why it’s important to know what to do in specific lighting situations during a shoot.
Best time of day to take portraits
Time of day makes a huge difference. If you can choose, avoid shooting around noon. The midday sun is high in the sky and casts harsh light with deep shadows. Evening is better when the light is softer and the difference between lit and shaded areas isn’t so extreme.
Canon 5D Mark IV, Sigma 35/1.4, 1/2500s, f/1.4, ISO 100, focal length 35mm
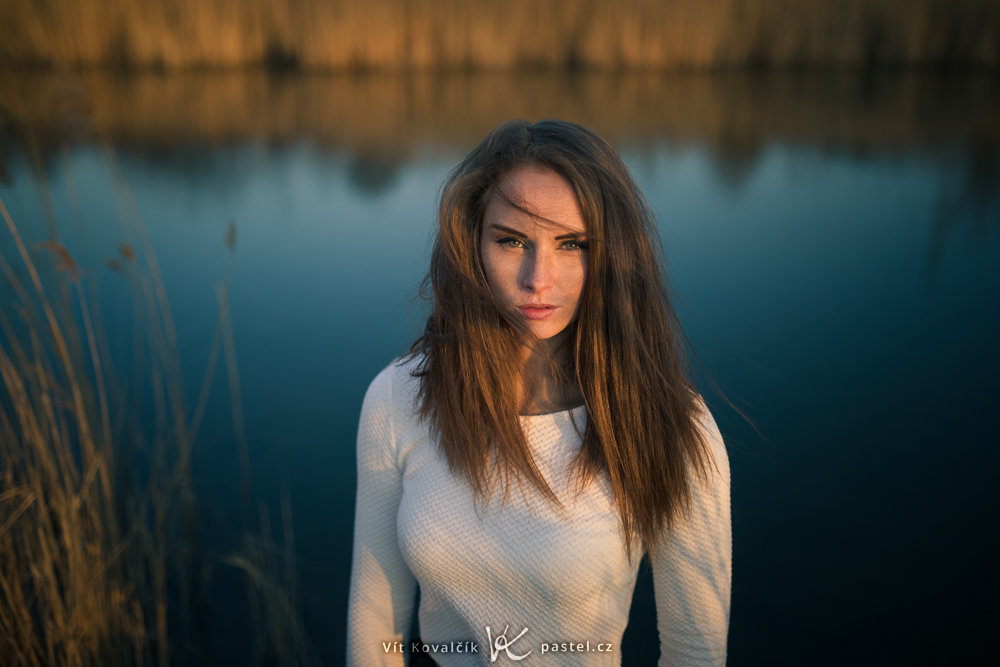
The light at sunset also has a warmer color temperature. It produces an orange tint that’s more flattering for skin tones than daylight blue. You can always fine-tune colors in post-production.
Technically speaking, sunrise gives you a similar light quality but convincing someone to have their photo taken between 5 and 7am isn’t always easy.
Unfortunately, you often can’t choose your timing, so it’s worth knowing how to handle midday conditions too.
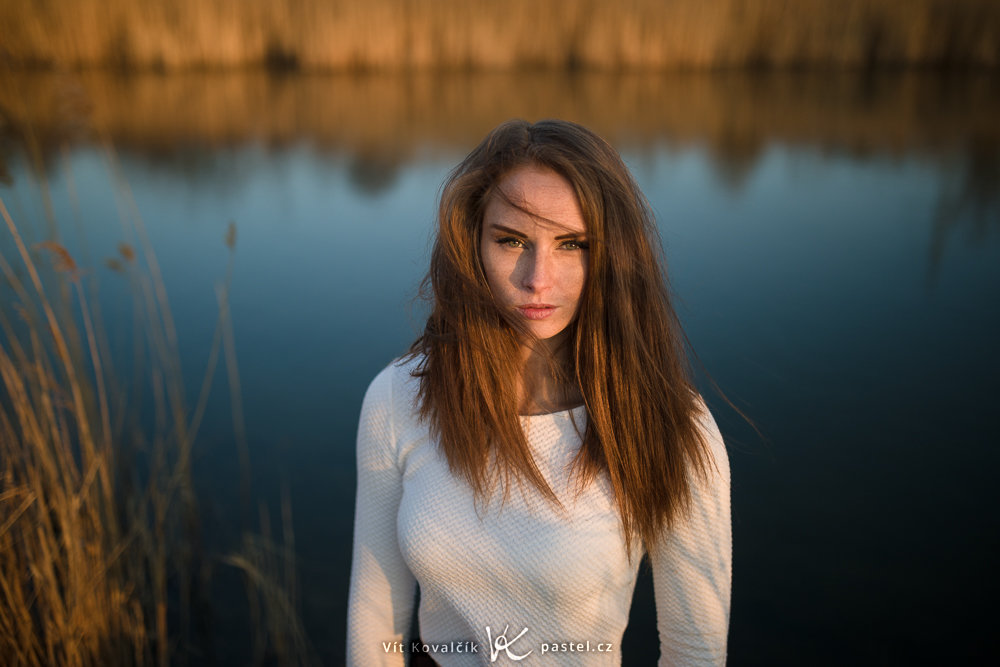
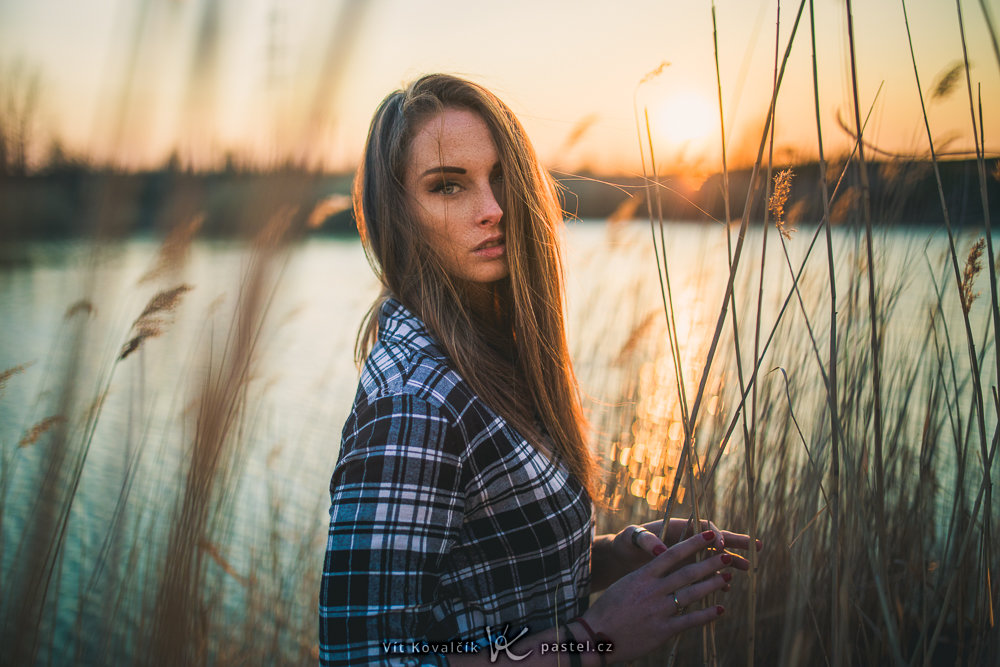
Portraits in direct sunlight
Sunny weather is great for everyday life, but it’s more complicated for portraits. If you want to work with the sun instead of against it, try placing the sun behind your subject. Look for an angle that roughly faces the sun. There’s no need to line it up perfectly behind the head. Even an angle of about 45 degrees works well.
This creates a rim of light around the subject, which looks especially striking if the background is darker. This is easy to arrange because when shooting against the sun, almost everything behind the subject (buildings, trees, etc.) is shaded.
Canon 5D Mark IV, Canon 85/1.4, 1/3200s, f/1.4, ISO 100, focal length 85mm
You obviously can’t shoot backlit portraits when the sun is directly overhead. That won’t happen at our latitude, but it can reach 65°, which is still too high for a clean backlight. I’ve also seen cases where the sun reflected into the subject’s glasses from behind, creating distracting glare on the face.
In general, things are easier in the morning or evening, or during the fall and winter, when the sun is lower and the light is naturally softer.
Canon 5D Mark IV, Sigma 35/1.4, 1/3200s, f/1.4, ISO 100, focal length 35mm
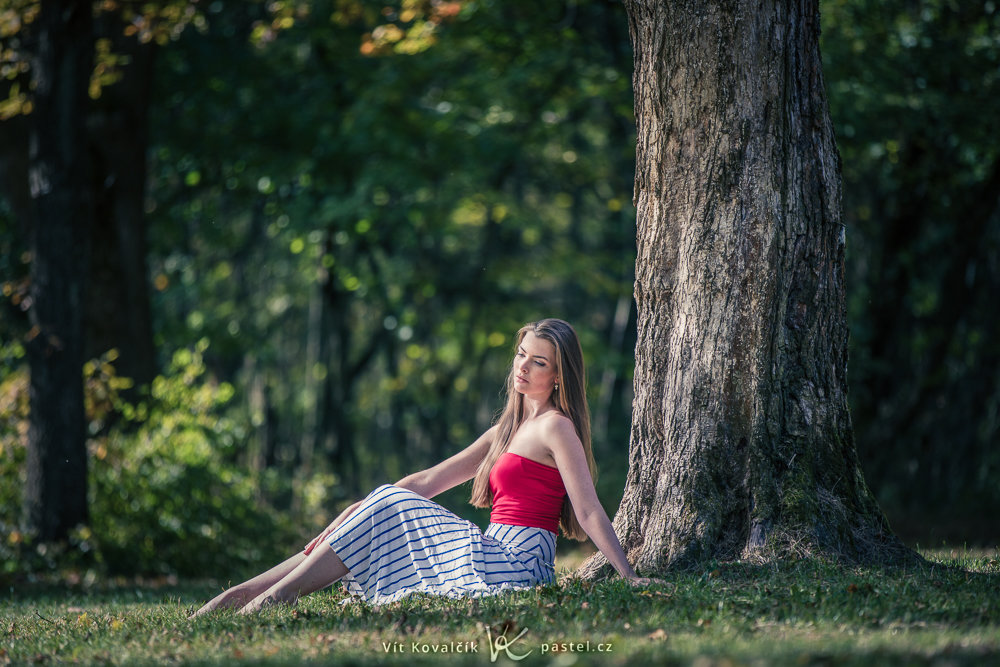
Shooting in the shade is also a great option. Suddenly, you’re free to shoot from almost any direction, and the light on the face is even. Depending on the location, you could still run into big differences between your subject and the background in terms of brightness. But sometimes that contrast works in your favor.
Canon 5D Mark IV, Canon 70-200/2.8 II, 1/160s, f/3.5, ISO 640, focal length 182mm
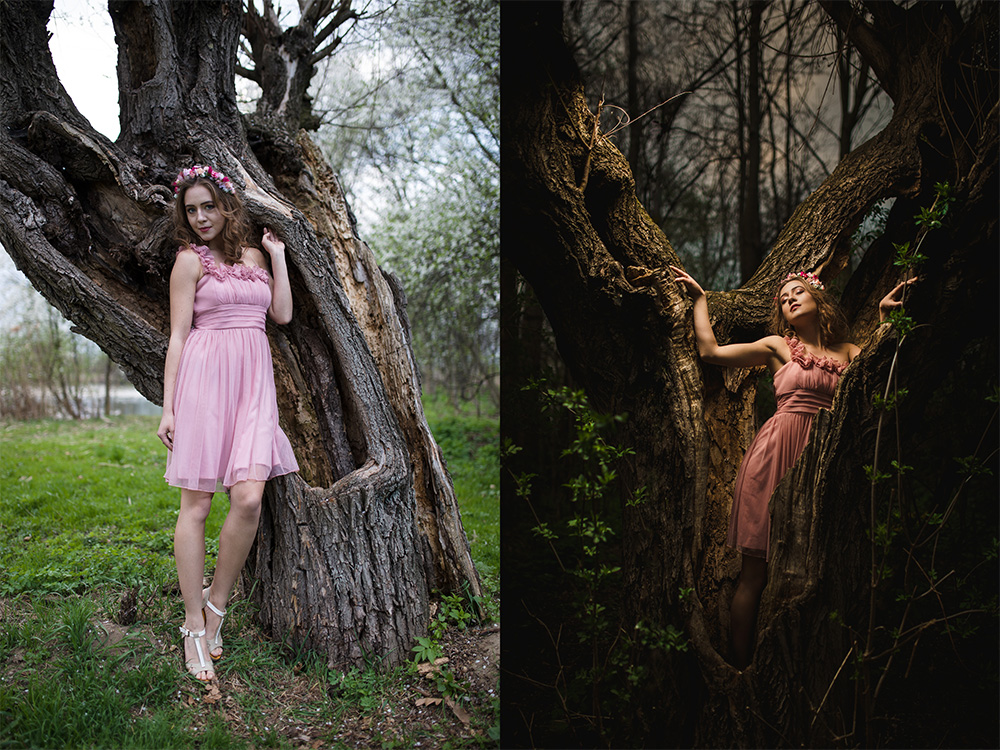
Watch out for sparse tree cover that casts chaotic shadows across the face. If that happens, shooting in the sun again can help solve the problem.

Canon 5D Mark II, Sigma 50/1.4, 1/125s, f/1.4, ISO 100, focal length 50mm
Portraits under overcast skies: Benefits and tips
It may sound counterintuitive, but overcast skies make a photographer’s job easier. With even cloud cover and no gaps, the entire sky becomes a giant softbox and produces soft light from above. The photos have a slightly different feel than when shooting in the sun, and you can practically shoot in any direction.
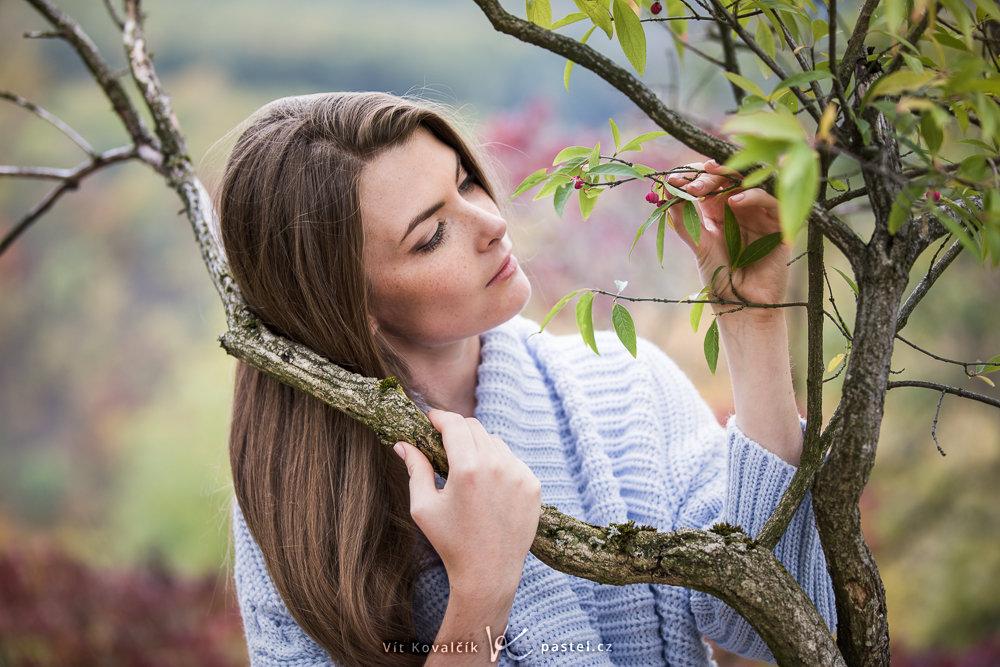
Canon 5D Mark IV, Canon 70-200/2.8 II, 1/125 s, f/2.8, ISO 125, focal length 88mm
This doesn’t mean everything automatically looks great. Aside from the sun itself, the shape of your surroundings also affects the light. Tall buildings or tree lines can block parts of the sky, effectively shaping and shifting your softbox.
Unless you’re after a specific look, it’s usually best to have your subject face the open sky. Conversely, if they turn towards a nearby forest or dark building, it means the main light comes from above and the side, which can cast unflattering shadows on facial features.
Portraits in the city and at night
City and night portraits are a special case. Every bit of available light helps reduce how much your camera has to compensate. But be careful, light from a single streetlamp can be extremely harsh and cast strong shadows. Still, it’s better than complete darkness.
Larger light sources, like shop windows, are perfect. They act like a softbox and provide more flattering light.
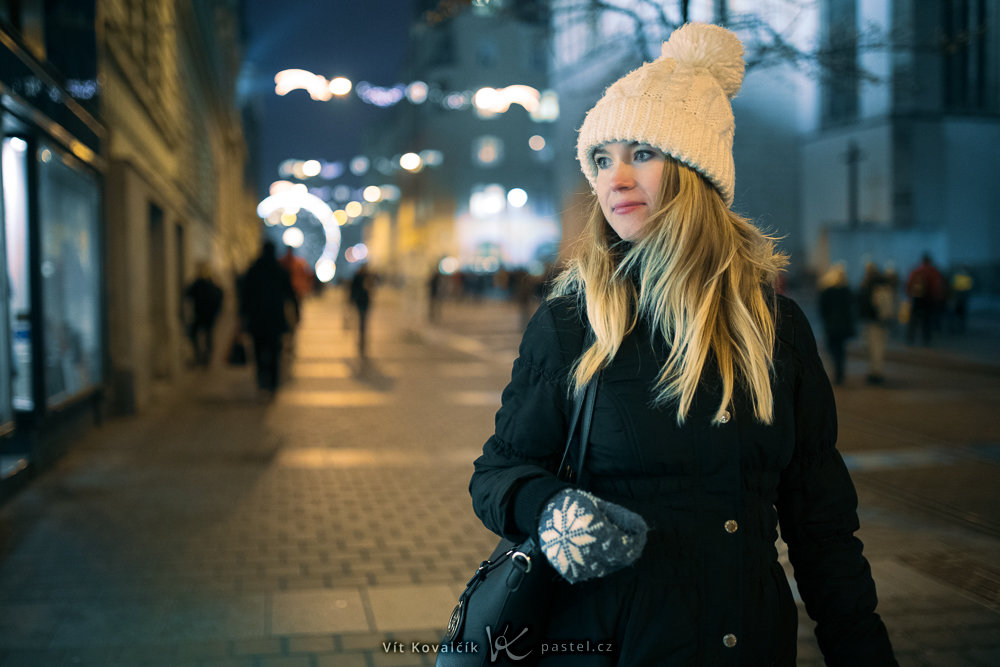
Canon 5D Mark IV, Sigma 35/1.4, 1/125s, f/1.4, ISO 2500, focal length 35mm
Use external lighting and a reflector
When ambient light isn’t enough, another option is to use your own light sources. This includes the built-in flash on your camera or mobile phone, external flash, and strobes that are set up off to the side, plus a reflector.
A reflector is a great tool for daylight. For battery-powered lights, it depends on the power, but they become more useful at dusk or in the dark. With a strong light source, you can creatively shape that scene to your liking.
Canon 5D Mark IV, Sigma 35/1.4, 1/125 s, f/1.6, ISO 100, focal length 35mm
Fine-tune light in post-production
Sometimes even with the best intentions, not every photo turns out exactly as intended. You might follow every lighting rule, but the perfect facial expression might appear in the first test shot, just when an awkward shadow falls across the subject’s face.
Sometimes that’s tough to fix, but other times, a bit of shadow blurring in Zoner Studio can make a big difference.
Canon 5D Mark IV, Sigma 35/1.4, 1/2500 s, f/1.4, ISO 100, focal length 35mm
Make the most of lighting on location
Editing is the final step of portrait photography. The best strategy is to read the light on location. Figure out the direction and quality of light before you even point the camera. Of course, camera settings, focal length, and shooting angle are also important, but those are topics for another article.
There are no comments yet.