How to Get Zoner Studio on Your New Computer

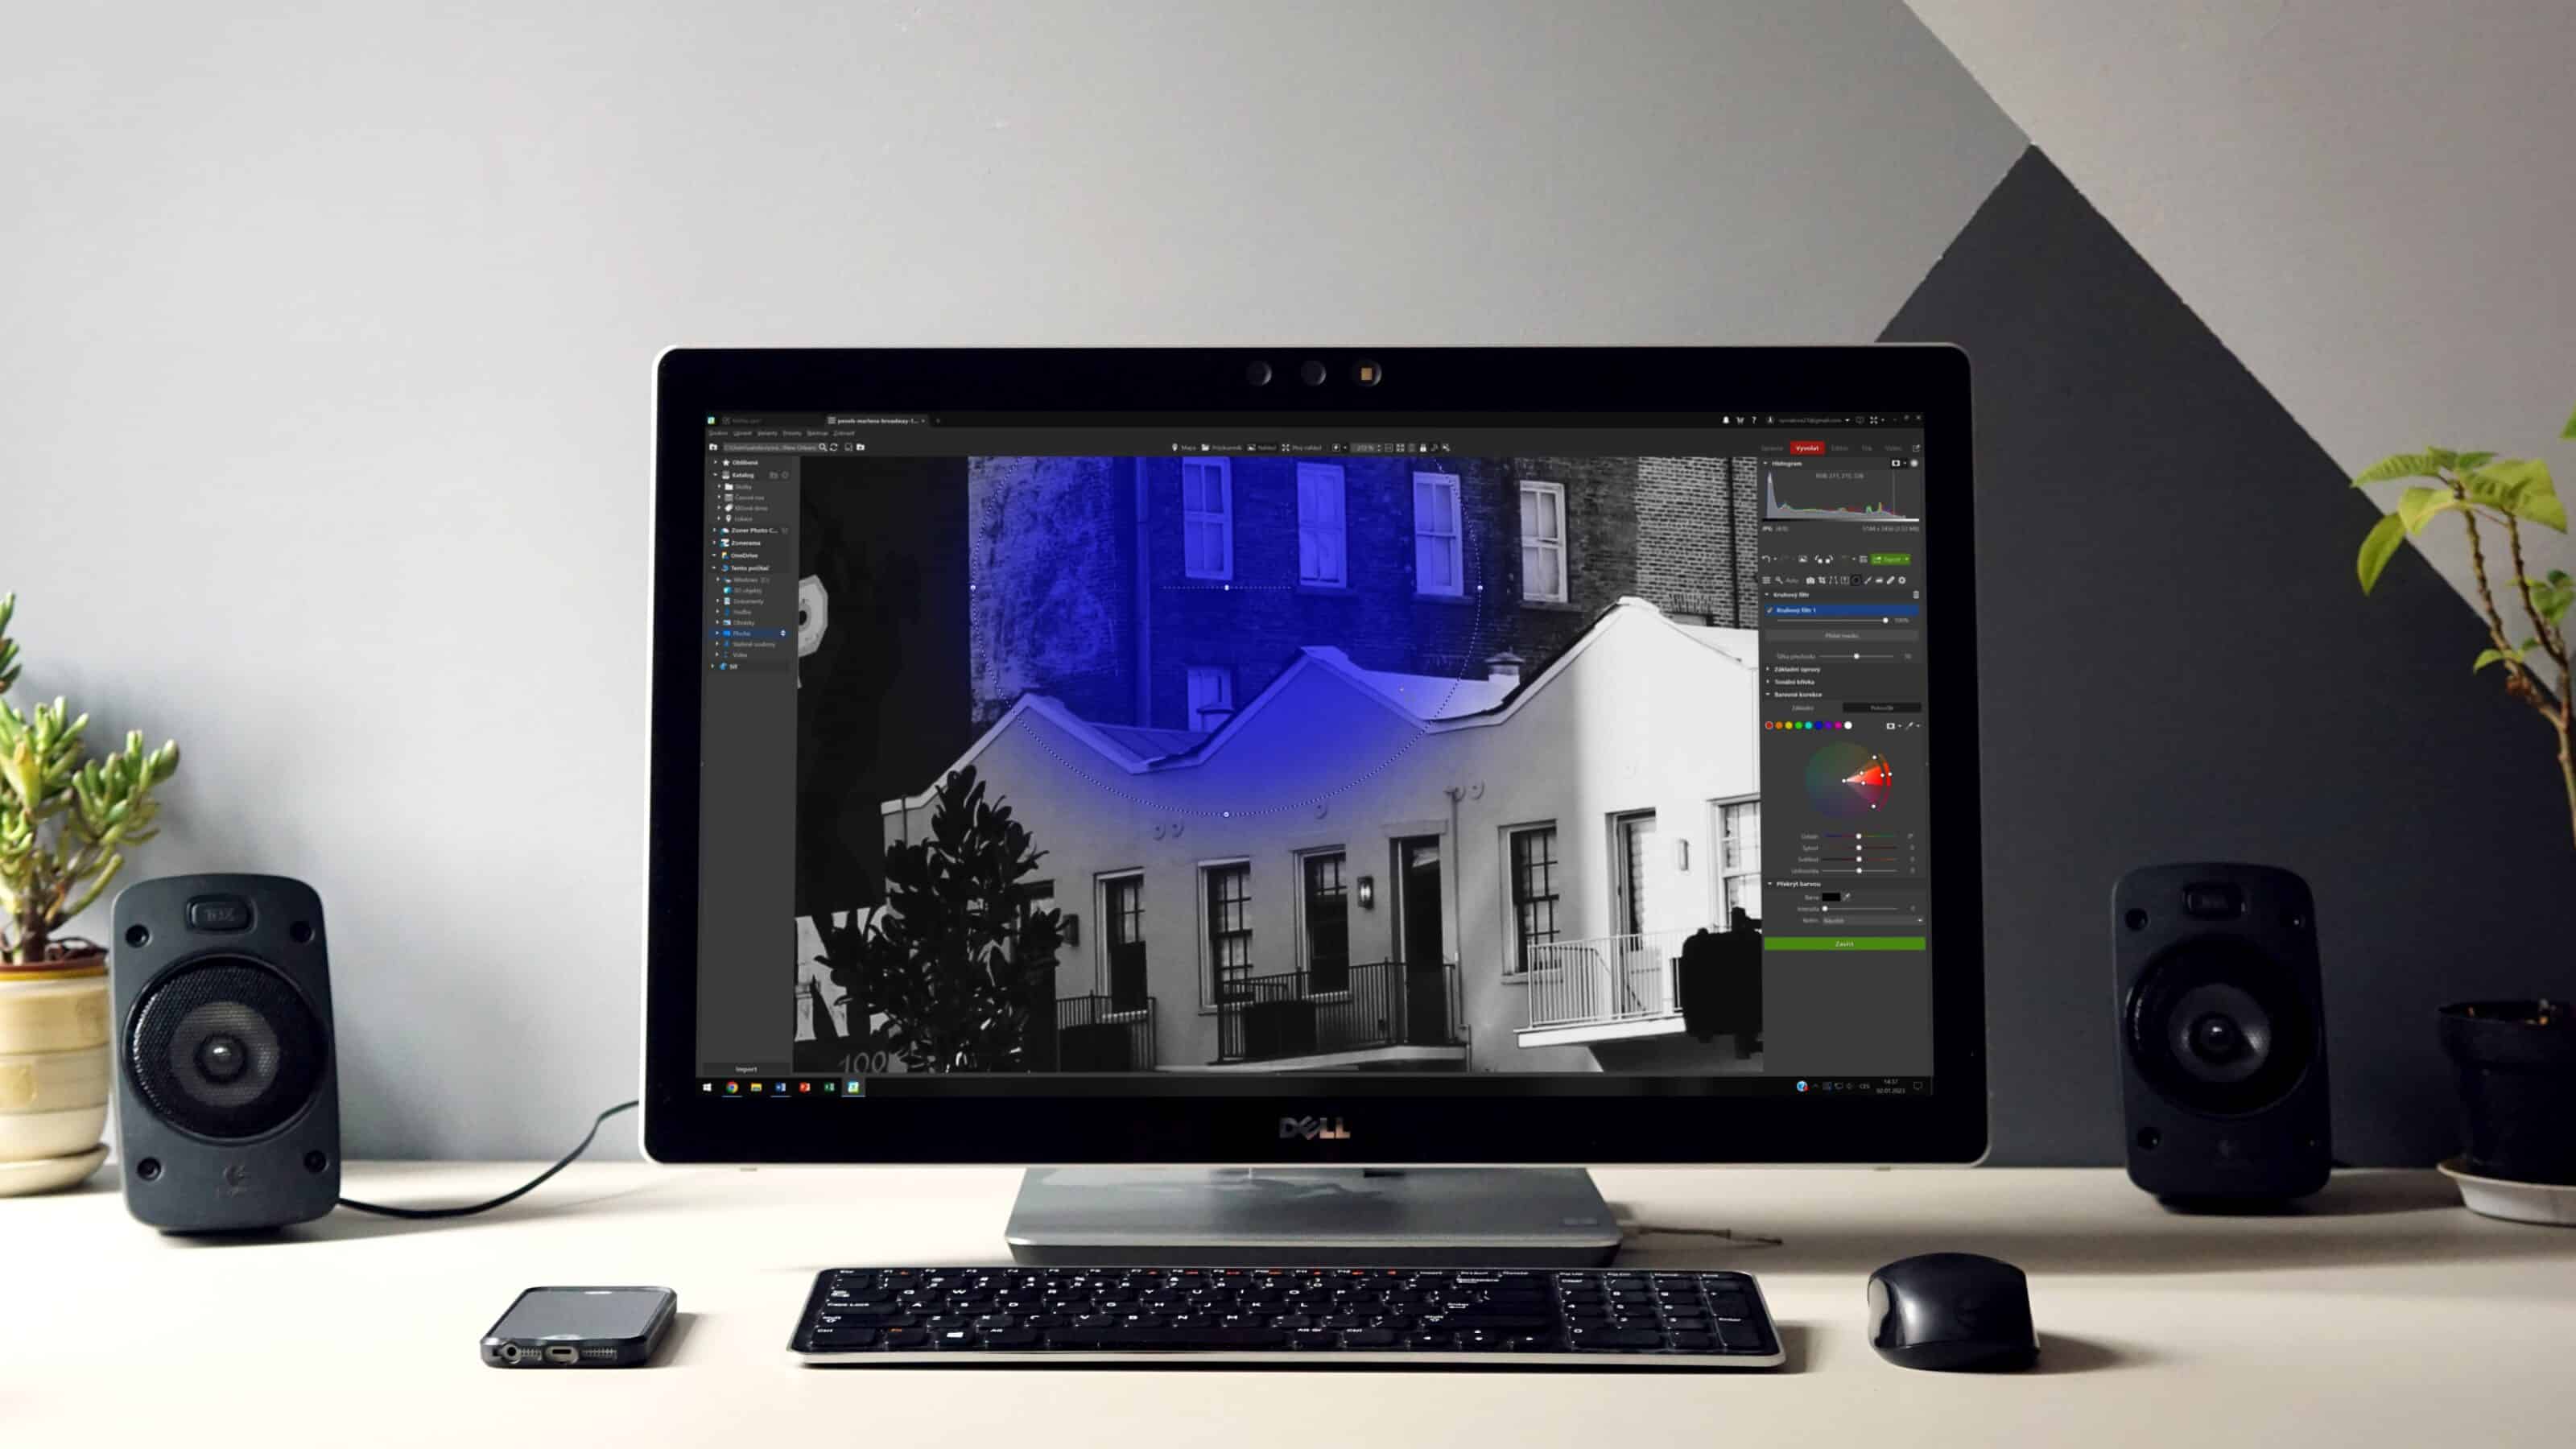
Did you get a new computer for Christmas? Or maybe buy one for yourself? You’ll need to transfer everything from your old computer, including your favorite photo editing software Zoner Studio. Let’s take a look at how to get Zoner Studio up and running on your new computer, as well as import your previously-saved settings and data.
1. Install Zoner Studio
The first step is to install Zoner Studio on your new computer.
2. Log in
Next, you need to log in to your Zoner account.
3. Transfer settings
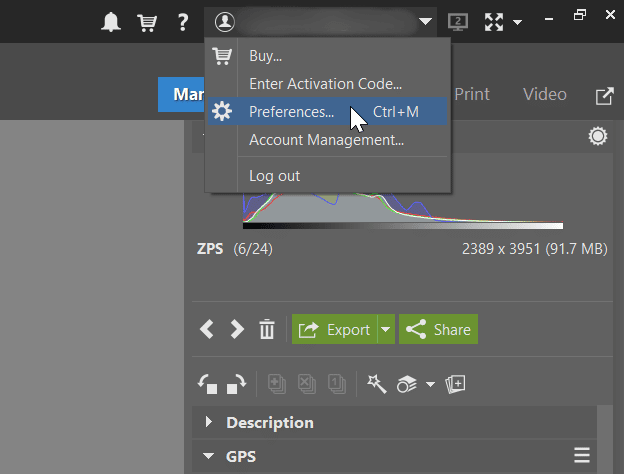
You have to save and reload your Zoner Studio settings. Go to Preferences in Zoner Studio.
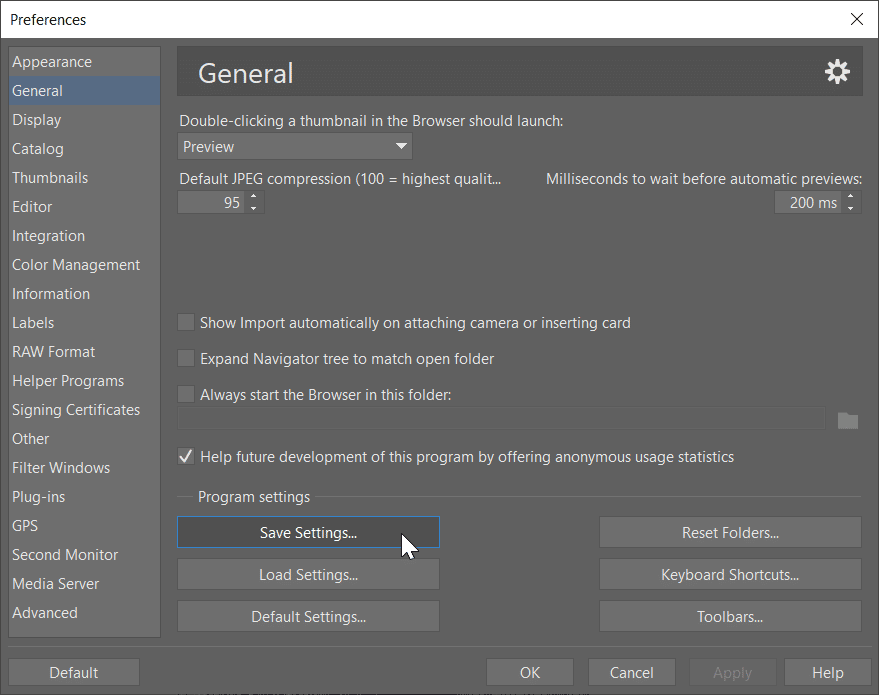
Select General and then click Save Settings.
Then, add the downloaded file to your new computer. Under Preferences>General, select Load Settings. You can find this below Save Settings (see image above).
4. Keywords
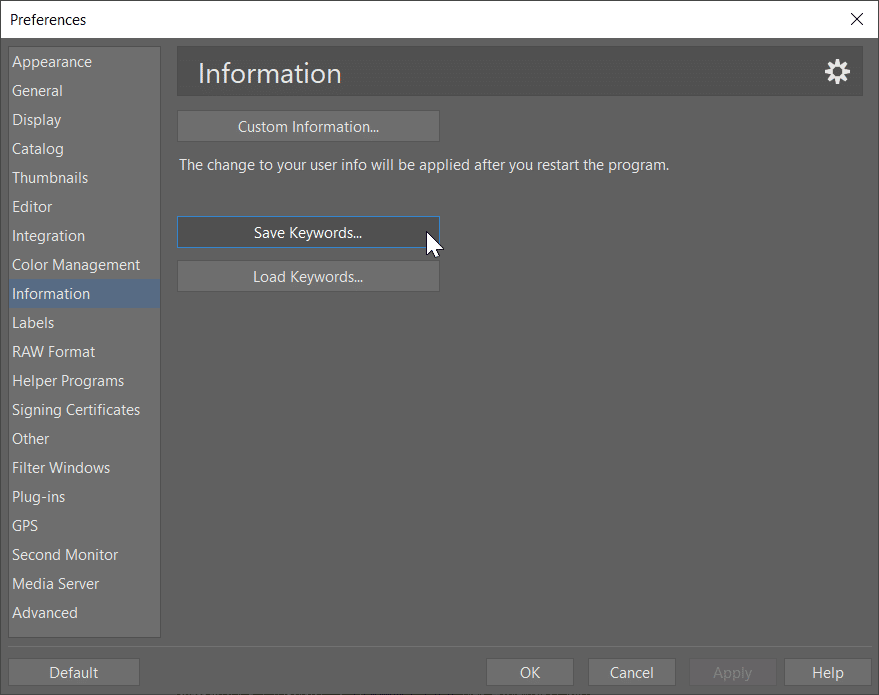
The next step is to save any keywords you might have. To do this, again click Preferences. Select Information and then the Save Keywords option.
Add the downloaded file to your new computer using Preferences>Information and Load Keywords, which is below Save Keywords (see image above).
Unfortunately, you cannot save your Catalog folder settings. You have to copy your files and add the folders to the Catalog once again in your Zoner Studio Preferences.
You can also use the Cloud, where you’ll have everything stored in folders and all you have to do is log in on your new computer.
Finally, transfer all your pictures and you can start using Zoner Studio on your new computer!


There are no comments yet.