How to Photograph Animals at the Zoo
Busy backgrounds, lackluster light, and long, long searches for the right spot. These are just some of the problems you can run into when you’re taking pictures at the zoo. Fortunately they’re all easy to solve. Check out our tips on photographing animals at the zoo, and you’ll avoid problems like these easily.
The first thing to realize here is that zoo photography is very diverse. You’ll shoot differently outdoors than you will at the pavilions, where there’s a lack of light. So you’ll want to bring multiple lenses with you to the zoo.
While you’ll mostly make use of telephoto lenses when you’re photographing outdoors, for indoor photography you’ll get the most use out of fast “portrait” lenses. Ideally ones with short focal lengths. It’s also nice to take along a macro lens for photographing interesting animal close-ups. You never know what interesting photographic situations will pop up at the zoo , and it’s good to be prepared.
Personally, I take a tripod, a remote trigger, and a flash with me to the zoo . But I only use the flash rarely, and it’s low-output—just for lighting up the shadows.
How to Work With Backgrounds
The most frequent problem when taking pictures at the zoo is distracting backgrounds. They often include enclosures and fences. What should you do about this? Open the lens as wide as you can, e.g. to f/2.8, and use this to blur the background.

Nikon D800, Nikon 600 mm f/4, 1/200 s, f/5.6, ISO 640, focal length 600 mm
The Right Background
Besides blurring, try experimenting with different angles for your backgrounds as well. Aim the camera to get a good contrast between your animal and its background. If you do things right, the animal will look like it’s sticking out of the shadows.

Nikon D800, Nikon 600 mm f/4, 1/320 s, f/14, ISO 640, focal length 600 mm
Angle of View
The angle from which you’re photographing an animal is important as well. If possible, take your pictures from its eye level. With that said, it’s not always possible to follow this guideline at the zoo. Animals are often located below you, forcing you to photograph them from above.

Nikon D800, Nikon 600 mm f/4, 1/320 s, f/6.3, ISO 800, focal length 600 mm

Nikon D800, Nikon 80–400 mm f/4.5–5.6, 1/320 s, f/8, ISO 640, focal length 300 mm
Sometimes, meanwhile, there’s no choice but to shoot from below. If for example you’re photographing a monkey in the treetops, be careful with exposure. Your subject can be in shadow relative to the bright sky, and can end up underexposed. Use exposure correction to handle these situations.

Nikon D800, Nikon 80–400 mm f/4.5–5.6, 1/200 s, f/8, ISO 400, focal length 400 mm
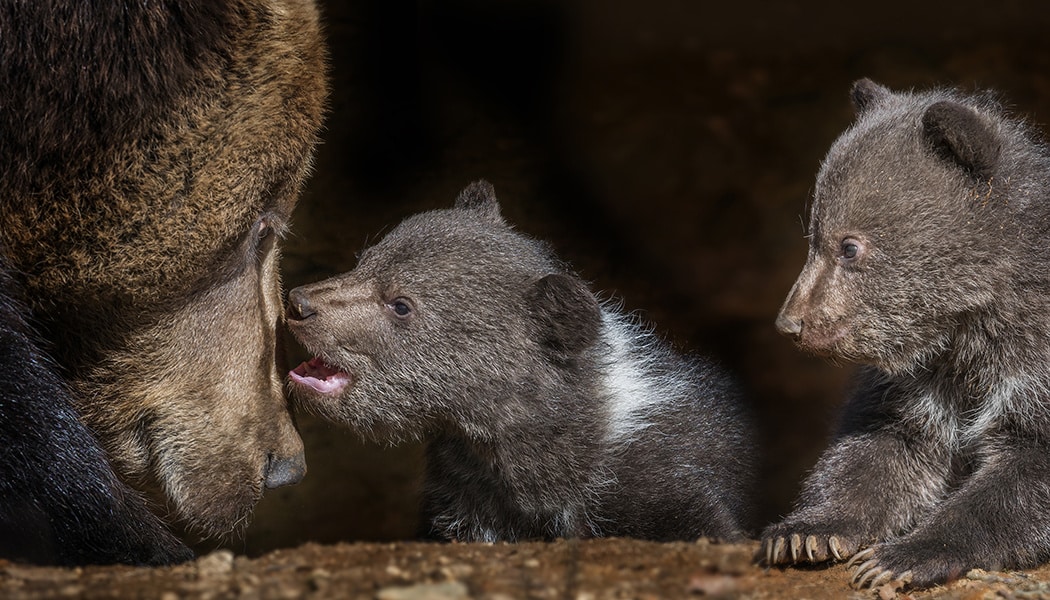
Capture the Right Moment
Besides mastering your equipment, you also need to watch your subjects and capture the right moments. Don’t hurry when you’re taking your pictures, and don’t try to photograph the entire zoo. Go around, find a nicely lighted run and an interesting angle of view, and wait for something interesting to happen.

Nikon D800, Nikon 80–400 mm f/4.5–5.6, 1/400 s, f/5,6, ISO 400, focal length 400 mm

Nikon D800, Nikon 80–400 mm f/4.5–5.6, 1/640 s, f/9, ISO 320, focal length 200 mm
If you don’t want to wait around for interesting moments, find the feeding times for the animals you want to photograph. This is generally guaranteed to give you attractive pictures.

Nikon D700, Sigma 150–500 mm f/5.0–6.3, 1/1000 s, f/6.3, ISO 320, focal length 500 mm
Don’t Worry About Noise
To bring back the best zoo photos you can, think everything through in advance and choose your equipment well.
Also, think about the most suitable of day for your photos. For example, there will definitely be better light in the morning and the evening than at noon. Meanwhile, at these times there’s a chance that the zoo will have fewer visitors. Actually, I like to take my zoo pictures on weekdays if I can. It’s calmer there then. And you can see it in the animals.
You want your photos to be sharp. And animals can move around very fast. So you’ll need to set some truly short exposures. Even if that means raising the ISO. If that leads to noise, you can easily remove it in Zoner Studio.
Shoot to the RAW format. Animal runs tend to be unevenly lighted, and you’ll often need to edit your photos on a PC to suppress overexposed areas and save detail in the shadows. RAW will help—and here again, so will Zoner Studio.
There are no comments yet.