How to Photograph Lightning: Become a Master of Storms

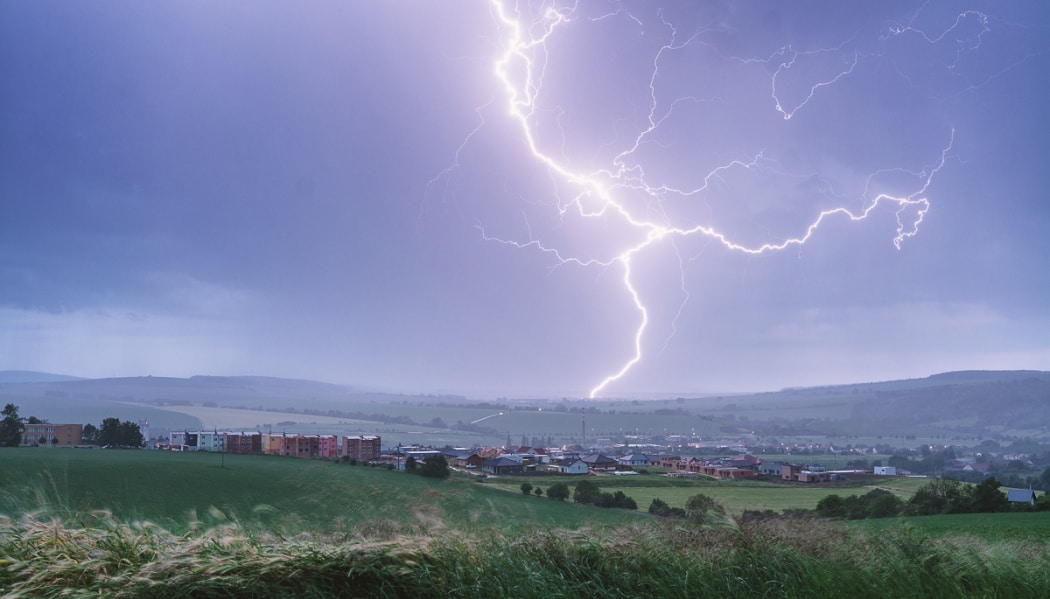
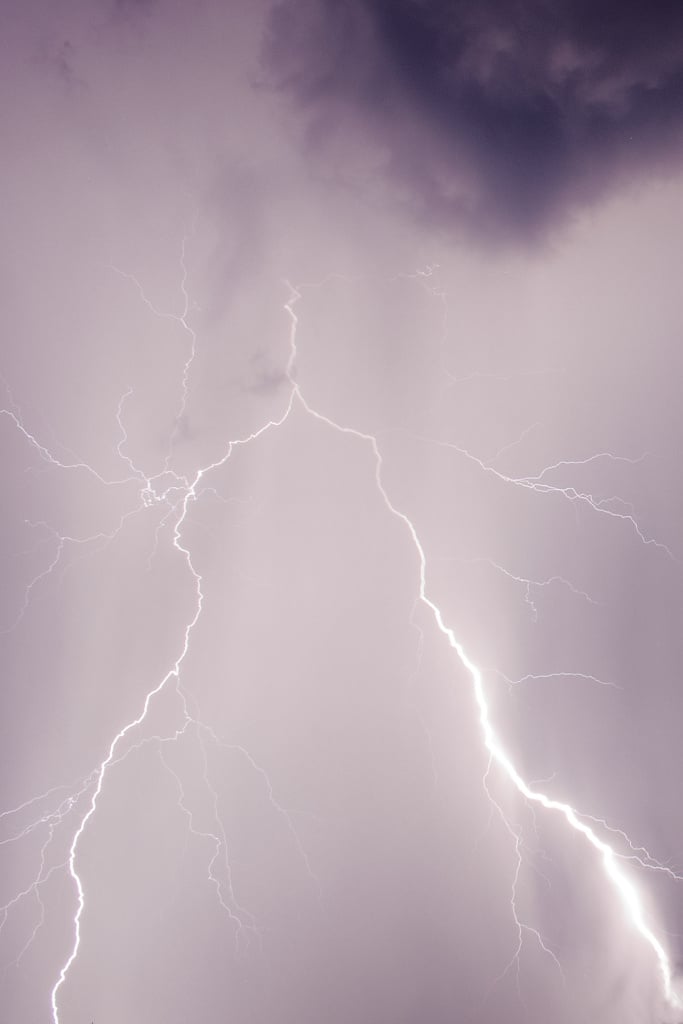
Now that the summer storms are here, many of you might be thinking: “How do I photograph lightning, anyway?” Well, we’ve got good news: a beautiful picture of a stroke of lightning against a darkened sky is easy to take. You just need a tripod and the right settings.
Thanks to digital equipment, practically anyone can do lightning pictures right. All you need for a quality photo is:
- a tripod,
- a self-timer in your camera, a cable trigger, or a remote trigger,
- a camera that lets you use manual settings, and
- a towel!
Pick a good site before you head out to photograph lightning. Good choices include elevated places with a good view of a gripping landscape, or of a city. But never forget your safety during this.
Once you’ve found a suitable place, all that’s left is to watch the weather forecast and wait for the storm. To see if an approaching storm is really a thunderstorm, check for example a mobile app for tracking lightning.
What Settings to Use When Photographing Lightning
Once a good storm arrives, head out to the spot you picked and get ready to take pictures. Switch your camera into full manual mode, place it on a tripod, and set the following values:
- time 10–30 s
- ISO 100–1000
- f/2.8-4
- focal length from 10 to 200 mm
Set the focus to the hyperfocal distance and lock it. You can also use the live preview to focus on a very distant object and then turn focusing off.

It will take a few test photos for you to determine your ideal exposure values. But you can take these values as a starting point: time 15 s, ISO 100, f/2.8.
It’s important to shoot to RAW, due to the large dynamic range that lightning brings.
Photographing Lightning? Watch out for Blowout!
When you see that a picture has been overexposed because of lightning, raise your f-stop or set a shorter shutter time. Keep in mind that the lightning should never overexpose the surrounding landscape, or the area around itself.
To prevent camera tremors—which could cause blurring—use a remote trigger. Another option is to use a self-timer on your camera. In that case, set the timer to at least 2 seconds.
Just because you’re working with lightning doesn’t mean you can forget about composition, of course. And well-composed pictures will be more impressive.
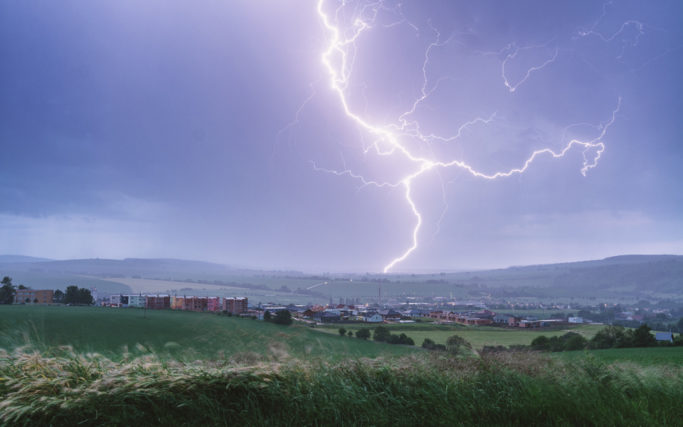
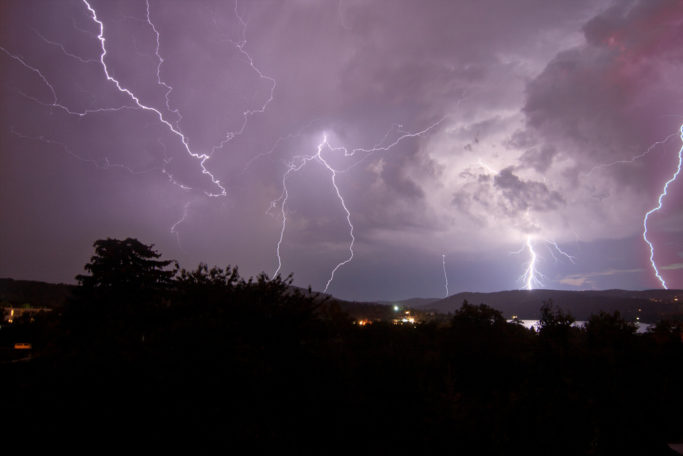
Lightning looks very nice with, for example, an urban setting, with a blurred view of the foreground of your shot location also showing in the picture. When you’re on vacation, meanwhile, try out photographing storms that are coming in from the sea. Lightning looks very impressive over the surface of the ocean.

Keep Your Camera Dry Even When You’re Photographing a Storm
When you’re photographing lightning, you have to keep a careful eye on your gear, as it’s being subjected to a lot of moisture. But it generally doesn’t make sense to buy expensive pro rainsleeves. A classical sleeve that you fasten to your camera with a rubber band is entirely enough. And you can use a plastic bag, for example, in the same way.
After you’ve taken your pictures, wipe off your camera with a towel and remove the battery and card from it. Then put it in a plastic bag with silica gel, or place it on your radiator at home, and don’t remove it for at least 7 hours. Placing it in a photo bag, where you let it acclimatise for a while, works just as well.

Safety First
When you’re photographing storms, always think of your health first, and don’t take risks. Remember that a metal tripod can act as a lightning rod. So always take your pictures from a safe location.
And don’t forget to wear the right clothing. After all, even just getting wet and then catching a cold is nothing pleasant.
There are no comments yet.