How to Sharpen Photos—Fix Blurry Photos like a Pro
Sharpening is one of the most important steps in photo editing. Even a slightly blurry shot can be improved with photo editing to look professional and grab your viewers’ attention. In this article, I show you how to sharpen photos in Zoner Studio, which methods to choose, and what to do when a photo is just too blurry.
In this article, you’ll learn:
- the main causes of blurry photos
- why sharpening is an important part of the editing process
- how to sharpen photos in Zoner Studio
- how Unsharp Mask and Smart Sharpen work
- how to do local sharpening with a brush
- what to try when a photo is too blurry
The sharpness of a photo determines whether it looks good or goes straight to the trash. Although it’s always best to focus correctly when taking the photo, small mistakes do happen. Fortunately, Zoner Studio offers sharpening tools that let you fine-tune even less-than-perfect shots.
Why proper focus matters
Sharpness is key to a photo’s quality and how it’s perceived. A completely blurry shot usually can’t be saved. But if a photo is only slightly soft, sharpening in post-production can help. In fact, a touch of sharpening is almost always beneficial because it adds clarity and detail.
Factors that affect sharpness:
- The optical properties of the lens
- Smudges or dirt on the lens
- Camera shake or subject movement
- Incorrect focus
If the photo isn’t blurry to the point that it’s unusable, you can usually fix it in Zoner Studio.
Check focus when shooting
While sharpening in post-production works, it can’t perform miracles. That’s why you should always try to get the right focus in-camera.
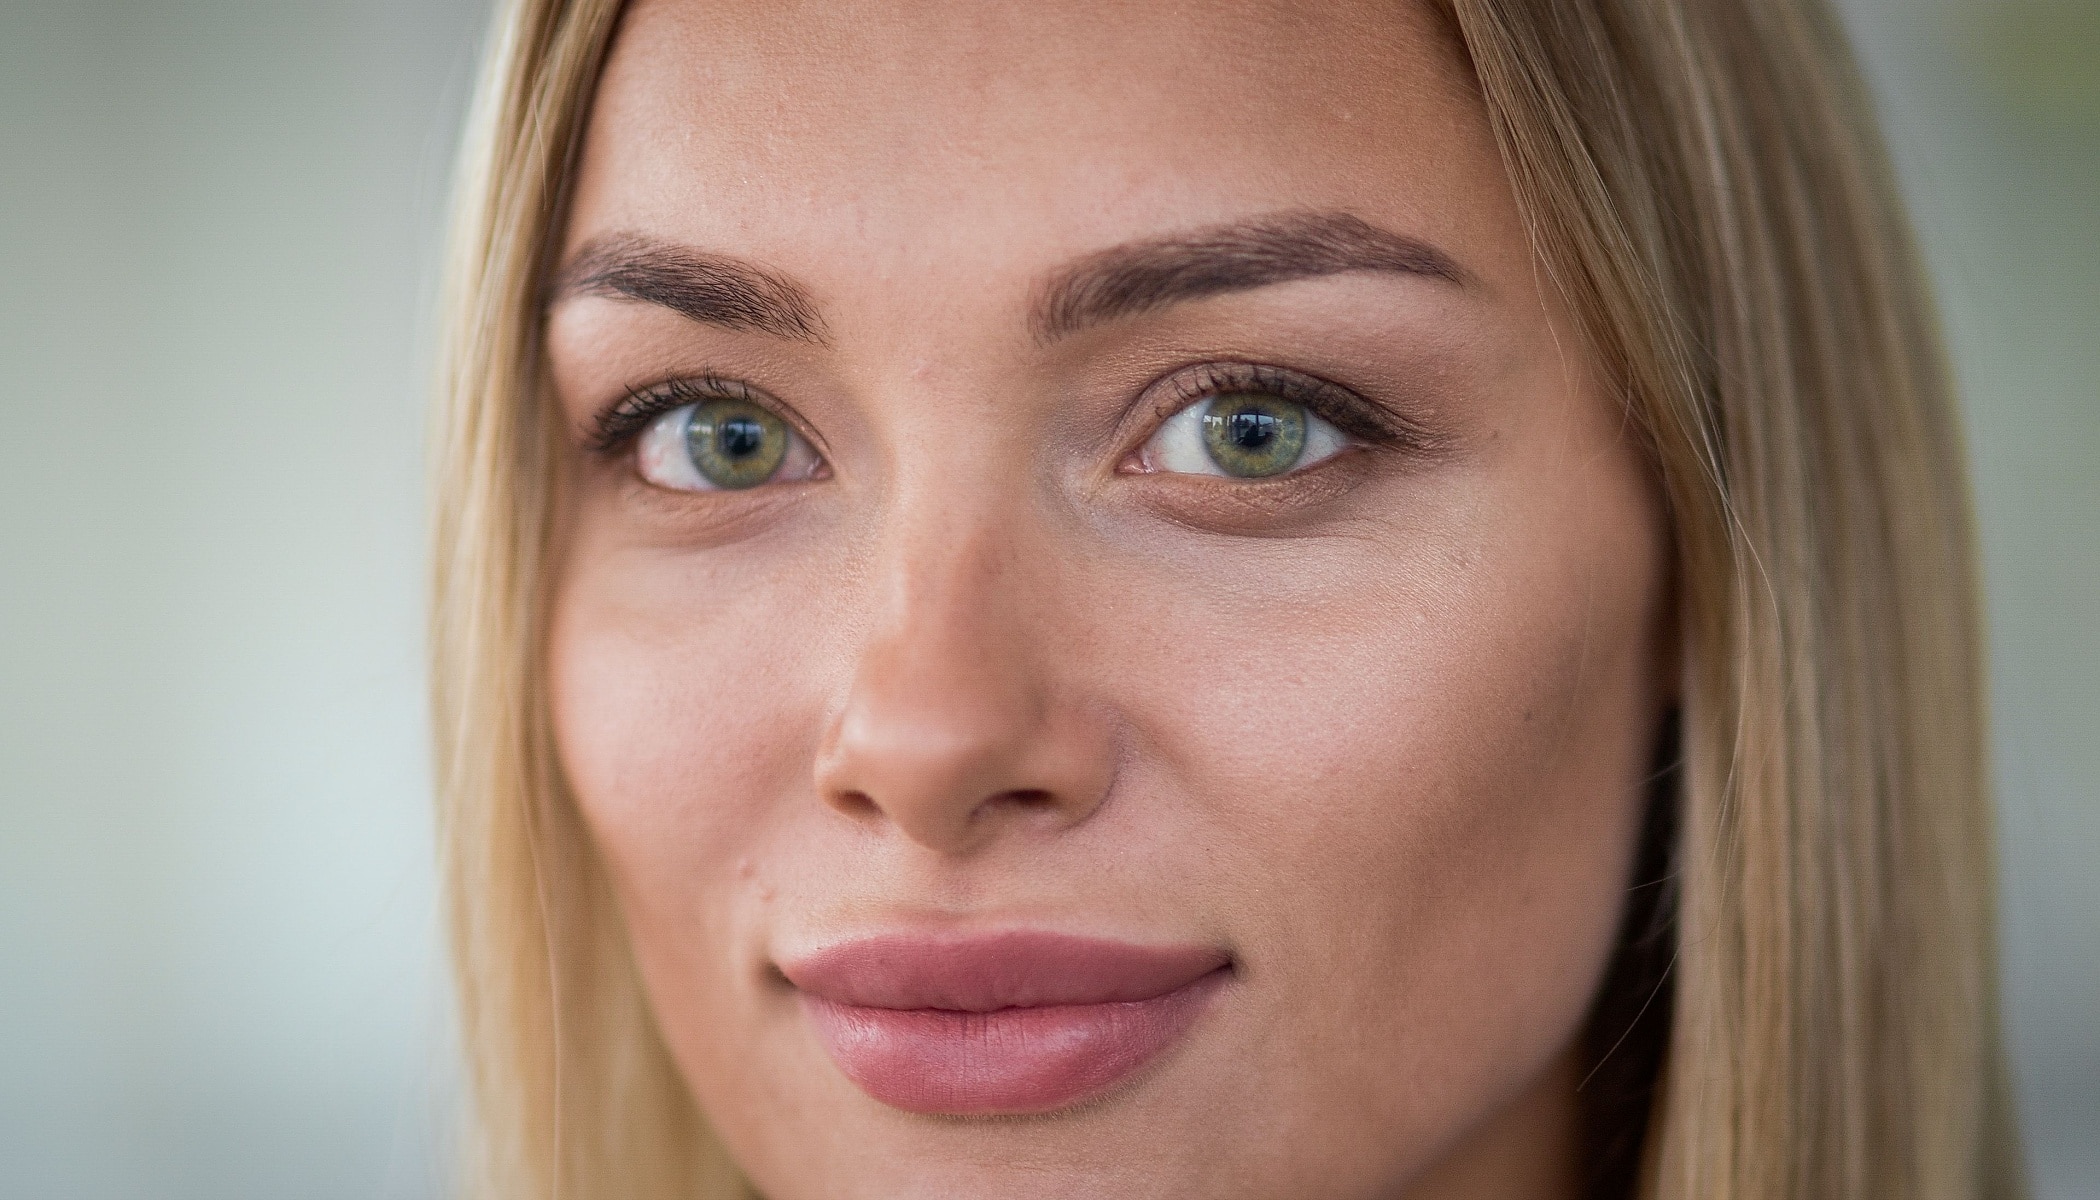
Most cameras let you check sharpness immediately. Just zoom in to 1:1 mode and you can see whether the photo is sharp enough. For portraits, focus on the eyes, as they’re usually the most important feature.
Sharpen photos in Zoner Studio
Sharpening RAW images is assumed because it is always useful. JPEGs are a little different because your camera automatically applies sharpening to them.
To sharpen, open your photo in the Develop module of Zoner Studio. In the right panel, you can find Sharpness, where the default settings for RAW are:
- Sharpening strength: 130
- Sharpening radius: 0.8
- Sharpening threshold: 2 for RAW.
These values roughly match the sharpening applied by cameras when saving JPEGs.
If someone tells you their camera produces “sharper photos” in JPEG than in RAW, it’s only an illusion. After editing in Zoner Studio, your RAWs can look just as sharp, if not sharper.

When sharpening, always zoom in to 100%. Even if a photo looks sharp at first glance, you can usually find it could be sharper. The example below was taken at a low f-number and the lens rendering was too soft, even in the eyes, the most important part of the portrait. That’s why sharpening is needed here.

In Zoner Studio, there are two main sharpening methods:
- Unsharp Mask—Basic method suitable for subtle corrections
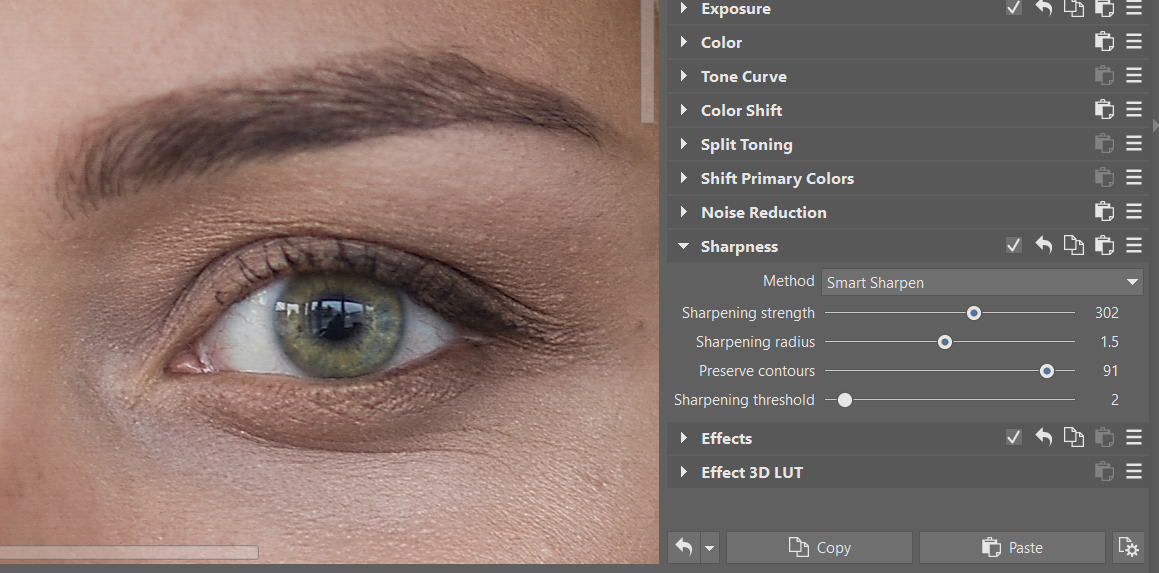
- Smart Sharpen—Offers more advanced control, including a Preserve contours setting that prevents oversharpening in areas that are already sharp.
Always view your photo at 100% (1:1) to see the actual effect and avoid going too far.
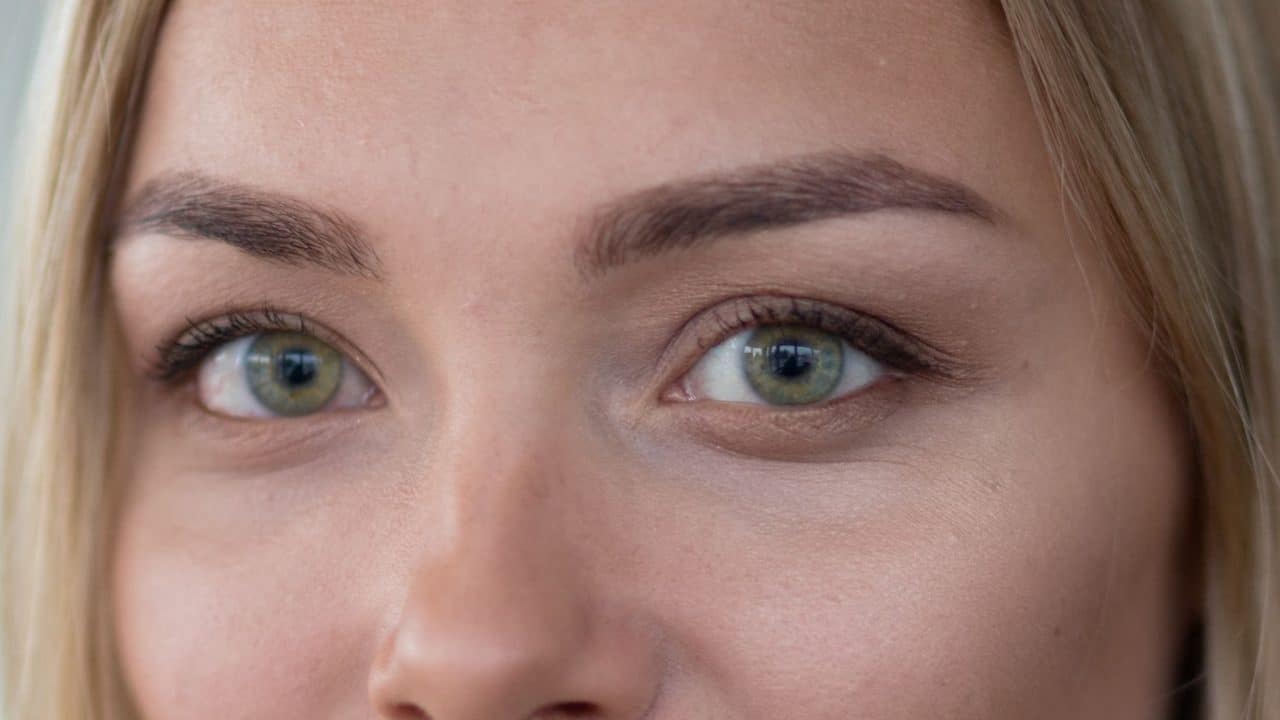
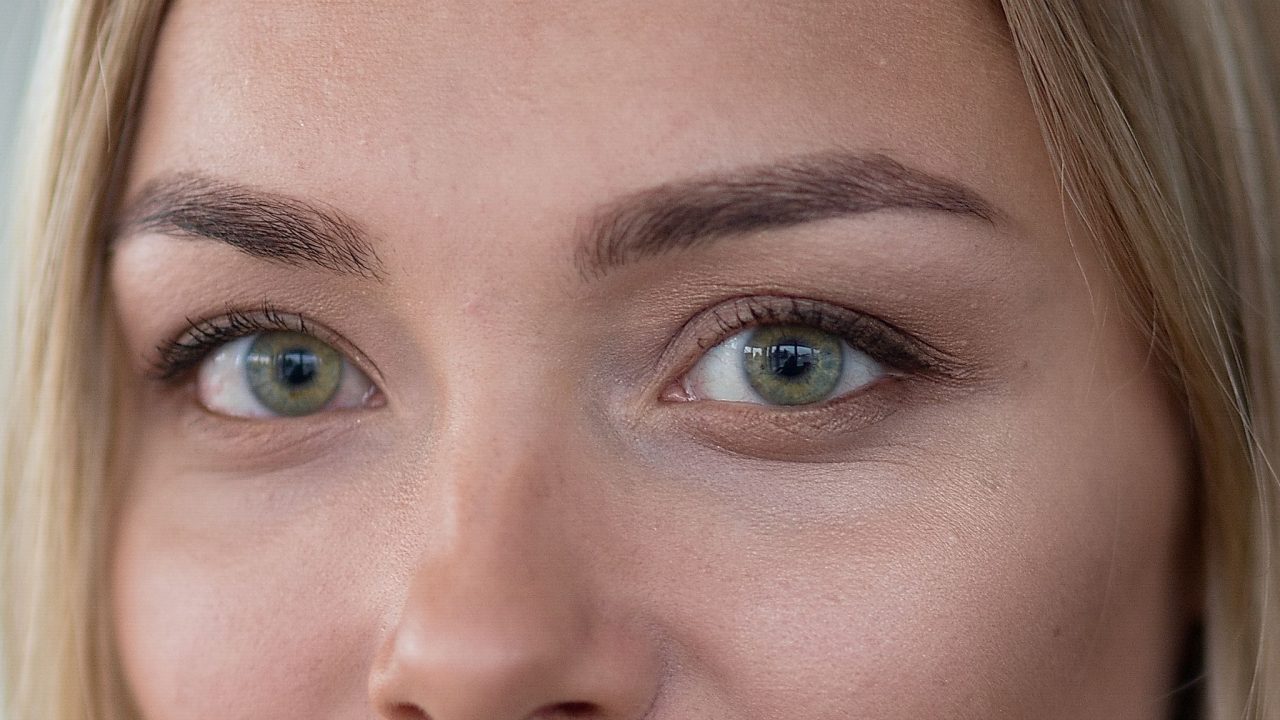
Before and after sharpening using Smart Sharpen.
Sharpness settings
- Sharpening strength—The higher the value, the stronger the sharpening effect. Don’t be afraid to experiment here.
- Sharpening radius— Controls how wide the sharpening effect spreads around edges. Higher values can make the image look artificial, so use with caution.
- Preserve contours (Smart Sharpen only)—Helps protect fine transitions, such as skin, from becoming overly sharp.
- Sharpening threshold—Defines how different two colors must be before sharpening is applied. This helps reduce sharpening in noisy areas of the photo.
Like with most adjustments, each photo is unique, so there’s no one-size-fits-all formula.
In this example, I increased Sharpening strength significantly. This setting is generally forgiving, and you can push it further.
However, be careful with Sharpening radius. It determines how large of an area you’re sharpening. A high value can result in an unnatural look.
Smart Sharpen also offers a Preserve contours setting. This ensures that only prominent edges like eyes and lips are sharpened, while changes aren’t applied to the skin, for example. This is usually desirable for portraits.
Finally, Sharpening threshold determines how much the colors must differ from each other before sharpening kicks in. A low value is usually sufficient, but if your image has visible noise, increasing this value can help you sharpen detail without exaggerating the noise.
Sharpen photos locally
Sometimes you only want to sharpen specific parts of your photo, like eyes, eye lashes, or fine hair texture. In these cases, use the Brush (B) in the Develop module. Use the Brush to paint over the areas you want sharpened. This creates a mask and any adjustments you make only affect that area and not the rest of the image.

Use the Unsharp correction slider to add or subtract sharpness in a specific area. If you overdo it, simply reduce the mask’s opacity or adjust its settings.
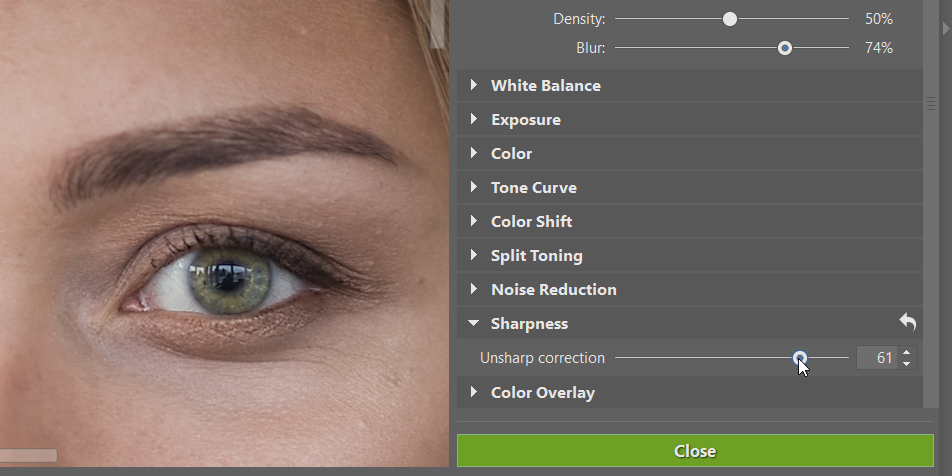
Local sharpening is especially useful for portraits to help emphasize key features.
What to do with overly blurry photos
If your photo is very blurry or completely out of focus, it most likely can’t be fully recovered. But if you still want to try, here are a few last-resort techniques:
- Apply maximum natural sharpening in the Develop module
- Reduce the photo’s size (e.g. 2048px for social media) and then sharpen it
- Convert to black and white
- Add noise to mask blurry areas
These steps should only be considered as a last resort. It’s best to get rid of blurry photos and focus on images that have real potential.
Sharpening photos? Zoner Studio can help
Sharpening photos in Zoner Studio is an invaluable step in photo editing. It gives you more detailed, professional-looking photos. But remember sharpening is just the final touch. The real foundation is a well-focused photo when shooting.
Try sharpening your photos in Zoner Studio. Download Zoner Studio free for 7 days and start fine-tuning the sharpness and details in your own photos.
Sharpening Photos FAQs
What is the difference between Unsharp Mask and Smart Sharpen? Unsharp Mask is the basic sharpening method. In addition to sharpening, Smart Sharpen protects sharp edges from oversharpening.
When should I sharpen locally? When you need to bring out only certain parts of a photo—typically the eyes, hair, or product details.
Is it worth saving a very blurry photo? Only to a limited degree. Try maximum natural sharpening, reducing the image size, or converting to black and white. However, in most cases, it’s better to delete overly blurry photos.
Should I sharpen JPEGs? Yes, although less than RAW. JPEGs are already sharpened in the camera, but you can tweak the results using Zoner Studio.
How can I tell if a photo is oversharpened? Unnatural contours around the edges appear, or noise is more visible. Always check the image at 100% (1:1) view.
What settings are best for portraits? Lower Sharpening radius and enable Preserve contours. This ensures the eyes are sharp while maintaining natural skin tones.
There are no comments yet.