Portrait Presets—Fine-Tune Your Portraits with the Power of AI
With the AI features in Zoner Studio, you can edit your portraits in no time. Simplify your workflow by using presets. There are several presets available in Zoner Studio. Read to learn how AI presets work and how to use them.
For portrait photography, it’s important to have a flattering portrait that accentuates the subject’s face. The subject shouldn’t blend in with the background and their face should beautifully “pop” from the rest of the photo. This applies not only to the face, but also facial features. The eyes should be accentuated and the teeth should be white. AI portrait presets make these adjustments a piece of cake.

Smart portrait presets
AI presets for editing the face are different types of radial filters. Zoner Studio detects different parts of the face using AI and adds radial filters to them. Then, it applies presets. AI Radial Filters can brighten the face and eyes or accentuate the mouth.
In addition to AI Radial Filters, you can also find presets with the Filter Brush. Zoner Studio does not add these automatically, so you have to apply them yourself. These filter brushes have preset values for perfect results. You can use them to whiten teeth, accentuate eyes, or make adjustments using Dodge and Burn.

Quickly enhance portraits with AI
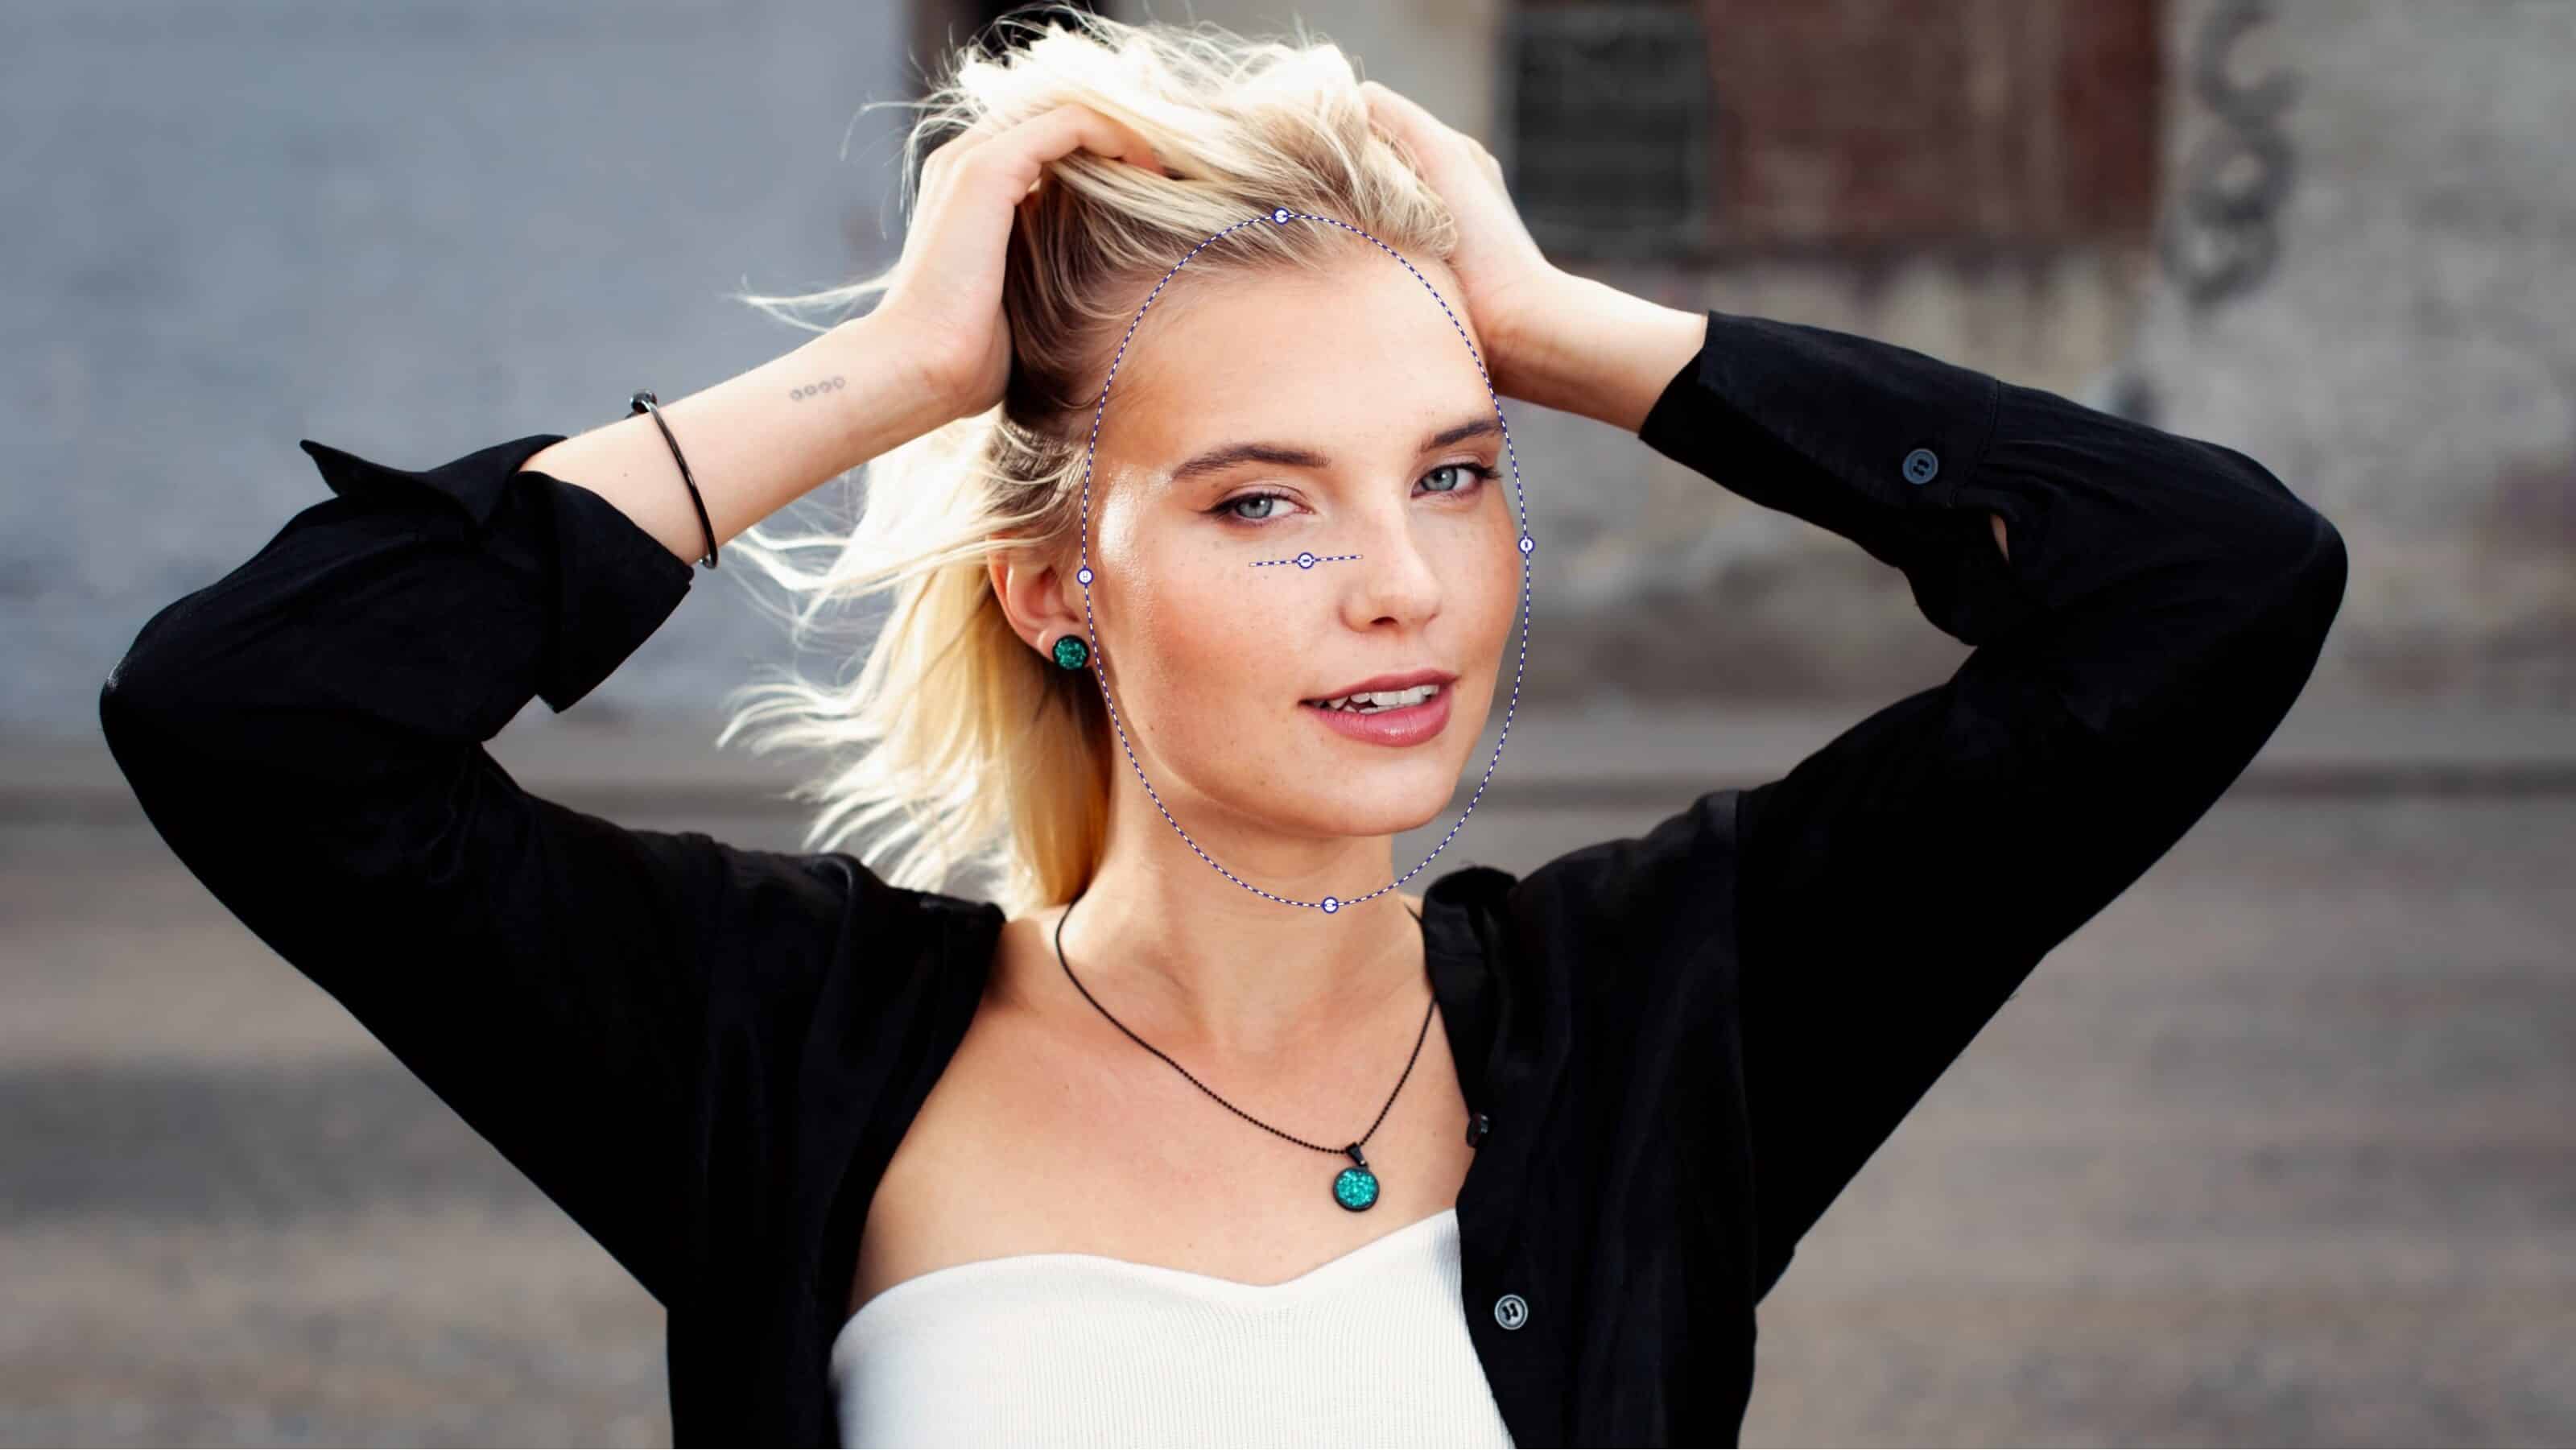
We’ll start with AI Radial Filters. Choose what you want to adjust from the presets menu—Brighten Faces, Brighten Eyes, or Enhance Mouth. Zoner Studio automatically finds the part of the face or the whole face and creates a mask.
The mask contains optimized settings for the specific area. For example, for Brighten Faces, Lights are automatically lowered so the face is not overexposed, or other issues. You can customize everything to suit your needs.

We applied all three AI masks, one for the face, the eyes (a separate mask is created for each eye), and mouth. Next, work with the masks in the right panel as you already know using tools for local adjustments.

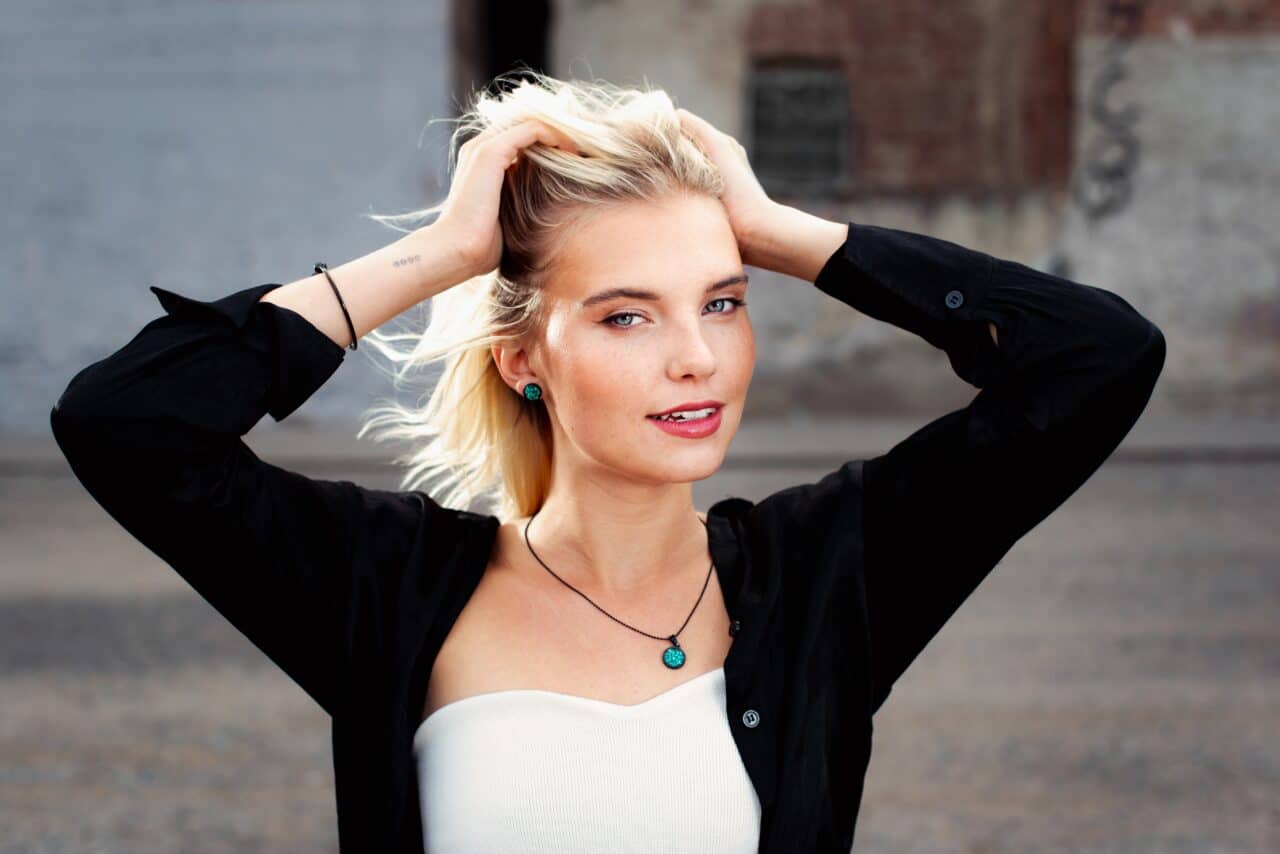
Go through each mask separately and tweak the settings. For our photo, we were happy with the default settings, except for the eyes, which we accentuated a bit more.

Smart Filter Brush adjustments
The Filter Brush works very similarly to AI Radial Filters. The only difference is that it’s more precise to manually apply these adjustments. All filters have predefined values, which save you a lot of time and work.

In addition to whitening the teeth and brightening the eyes, you can also find Dodge and Burn under the brush presets. A special mask is created for both Dodge (brightening) and Burn (darkening). We described how to use Dodge and Burn, in the article 3 Tips for Using Dodge and Burn To Edit Your Portraits.
Better portraits in just a few clicks
Editing with AI tools is fast, easy, and saves you a lot of work. Download Zoner Studio and try them today!

There are no comments yet.