Highlight Delicacy with High Key
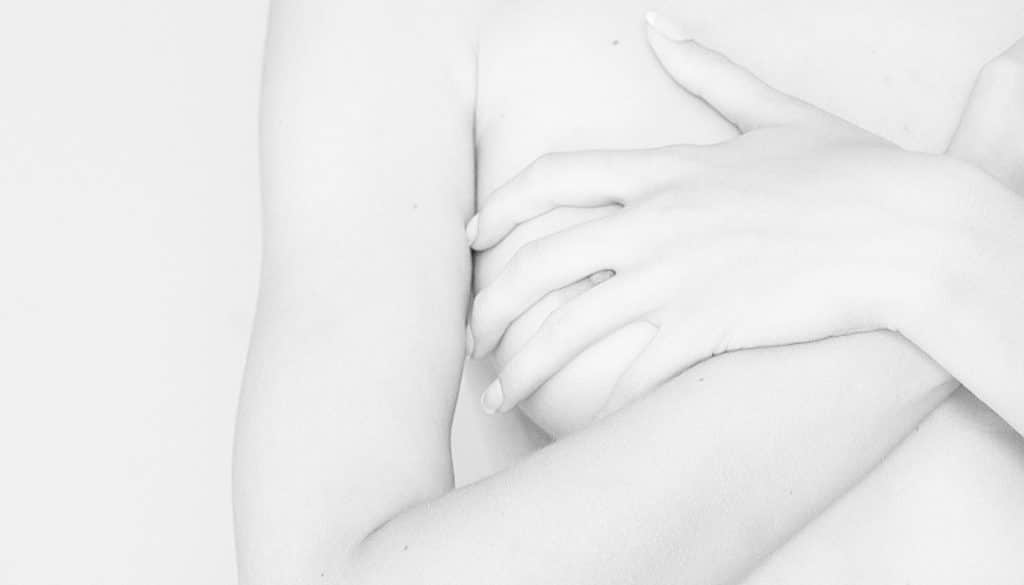
Black and white photos are always in fashion. Even among the pros. In a recent article we looked at several methods for converting pictures to black and white. This time we’ll take a look at how to produce “High Key” black-and-white, which is used to emphasize delicacy and perfection.
High Key photographs are very bright photos, dominated by a variety of bright tones. They have only a mild contrast between lights and shadows. The result is a very light photo with no significantly dark areas.
When Should You Use High Key?
This type of edit feels very delicate, and so it’s not a good fit for every shot. In documentary work for example, this look is definitely less than ideal. It’s also not a fit for every portrait photograph.
-
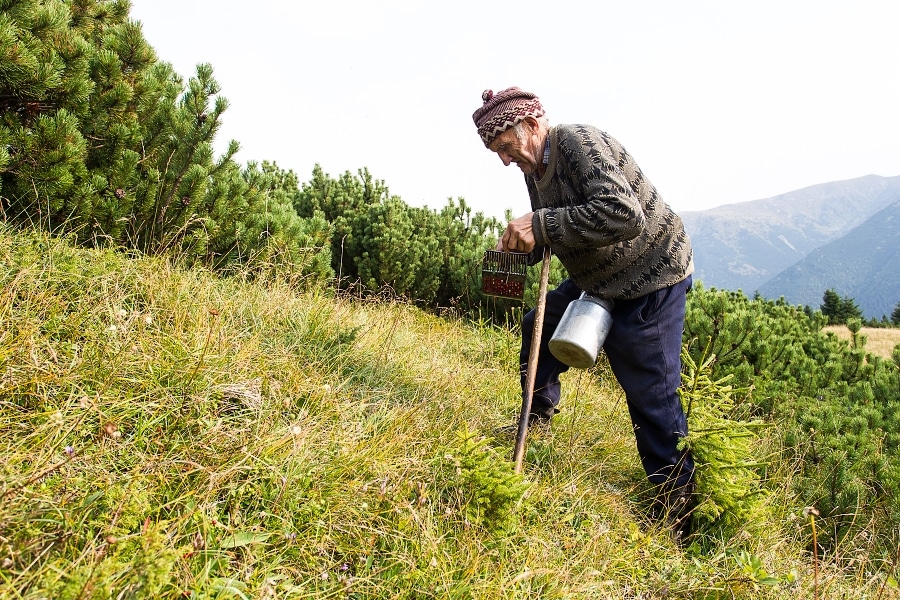
A run-of-the-mill photo where High Key doesn’t look good at all.
-
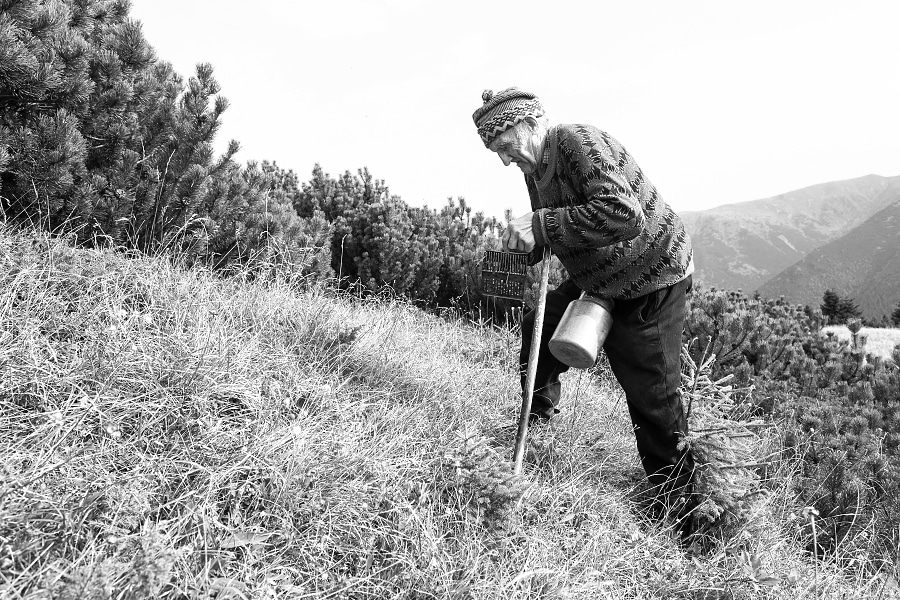
This photo after a High Key edit. Here a u003ca href=u0022https://learn.zoner.com/make-picture-black-and-white/u0022 target=u0022_blanku0022 rel=u0022noopeneru0022u003eclassical black-and-white conversionu003c/au003e would look better.
-
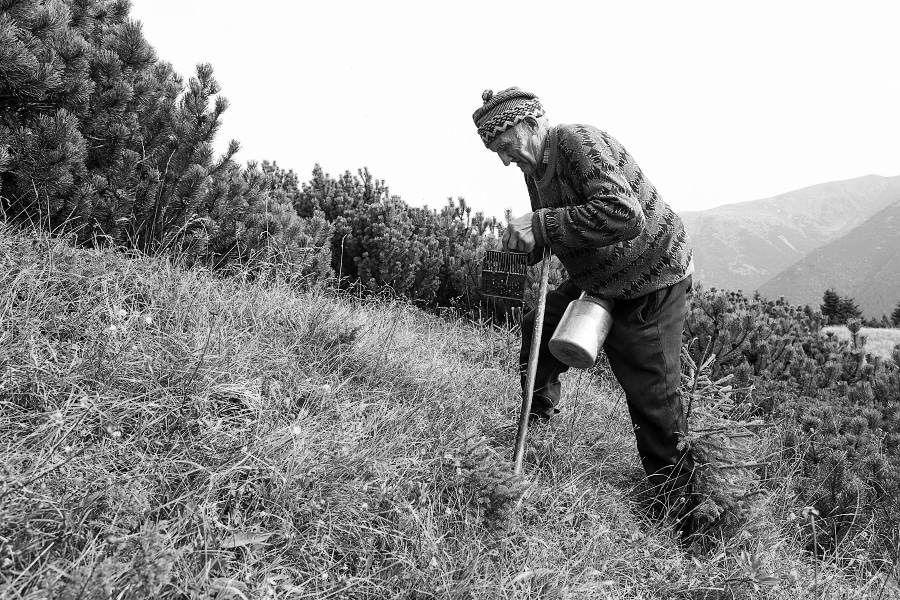
A classical black-and-white conversion looks much better.
A High Key edit is very delicate, so it best fits photos whose contents are delicate—for example female studio nudes, artistic pregnancy photos, and baby photos. In short, use it where you want to emphasize delicacy.
Watch out for Distractions
Ideally you should know that you’ll be doing High Key on a shot before you even press the trigger. Carefully prepare a distraction-free scene in advance—above all that means a single-color background, usually white.
While taking the pictures that you’ll be editing with High Key, do everything you can to get the subject looking perfect. Everything that’s even slightly distracting will stand out in High Key. So avoid things like tousled hair, bad makeup, jewelry, and wrinkled clothes.
Grayscale and the Red Channel
After capturing the image and applying basic edits, convert the photo to black and white in Zoner Studio using the Color Style tool. In the second step, set the Channel Mixing method to Manual in the Color section. Then, focus on the red channel, as increasing its value will significantly soften the red tones in the photo, making them almost white with very subtle shadows. The skin of people of European and Asian descent contains mostly red tones – that’s why the red channel is used for High Key editing.
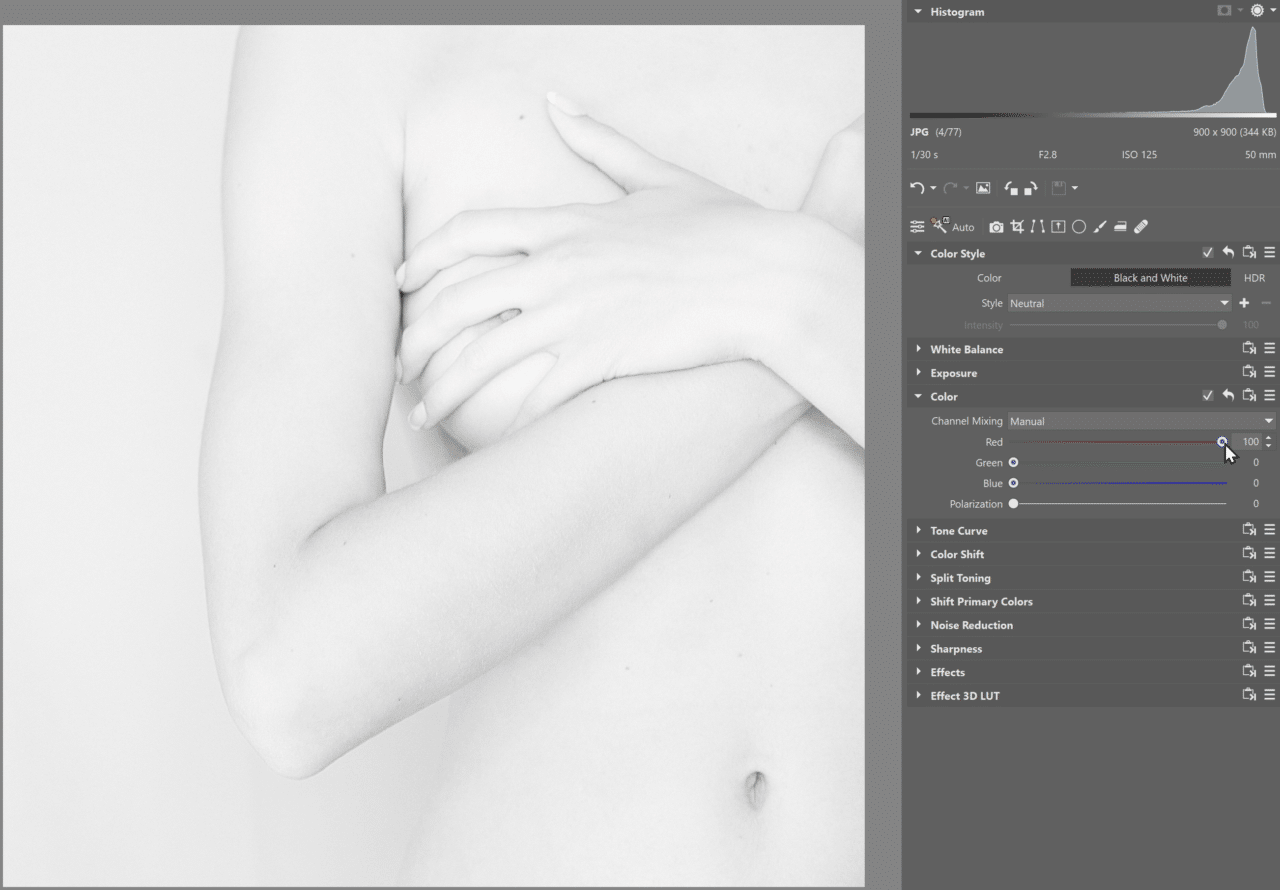
A photo with a High Key edit.
The High Key edit was much more in fashion in the past than it is today. But that’s no reason not to go and give it a try.


There are no comments yet.