How to Shoot With a Reflector
Natural light is generally the best light for photography. But it doesn’t always have the right direction and intensity. However, there’s a simple way to solve this. Just reach for a reflector and send the light in whichever direction you need.
You can take practically any surface that’s able to reflect light and use that as your reflector. Very often in a studio, for example, you’ll encounter traditional reflectors made from polystyrene sheets. That’s because they’re cheap and light and can be coated with different colors to get various effects you’re looking for.
The reflectors that you can buy in photography shops are another, more sophisticated solution. These are textiles pulled onto a metal frame that you can easily pack into a light and compact package.
The reflectors called “5 in 1” are the most common variant; with these, you’ve got five different surfaces available from a single reflector.
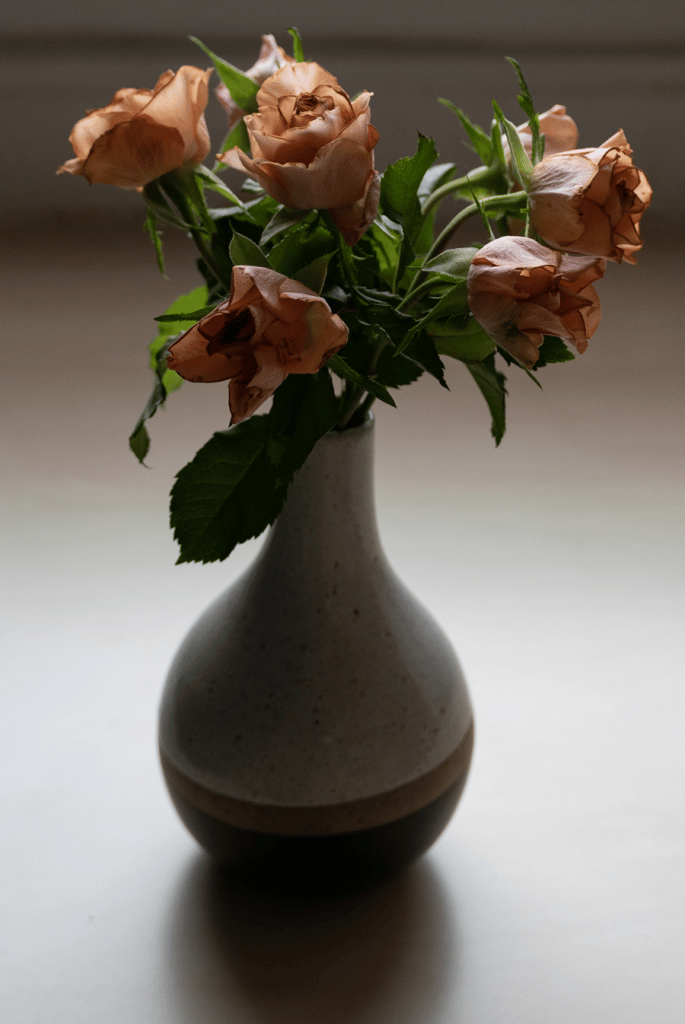
Reflectors will most often come in handy when you’re shooting portraits, in macro photography, and in product photography.
5-in-1 Surfaces
The basic surfaces available for 5-in-1 systems are:
- white,
- black,
- metallic silver, and
- metallic gold.
A diffusion surface is the fifth part of a 5-in-1 system. Instead of acting as a reflector, it works as a diffuser for the light passing through it.
White – A 5-in-1 with a white surface doesn’t change the color or character of the light it reflects. The light is pleasantly diffuse and very natural. White surfaces are often used to brighten the shadows produced by hard sunlight. They also play the same role in the studio when you’re using one of the harsher lighting types.
Silver – the reflected light is relatively cold and intense. It models objects more, it doesn’t look as natural, and it’s more visible in the photograph. Use it when the light reflected by a white reflector isn’t intense enough.
Gold – like silver reflectors, these produce fairly intense light, but they also add a very warm tint that resembles the light of a sunset, and so they let you imitate evening light in the daytime. That makes them especially useful for portrait photos.
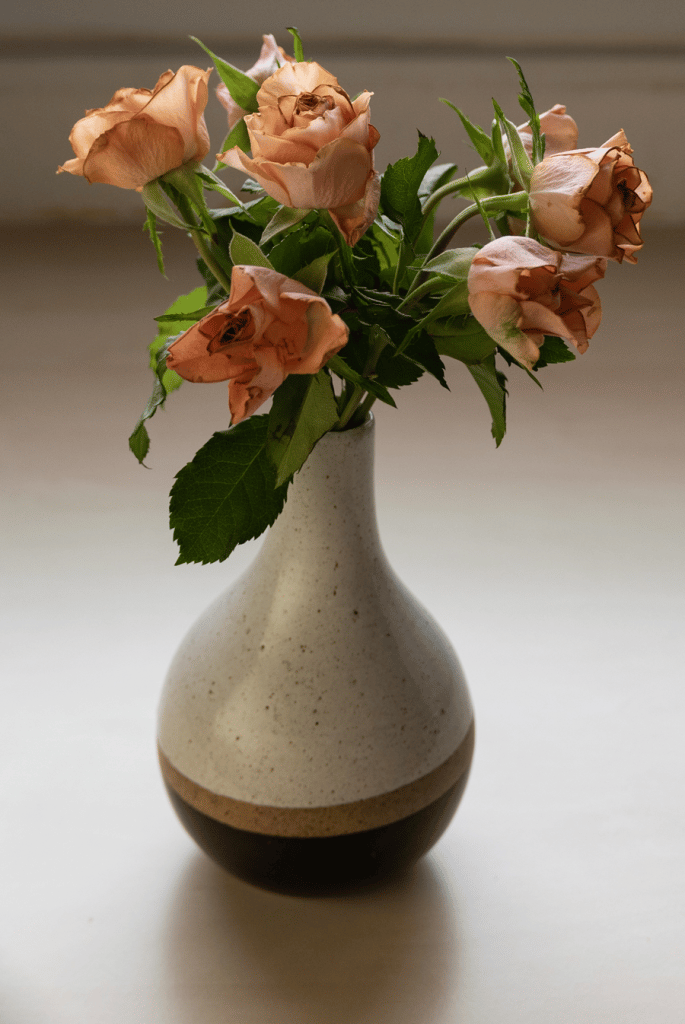
Black – Unlike the other surfaces, black absorbs light instead of reflecting it. So you can use it in the opposite way. Instead of brightening shadows, you can deepen them. This surface is useful when you’ve got lots of light, but it’s so diffuse that it doesn’t shape your subject enough. Adding shadows gives the photograph more depth.
When a reflector is folded frequently, grooves and bends appear on its surface. This should not have any effect on the quality of the reflected light during ordinary use, and so it’s nothing to worry about. Cheap reflectors, however, can develop a problem where large areas of the reflecting layer peel off.
Reflectors’ Sizes and Shapes
The most common shape for universal folding reflectors is a circle, and then for larger ones, it’s a rectangle with rounded corners. There are also specially shaped reflectors for different genres.
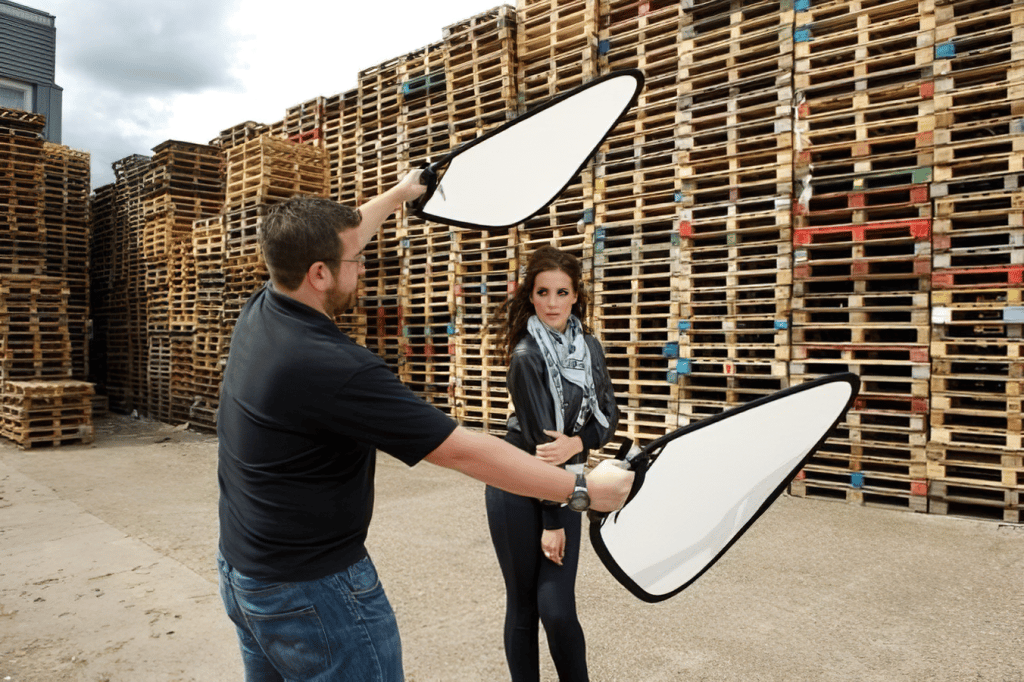
Triangular boards with built-in grips are fairly widespread as well. You can hold these in one hand while holding your camera in the other.
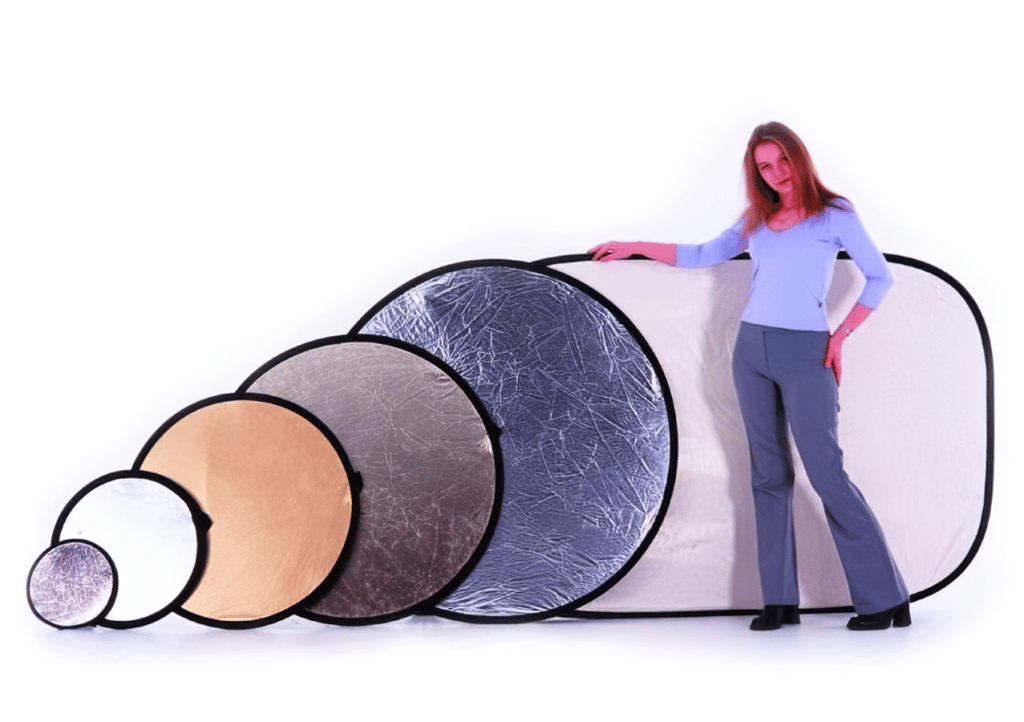 You can buy folding reflectors in sizes from a dozen centimeters to several meters.
Small reflectors are useful for macro and product photography. Although on the other hand, having a special reflector just for these genres is an unnecessary luxury. In these types of photography, you can easily replace the reflector with folded paper or a small piece of polystyrene.
Medium-sized reflectors, with dimensions of about 40 centimeters, are useful when you’re shooting portraits.
Reflectors with sizes of over 1.5 meters, meanwhile, come in handy for full-body and group shots. You can also use large reflectors as backgrounds.
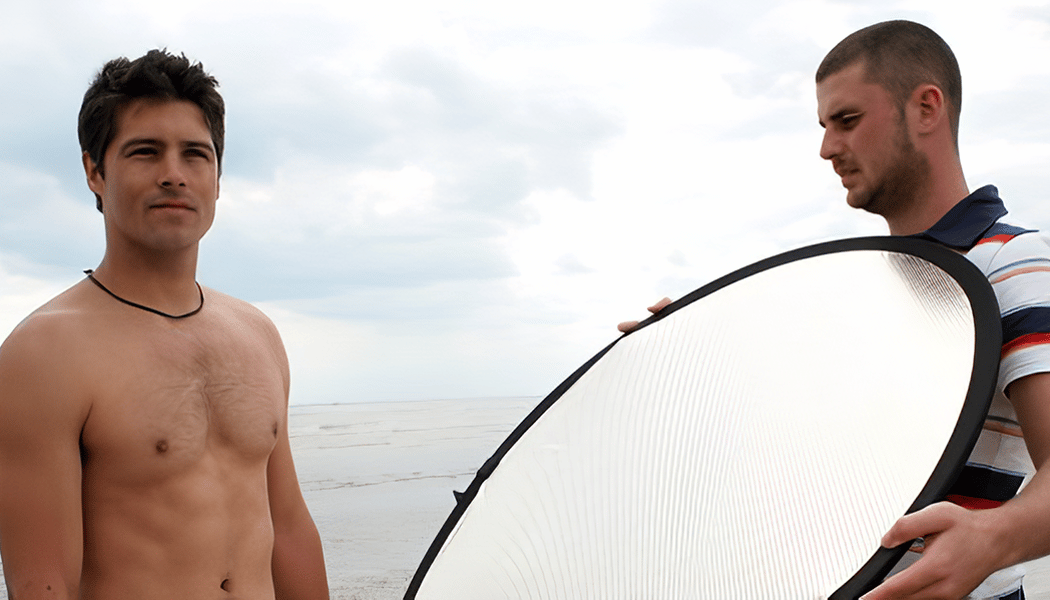
Working With a Reflector
For scenes where there isn’t any motion, like in product or macro photography, you can generally get by without an assistant. Your camera is generally on a tripod, so your hands are free to hold the reflector.
You can use almost the same approach in portrait photography. But you’ll usually need to hold your camera in your hands, so you will need an assistant.
If you don’t have an assistant, your subject can also help to hold the reflector. A special reflector holder mounted on a tripod is another option.
Sometimes you can also lean the reflector onto something you have around you, or attach it to something.
When you’re choosing locations for reflectors, the same rules apply as when you’re using other types of lights. That means that the closer you place a reflector to your photograph’s subject, the larger it will be relative to him or her, and the more diffuse the light will be. The reflected light will also have a greater intensity.
When you’re working with a camera on a tripod and you’re handling the reflector yourself, keep in mind that you’re observing the photographed scene from a different angle than the one that’s being composed in the camera viewfinder. Even if the light looks perfect from where you’re standing with the reflector, it might not look ideal in the final photo. So don’t forget to correct for this when you’re placing the reflector.
There are no comments yet.