Image Stacking for Landscape Photos: Use Layers to Tackle High Dynamic Range Images
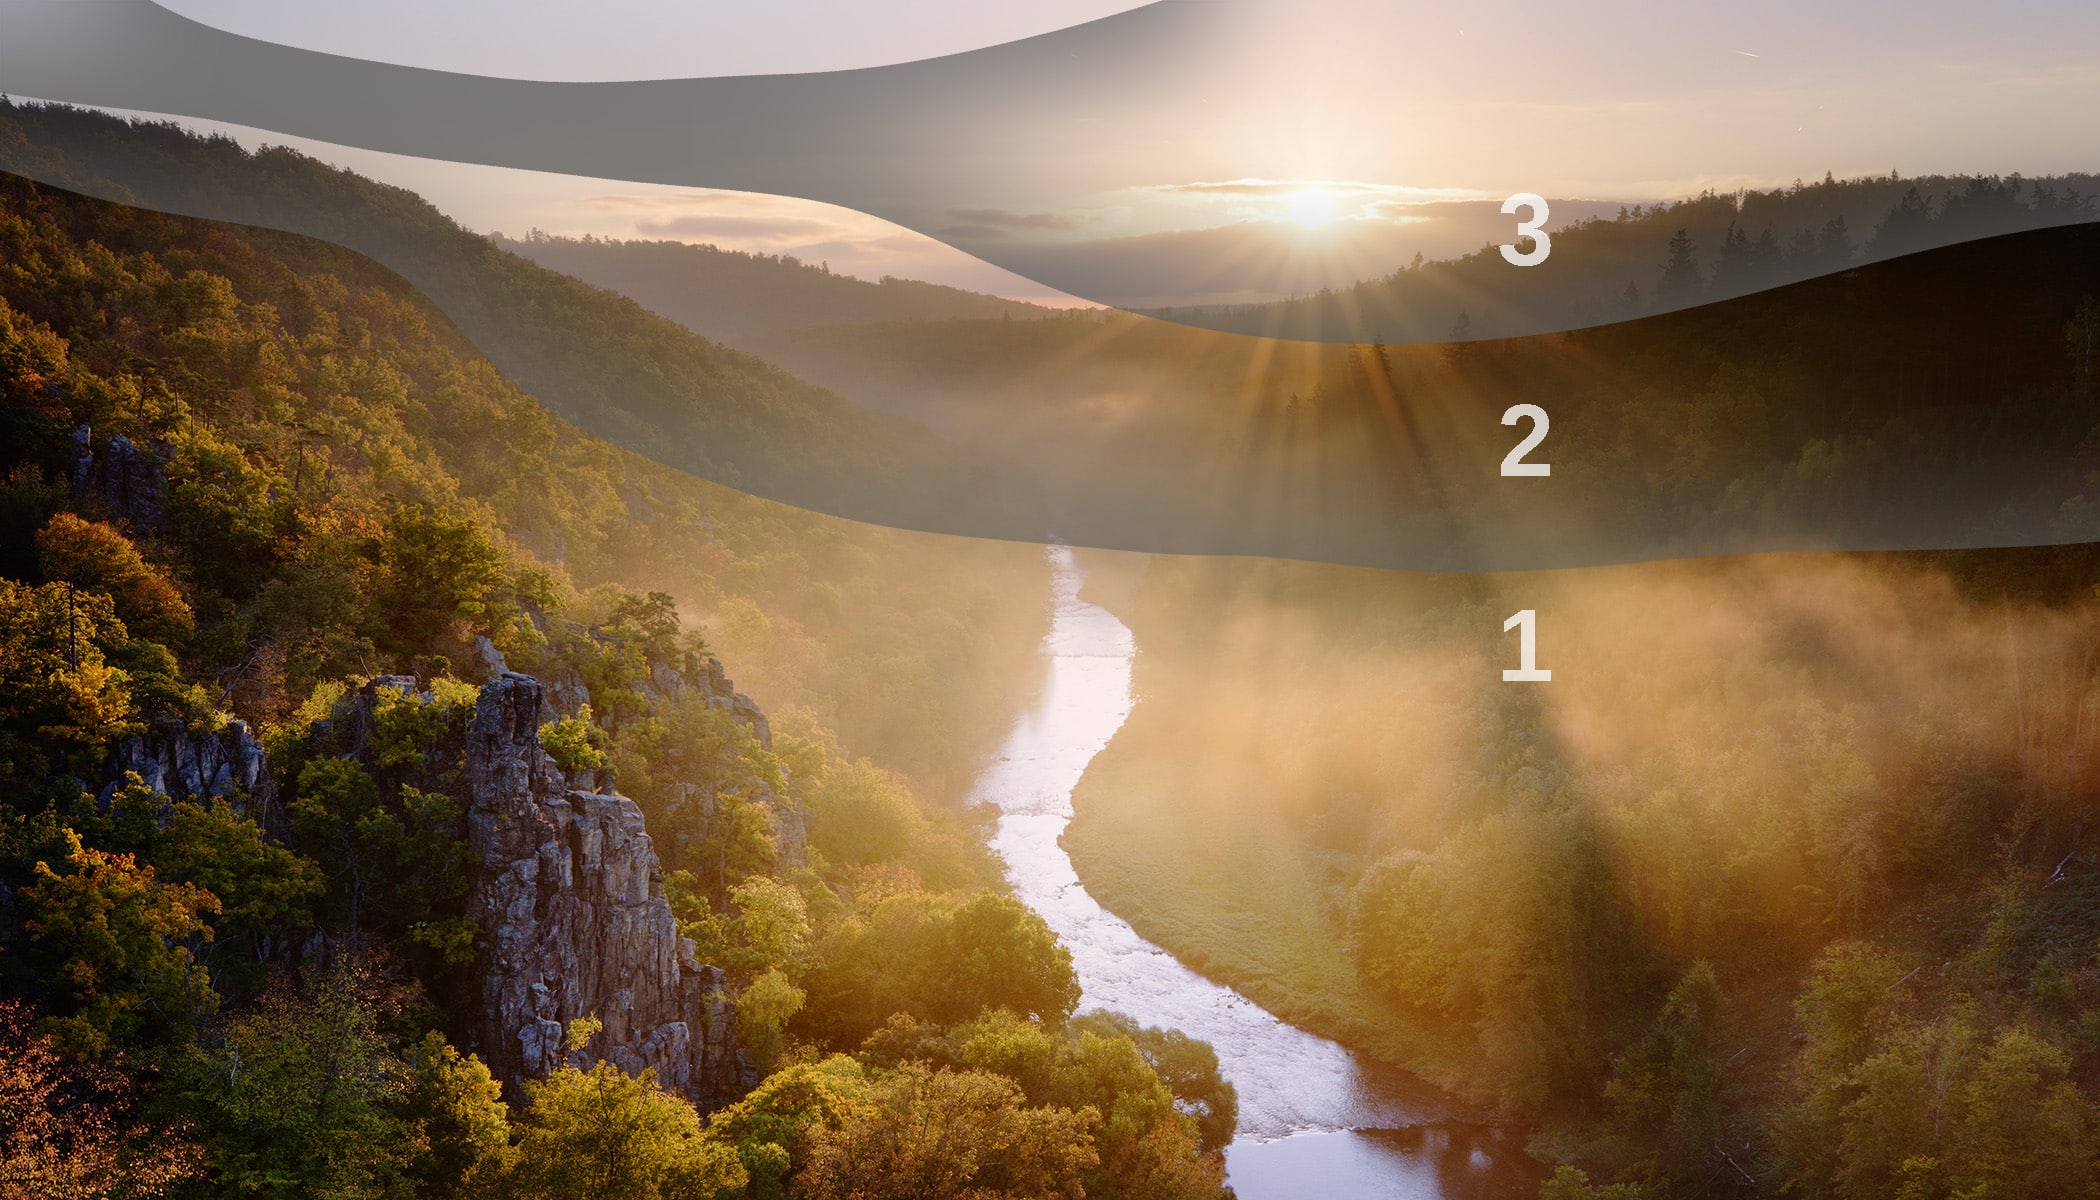
For a landscape to be truly spectacular, you’ll want the sun in the frame so you can observe the interplay of lights and shadows. The issue is that this puts unrealistic demands on your camera’s sensor. A common solution is to take several images at different brightness levels. But how do you combine them? Auto HDR doesn’t always work. So for greater control over your results, there is a manual process you can use to ensure your results are exactly what you want.
In this article, I’ll show you several tricks that are useful for complicated landscape scenes that go beyond the realm of an ordinary photo. You’ll learn how to tackle a large dynamic range, as well as other potential issues such as lens flare caused by light reflection inside the lens.
Shooting
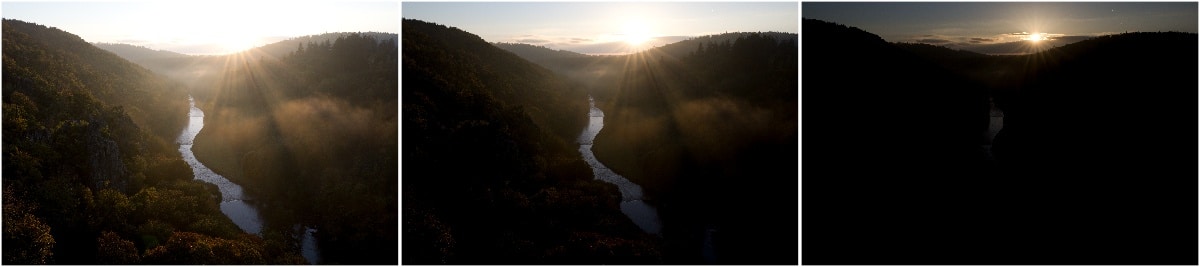
To get the maximum quality from our landscape shots, we will use what’s called exposure bracketing. Auto exposure bracketing is a camera setting with which one press of the shutter takes several photos at varying exposures. I usually opt for three shots, and in extreme cases five. Some cameras allow an even greater number. If you are not sure, it pays to take more pictures and then choose a few for stacking later.
Look for the Auto exposure bracketing (or AEB) function in your camera’s menu. Its location depends on the camera you are using. To avoid shifting between shots, it’s a good idea to use a tripod and a delayed shutter of several seconds. Shooting in RAW is a must in order to get the maximum amount of image information from each shot.
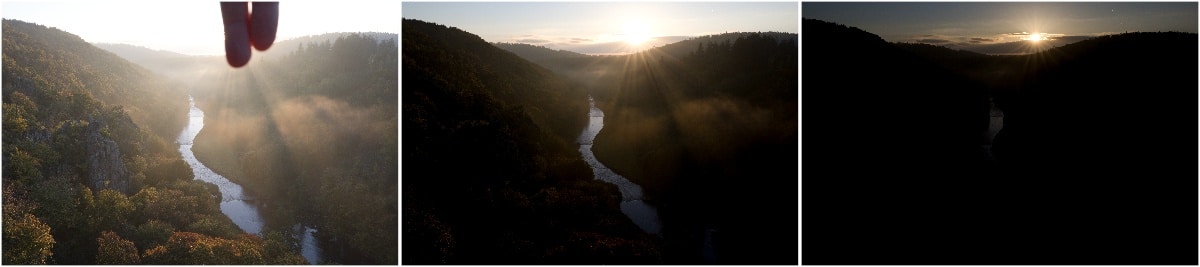
Since the images will be stacked anyway, we can make the actual shooting easier by taking a second series of shots with the sun covered. You can cover it with your finger. This eliminates the sun’s reflections in other parts of the image.
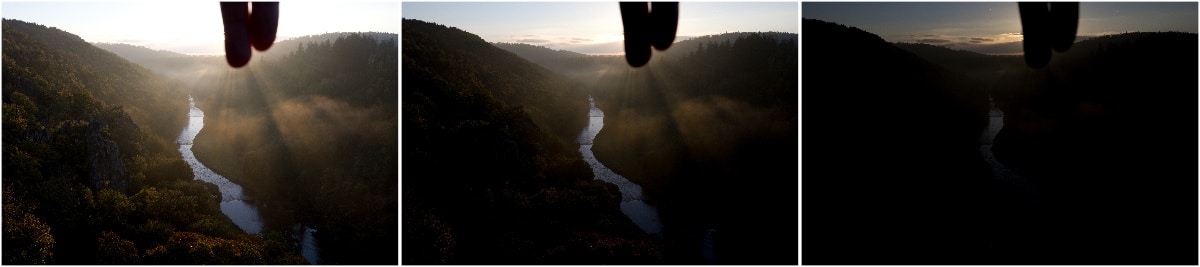
Of course, with this method, the part of the photograph with the sun is unusable. It will be covered by an image from the previous series of photos. If something doesn‘t work right and the second series of shots don’t blend in correctly with the first (the camera or something else shifted), just go with the first series.
Initial processing of RAW files
If you are used to significantly altering your images, it is better to wait until the stacking of the images is complete before making a majority of your adjustments. This means there is no need to significantly edit the RAW file in the Develop module. The most important adjustment to make is to set a reasonable-looking White Balance that is the same for all images. If necessary, deal with the image’s biggest issues at this time.
With default RAW settings, you may encounter a situation where the dark parts of the photo blend into a solid black blob lacking any detail. These dark parts can be missed by the software, so the safest thing to do with RAW files is to lower contrast to -20, for instance. Contrast will be added back later so don’t be alarmed if your photo looks dull.
Additionally, if you find like me, that your lightest images are still too dark in certain areas, you have no choice but to increase the exposure.
I chose these three images for stacking:
The Editor and layers
Next, we work in the Editor module. It’s best to begin with the open file that will be used as the bottom part of the finished photo. This is almost always the lightest image. Then, using the Paste from File command in the Edit menu, add a second photo that is one degree lighter. Now, the layers panel should look something like this:
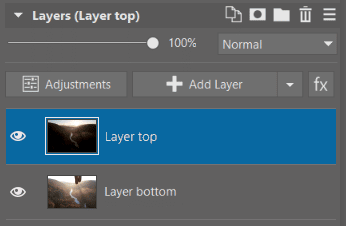
If the layers are in the wrong order, drag them to where you want them.
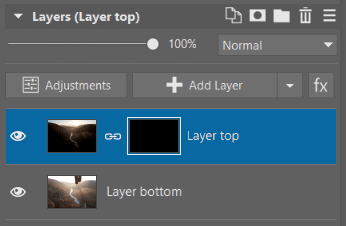
We will now work with the top layer. First, add a mask that completely covers it. Right click the layer and select Mask – Hide All. The mask is automatically selected (there is a white box around it). Other operations like painting or filling the mask will be done to the mask and not to the image itself.
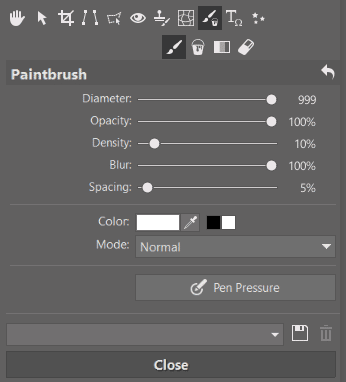
Select Paintbrush from Drawing Tools and use it to paint white in the areas you want to make visible. This darkens the image as a result. It’s best to use a brush with a large Diameter (up to 999, depending on the image resolution), low Density (10% or less), and Spacing around 5%, to speed up the painting process. Painting using a graphics drawing tablet is easier, but the mouse will do since great precision is not required.
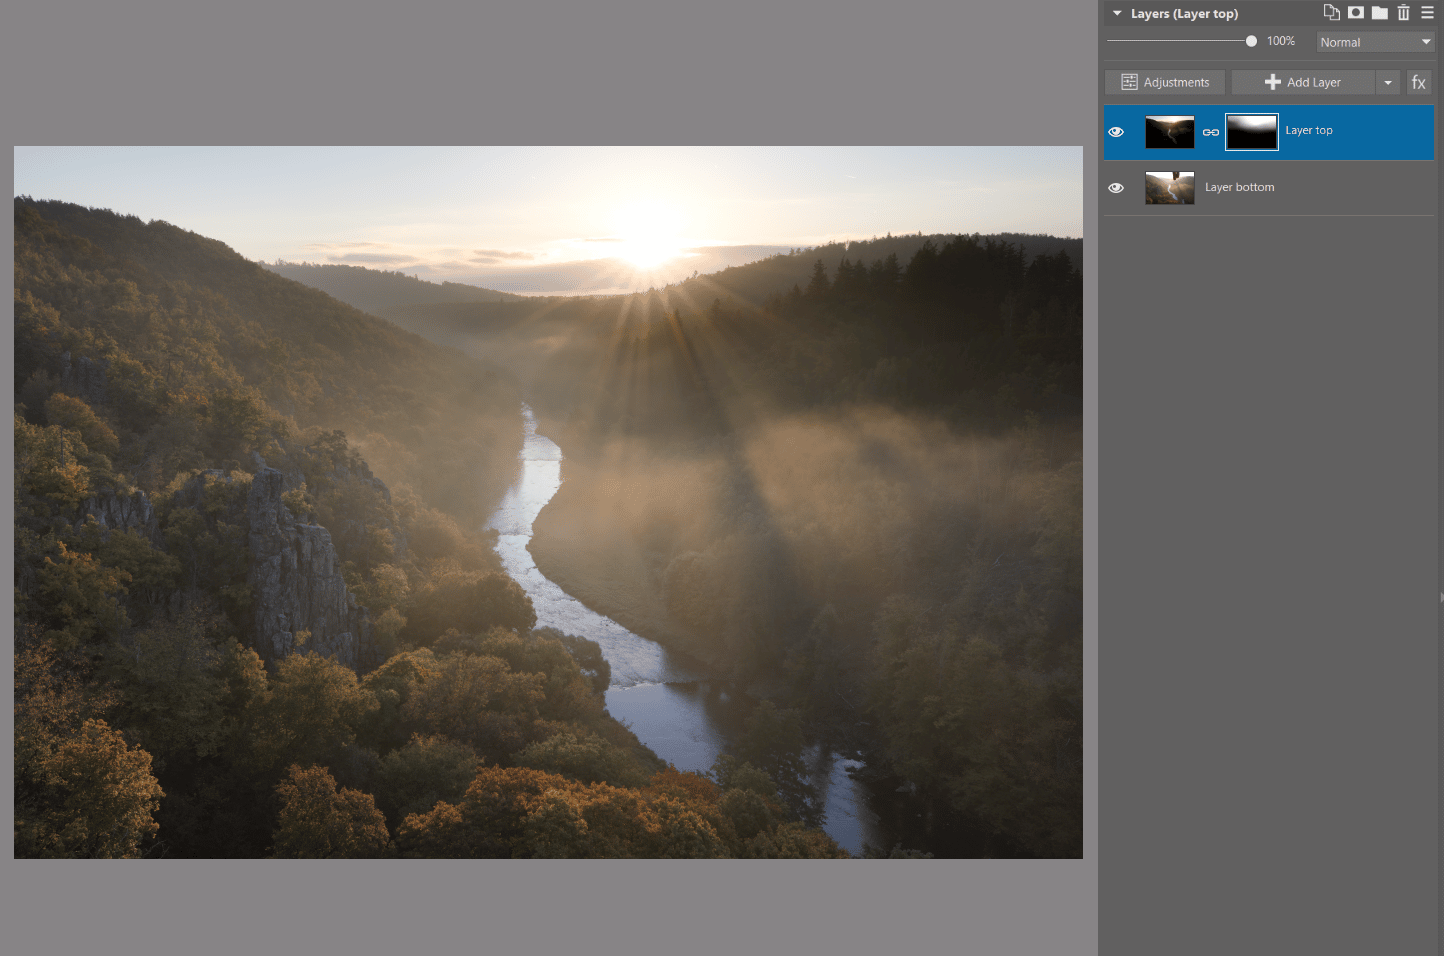
After painting the mask, your image may look something like this:
Curves and grouping
At this point, you might find that the transition between layers is already very good. However, at other times, not even the subtle edges of the mask are enough and the bottom layer noticeably spills over into the dark areas of the top layer.
One option is to adjust the top layer using curves from the Adjust menu – Curves. However, it’s better to do this operation non-destructively so the curves can be adjusted again in the future.
Instead of using curves from the top menu, I usually add a Curves adjustment layer from the Add Layer drop-down menu on the right.
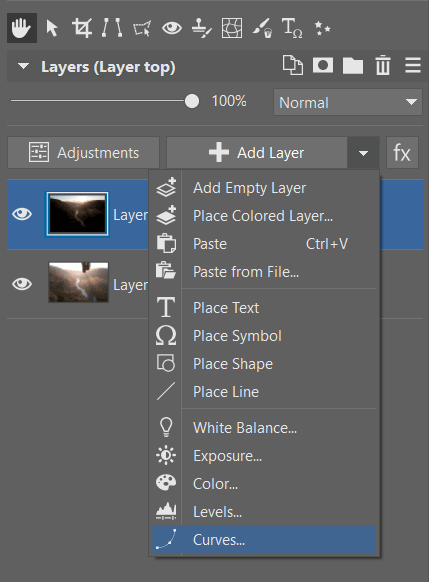
You need to make sure the curves layer is in the right place. That is, right above the layer that is to be adjusted. If it is not in the right place, drag to move it.
But be careful! – It isn’t noticeable just yet, but if you move points along the curve (double click the layer icon to open a window with curves settings), you find you’re adjusting not only the middle layer, but the rest of the layers below it too. That is not what we want.
Fortunately, there’s a handy solution: Select both the curves layer and corresponding image below it. Then right click and select Group. Aside from the group, nothing has noticeably changed in our picture. This is because the group is purely organizational for now. However, the layers are treated as if they weren’t there. This can be changed by selecting the group and changing the Layer Blending Mode from Pass Through to Normal.
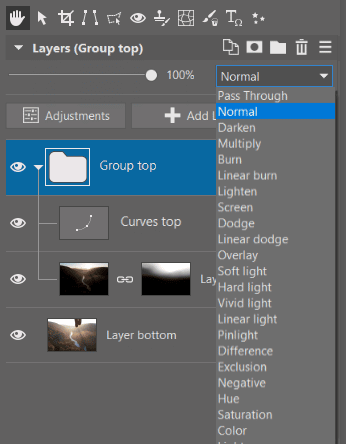
Now the program first prepares the layer separately – including its graphical elements, curves, and any other layers – then, it puts the result in its place. The curves only affect the layers in the group below them.
By slightly adjusting the curves, you get a small amount of lightening without overexposing and therefore a better transition between layers.
The same process for the next layer
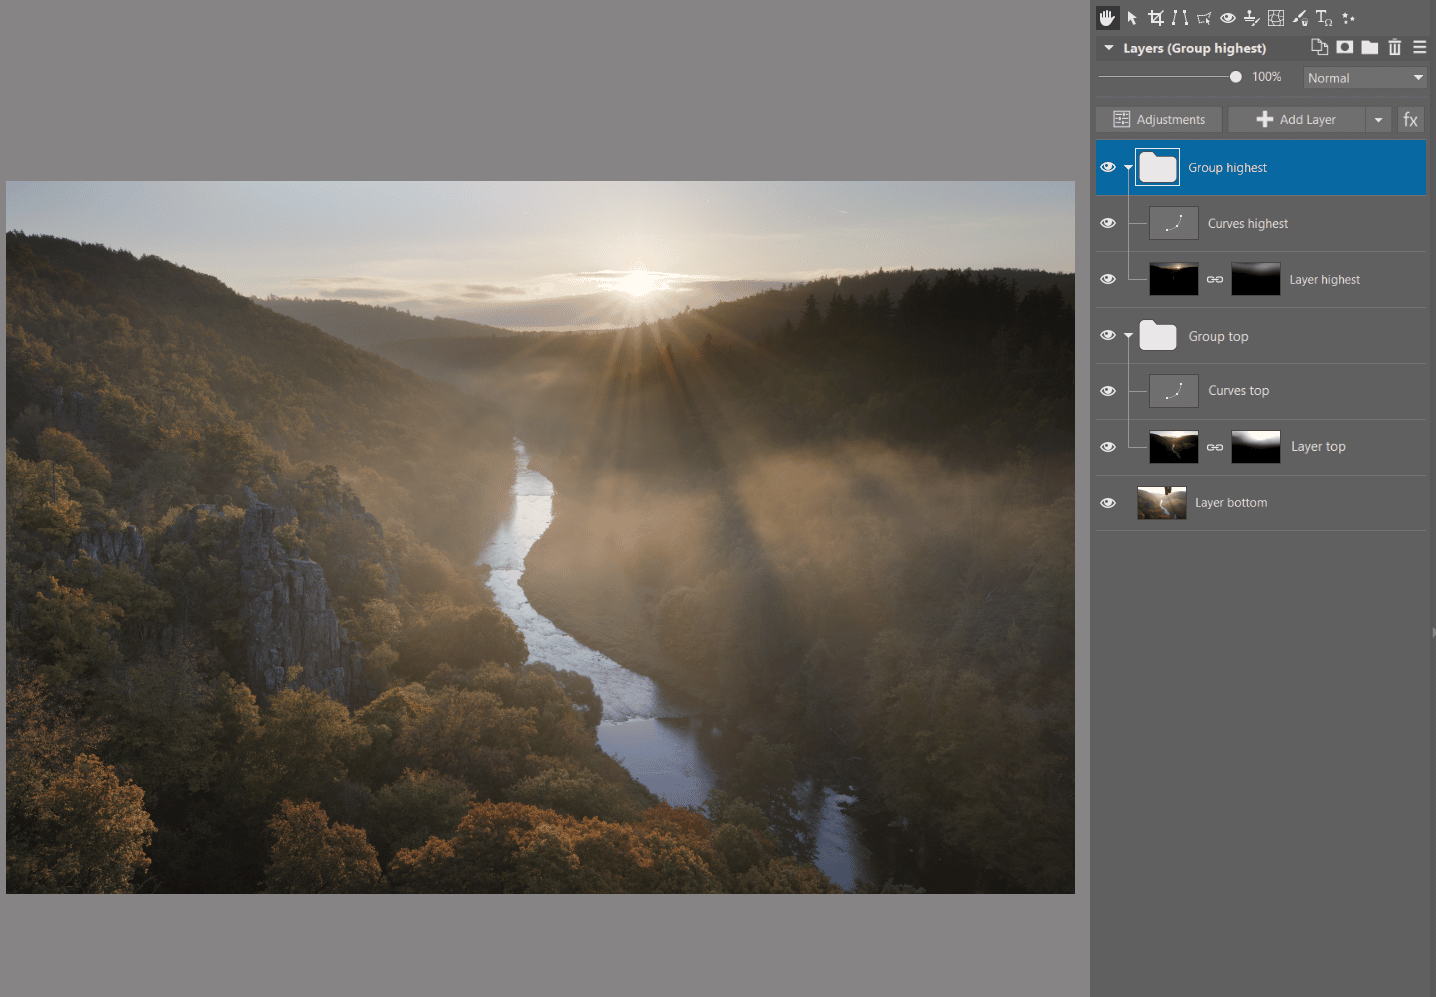
Use the exact same process to add a third layer containing an even darker image that will be used around the sun, where the previous layer was not enough.
Again, paste the layer from a file, assign a mask to it, paint the mask, and fine-tune the group’s curves. The result should look something like this:
Final global edits
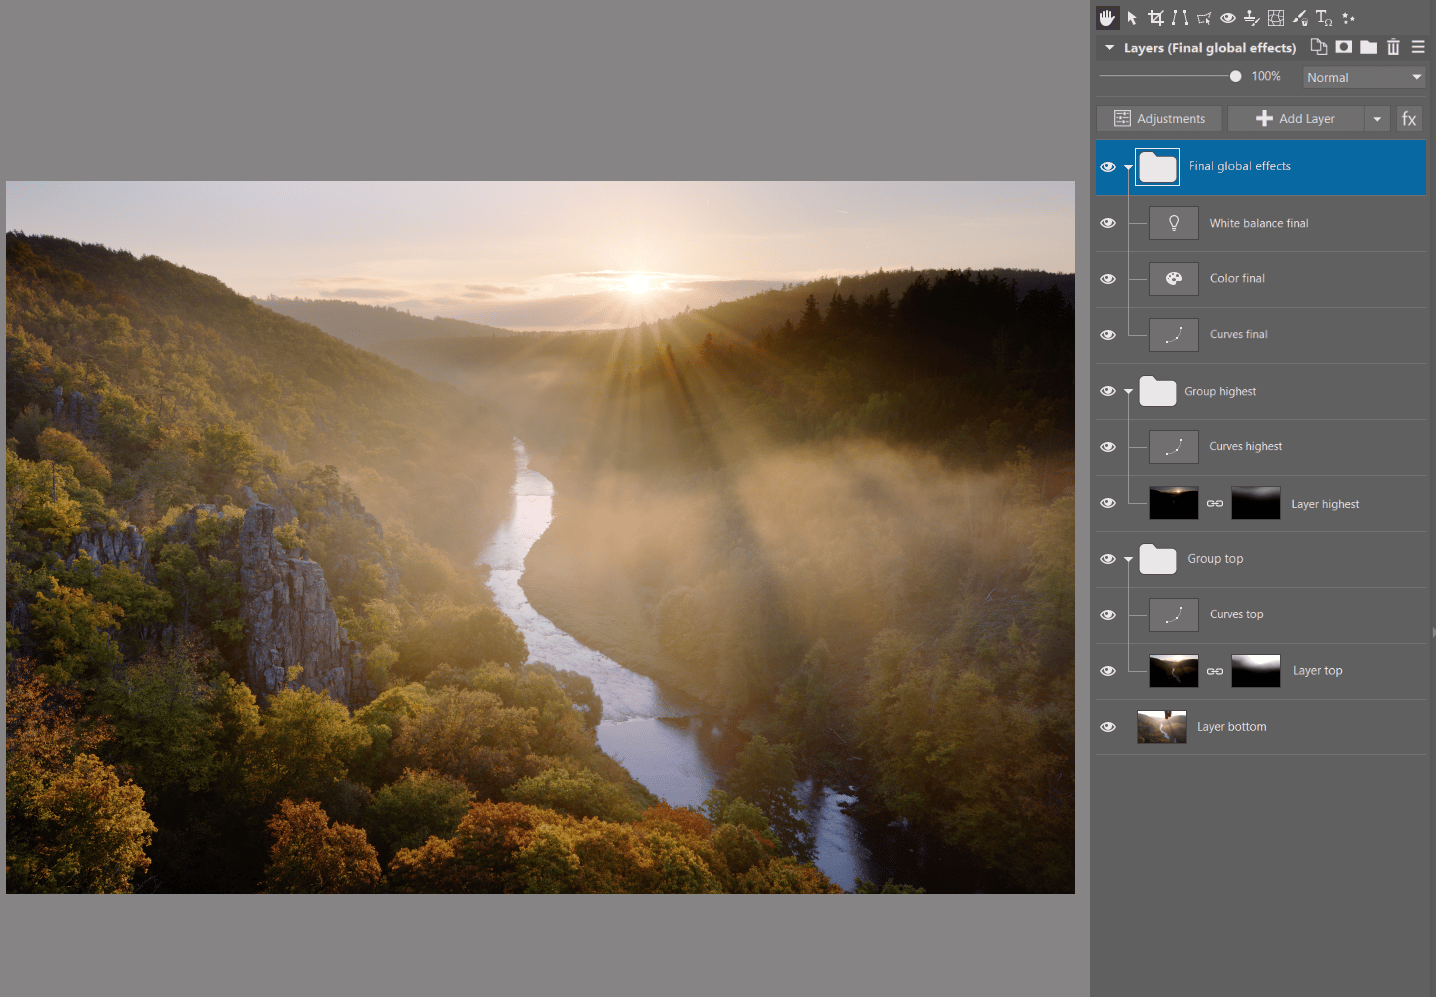
Once we have a foundation with a large range of highlights and shadows in one shot, it is time for the final edits. These final edits depend on each photographer’s own taste. I’m going to continue working with the curves adjustment layer. I put it on top of the rest of the images and adjust contrast. Additionally, I add an adjustment layer to enhance the colors. I increase Vibrance and tweak White Balance since my photo looks overly green.
Final local edits
Global edits may not be enough to get the best result. Editing contrast globally has its limits and increasing it may be a detriment to other parts of the image. Curves can often be a solution to this issue when used with a mask to limit their effect on certain areas. It’s up to you whether you put the curves layer on top so that it affects everything below it, or if you insert it into one of the groups so they affect only those layers.

It gets easier with practice
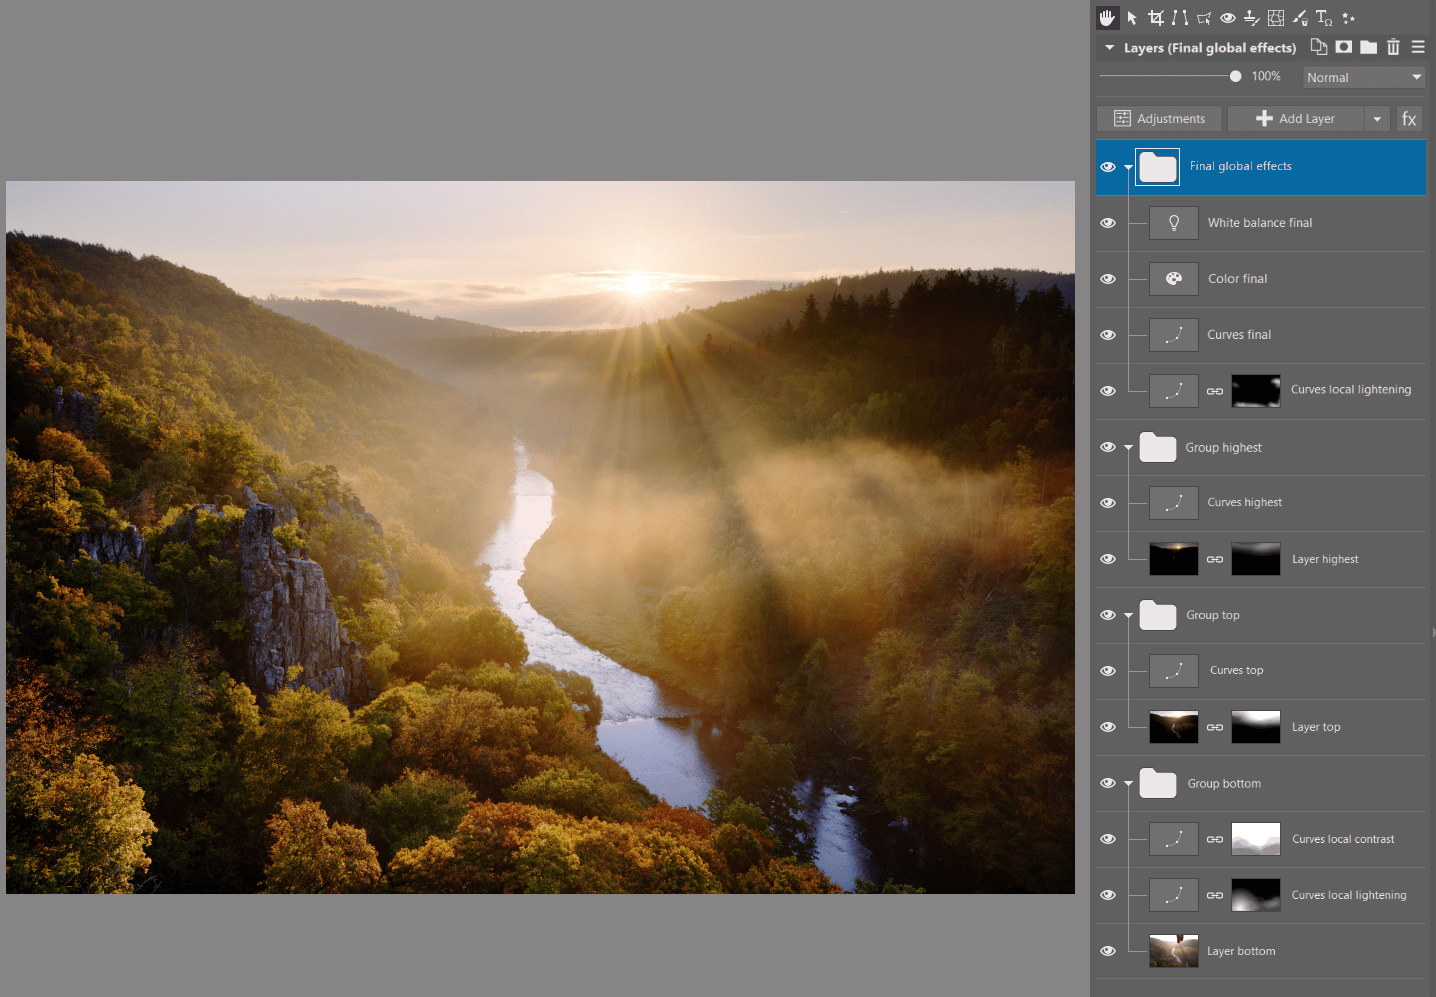
The final image with a large number of layers may seem intimidating, but take it as more of a demonstration of all the adjustments available to you. By no means are you required to use all of them. On the other hand, creating layers like these is not complicated and as soon as you get used to the process, you’ll get to your finished product in no time.
There are no comments yet.