Learn to Create a Double Exposure Effect in Zoner Studio
The article is over 5 years old. The information in it may be outdated.
![]()
We are working on its update. In the meantime, you can read some more recent articles.
Multiple exposures are a traditional effect that first started in analog photography, where multiple scenes were exposed onto a single film frame to create a single final image. The majority of today’s digital cameras let you achieve this effect inside the camera. But you can get the most control over your results by simulating this technique in Zoner Studio. We’ll be using a wintertime portrait to illustrate the steps.
Follow along with us, and you’ll learn to use these tools: Paintbrush (B), Magnetic Lasso (A), Selection – Invert Selection (Shift+Ctrl+I), Selection – Fill…, Selection – Save Selection…, Selection – Deselect (Esc), Layer – Add Layer – Curves…, Layer – Duplicate Layer, and Layer – Mask – Hide All. Many of these tools are in the program’s main menu; click the icon at the top left of Zoner Studio to show it.
Multiple exposures are a traditional effect that first started in analog photography, where multiple scenes were exposed onto a single film frame to create a single final image. The majority of today’s digital cameras let you achieve this effect inside the camera. But you can get the most control over your results by simulating this technique in a photo editor.
Portraits of people or animals are the best place to use the double exposure technique. You’ll be using the Zoner Studio Editor for the editing work. We’ll imagine here that you’re following along with our example portrait.
Remove the Photo’s Background
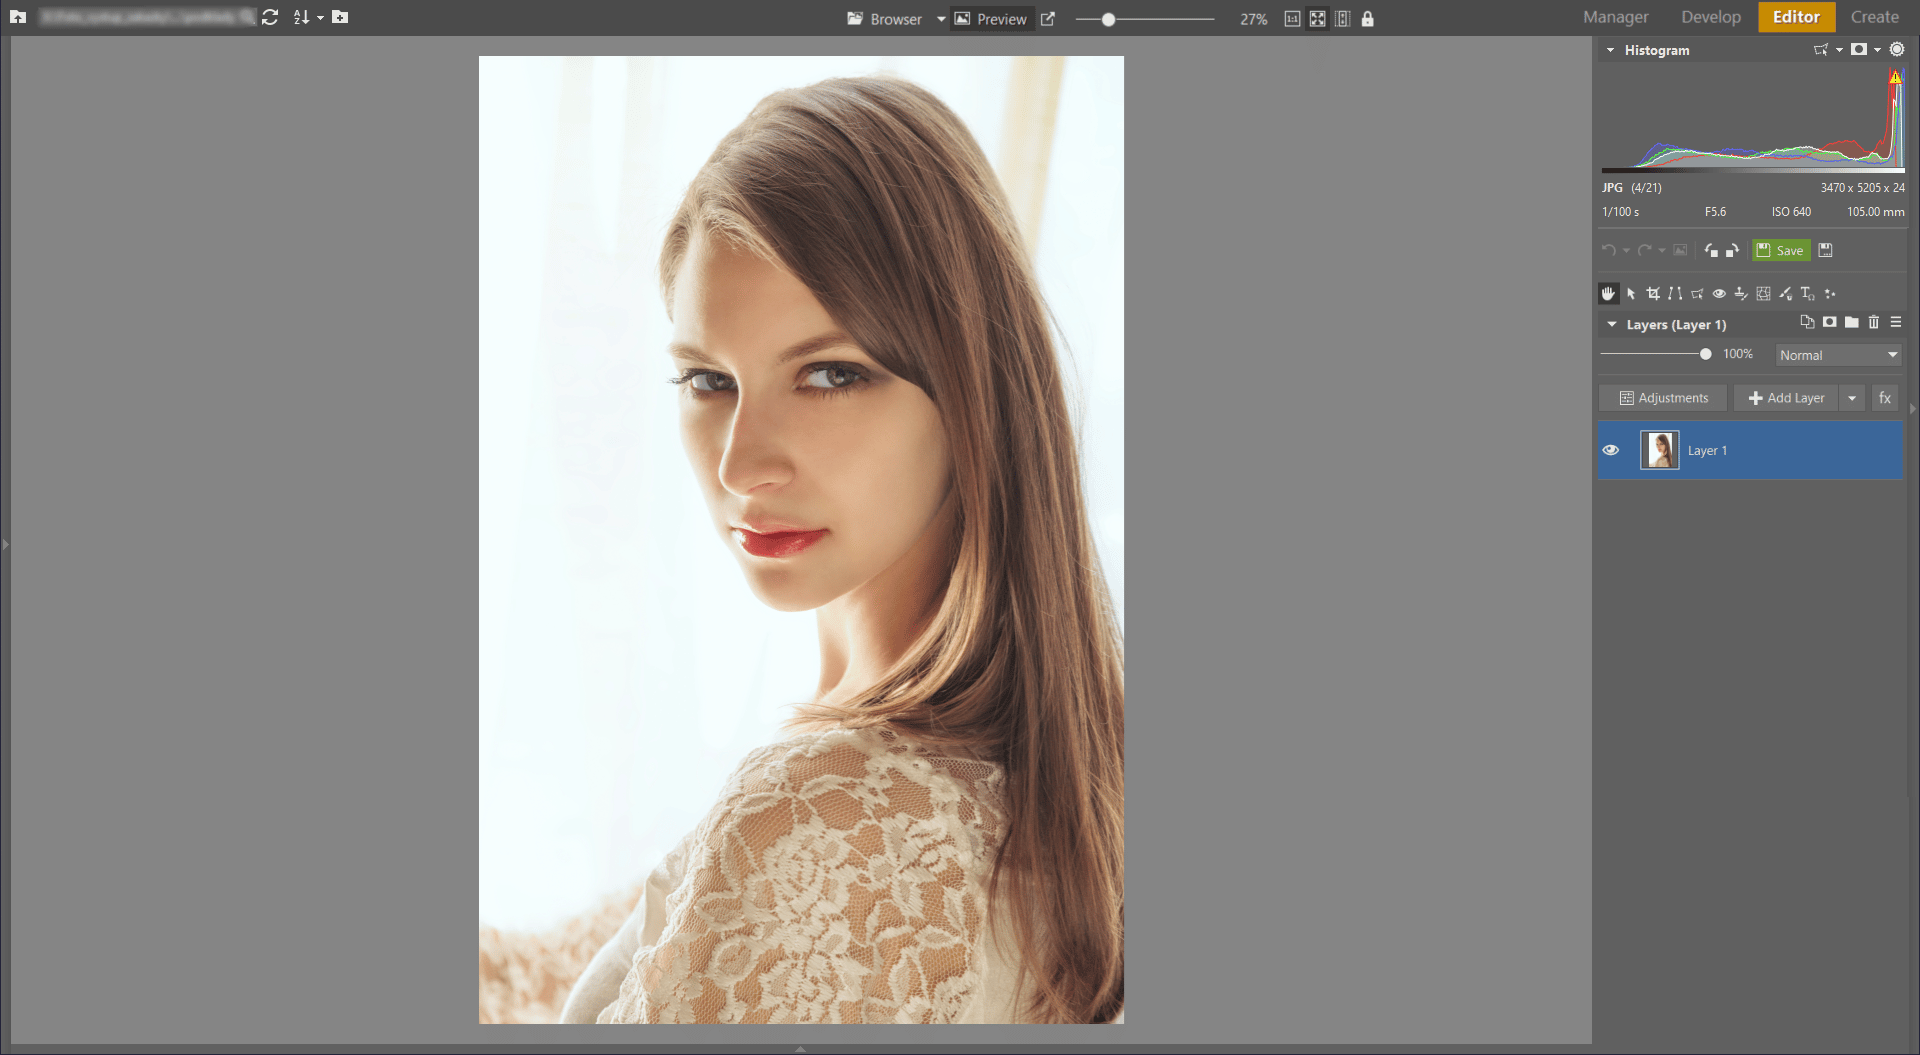
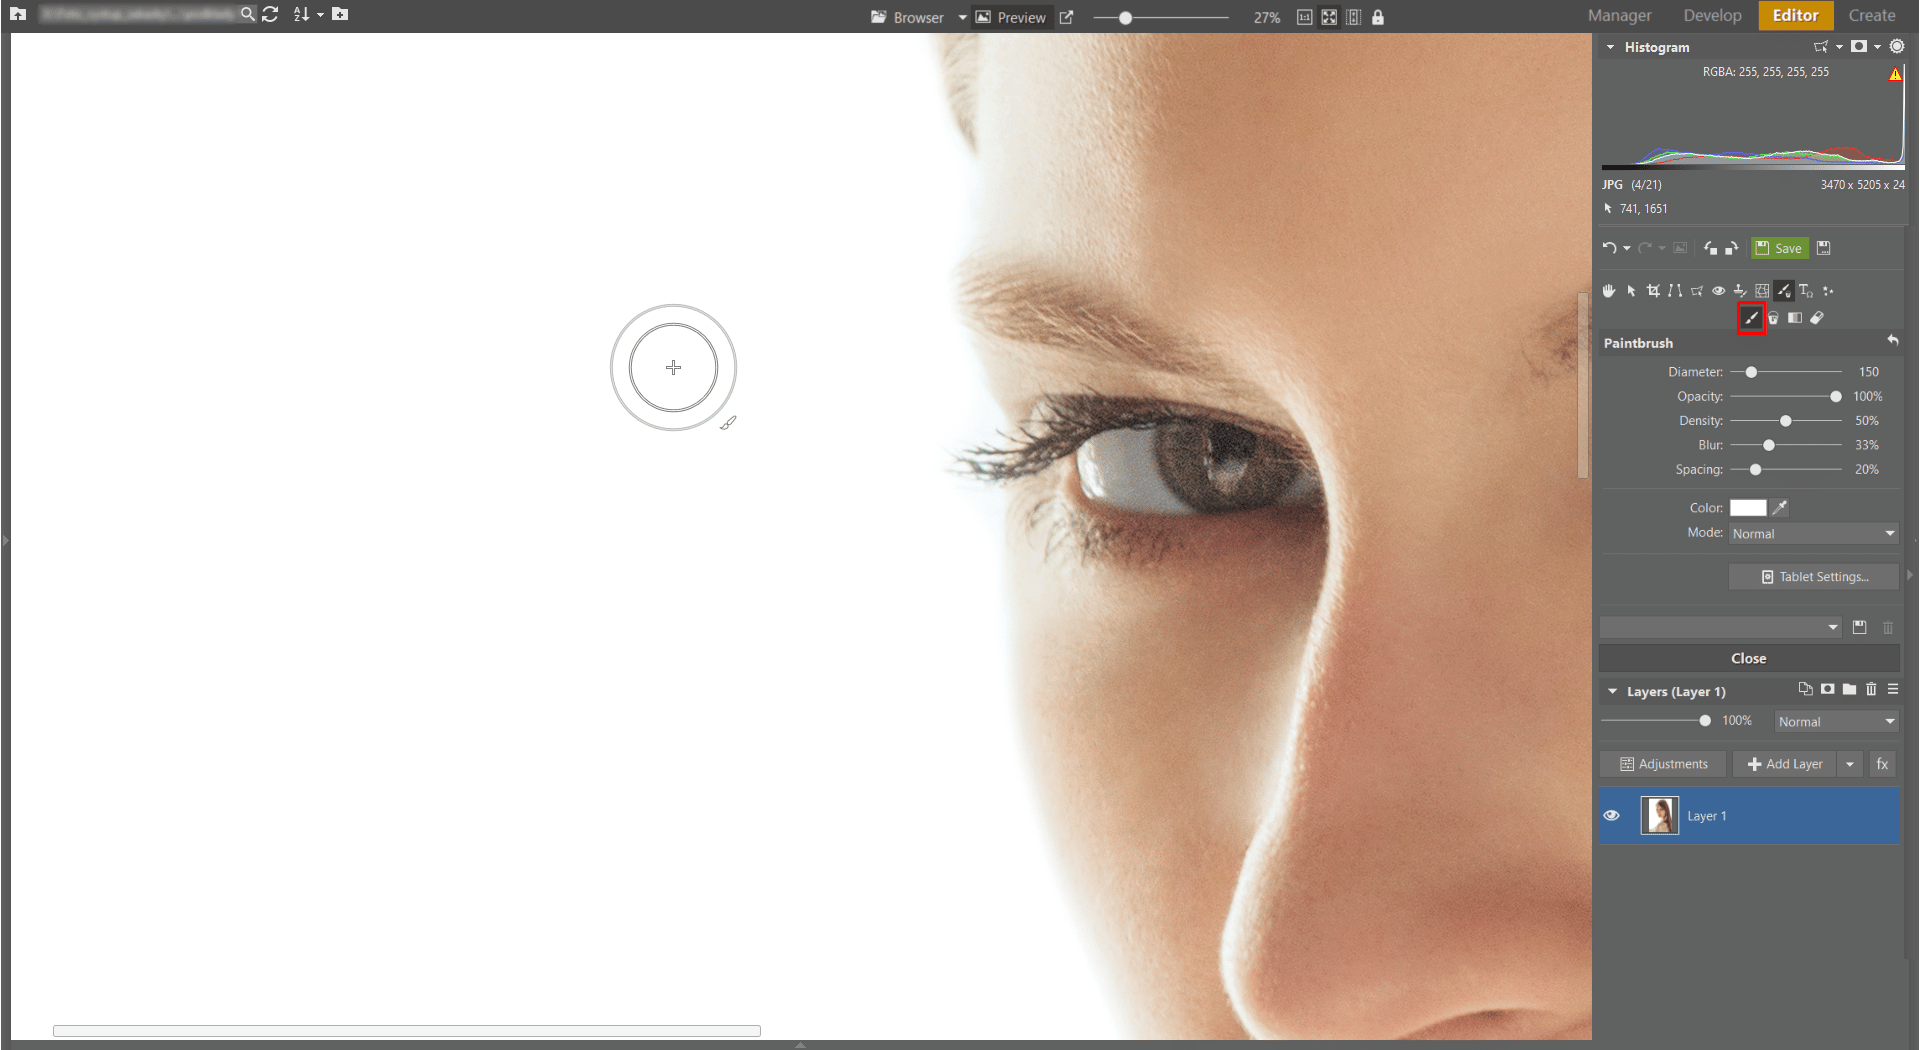
The background in our example portrait is almost white, but it still contains some scraps of detail behind the model, and a part of a river at the bottom left corner as well. So start by thoroughly cleaning up the background. There are several techniques you can use for this, such as covering unwanted parts of the picture using the Paintbrush with its color set to white. The Paintbrush(B) is in the Drawing Tools tool group.
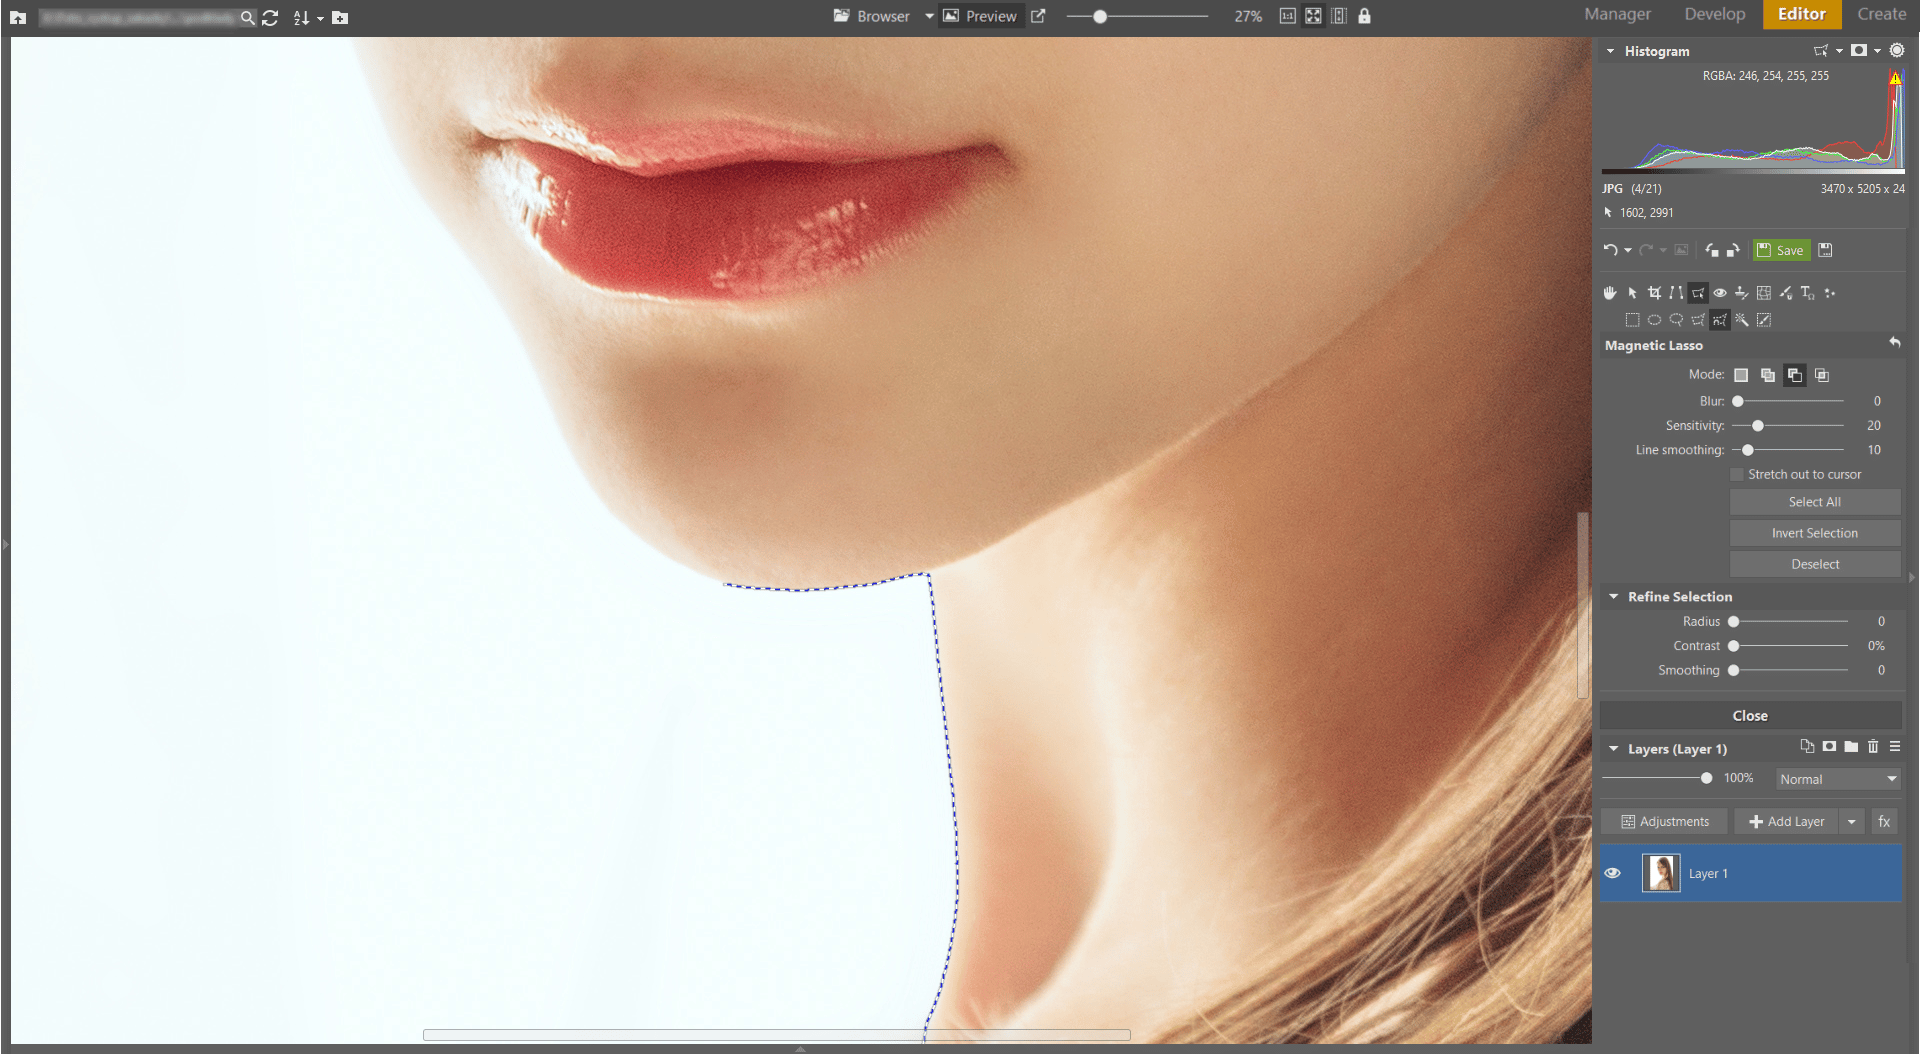
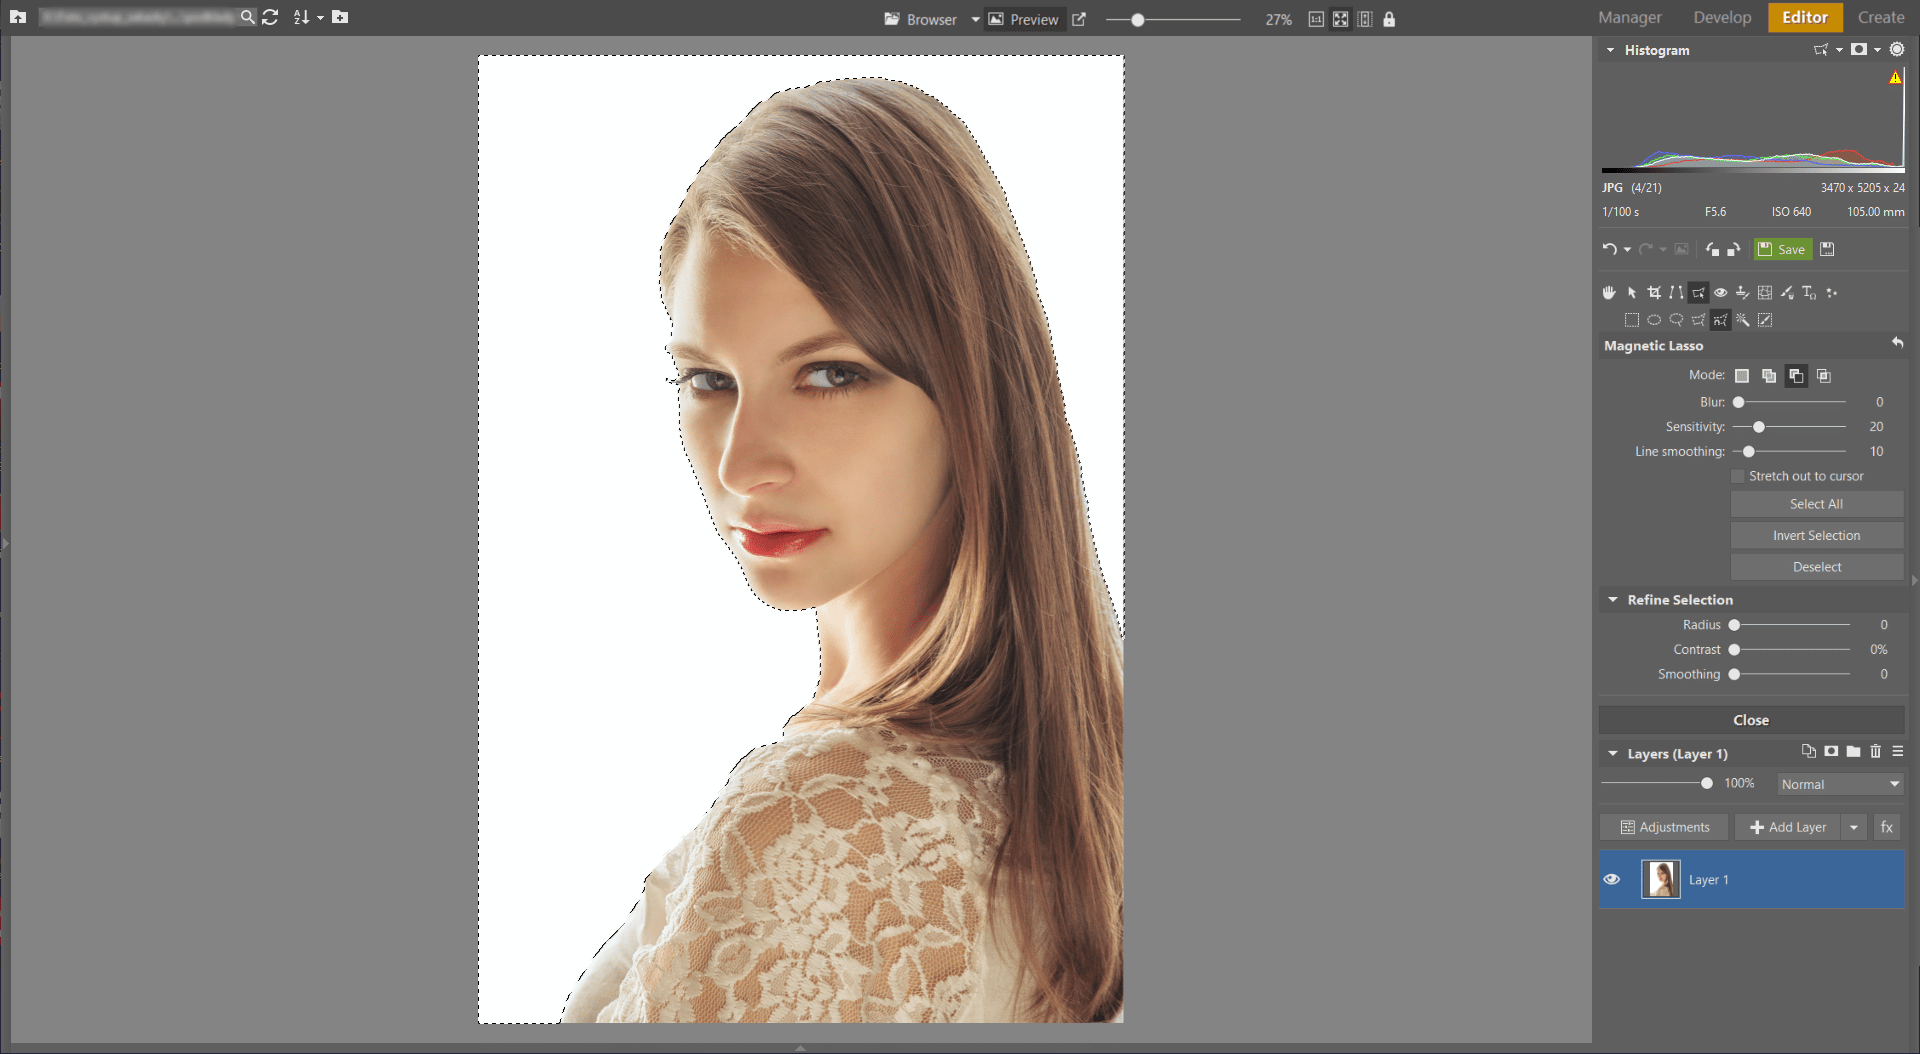
Alternatively you can make your portrait selection using the Magnetic Lasso. You’ll find the Magnetic Lasso (A) in the tool group named Selection Tools. When you’re making a selection using the Magnetic Lasso, the selection automatically jumps to the object you’re selecting, letting you create a precise selection fairly efficiently.
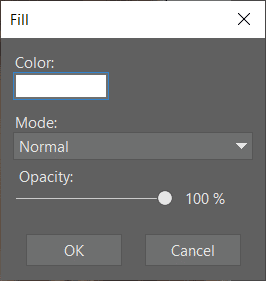
Invert the selection by using Selection – Invert Selection (Shift+Ctrl+I) and fill it in with white by using Selection – Fill…
The background is now white, and you’re ready to move ahead.
Save your selection (the outline, not its contents) for use in the rest of your work by using Selection – Save Selection…. This produces a PNG file for the selection. Now cancel the selection by using Selection – Deselect (Esc).
Layer Magic
Generally you’ll want to combine some kind of natural scenery with a portrait in your double exposures. We’ll be using a photo of a tree here. Add your new background as a new layer, by using the Edit – Paste from File… command.
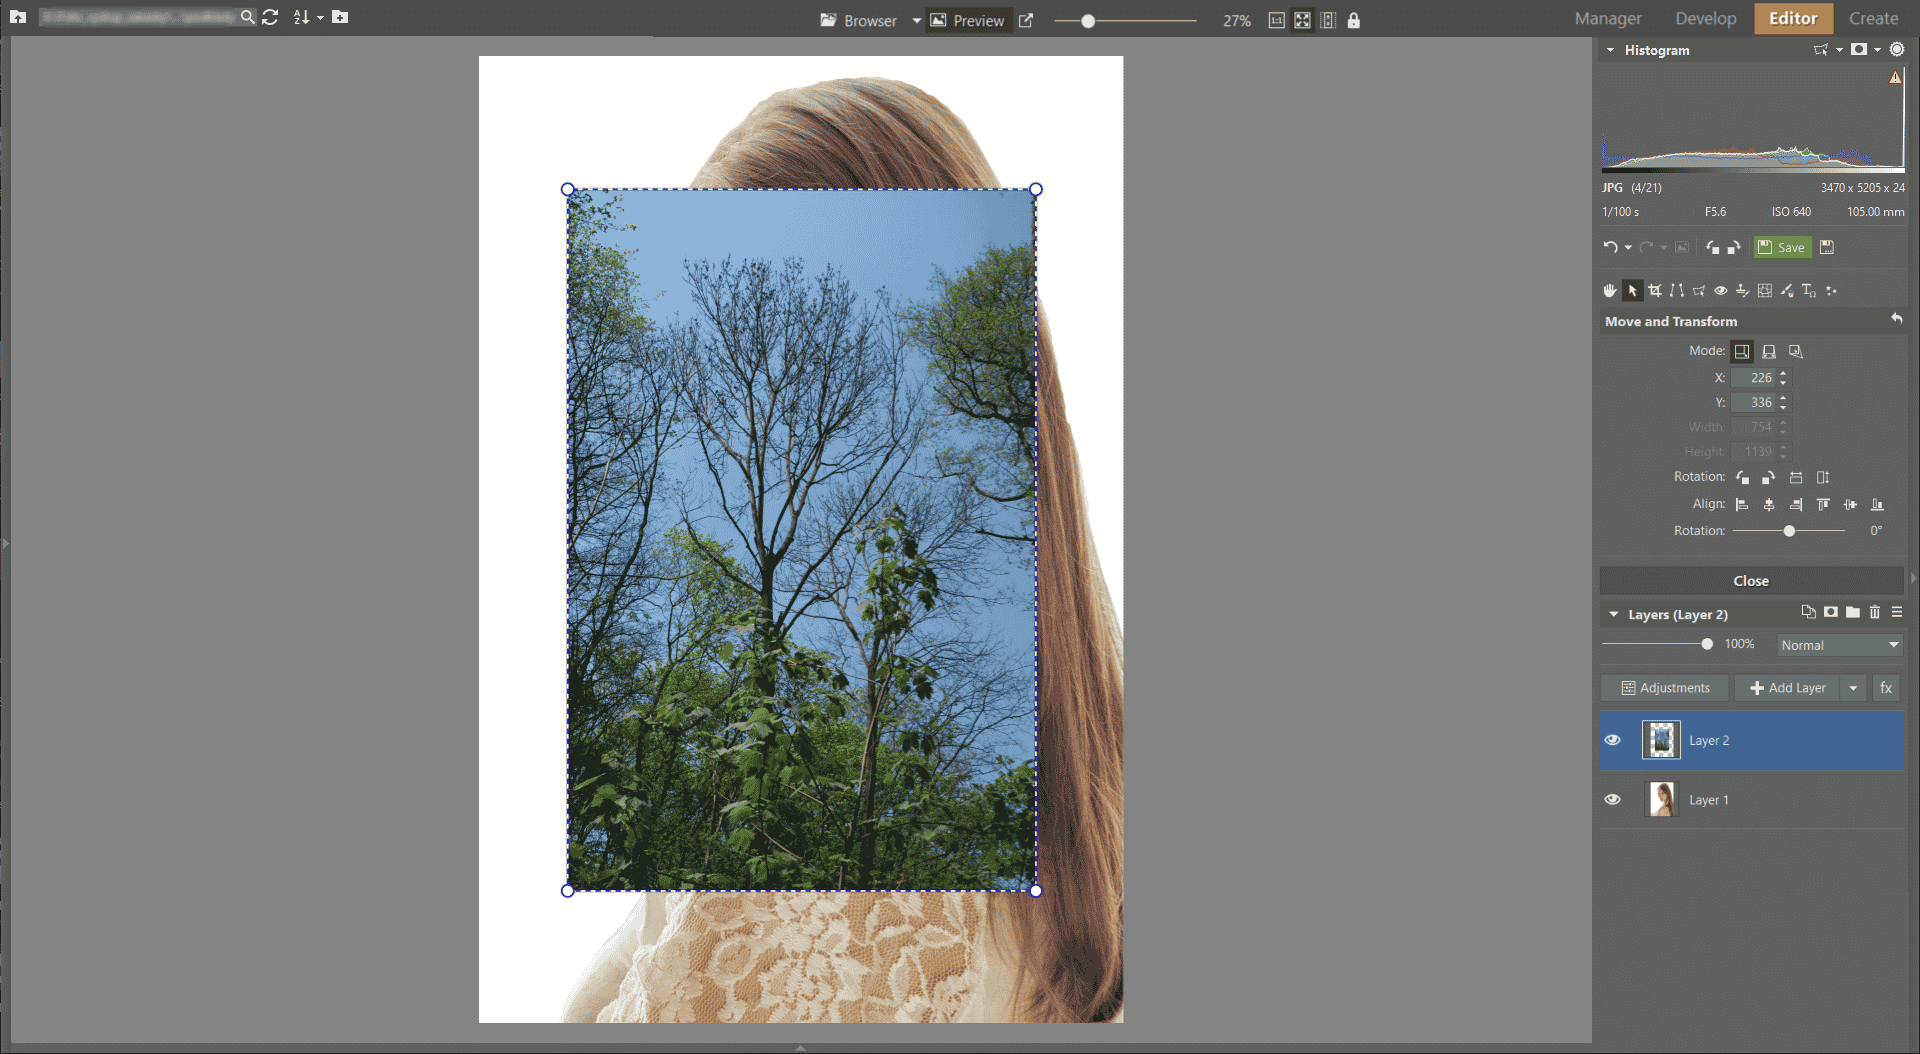
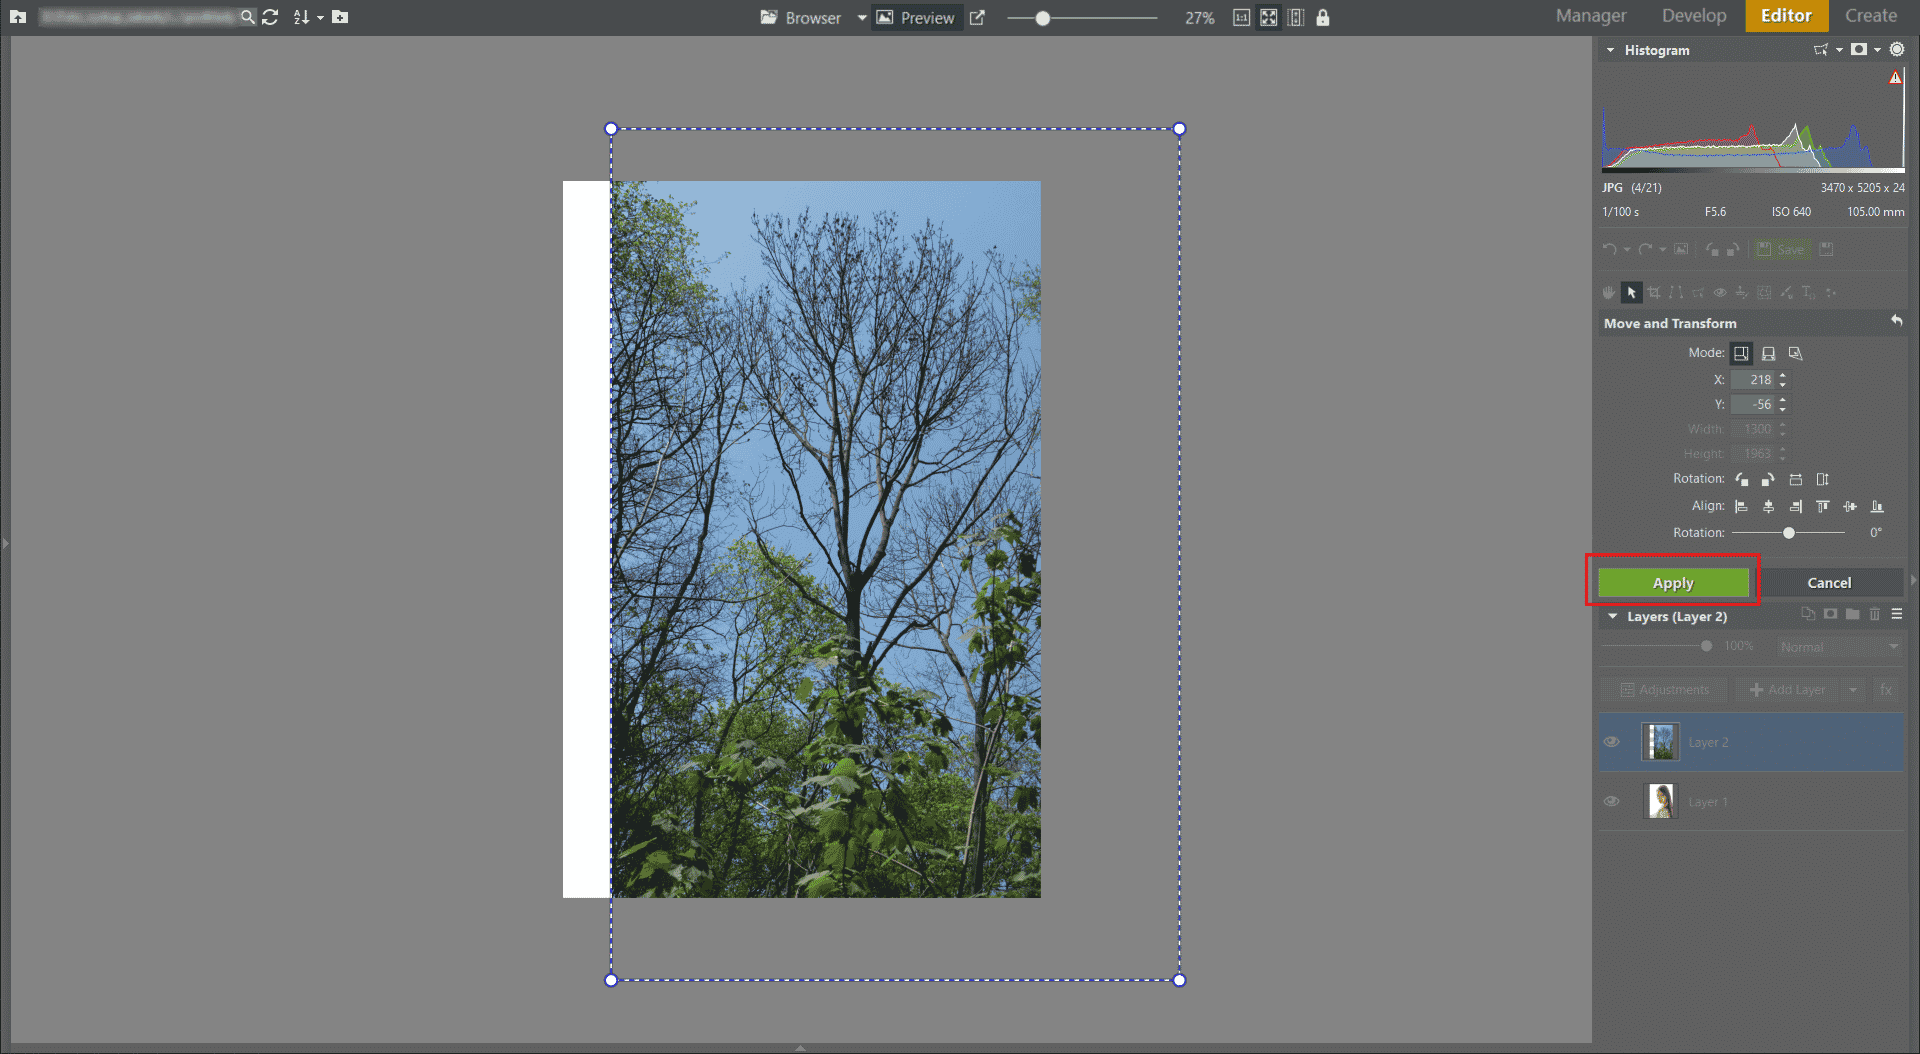
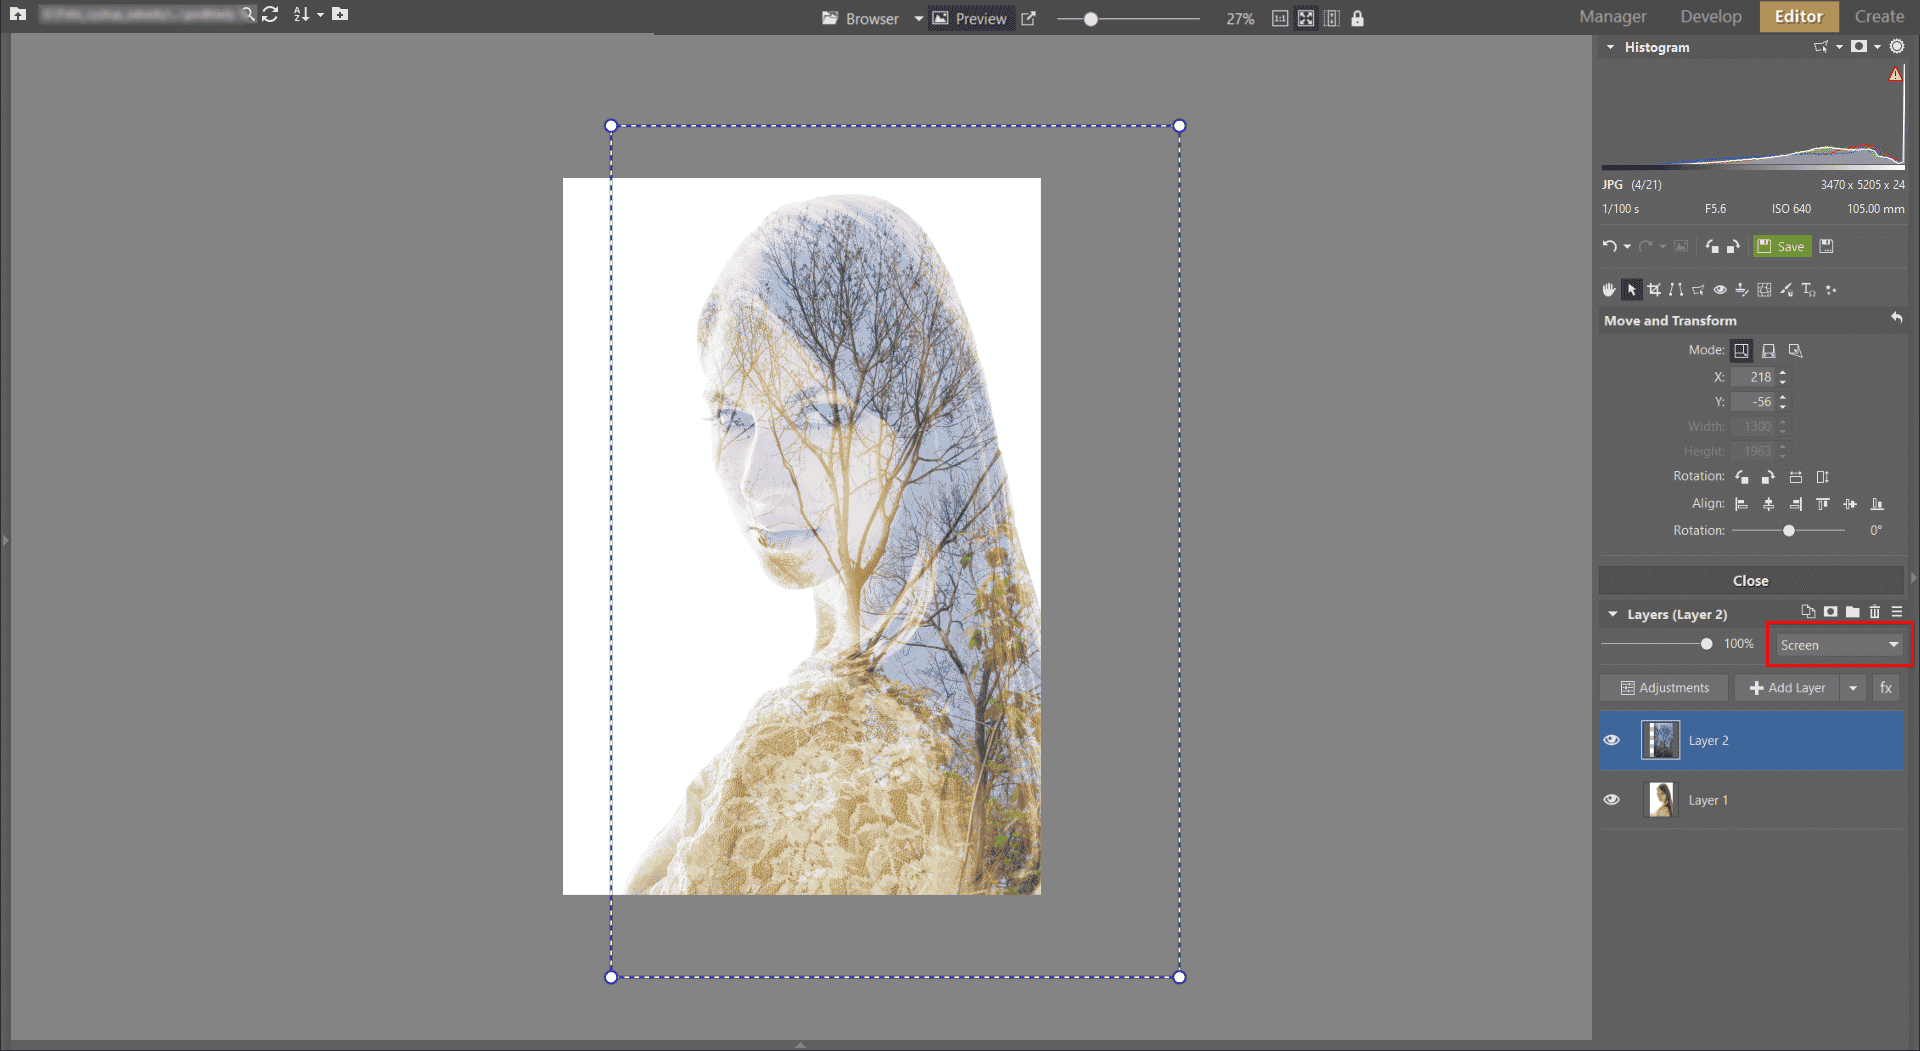
Adapt the second layer to the original picture by changing its size and position. Finish your transformation of layer 2 by clicking the Apply button.
Set this second layer’s Mode to Screen. This makes the two layers both be displayed on top of each other. The white in the lower layer will ring the intersection of the two layers, since the Screen blending mode lets the details of layer 2 shine through more in areas where layer 1 is darker. So layer 2 is not shown at all in white areas.
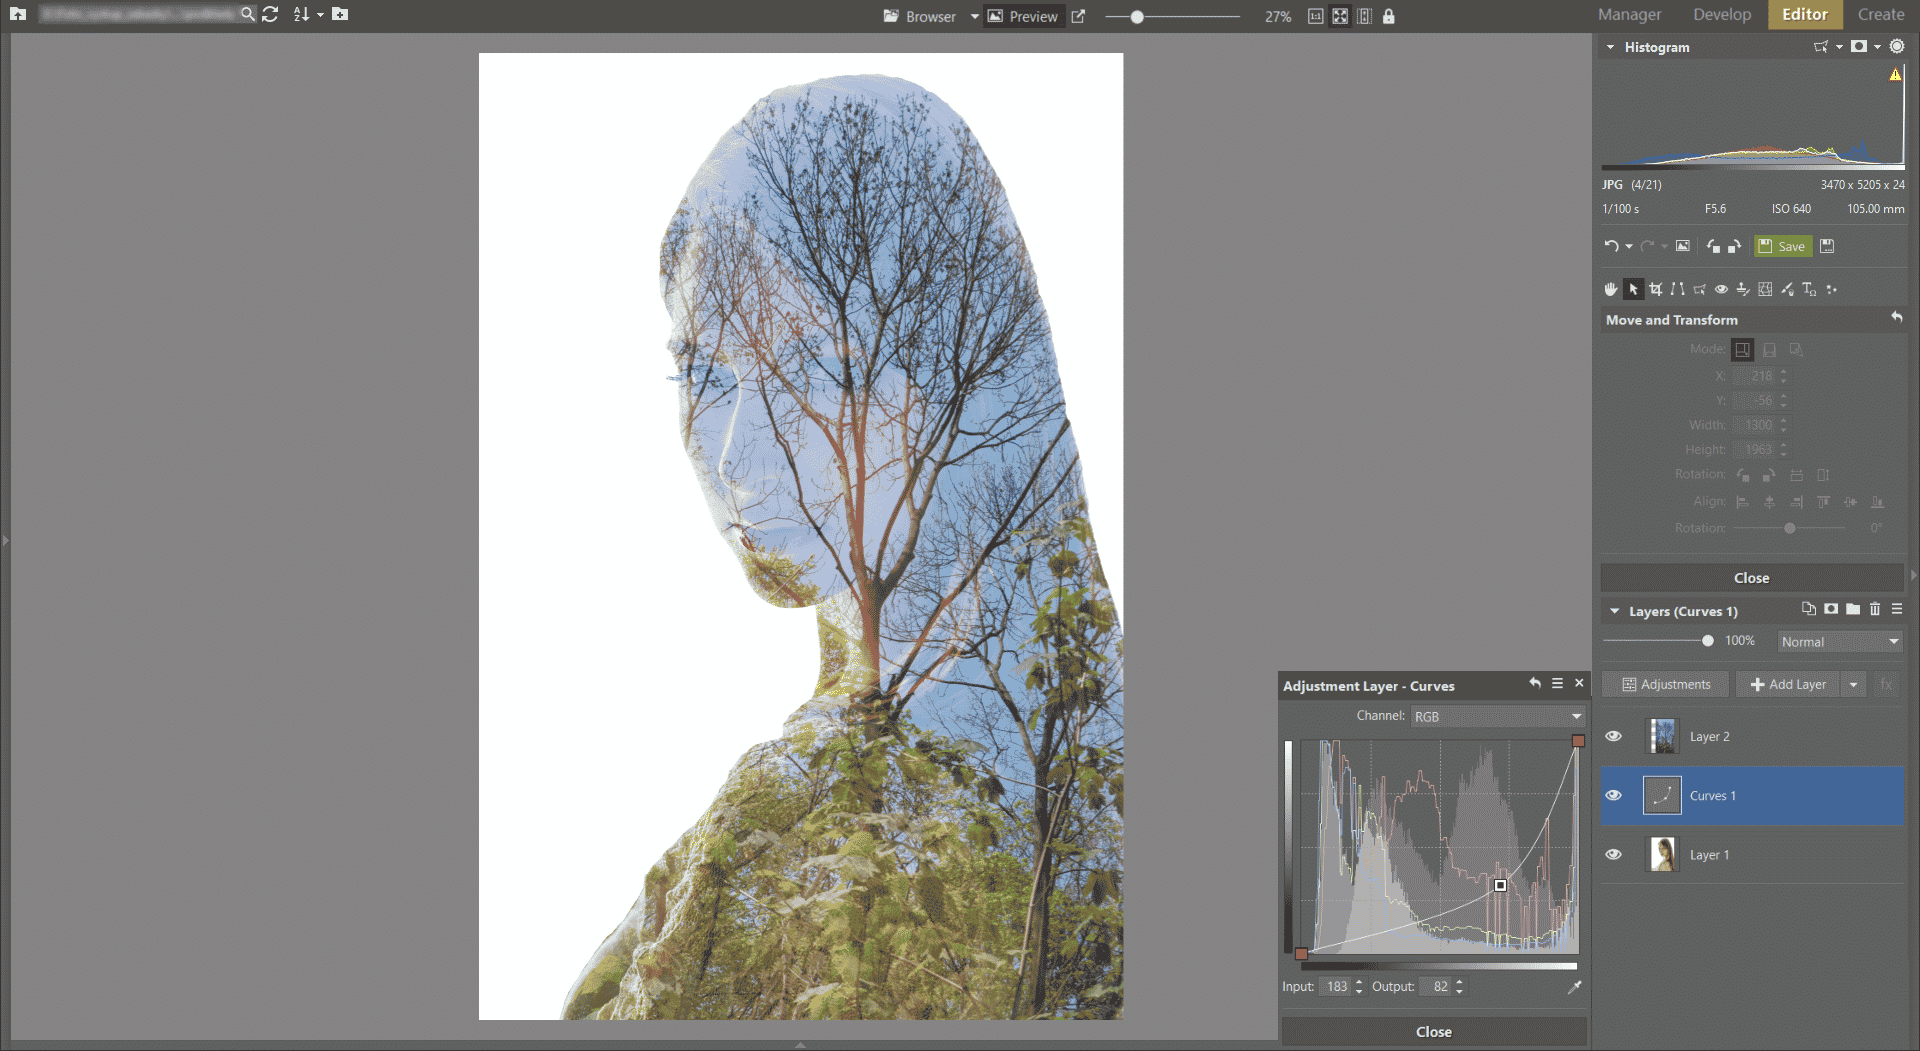
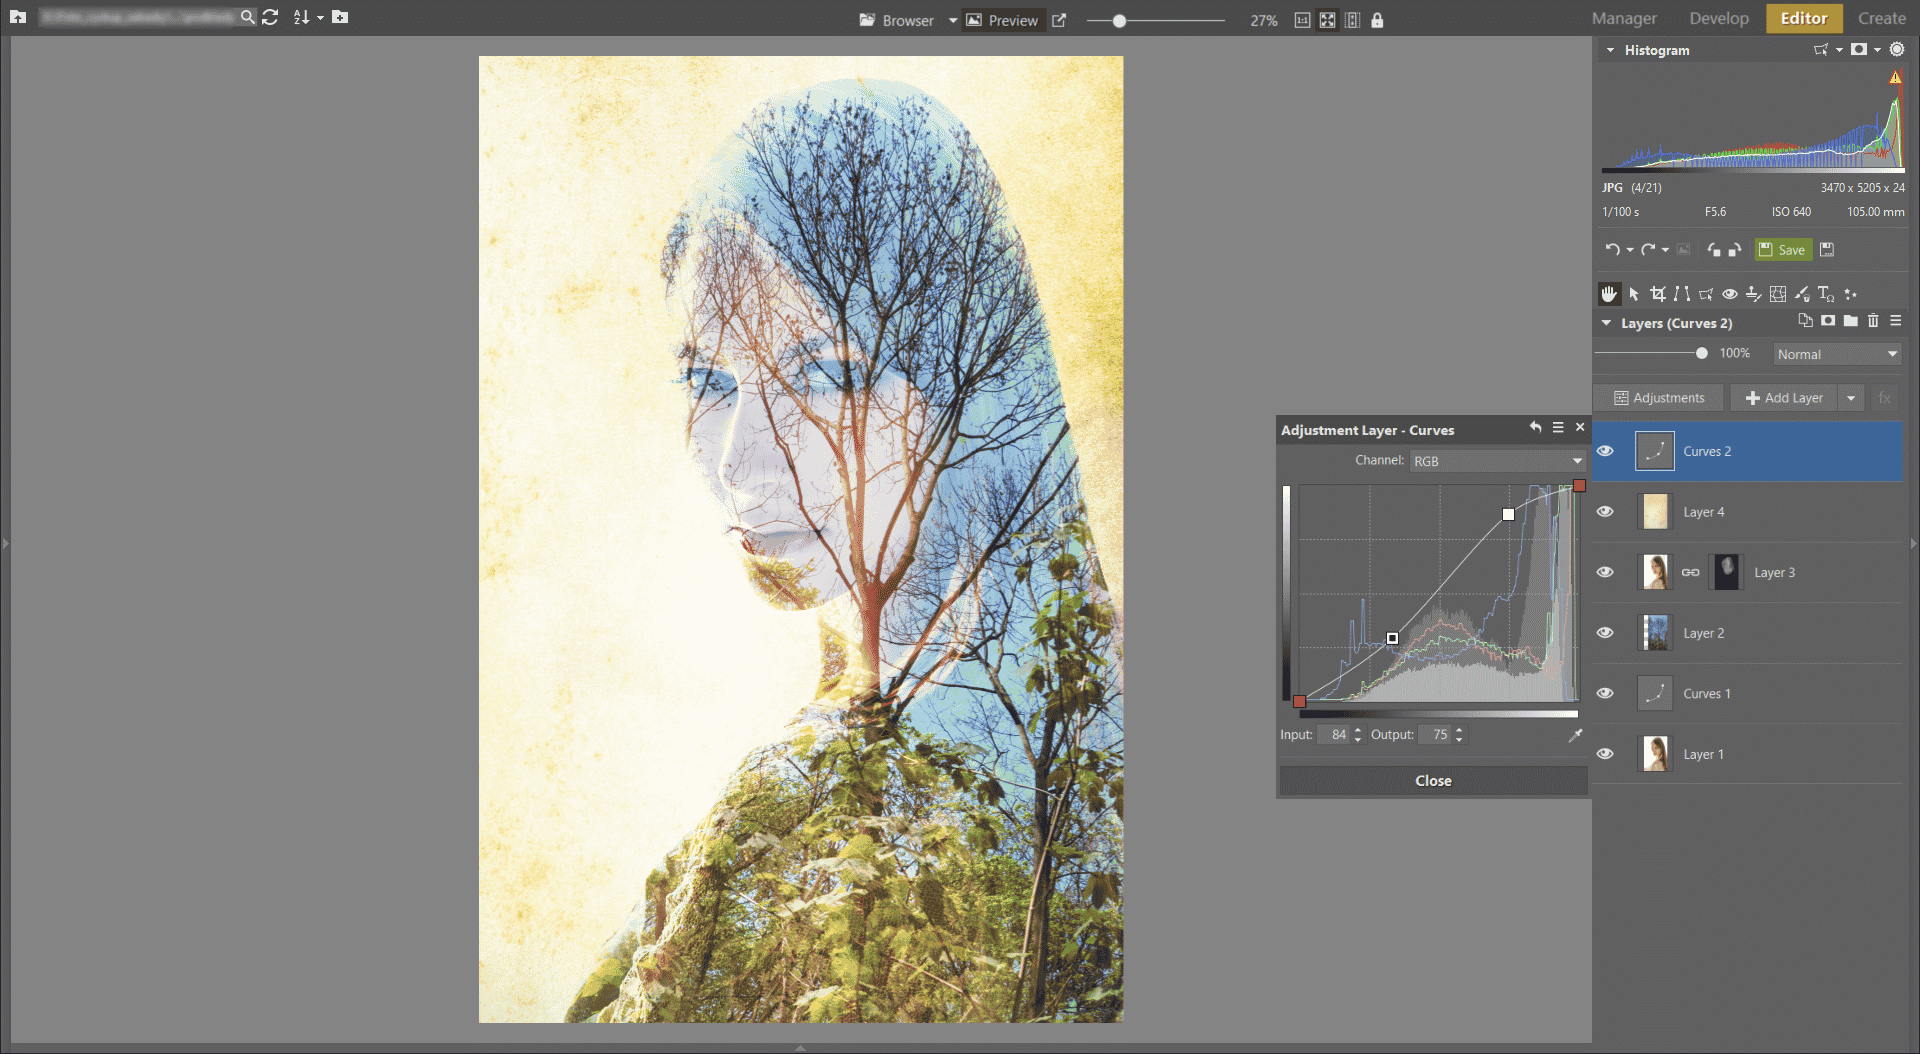
Thanks to how the Screen blending mode behaves, it is easy to influence the picture’s final look. For example by changing the overall colors of the original portrait layer. Add a histogram curve adjustment layer between layers 1 and 2, as it will let you adjust the colors in individual parts of the portrait. That will let you control in what places the second exposure will shine through more or less into the portrait. Select layer 1 in the Layers panel and add the new Curves layer by using Layer – Add Layer – Curves…
Emphasizing the Face
Now we’ve fairly strongly suppressed the portrait portion of our multi-exposure. If we were working for example with a photo of a model in profile, with their nose, forehead, and chin showing, that wouldn’t be a problem. But for this example we’ll need to emphasize the portrait’s basic elements—the eyes and the lips.
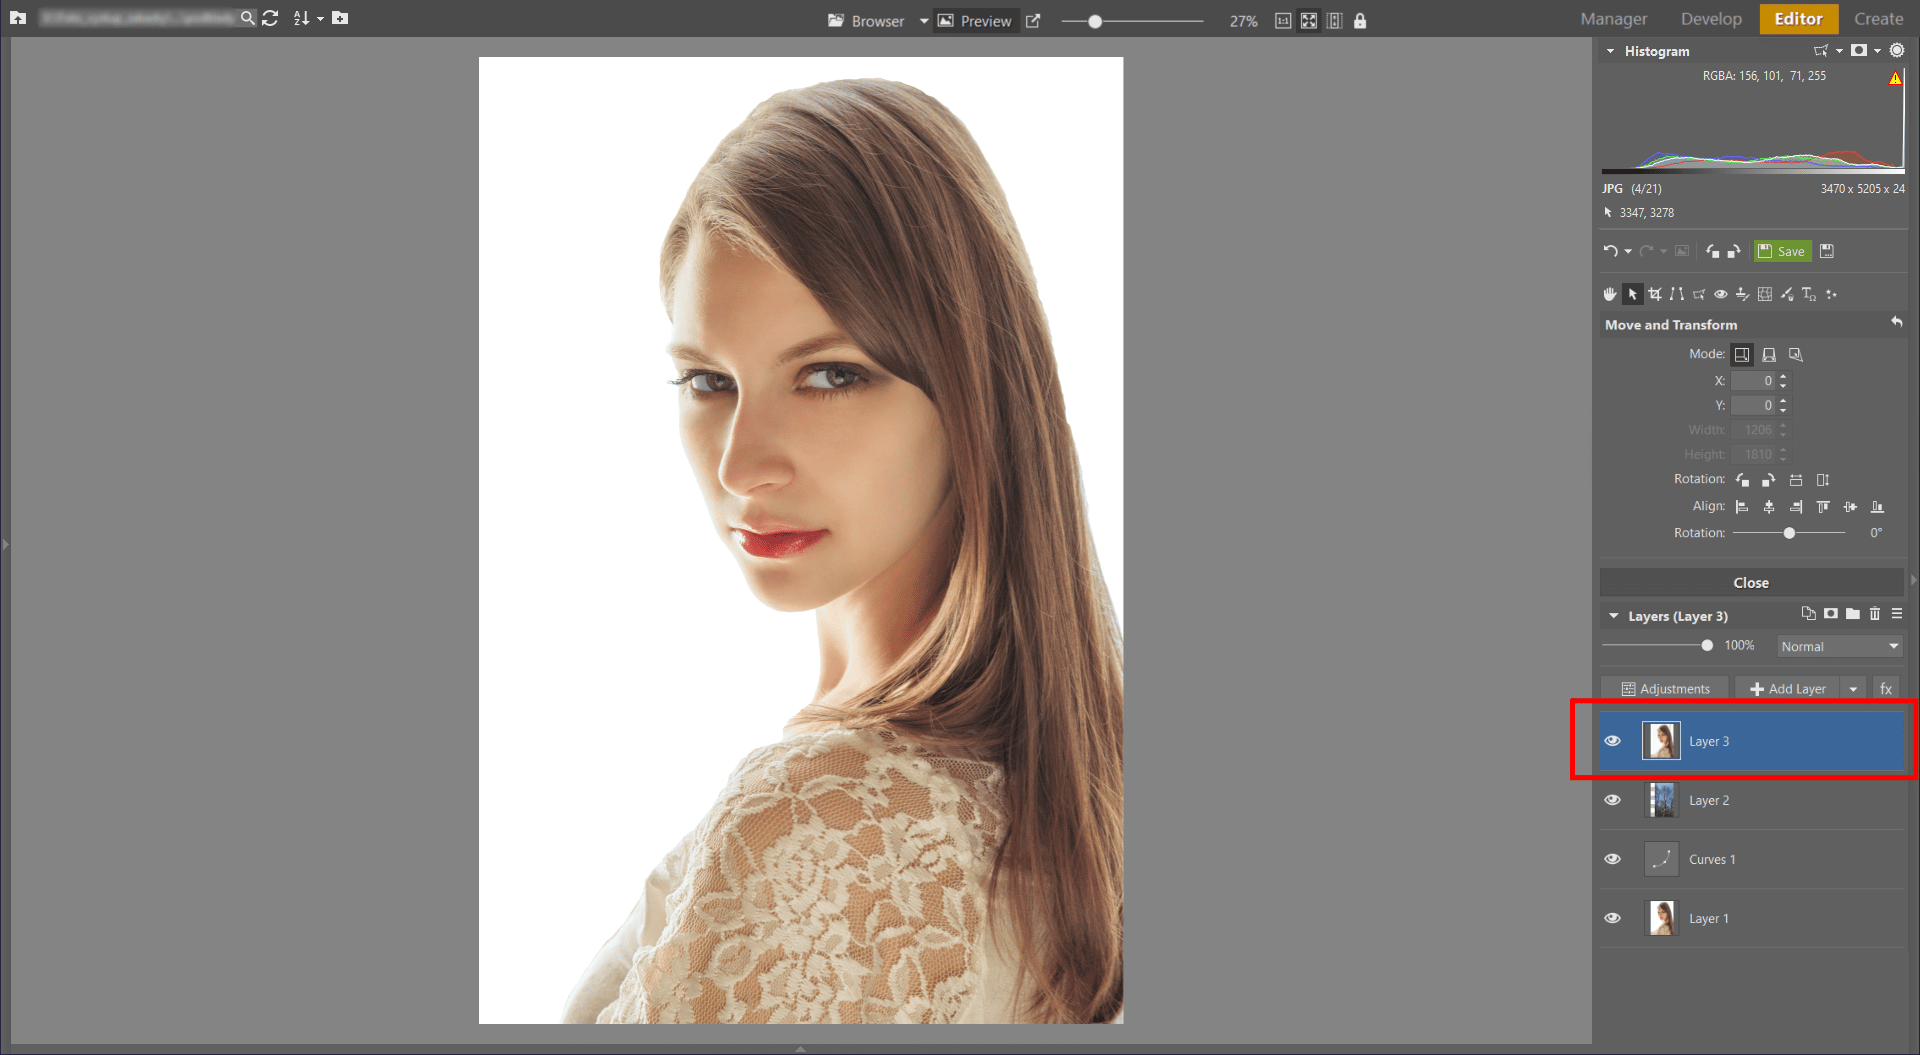
Duplicate layer 1 (the original portrait) by using Layer – Duplicate Layer. Move the duplicate that this produces, auto-named here as layer 4, upwards in the layer list.
Then add a mask to the layer by using Layer – Mask – Hide All. And double-check that the mask is selected in the layer list. Set the Paintbrush (B) color to white and the brush opacity to 10%. Emphasize the original facial features by drawing onto the mask.
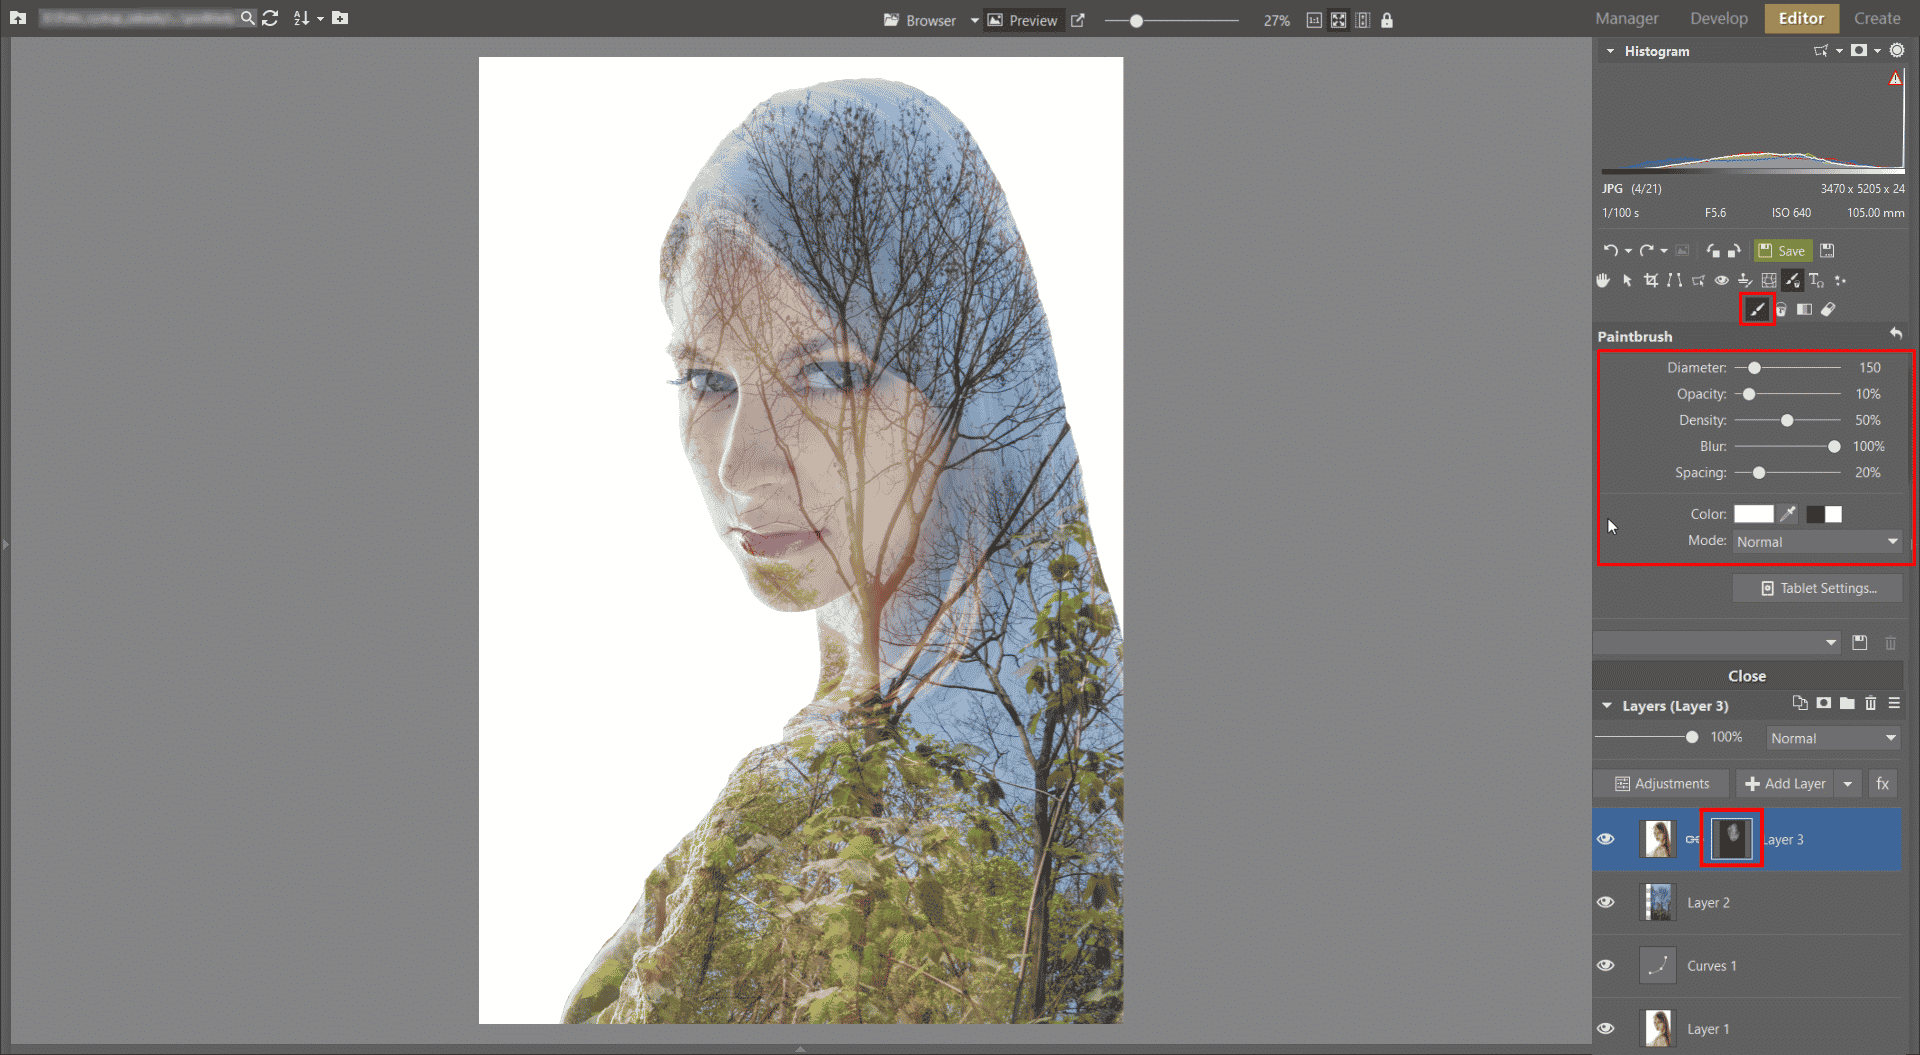
You can also fine-tune the final look of the multi-exposure by adjusting the Opacity of this duplicated layer. We’ve gone with an Opacity of 50%.

A Texture Can Improve the Background
A pure white background is fairly uninteresting, so let’s add a colored texture to the overall composition. Use Edit – Paste from File… to paste it into the picture.
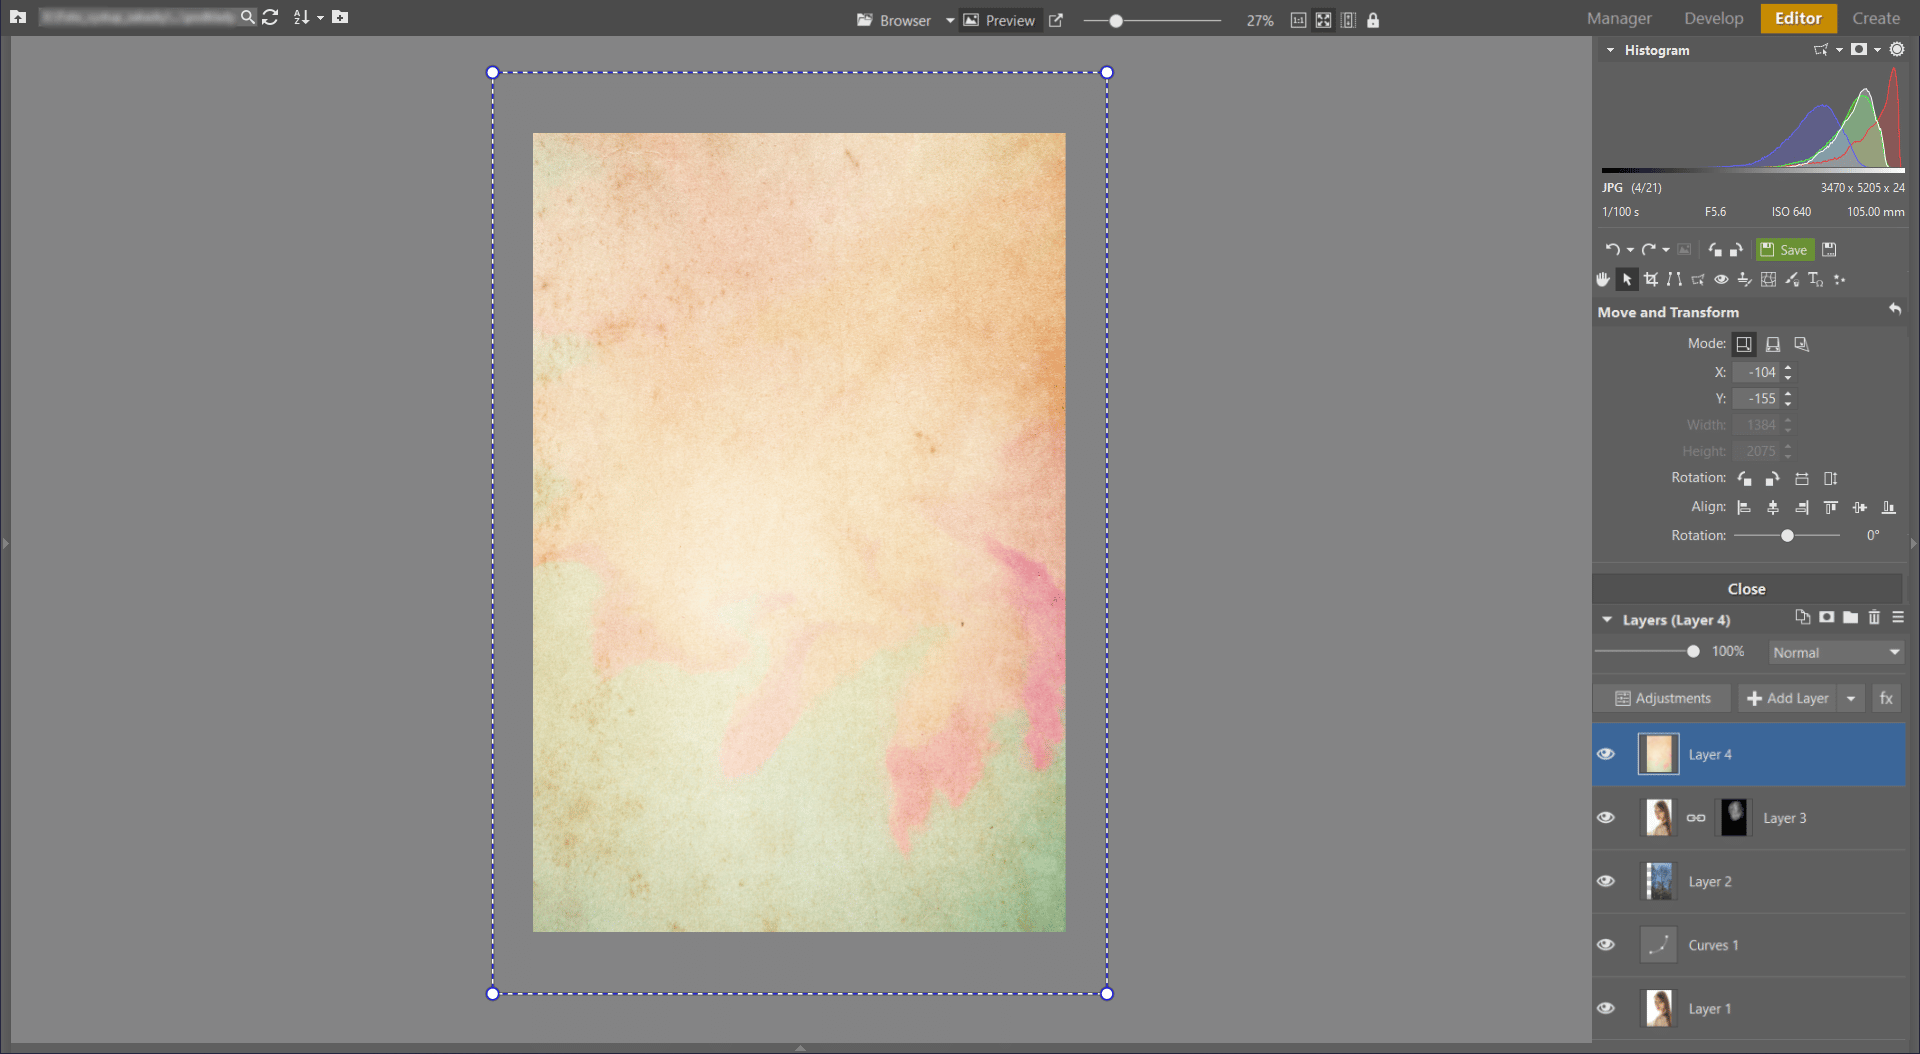
Set the Mode of the texture layer to Burn. This makes the texture cover the bright parts of the picture more and its dark parts less.
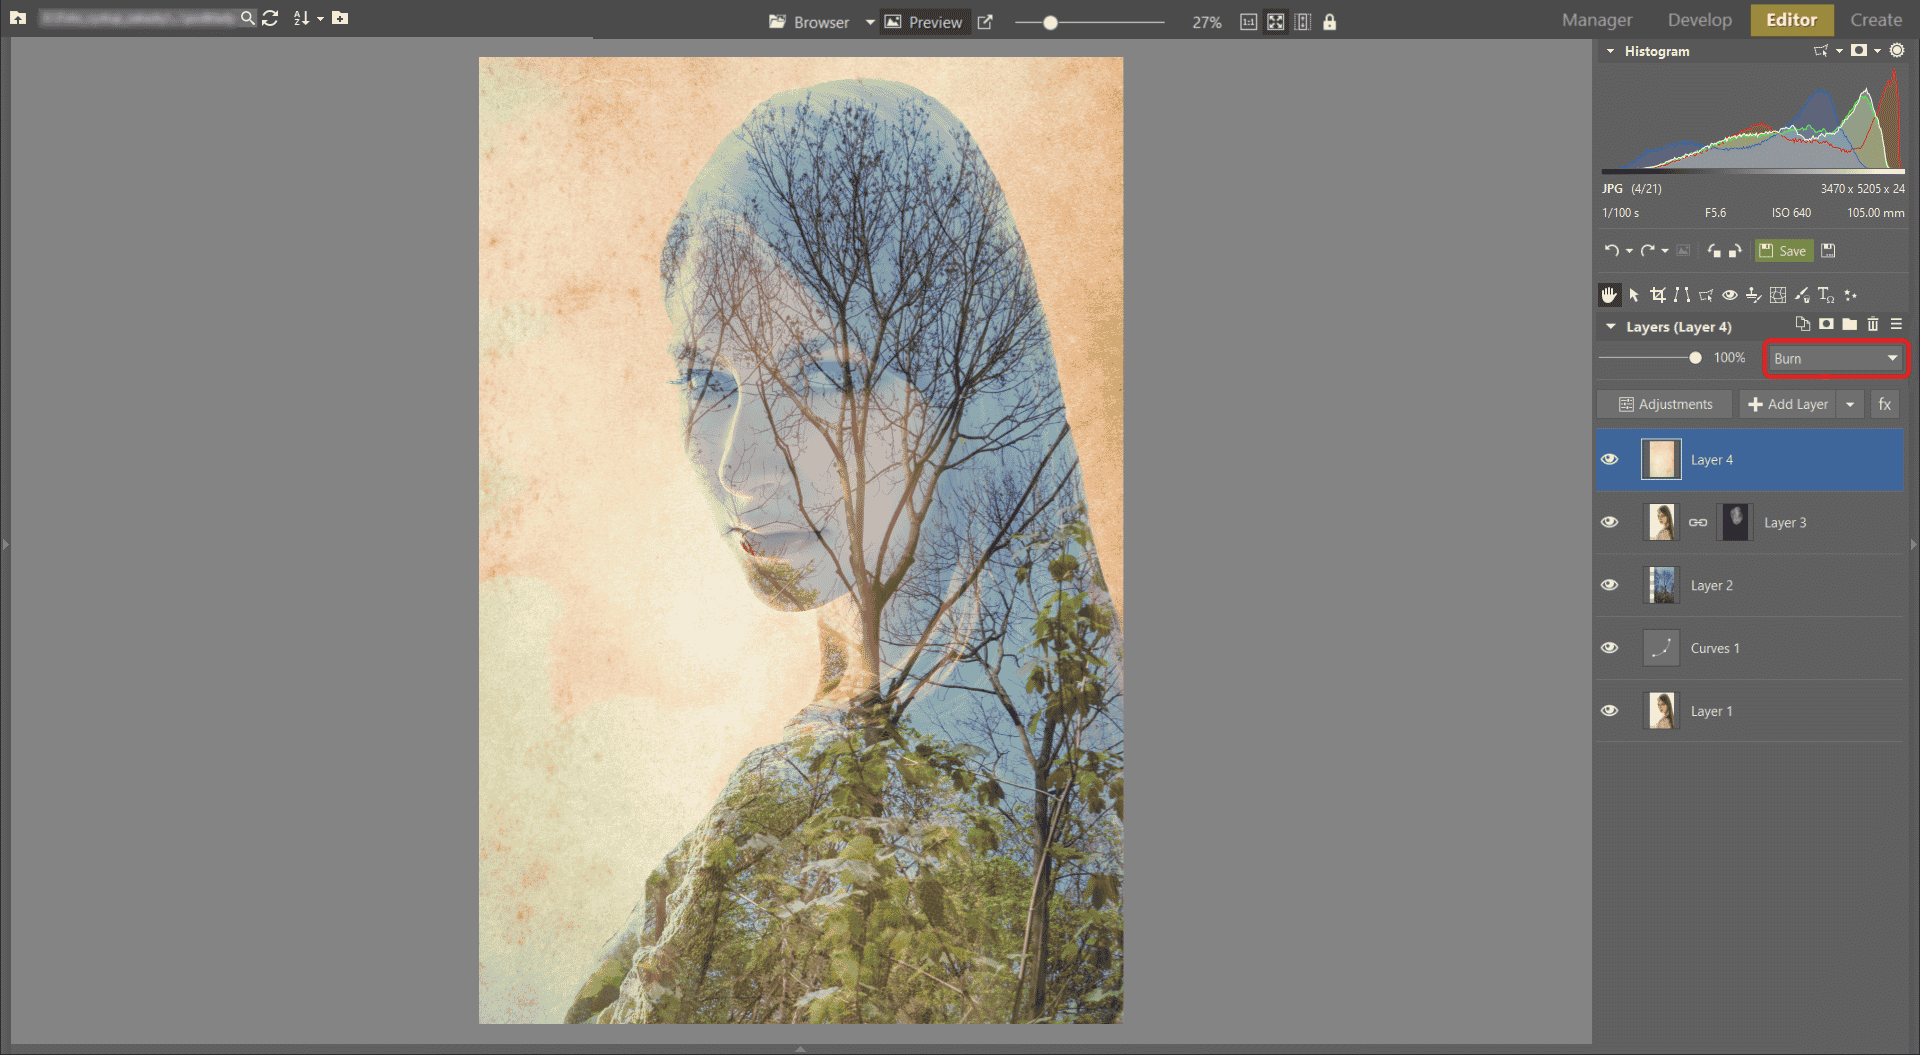
Wrap up your edits with a tone-curve edit. Bend the histogram curve into an S shape to increase the picture’s contrast.
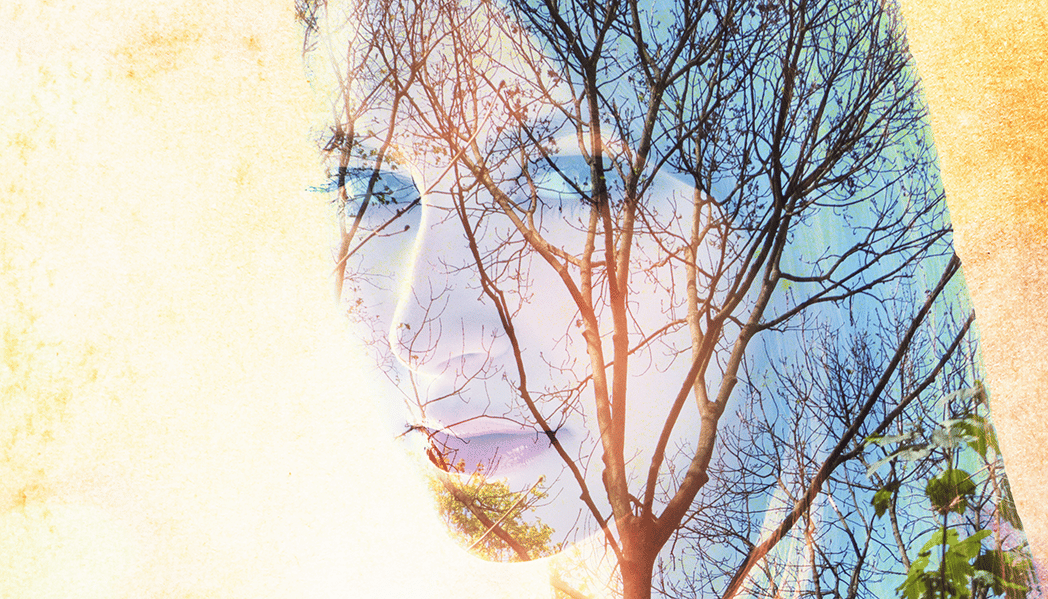
Here’s the final version of our example multi-exposure:

Shahabaz khan
Perfect 💕