Improve Your Photos, Improve Hairstyles! 5 Tips for Getting the Most out of Liquify

The article is over 5 years old. The information in it may be outdated.
![]()
We are working on its update. In the meantime, you can read some more recent articles.
Liquify is most frequently used for “enhancing” the models on the covers of fashion magazines. More than a few models owe their curves to precisely this function. But Liquify offers other possibilities as well. Some of them are very practical, others more playful. Let’s take a look at a few!
For more on Liquify’s traditional use, that is, painlessly thinning someone or shrinking their nose in a few clicks, check out our article on thinning in Zoner Studio. This time, though, we’ll be looking at several ways Liquify can be used for completely different purposes.
Let’s start by opening up a photo in the Editor inside Zoner Studio. You’ll find Liquify among the functions in the right-hand panel. It contains several tools for brushing changes to shape, size, and orientation onto any parts of a photo you’d like:
- Facial Features (Shift + X)
- Move
- Stretch
- Shrink
- Rotate Right
- Rotate Left
- Smooth(softens an effect on already affected areas)
- Restore (restores already affected areas to their original state)
You can also combine the individual tools. Choose one and then use the sliders to set its parameters, such as its Diameter (the size of the “brush”), Strength (how striking the effect is), Rate (how quickly the effect will be applied after clicking and holding the mouse), and Density (sets how smooth the transition is between the adjusted area and its surroundings).

Pump up the Volume in Your Hair
To give hair more volume, use Stretch in combination with Move. Just click on the areas you want to stretch. Then set a brush size that roughly corresponds to the area you’re stretching. And take care not to distort the subject’s face or their surroundings. If you do “draw outside the lines,” then you’ll find the last tool, Restore, quite useful. Using it on a spot restores that spot to its original state.


Straightening Parts of a Horizon
Another practical use for Liquify arrives when you want to straighten the horizon in a photo, but rotating the whole thing isn’t convenient at the moment. Use the Move tool to even out just a part of a landscape in places where it’s rippling in slightly differently than you need. It’s a sort of minor “deception” that can improve a composition significantly.


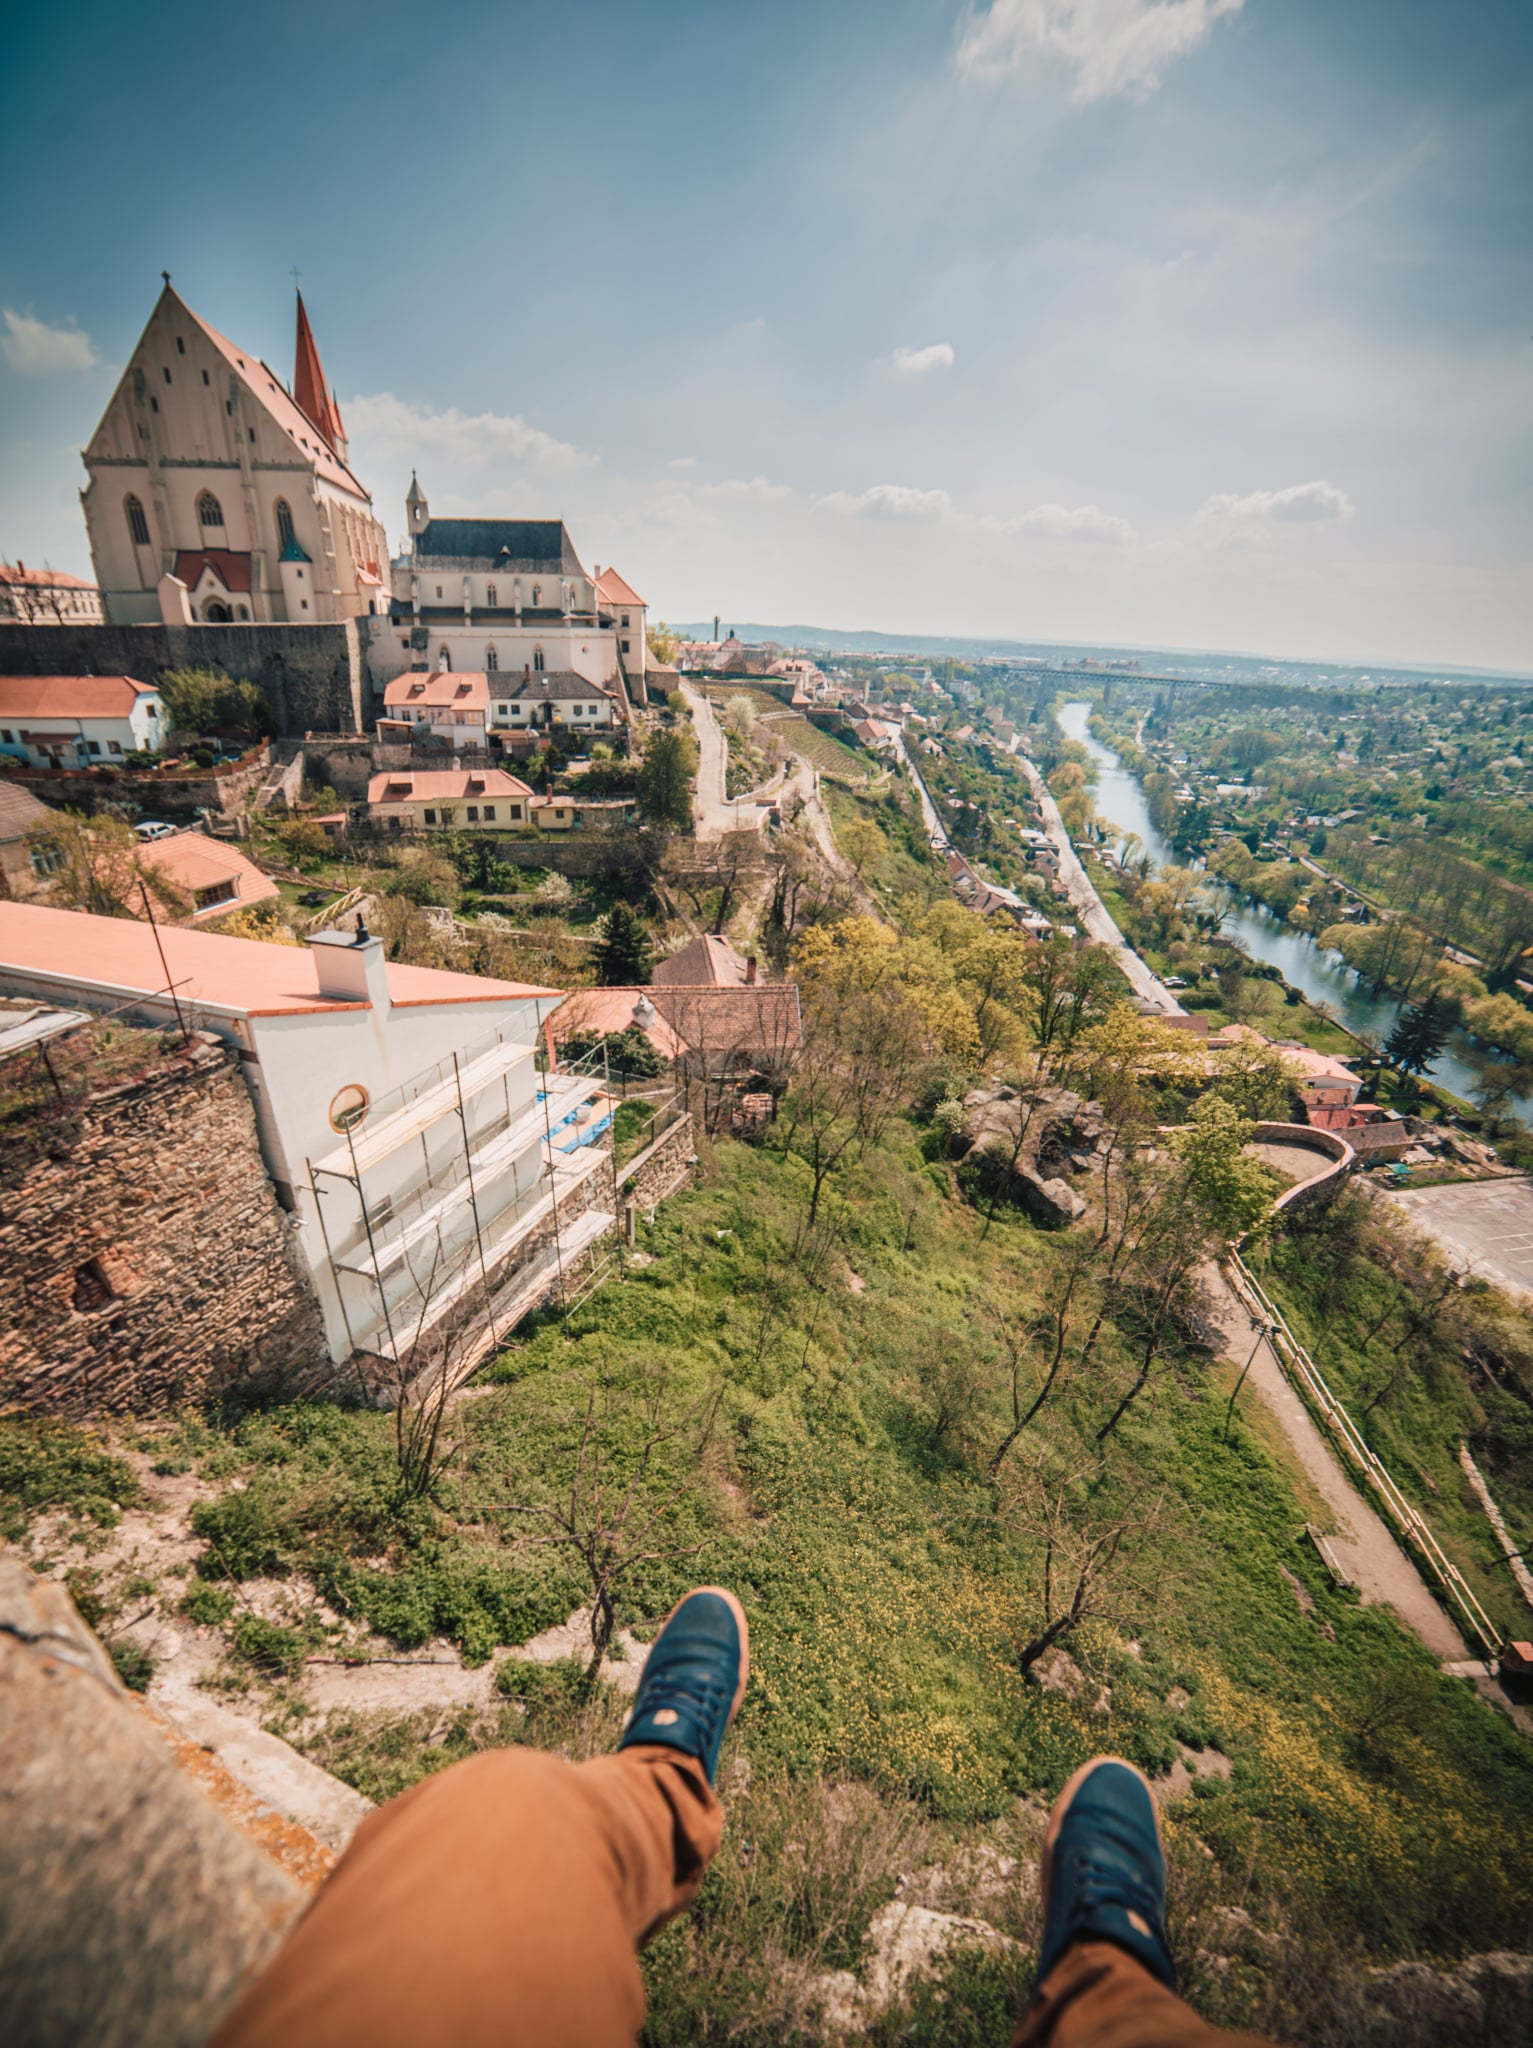
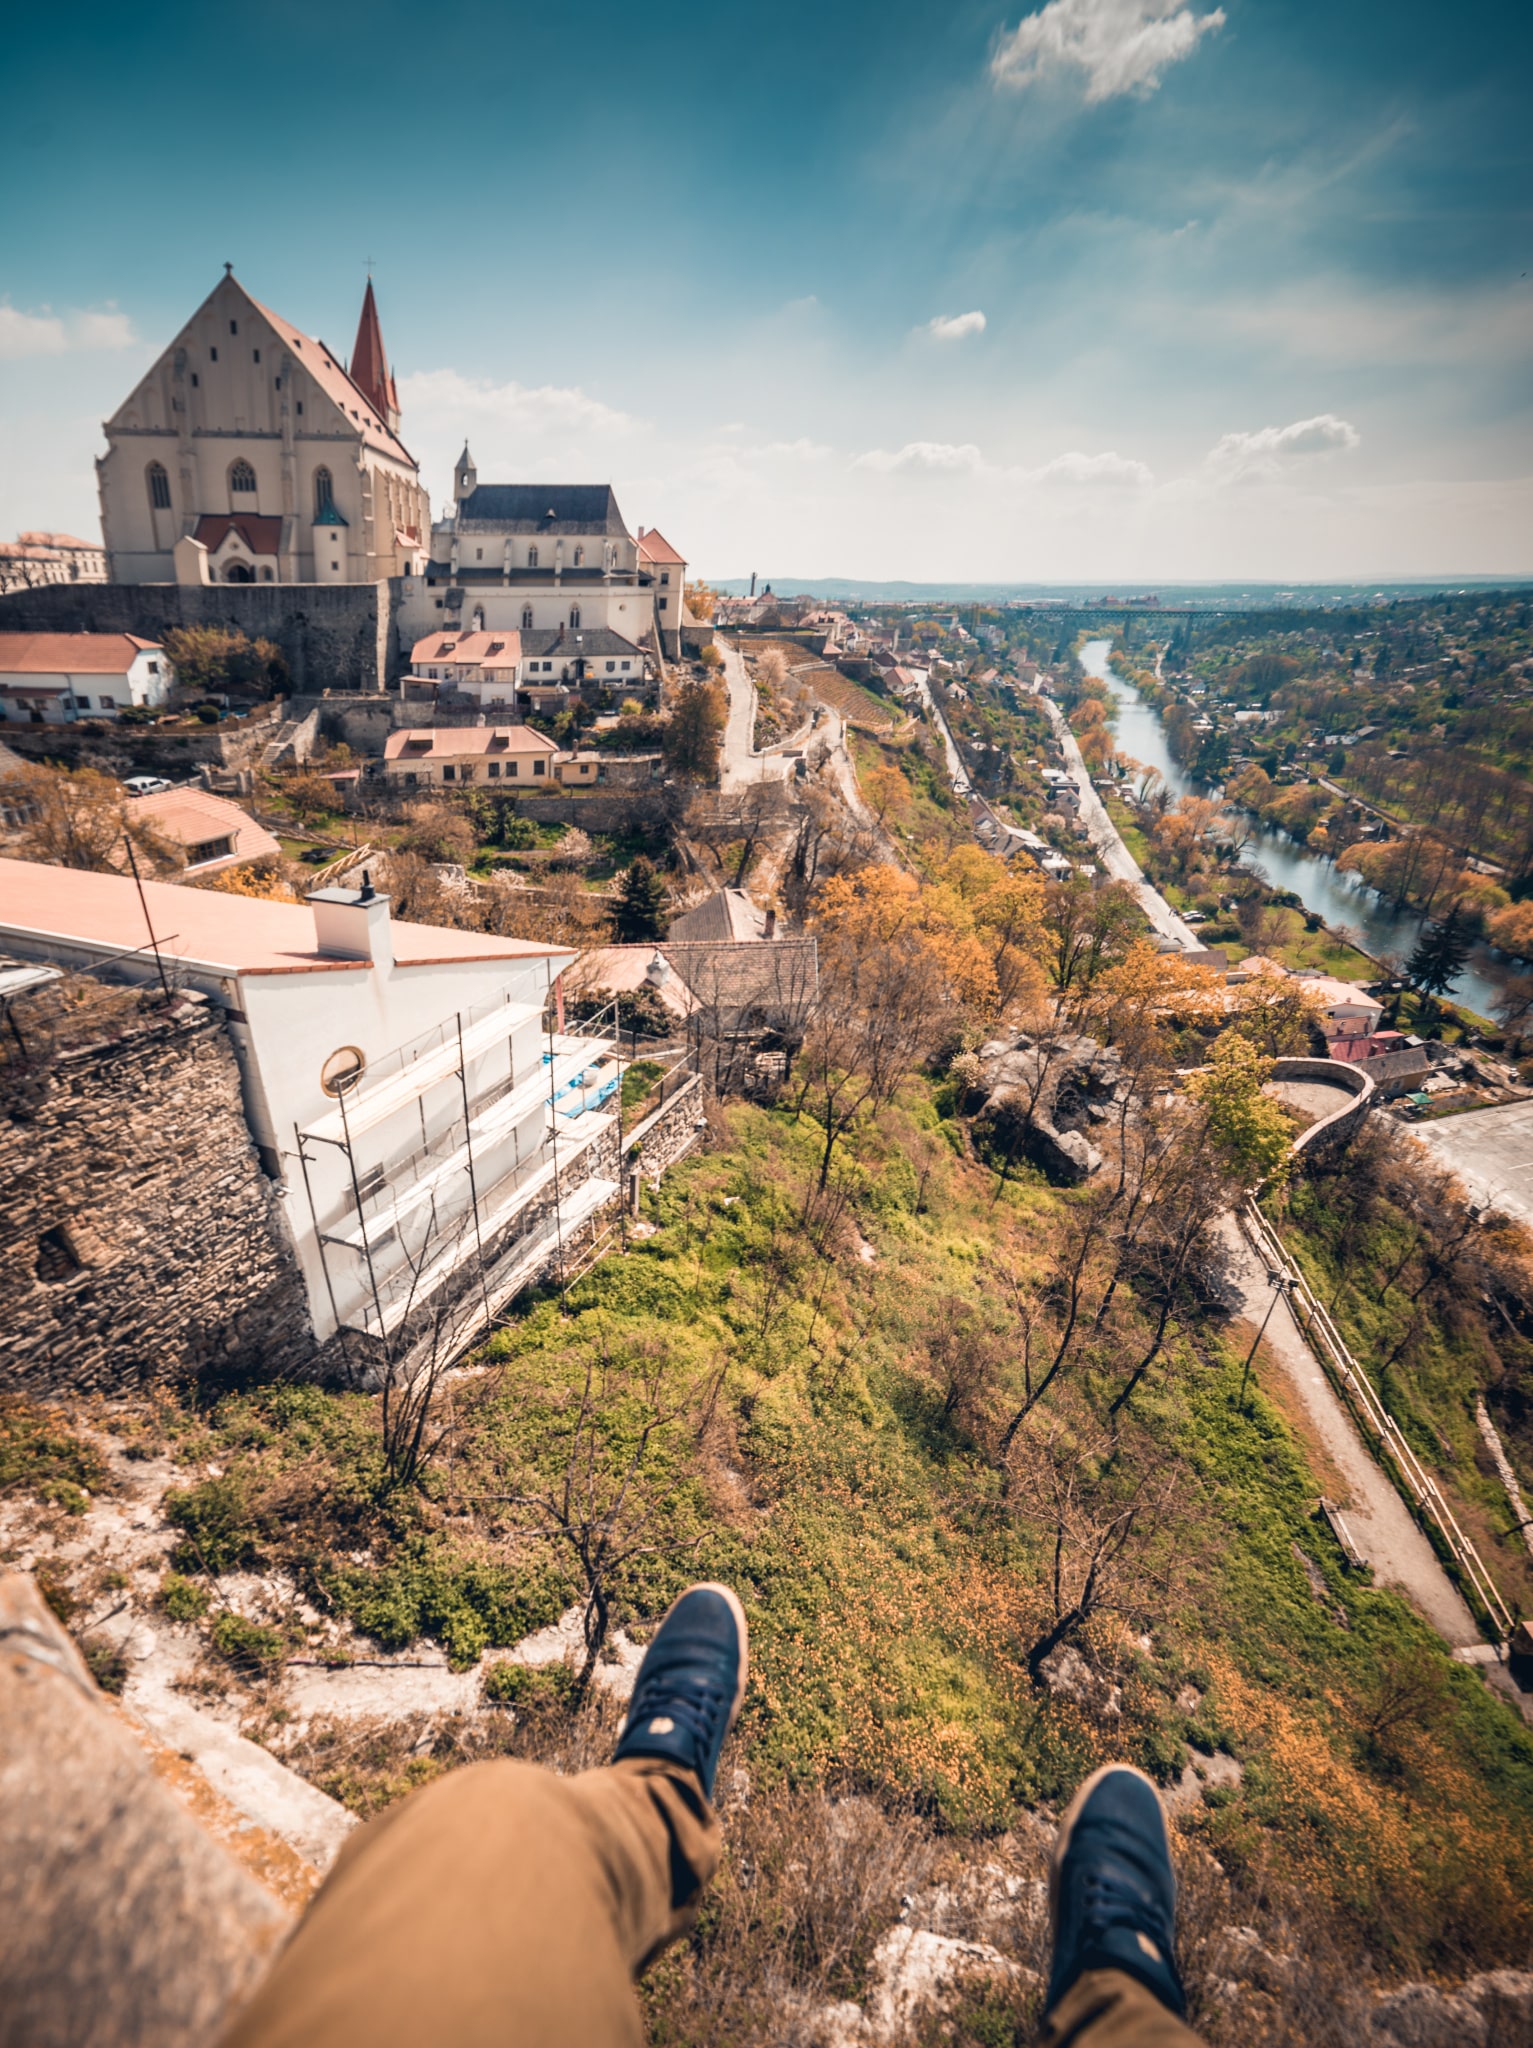
Deformation From a Wide-angle Lens
Wide-angle lenses are great because they let you get everything you need into the frame. But they tend to have the disadvantage of significant distortion at the edges. There, buildings bend and people widen. Fortunately both problems can be corrected rather easily with the Move tool. In our case for example the horizon is falling to the right, and the church to the left. So the usual solution, the Align Horizon tool, wouldn’t work here. That’s why it’s better to use Liquify.
Filling in Edges Instead of a Crop
When you’re stitching a panorama together out of handheld shots, often you’ll find that some of the areas representing the corners of the individual shots are empty. You could solve this by cropping the final picture even more, but that’s usually a terrible solution. It tends to rob you of a large part of the picture.

So feel free to leave empty areas in during the crop and use the Move tool to fill in the empty space. Of course, you can only use this method when there aren’t any complicated textures along a picture’s edges. Otherwise your Liquify trick will be noticed immediately. This specific example is a part of our article on stitching portraits using the Brenizer method.

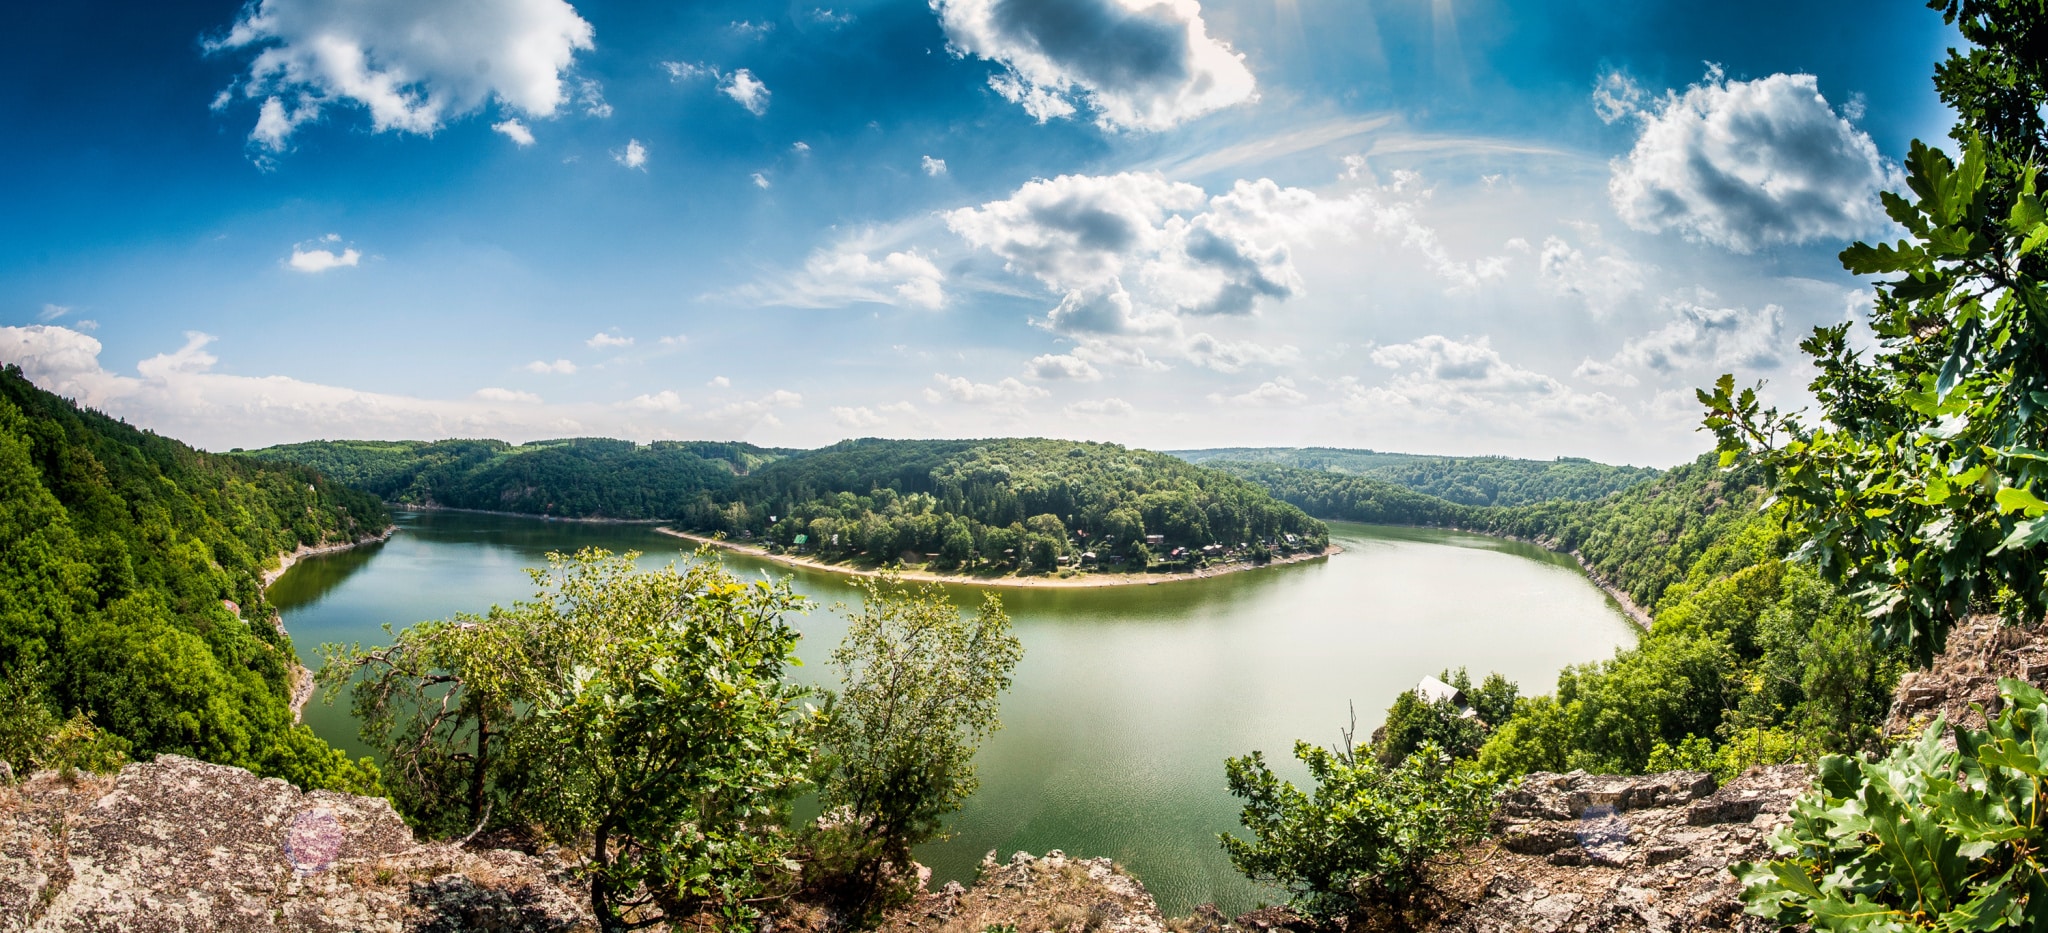
Oil Painting
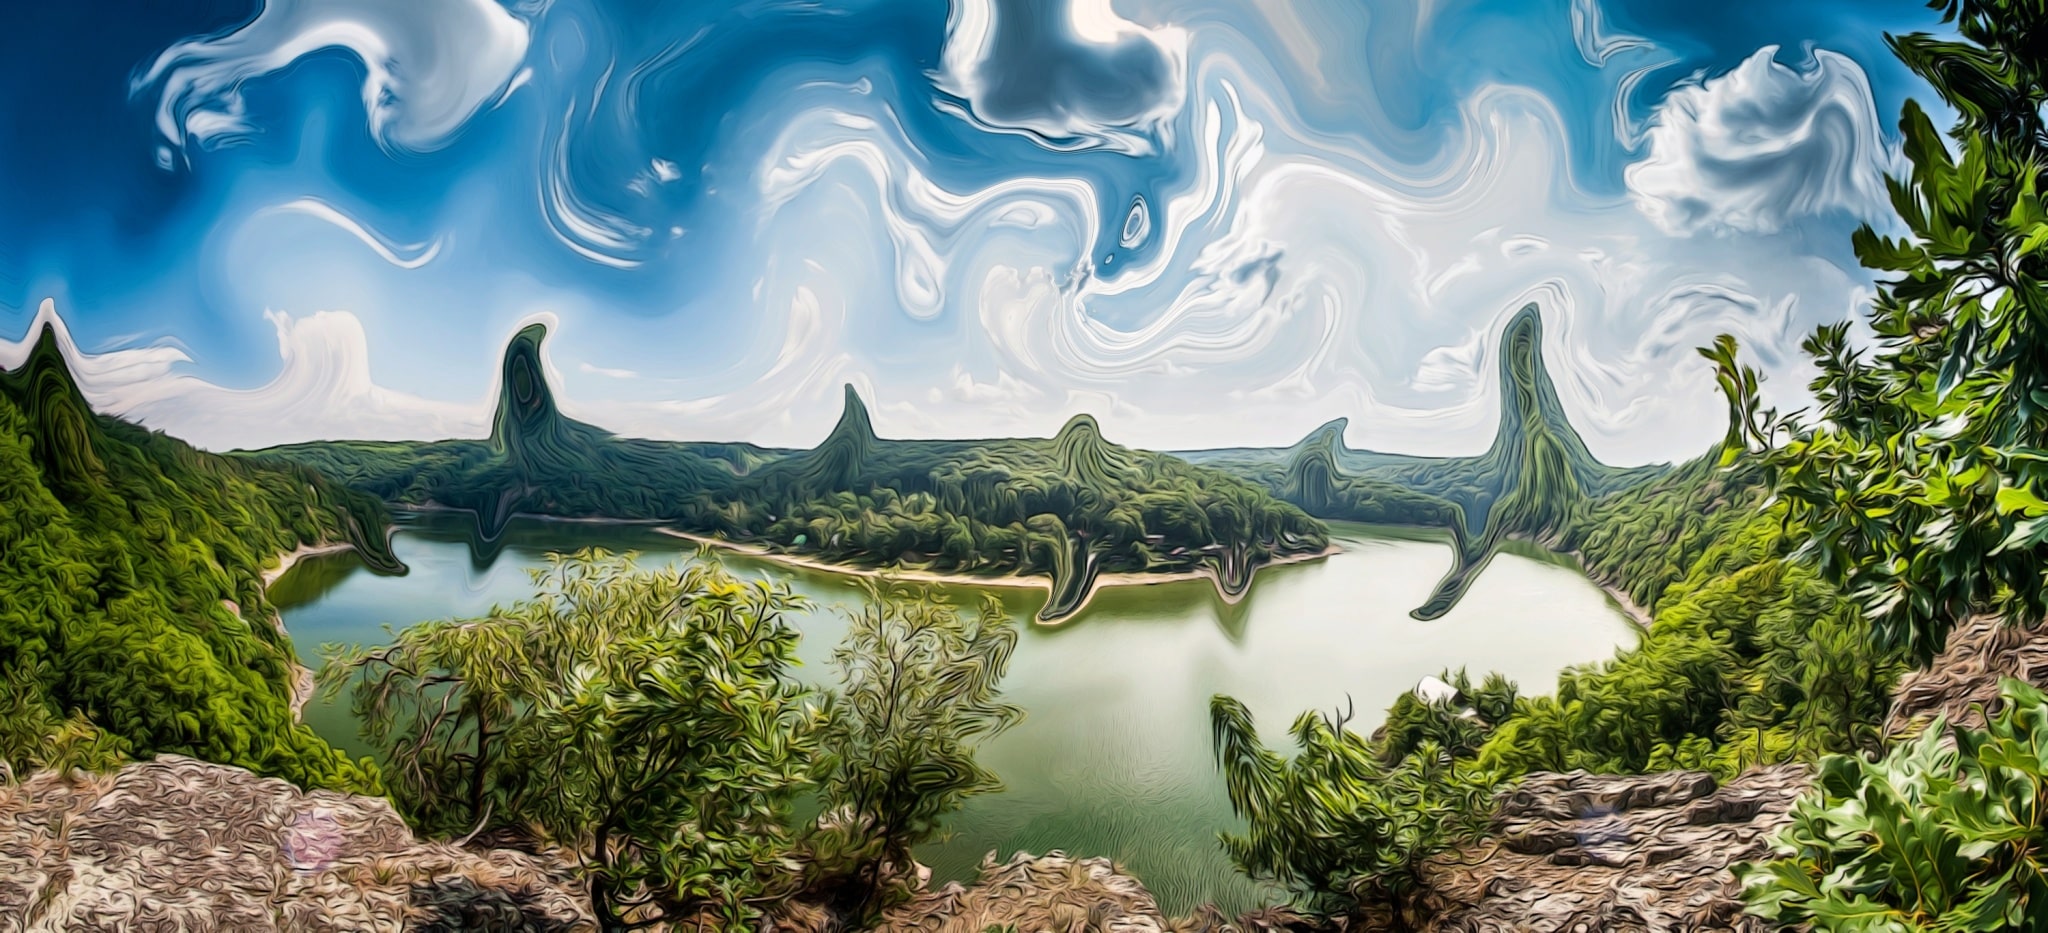
Now to wrap up with something a bit wilder! Our last tip is for creating an “oil painting in the style of Van Gogh.” Crooked shapes within clouds and other objects are characteristic for his pictures. For this trick, you’ll mainly be making use of the two Rotate tools.

For even better results, follow this up with the Oil Painting effect, and perhaps Cartoon too. To easily reach both of these, use the Effects section of the top-left menu.

Caution: This isn’t a good example of how to produce an attractive photo. This is more something to be used in graphic design when creating posters for various topics. So take this just as an interesting tip, not as a guide on how to be a better photographer.
Shape Anything—But Don’t Go Overboard!
The same unwritten rule applies for Liquify as for other edits: the best edit is the one nobody can notice.
Download Zoner Studio, use it free for 7 days, and start editing photos with Liquify today!
There are no comments yet.