It’s Not Black and White
The article is over 5 years old. The information in it may be outdated.
![]()
We are working on its update. In the meantime, you can read some more recent articles.
I want to continue reading the article.
SIMILAR NEWER ARTICLES...…
Color photography has existed for about a hundred and fifty years, if we count from its earliest beginnings. For all of this rather long time, a considerable number of photographers have remained, or at least returned, at the side of black-and-white photography. The arrival of digital cameras has done nothing to change this. Except to make it simpler.
Now you can turn a color digital image into black and white with just a click of a mouse. But it is not always a good idea.
Color plays a large role in photography. We can describe a wide range of different shades of color (some gender studies say women see more shades than men) and can also describe their effect on a viewer with help from the psychology of color. One can even concentrate on color perception alone while taking pictures and capture their contrast or similarity.
While it may not seem so clear, color is also important in black and white photography. For example, when taking pictures to black and white film, an orange filter was used in the past to achieve greater contrast between blue skies and white clouds. Similar steps can be taken when converting color digital photographs, of which we’ll say more in a bit, to grayscale.
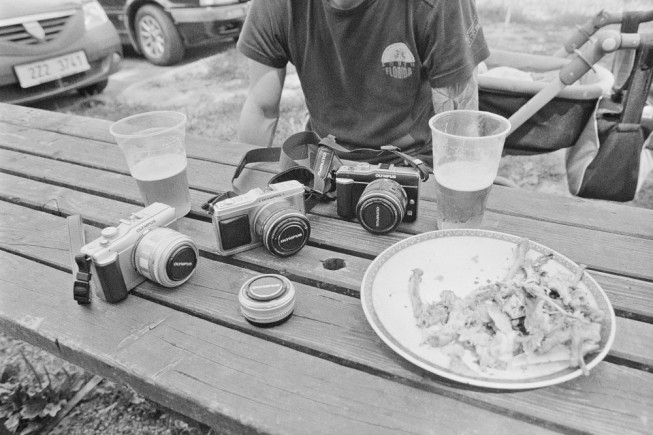
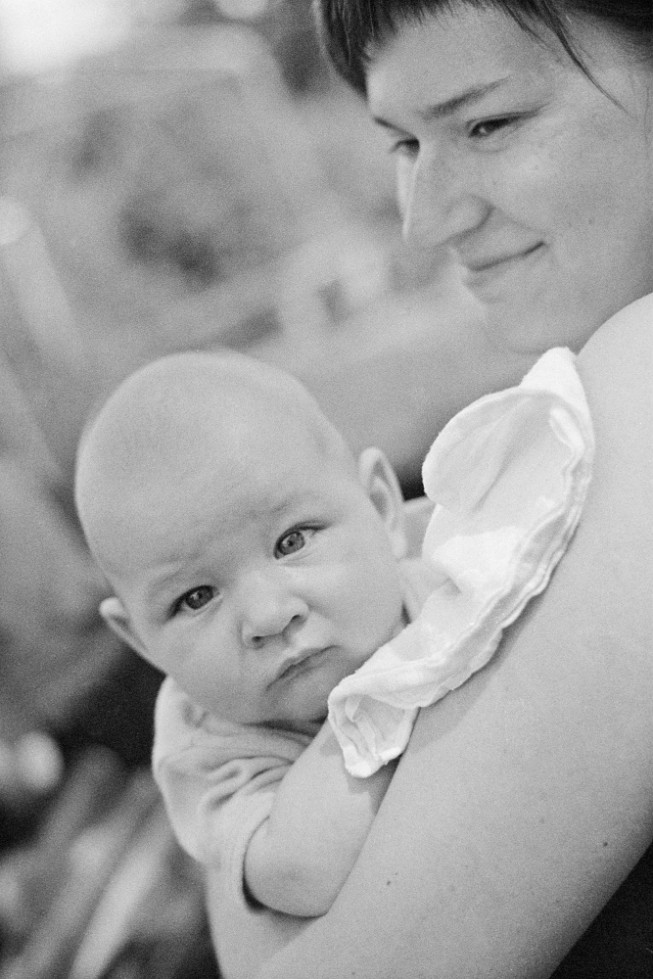
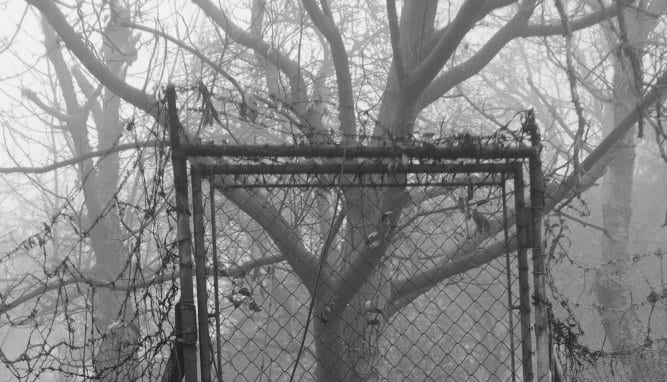
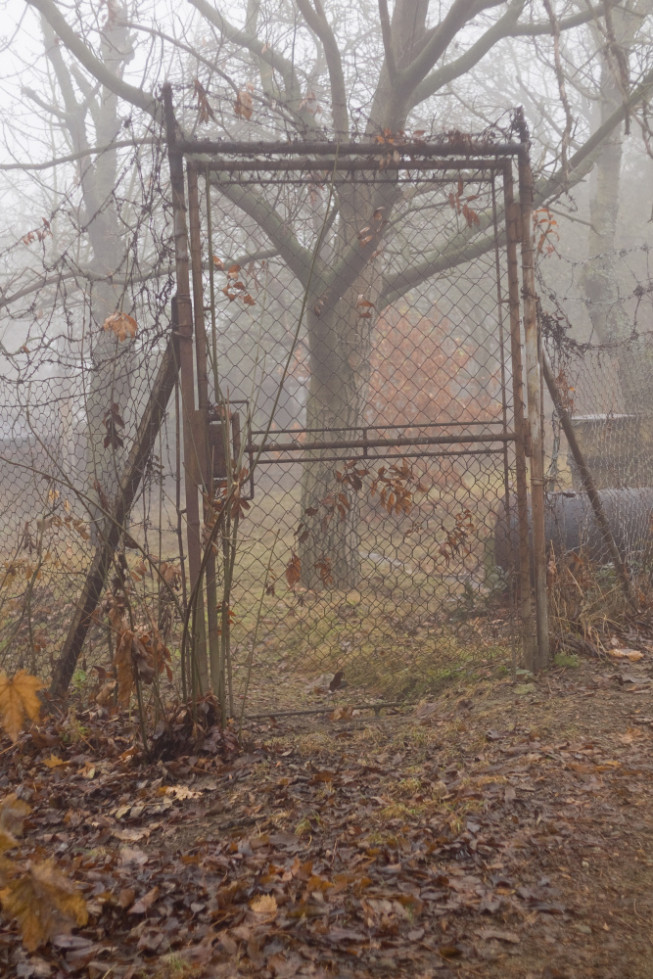
Conversion to black and white always involves some subjectivity. Whether or not to make the conversion, and how to make it, always depends on the photographer. Just like the photographer should ask himself what interested him before he pressed the trigger, he should also think about why he is removing the scene’s colors. By doing so he is “depriving” human perception of fundamental visual information. Under what conditions and for what reasons, then, should we take away a picture’s colors?
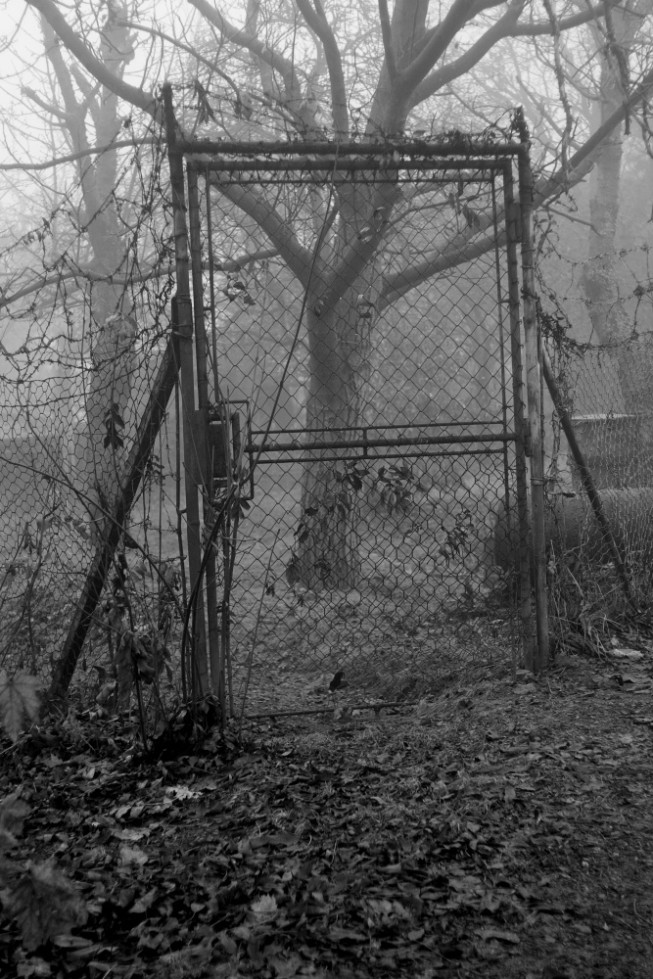
Black and white directly
Not just film cameras, but digital ones too can take pictures to black and white. In the most recent models of digital cameras, even the manufacturers have realized that ordinary desaturation is not the way to go for black and white photography and so have equipped their cameras with more sophisticated conversion. Naturally this can save you some time that you would otherwise have to spend on digital editing. On the other hand, this will leave you without a color original, and you leave the conversion completely in the hands of a machine, which may not pay off.
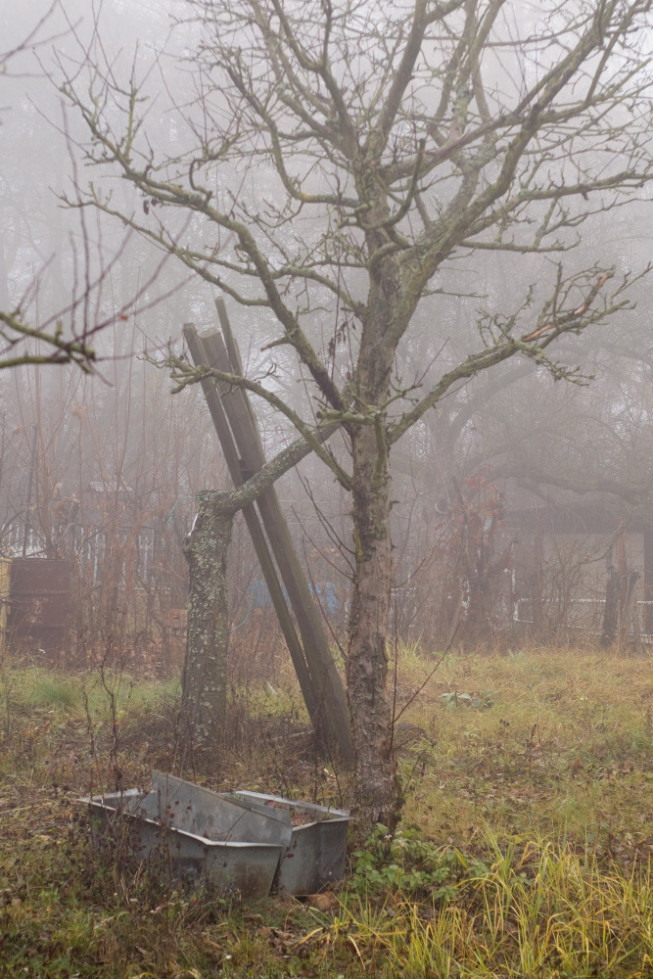
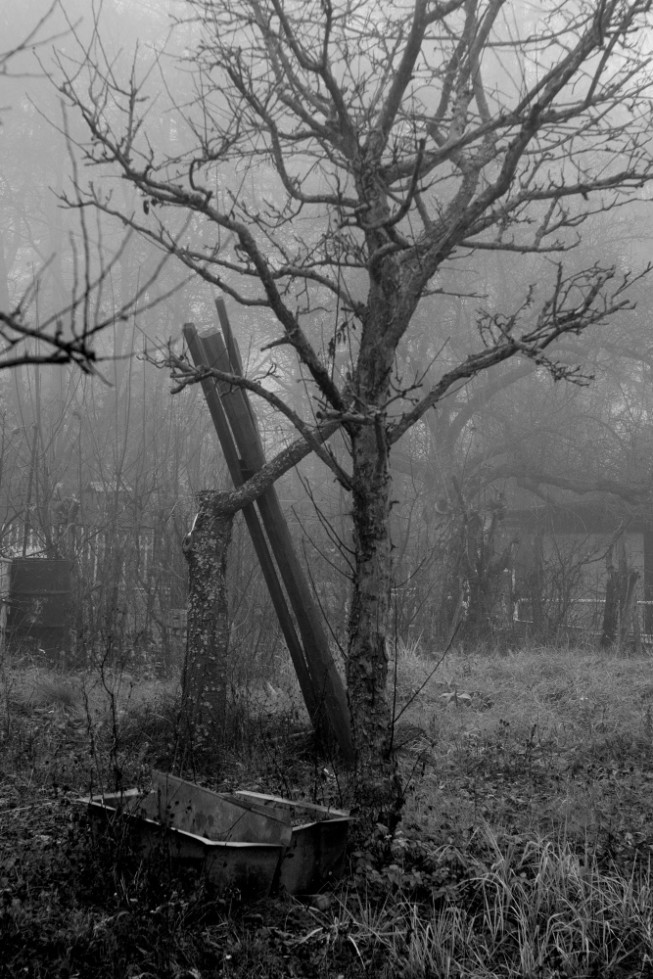
Before going into directly answering the above question, let’s first consider why not to convert, or better put, what a mere black and white conversion cannot solve. Removing color will not turn a mediocre photo into art. The form that you use for your photographic communication is only one side of the coin. The other side is content. If the content isn’t worthwhile, then no color changes (or other changes) will help. Another mistake you can make is to remove color when it’s critical for the picture.
And lastly, a mangled conversion to black and white can, of course, also ruin a good picture. For example dark shadows appearing on someone’s face where there were none before, a red shirt of a person in the photo blending completely into the green leaves in the background, etc. Keep in mind that colors from the original photograph may have a completely different brightness in the final black-and-white picture, and so it is possible to adjust them during conversion.
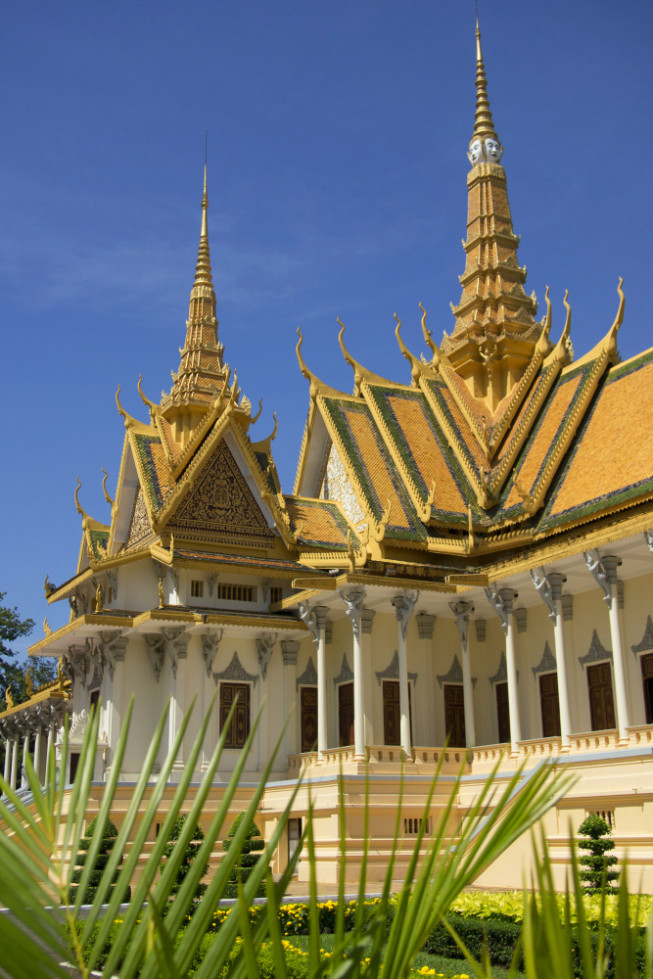
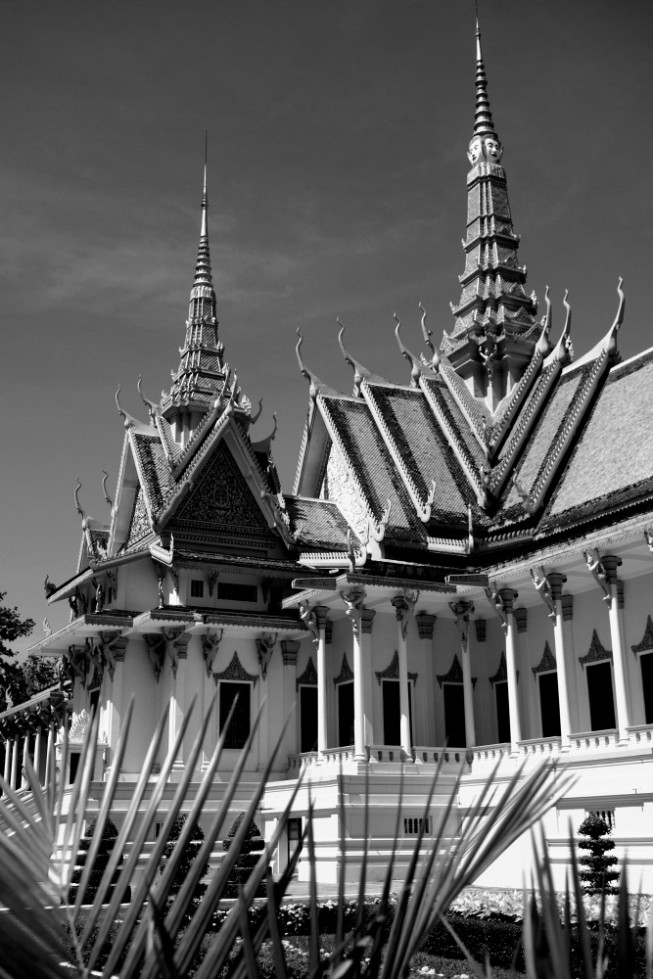
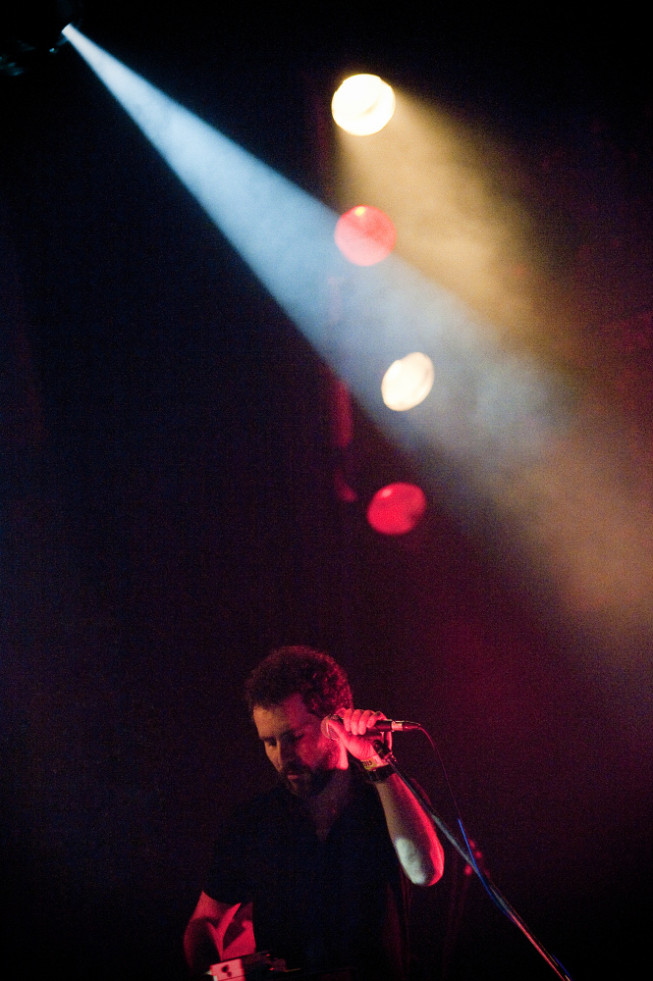
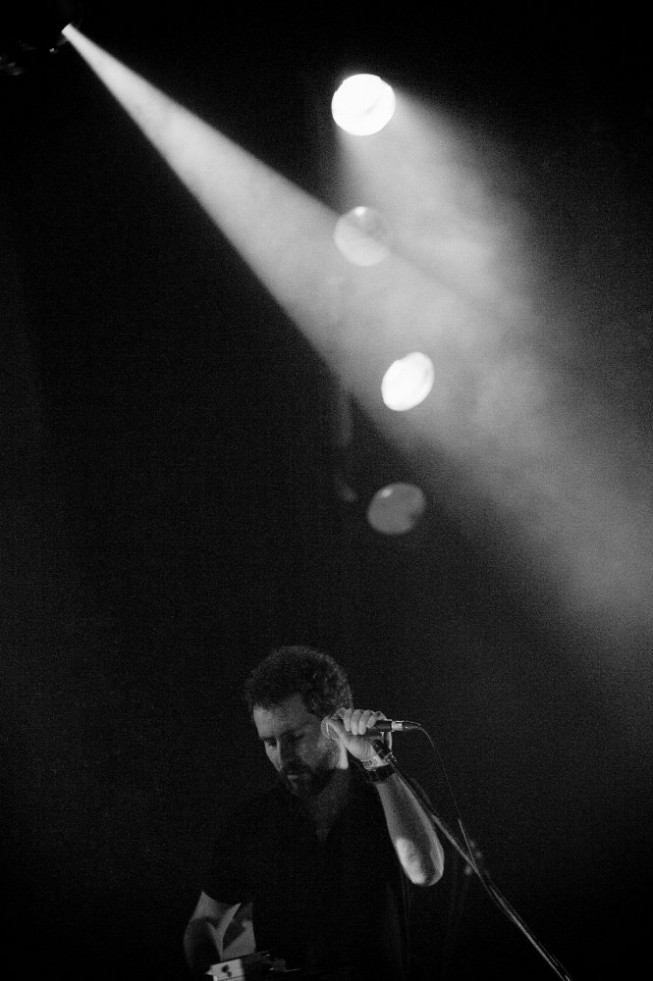
Some scenes just beg for black and white conversion. Maybe because the colors in a certain picture are drawing unneeded attention without actually doing anything important. Maybe to get rid of colored noise or white balance problems, assuming there are multiple light sources. Black and white versions can also be good for certain genres in general, such as journalistic and documentary photos, portraits, or still lifes.
But nobody’s saying that photographs with the problems or in the genres mentioned above can’t make it without conversion to black and white. There are of course many ways to convert to black and white, many applications to use for it and many tools. If you have the time and interest, you can start experimenting and trying out how a particular conversion will affect your pictures. Then you can compare the effects of various conversions against each other.
Keep in mind in the process any kind of alterations to your pictures should support their message, not sink it. Take a look at the final result, both immediately after conversion and some time later. Are they too light, too dark, too high or low in contrast? Have they lost any important information during conversion?



Making the conversion in Zoner Studio
In Zoner Studio itself, you can use various tools for the conversion. For quick desaturation with relatively good results, use the Tone Mapping effect, in the Editor’s Effects menu. Sometimes you will need to alter the contrast after that, but it’s a quick route to good black and white.
If you want to have the whole process under control and literally control the mixing for the final black and white picture, use the Channel Mixing tool. In the Channel dropdown, choose Grayscale and then manually mix the ratios of the individual channels in the output. Take care to keep the overall percentages of red, green, and blue from exceeding 100 percent. Otherwise you could lose color information in the lights


There are no comments yet.