Learn 3 ways to shoot panoramic photos
Taking panoramic photos is a popular way to get the widest angle into one picture at a high resolution. This may work to your advantage when shooting landscapes, architecture, interiors, or perhaps even portraits. In this video, we’d like to shed some light on how to shoot these types of panoramas. We’ve tested three methods of shooting panoramas–hand-held, with a tripod, and using a panoramic tripod head. Take a look at the differences between these three methods and see which one we liked the most.
The basic concept of a panorama consists of shooting several overlapping images which are later stitched together using your computer. While it does mean a bit more legwork during shooting as well as editing, it will definitely be worth it.
Why shoot panoramas?
Shooting panoramic photos is a good way to push the limits of your photo equipment. You’ll be able to achieve:
- unlimited number of angles, which no lens can duplicate.
- high resolution due to a stitched image that no camera can achieve.
- less noise than when shooting a single photo.
(Of course, the amount of noise remains the same, but if you are able to achieve double the resolution thanks to stitching the photograph together, the noise will appear half as visible, meaning softer and less obvious.)
Setting up your camera
For shooting panoramas, we strongly recommend setting everything on your camera manually. Exposure time, Aperture, ISO, White balance, and Focus. After stitching together the image, we want to avoid sudden transitions due to automatic setting changes. For this reason, it’s a good idea to take one photo with the proper exposure and focus settings and not change them for the duration of the shoot.
If you’re shooting using a tripod, it’s recommended you use:
- higher aperture – a minimum of 5.6, but 8 or 11 is even better,
- longer exposure time – during the night, whole seconds or tenths of a second, and during the day, according to the conditions,
- low ISO – 100–800, depending on how long of an exposure you can afford.
Shoot hand-held if you don’t have time or a tripod
Shooting hand-held is often the easiest, but at the same time, the least precise method to shoot a panorama. Nevertheless, when shooting in daylight, when there aren’t foreground elements near the lens, it can be more than enough.
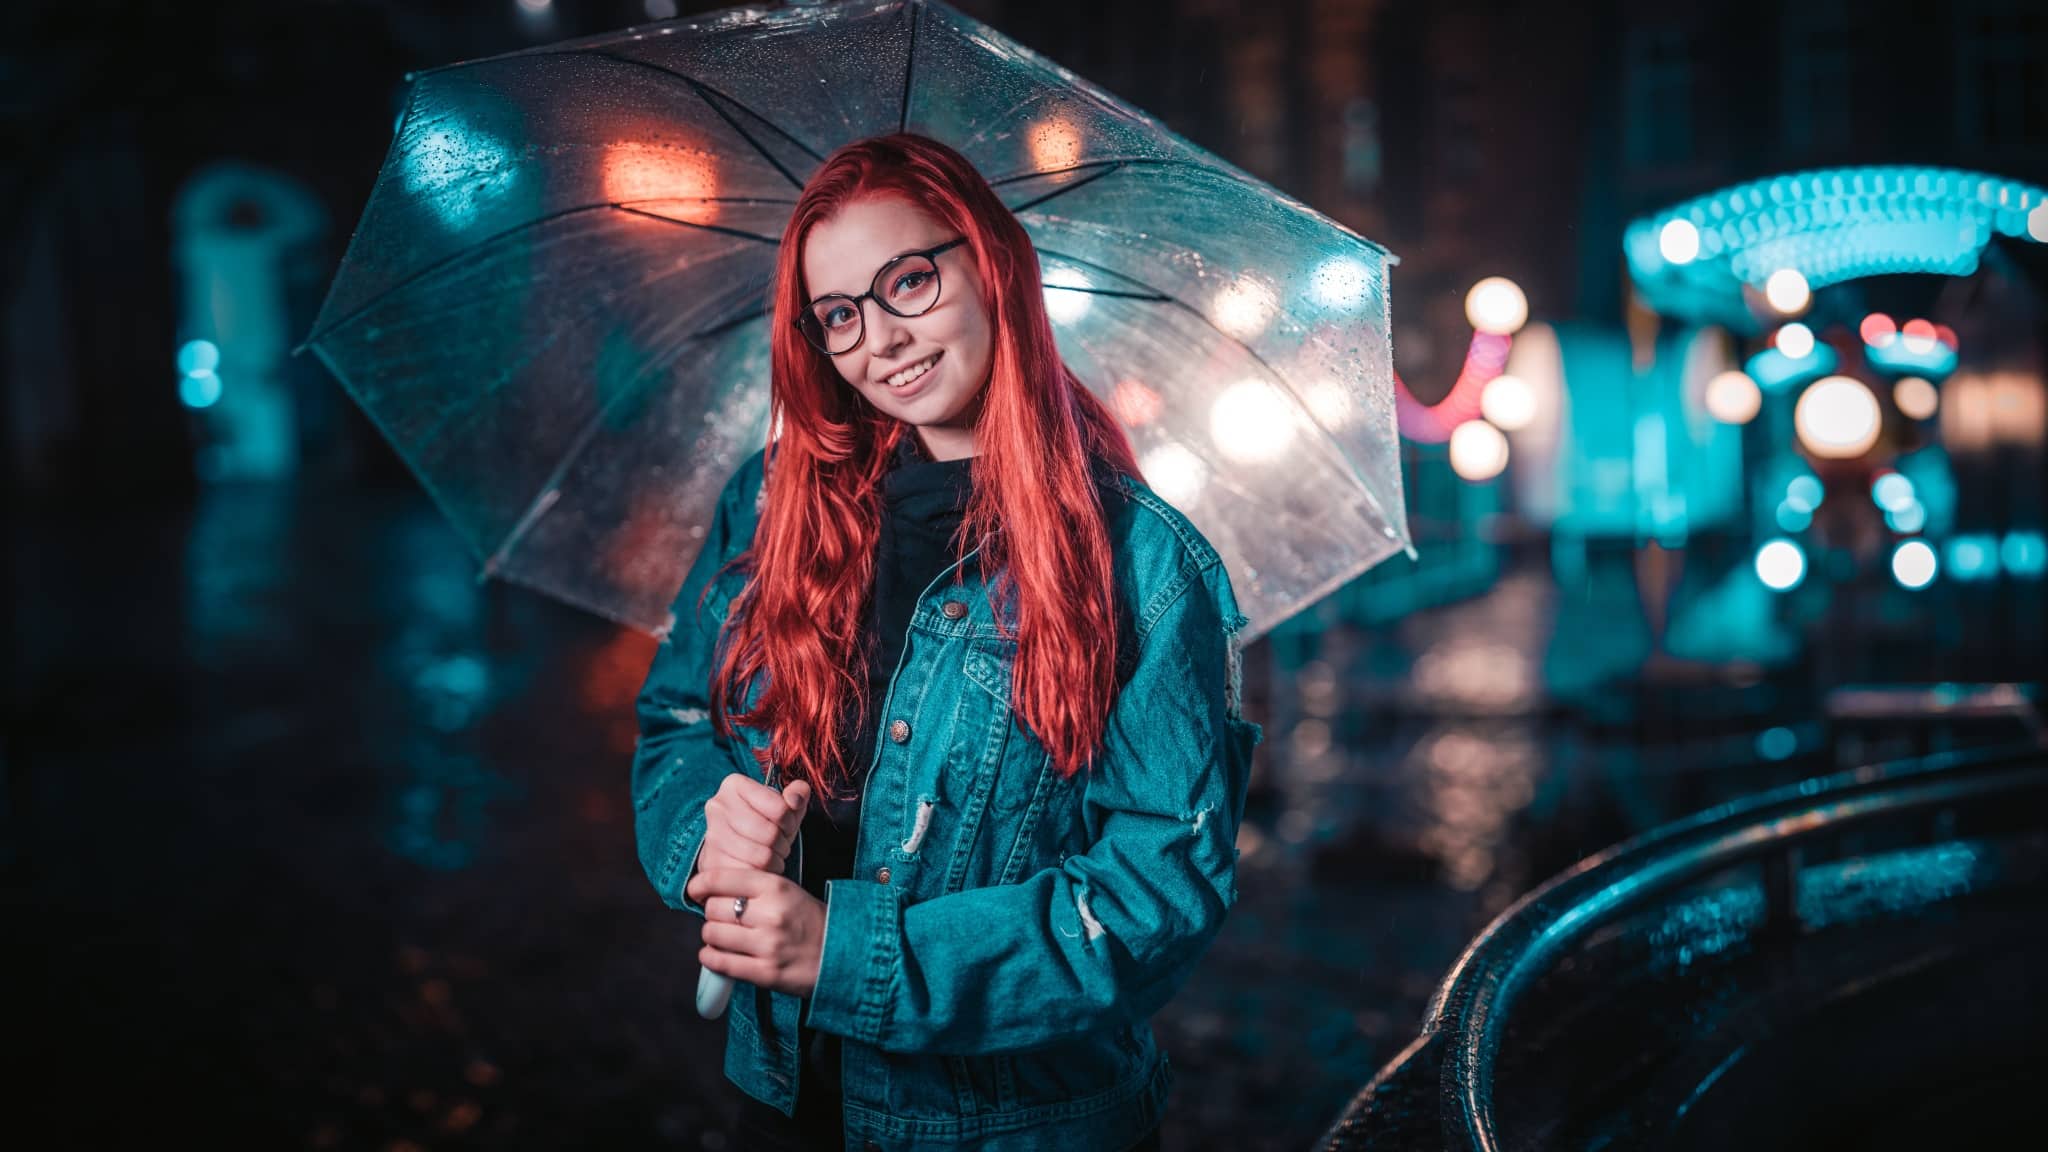
Even so, there are special cases where a tripod may do more harm than good. For example, if you are shooting a portrait, where an in-focus background isn’t a requirement, a tripod limits your speed and ability to change the composition. If you use a light on your subject, even in the night, your photo’s exposure may be just fine when shooting hand-held. You can read more about this method with portraits in the article Want to achieve dramatic bokeh? Use panoramas.
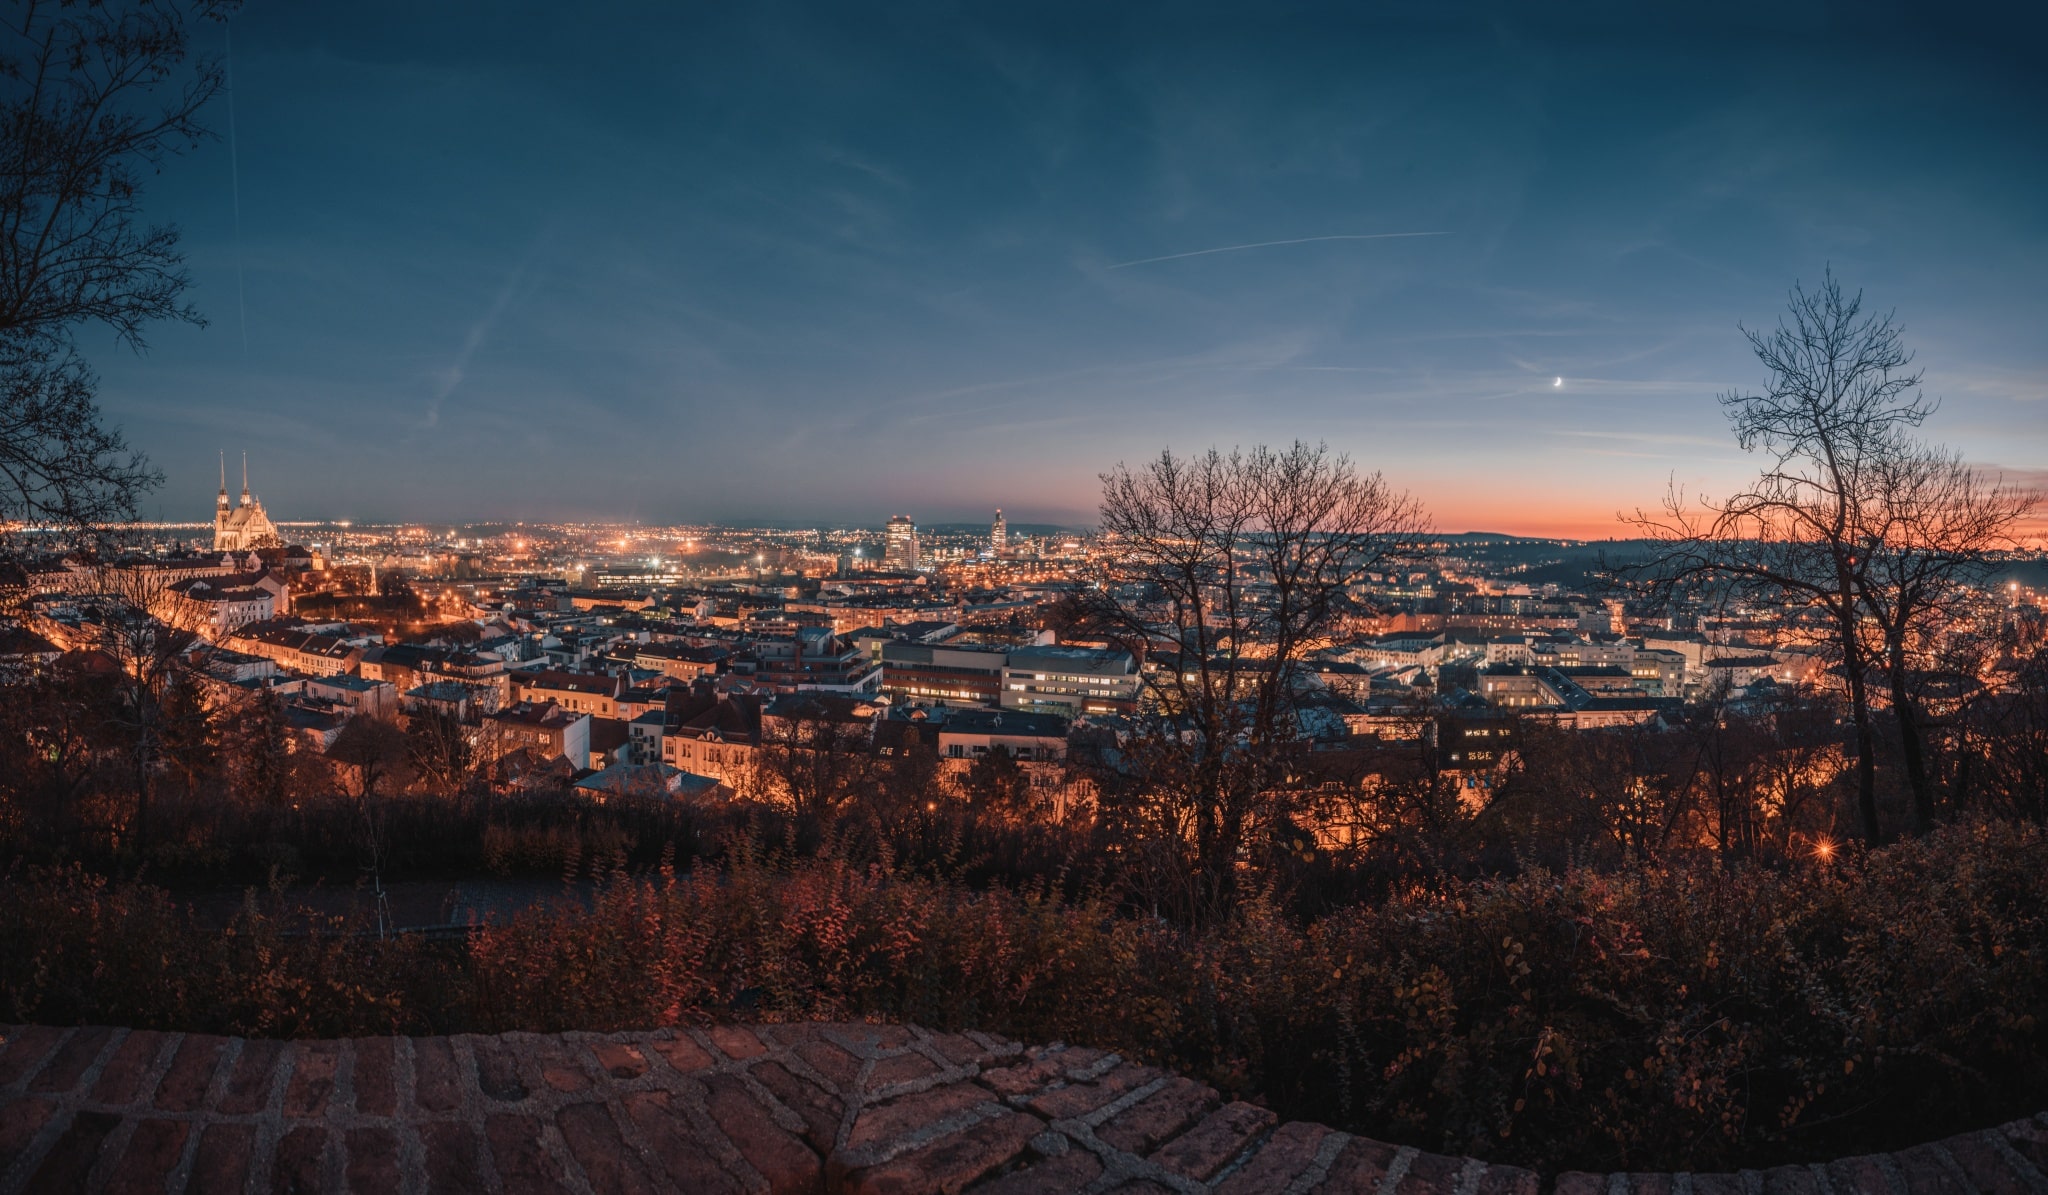
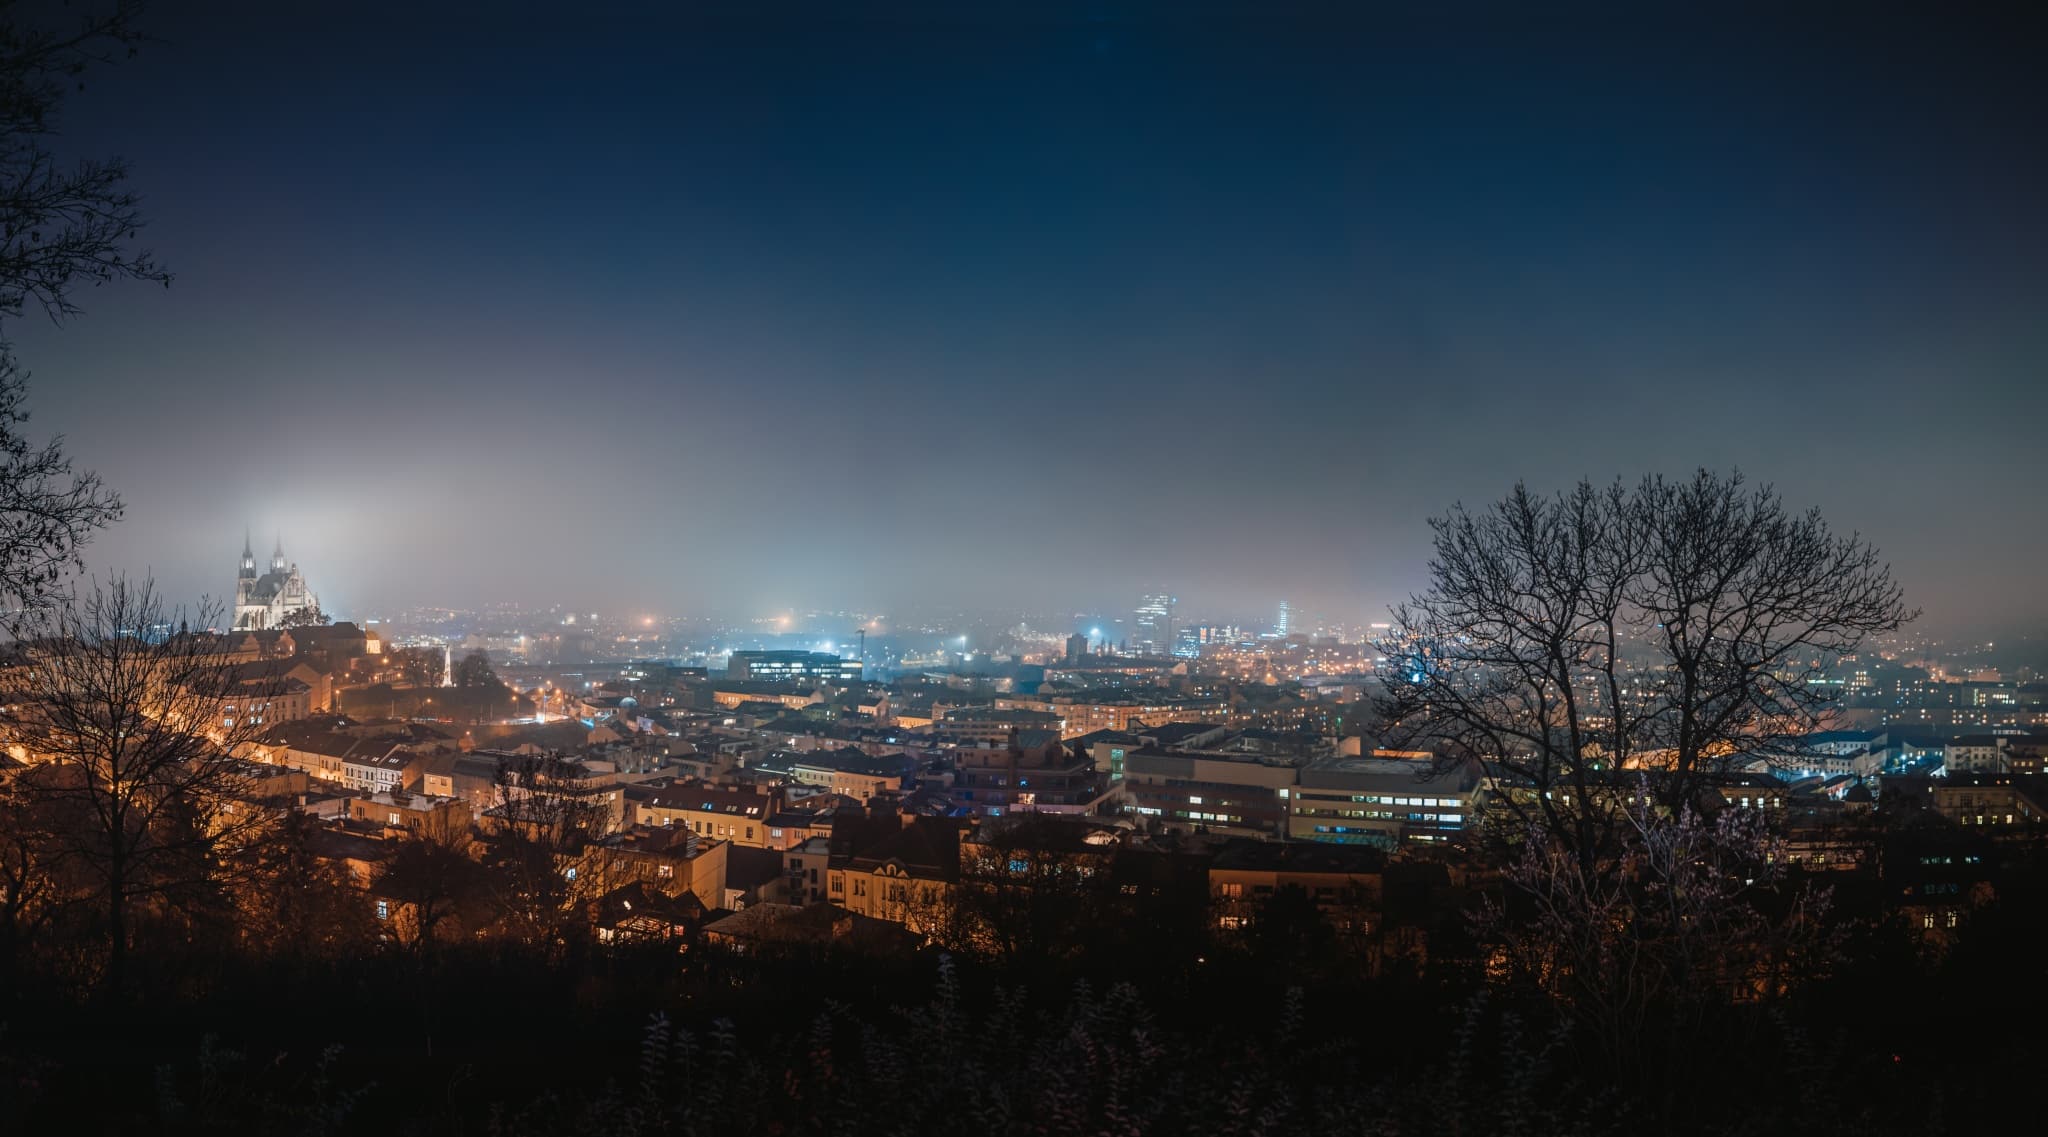
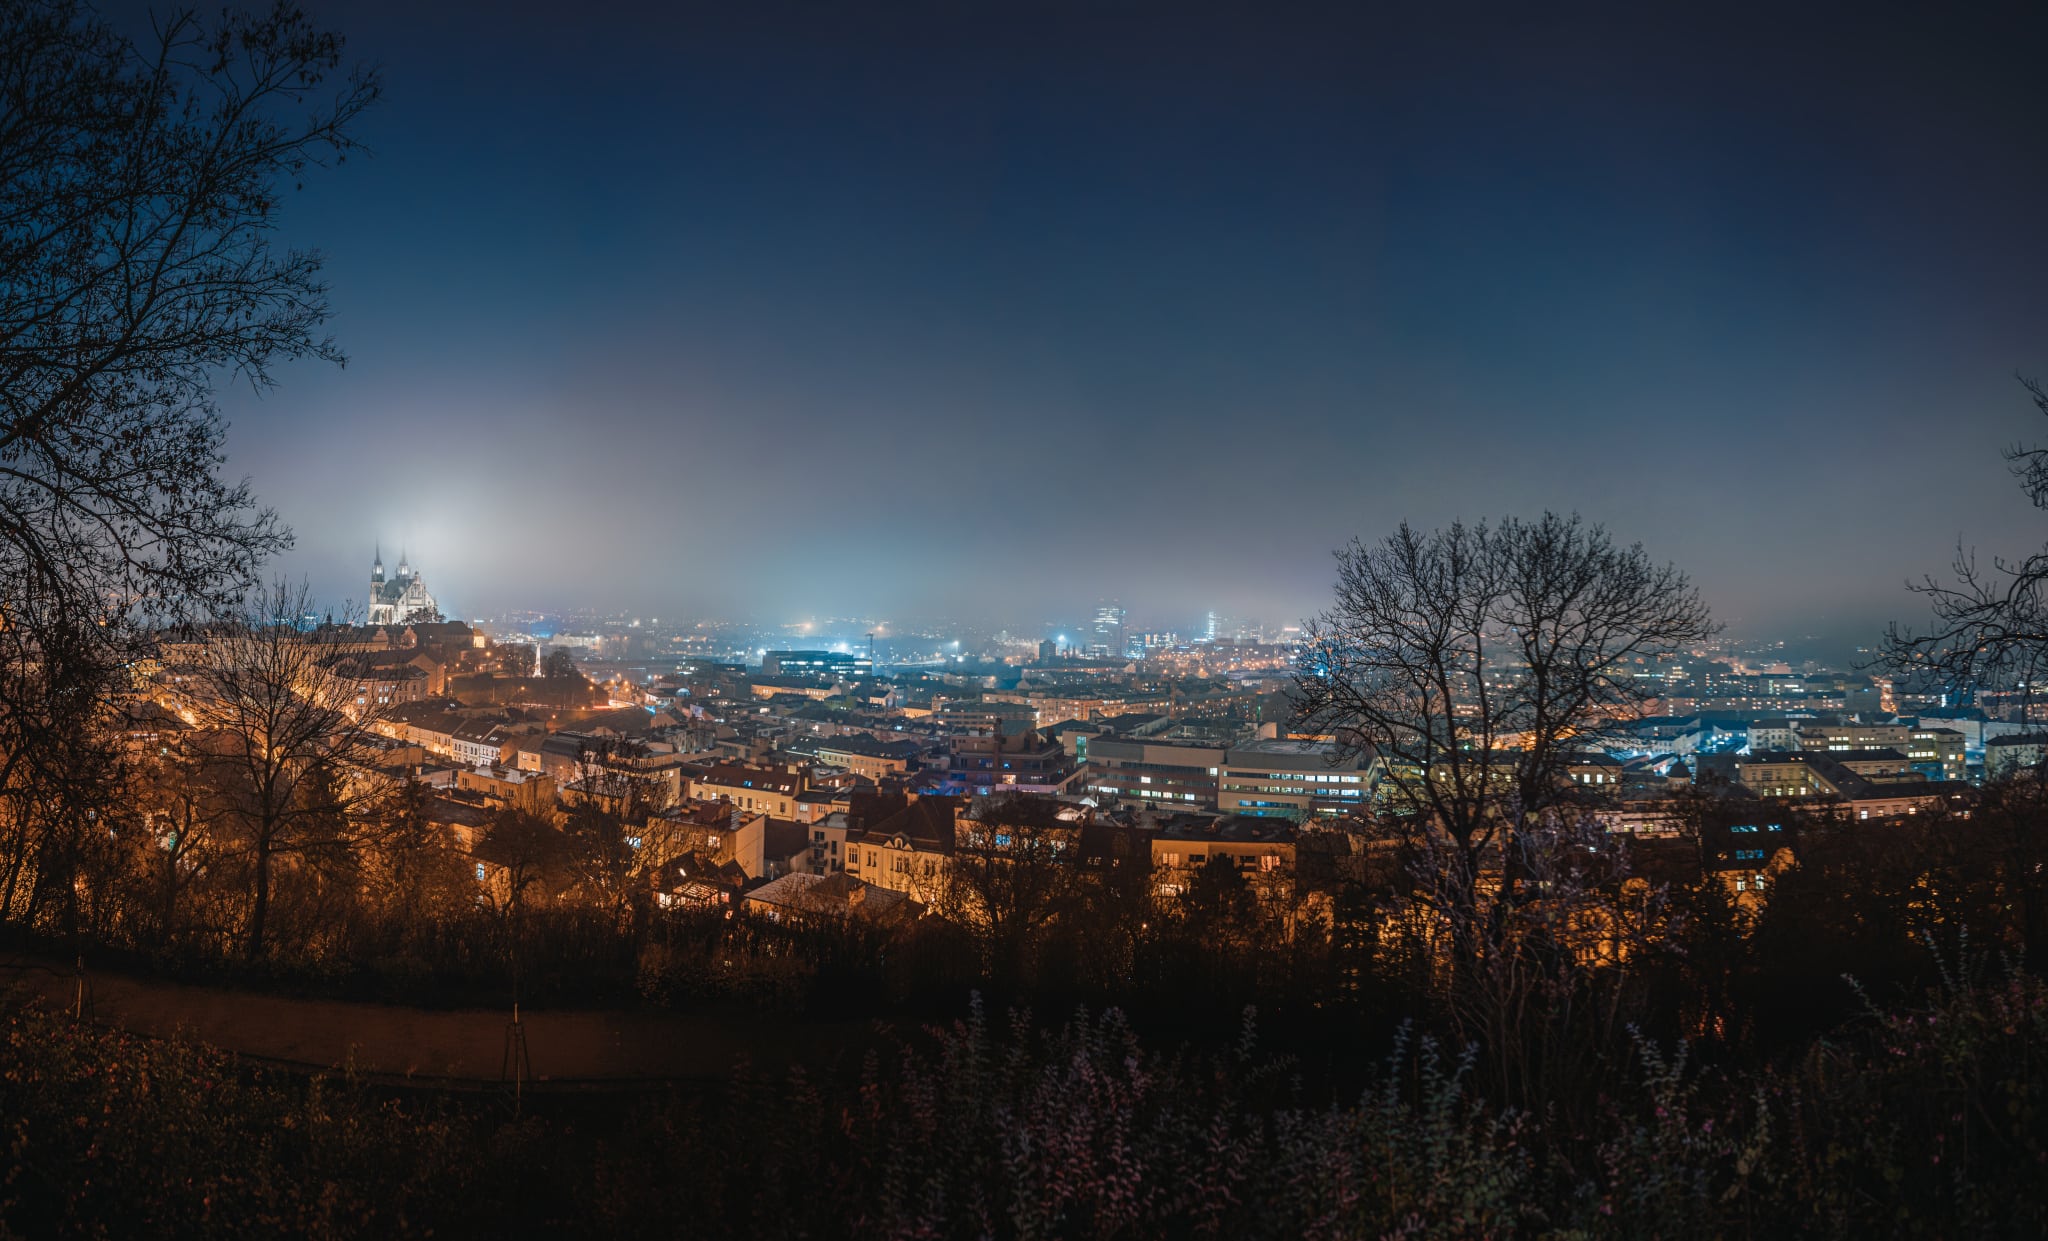
However, if you want to shoot a panorama of the night cityscape or anything with long exposure time and high aperture, the use of a tripod is indispensable.
To demonstrate this, I shot a nighttime cityscape panorama hand-held and this was the result. It may be good enough for Instagram, but after opening it, the noise is very noticeable and some unsightly spots and inaccuracies appear in the image.

Shooting with a tripod
Shooting a panorama using a tripod is probably the safest choice and offers a compromise between good results and ease of shooting.
Whenever you shoot panoramas, we recommend shooting in vertical (portrait) orientation. The majority of tripods have the option to be turned vertically, or there’s also the L bracket that you attach to the camera.
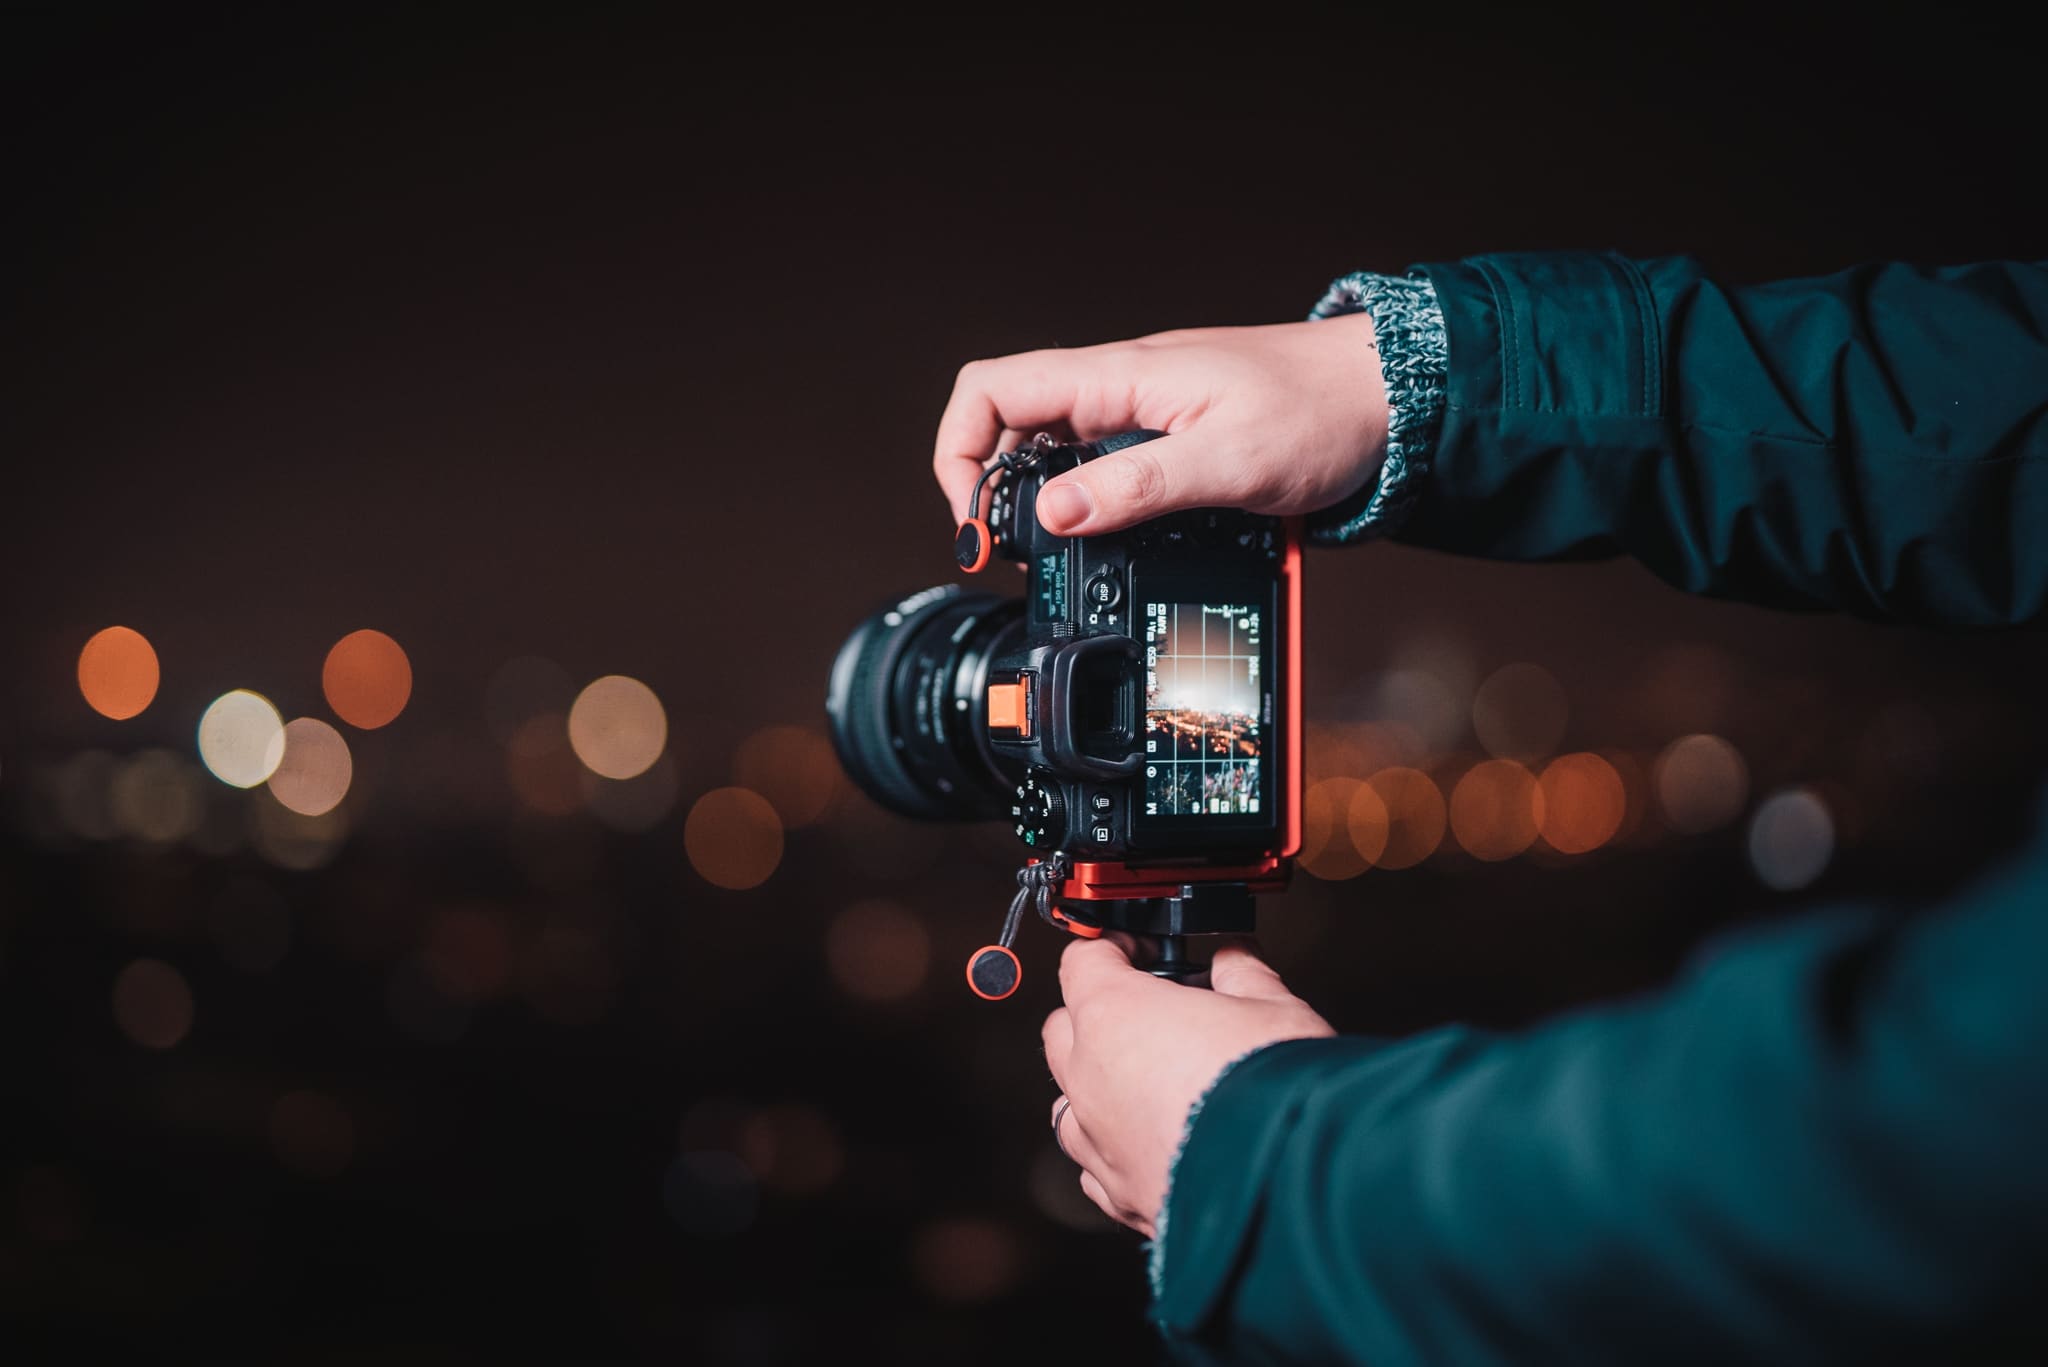
Finally, all that’s left to do is find an interesting composition and gradually pan right or left, shooting one picture after another. The individual photos should ideally overlap by one-fourth of each frame.
The most precise panorama is shot using a panoramic tripod head
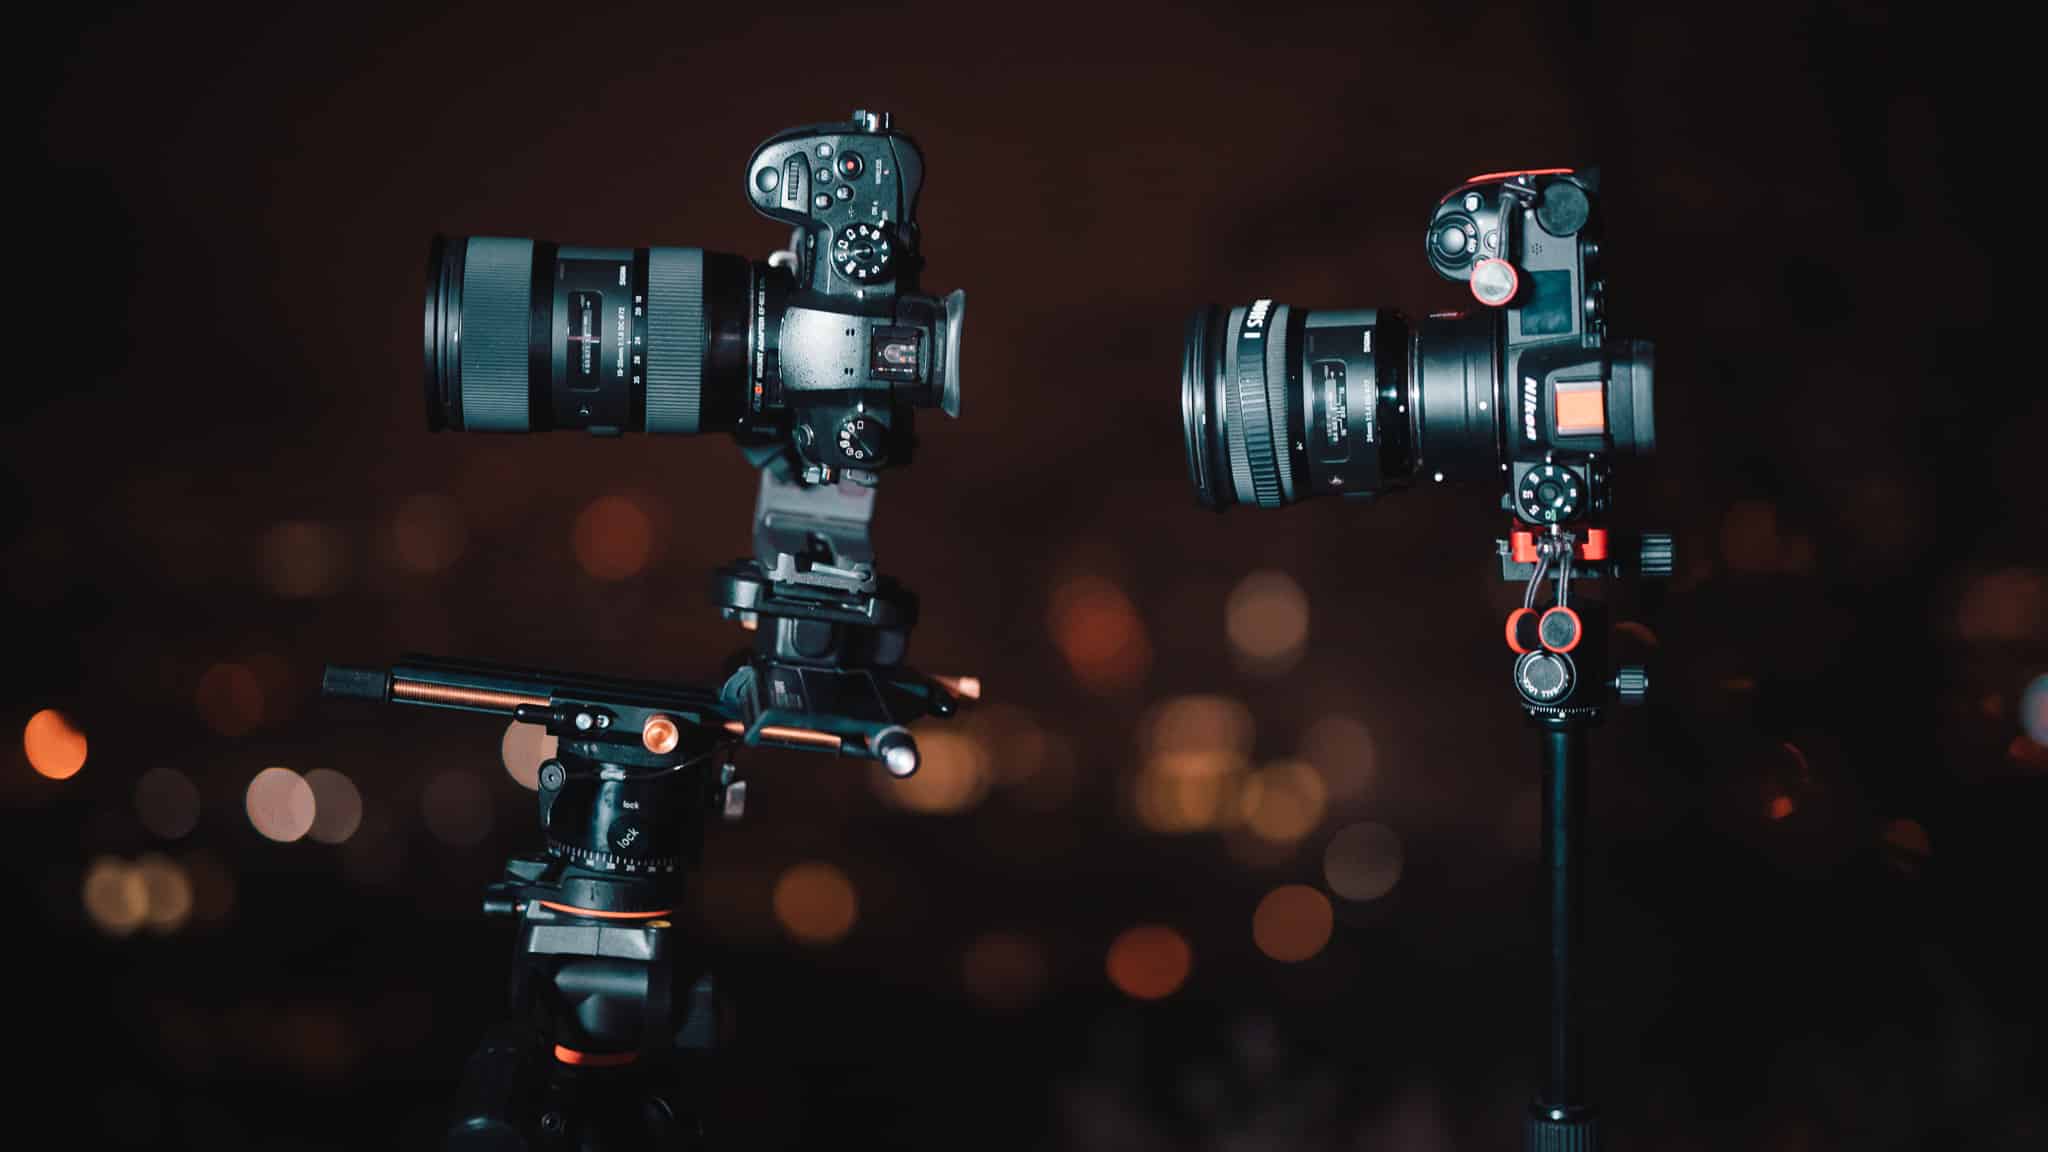
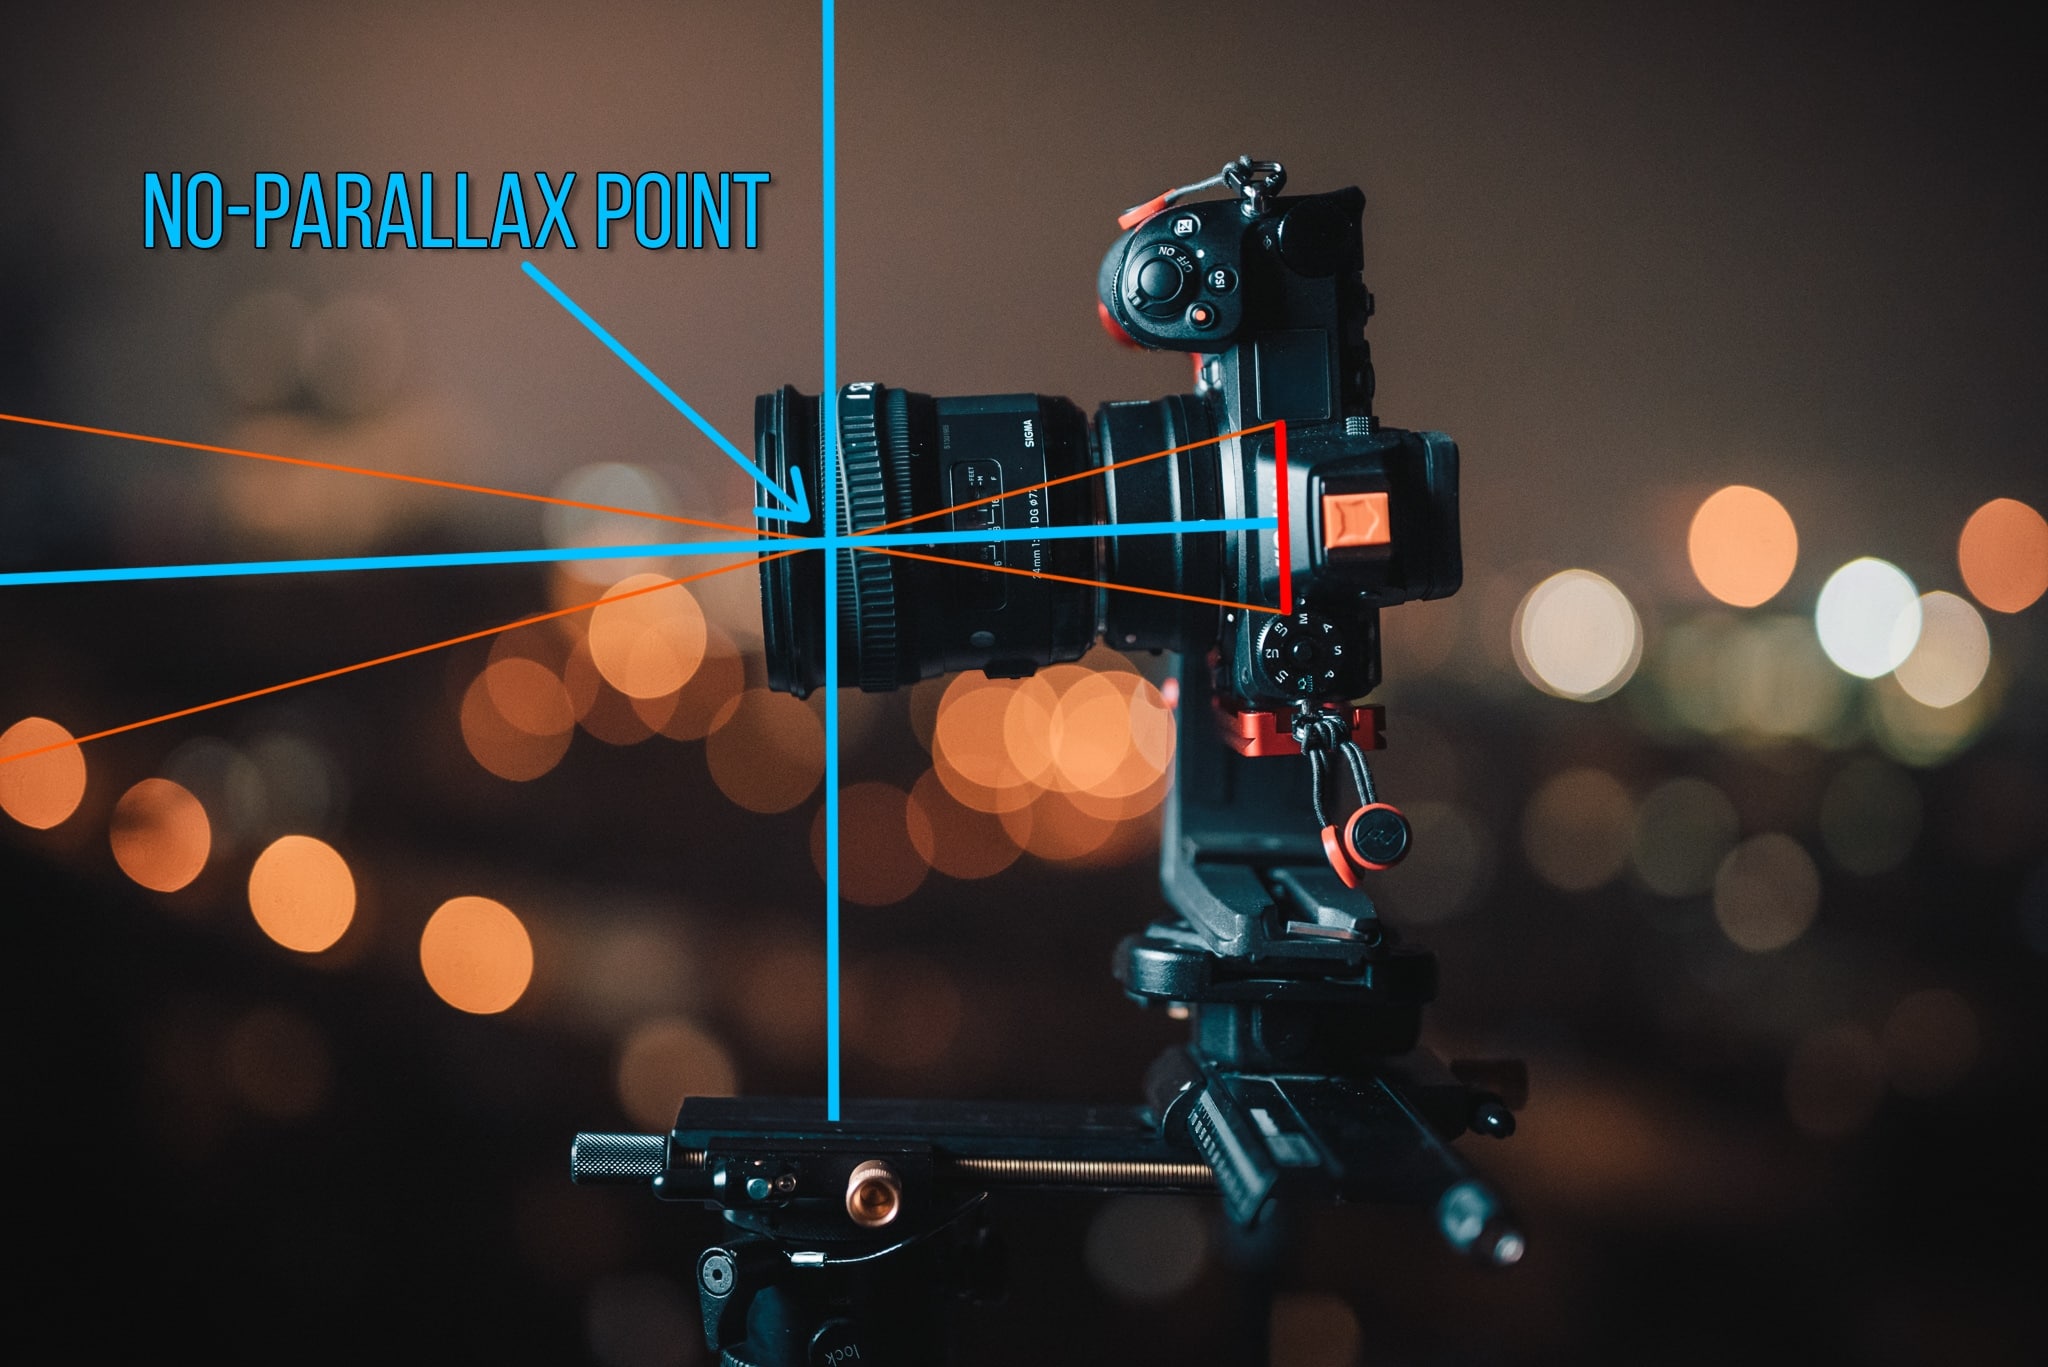
To get the most precise results from your panoramic shot, use a panoramic tripod head. Its advantage lies in its ability to freely change the center of rotation according to the lens you are using. This way, you aren’t tied down to the placement of a standard tripod with a single thread screw in one place.
Why is the placement of the center of rotation so crucial? It’s particularly important due to so-called parallax errors, which appear when shooting panoramas with a wider lens. Due to these errors, the observed point is seen from various angles when rotating with your camera. As a result, the panorama’s stitched images may not present an accurate image.
Picture this. Raise your hand to eye-level and look at your fingers. If you start to turn your head, you’ll see that background compared to your fingers changes, and a different part of it is hidden each time. You may have problems with this when it comes time to stitch your panoramic photo together. And this is exactly what the panoramic tripod head helps you avoid.
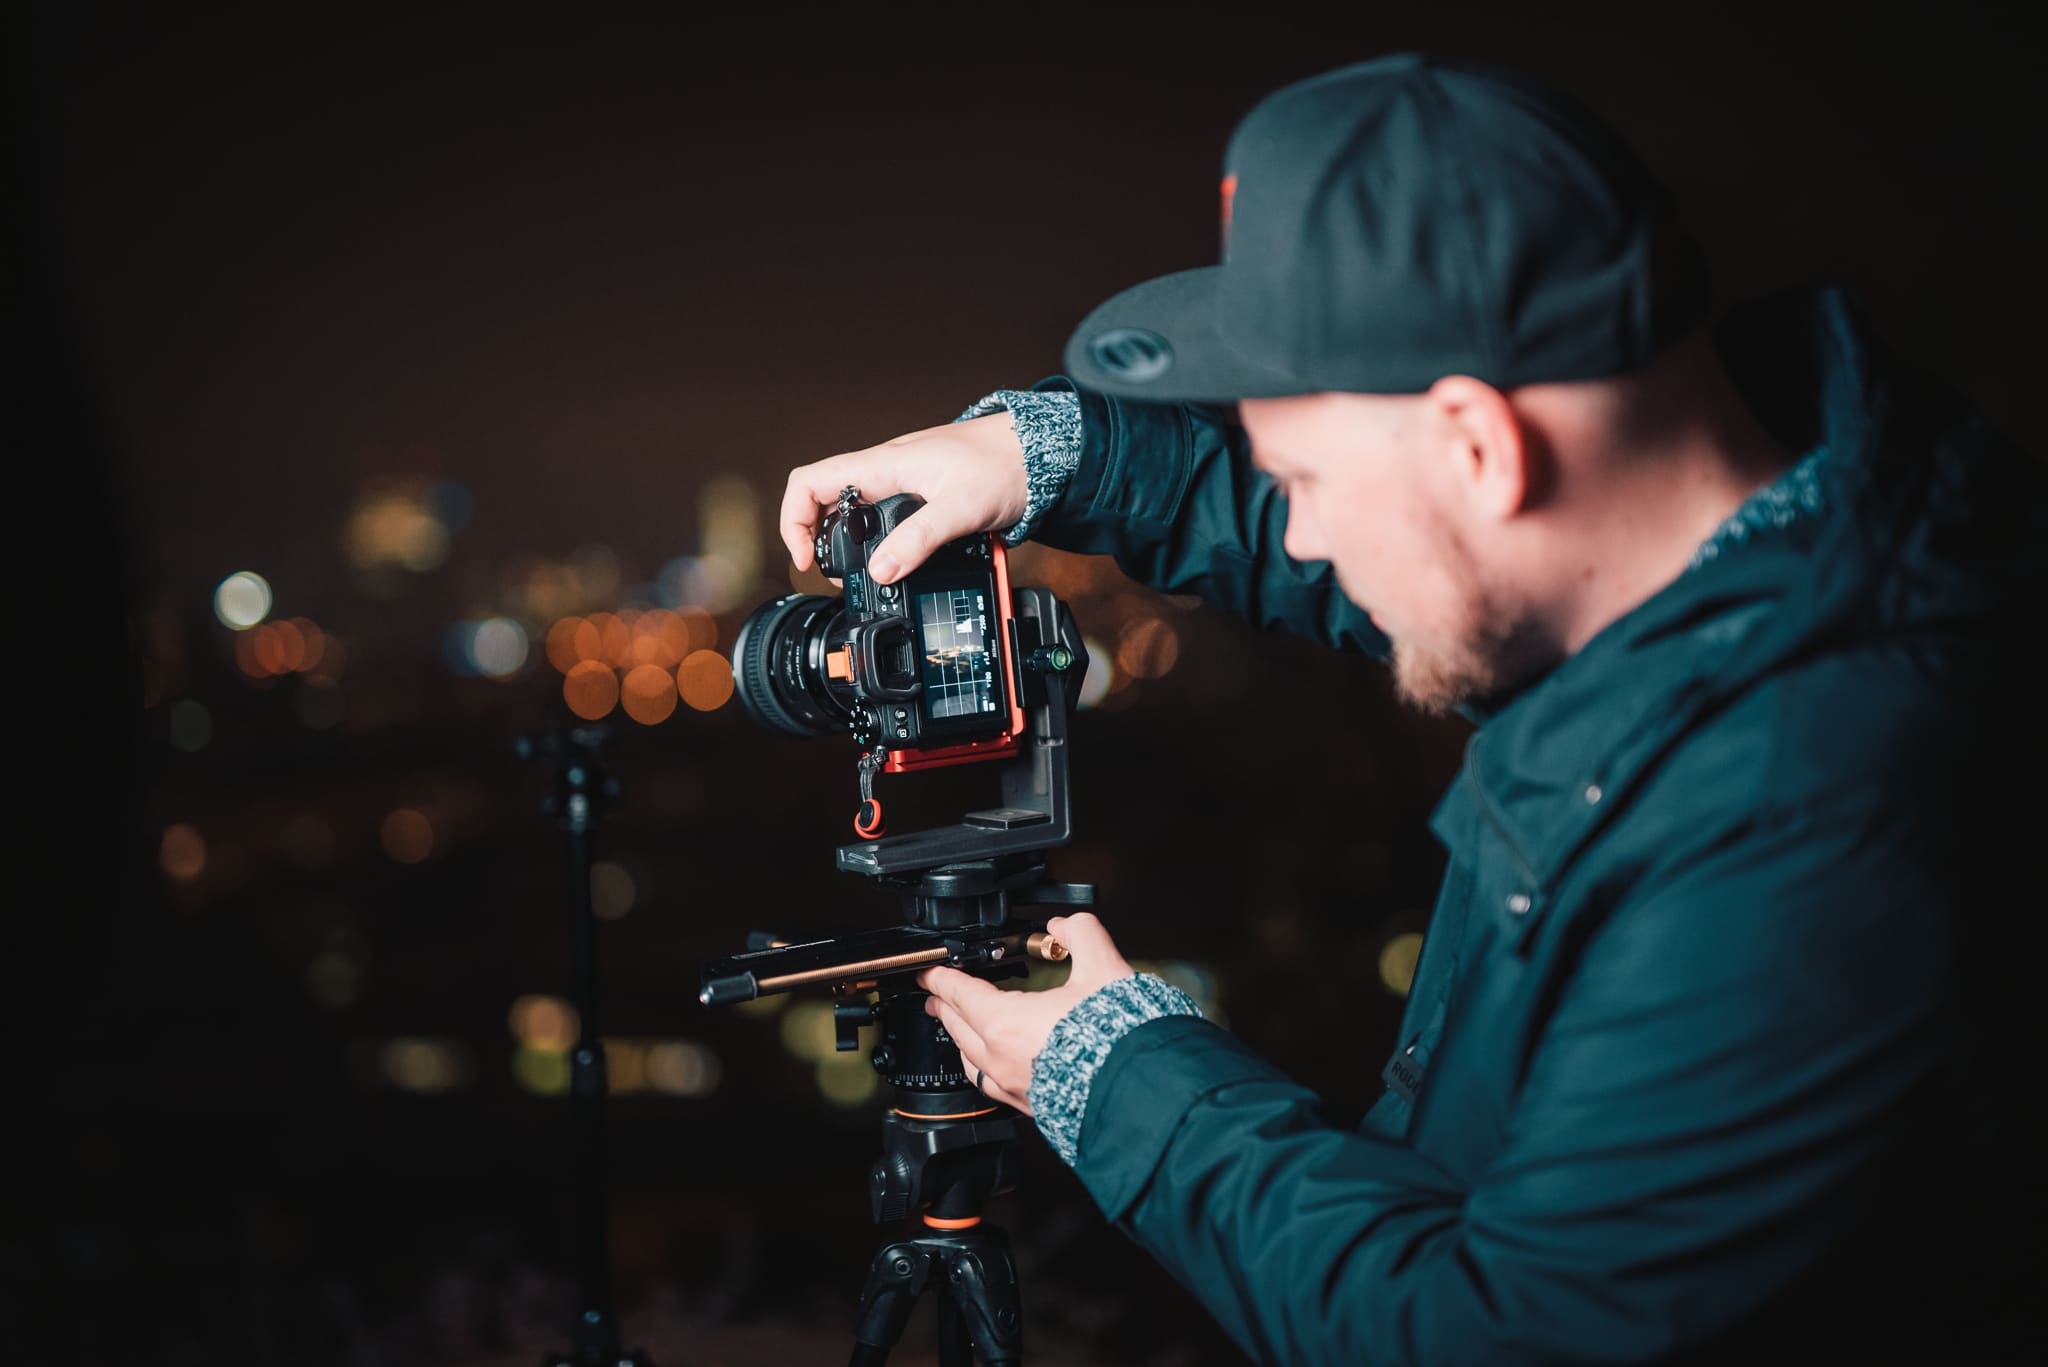
Use a similar concept to set the exact distance for leveling the tripod head. Place an object close to the lens (in this case, we used another tripod) and move the camera from the center of the head to the back, until the background moves relative to the object.

Which method should you choose?
Photographing panoramas hand-held is acceptable as long as the scene isn’t overly complicated and there is enough light. A tripod is sufficient in the majority of situations, even with worse light conditions. A panoramic tripod head can be useful for interior shots or landscapes where there is a close foreground and landscape and you require precise results.
Next, how to stitch together your panorama? Find out in our video Stitching together a panorama in Zoner Studio.
There are no comments yet.