Learn To Use External Flash Like a Pro
An external flash is a practical tool that many photographers buy early in their photography journey. It helps in situations where even the best lenses fall short and can save your shot when lighting conditions are poor. Let’s look at common uses for external flash and the best ways to set it up.
In this article, you’ll learn:
- The advantages of an external flash over your camera’s built-in flash
- How and why to bounce light off ceilings or walls
- How and when to use flash exposure compensation
- How to use flash outdoors as fill light
- What slow sync flash is and when to switch to second curtain sync
- How to use flash to keep your light natural and preserve the atmosphere
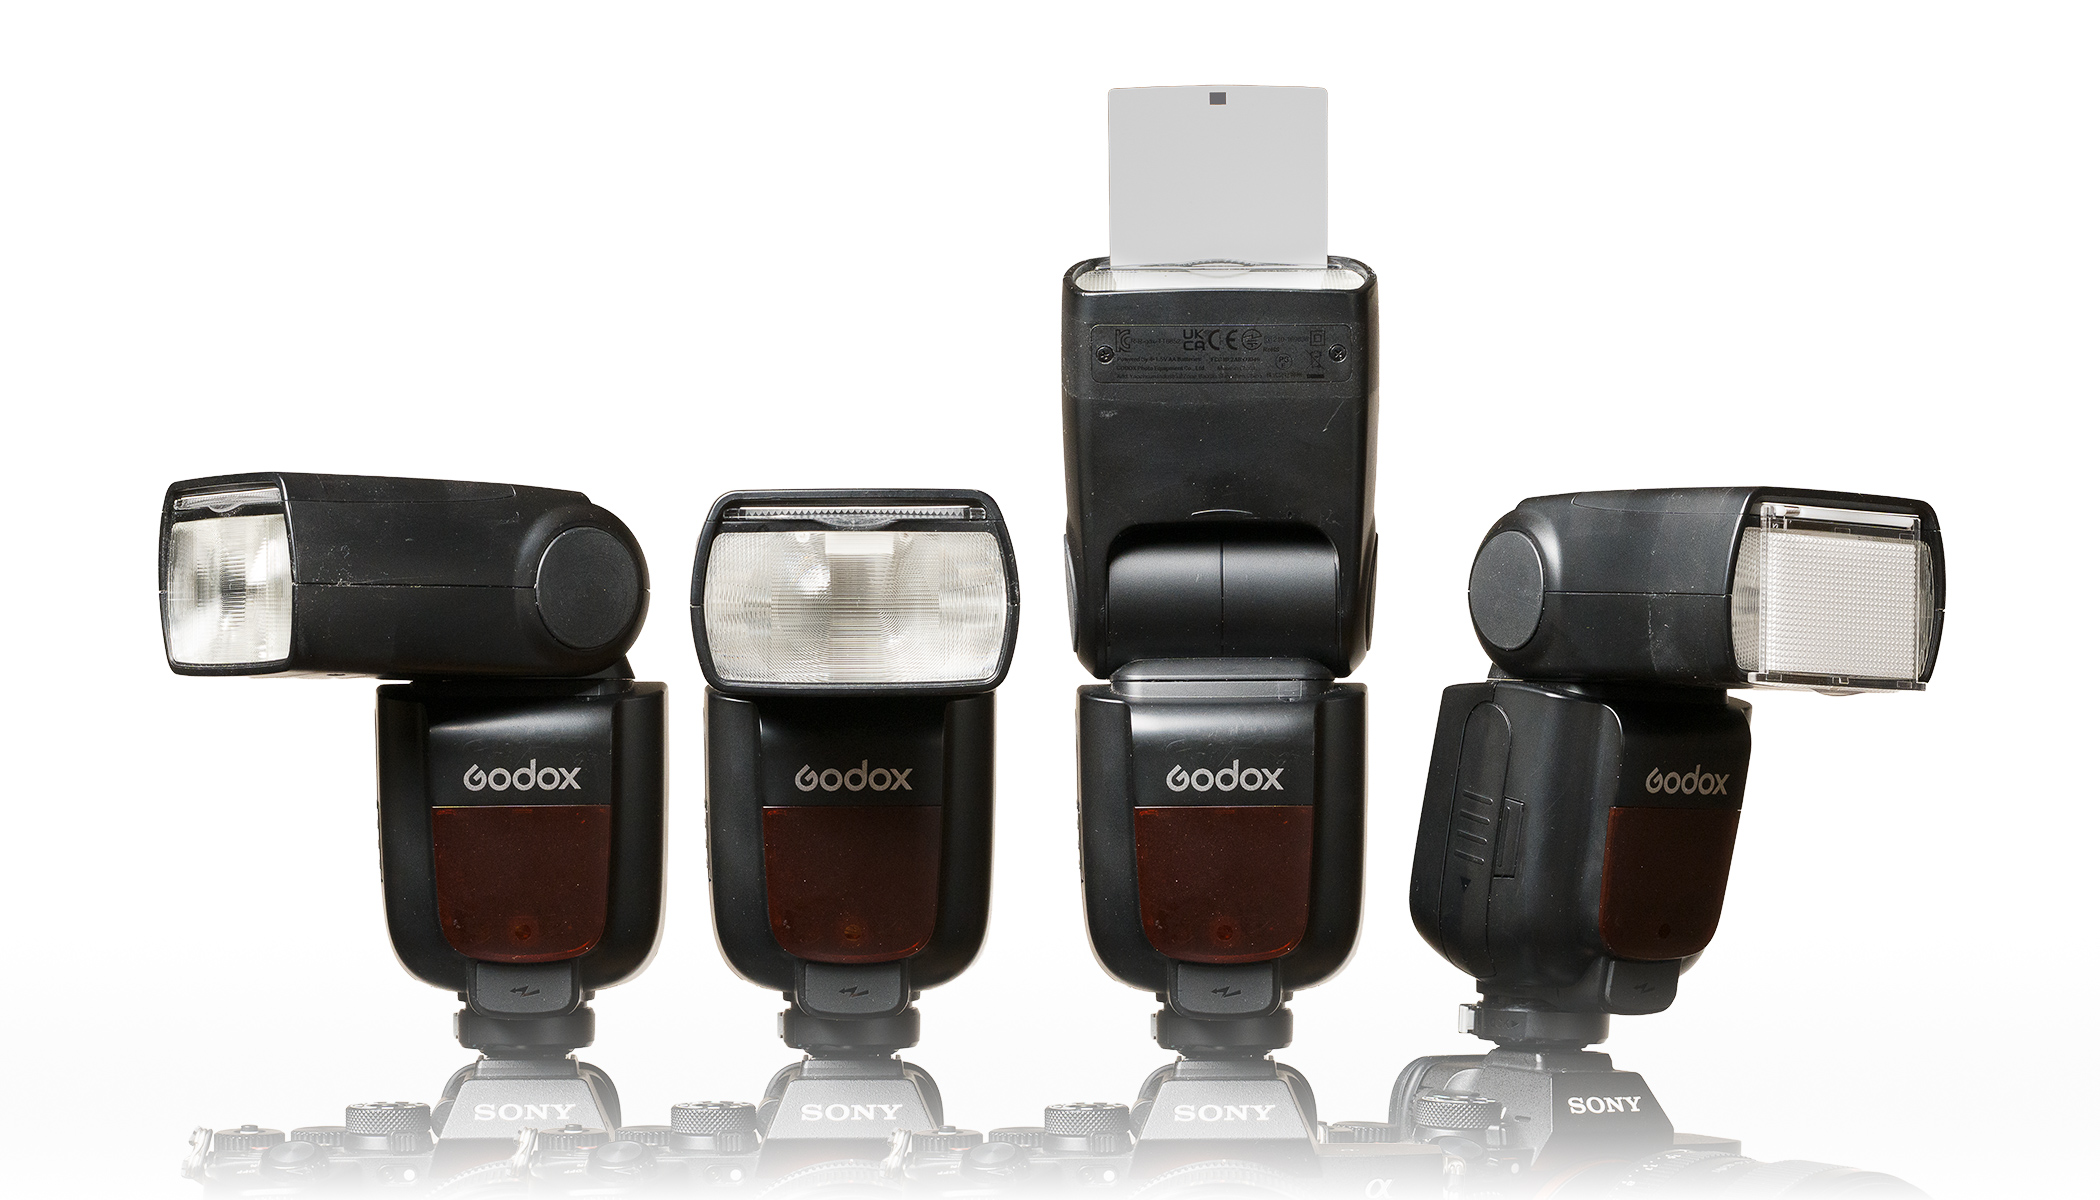
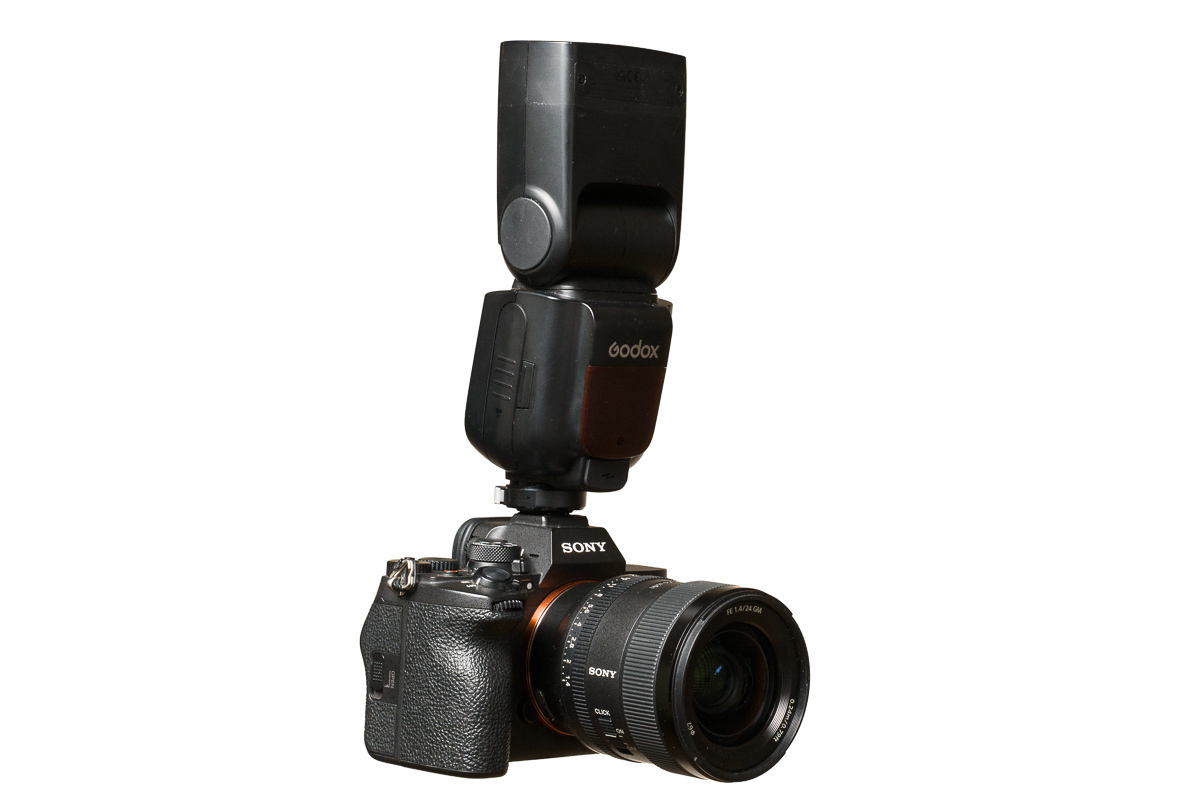
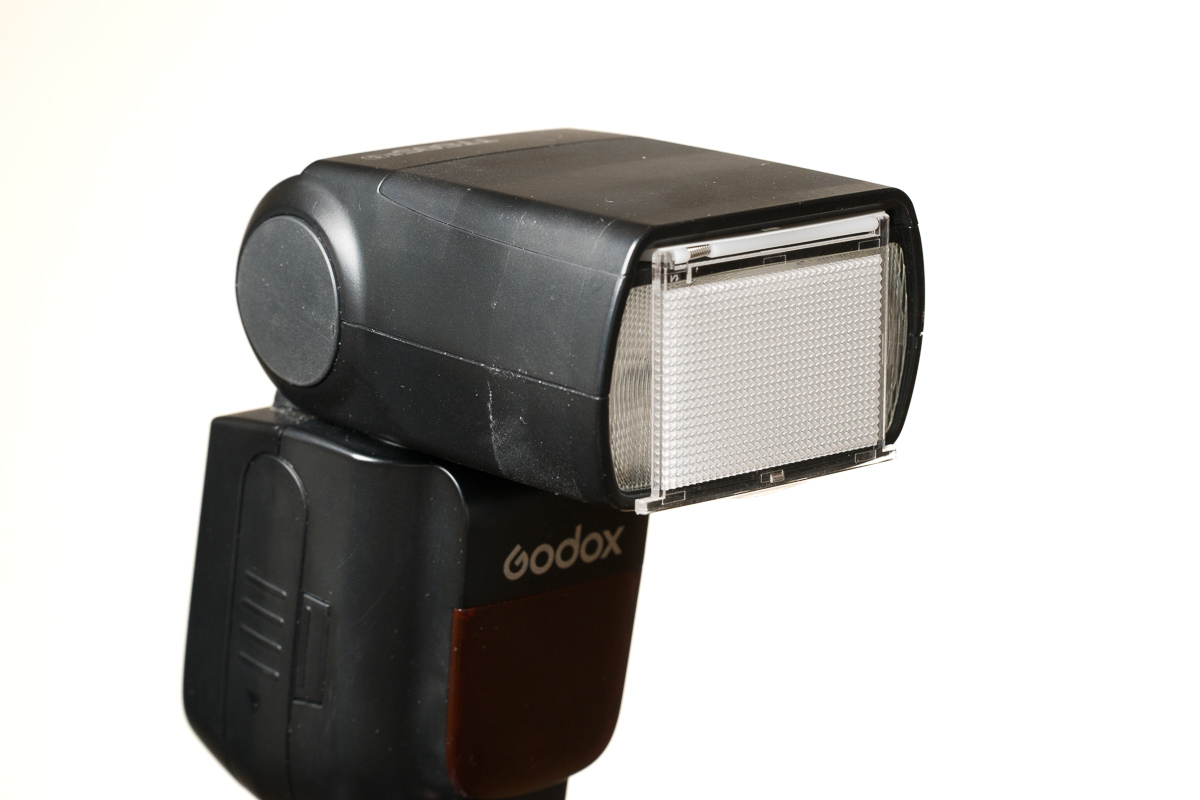
The small built-in flash on your camera can sometimes be useful, but attaching a larger flash for your camera’s hot shoe opens up a whole new range of creative options. It might seem like an expensive add-on—flashes from major camera brands are often pricey—but there are excellent alternatives from manufacturers like Godox or Yongnuo for a fraction of the cost.
Of course, it’s one more piece of gear to carry. So why is it worth the hassle?
Turn the flash upward
One of the biggest advantages of an external flash is that you can control the direction of the light. Indoors, the best target is usually the ceiling.
A powerful flash aimed upward bounces light off the ceiling and softly illuminates everything around it. Light coming from above looks far more natural than hard, direct flash pointed straight ahead.

For comparison, the same scene shot with the flash pointing forward looks much flatter:

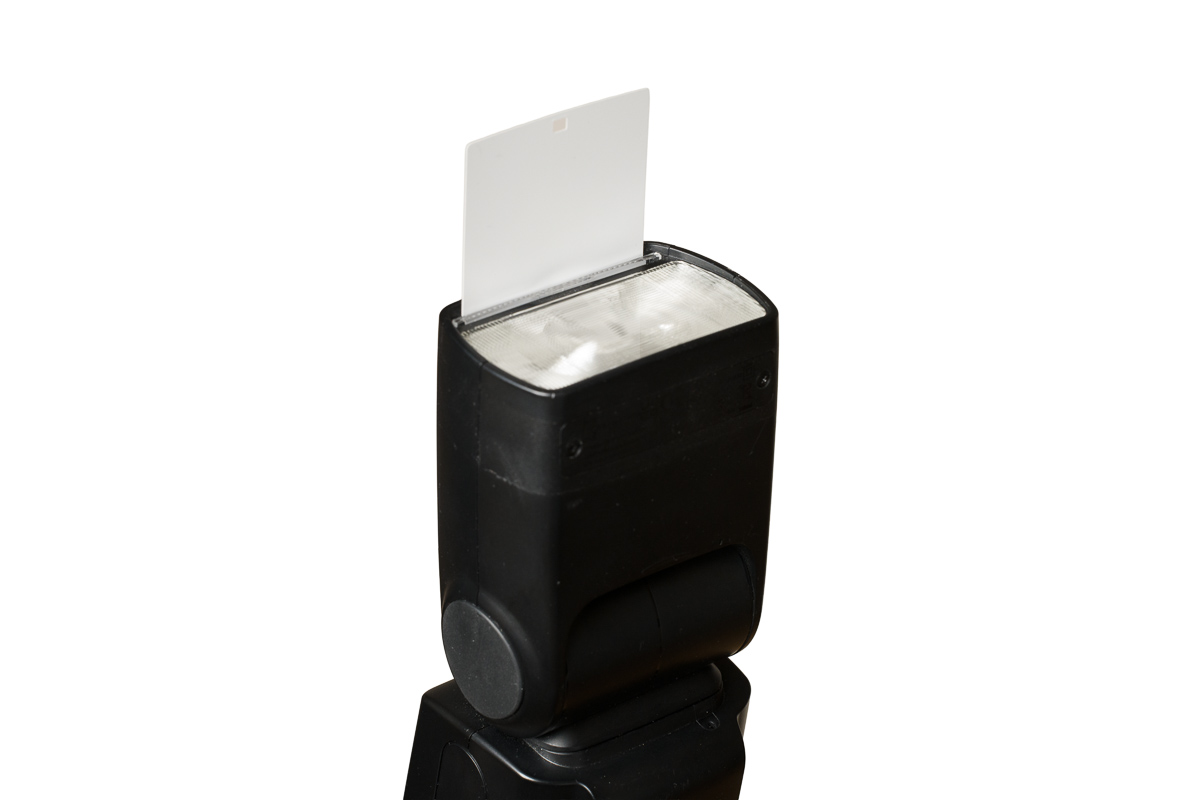
Bouncing light off the ceiling has one drawback: the lower part of the face can fall into shadow, and the eyes may lack sparkle. The solution is simple—use a flash reflector attached to the top of the flash, which redirects part of the light forward.

In addition to the ceiling, walls can also be used to reflect light.
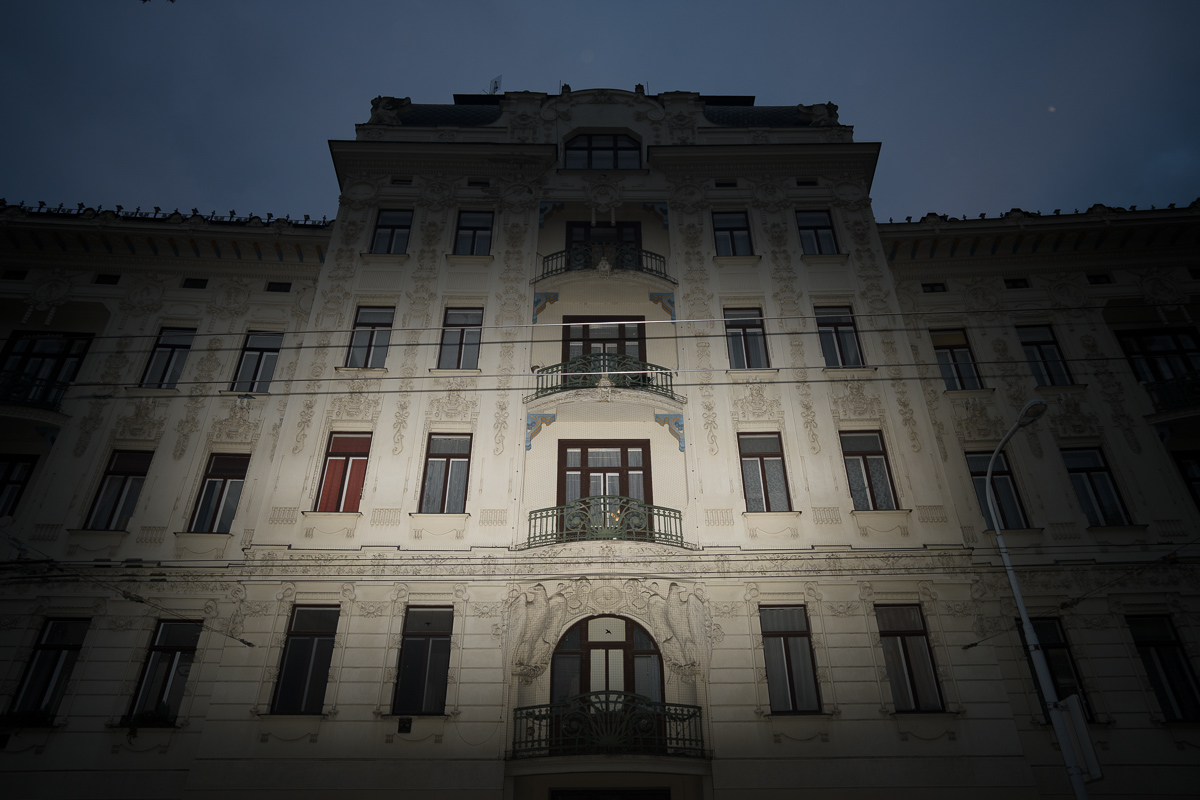
Preserving the atmosphere
The downside of flash is that it can sometimes overpower the existing light and wash out the atmosphere, like the colored LEDs at a party or the soft glow from a window.
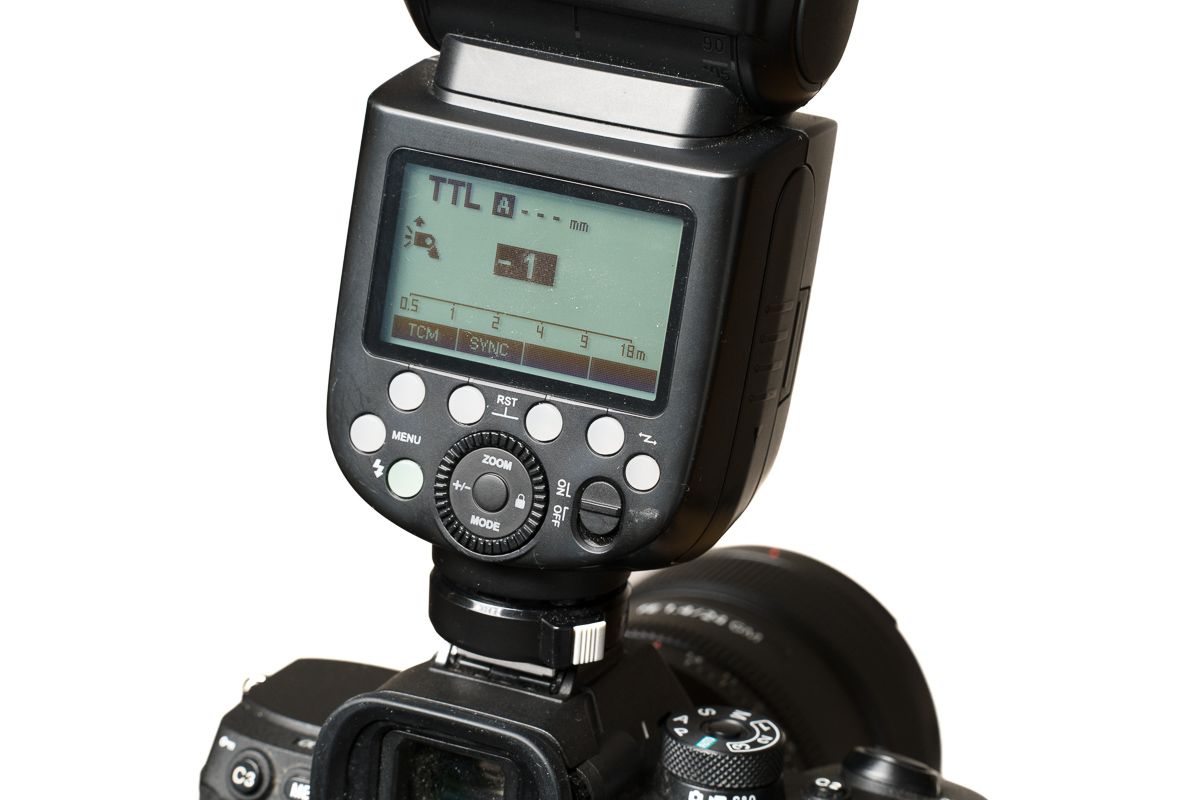
There are several possible solutions, and a good compromise is to simply reduce the flash power. Just as cameras offer exposure compensation, flashes have flash exposure compensation (FEC) on the flash itself.
The flash and camera work together to determine how much light is needed. The flash fires twice. First, a pre-flash a fraction of a second before the actual shot so the camera can measure light levels, and then the main flash at the calculated intensity.
You can lower the power of the second flash, for example by -1 or -2 EV, to create a more balanced and natural look.
Flash pointed forward
Sometimes you can’t bounce the light off the ceiling. Maybe it’s because you’re outdoors, the ceiling is too high, or it’s too dark to reflect any light.
In those cases, you can use the flash pointed forward. The result is flatter and less three-dimensional, but sometimes it’s better to have an imperfect photo than no photo at all.

Most external flashes also have a surprisingly long range thanks to the lens and built-in zoom mechanism in the flash head. The flash is synchronized to match your lens’s focal length. When you zoom in, you can hear the flash motor adjusting. As a result, all the light is concentrated in a much smaller space, which is just enough to cover the current angle of view.

By default, the flash automatically adjusts its zoom to match the lens. In the second image, however, it was manually set to the narrowest possible beam of light for illustration, without changing the lens’s focal length. Normally, the flash would make this adjustment automatically as you zoom in or out.
For ultra-wide shots, when the flash’s zoom coverage isn’t enough, attach a diffuser in front of the flash.
Fill flash
It might surprise you, but flash can also be useful on bright, sunny days. The subject is illuminated by the sun, and the problem isn’t a lack of light, it’s harsh shadows.
Fill flash brightens those dark areas without overpowering natural light. You can adjust flash exposure compensation to make the effect more subtle or more pronounced. Some cameras even have a dedicated fill flash mode you can enable in the menu.


With no flash, the shadows are dark, but a weak fill flash with a -2 EV can realistically lighten facial shadows in daylight.
If you’re shooting in bright light and need to use shutter speeds faster than your camera’s X-sync speed (usually around 1/200s), switch to high-speed sync. This allows shutter speeds up to 1/8000s, though with some reduction in flash power. The reasons for this are quite technical and are described in another article about flash.
Using slow-sync flash
You may have noticed that it’s difficult to illuminate objects at different distances using flash. This is because flash power is calculated for one object, and the light quickly fades with increasing distance. That’s why, when working with flash, you might find that you have bright subjects in the foreground and dark backgrounds.
The solution for this issue is called slow sync flash. The trick is to use a longer shutter speed to capture enough ambient light. It doesn’t matter if this means shutter speeds that aren’t possible handheld (like ½ second instead of the usual 1/100s). The background may be slightly blurred by the movement of your hands, but the flash freezes your main subject, keeping it sharp.
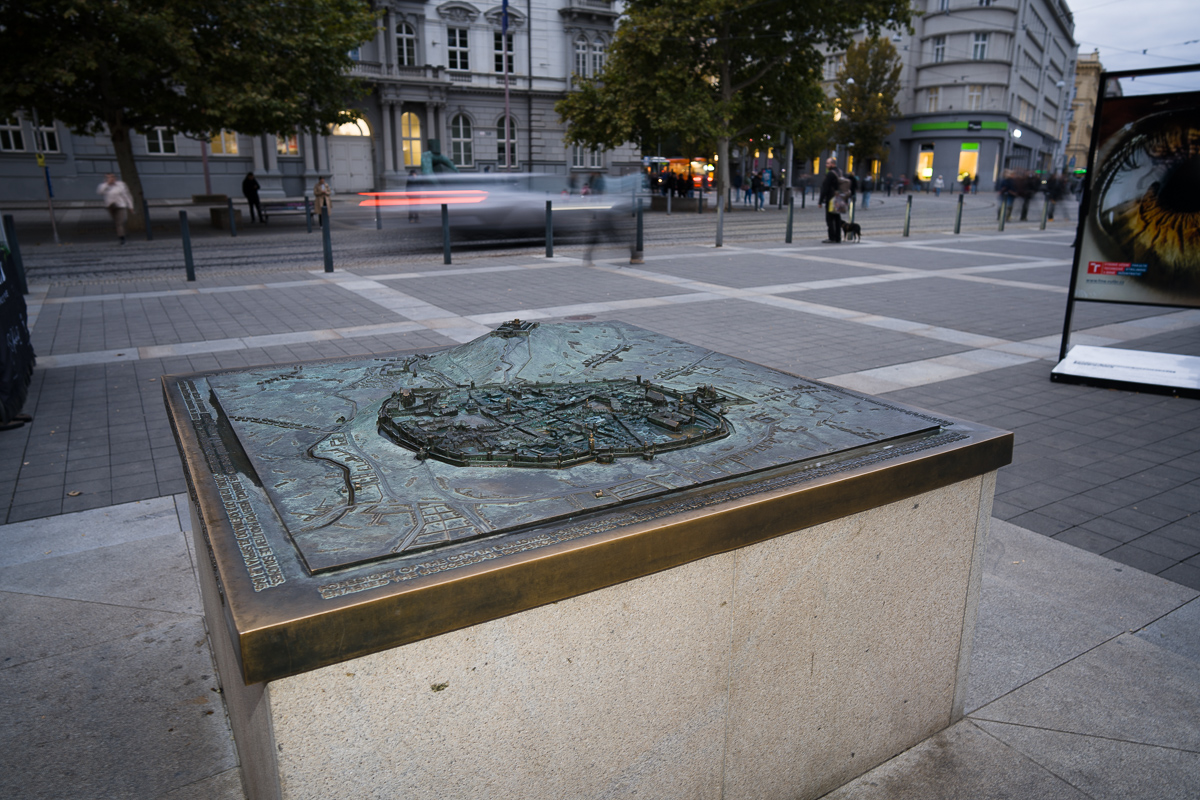
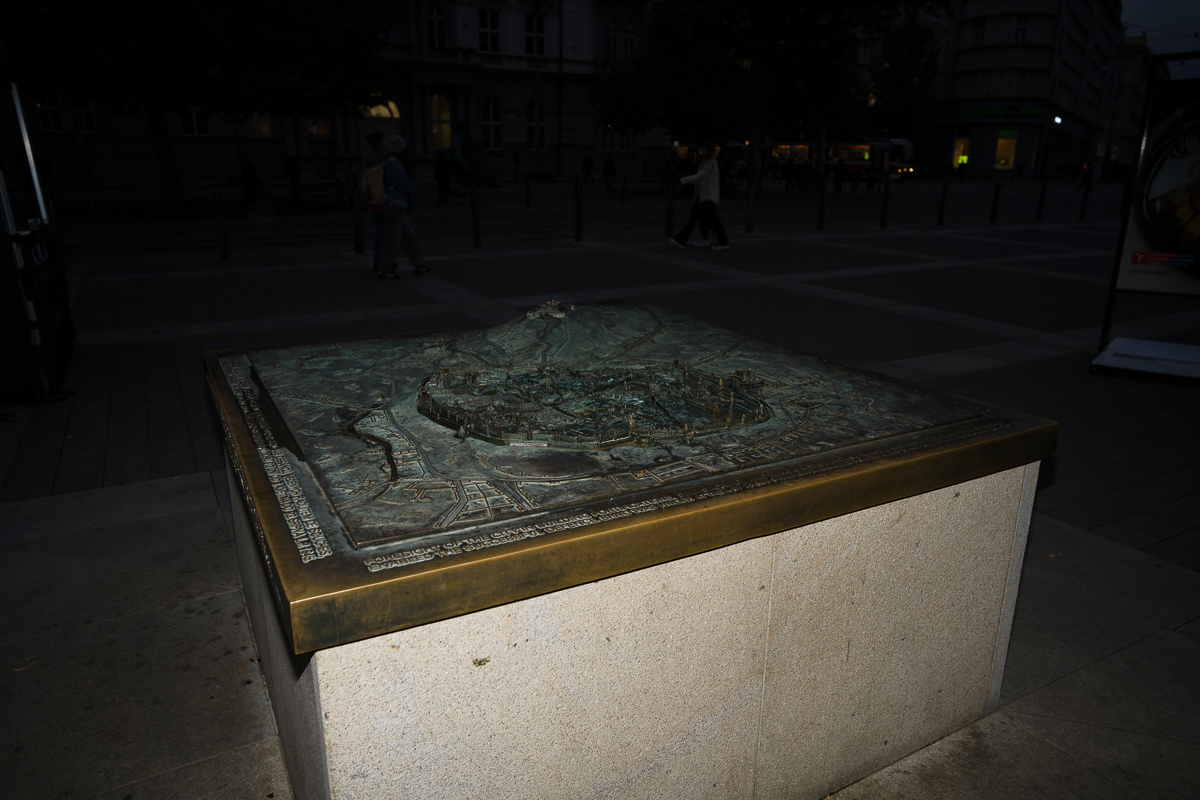
With slow sync in the first shot and a shutter speed of 0.5 seconds, the background remains visible where the flash can’t reach. With a short exposure of 1/60s (and the same ISO and f-number), the background disappears into darkness.
Creative uses of slow sync
Sometimes, motion blur caused by long exposures can enhance a photo. It lets you create photos that are not just a reflection of reality, but bring something new. It’s mostly used when you want to show movement with both the action-blurred phase and a sharp subject.
However, there’s a catch. Look at the image below:
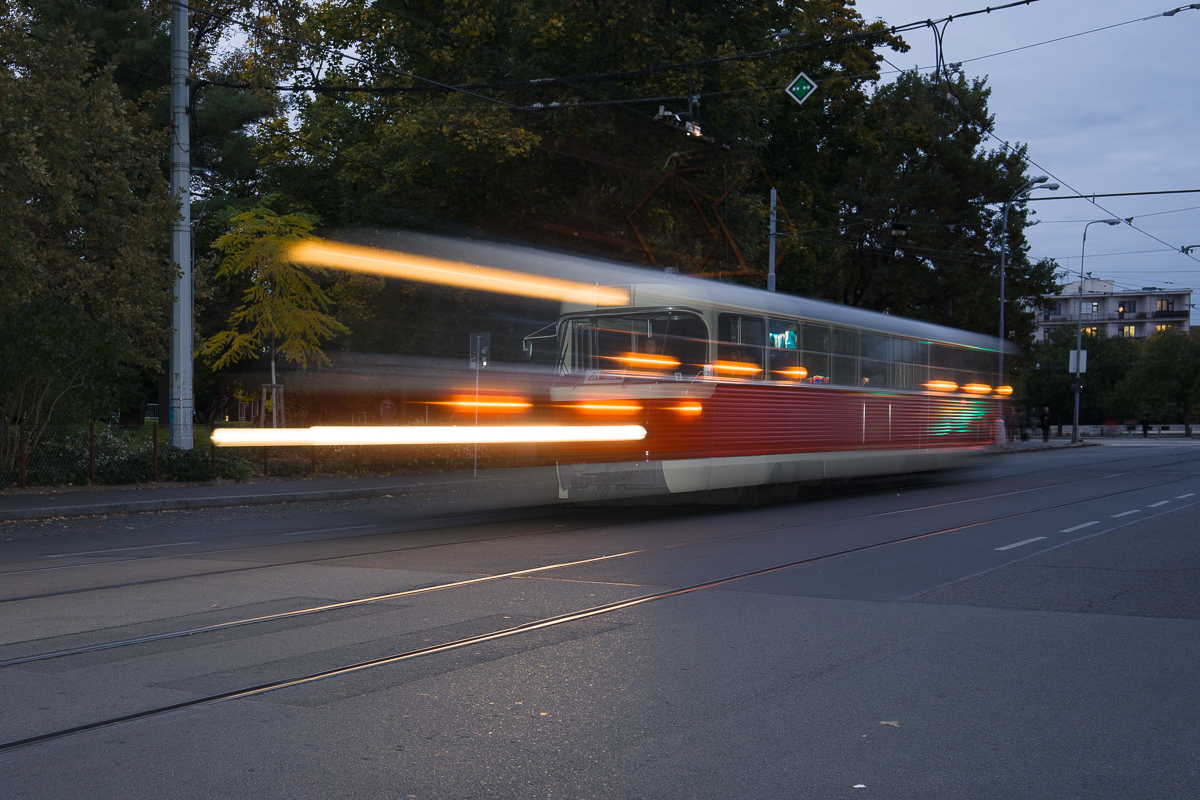
The effect is nice, but it looks like the tram is moving in the wrong direction. What happens is that during a long exposure, the flash fires first, and then light is collected from the surroundings. It would be great to reverse the order, and that’s exactly what happens when you use second curtain sync, also known as rear sync. It can sometimes be found in the camera menu or directly on the flash body.
The result looks more natural:

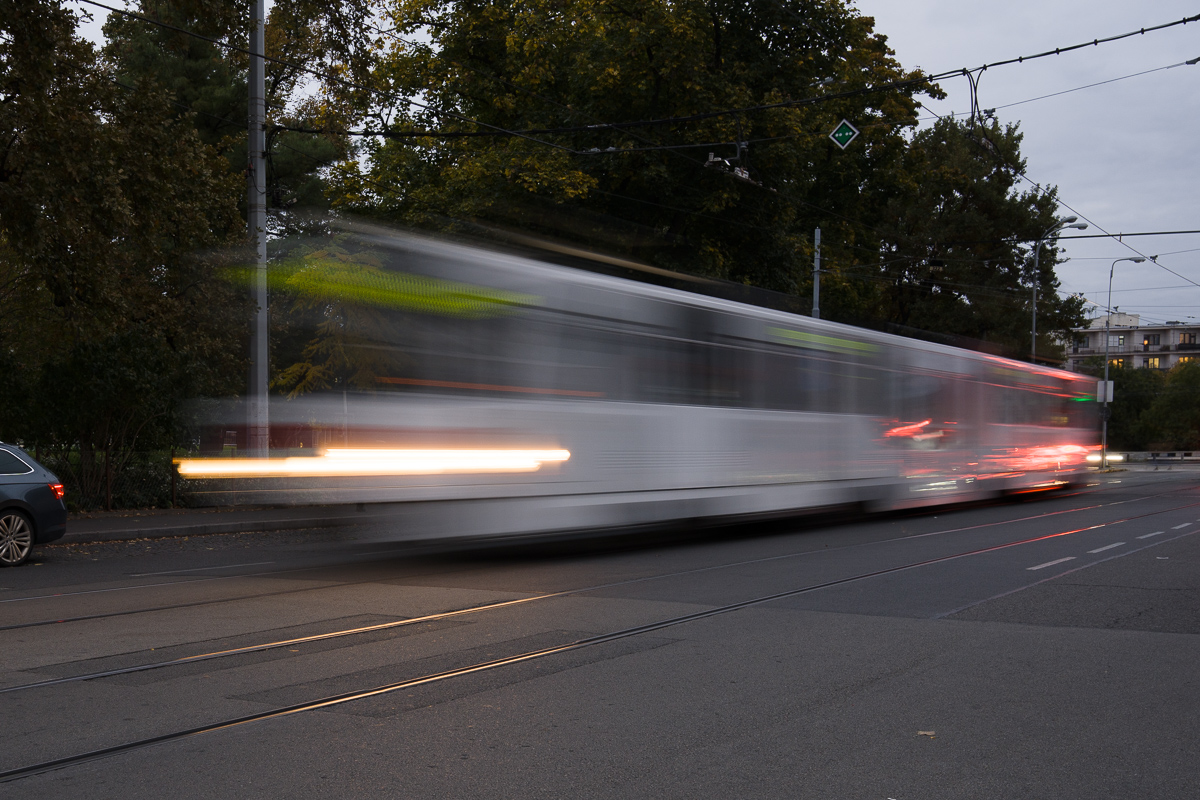
For comparison, here’s the tram without flash, which is blurred beyond recognition:
Help in challenging situations
By now, you should have a good sense of how an external flash works and what to expect from all its functions. Understanding these basics can help you handle even difficult lighting situations with confidence. However, this is just the beginning. Advanced photographers can take the flash off the camera entirely, trigger it remotely, and use a variety of light modifiers. But that’s a topic for another article.
FAQs about external flash
Do I need an expensive flash from my camera’s manufacturer? No. There are reliable alternatives on the market, like Godox or Yongnuo. These offer similar performance at a lower price. It’s important to check compatibility with your camera.
What should I do if I can’t bounce the flash off the ceiling? Point the flash forward or bounce it off a white wall, reflector, or portable diffuser to help soften and diffuse the light.
How do I use flash outdoors? Use it as a fill light. This helps brighten shadows on the face or body, even if the scene is shot in bright sunlight.
What is slow sync used for? You can use slow sync to combine flash with longer exposures to capture ambient background light, ideal for evening or low-light scenes.
What is second curtain sync? The flash fires just before the end of the exposure. This ensures that motion blur trails are in the right direction and the resulting photo looks more natural.
There are no comments yet.