Learn What Exposure Is and How It Shapes Your Photos
I’m sure you’ve heard the word exposure. But you might not be sure that you know what it means. And if you’re unsure, this article is for you. A photo’s success depends on many different things—such as light conditions during the shot. But it also depends on correct camera settings, and especially the three exposure settings: time, aperture, and ISO. You, the photographer, need to choose values that both give you correct exposure (how dark or light the photo is) and help you express what you want to express. These settings affect your expression because they influence how time and space are recorded in the photo.
Exposure
The word “photography” comes from the Greek words for drawing and light. Meanwhile exposure is the control of light. So good exposure is the cornerstone of good photographs. At any moment, there is a certain amount of light shining onto a scene. To create a picture, that light needs to be captured by the light-sensitive cells in your camera’s digital sensor. If the sensor isn’t getting enough light, then you get a dark, underexposed picture. Meanwhile in an overexposed picture, the sensor’s light-sensitive cells are getting too much light. There’s a limit to how much light each cell can record. With too much light, a wide range of brightnesses all hit that limit and thus all look the same, reducing detail.
The Basic Exposure Parameters: Aperture and Time
The two most basic exposure settings affect how much light hits the digital sensor. They are aperture and shutter speed (time). In the cameras that are widely used today, the aperture is located in the lens. The aperture regulates the flow of light through the lens. This works practically the same as the tap in a water line. The more you open a tap, the more water flows out the faucet. Likewise the more you open the aperture on a lens, the more light flows through it.
The other basic exposure setting is shutter speed. That is, the amount of time during which the light is flowing through the lens and can hit the sensor’s light-sensitive cells. That can be anything from hundredths of a second to dozens of seconds.
You can think of the individual light-sensitive cells as rows and rows of empty glasses that can be filled. In the places where the scene is dark, they’ll be filled with less water and in the light places, they’ll be filled with more water. The ideal is to set the flow rate (the aperture) and the flow time (the speed) so that even in the darkest places the glasses are filled at least a little, and even in the lightest places they don’t overflow. To achieve this, you’ll need to have a scene with only as much “dynamic range” as your camera can handle.

Dynamic Range
The dynamic range of a photographed scene is the difference in brightness between its darkest and lightest parts. It can be expressed as Exposure Value, or EV, with +1 EV meaning double the amount of light contained in 0 EV and -1 EV meaning half the light in 0 EV.
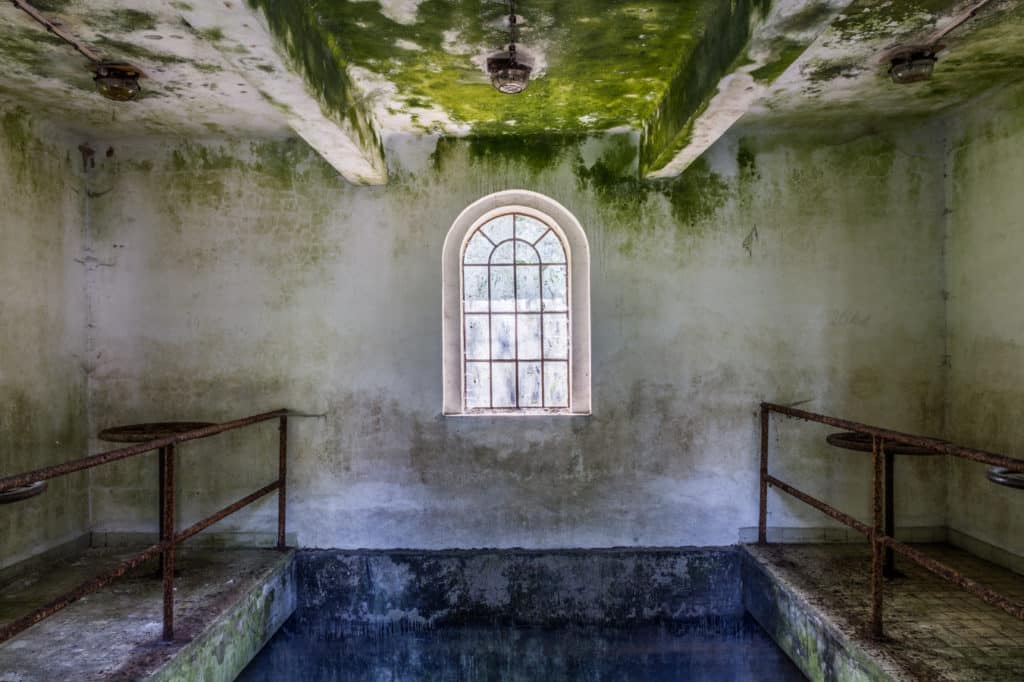
The dynamic range that can be expressed in a JPEG-format image (the standard format from a camera) is roughly 6 or 7 EV, while the real dynamic range of a scene on a sunny day tends to be larger. So if your camera allows it, it’s good to shoot to the RAW format. Your camera’s sensors probably aren’t a problem here—modern cameras can capture scenes with a large dynamic range. With a RAW, you can use post-production on a computer to draw detail out of the shadows and the lights that would be lost if the picture had been taken straight to JPEG.
Heard About HDR?
HDR, High Dynamic Range, is a technique that enables you to capture scenes with a higher dynamic range than your camera, or the JPEG format, could normally handle by taking several shots of the same scene with different exposure settings. These shots are then joined, in a digital darkroom, into one final picture with standard dynamic range. That lets you print or view a picture with a greater dynamic range than what the paper or monitor could normally show.
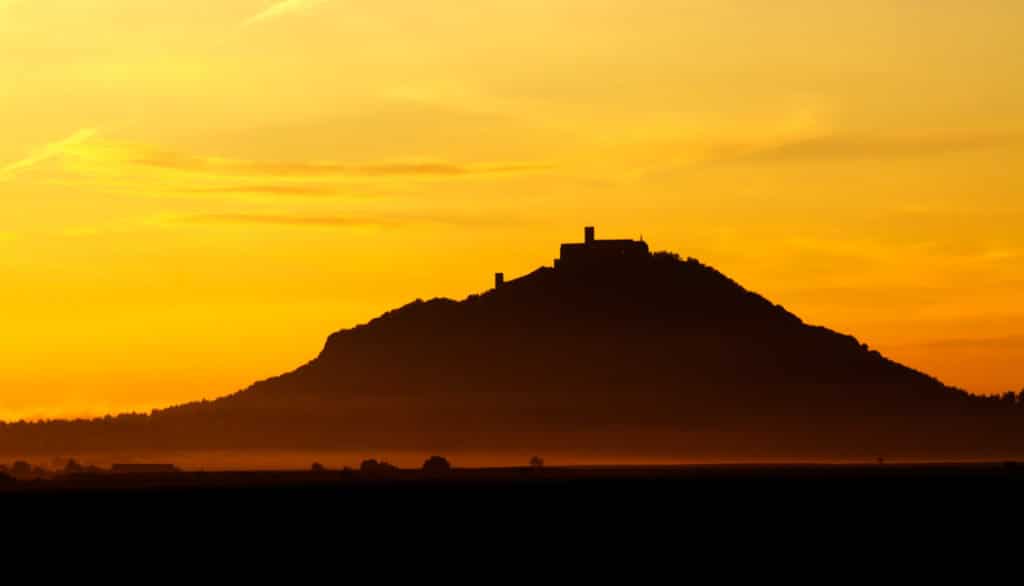
Typically you’ll need to evaluate the scene and decide which part of the dynamic range you are willing to lose in the final picture. It’s best to use an exposure that ensures that the picture’s subject is exposed correctly. A classic example here is portrait photos taken against the light, under the sky. If you take the whole scene into account in the exposure, then the final picture will have a properly exposed sky, but instead of a portrait, you’ll be photographing a silhouette. That’s because the sky occupies more of the scene than the subject, and so it has a greater effect on the exposure metering. Here you need to give up on the details in the sky, and expose based on the subject.
For this particular scenario you may want to reduce the scene’s dynamic range by adding a light source to brighten the subject. You may want to go for an artificial light source like a system flash, or you may choose natural light reflected onto the subject using e.g. a reflector sheet. Similarly in e.g. nature photography you can reduce a scene’s dynamic range by using a neutral density filter placed on the lens, which reduces the inflow of light.
Technically Correct Exposure
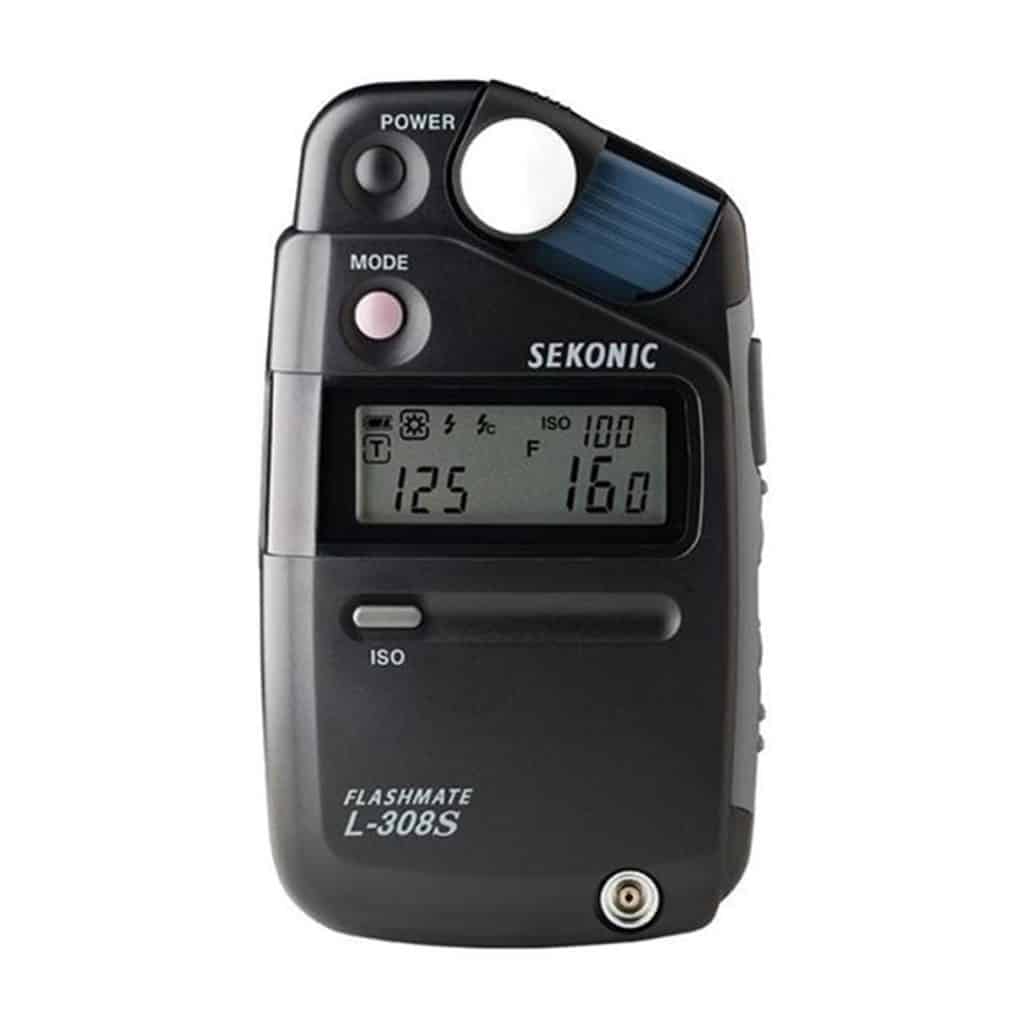
For technically correct exposure, use an exposure meter. Sophisticated meters can directly measure the amount of light in a scene. You simply measure the amount of light near the subject and then adjust exposure settings based on that. Exposure meters are relatively expensive, typically several times as expensive as an ordinary compact. Because of this you’ll probably be settling for the exposure meter built into your camera. This kind of exposure meter can’t directly read the amount of light in a scene, but it can detect the amount of light reflected by the scene into the camera’s lens. We’ll be covering exposure meters in more detail in a future article.
Creative Exposure
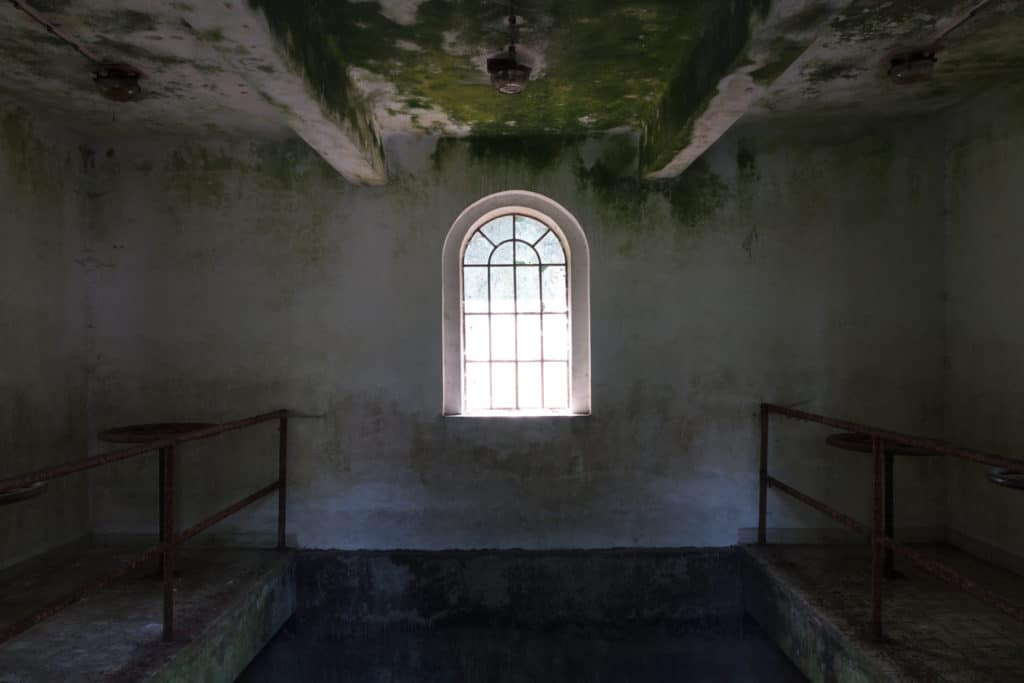
Technically correct exposures are not always the best kind of correct. If you try to capture a candle flame in the darkness but there is quite a bit of ambient light around it, then a technically correct exposure will capture both the flame and its surroundings. For that situation you want to go with some deliberate underexposure, setting an aperture and speed that prevent the relatively weak ambient light from being captured, while the shining candle flame is properly exposed.
In a future article we will cover aperture and exposure time in detail. You’ll see how different time and aperture combinations can be used to achieve the same technically correct exposure. But each such combination gives the photographed scene a different feel, and so your choice of exposure settings will depend on your creative goals.
The Third Exposure Setting—ISO
Aperture and time are enough for basic exposure control. They directly affect the amount of light falling on the digital sensor. Only turn to the third exposure setting—ISO—when there’s otherwise not enough light in the scene to get the exposure you need.
Setting a higher ISO won’t bring more light onto your sensor, but it will make the camera multiply the light that falls on the sensor. The disadvantage of this is that when you set a higher ISO, it’s not just light that’s multiplied. It also multiplies the amount of digital noise recorded in the light-sensitive cells. The smaller the light-sensitive cells in the digital sensor, the less light information reaches them, and the smaller the ratio between recorded light and recorded noise. Thus small sensors are much more likely to produce noise at high ISO than large sensors with their larger light-sensitive cells.
From this it should be clear that manufacturers’ efforts to jam large numbers of light-sensitive cells onto small sensors are nonsense. An 8 MPx camera is already enough to give you a high-quality A3 or Tabloid print. Meanwhile as the pixel count grows, the amount of digital noise also significantly grows, and no detail is added. In fact, detail is actually lost, due to the camera’s built-in denoising function, which works by blurring the picture.
So always try to use your camera’s lowest ISO setting when you can. In most cameras that will be ISO 100 or ISO 200. Only raise the ISO if you need to. On the other hand, don’t be damagingly afraid of digital noise. It’s always better to have a photo with some noise than one that’s blurry due to a too-long exposure.
Want to Learn More About Exposure? Read our other articles on this topic:
Discover the 3 Keys to Good Exposure: The Exposure Triangle
Discover the Three Keys to Good Exposure: ISO
Mastering Colors in Photography: White Balance
Andrew
A useful article …. bad grammar though
Erik Piper - Zoner Software Customer Support
Hello Andrew,
Could you list some specific sore spots that we can fix? We’ll be pleased to jump in and improve them.