Light Painting: How to Do It and What You’ll Need
Even with primitive props, you can take photographs with a look that’s beyond the everyday. Give it a try and stop worrying for a bit about how to capture what’s in front of you—you’ll just be thinking about how to create a picture. You simply need to wait for night and light up your phone, a headlamp, or flashlight, or just anything you have at hand. And the fun can begin!
There’s more than one way to do light painting—small-scale and large-scale, and in a variety of places. Maybe you’ll try it when you’re stuck at home, maybe you’ll try it somewhere outdoors near your home or far away. There’s always a solution. Let’s take a look at the variety of possibilities that light painting has to offer.
What Is Light Painting?
Normally in photography you’re trying to get everything sharp and produce a frozen imprint of a given moment in time. In light painting, although the camera is static, someone—often the photographer themselves—is moving around in front of the lens with a light in their hands and trying to “paint.” The picture then depicts that trail of light.
Canon 5D Mark IV, Canon EF 24-70/2.8 II, 10 s, f/11, ISO 100, focal length 44 mm.
The use of very long exposures is typical here, with 10 to 20 seconds being entirely common. That means everything has to be done in a dark environment so the whole picture doesn’t become “blown out” during that time, leaving you with the whole picture pure white. Theoretically you could also do light painting under daylight and keep it all dark using an ND filter, but the filter would then also darken the light you’re using to draw with. Unless you’re holding a seriously powerful lamp, the light would practically disappear in the final picture.
Because of this, you’ll ideally want to shoot in a darkened room or outdoors after dark.
The darkness lets you move around in front of the camera without being visible in the image. You’ll only become visible if you stop for a long time or shine a light on yourself. Otherwise, the extremely strong motion blurring will essentially make you invisible.
What You Need for the Shoot
A camera and a tripod or other support are the foundation. Then all you need to do is find a light source. The weirder the better! Everything’s an option—from bike lamps to Christmas lights to LED elements of every kind to phones—unless you need the phone for taking the pictures!
Before you start, make sure you know how to handle your camera’s manual mode. In this situation manual mode is best, because light painting rarely works out right the first time, which means you’ll need to repeat it. And during these repeats, you’ll appreciate having your camera settings stay the same. Typically you’ll use the lowest ISO you can, a high f-stop, and whatever exposure time you need. For my pictures, I hovered around ISO 100, an f-stop of f/11, and a time of 4 to 30 seconds.
If you’re going to be both the photographer and the light-painter, shooting with a delay will come in handy. A few seconds of delay after pressing the trigger will let you reach the right spot and get ready. If someone else will be doing the light-painting—or taking the pictures—this delay falls away.
Go for It!
The most direct method is to place the camera on a tripod, aim it at a blank wall, and stand in front of it. You’ll typically be shining your light straight into the lens. Move it around in the air to produce any shape you need. After a few tries, you’ll be able to produce even complicated shapes, such as the text below. For the spaces between the strokes, it was faster to hide the light with my hand than to turn it off and back on again. I’ll note that I also wrote the text in what was, from my standpoint, the normal direction, and so it was mirrored in the picture, and I had to flip it around later on my computer.

Canon 5D Mark IV, Canon EF 24-70/2.8 II, 30 s, f/16, ISO 100, focal length 50 mm.
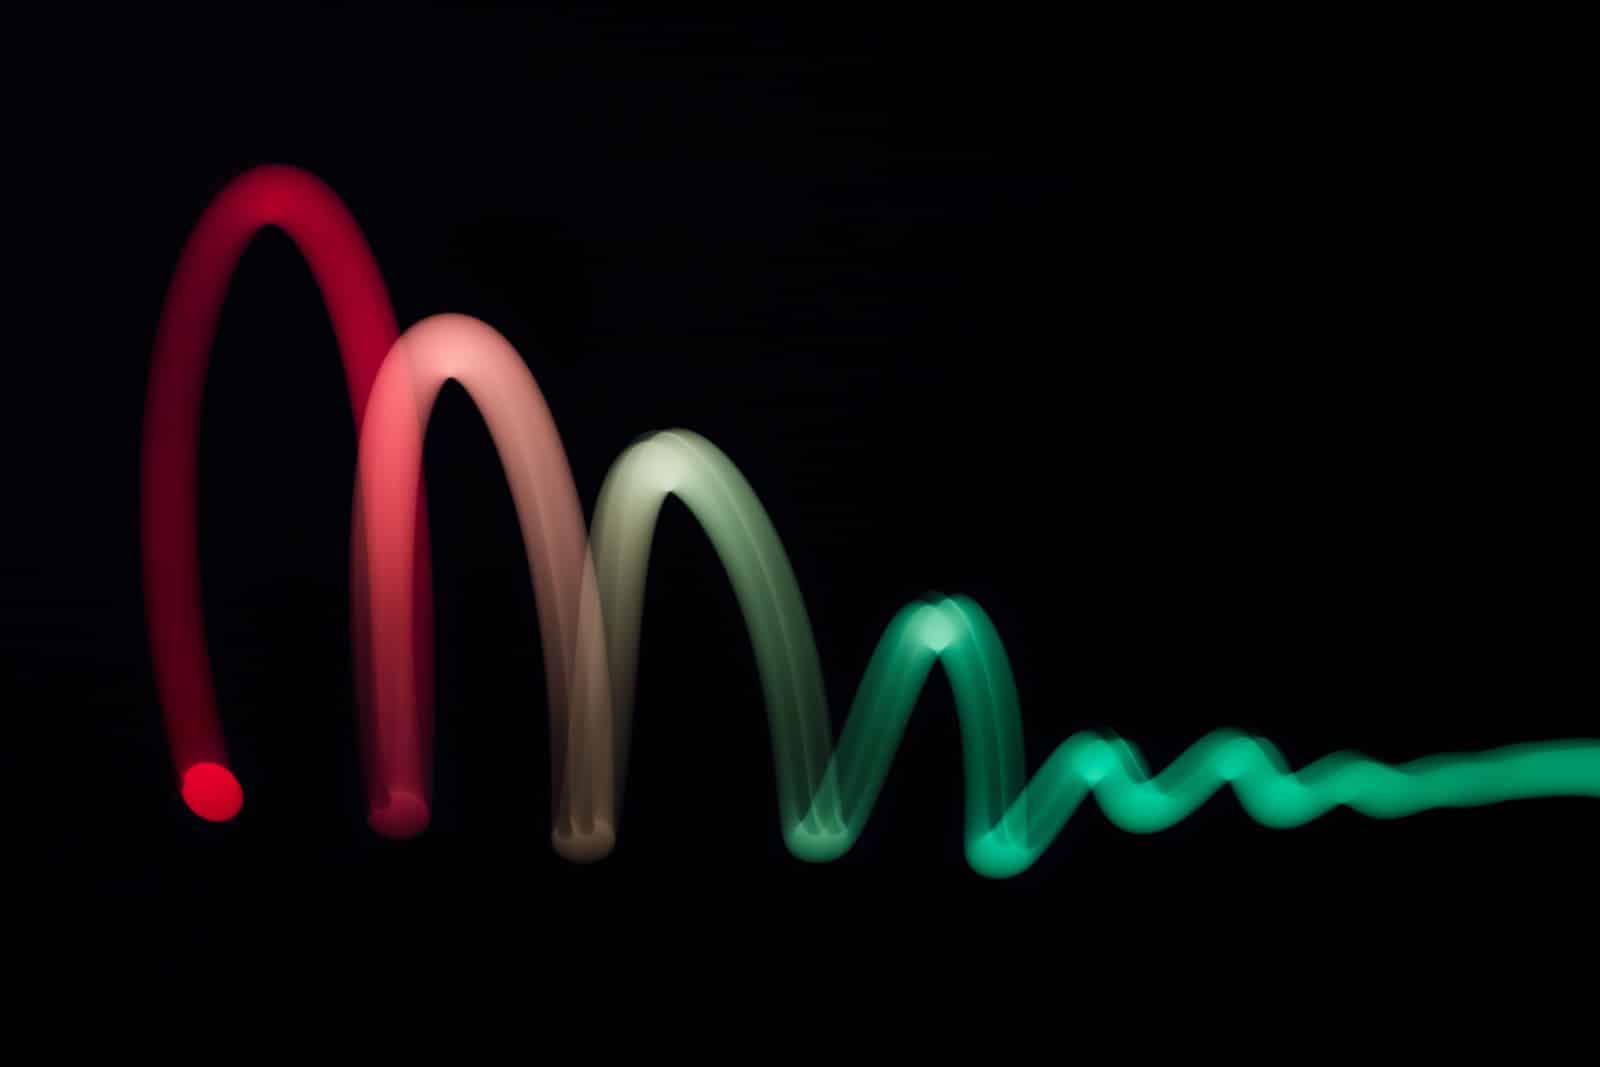
You can use a phone in a similar way; I’ve used an Android phone with the Light+ app installed on it. There are many similar programs out there, but what I liked about this one specifically is that it offers a simple way to draw a circle whose color gradually changes. So all of the colors are added to the picture one by one as you move the phone around.
Canon 5D Mark IV, Canon EF 24-70/2.8 II, 10 s, f/11, ISO 100, focal length 39 mm.
Going Beyond Flat
In the previous examples, the light painting was on a “surface,” as if I were drawing on a piece of paper stretched in the air. But precisely the lack of a real-world surface lets you move around in space and make use of perspective. I produced the picture below by starting outside of the frame right next to the lens, taking three steps away from it, and then back, ending up on the other side of the camera. I then repositioned my phone slightly and tried it all again along a different trajectory. I had time for four of these “runs” during a twenty-second exposure.

Canon 5D Mark IV, Canon EF 24-70/2.8 II, 20 s, f/13, ISO 100, focal length 39 mm.
Stranger Things
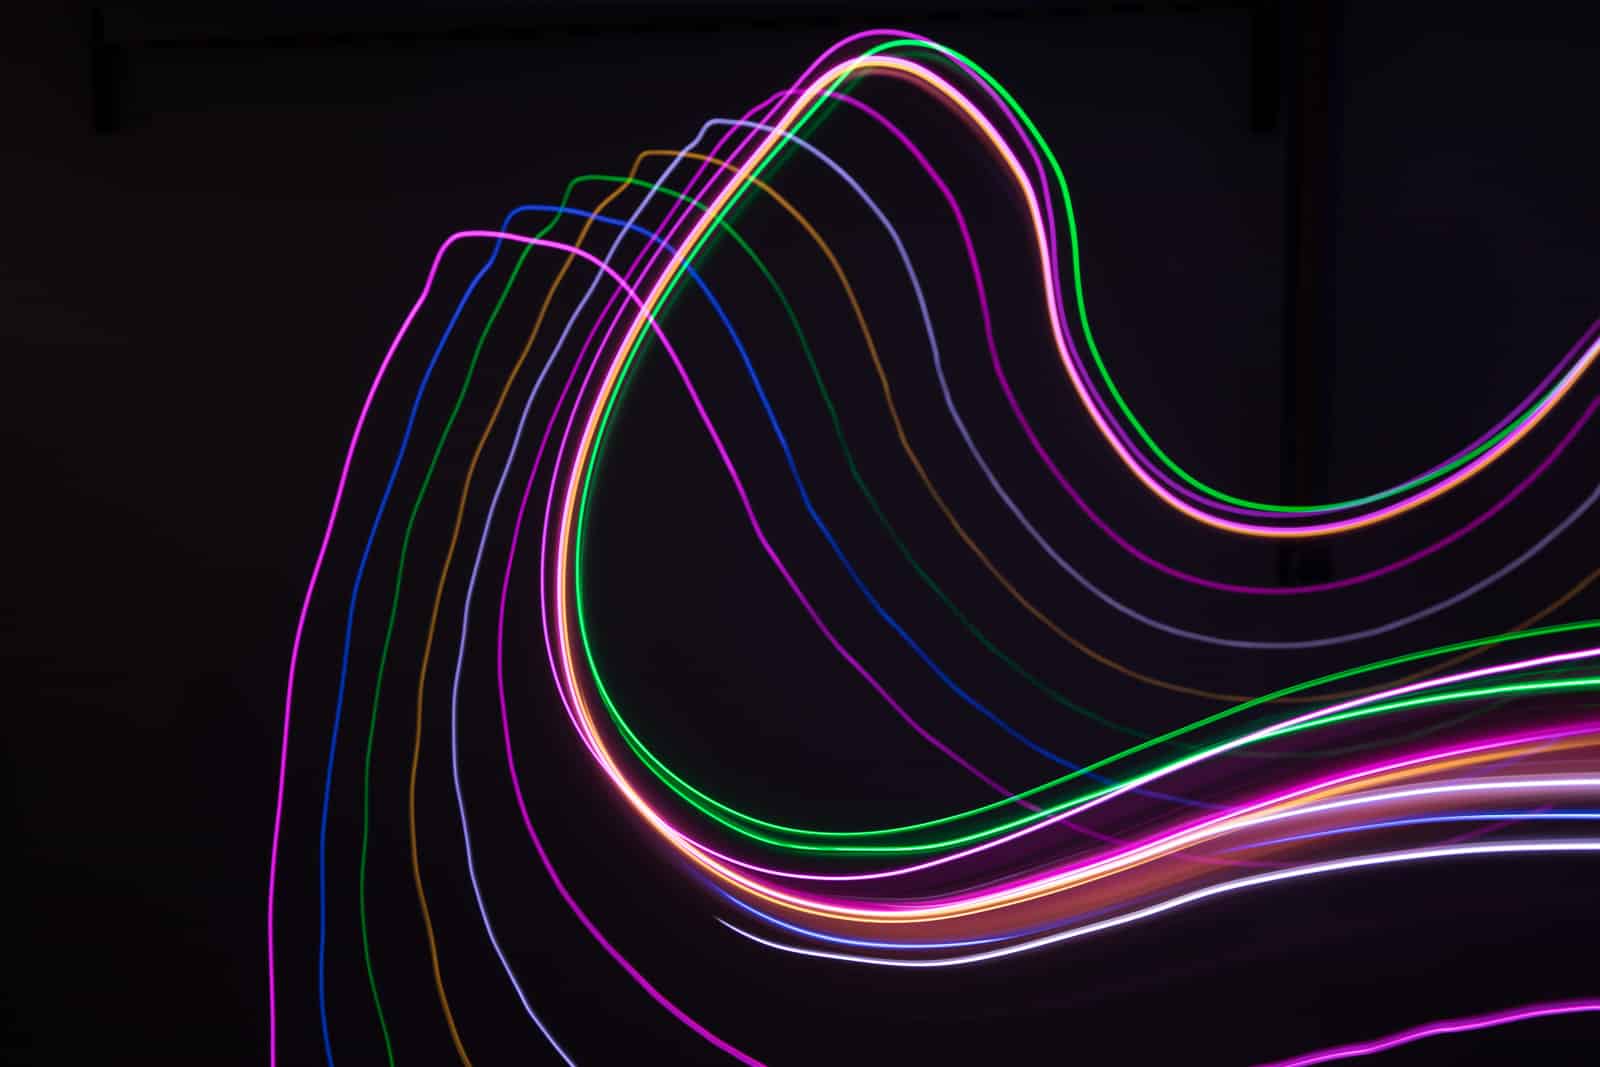
For the pictures above I just used ordinary light sources. But for my next experiment, I took a LED light on a wire and affixed it to the first flat material I could find.

This setup makes it much easier to fill space with lines:

Canon 5D Mark IV, Canon EF 24-70/2.8 II, 4 s, f/11, ISO 100, focal length 25 mm.
Canon 5D Mark IV, Canon EF 24-70/2.8 II, 4 s, f/11, ISO 100, focal length 47 mm.
You Can Paint Outdoors Too
Lights work just as well outdoors. If you can shoot in a garden, you can definitely give life to several light painting ideas in a single evening. Lights on a stick are a welcome helper here as well:
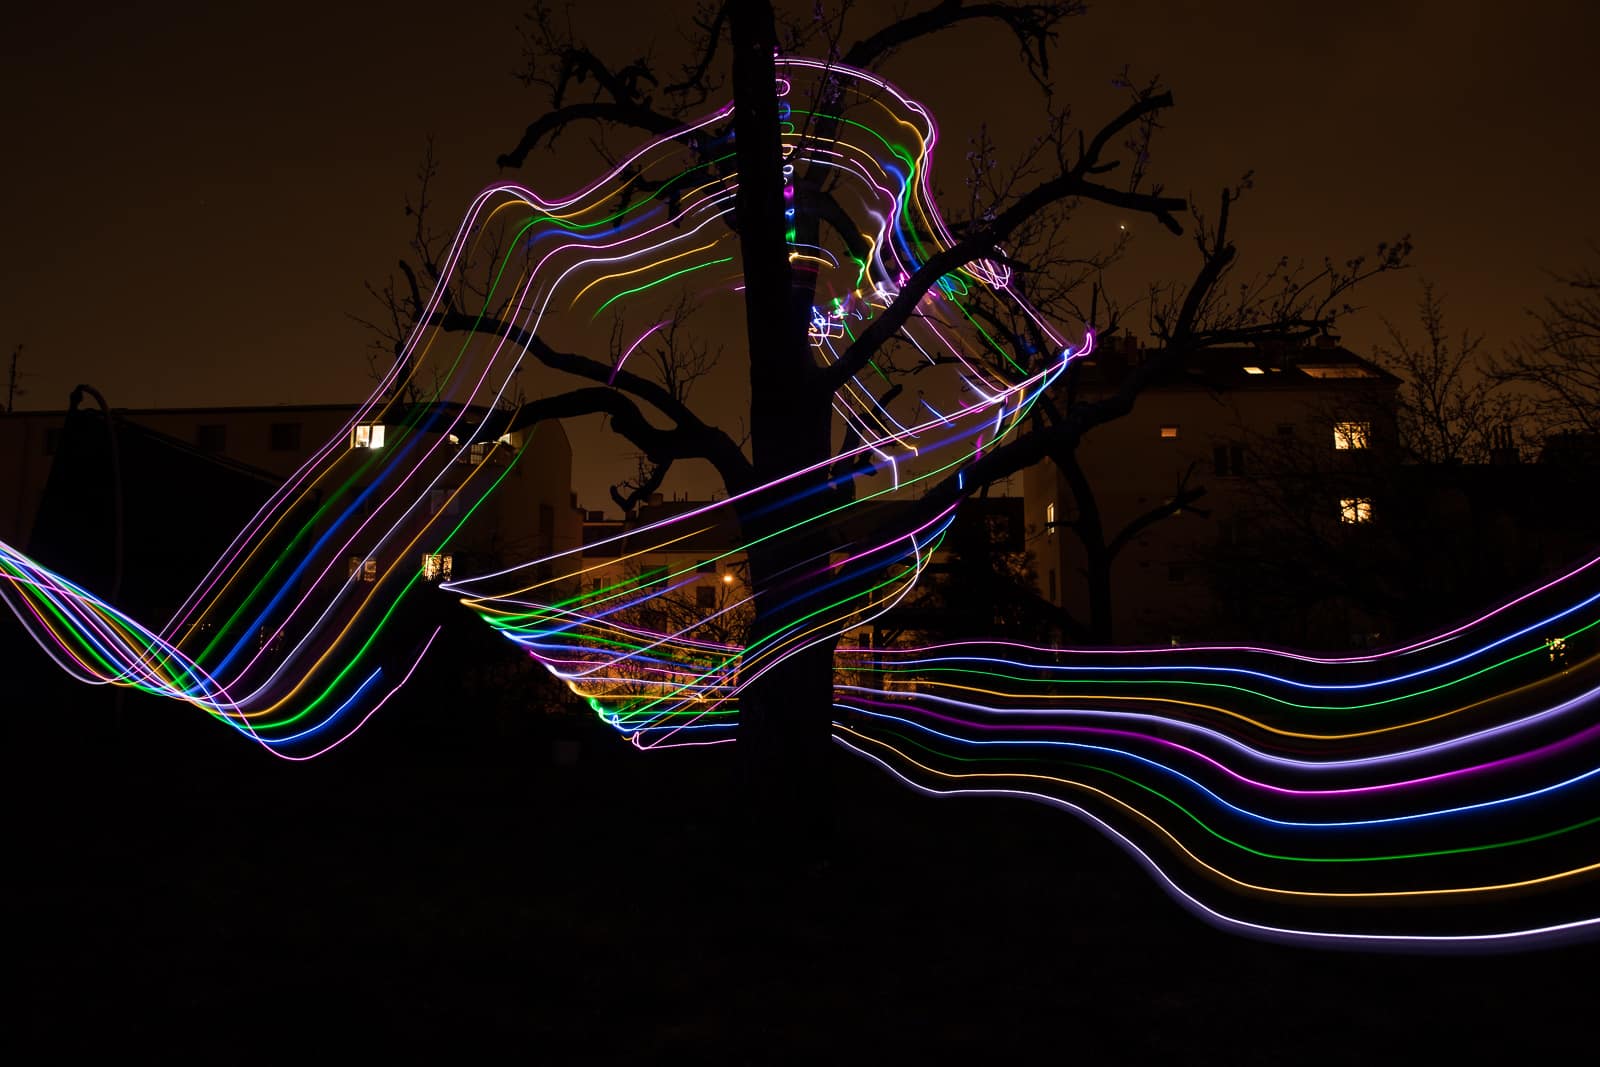
Canon 5D Mark IV, Canon EF 24-70/2.8 II, 25 s, f/6.3, ISO 100, focal length 24 mm.
You can probably see the couple of problem spots here where the lines get stuck; they are visual evidence of how the light ran into some small branches. Switching the stick from one hand to the other in the dark while “seeing stars” from the little lights turned out to be a bit complicated.
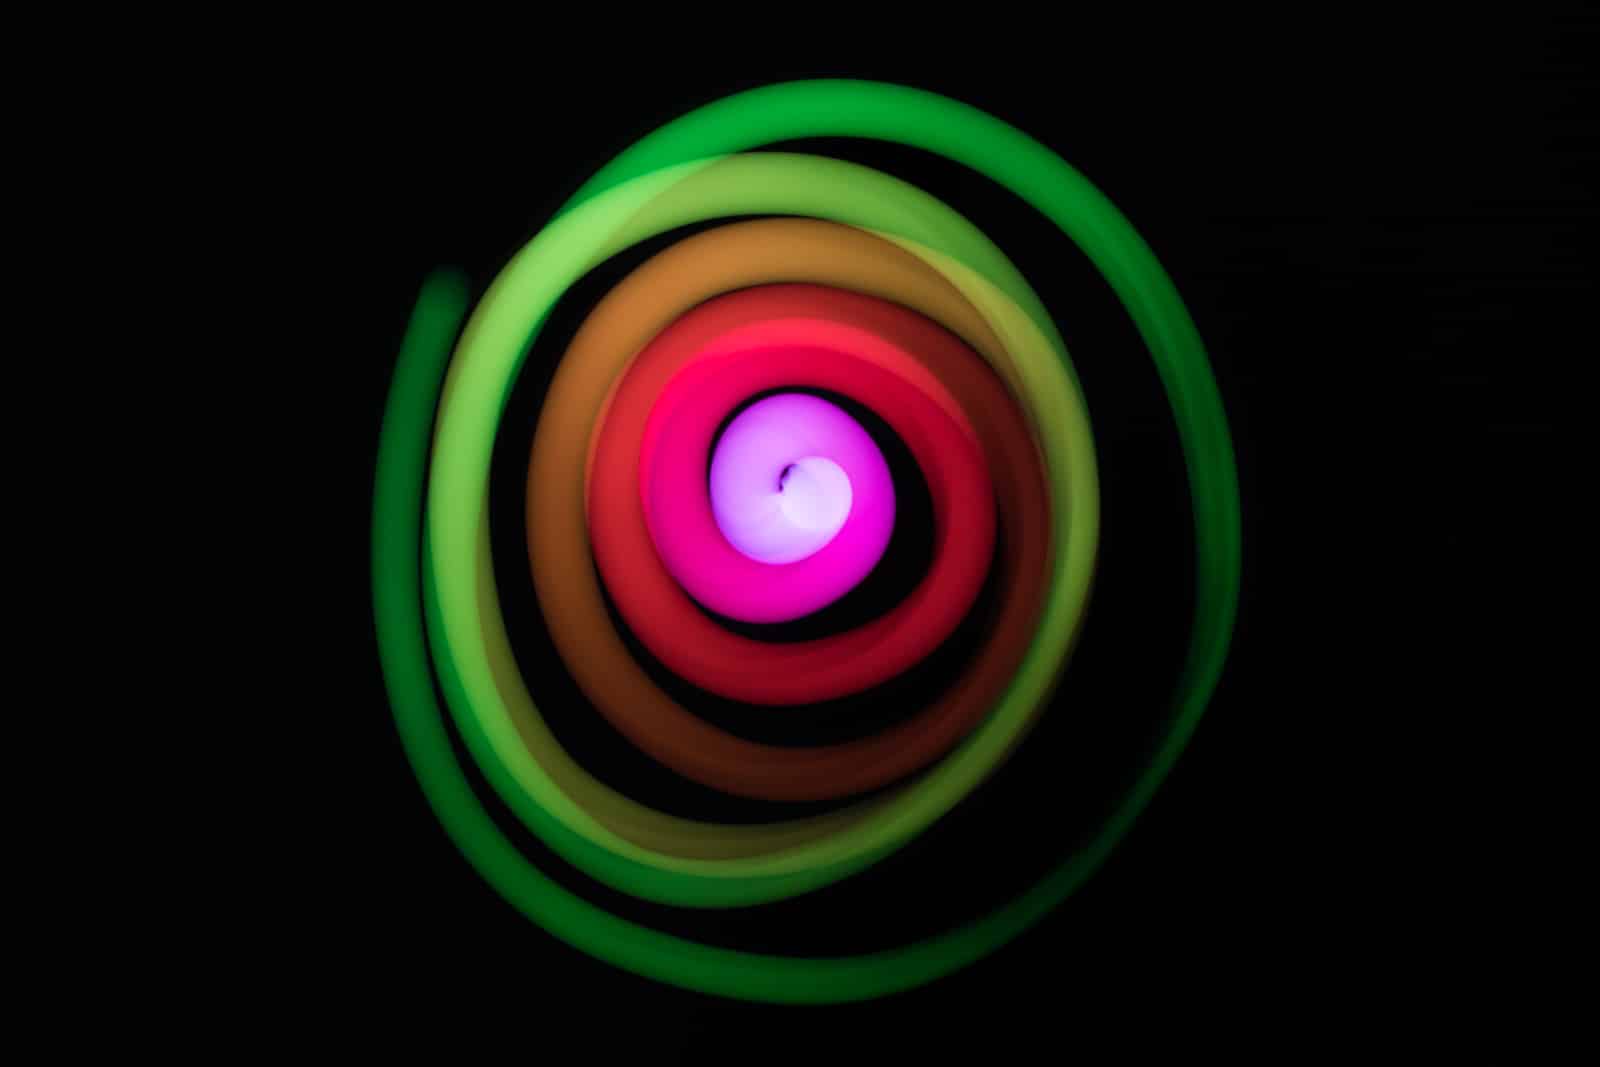
You can also try some other approaches, such as tying a lamp to a string and creating a regular geometric shape. The lamp only shone forward, so the back side of the ball (turned away from the camera) isn’t visible.
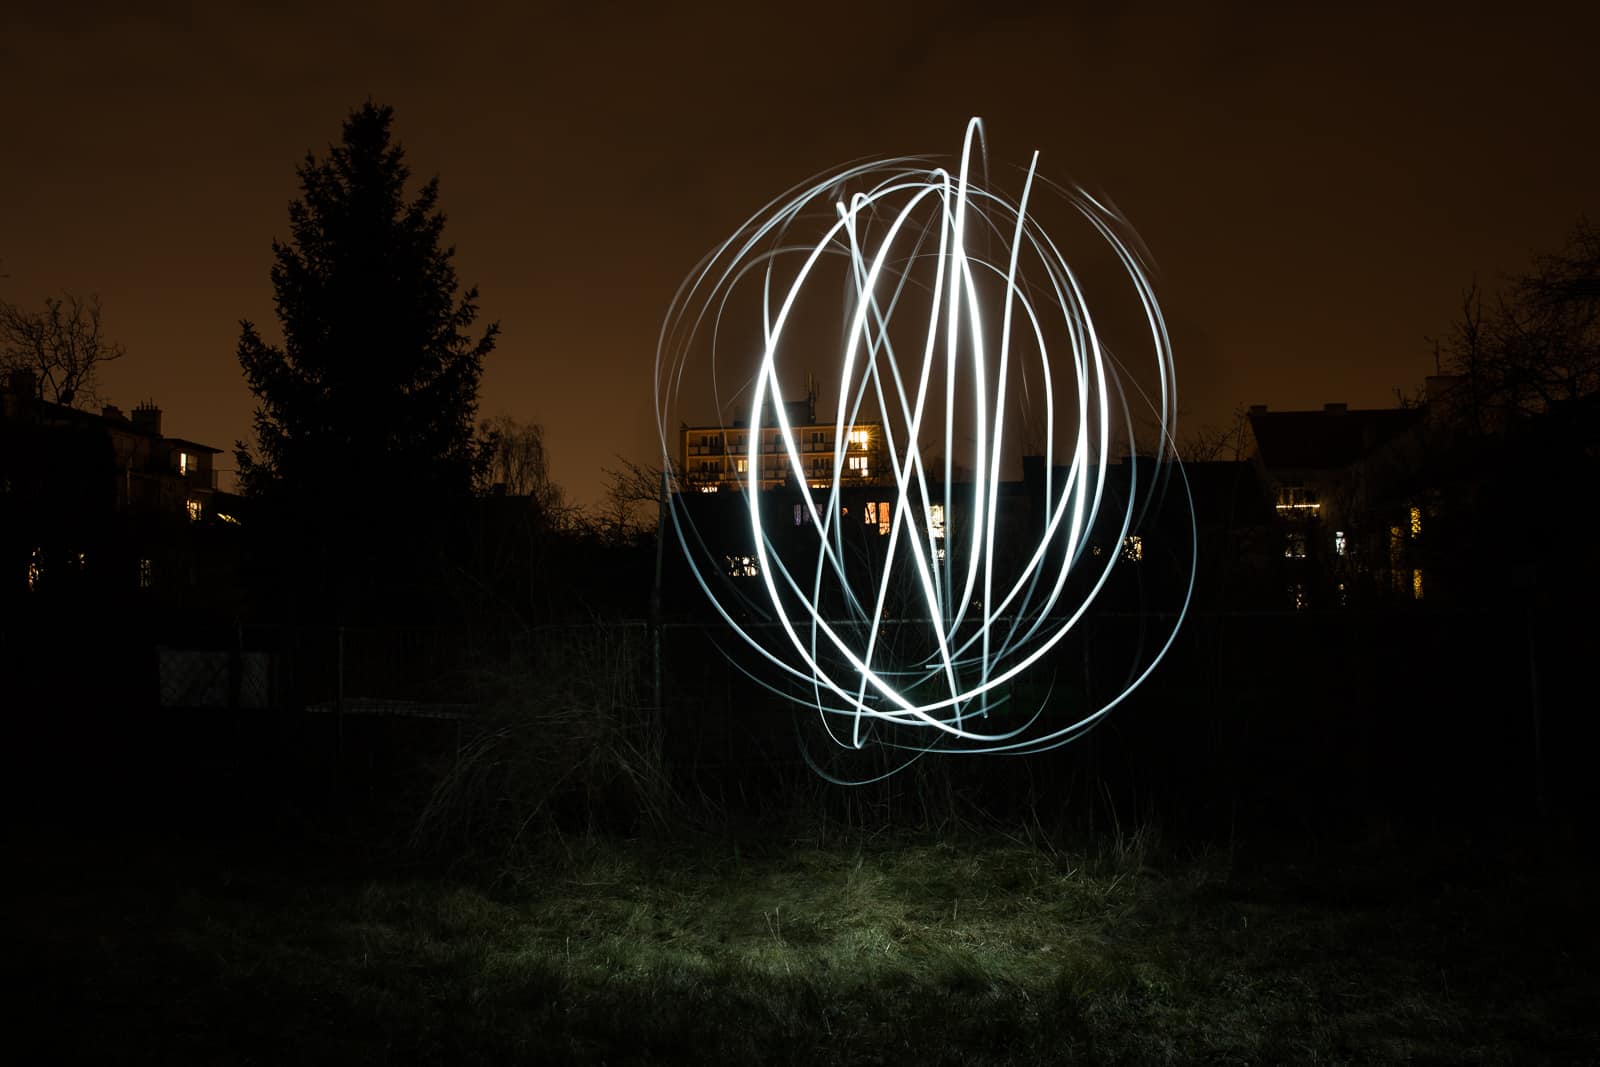
Canon 5D Mark IV, Canon EF 24-70/2.8 II, 15 s, f/6.3, ISO 200, focal length 24 mm.
Shining Into the Camera (And More)
Lights can be used in a more traditional way and simply shined onto your subject instead of directly into the lens. You can also find time during your exposure to shine from different positions and angles. The following picture took 25 seconds, during which I walked around a tree and shone the light for about a second on each of about six different branches.
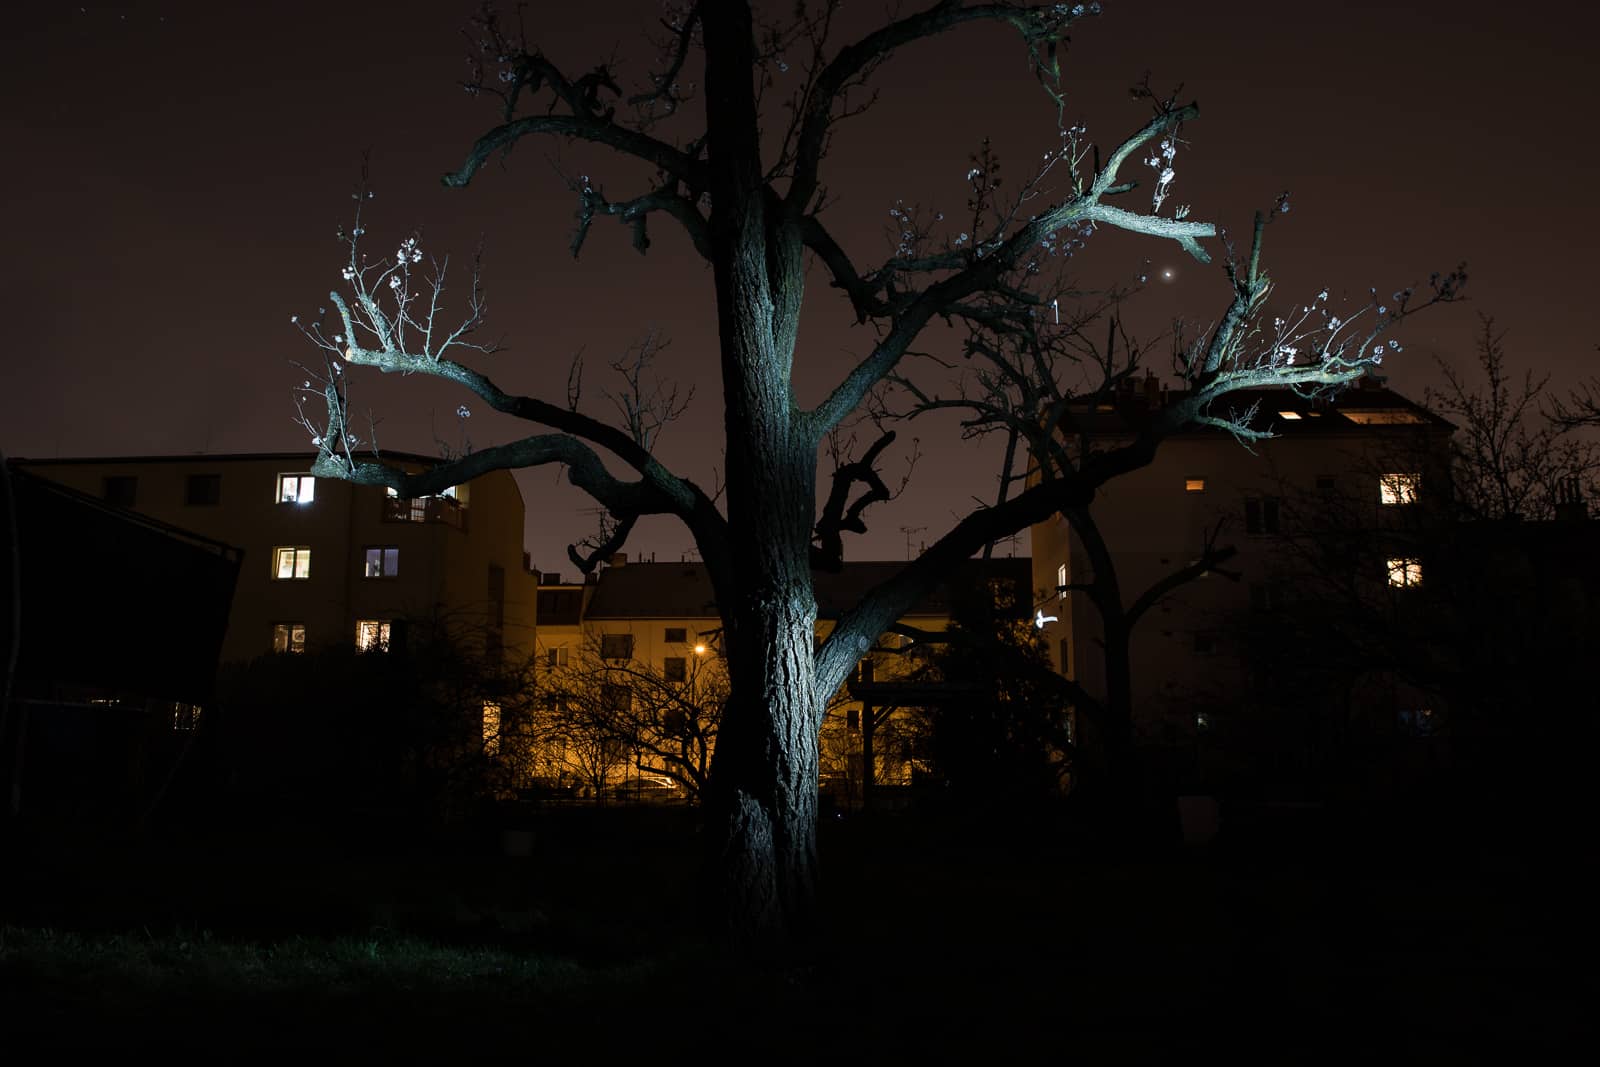
Canon 5D Mark IV, Canon EF 24-70/2.8 II, 25 s, f/6.3, ISO 200, focal length 24 mm.
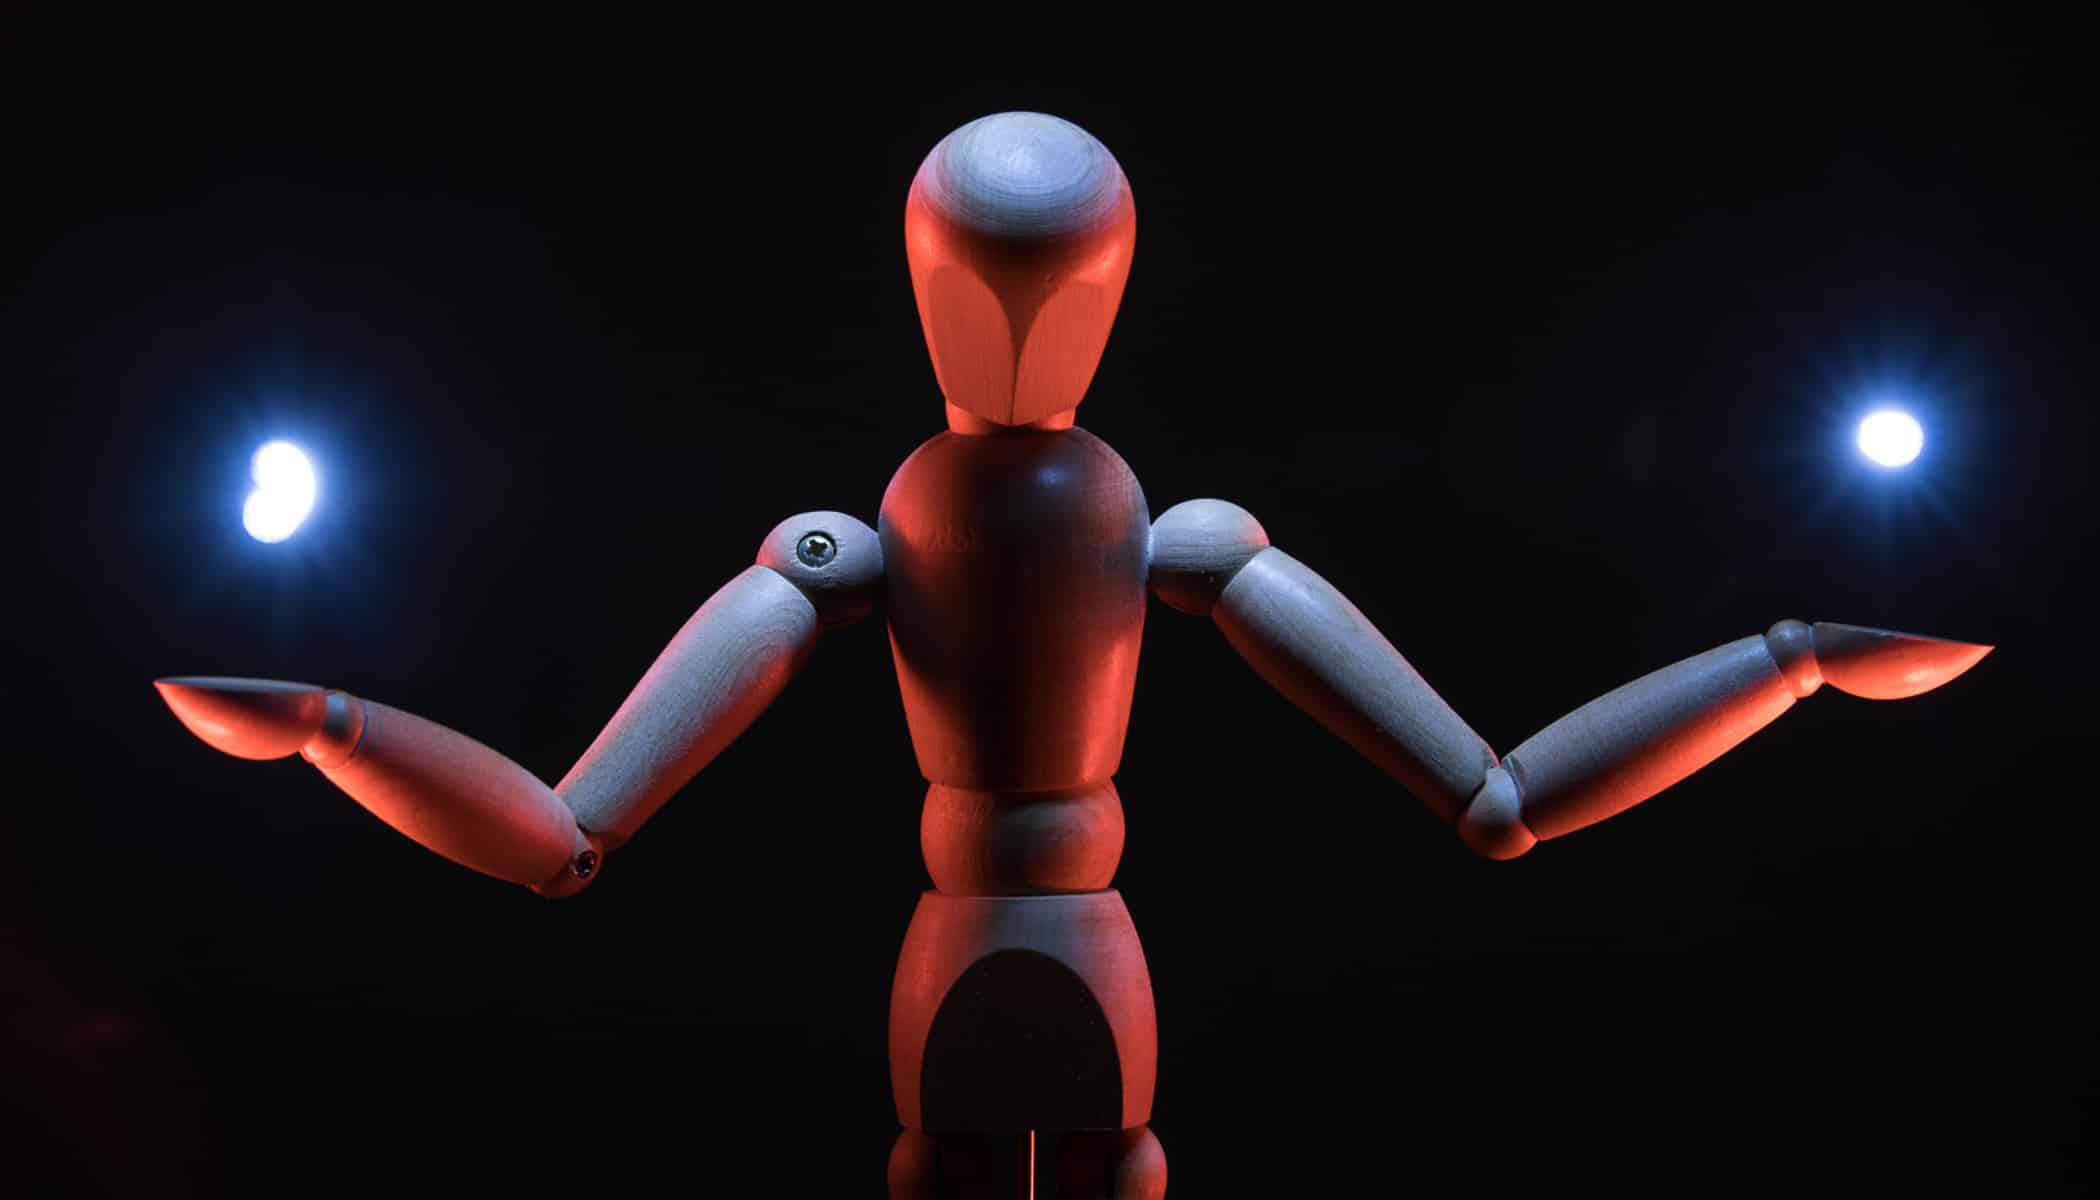
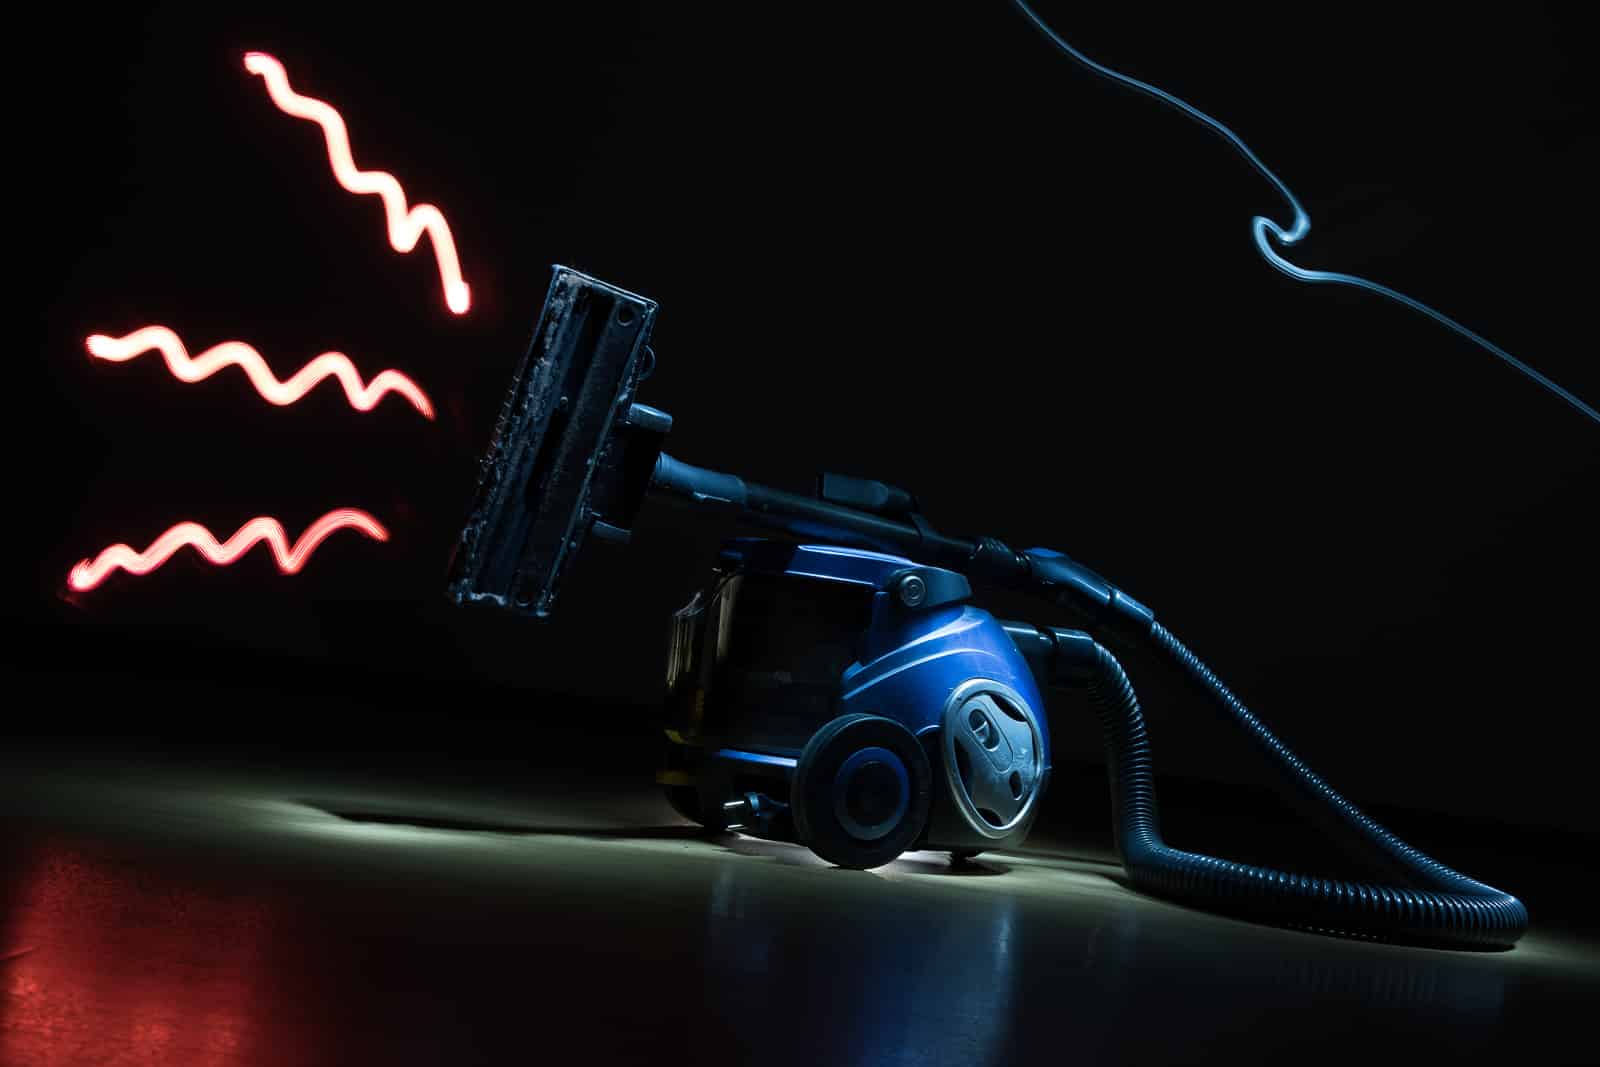
The same approach is also effective for stationary items at home. For this one, a vacuum cleaner ended up under the glare of the floodlights (well, the lamps), and my approach was as follows: first I illuminated from above with a white light, then I switched to a red light and shone briefly from left to right from the back. You don’t have to keep the light in one place while you’re shining it for this technique; in fact it’s often more practical to trace around an object’s contours.
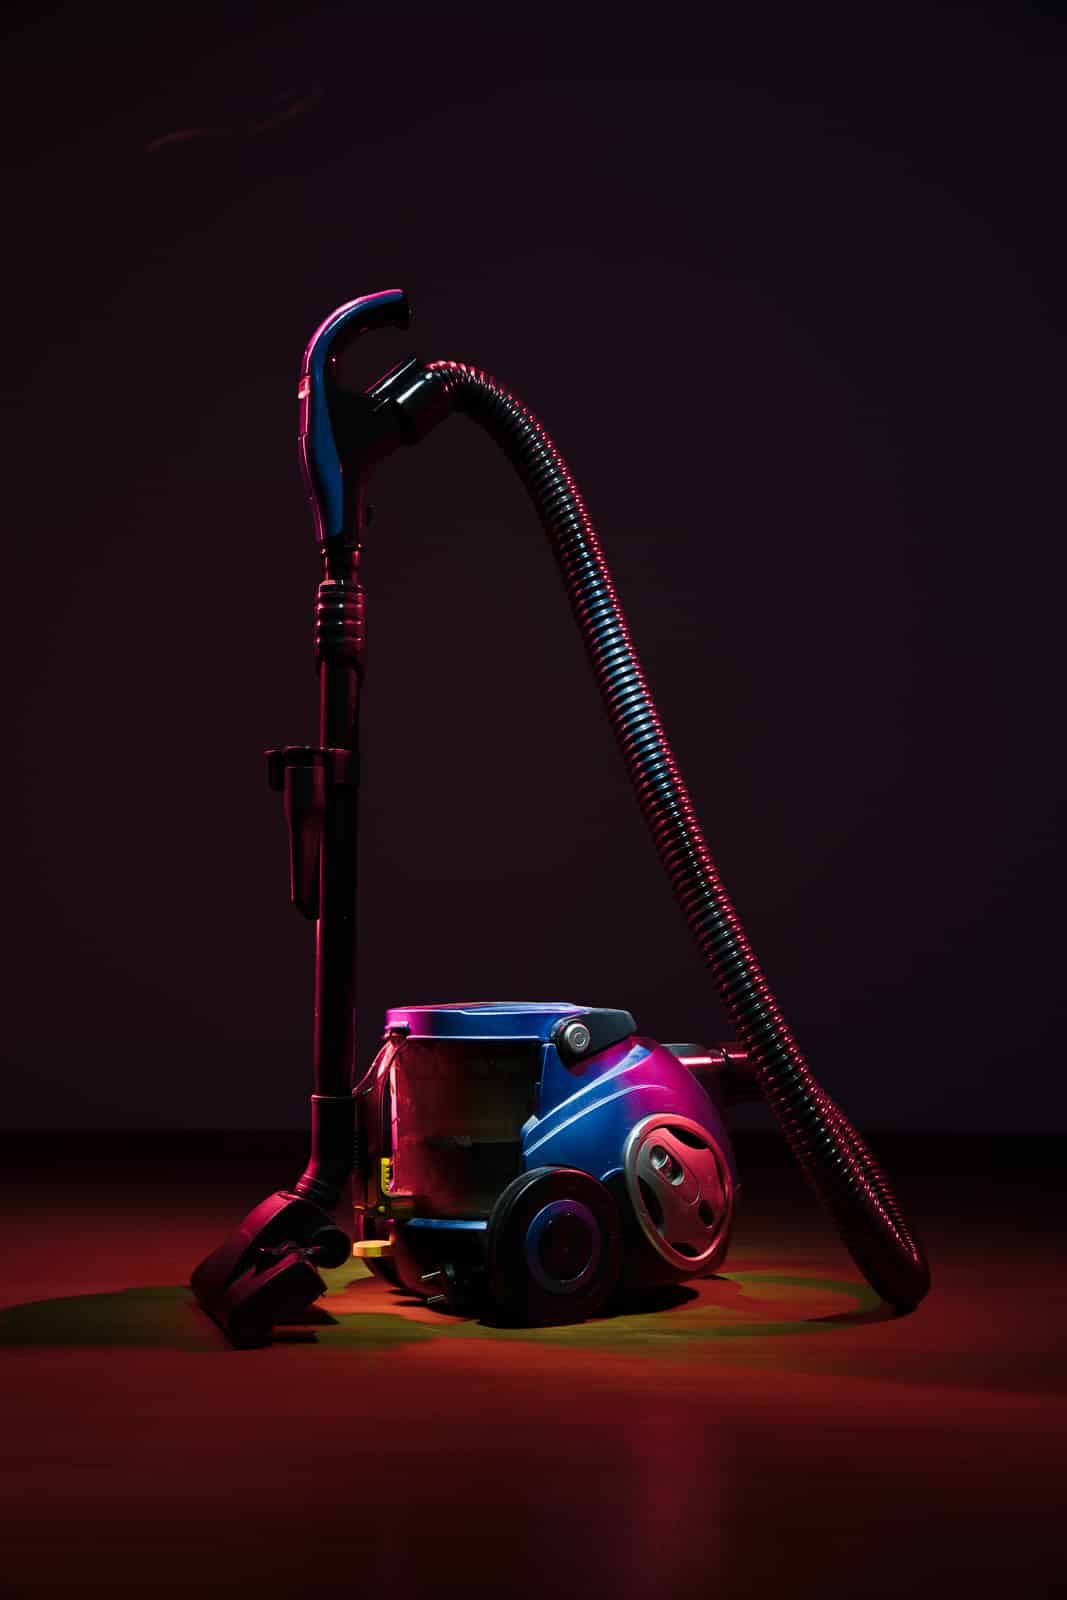
Canon 5D Mark IV, Canon EF 24-70/2.8 II, 30 s, f/9, ISO 100, focal length 42 mm.
All at Once!
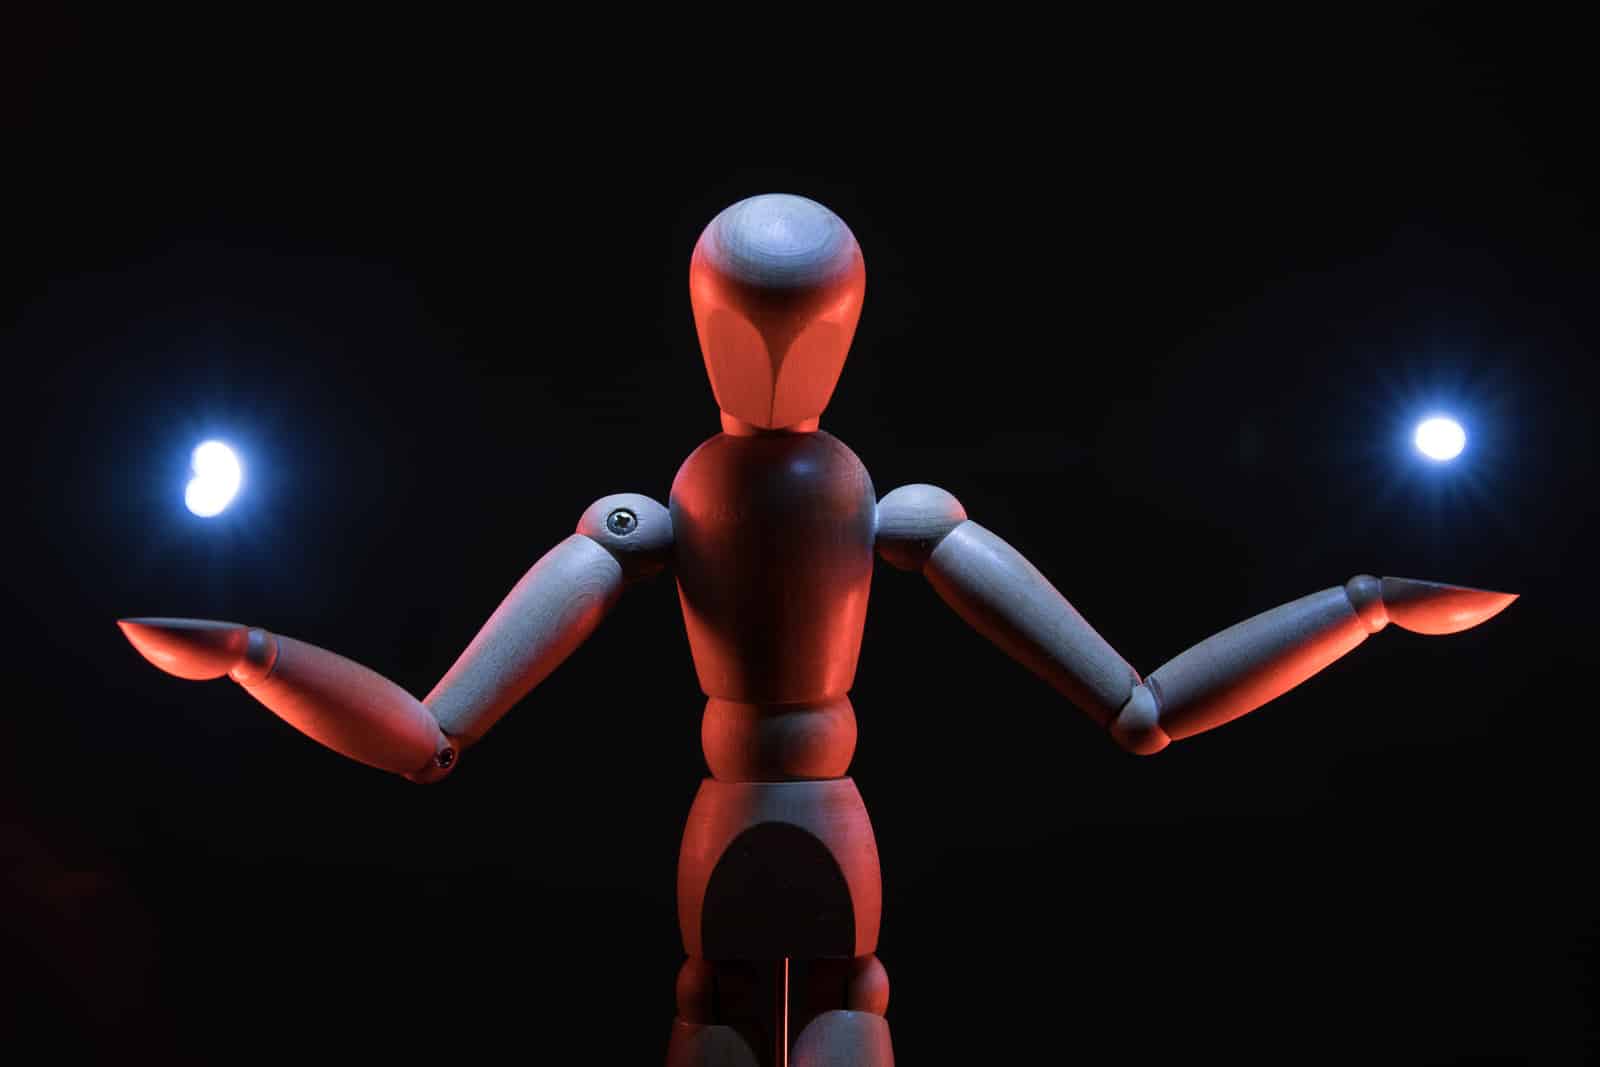
There’s nothing keeping you from combining multiple approaches and shining both onto your subject and into the camera.
Canon 5D Mark IV, Canon EF 24-70/2.8 II, 30 s, f/9, ISO 100, focal length 42 mm.
Canon 5D Mark IV, Canon EF 24-70/2.8 II, 30 s, f/13, ISO 100, focal length 61 mm.
For my last photos here, I went back to using a single point lighting source, as you can see in this picture of the props used:
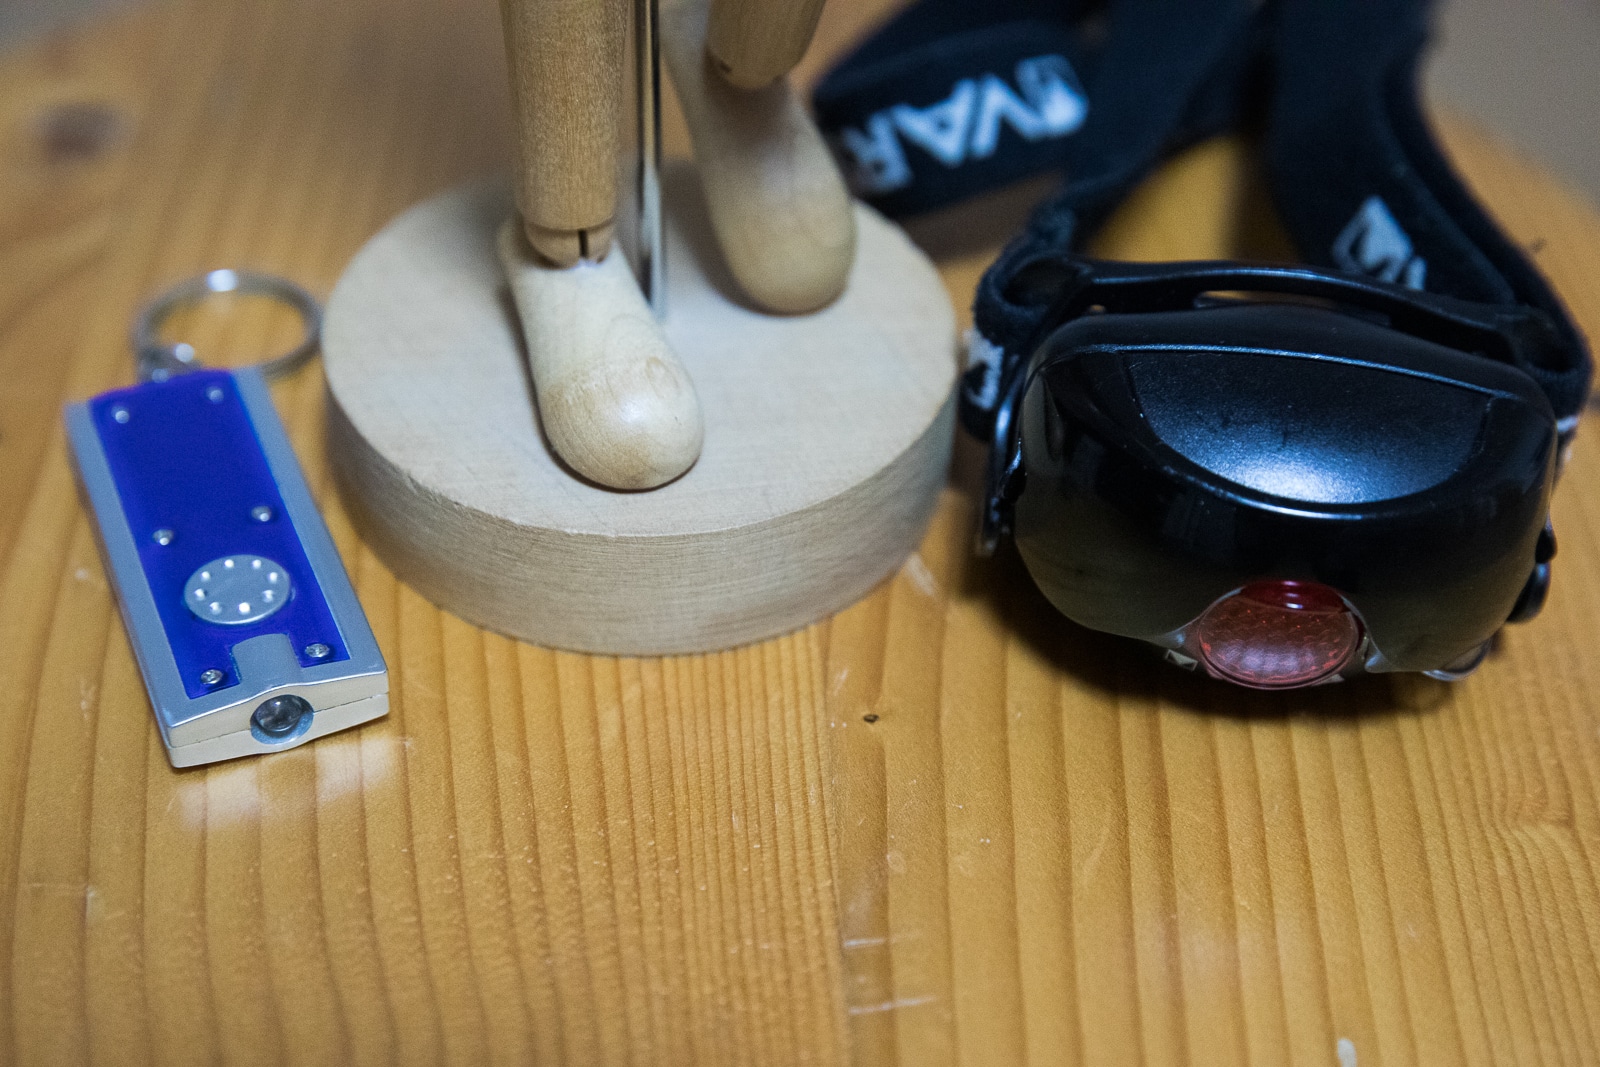
As you can see, you can also use lights of multiple kinds and shine them onto all sorts of objects. And likewise you can do this kind of shoot at home or outdoors at your leisure. You’ll be doing more than one take for nearly every picture and gradually improving it, which is a big adventure. I have to say here that I had an extraordinary amount of fun preparing this article, and precisely all that running around with lights was why. I’m sure you’ll catch a taste for this activity too and you’ll manage to take some great photos!
There are no comments yet.