Mountain Pass Crossing with Camera in Hand
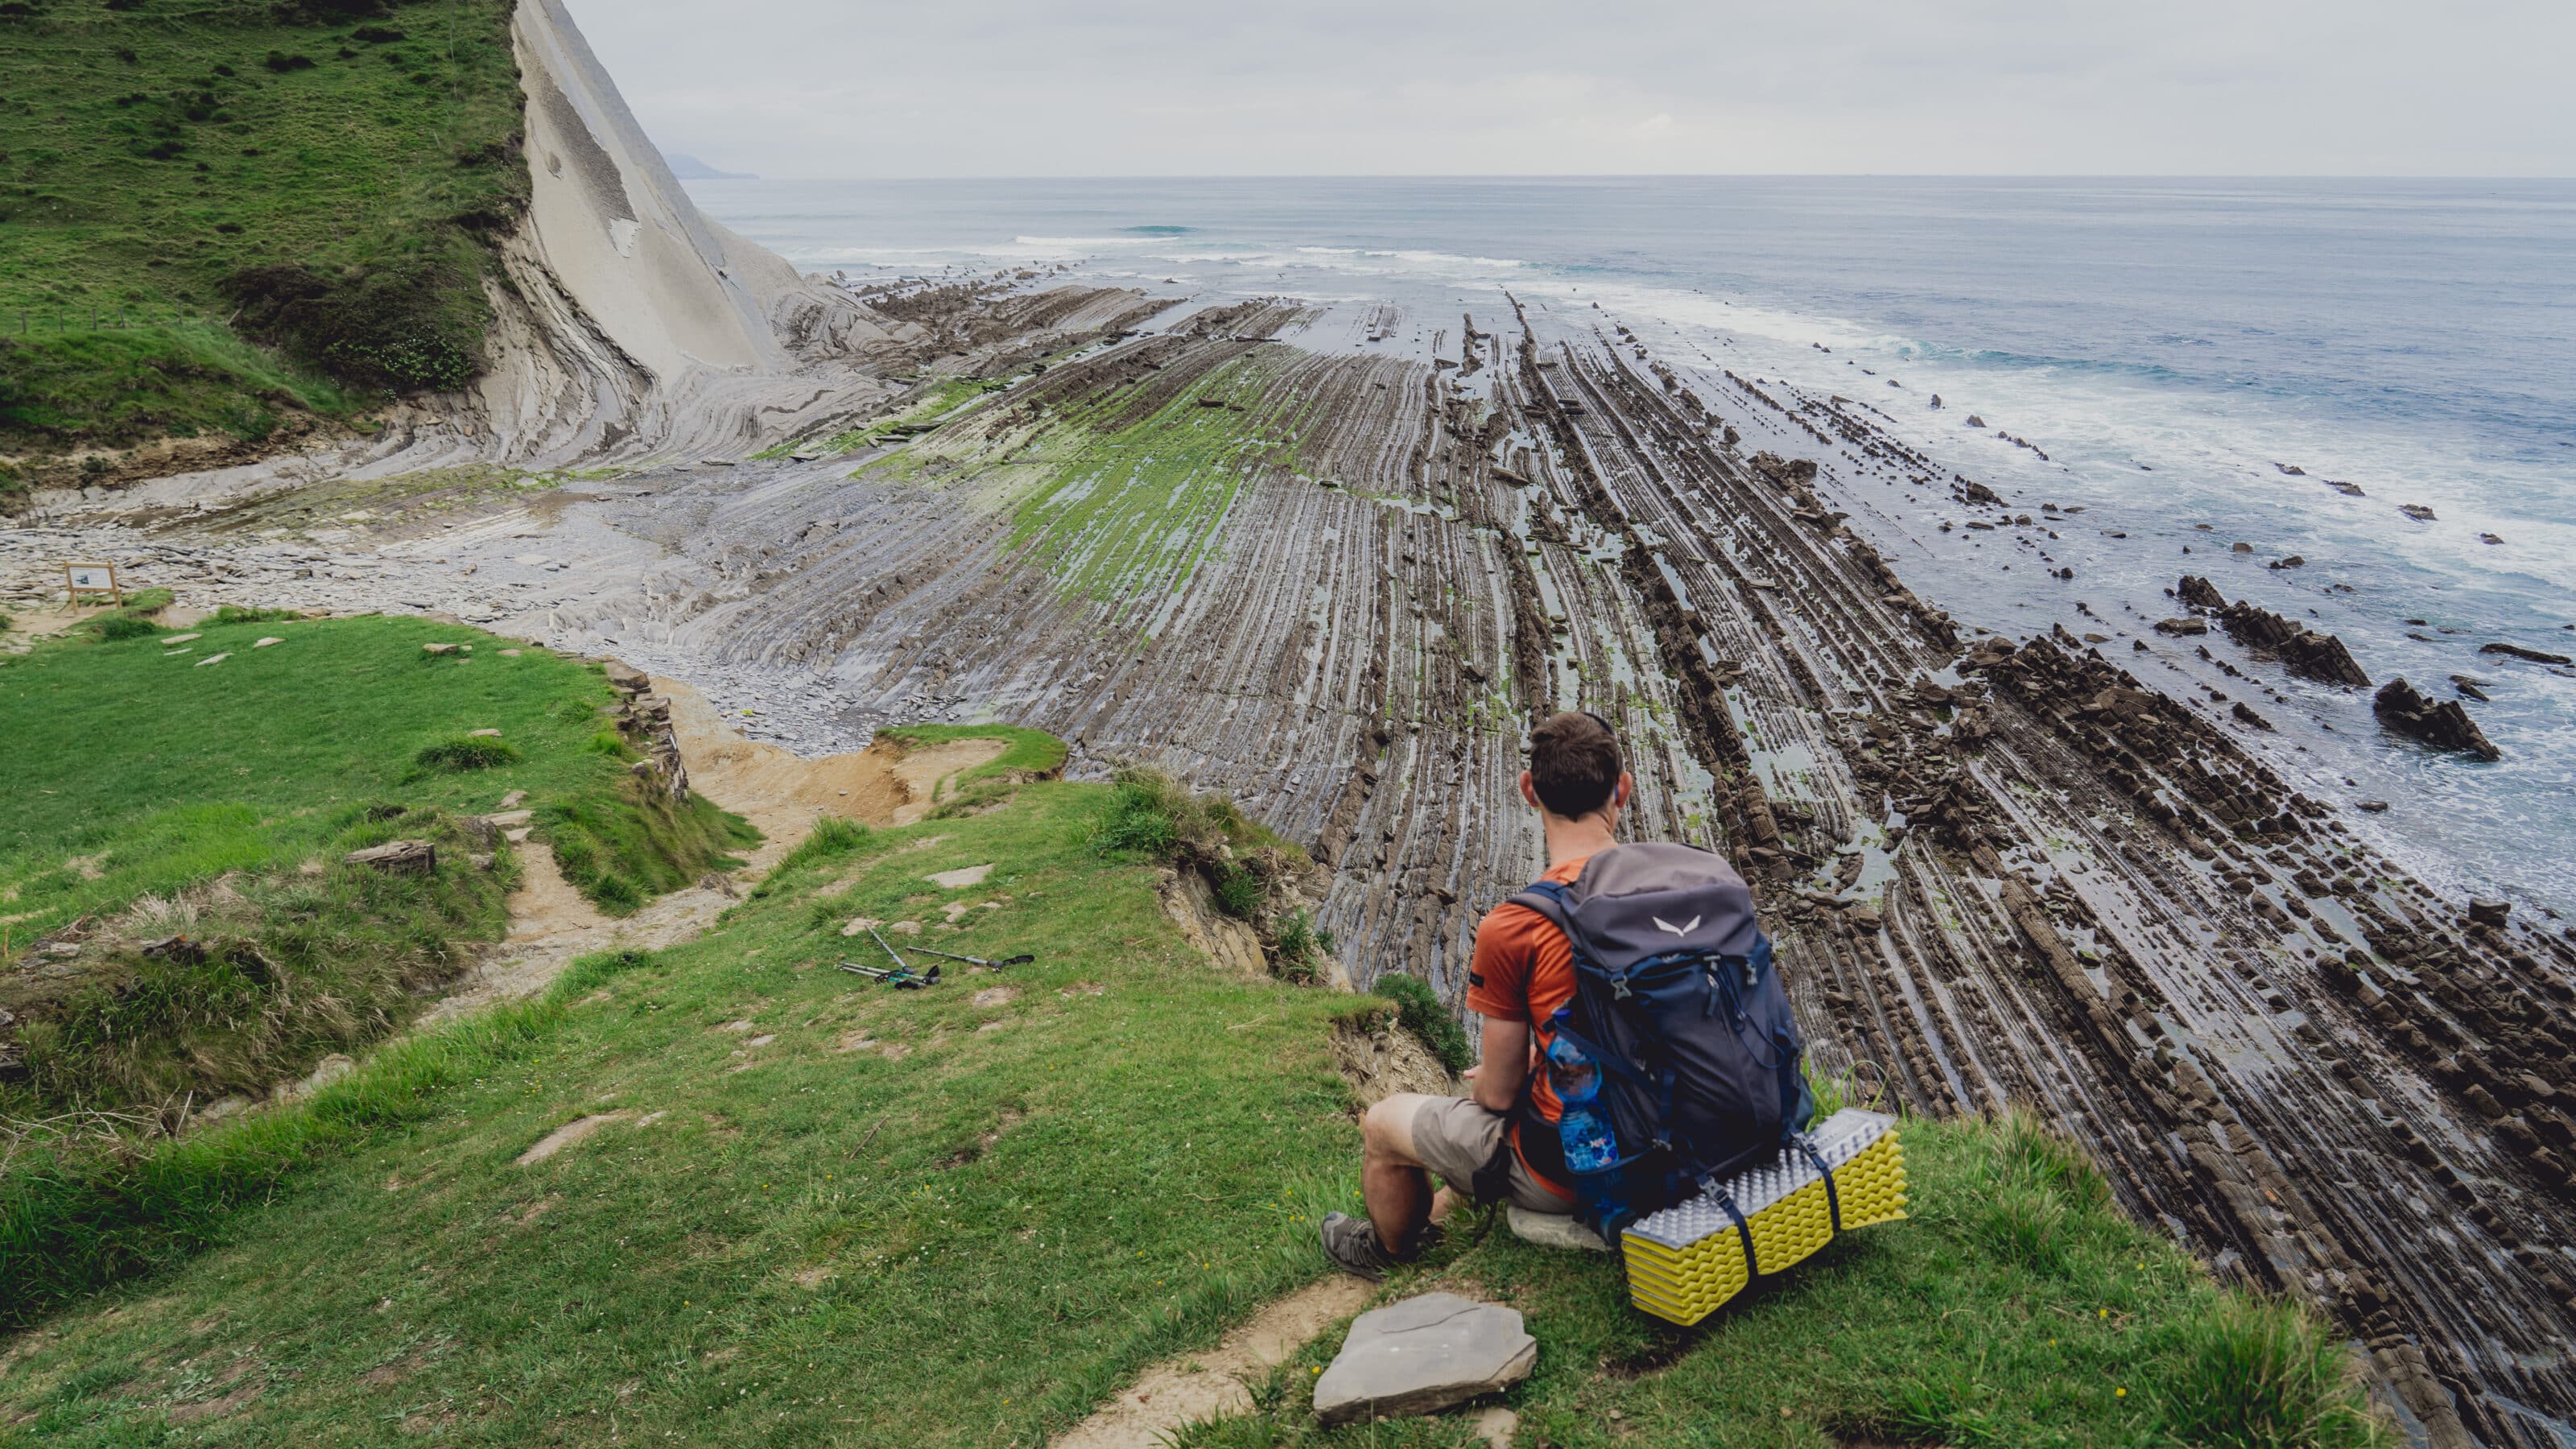
Short day hikes certainly have their charm. You have more freedom when planning and only need to carry the essentials. On the other hand, you’re usually hiking in the blaring midday sun and missing out on some of the most beautiful parts of the day. It’s a different story when you head into the mountains for days, weeks, or even months. All of sudden, you’re waking up to beautiful light, everything is constantly changing, and you’re rewarded with epic sunsets at the end of the day.
The adventure is balanced by careful consideration of what photo equipment to bring and what to leave at home. After a few days, your back will feel every ounce.
There’s no perfect camera equipment for long mountain hikes. The equipment you bring with you will always be a negotiation between weight and the equipment’s capabilities. Let’s take a look at several important factors that will help you better prepare yourself for this type of photography.
What do I want to take pictures of?
This is probably the first thing you need to consider and pack accordingly. Do your research on the type of terrain you’ll be hiking through. Study the elevation profile and route difficulty so you know what to expect and what your options for photography are.
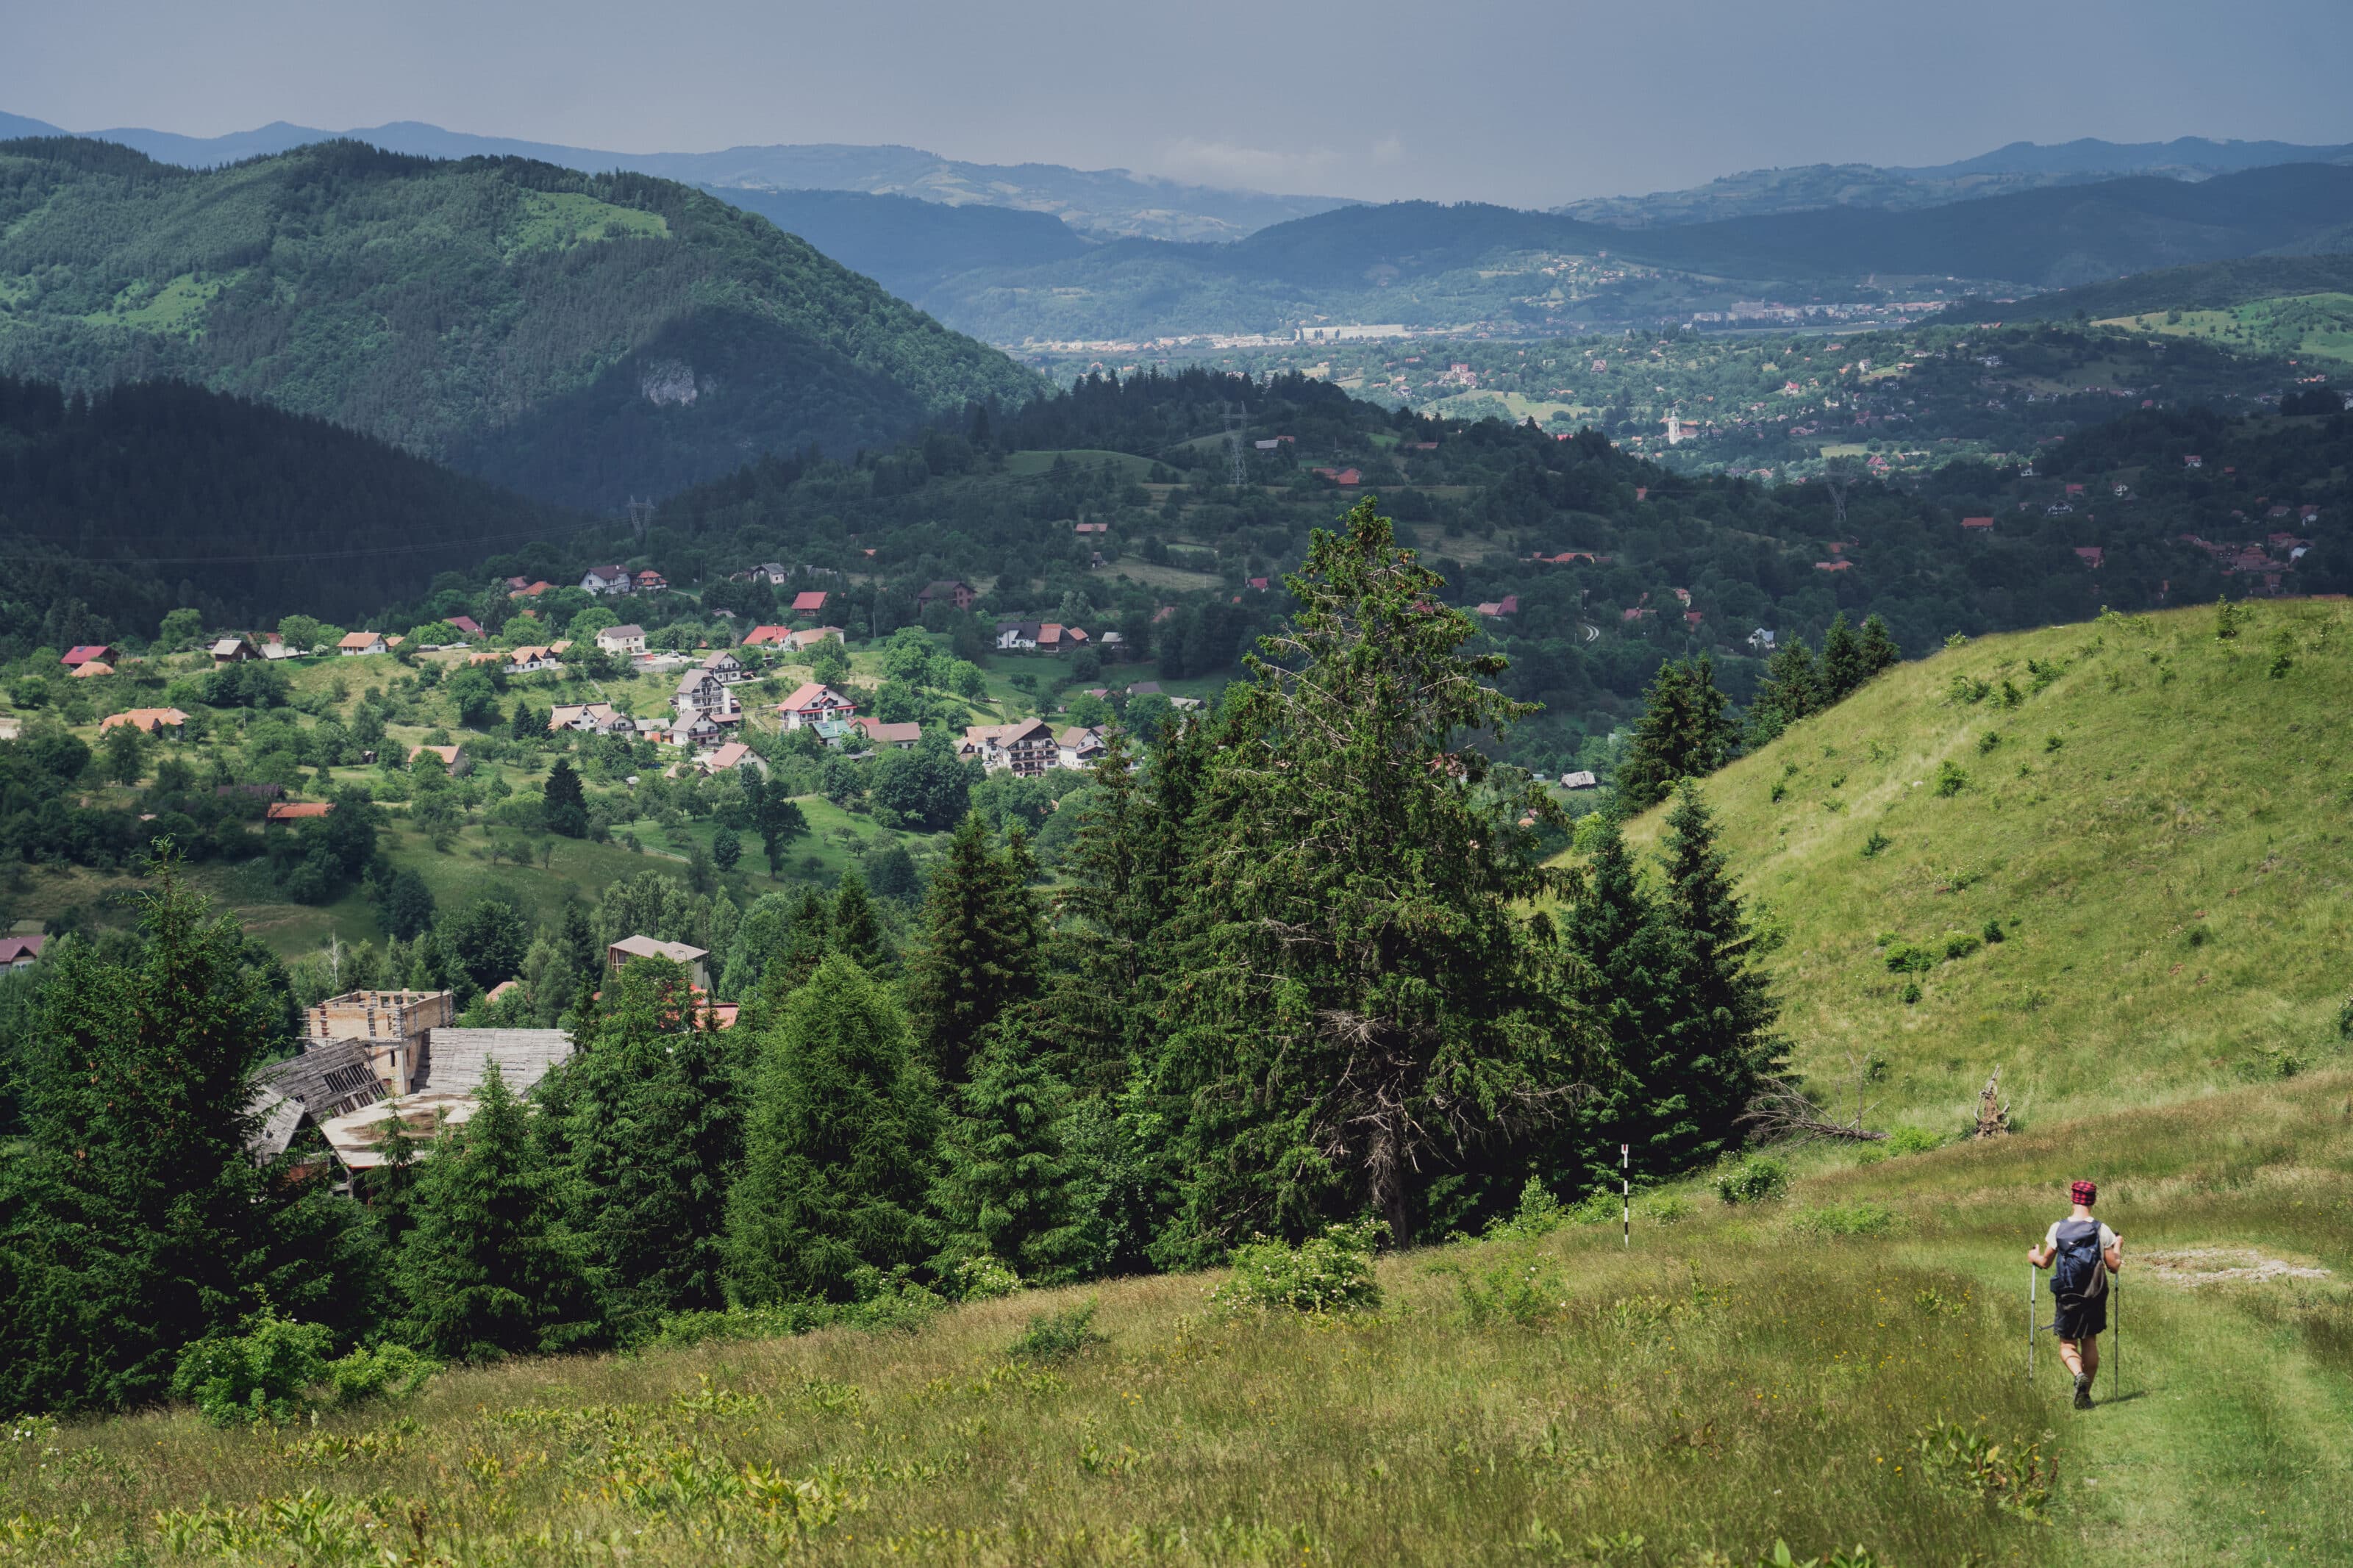
For example, if you are doing the Way of St. James in Spain, you’ll be passing through a predominantly built-up landscape filled with farms and little wildlife. On the other hand, if you go to the wilderness of the Carpathian mountains of Romania, you are much more likely to encounter wildlife. And the hiking level is much more challenging.
What camera should I bring and how do I make sure it’s accessible?
The answer to this question is not easy. A heavy-duty DSLR can withstand the whims of Mother Nature but is ridiculously heavy. A mirrorless camera isn’t much lighter and is structurally less sturdy. Still, a mirrorless camera was the best choice for me. An advanced compact with a high-quality built-in lens also seems like a good compromise. Keep in mind that you will be carrying a backpack weighing at least twelve kilos or more.
It’s not only about weight, but practicality. You will probably have trekking poles in your hands. This will make you think twice when taking off your pack and reaching for your big camera. The advantage of having a small camera is that you can keep it in a pouch on your belt, on a shoulder strap, or in the side pocket of your backpack which you can access without needing to take it off.
A special camera bag separate from your backpack is only for the most die-hard photographers. Personally, I can’t imagine carrying a separate bag in addition to my backpack for an all-day hike. A more appealing alternative for dry weather is what’s known as a capture clip. You can use a capture clip to attach your camera to any backpack strap or belt. Peak Design makes a great one.
Choosing your lens
Now is the time when you need to think carefully about your subject. If it’s wildlife, you’ll need a long focal length lens. If you want to capture the vastness of the landscape, a wide-angle lens will be most useful.

If you’re not limited by space, it’s best to have one universal zoom lens that can handle most situations.
A 24-70mm range lens is a classic and an aperture of f/2.8 on a full-frame is useful. This option is also ideal for beginners who don’t know what they’re going to be shooting yet.
The option for minimalists is to take two small prime lenses with fast apertures. If I could only bring one prime lens, I would take the 35mm, which is probably the most versatile, and the 85mm.

Batteries and camera cards
I usually carry three original batteries for my Sony A7III mirrorless. This is a personal preference but has worked for me for many mountain pass hiking trips. Be sure to recharge all your batteries any time you reach civilization. My fallback is a 20,000 mAh power bank that I use to recharge the battery directly in the camera.
It’s best to bring multiple camera cards, especially if you only have one camera card slot in your camera. It’s also a good idea not to rely on one large card (like 128GB), but rather rotate out smaller cards (like 64GB). That way, if something happens to the card, you won’t lose all your photos.

Be sure to regularly back up your photos to the cloud.
Something extra
If you are a passionate landscape photographer, a lightweight tripod will come in handy. A tripod is a must-have if you want to take photos with multiple exposures. Additionally, a polarizing filter will be useful to protect the lens and at the same time improve details in the sky.
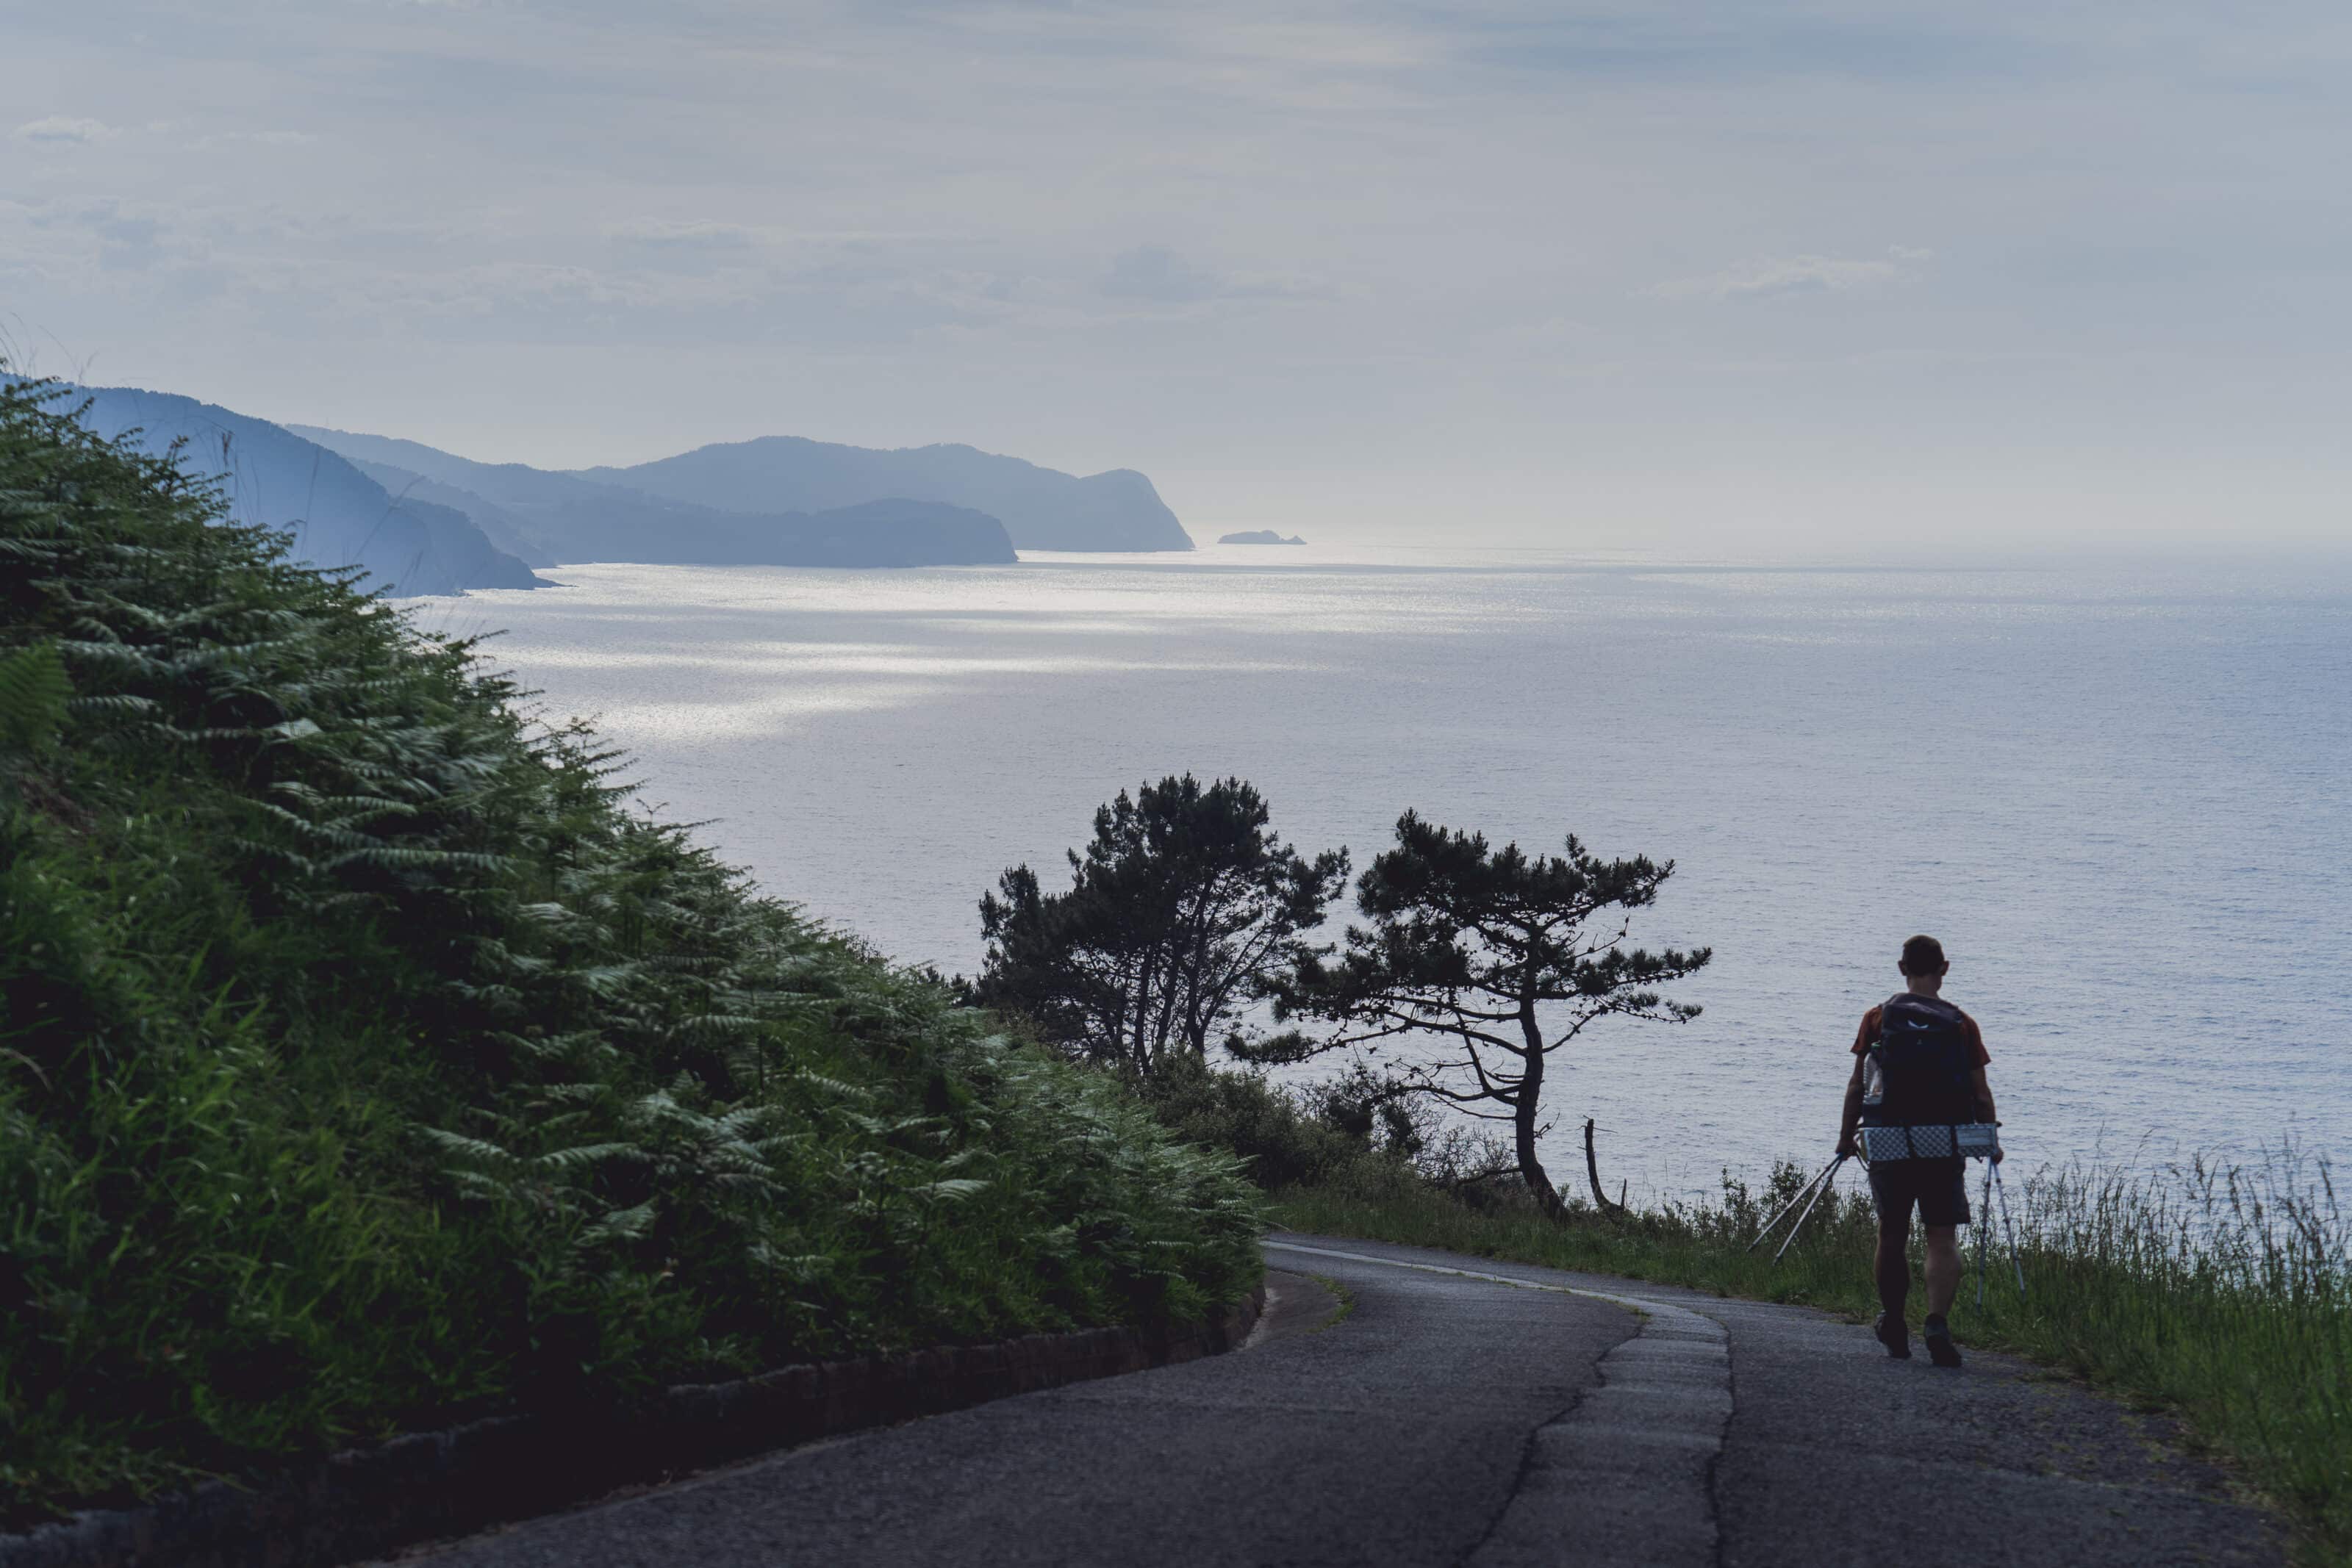
Packing everything in
You definitely can’t avoid keeping your camera in your backpack. In this case, it’s ideal to have it at the top, closest to your back. This way it is relatively accessible, while at the same time easier to transport because it’s better to have the heaviest objects closest to your body.
If it’s going to rain, be sure to have a special waterproof cover for your backpack. Don’t skimp when buying a cover. You never know what the weather on a mountain pass will be. It can rain all day, so you need to be prepared and keep your camera dry.
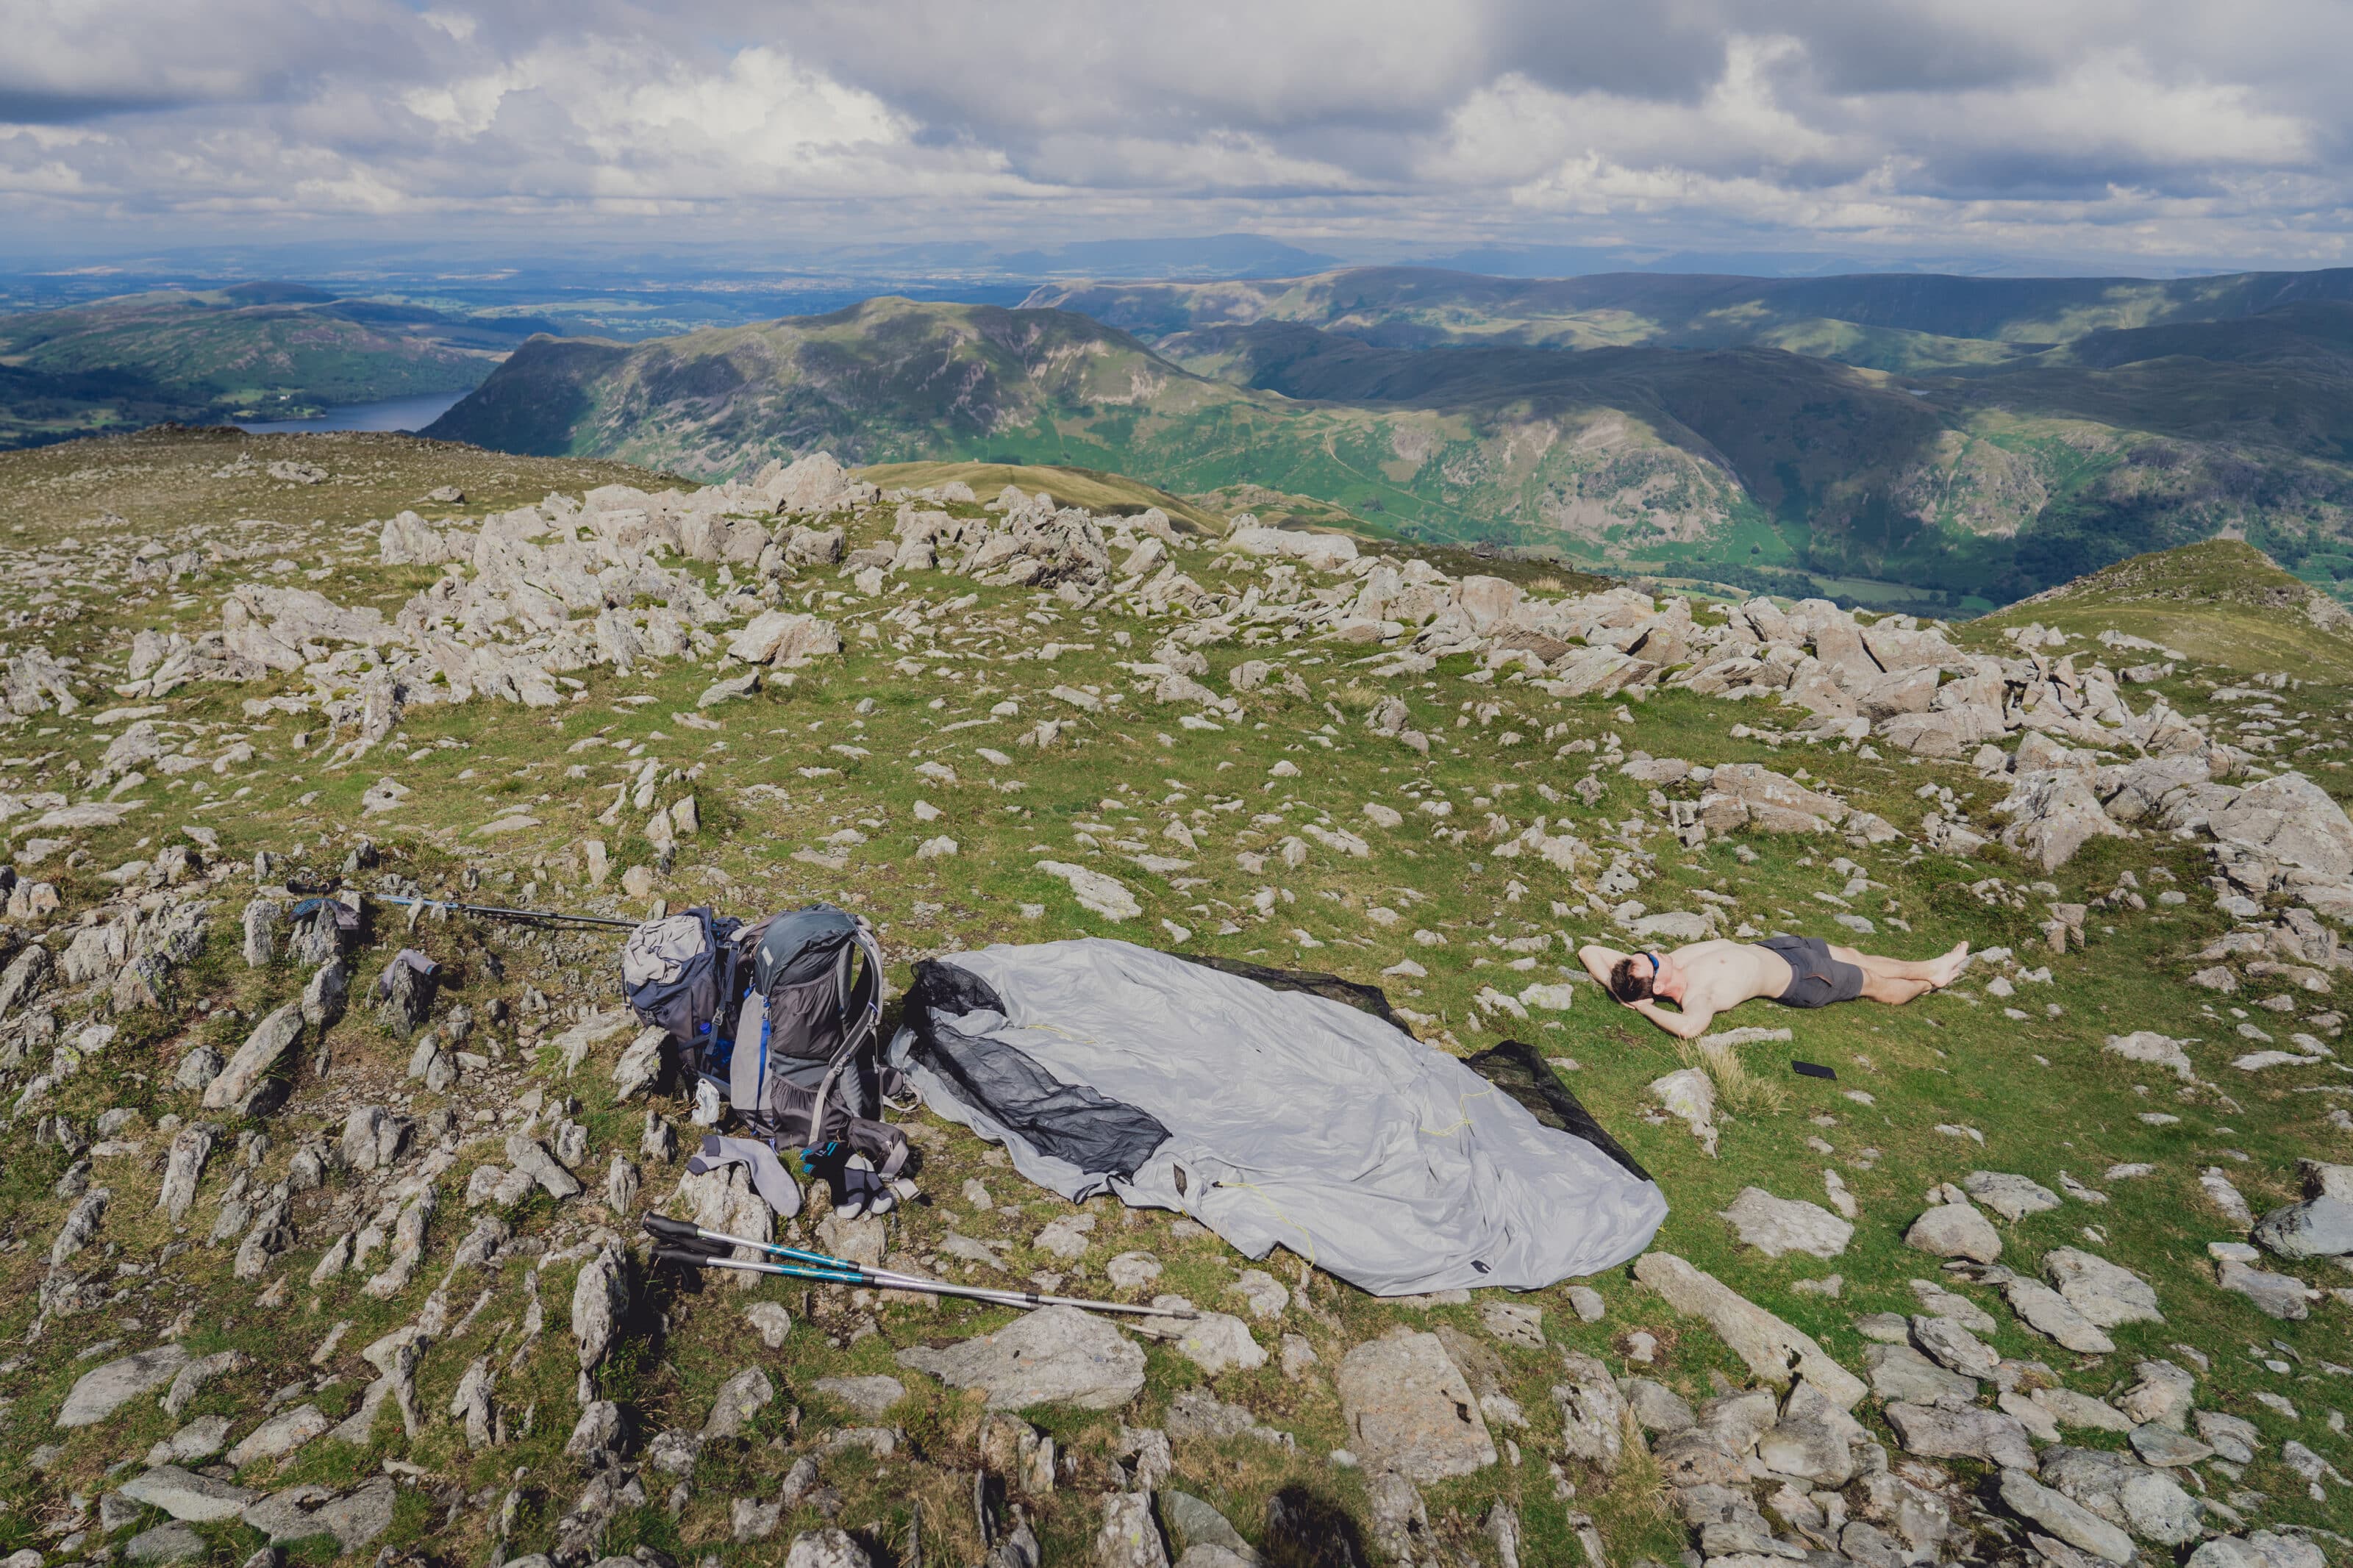
A travel photographer doesn’t always have it easy. But the pictures they bring back are worth the slight discomfort they had to go through and the several kilos they had to give up in their pack for their camera gear.

There are no comments yet.