Nikon Z DX Lenses Test for Landscape Photography
Thinking about purchasing a landscape lens and not sure which to choose? We compared four NIKKOR lenses for the Nikon DX mirrorless Z series, including the Z fc and Z50. We tested factors important for landscape photography, including everything from weight and focusing to vignetting.
Before you decide on a lens, decide which camera body you’re going to be using. Whether a full-frame sensor, or if the smaller DX or ASP-C sensor is enough. The main advantage of the small sensor format is the smaller size and weight of the camera body, even after the lens is mounted.
If you want to be confident in your choice, you can do what I did and use a photography equipment rental company. You can rent a lens for an affordable price, and if it doesn’t suit you, you can return it.
Tested lenses and their specifications
In order to not get lost in technocratic names, I’ll refer to the lenses by their focal lengths. The names of the lenses can be found below, along with an overview of their basic specifications.
NIKKOR Z DX 16-50mm f/3.5-6.3 VR
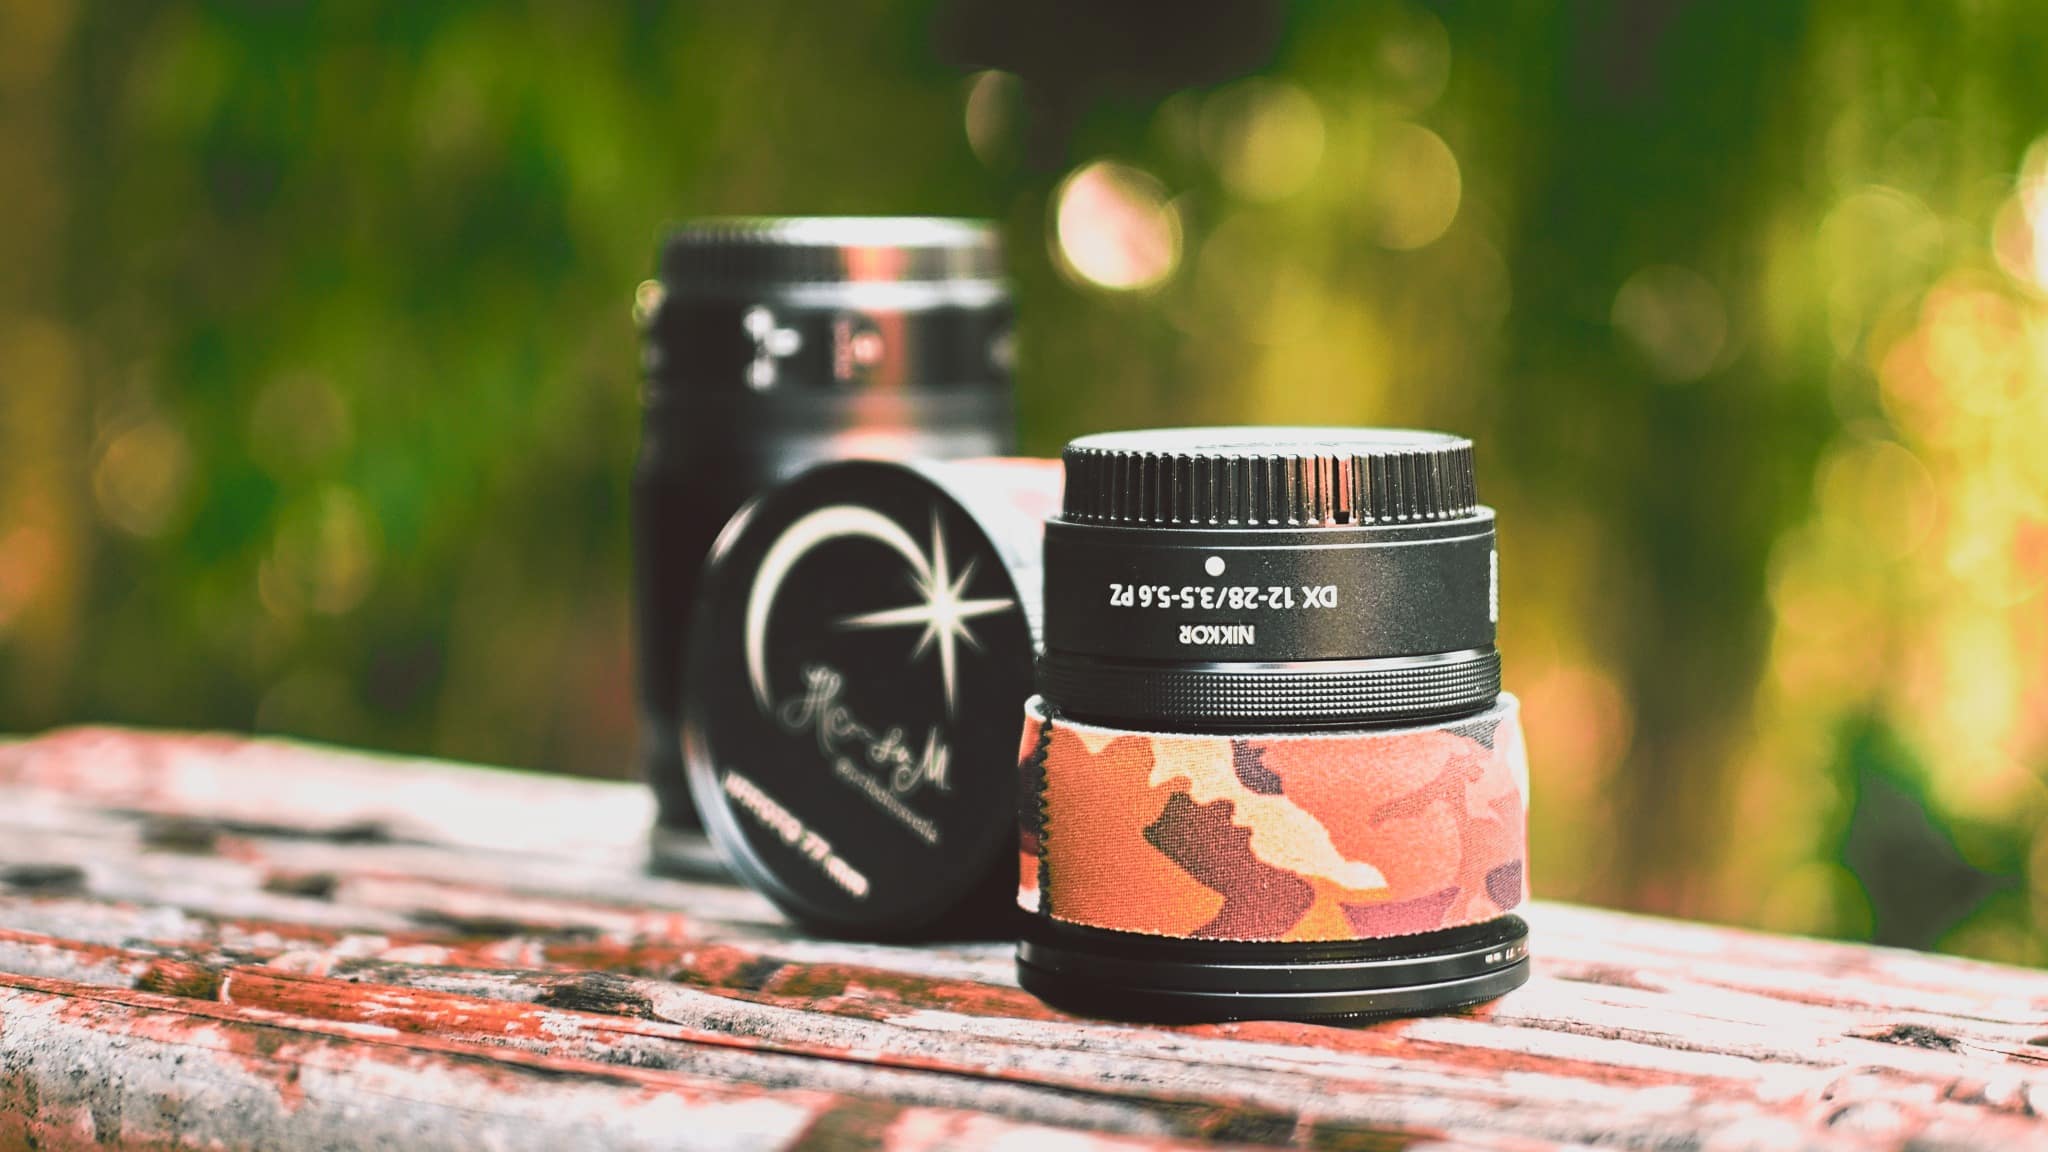
NIKKOR Z DX 12-28mm f/3.5-5.6 PZ VR
AF-S DX NIKKOR 10-24mm f/3.5-4.5G ED
| Focal length [mm] | Widest angle of view [°] | Minimum aperture [1/f] | Weight [g] | Flange distance [mm] | filter [mm] | Price [USD] |
| 16-50mm | 83 | 3.5 | 135 | 32 | 46 | $300*Approx.$50 in a set |
| 14-30mm | 90 | 4 | 485 | 85 | 82 | $1,350* |
| 12-28mm | 99 | 3.5 | 205 | 63.5 | 67 | $400* |
| 10-24mm | 109 | 3.5 | 460 + 120 | 87 + 70 | 77 | $950* |
Comparing the lenses in the field
All photos in this article were shot on a tripod. My goal was to get the same photo using the same lighting conditions and from the same direction so that we can compare the differences between the different lenses.
Focal length or angle of view
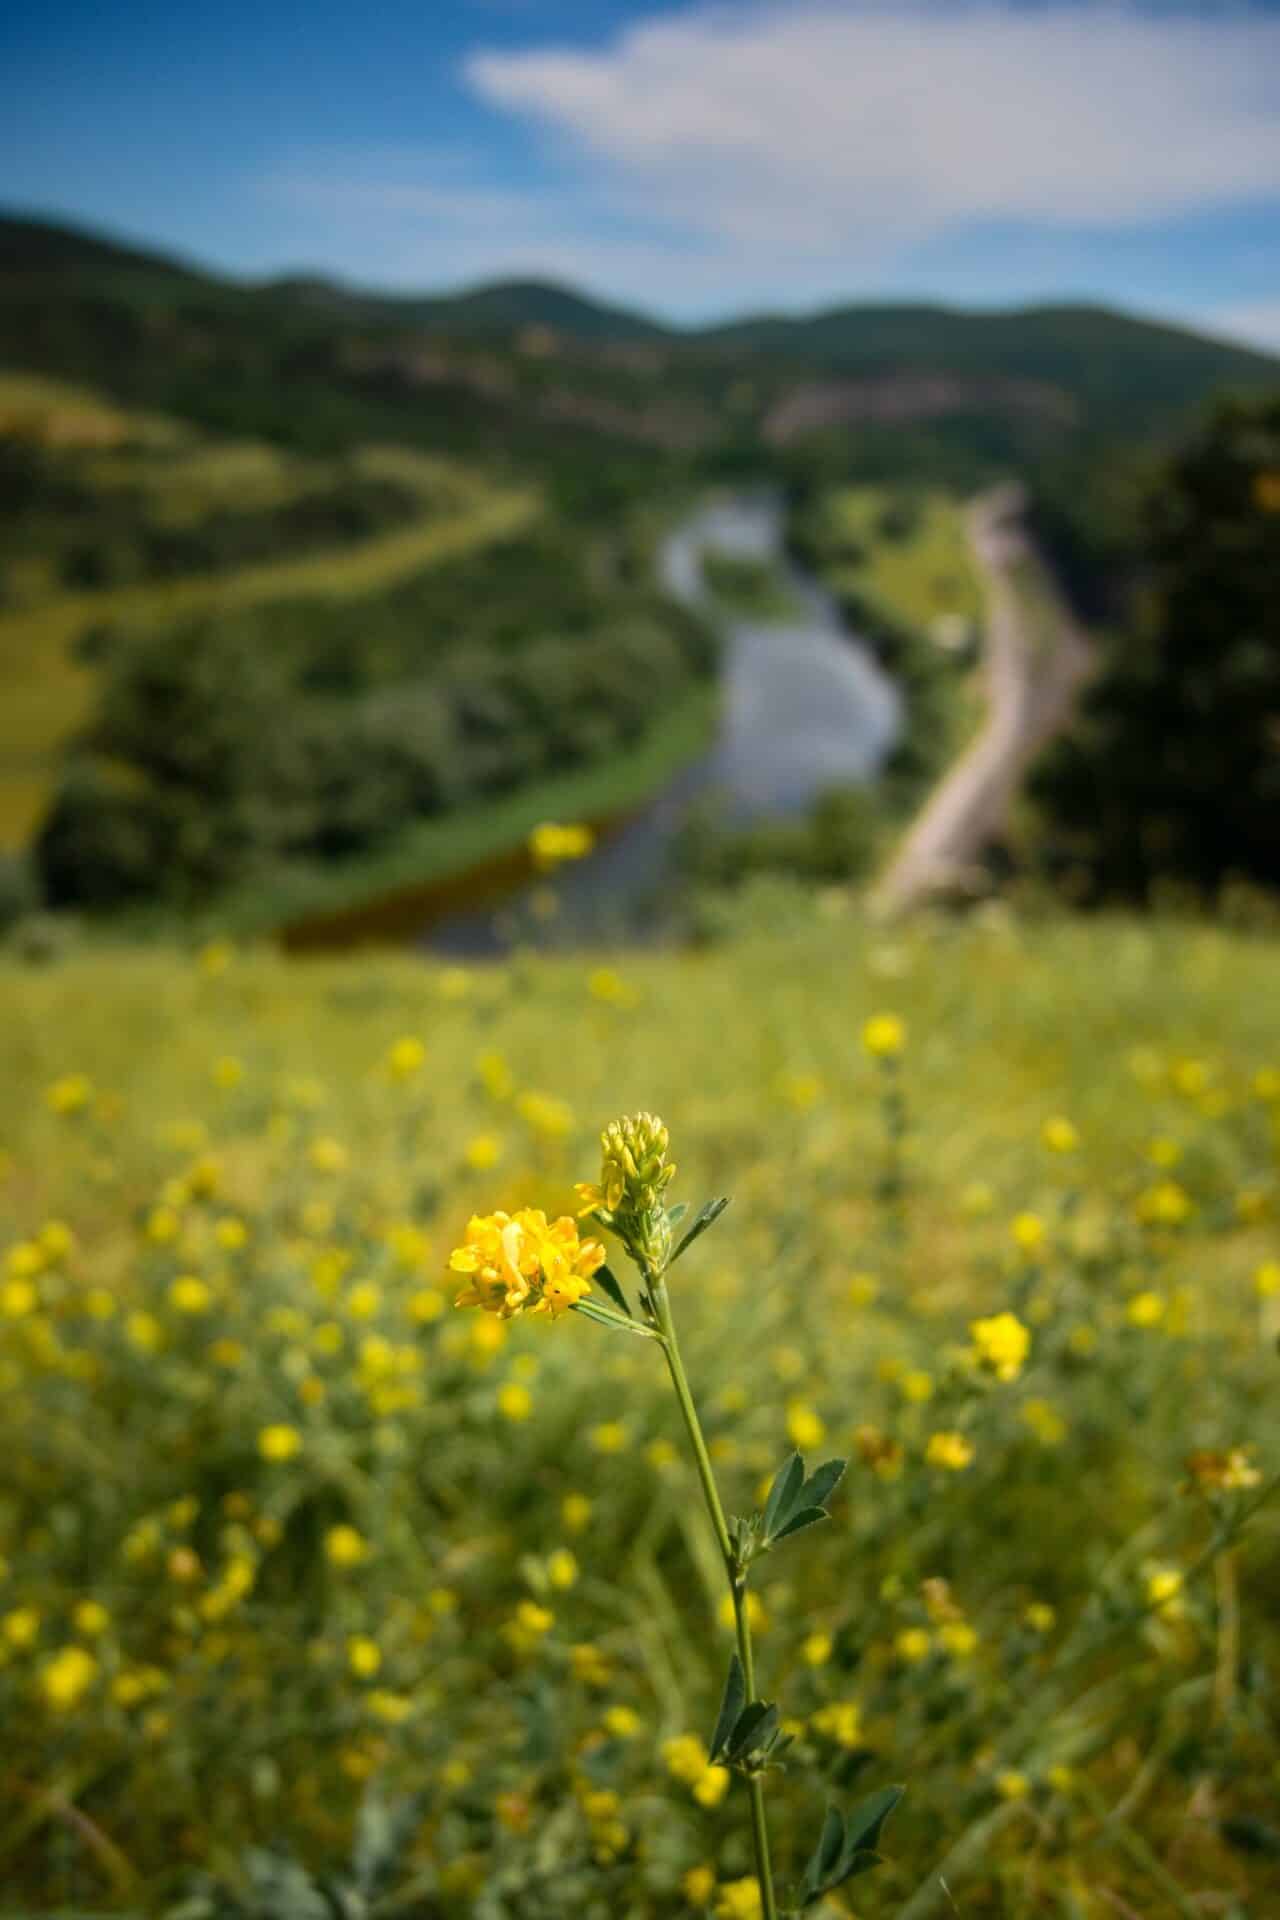
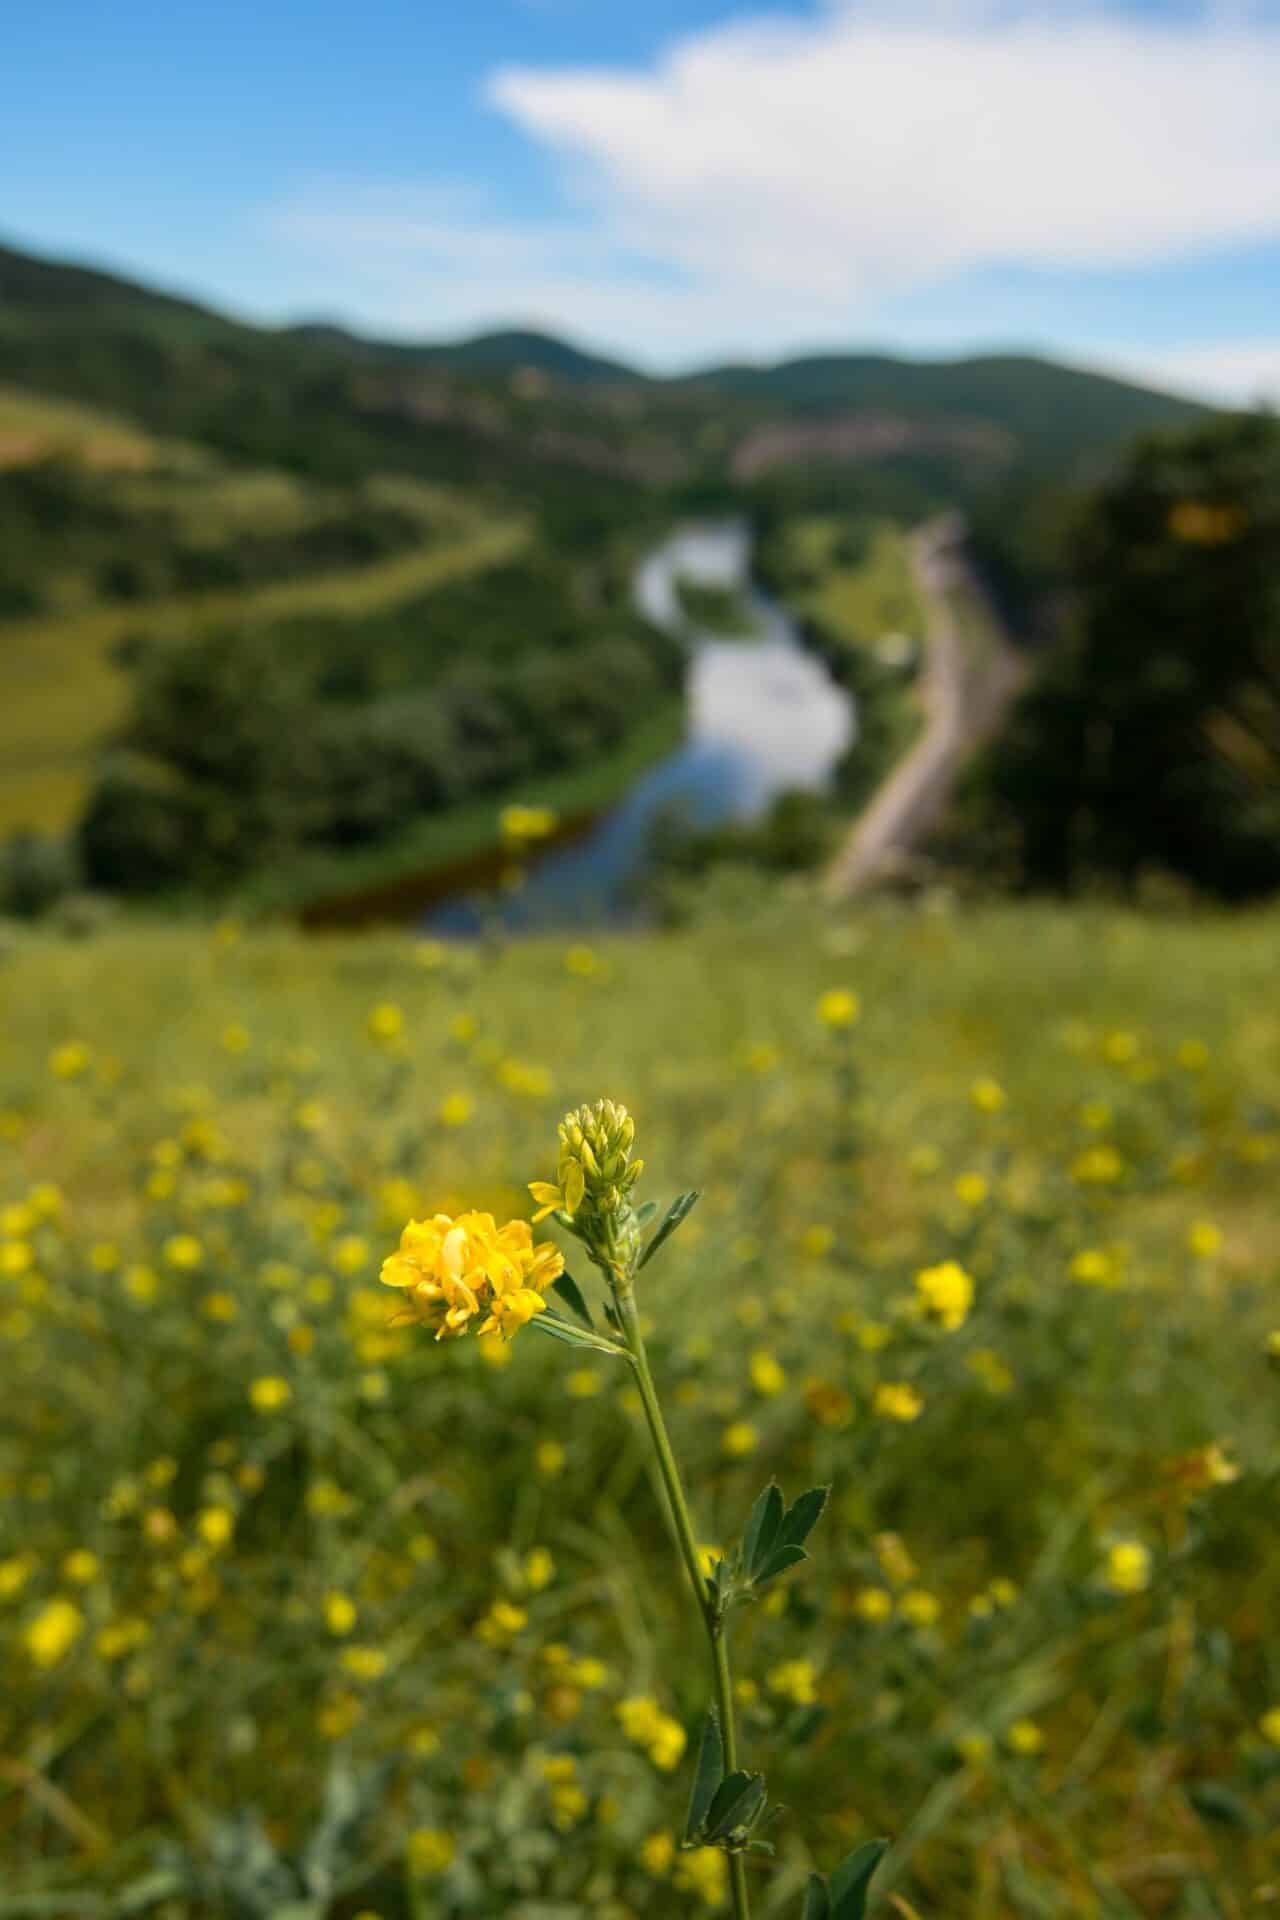
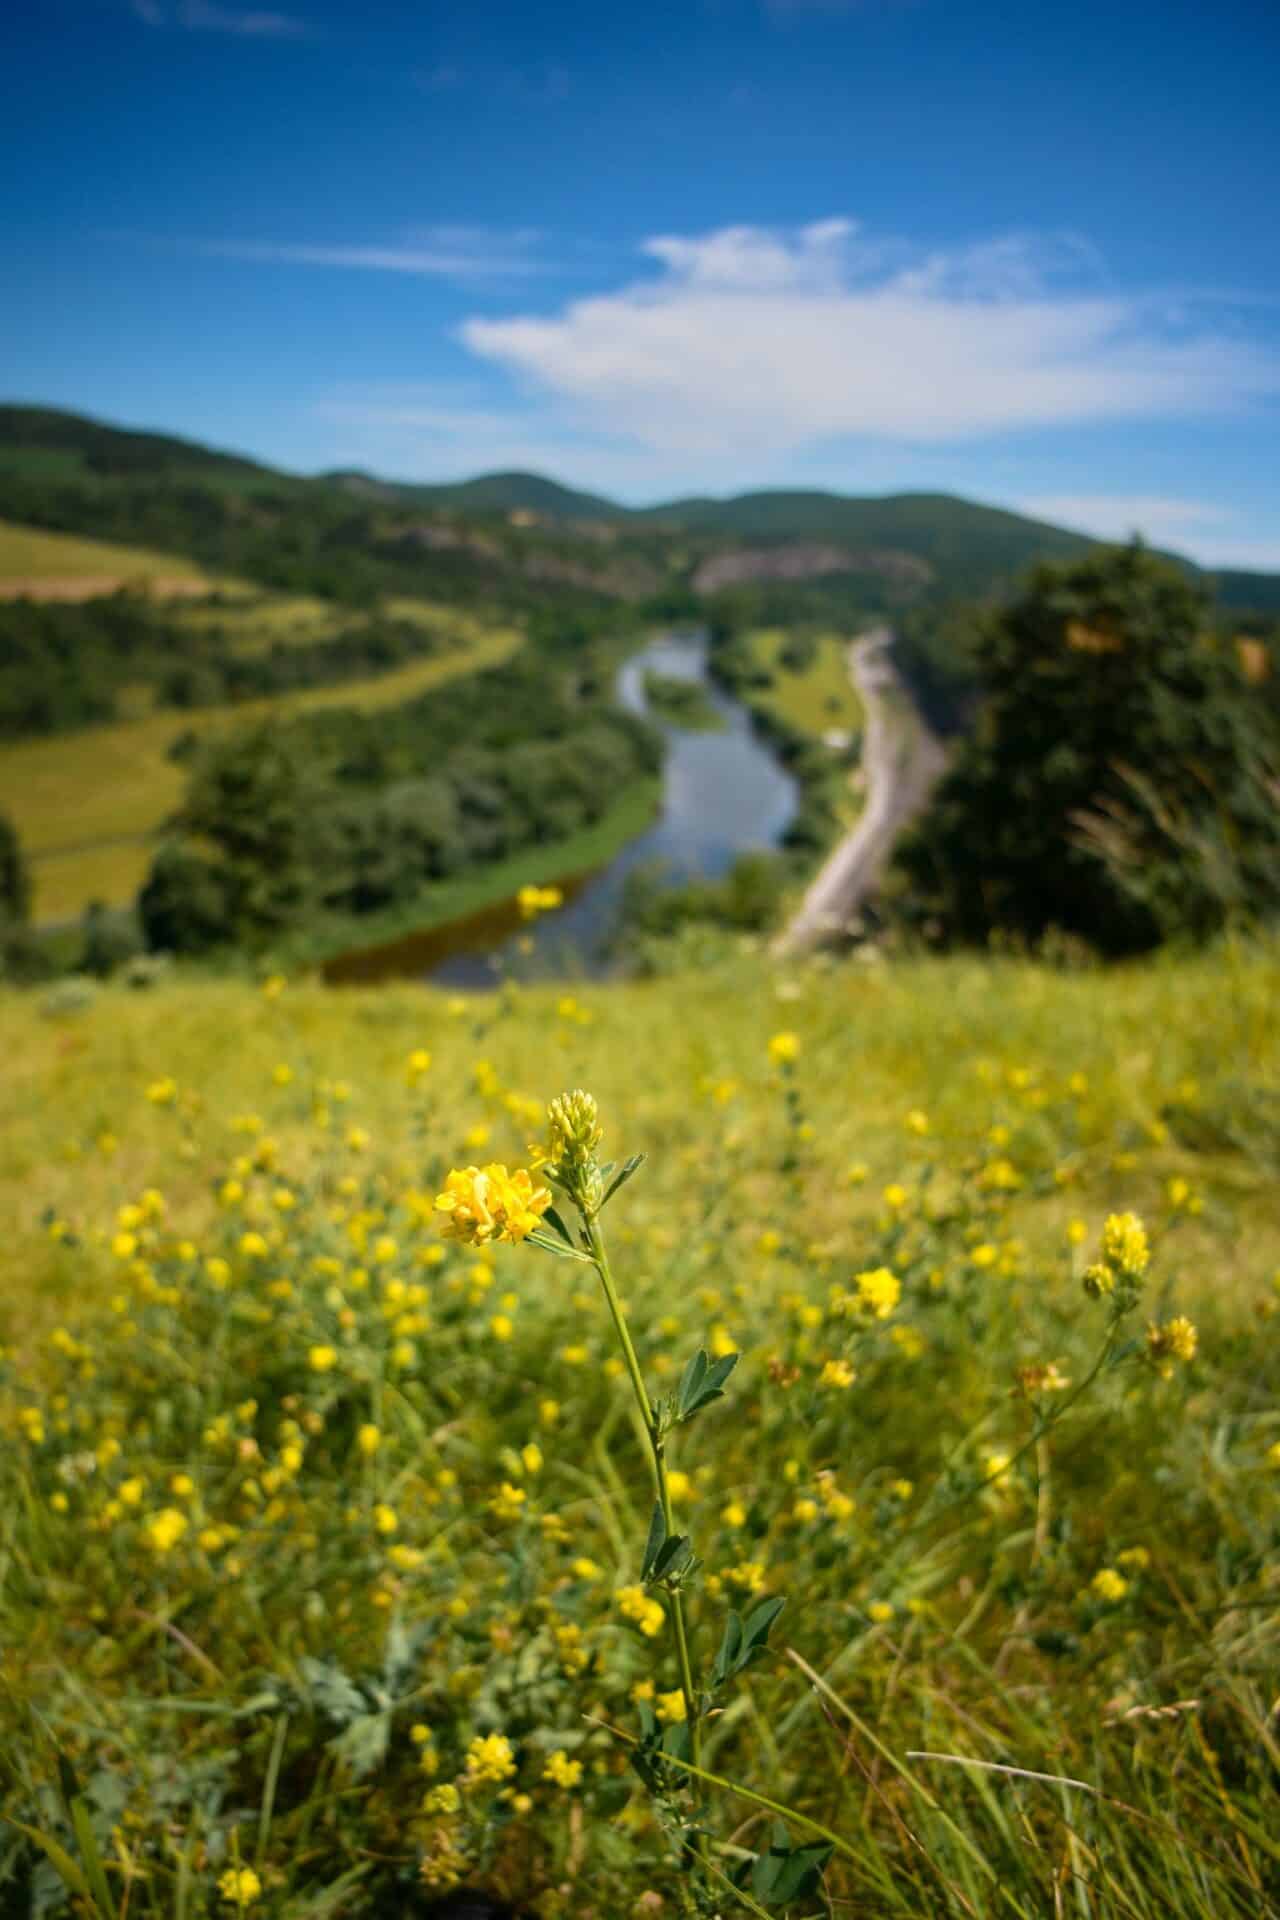
Since the lenses don’t have the same focal length, it’s interesting to compare what fits in the frame and what doesn’t. It may not seem like a big difference, but there are situations where you can’t move back because there’s a wall or mountain edge.
The angle of view is often related to image distortion, especially when shooting architecture. Often there is what’s known as barrel distortion of vertical lines.
-

u003cemu003eWith all lenses, line distortion is almost negligible, thanks to well-done software correction. If you process RAW images without lens corrections, the distortion is still easy to correct. u003c/emu003e
-
u003cemu003eWith all lenses, line distortion is almost negligible, thanks to well-done software correction. If you process RAW images without lens corrections, the distortion is still easy to correct. u003c/emu003e
-
u003cemu003eWith all lenses, line distortion is almost negligible, thanks to well-done software correction. If you process RAW images without lens corrections, the distortion is still easy to correct. u003c/emu003e
-
u003cemu003eWith all lenses, line distortion is almost negligible, thanks to well-done software correction. If you process RAW images without lens corrections, the distortion is still easy to correct. u003c/emu003e
-
u003cemu003eIn these photos, you can compare what part no longer fits in the frame due to the different initial focal lengths of each lens. u003c/emu003e
-

u003cemu003eIn these photos, you can compare what part no longer fits in the frame due to the different initial focal lengths of each lens. u003c/emu003e
-
u003cemu003eIn these photos, you can compare what part no longer fits in the frame due to the different initial focal lengths of each lens. u003c/emu003e
-

u003cemu003eIn these photos, you can compare what part no longer fits in the frame due to the different initial focal lengths of each lens. u003c/emu003e
When shooting landscapes, you often want to get wide shots. If there’s nowhere to move, you can always shoot the scene in sections, ideally in portrait orientation, and then stitch together the panorama using Zoner Studio.
-
u003cemu003eAnother example of how much can fit in the frame from one location. u003c/emu003e
-
u003cemu003eAnother example of how much can fit in the frame from one location. u003c/emu003e
-
u003cemu003eAnother example of how much can fit in the frame from one location. u003c/emu003e
-
u003cemu003eAnother example of how much can fit in the frame from one location. u003c/emu003e
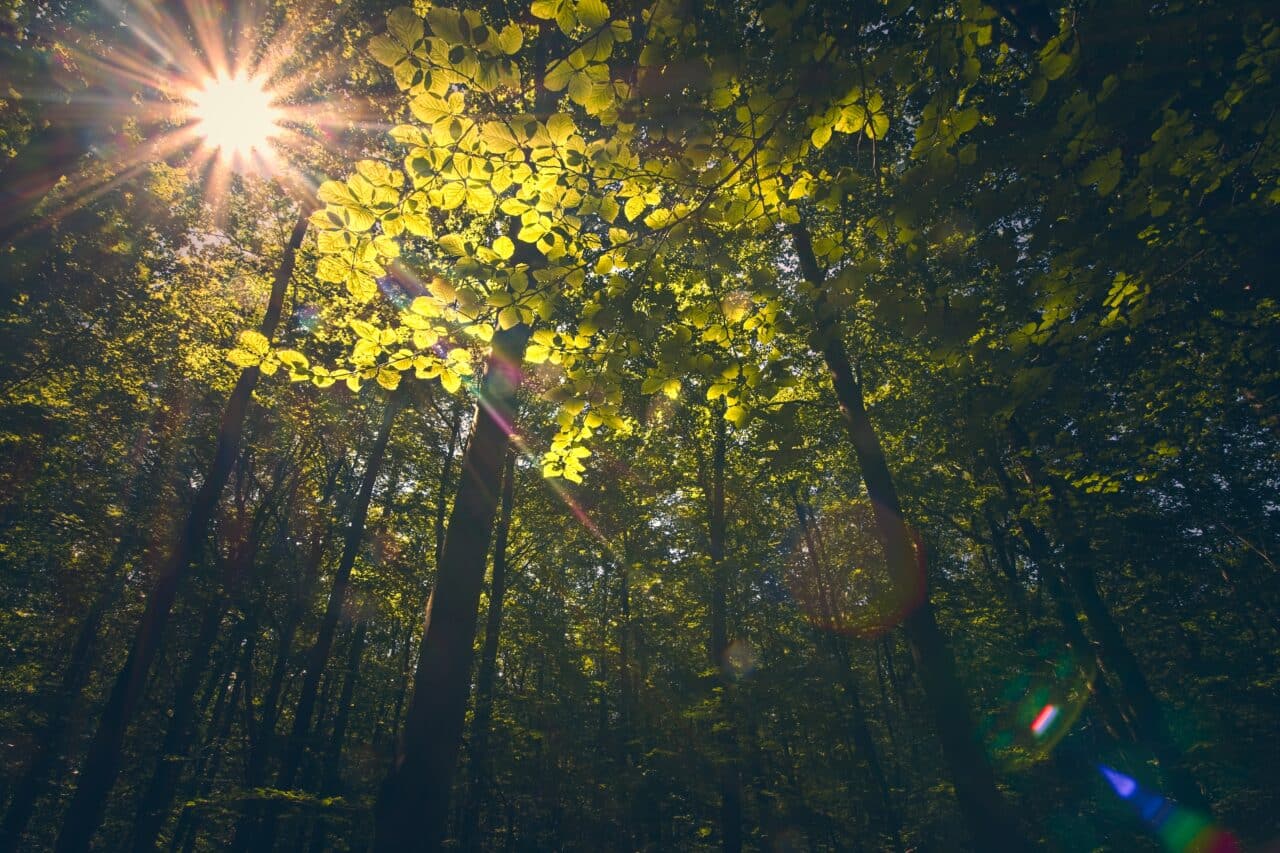
Starbursts or creative optical diffraction effects
Many landscape photographers, myself included, like to shoot sunrises and sunsets. There’s nothing more beautiful than when the light bends around the aperture blades and creates a beautiful “star.” Higher apertures result in more optical diffraction, which is what causes the light to bend. However, this lowers the sharpness of the photograph at high apertures. Fortunately, a good landscape lens takes this into account and its processing is designed to make the starburst as sharp as possible, even at low apertures.
When shooting in backlight with direct light sources, there is often lens flare. Sometimes the lens artifacts can be pleasing, and other times distracting. The better the lens, the more anti-reflective and correction layers it has to cultivate and minimize flare.
-

u003cemu003eThe 10-24 lens achieves interesting flare in side light, which can give the photo character. But at the bottom, it can get distracting. The 14-30 lens, thanks to the fact that it is designed for large sensors and only the center is used, has almost no visible flare. At the same time, the starbursts are cleaner. u003c/emu003e
-
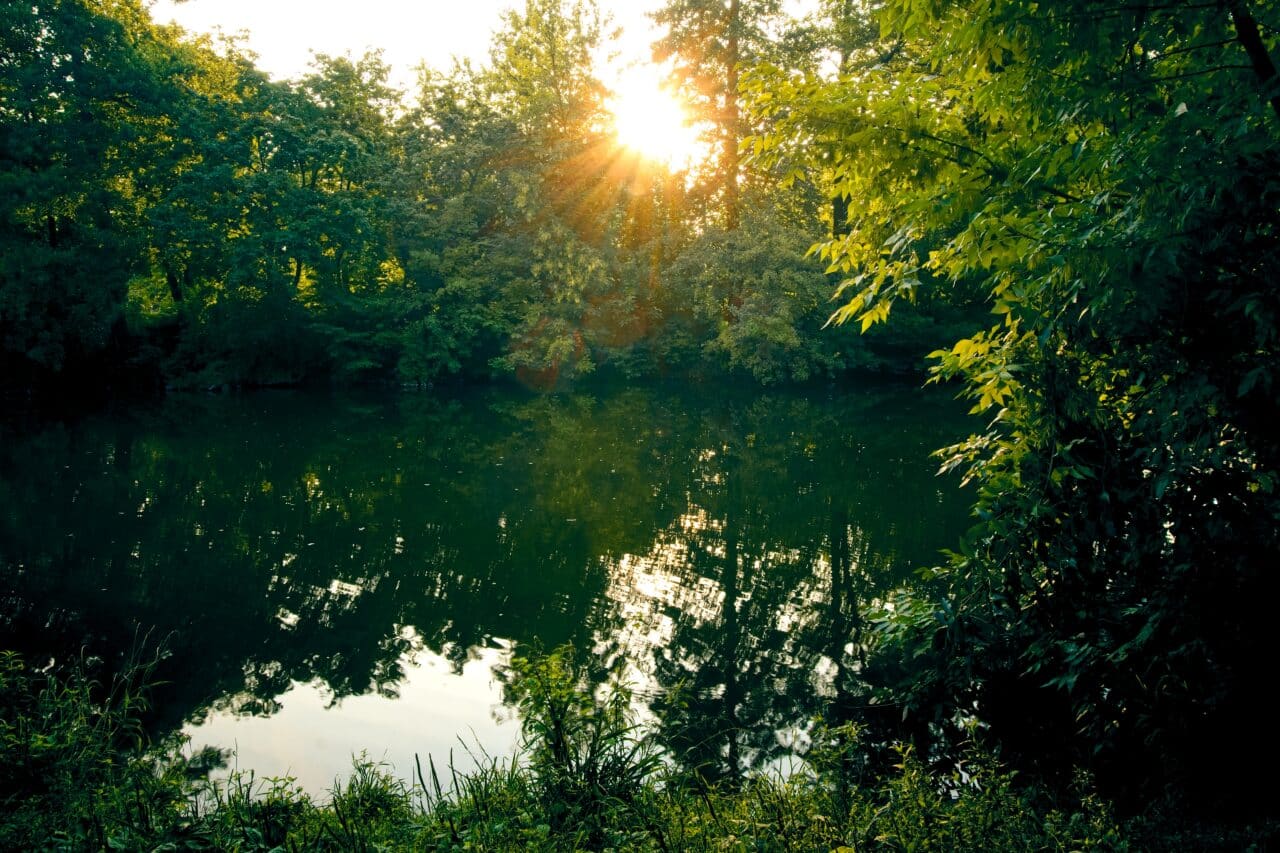
u003cemu003eIn direct sunlight, you can get beautiful starbursts with all lenses. Only with the 16-50 kit lens, the starburst is more diffused and covered in lens flare. In the same direction of light, the 12-28 lens, otherwise very resistant to flare, displays some distracting blue lens flare. Fortunately, it can be easily minimized using u003ca href=u0022https://learn.zoner.com/local-edits-color-shift-and-curves-editing/u0022 target=u0022_blanku0022 rel=u0022noreferrer noopeneru0022u003elocal color shiftu003c/au003e to shift the blue to green. u003c/emu003e
-
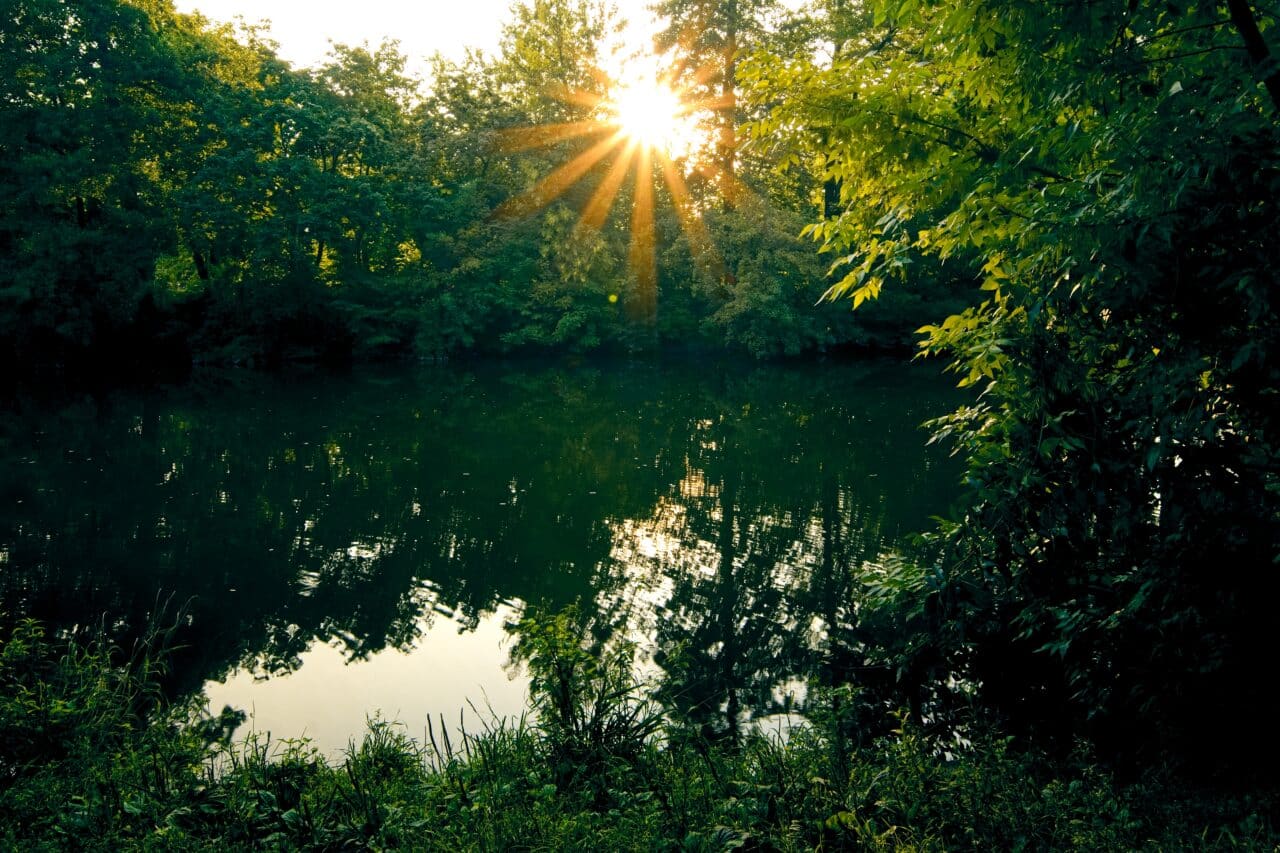
u003cemu003eIn direct sunlight, you can get beautiful starbursts with all lenses. Only with the 16-50 kit lens, the starburst is more diffused and covered in lens flare. In the same direction of light, the 12-28 lens, otherwise very resistant to flare, displays some distracting blue lens flare. Fortunately, it can be easily minimized using u003ca href=u0022https://learn.zoner.com/local-edits-color-shift-and-curves-editing/u0022 target=u0022_blanku0022 rel=u0022noreferrer noopeneru0022u003elocal color shiftu003c/au003e to shift the blue to green. u003c/emu003e
-
u003cemu003eIn direct sunlight, you can get beautiful starbursts with all lenses. Only with the 16-50 kit lens, the starburst is more diffused and covered in lens flare. In the same direction of light, the 12-28 lens, otherwise very resistant to flare, displays some distracting blue lens flare. Fortunately, it can be easily minimized using u003ca href=u0022https://learn.zoner.com/local-edits-color-shift-and-curves-editing/u0022 target=u0022_blanku0022 rel=u0022noreferrer noopeneru0022u003elocal color shiftu003c/au003e to shift the blue to green. u003c/emu003e
Bokeh and out-of-focus parts of the image
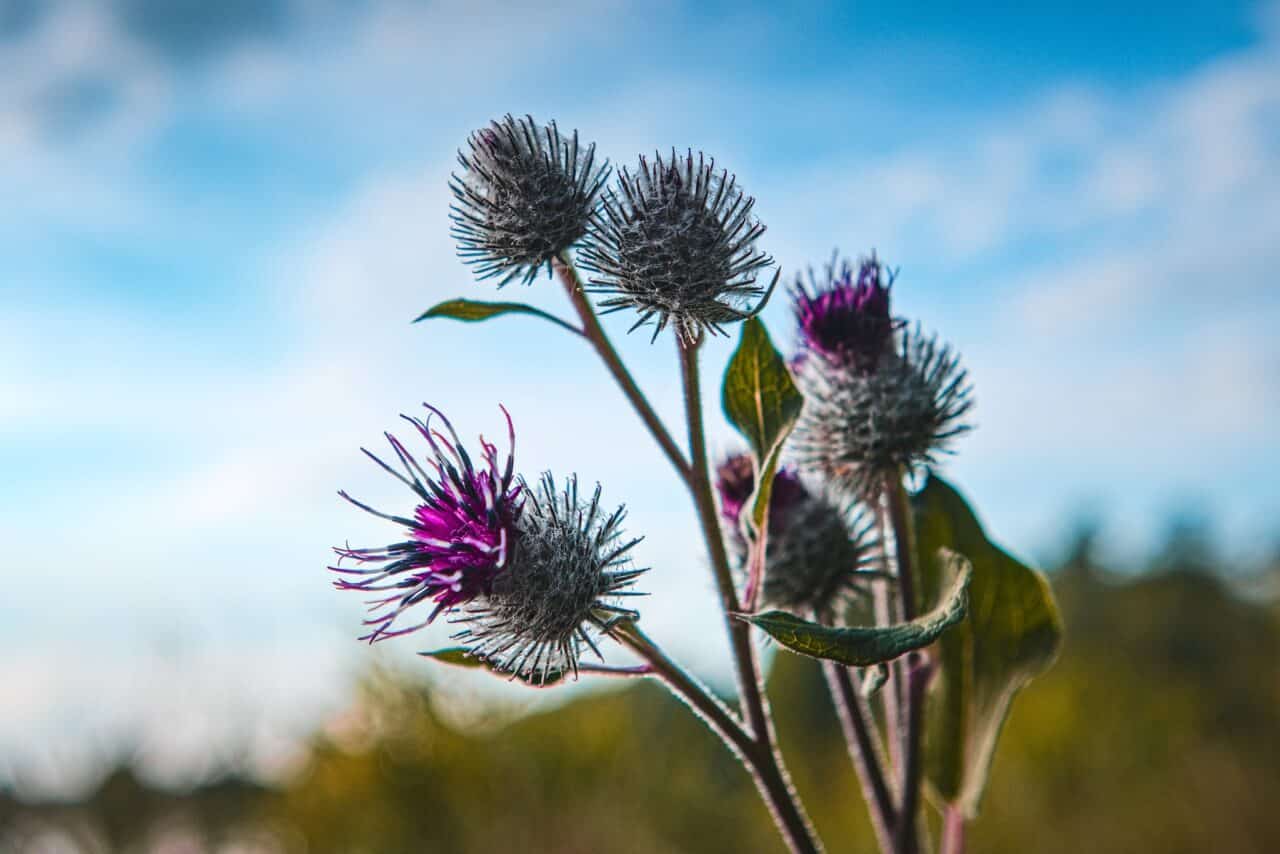
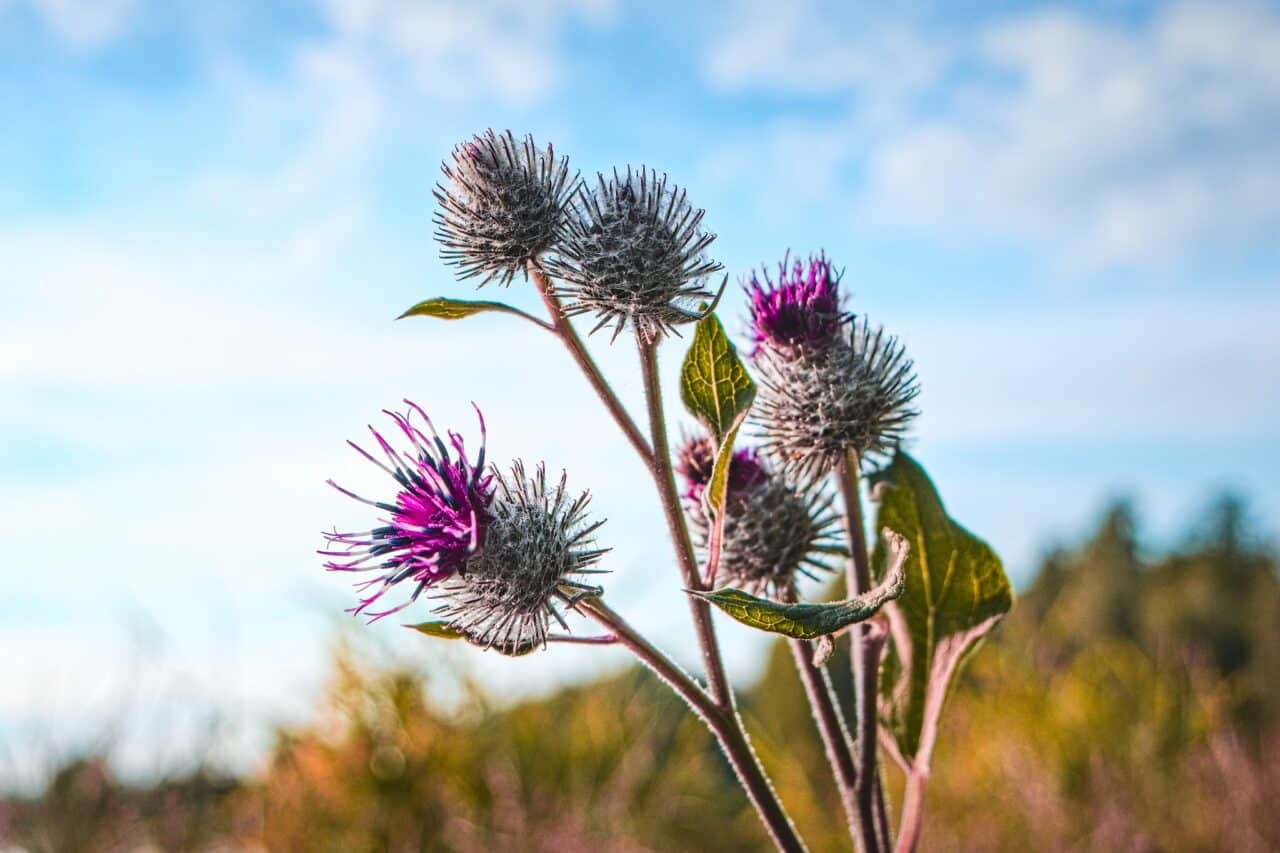
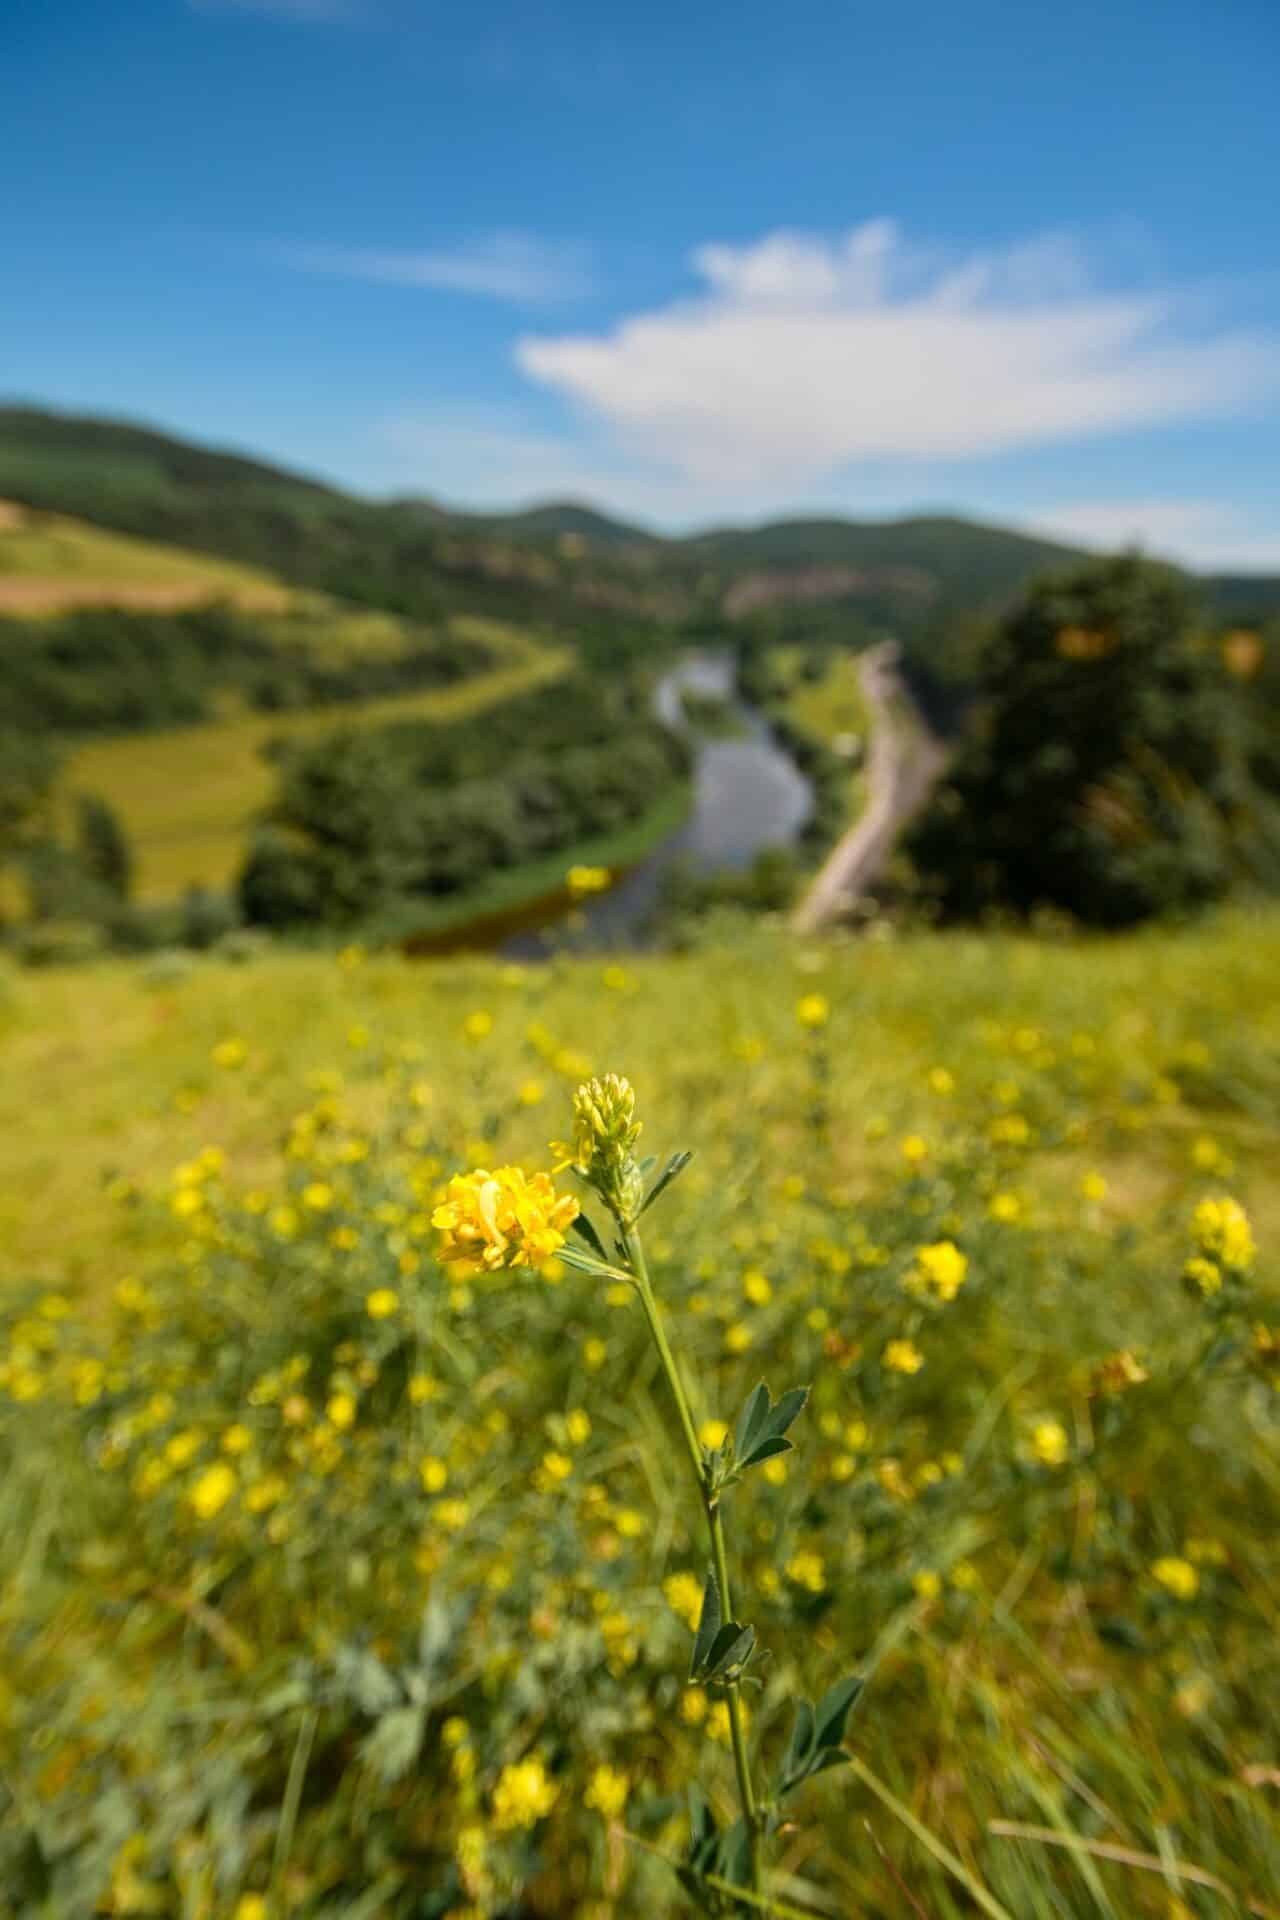
A shallow depth of field is often not considered when discussing landscape lenses. The goal is to have the entire image in focus. In my opinion, this is a shame because there are shots where blurring certain parts of the frame gives a better impression of the depth and can be used to emphasize an interesting subject. I like to use this when shooting close-ups like flowers in a blooming field.
-
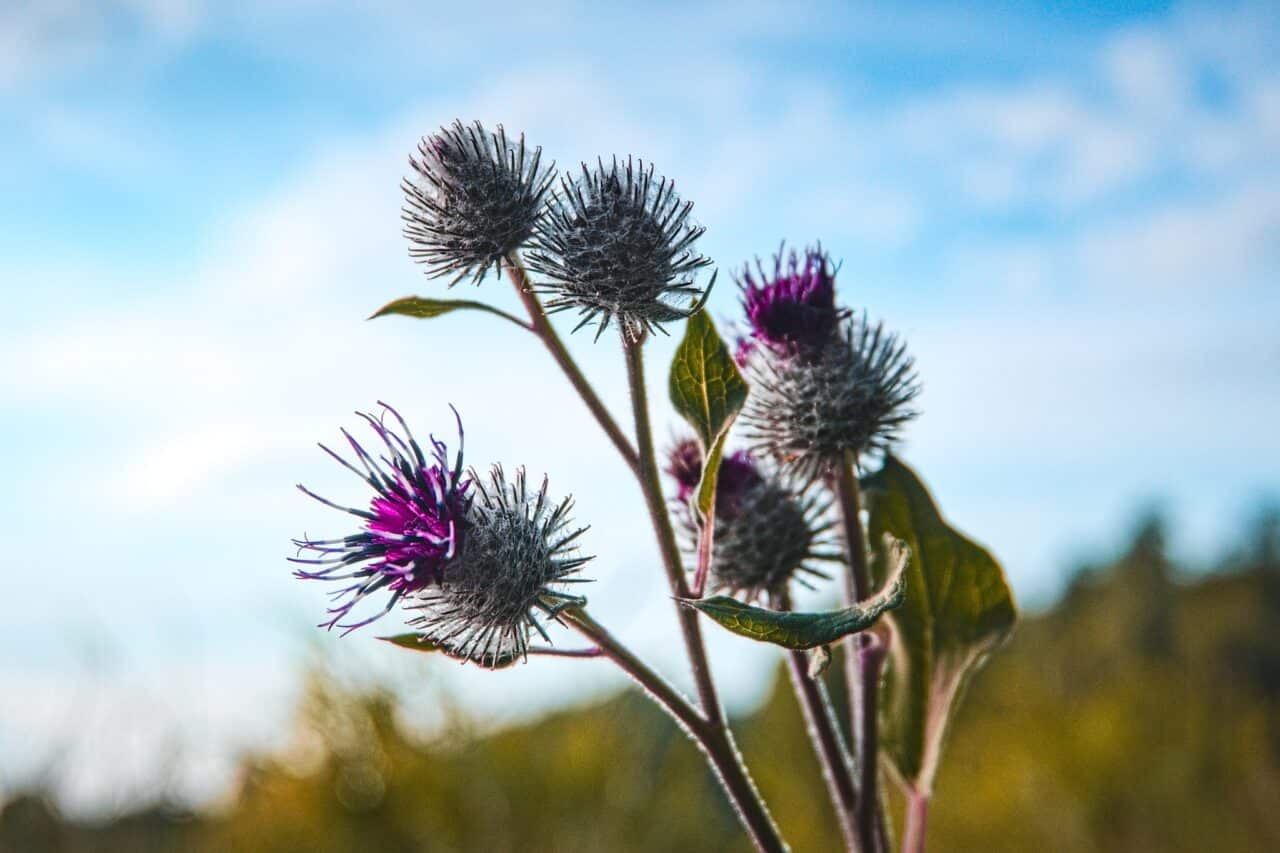
u003cemu003eLandscapes aren’t only views into the distance, but also close-ups. In this photo, you can compare the blurry areas at the lowest aperture with the same focal length of 24mm.u003c/emu003e
-
u003cemu003eLandscapes aren’t only views into the distance, but also close-ups. In this photo, you can compare the blurry areas at the lowest aperture with the same focal length of 24mm.u003c/emu003e
-
u003cemu003eLandscapes aren’t only views into the distance, but also close-ups. In this photo, you can compare the blurry areas at the lowest aperture with the same focal length of 24mm.u003c/emu003e
-
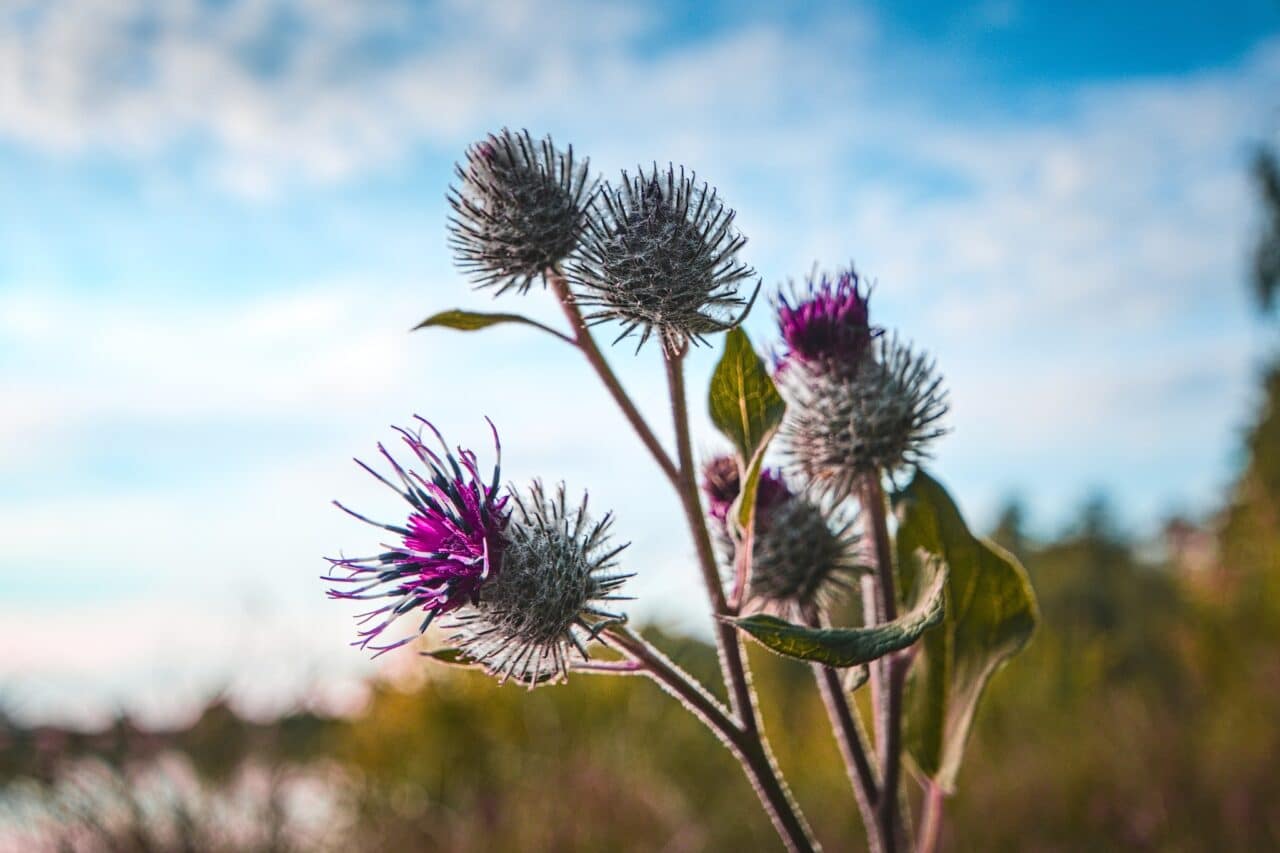
u003cemu003eLandscapes aren’t only views into the distance, but also close-ups. In this photo, you can compare the blurry areas at the lowest aperture with the same focal length of 24mm.u003c/emu003e
-
u003cemu003eSee the differences in how each lens performs at its smallest aperture and focal length. The different angle of view and lens design also affects how we see the out-of-focus parts of the image. u003c/emu003e
-
u003cemu003eSee the differences in how each lens performs at its smallest aperture and focal length. The different angle of view and lens design also affects how we see the out-of-focus parts of the image. u003c/emu003e
-
u003cemu003eSee the differences in how each lens performs at its smallest aperture and focal length. The different angle of view and lens design also affects how we see the out-of-focus parts of the image. u003c/emu003e
-
u003cemu003eSee the differences in how each lens performs at its smallest aperture and focal length. The different angle of view and lens design also affects how we see the out-of-focus parts of the image. u003c/emu003e
Night sky photography
The most important factor for night sky photography is the option to use the smallest possible aperture. Why? Because the more light that hits the sensor, the less we need to increase ISO and the less noise we get.

If you don’t want the stars to turn into lines and you don’t have a special machine that compensates for the Earth’s rotation, set the shutter speed to between 10-15s.
Lenses without autofocus can be useful for night sky photography. These are simpler in design with a speed of around 1.4, such as those from Laowa or TTartisan.
-
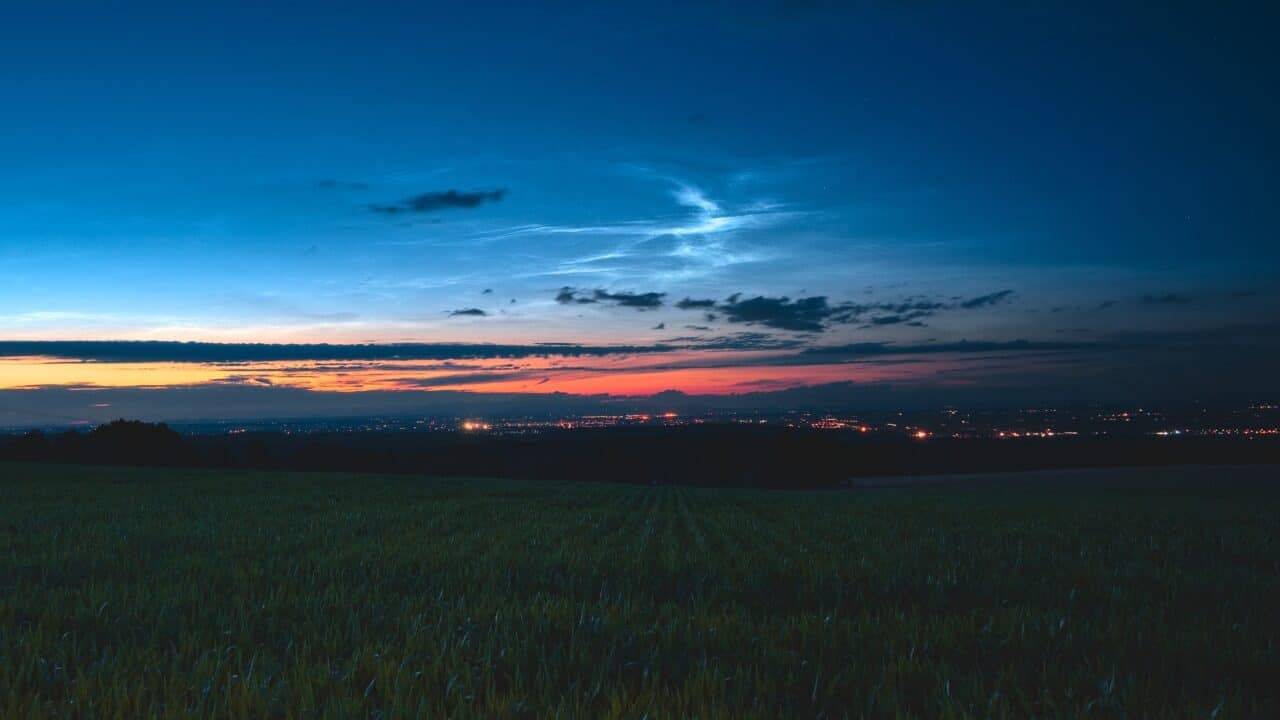
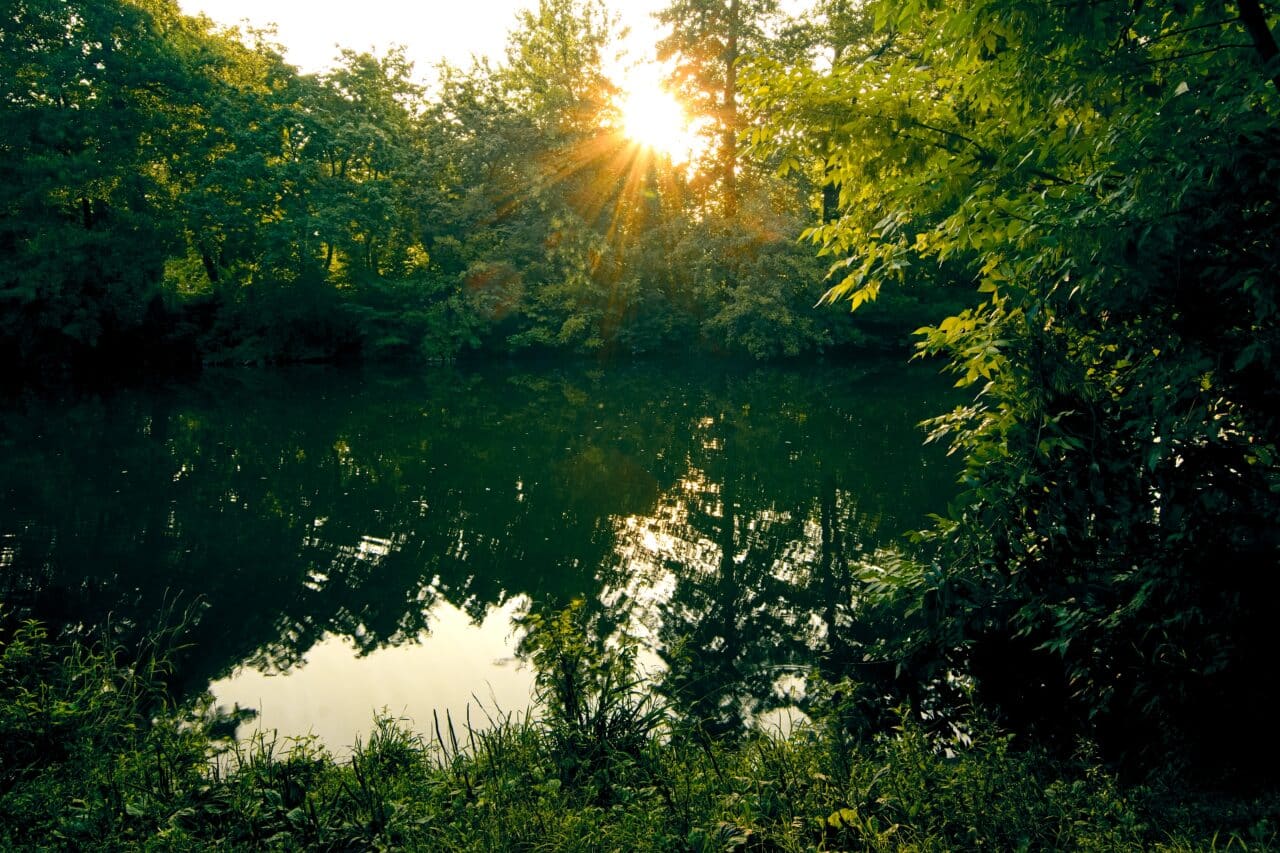
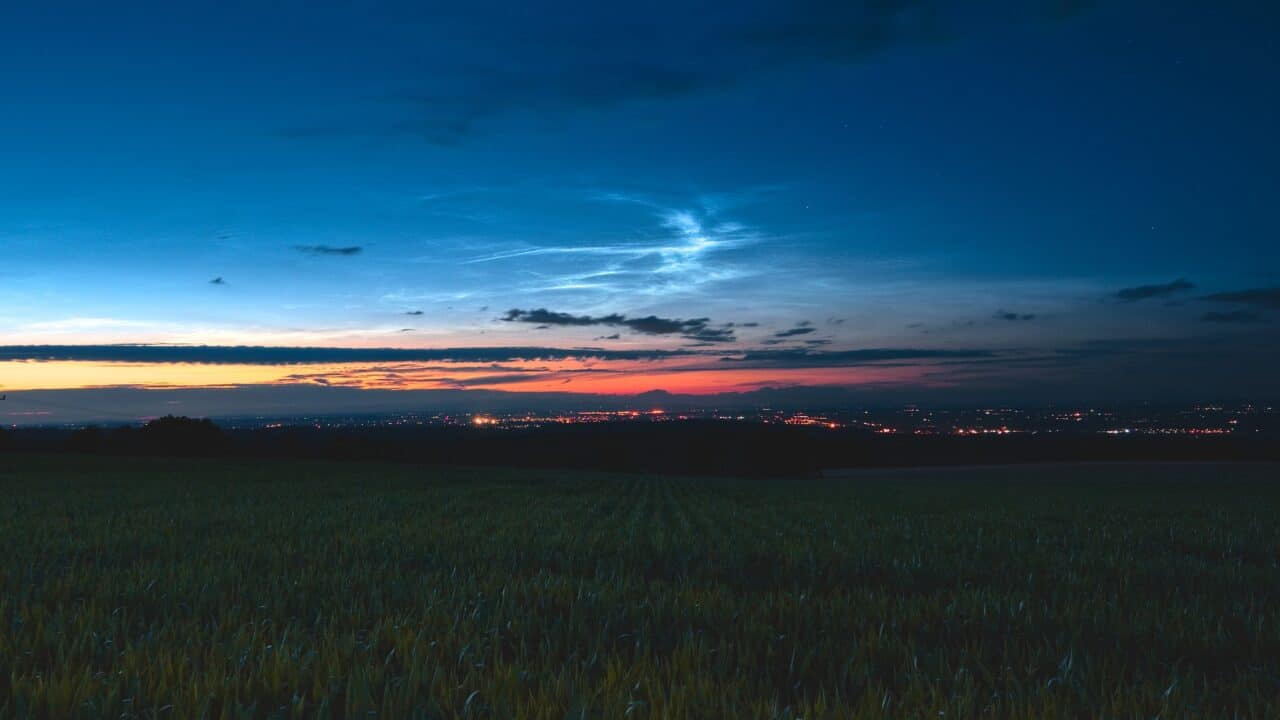
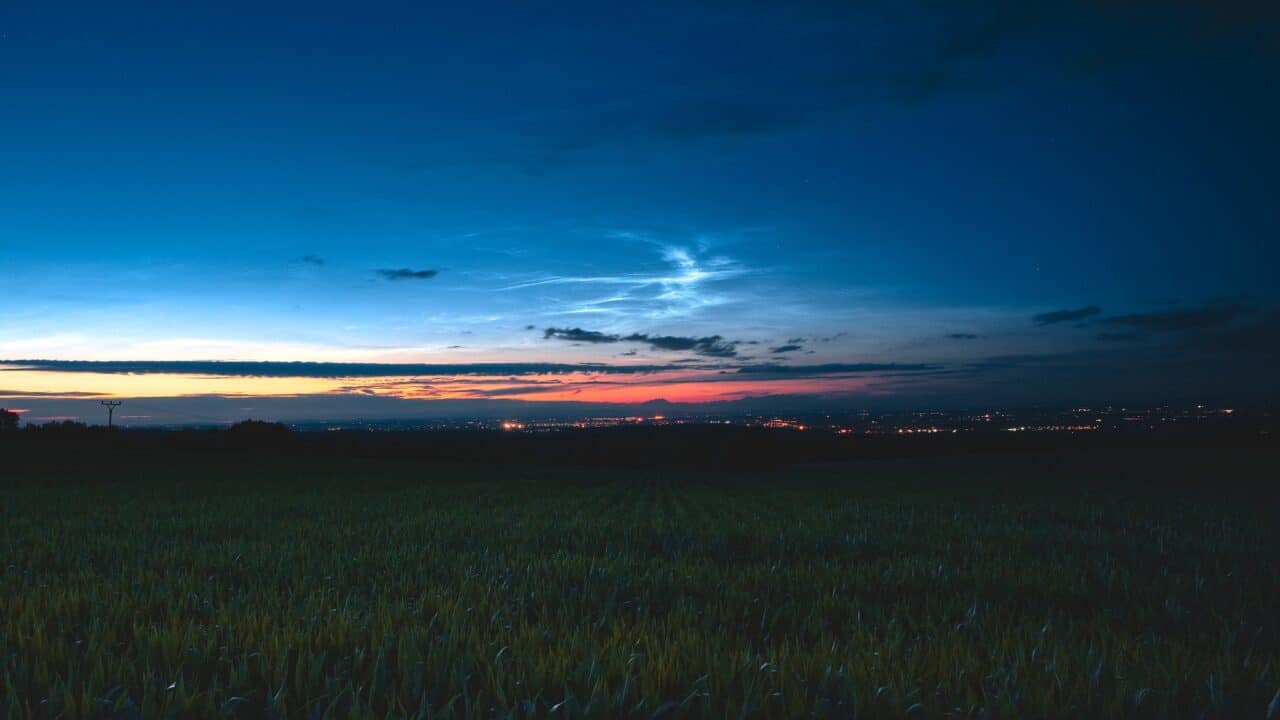
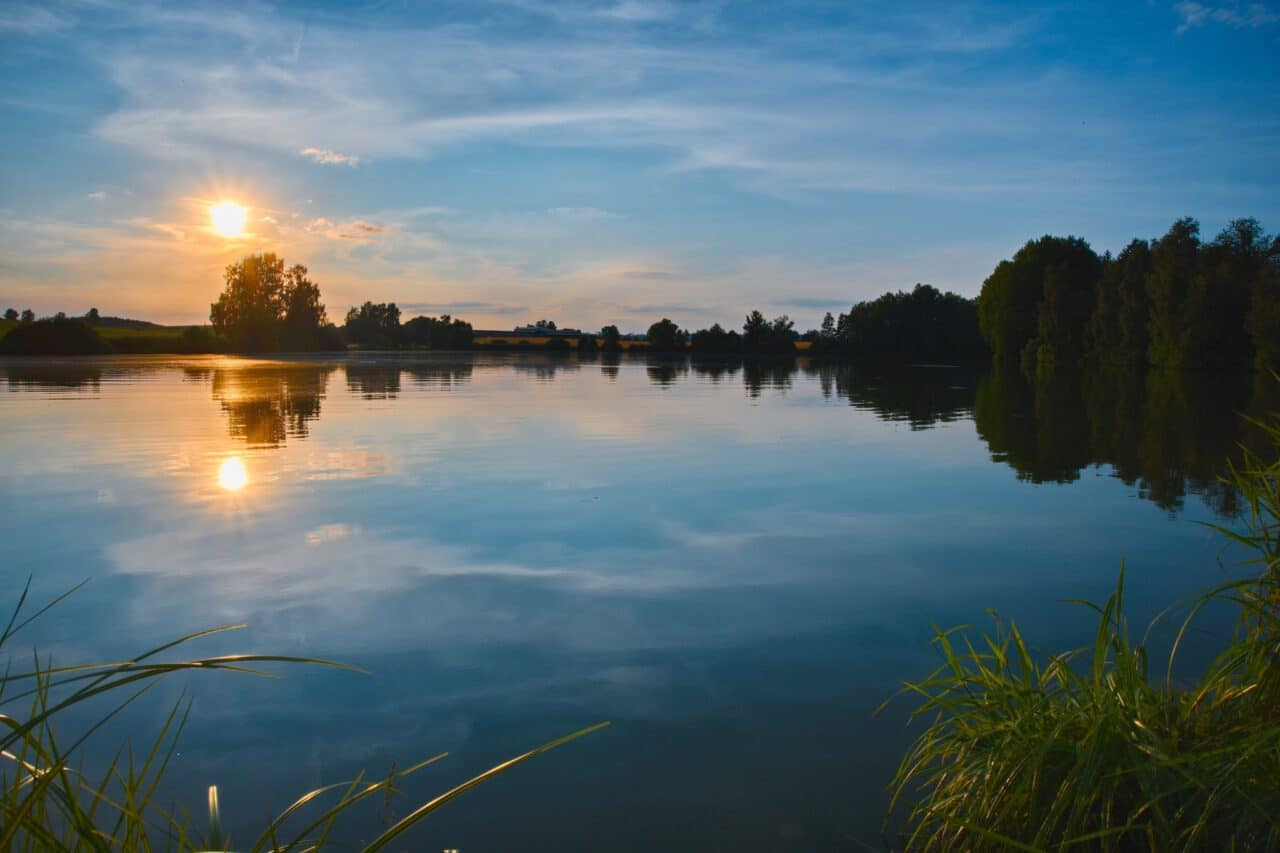
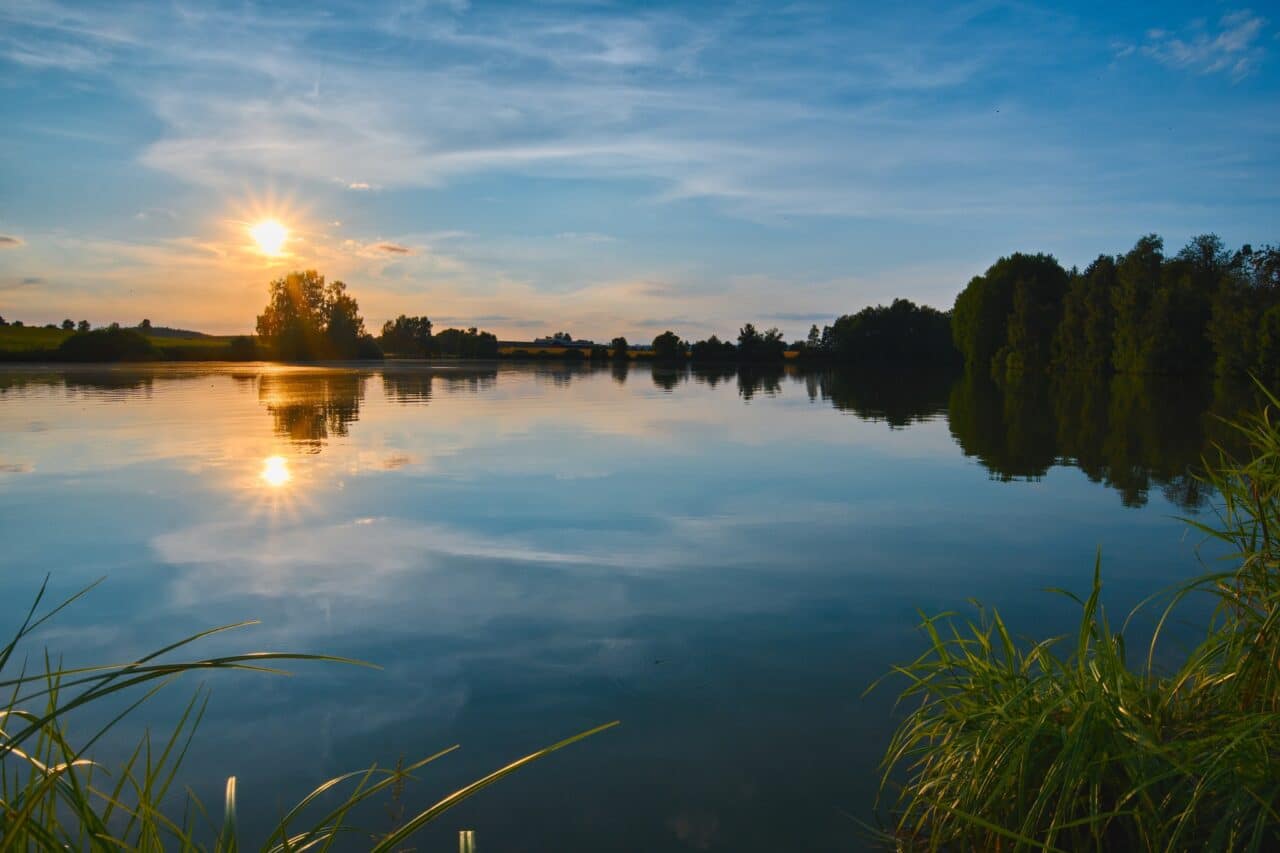
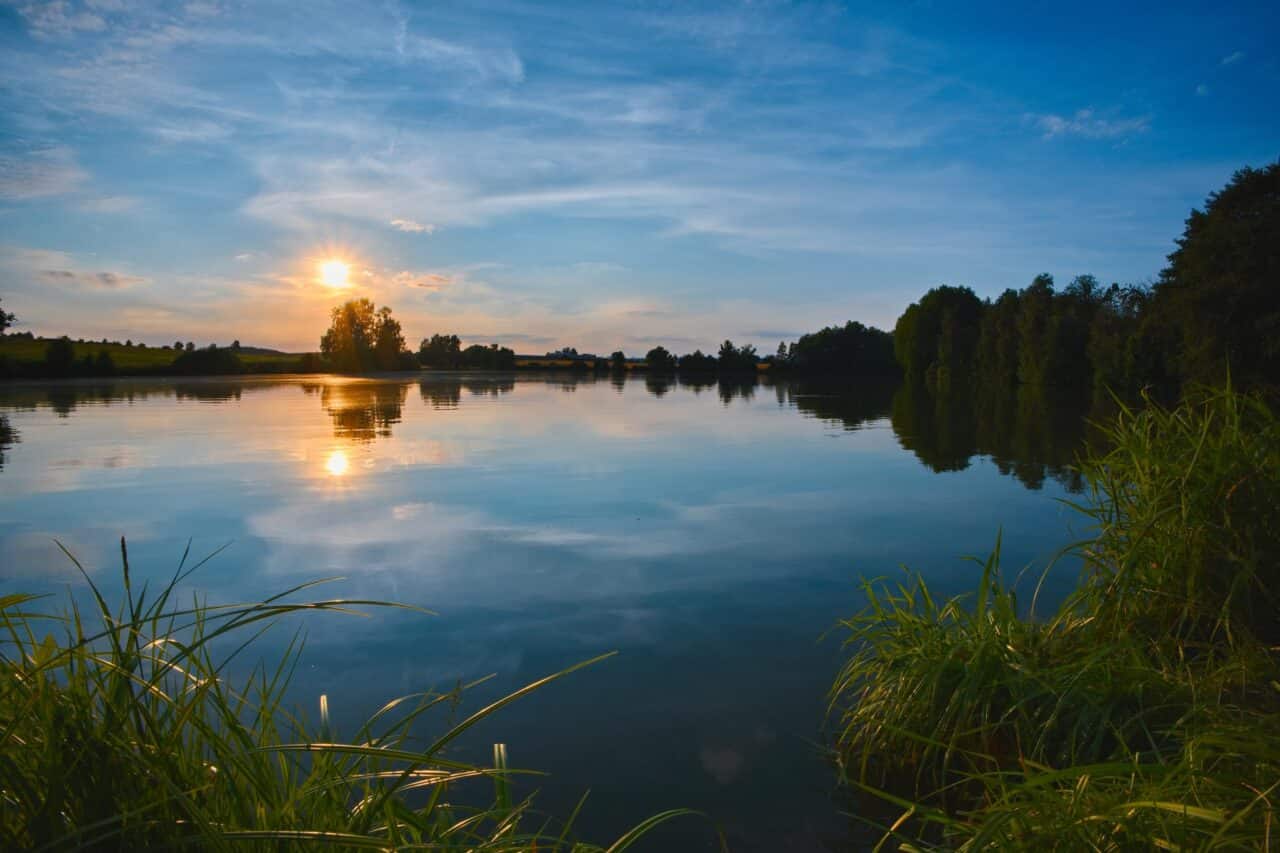
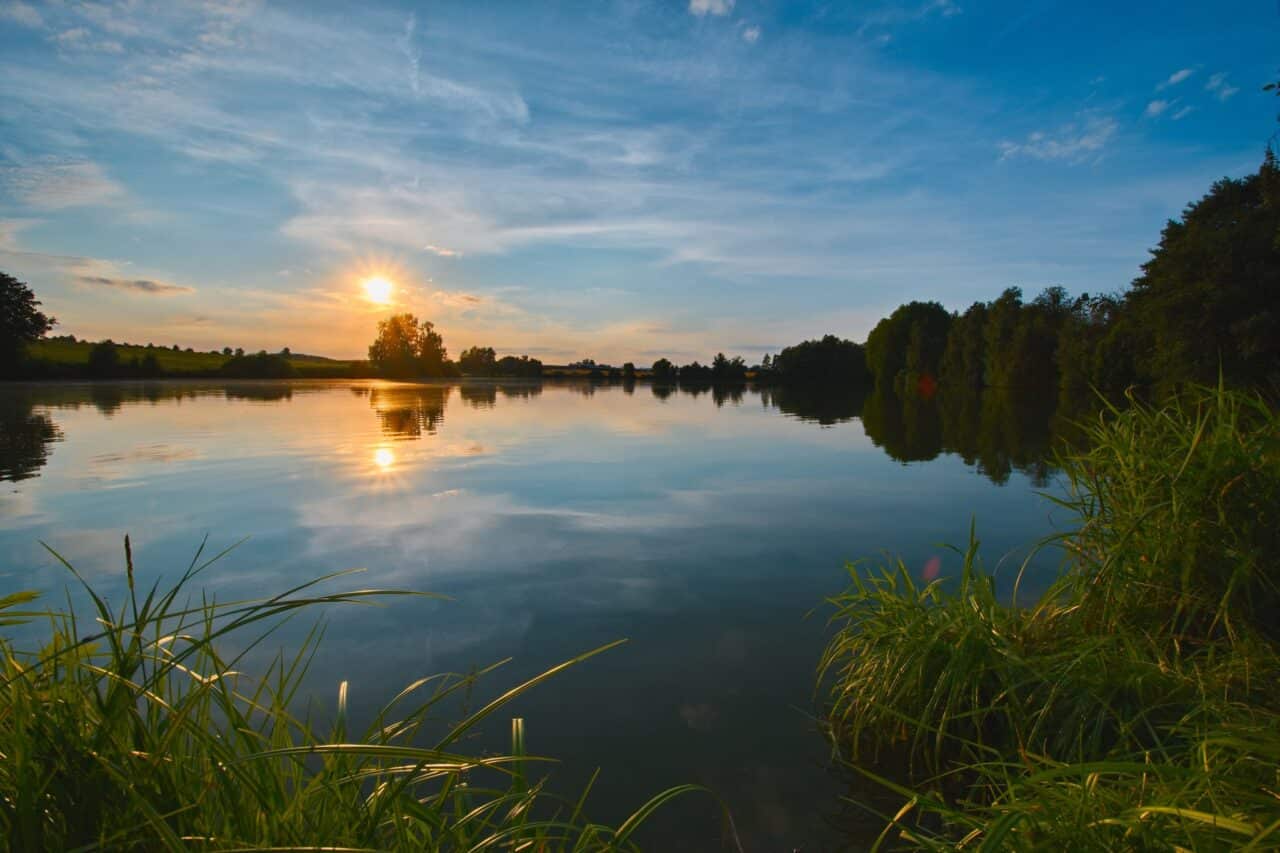
u003cemu003eIn the photo below, you can see beautifully glowing clouds just after sunset. Apart from the different angles of view, all lenses performed well. u003c/emu003e
-
u003cemu003eIn the photo below, you can see beautifully glowing clouds just after sunset. Apart from the different angles of view, all lenses performed well. u003c/emu003e
-
u003cemu003eIn the photo below, you can see beautifully glowing clouds just after sunset. Apart from the different angles of view, all lenses performed well. u003c/emu003e
-
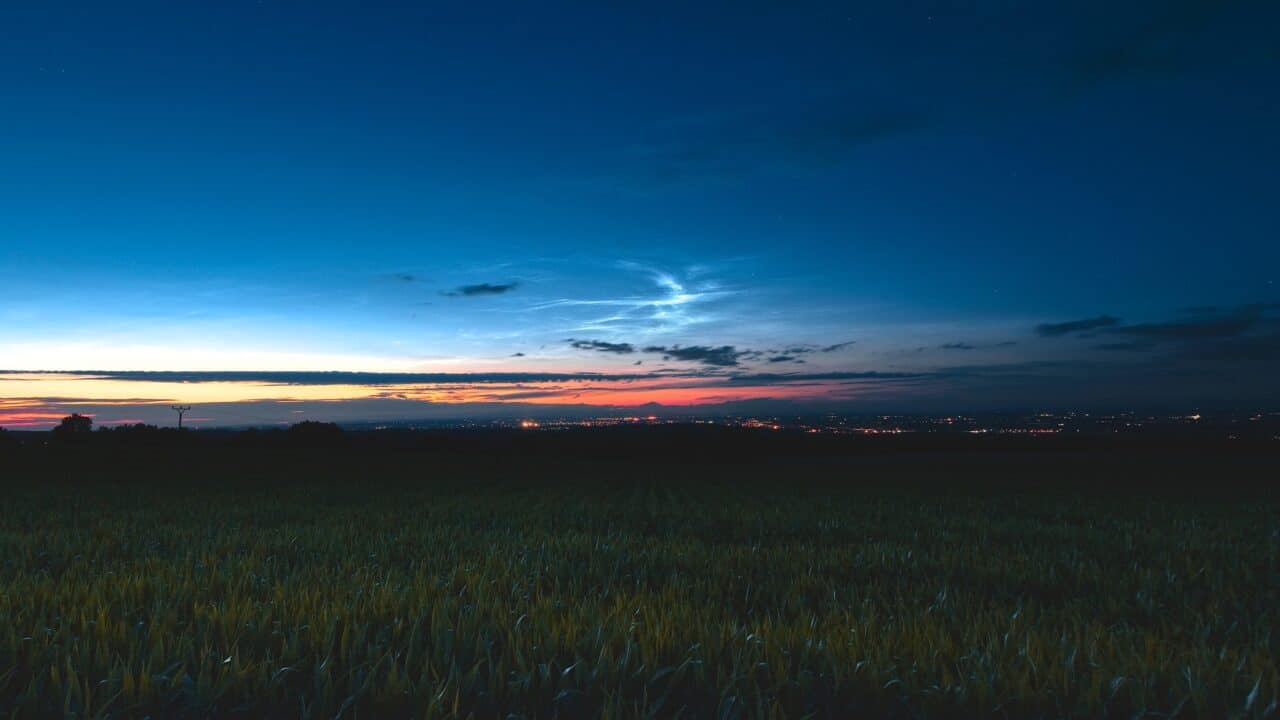
u003cemu003eIn the photo below, you can see beautifully glowing clouds just after sunset. Apart from the different angles of view, all lenses performed well. u003c/emu003e
-

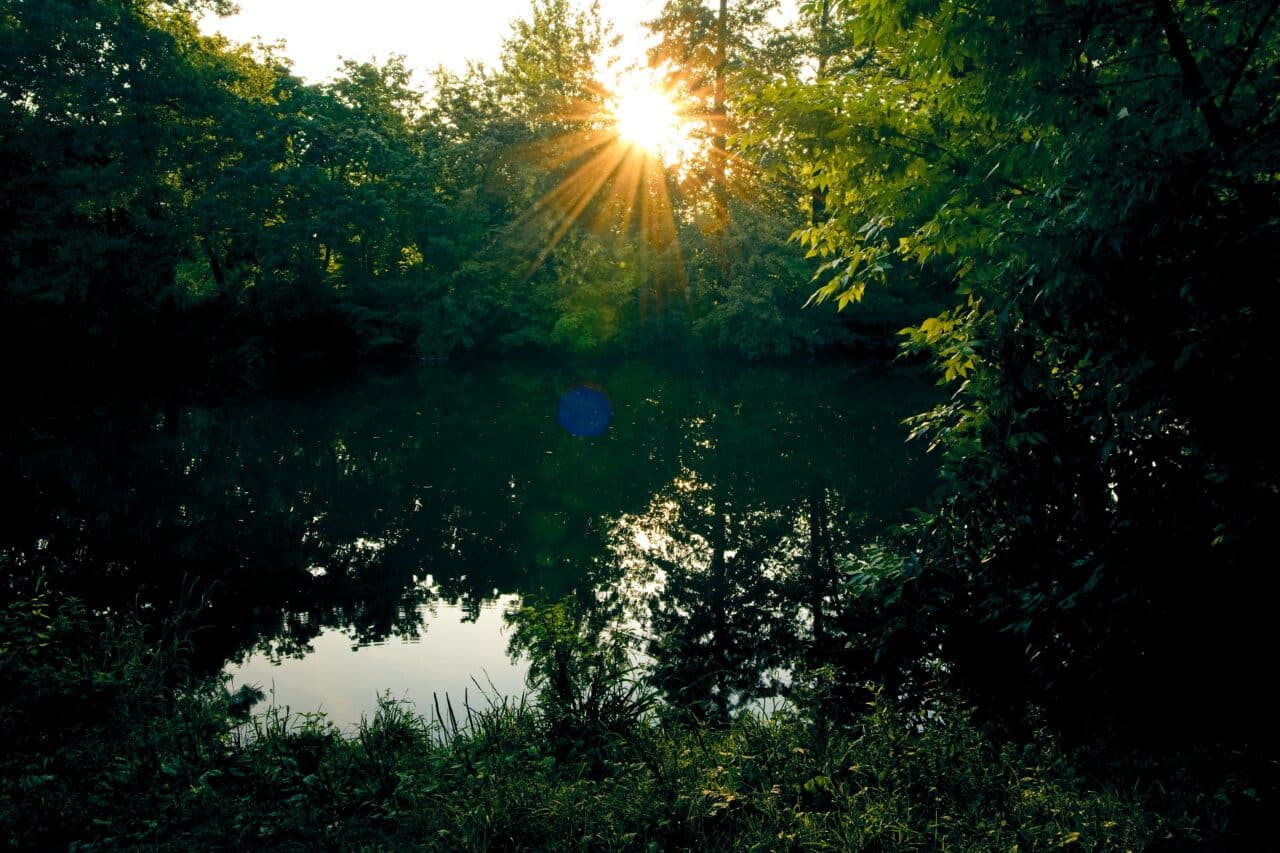
u003cemu003eWhen shooting the Milky Way, many lenses display vignetting caused by poorer light transmission at the corners of the lens. It can also be caused by using a filter. u003c/emu003e
-
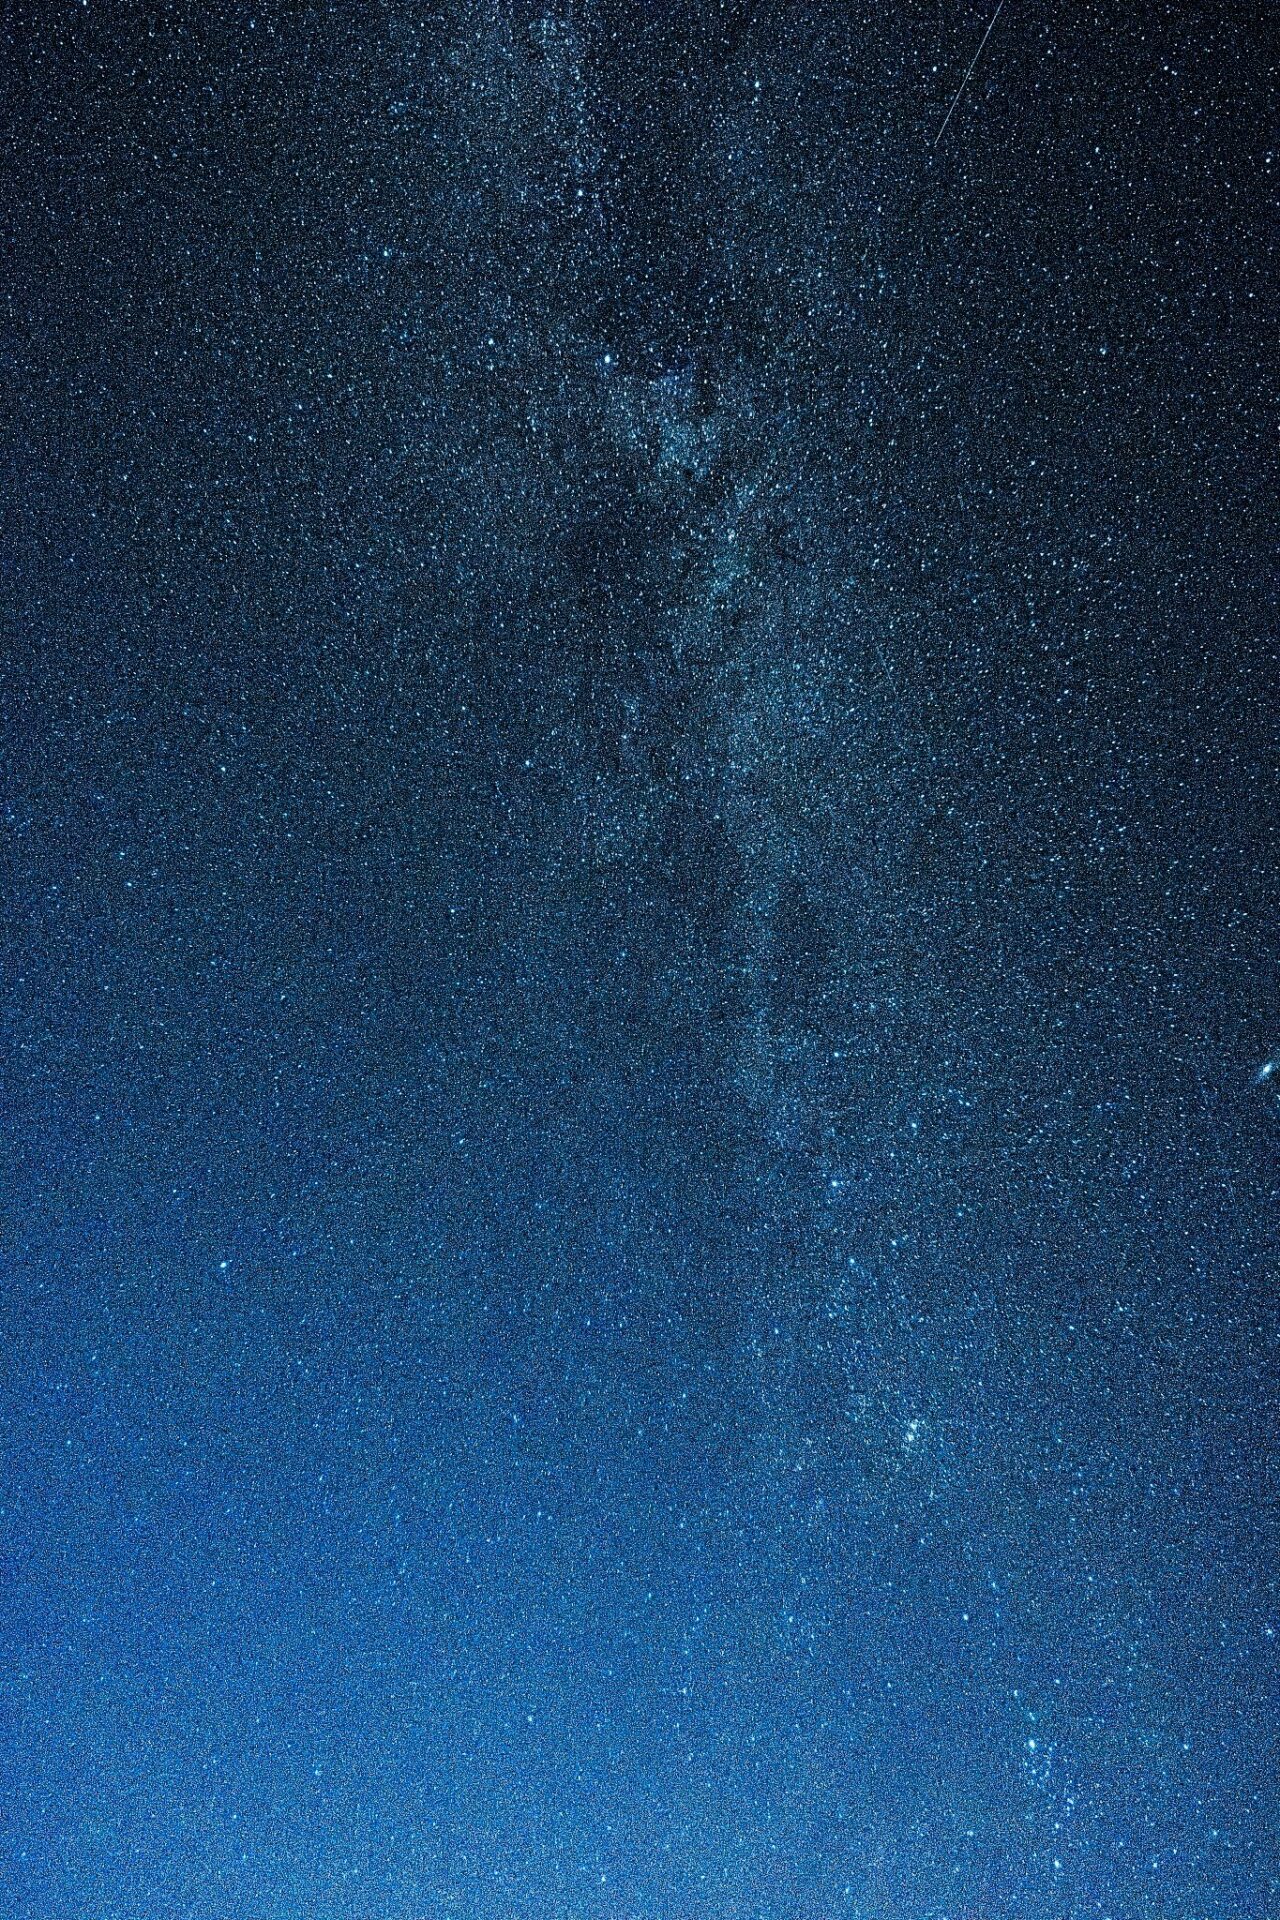
u003cemu003eWhen shooting the Milky Way, many lenses display vignetting caused by poorer light transmission at the corners of the lens. It can also be caused by using a filter. u003c/emu003e
-
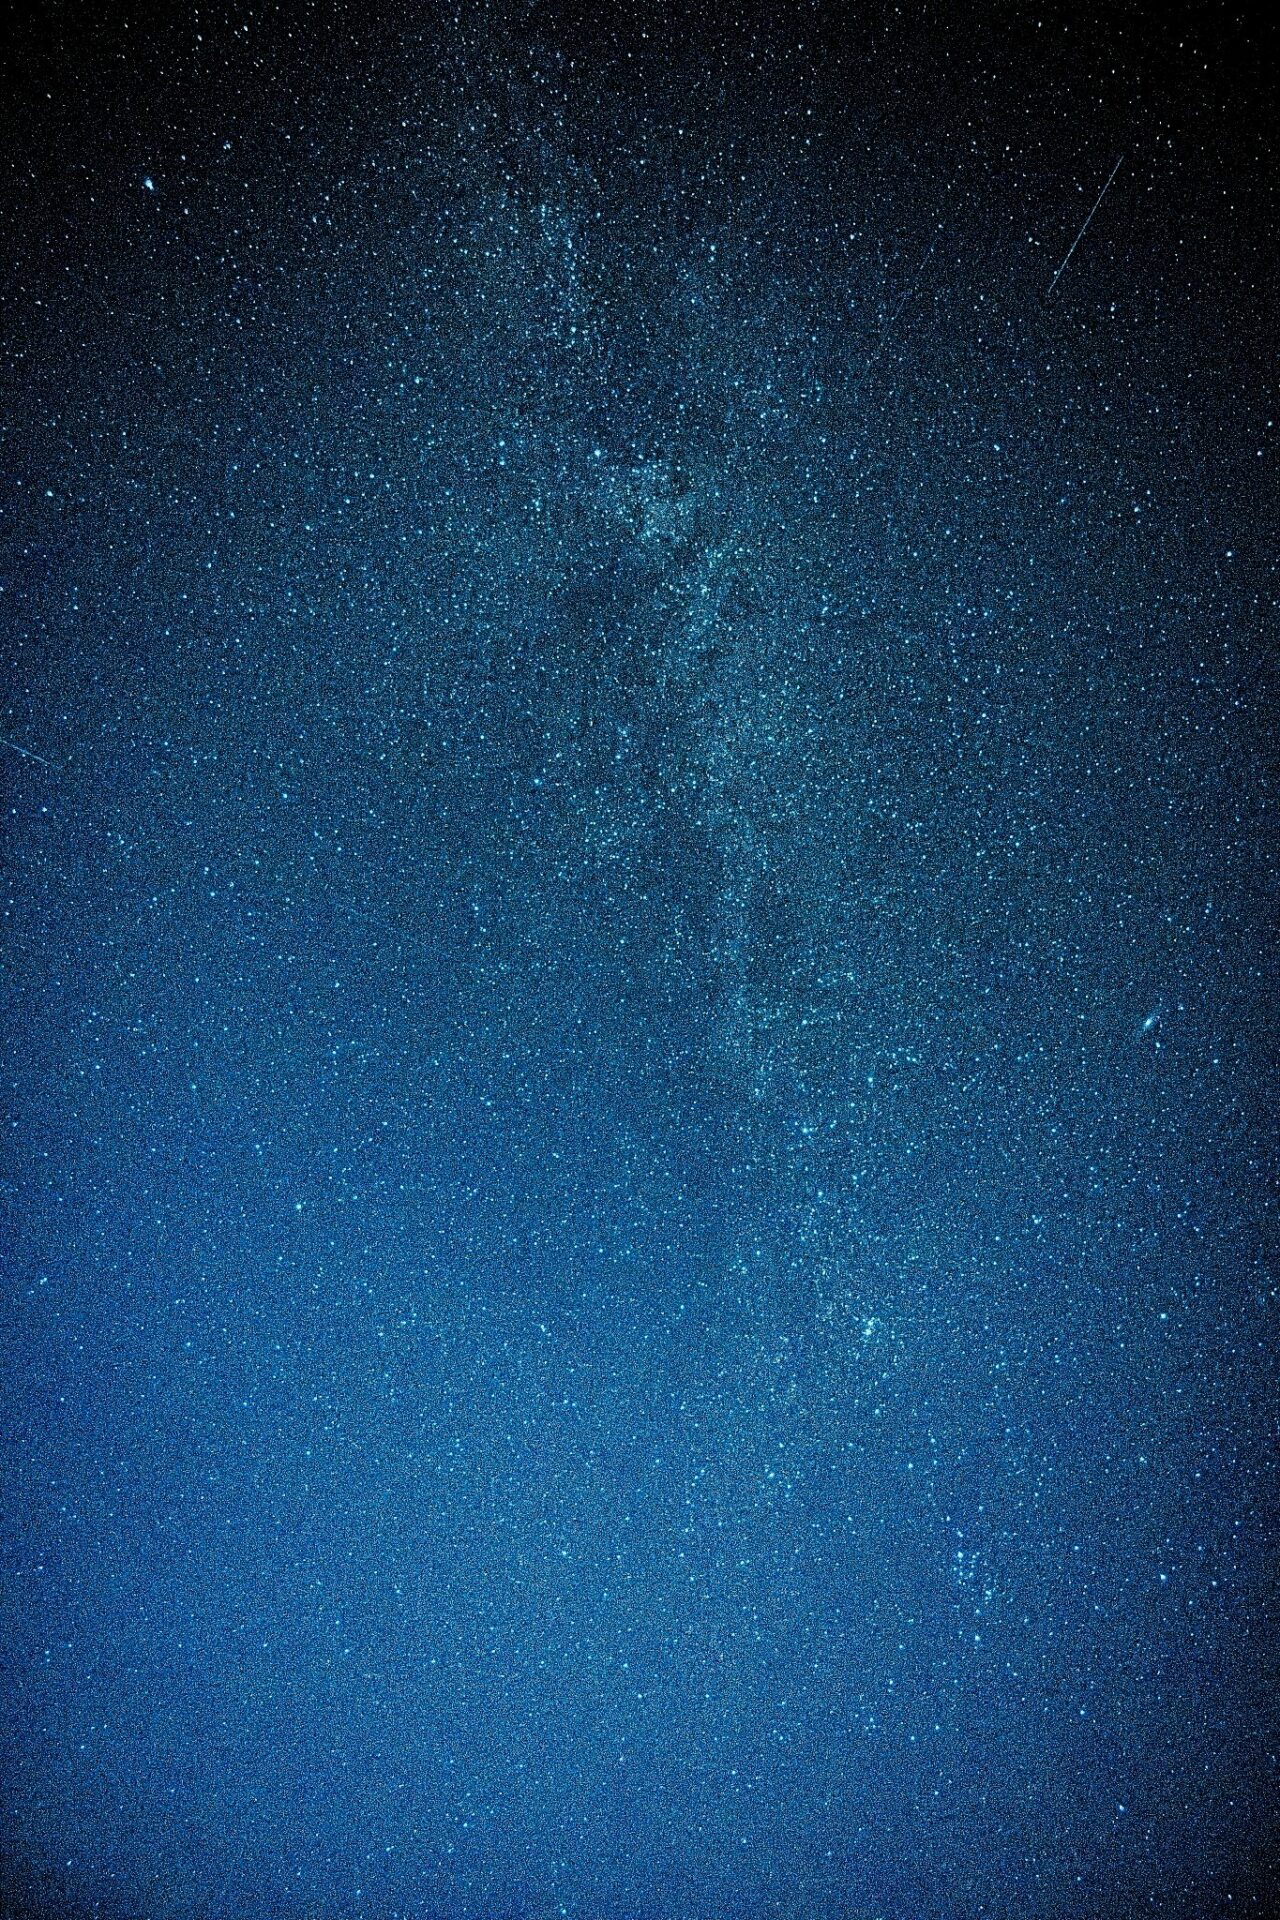
u003cemu003eWhen shooting the Milky Way, many lenses display vignetting caused by poorer light transmission at the corners of the lens. It can also be caused by using a filter. u003c/emu003e
-
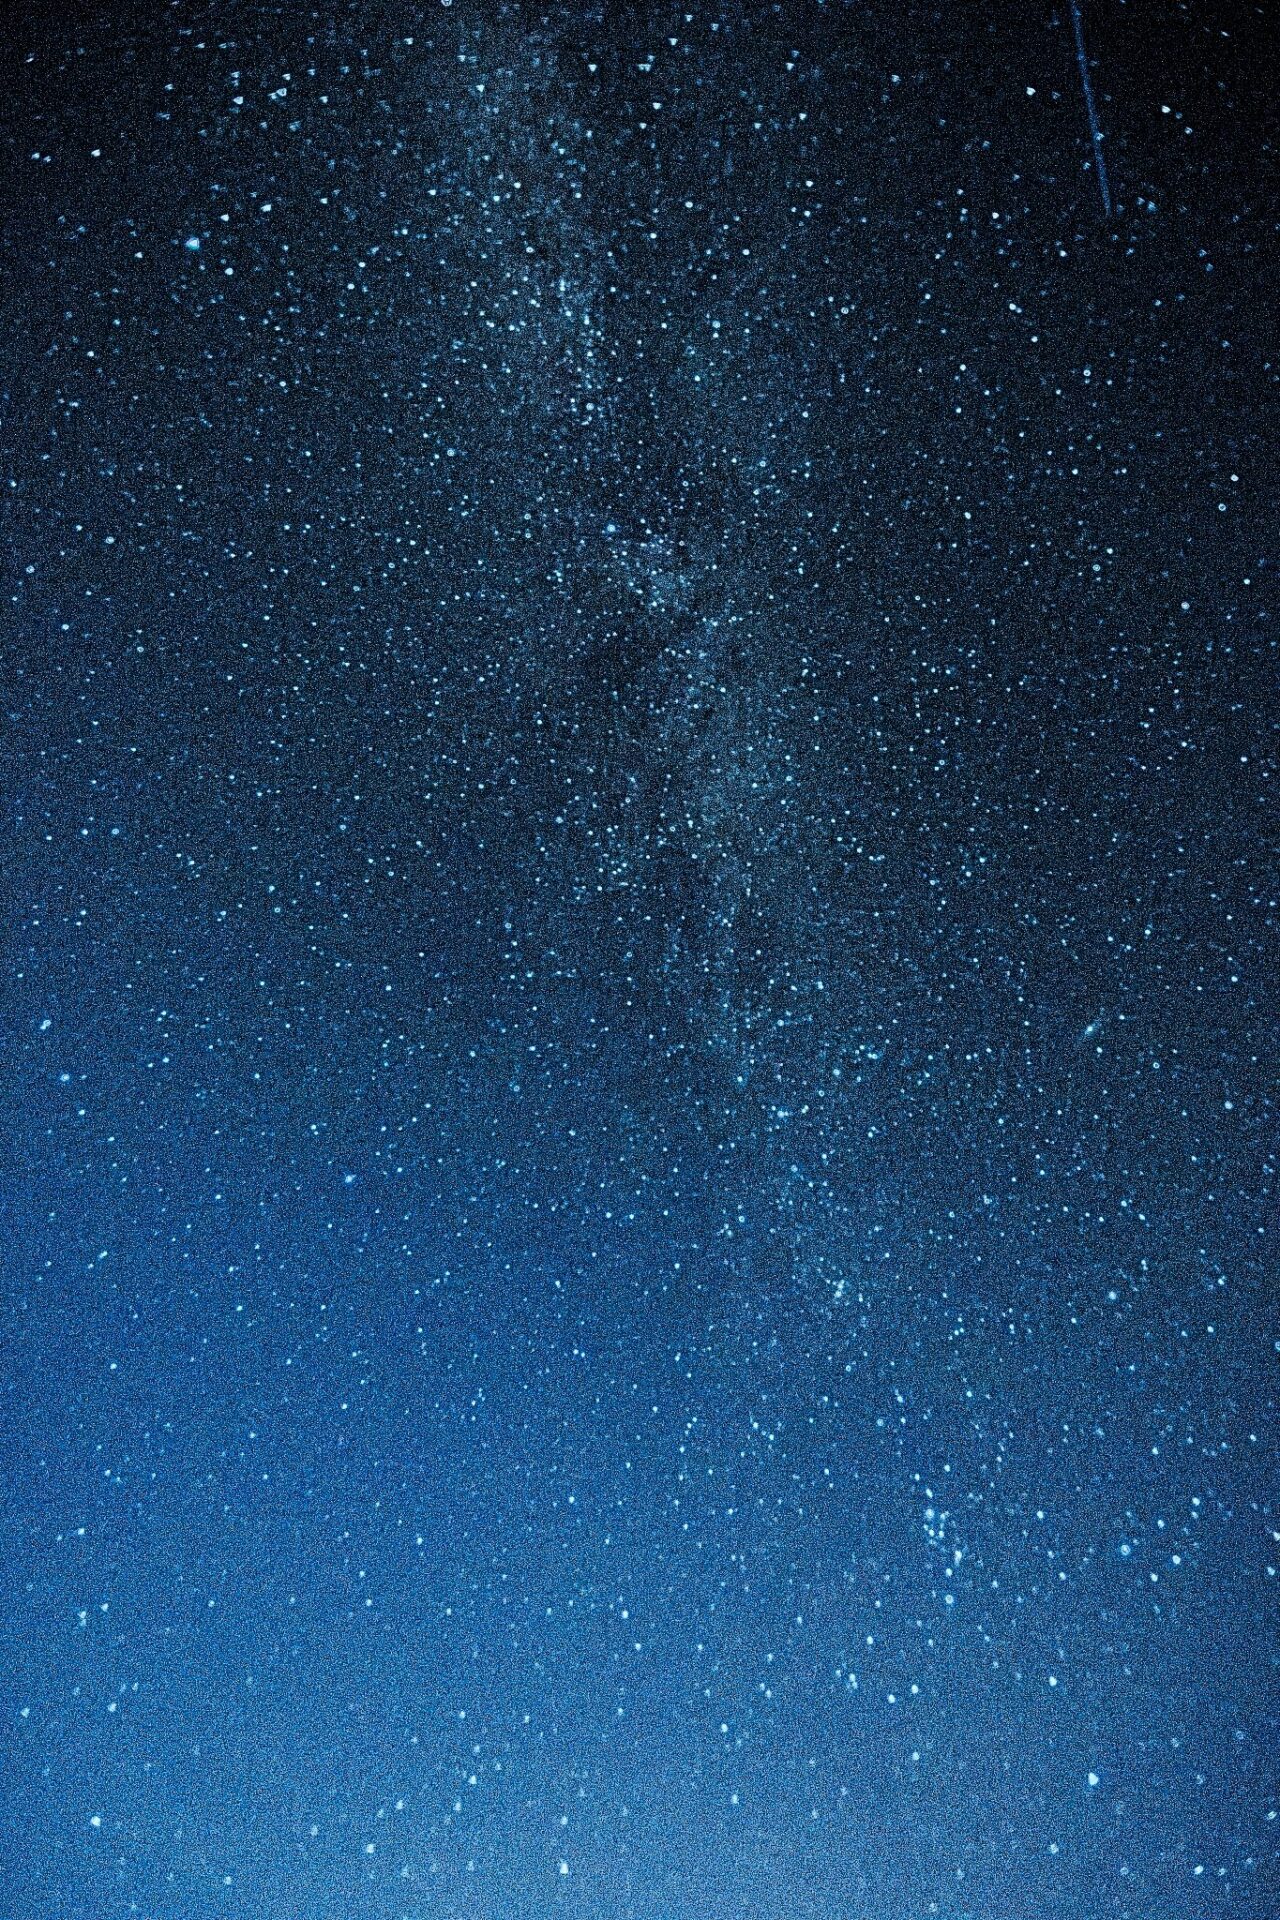
u003cemu003eWhen shooting the Milky Way, many lenses display vignetting caused by poorer light transmission at the corners of the lens. It can also be caused by using a filter. u003c/emu003e
You usually won’t notice it when shooting during the day, or it can be corrected in Zoner Studio. When processing night photos, vignetting can be very noticeable due to editing. This is where the 14-30 lens has a major advantage since it is designed for large sensors and there is virtually no vignetting on small sensors.
Auto-focus speed, noise, and precision
None of the lenses we tested showed poor sharpness, even in the corners of the image. In this respect, the 16-50 kit lens is very surprising. All four lenses we tested were very fast, focused accurately, and were not limiting in any way. Auto-focus speed is usually not the most important factor when shooting landscapes.
Of the lenses we tested, only the 10-24 G lens, connected using an FTZ adapter, lagged. It’s an older generation lens design, and the autofocus motor is noisy and slower than the modern Z lenses.
In closing
You can’t go wrong with any of these four lenses. Personally, I would make my decision based on the following factors: If you want quality without compromise, the 14-30 lens is your best choice. If you also shoot video, then the 12-28 lens. If you’re after a compact lens, the 16-50. And if you’re transitioning from a DSLR, then the 10-24.
We can compare more lenses, but this is a good jumping off point for what to expect from landscape lenses.
Here’s a list of the pros and cons of each lens:
Pros
16-50 + compactness, price, zoom range
14-30 + starbursts, sharpness, contrast transfer, for small sensors with no vignetting
12-28 + low weight, fixed length, electronic zoom for video
10-24 + starbursts, angle of view
Cons
16-50 – starbursts, slight distortion
14-30 – price, weight, large filter thread
12-28 – plastic design
10-24 – weight, noise, requires FTZ adapter
Landscape lenses summary
NIKKOR Z DX 16-50mm f/3.5-6.3 VR
This lens is a great compact choice. Be sure to purchase it as part of a set with the camera body. Otherwise, it’s not worth the cost. It lags behind in quality, but if I need my gear to be as light as possible, then the compactness of this lens with a Z fc body rivals a mobile phone.


While more expensive, the 14-30 is qualitatively the best choice. This is because of the great contrast transfer, zero vignetting, and beautiful starbursts in backlight. It’s also a good choice if you’re considering transitioning to a full frame in the future.


NIKKOR Z DX 12-28mm f/3.5-5.6 PZ VR
If you ask me, this lens gives you the best compromise in all respects. It has beautiful starbursts in backlight, is lightweight, affordable, and has a wide angle of view. It’s very resistant to the elements since it doesn’t change length when changing focal lengths. The filters have an acceptable diameter. And as a bonus for videographers, it has digital zoom that can be remotely controlled. My only issue with it is the very pronounced vignetting when shooting at night.


AF-S DX NIKKOR 10-24mm f/3.5-4.5G ED
If you don’t already own it, the price of a new lens (and even a used one) doesn’t make much sense to me. Since you need to use an FTZ adapter, this lens is heavier and bigger than the higher quality 14-30. If you take the focusing noise into account, there are better options out there. However, despite its age and issues, it’s a great lens that makes it hard to give up the classic DSLR. And surprisingly, it does a great job with the Z series cameras too.


There are no comments yet.