One-Minute Edit: Fixing an Overexposed Sky
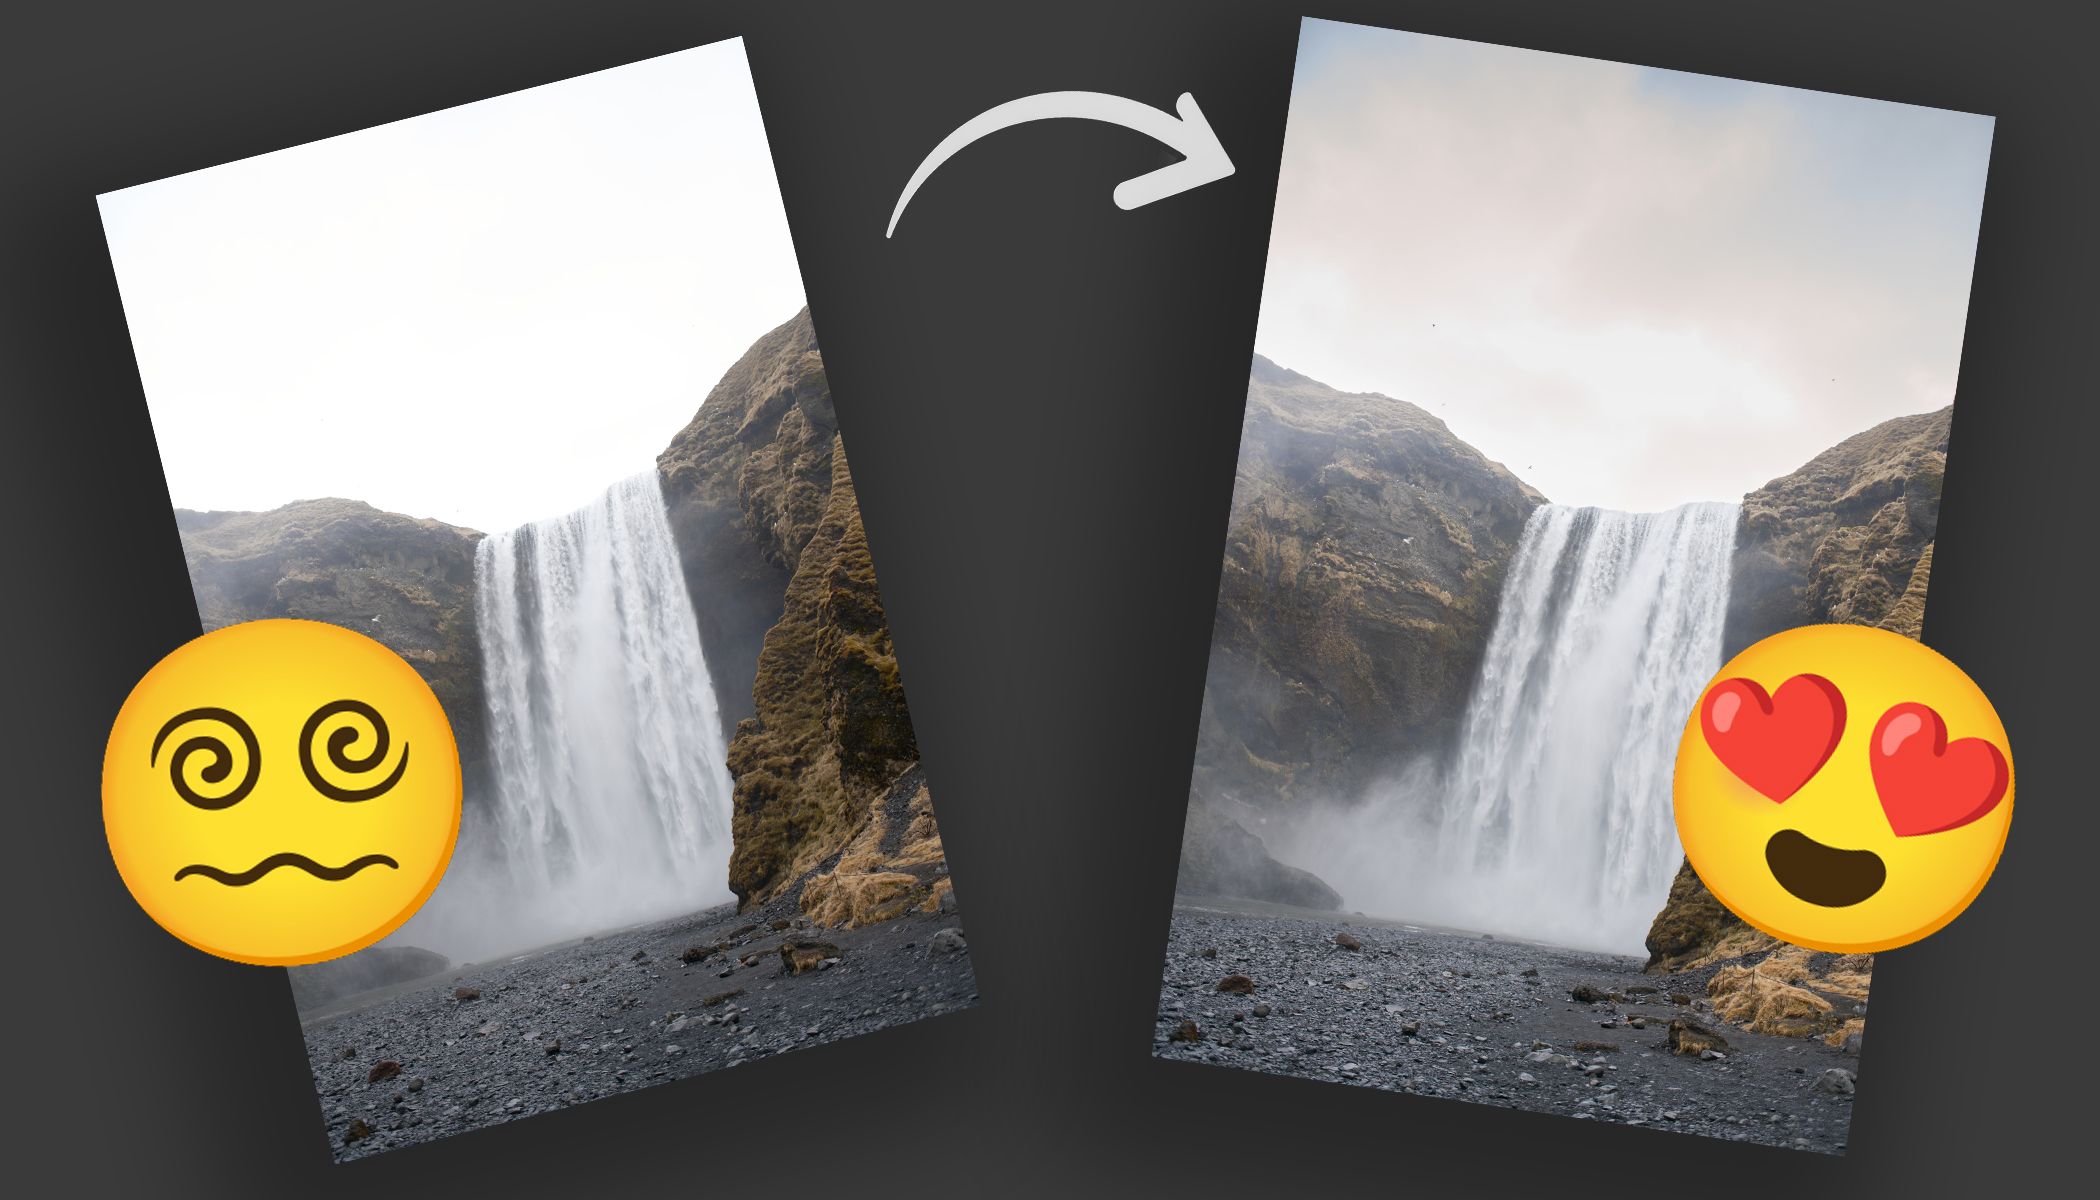
An overly bright or overexposed sky can ruin an otherwise great photo. Clouds lose their texture, and the sky turns into a flat white area. In many cases, however, you can quickly save it in Zoner Studio. Take a look at how to restore detail and a natural look to your sky in just one minute.
All it takes are a few simple adjustments in the Develop module. Most often, working with the Highlights slider helps, or you can adjust only the sky using an AI Mask. In this guide, we’ll show you a quick way to darken an overexposed sky and bring back its details. Keep in mind, however, that if the sky is completely blown out, only a full sky replacement will help.

Click through the gallery with photos where each step is clearly explained, or read more information in the box below the gallery. If you don’t have Zoner Studio yet but want to try this edit, download it free for 7 days. Even complete beginners can handle this adjustment.


How to Save an Overexposed Sky in Zoner Studio
1. Start with the Highlights Slider
The easiest way to bring detail back into the sky is by lowering the Highlights. This slider mainly works with the brightest parts of the photo. By reducing Highlights, you can often darken the sky enough to reveal cloud structure and subtle gradients again. For many photos, this simple adjustment is all you need.
It’s important to shoot in RAW. This format contains more image data than JPEG, making it more likely that recovery will be successful when developing a RAW file rather than editing a JPEG.
2. Use the AI Sky Mask
If the sky is still too bright, it’s worth adjusting it separately. In Zoner Studio, you can use the AI Sky Mask, which automatically selects just this part of the photo.
Within the sky mask, lower the Highlights again and slightly increase Dehaze. This enhances cloud structure and improves contrast in the sky. The adjustment will be more pronounced while still looking natural, because it only affects the sky.
3. Add a Linear Gradient for a More Realistic Result
In reality, the sky is often darker toward the top of the image. You can easily mimic this effect using a Linear Gradient (G).
Drag the gradient over the top part of the photo and slightly reduce Exposure or Highlights. This creates a more natural transition between the sky and the landscape, making the image look more realistic.
4. Balance the Overall Exposure
After adjusting the sky, the rest of the photo may appear too dark. In that case, slightly adjust Exposure or Shadows to brighten the image. Adding a bit of Contrast can also help.
The goal is to balance the overall brightness so the sky doesn’t look overexposed while the landscape isn’t too dark.
What to Remember
Saving an overexposed sky in Zoner Studio often starts with simply lowering Highlights. If that’s not enough, use the AI Sky Mask to adjust Highlights and increase Dehaze. A Linear Gradient (G) will help create a more natural look, and finally, fine-tune the overall exposure.
With these simple steps, you can restore detail to the sky in just one minute and save a photo that would otherwise look too bright and flat. If you’re interested in more tips on how to avoid or fix overexposure, read the article Avoid Blowouts in Photos: Tips for Proper Exposure and Adjustments.
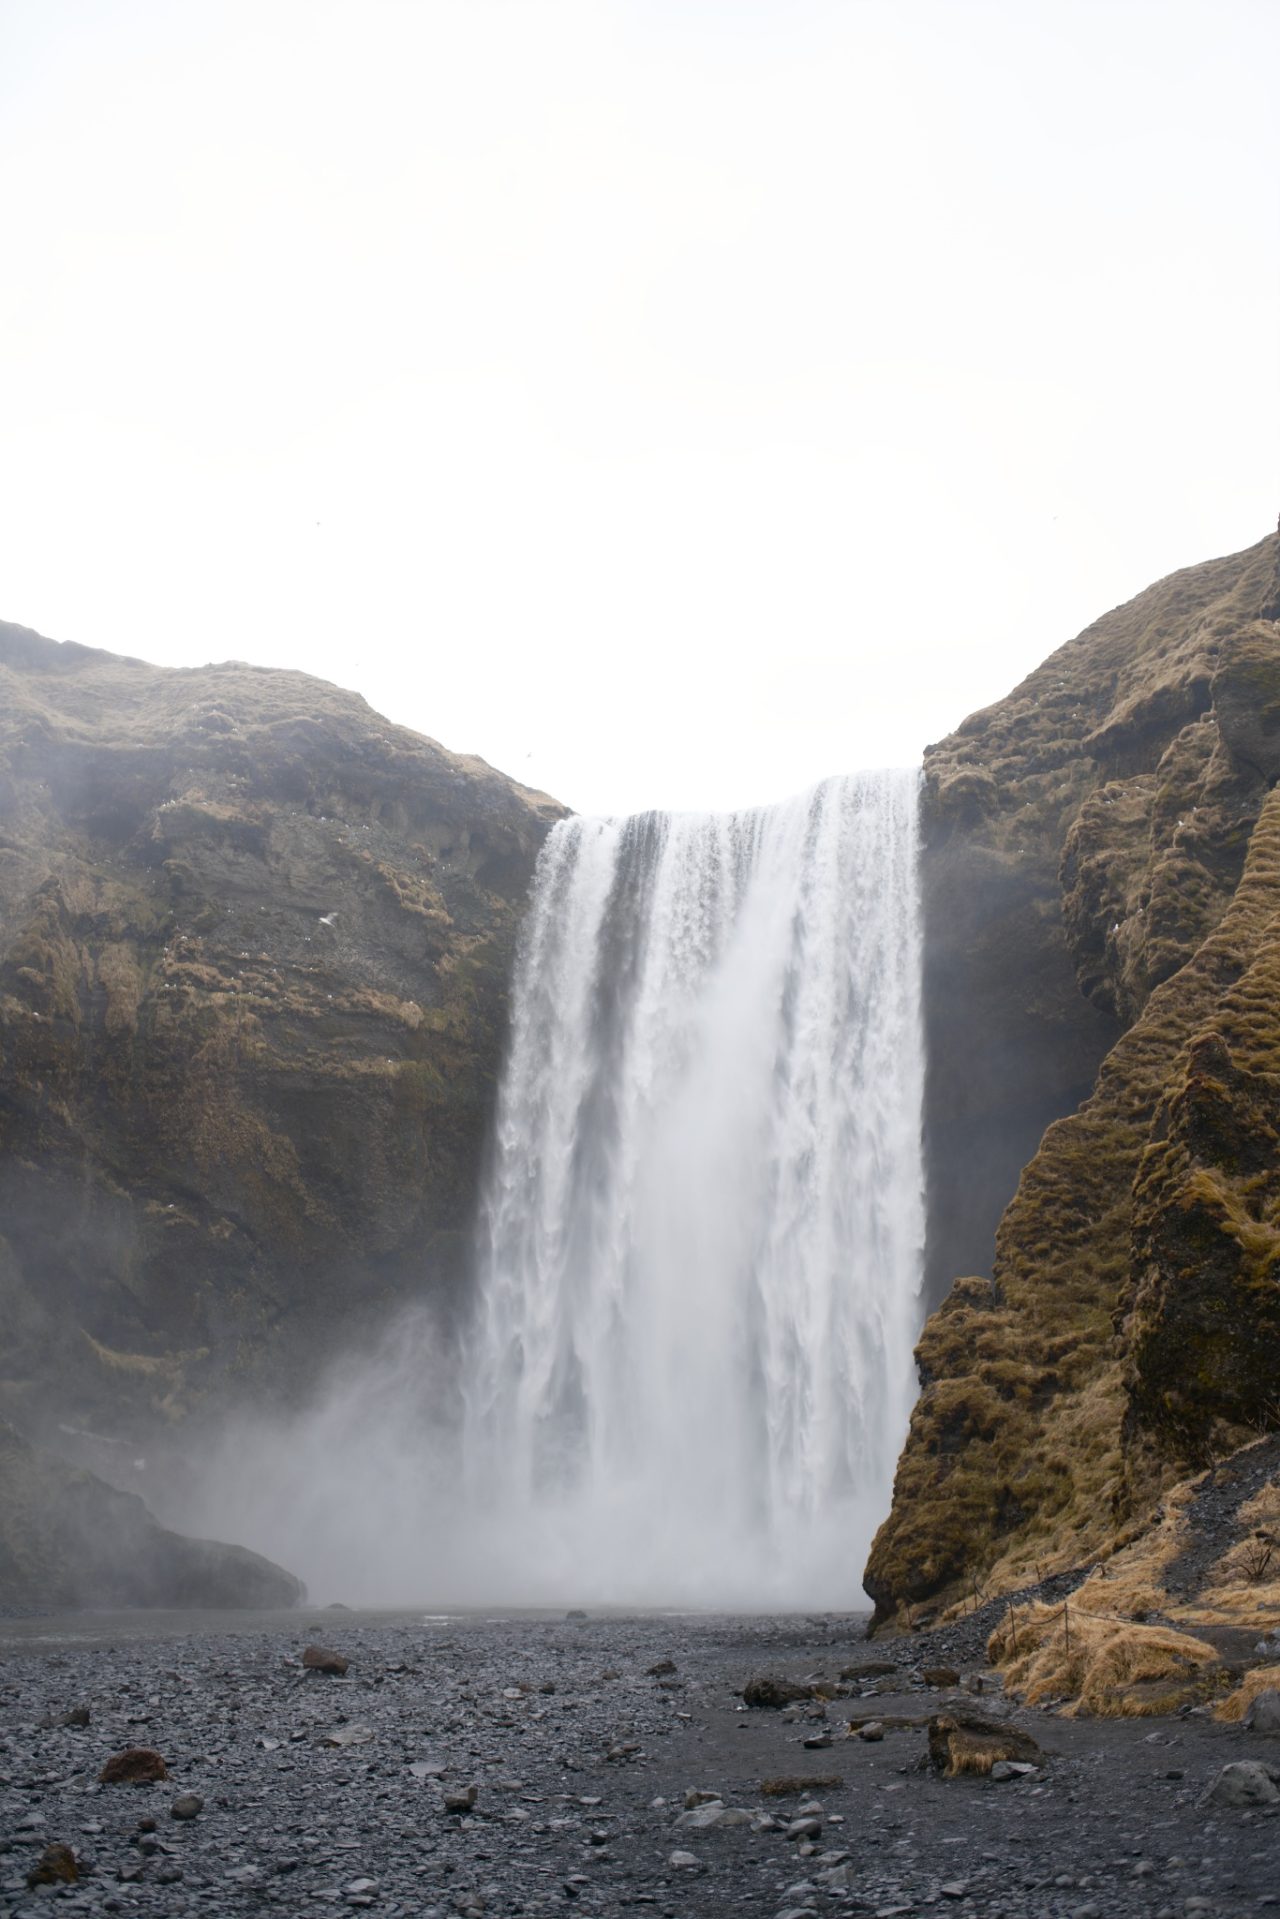
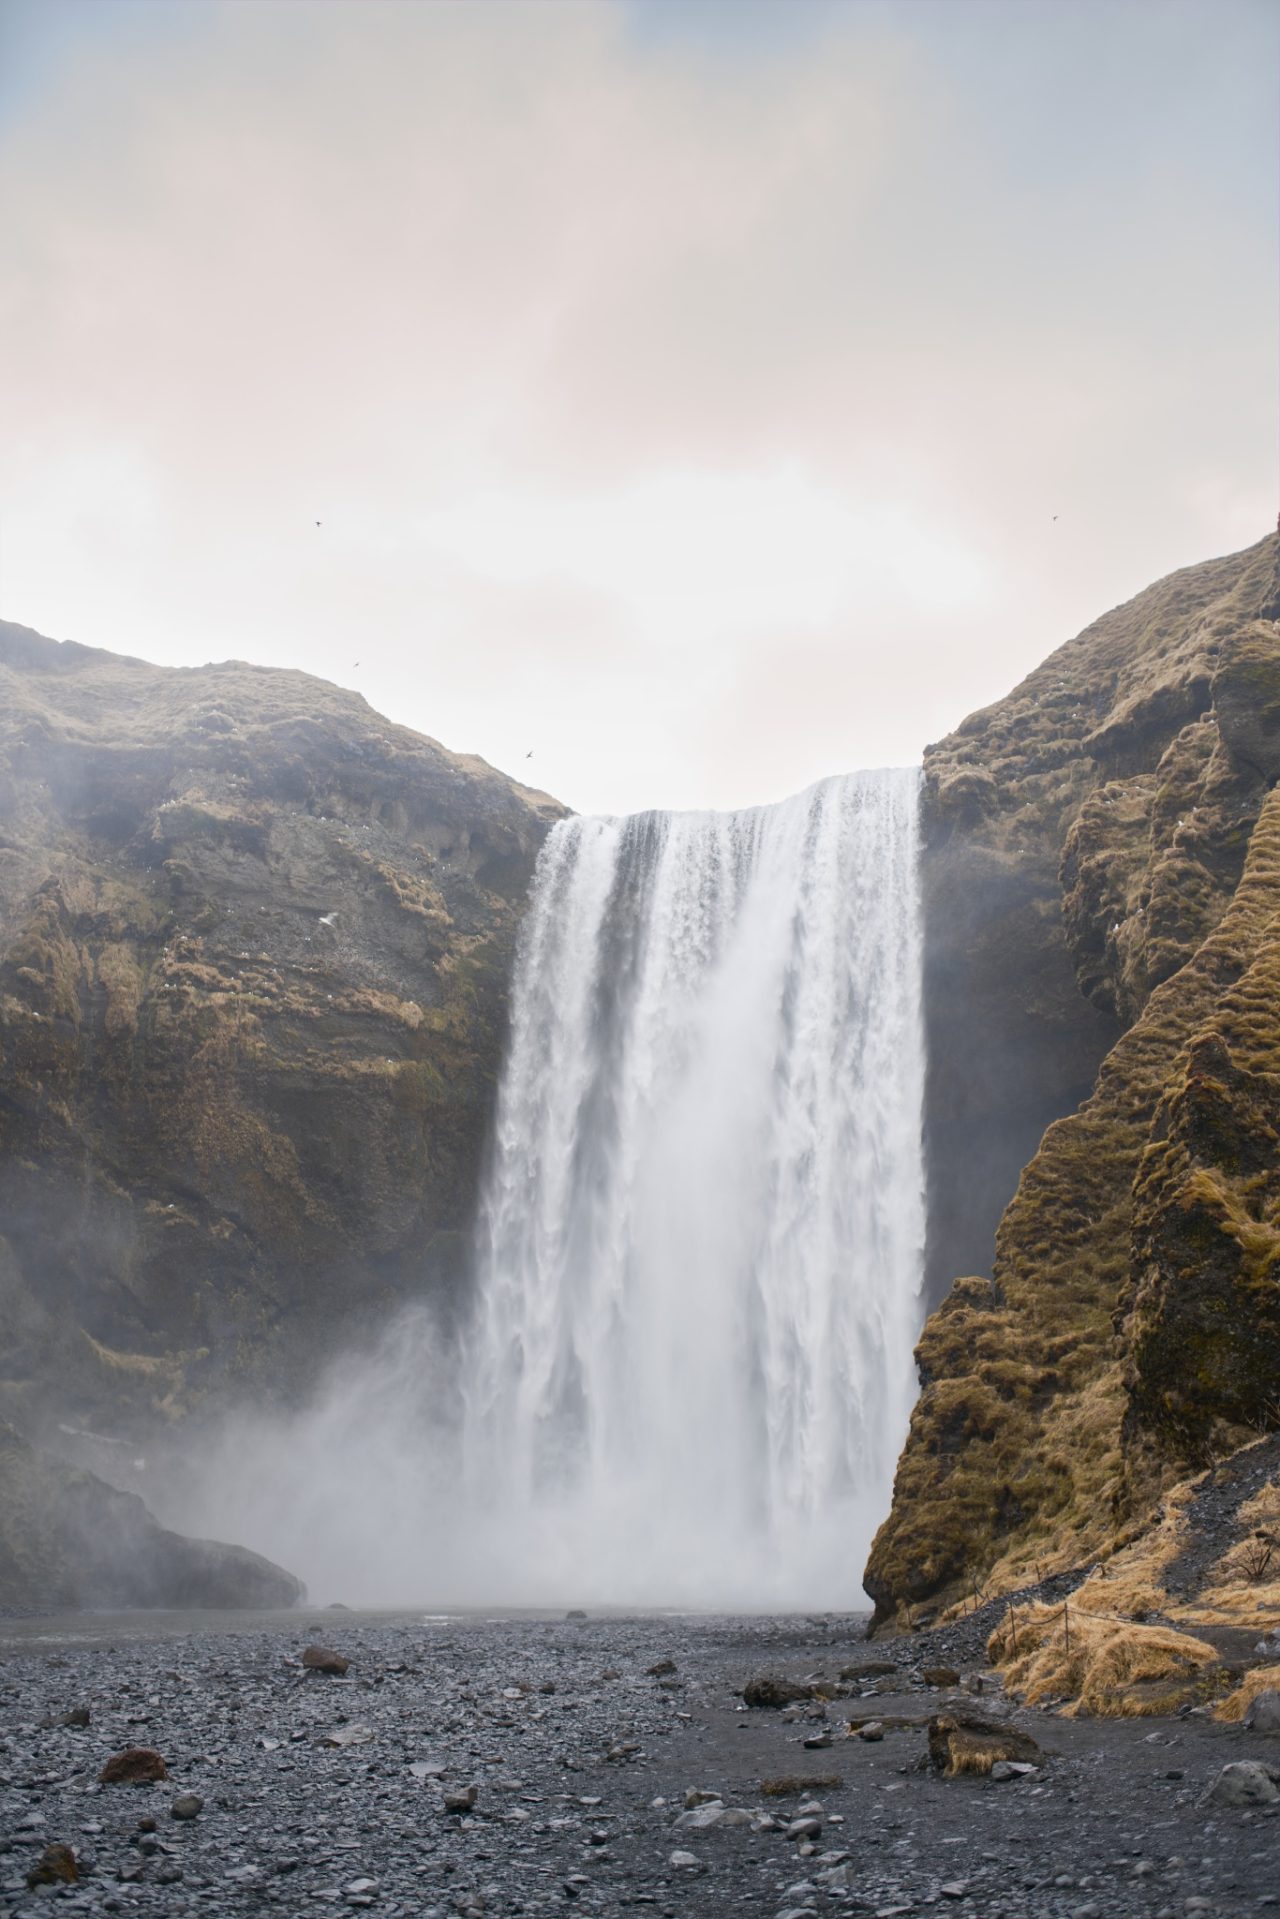
Before and after.
There are no comments yet.