Christmas is a time for warming the hearts of those near and dear to us. How about a unique gift? The idea is simple – a calendar made up of your very own photos. All you need to do is choose the photos and use your computer to arrange them in the calendar. Then, just wrap it up and put it under the Christmas tree. And the best part about it is that rather than running around stores, you’ll be able to do it all from the comfort of your own home.
The article is over 5 years old. The information in it may be outdated.
We are working on its update. In the meantime, you can read some more recent articles.
Christmas is a time for warming the hearts of those near and dear to us. How about a unique gift? The idea is simple – a calendar made up of your very own photos. All you need to do is choose the photos and use your computer to arrange them in the calendar. Then, just wrap it up and put it under the Christmas tree. And the best part about it is that rather than running around stores, you’ll be able to do it all from the comfort of your own home.
Here are two great things about making your own personalized calendar:
You will handcraft a unique gift for your loved ones.
It’s an opportunity to show off your most beautiful photographs.
What’s more, making a photo calendar is easy – all you need is your photos, the right software, and a bit of time.
First steps
Before starting a new project, make sure your photos have an sRGB color profile. Zoner Studio automatically creates one for you. When exporting photos, check to see that you have Do not change or sRGB in Color space. If photos with a different color profile are received, we cannot guarantee color fidelity.
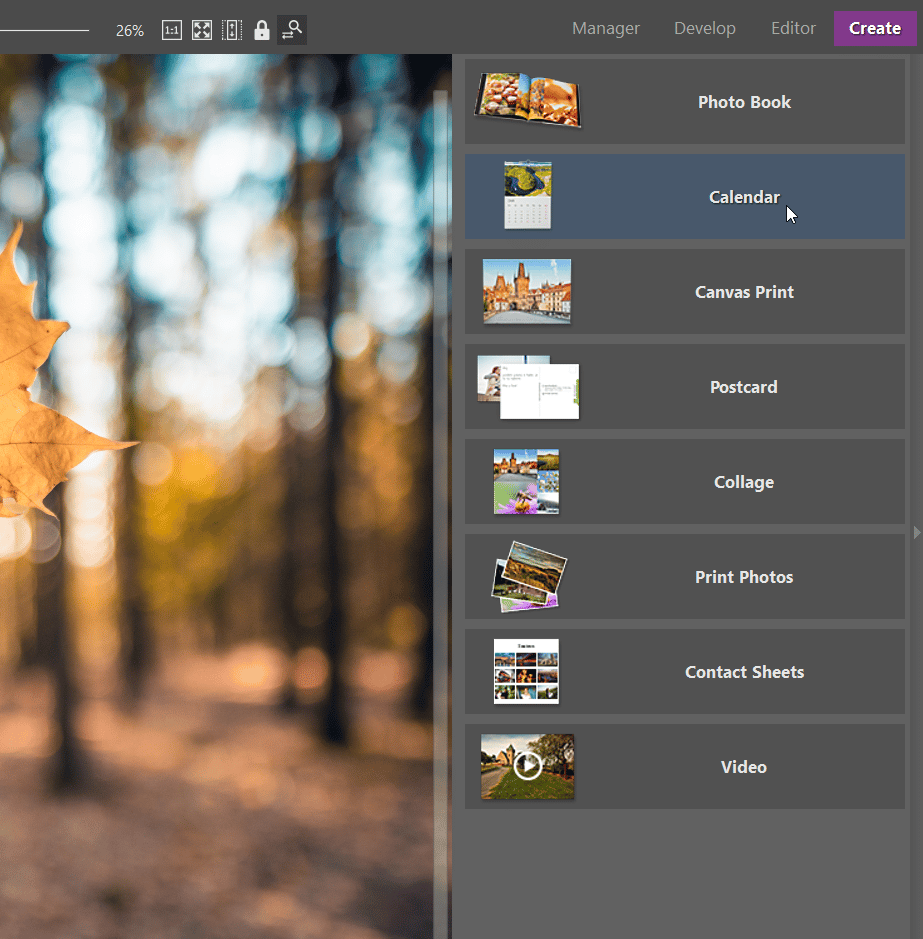
You can put together your calendar in Zoner Photo Studio’s CreateModule. Just choose the Calendar option in the menu.
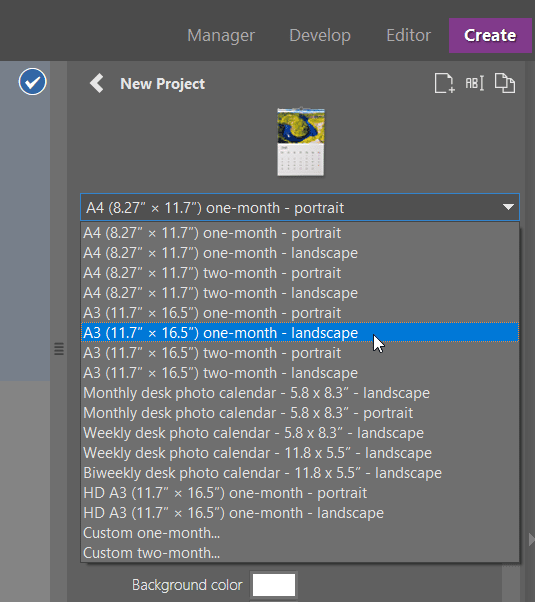
Decide what size and orientation you’d like your calendar to be. You have the choice of an A4 or A3 size in either a one-month or two-month format. For a two-month format calendar, you’ll need 7 photos, and for a one-month format, 13 photos. You can also choose weekly calendars with 54 photos.
Choose the size and format of your calendar.
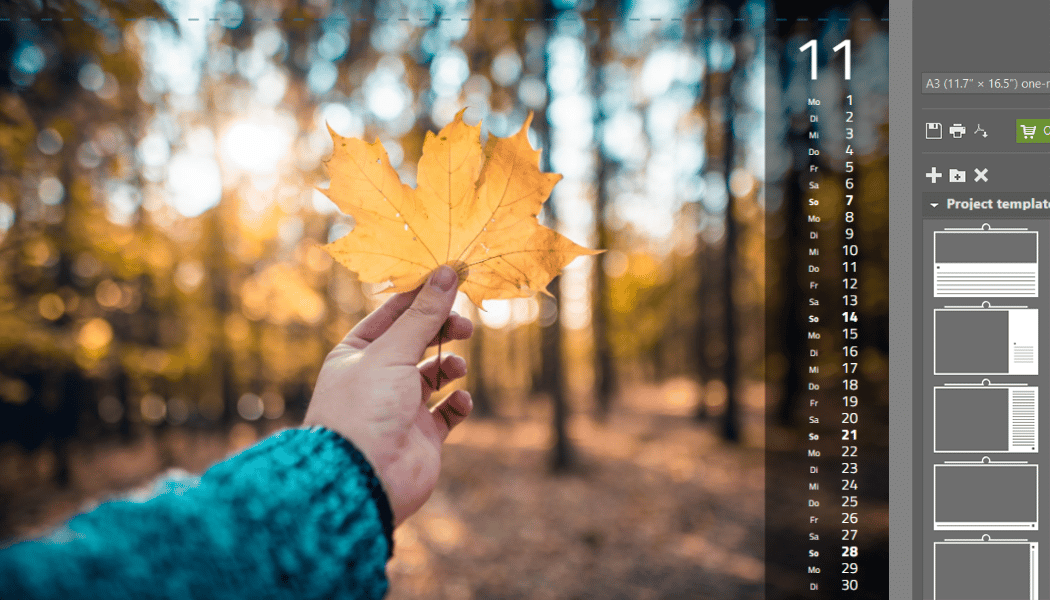
You have several calendar templates available to you. You may choose from those with a large area for the actual calendar, with sufficient space for you to write in. Or, there are layouts where the photo is the dominant feature and the dates are only a thin strip. Choose the template that’s right for your photo’s orientation. We recommend that you make your calendar using photos that are all the same orientation, either all landscape or all portrait orientation.
Choose the template that’s best for you.
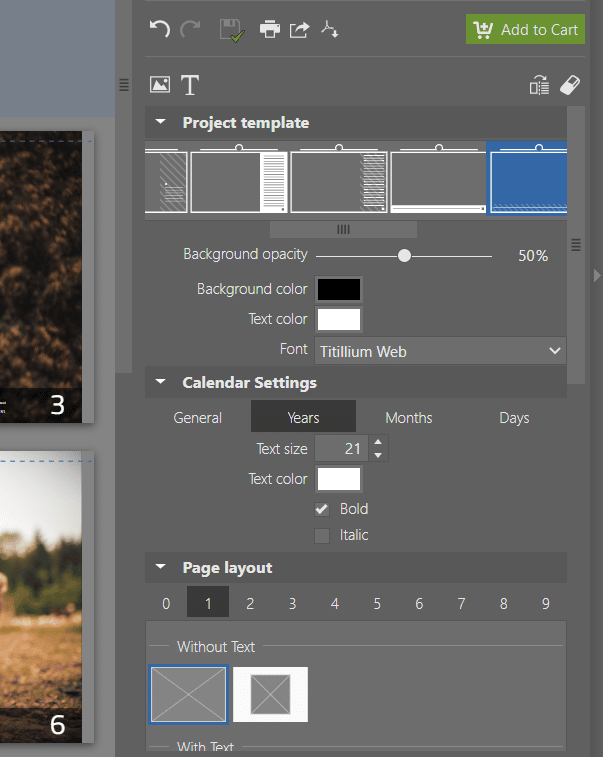
In Calendar Settings, choose what year and what month the calendar should begin on. Also, choose your font and settings for the days, months, and years tabs. Under Page layout, choose if the photo should cover the entire page or choose a template for multiple photos by clicking on the number of photos in the row below page layout.
Adding images to your calendar
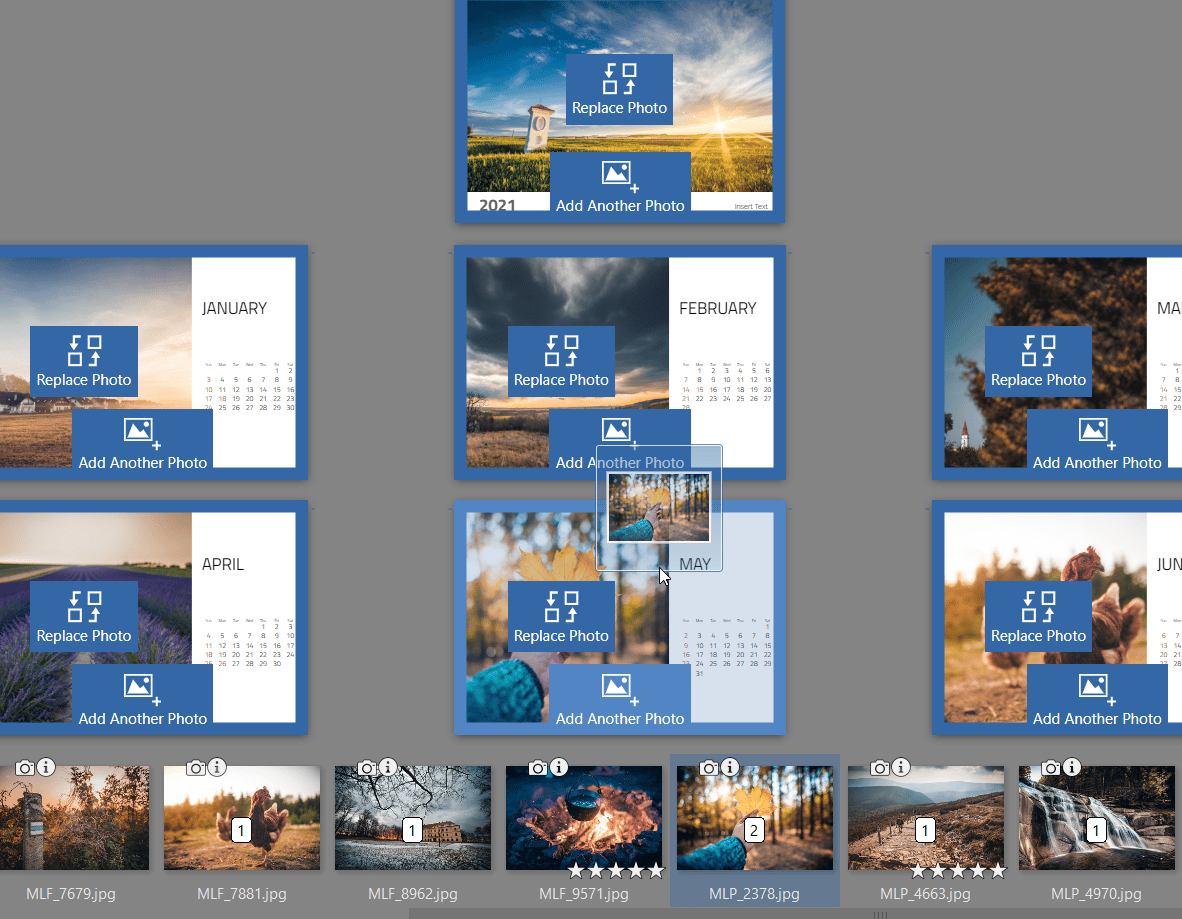
After opening a folder containing photos, Zoner Studio will give you the option of automatically adding photos to the calendar by clicking the Add Photos From Folderbutton.Change the order of the photos by dragging them.
If you want to add other photos to your calendar, locate them in the folders in the lefthand panel. Then, drag the photos from the bottom filmstrip to the pages for each month.
Add photos to each month.
Tweaking the final look
Now fine-tune the exact placement of your image. Double click to open the selected page, click the picture and:
use your mouse to move it around the picture box
rotate it
or adjust its size
Don’t forget that the upper part of the pages should not contain anything important to your photo. That is where the calendar’s binding will be.
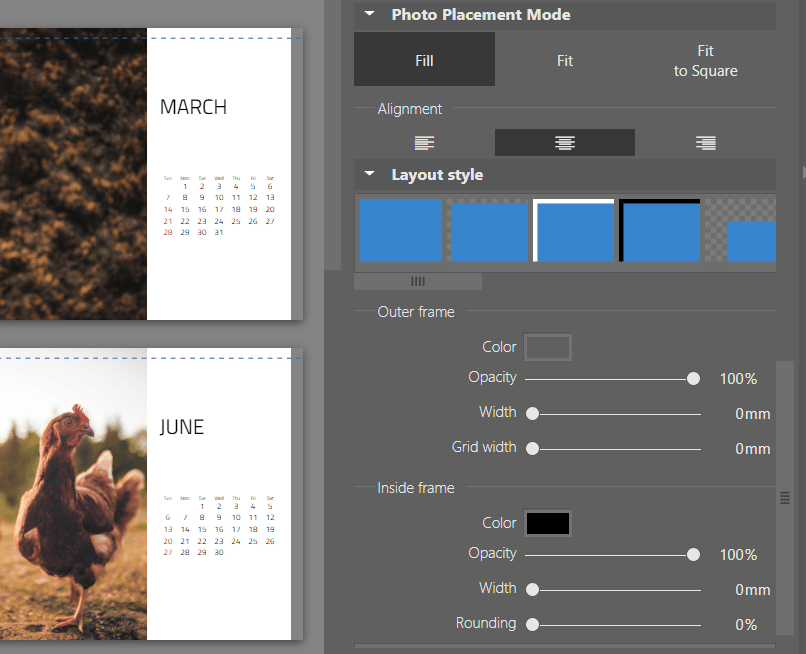
After adding your photos, you can edit the overall look of the calendar’s graphics. You can change the colors or frame styles.
Tweak your calendar’s final look.
Don’t forget to double click each page to check that the dates are legible and not covering anything up.
Save, print, or order
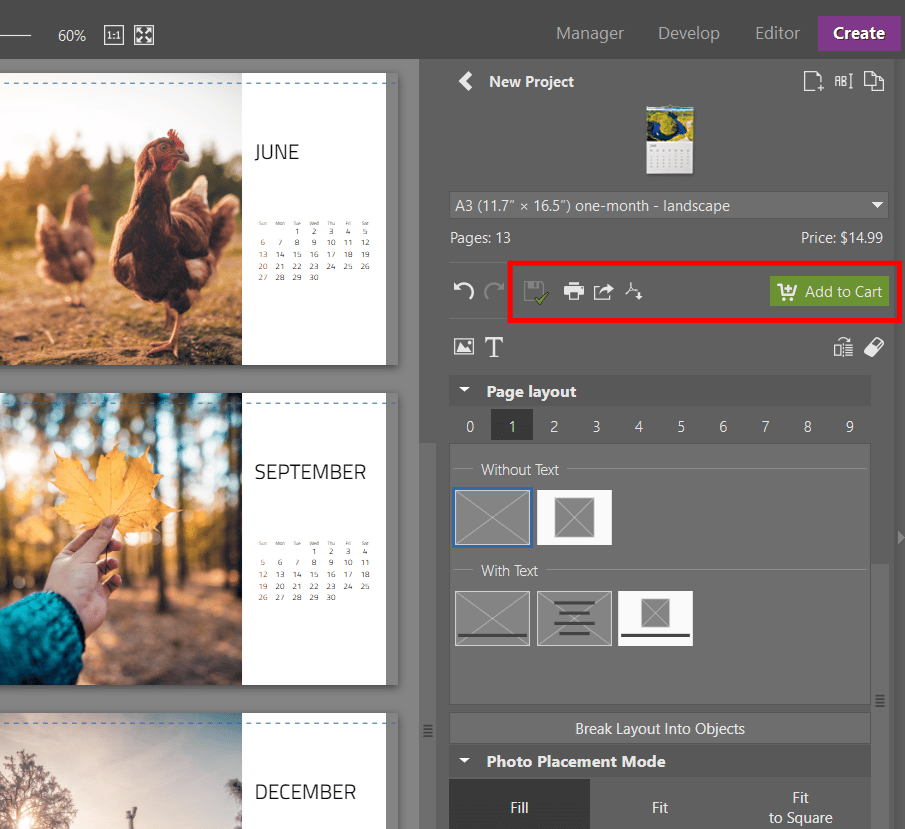
When you are happy with your calendar, you have several choices for what to do next.
The easiest option is to order a professionally-printed calendar. You’ll get your calendar delivered to your door and everything is taken care of for you.
If you have a printer that is able to print calendars, you can print it out yourself.
Export your completed calendar to a PDF and have it printed elsewhere.
Have your calendar delivered to your door.
Make your loved ones a personalized gift that they won’t be able to get anywhere else. Download Zoner Studio free for 7 days, choose your best photos from the past year, and in a few minutes, your calendar will be complete.
Receive our weekly newsletter to stay on top of the latest photography trends
Subscribe to receive the best learn.zoner.com has to offer
By confirming the subscription, you consent to the processing of your personal data for receiving newsletter. Learn more in our privacy policy.
I most love taking pictures of people. Weddings, portraits, graduation photos, balls... I am always in search of backlight, but I enjoy various types of lighting and mostly like to use shorter lenses. I love my Nikon, my guitar, and a kebab. You’ll find my photography on my website or on Facebook.
There are no comments yet.