Outdoor Sports Photography: Keep an Eye out for Backlight and Erratic Weather
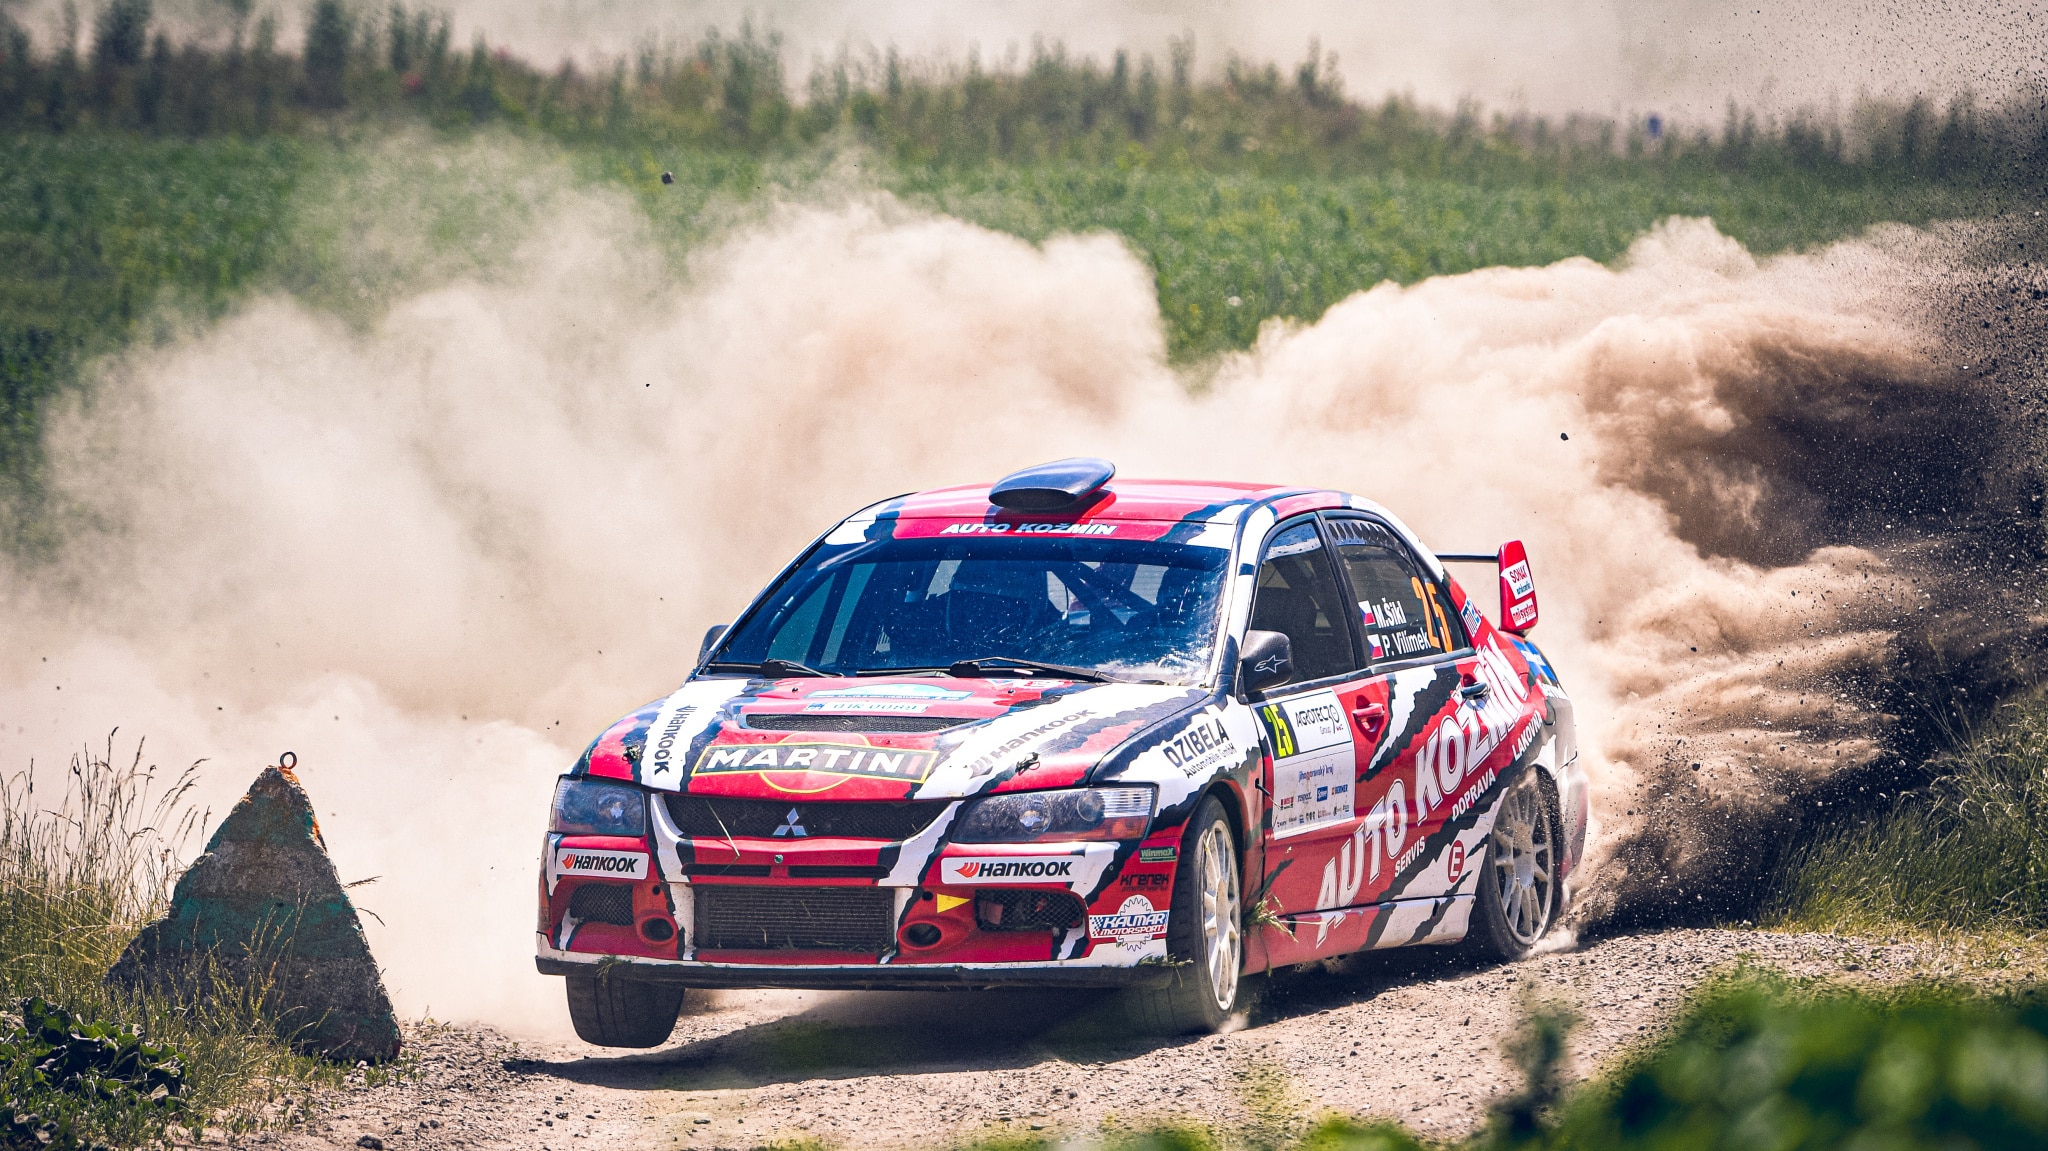
Summer is in full swing and with it plenty of professional and amateur sporting events. It would be a shame not to make the most of them! While some sports may take a break for the summer, you can find plenty less common sports (here in Europe at least) in the summer – American football, baseball, water races, road rallies, and more. Read our tips for doing outdoor sports photography.
You’ll have no trouble finding plenty of opportunities for sports photography this summer. Since local sporting events can be found in almost any city, you don’t need to worry about shooting official sporting competitions. Try shooting local sporting events like beach volleyball tournaments, basketball, BMX biking in the park, and so on. Amateur sports and summer go hand in hand.
Weather is a sports photographer’s biggest foe
The biggest downfall of outdoor sports photography is most likely the weather. Good weather and the right timing can result in great pictures and breathtaking scenes. However, if the weather isn’t in your favor, try indoor sports photography.
Do you remember your parents telling you to drink plenty of water in the summer? Or to wear your hat and mittens in the winter? Or that you could only play in the rain if you had your raincoat on? Well, if you’re heading out for some outdoor sports photography, this is the time to listen to their advice. Several hours in the direct sun, freezing weather, or rain is anything short of pleasant. If the weather leads to your discomfort, you may be tempted to just snap some pictures and get the shoot over with. We can all agree that this isn’t the right mindset for getting great sports photos.
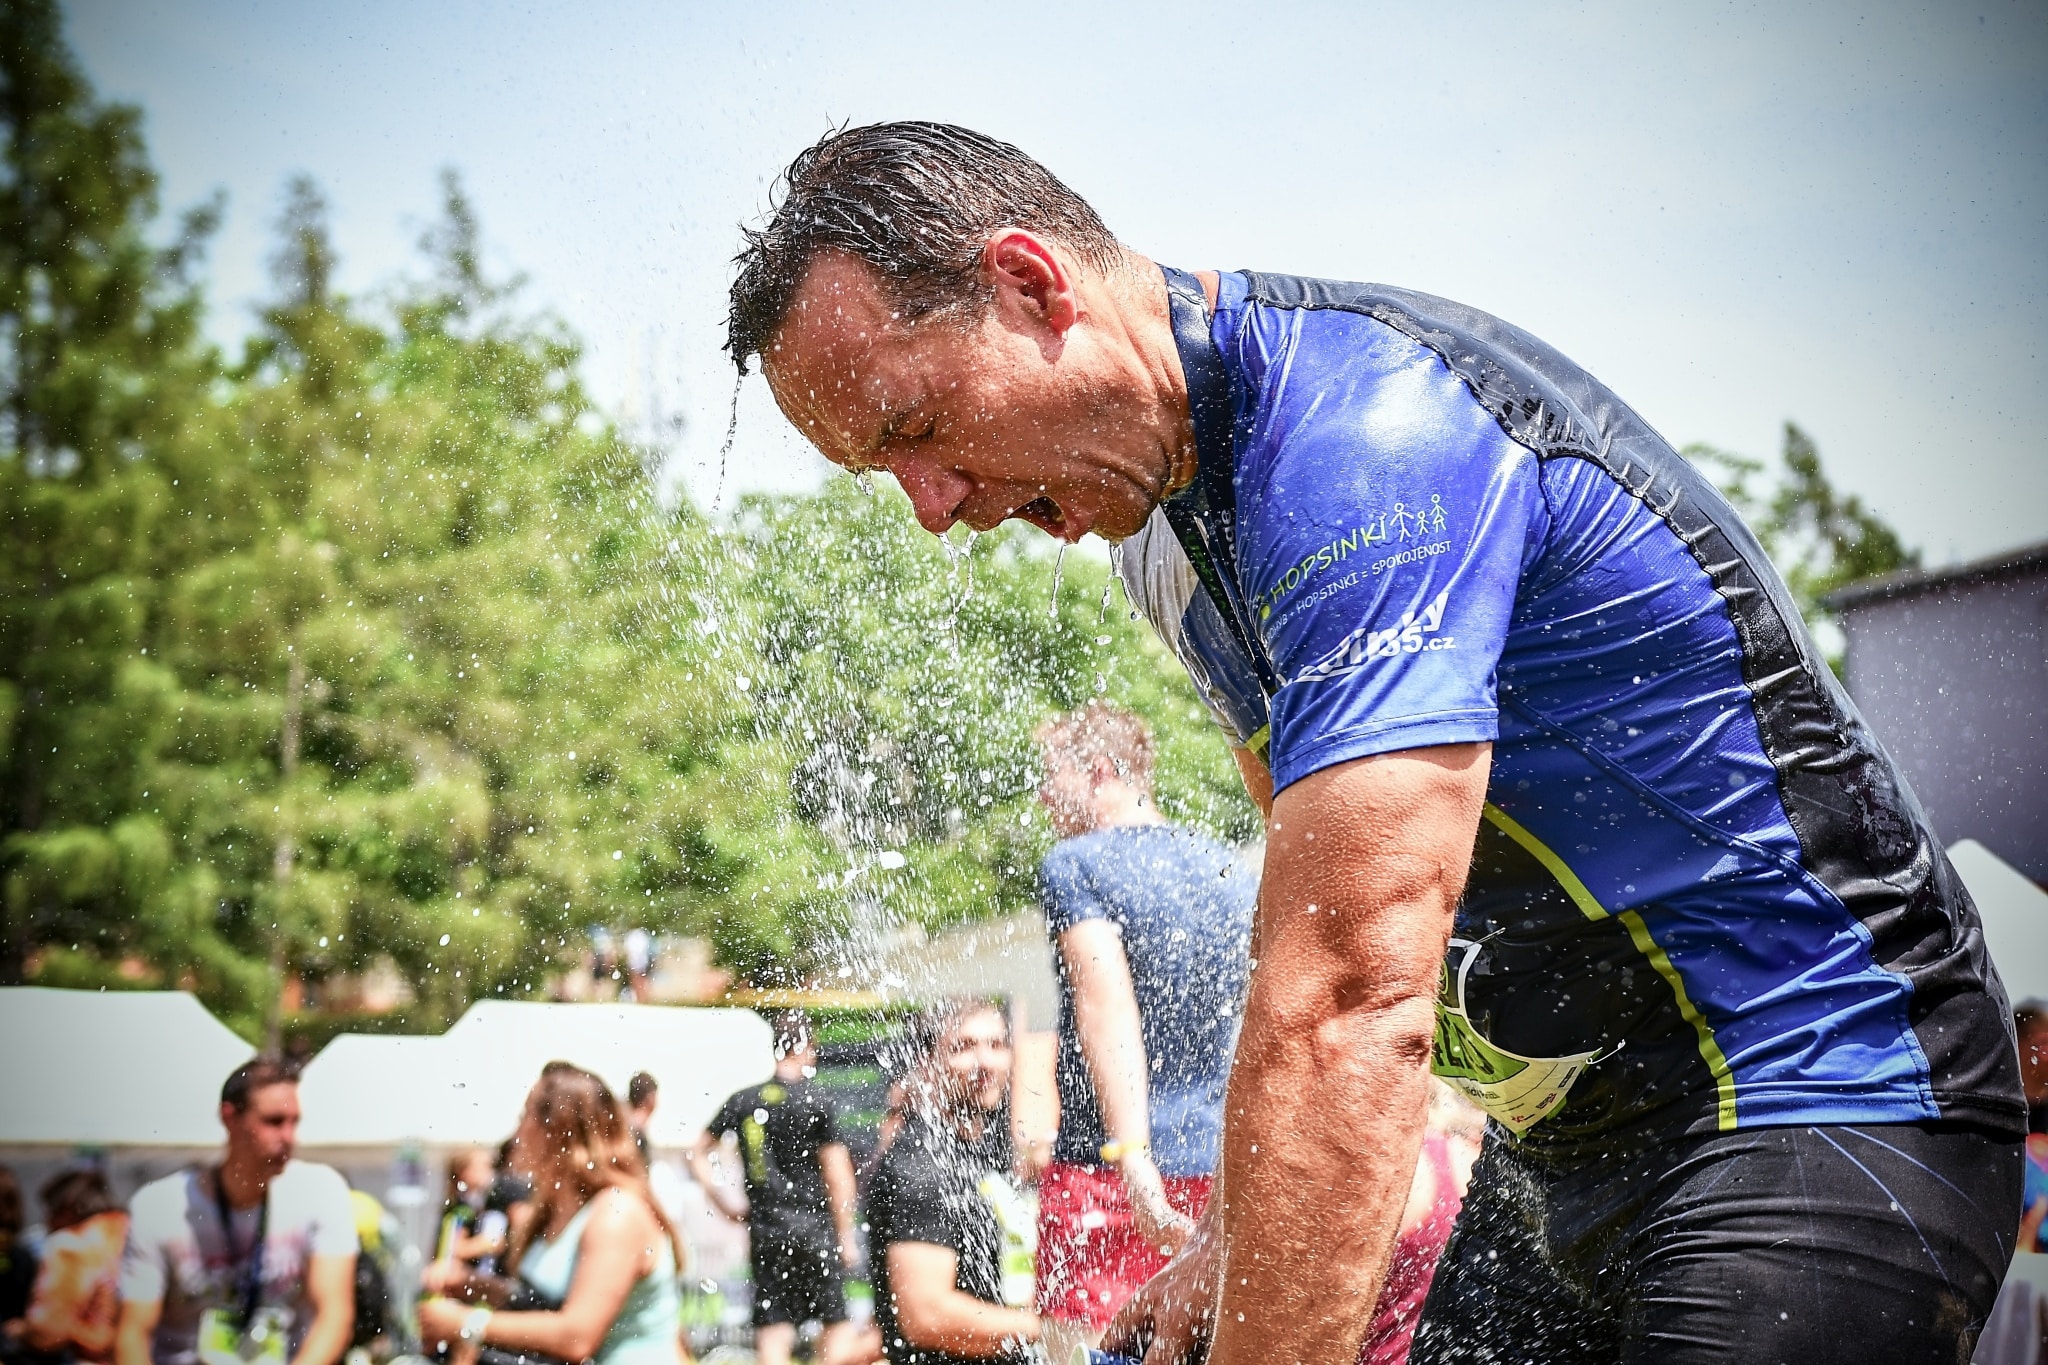
Compensating for backlight
There are a few drawbacks to keep in mind when shooting sports outdoors. First and foremost is backlight. Games are often played in clear skies in the afternoon or early evening and you are left with no choice other than to photograph in lighting that is less than ideal. Also, because places designated for photographers are often limited to only certain areas, you’ll find yourself shooting from positions that don’t have the best view. You can, at least partially, eliminate the effects of backlight by using a lens hood. In addition to preventing backlight, it also doubles as a lens protector!
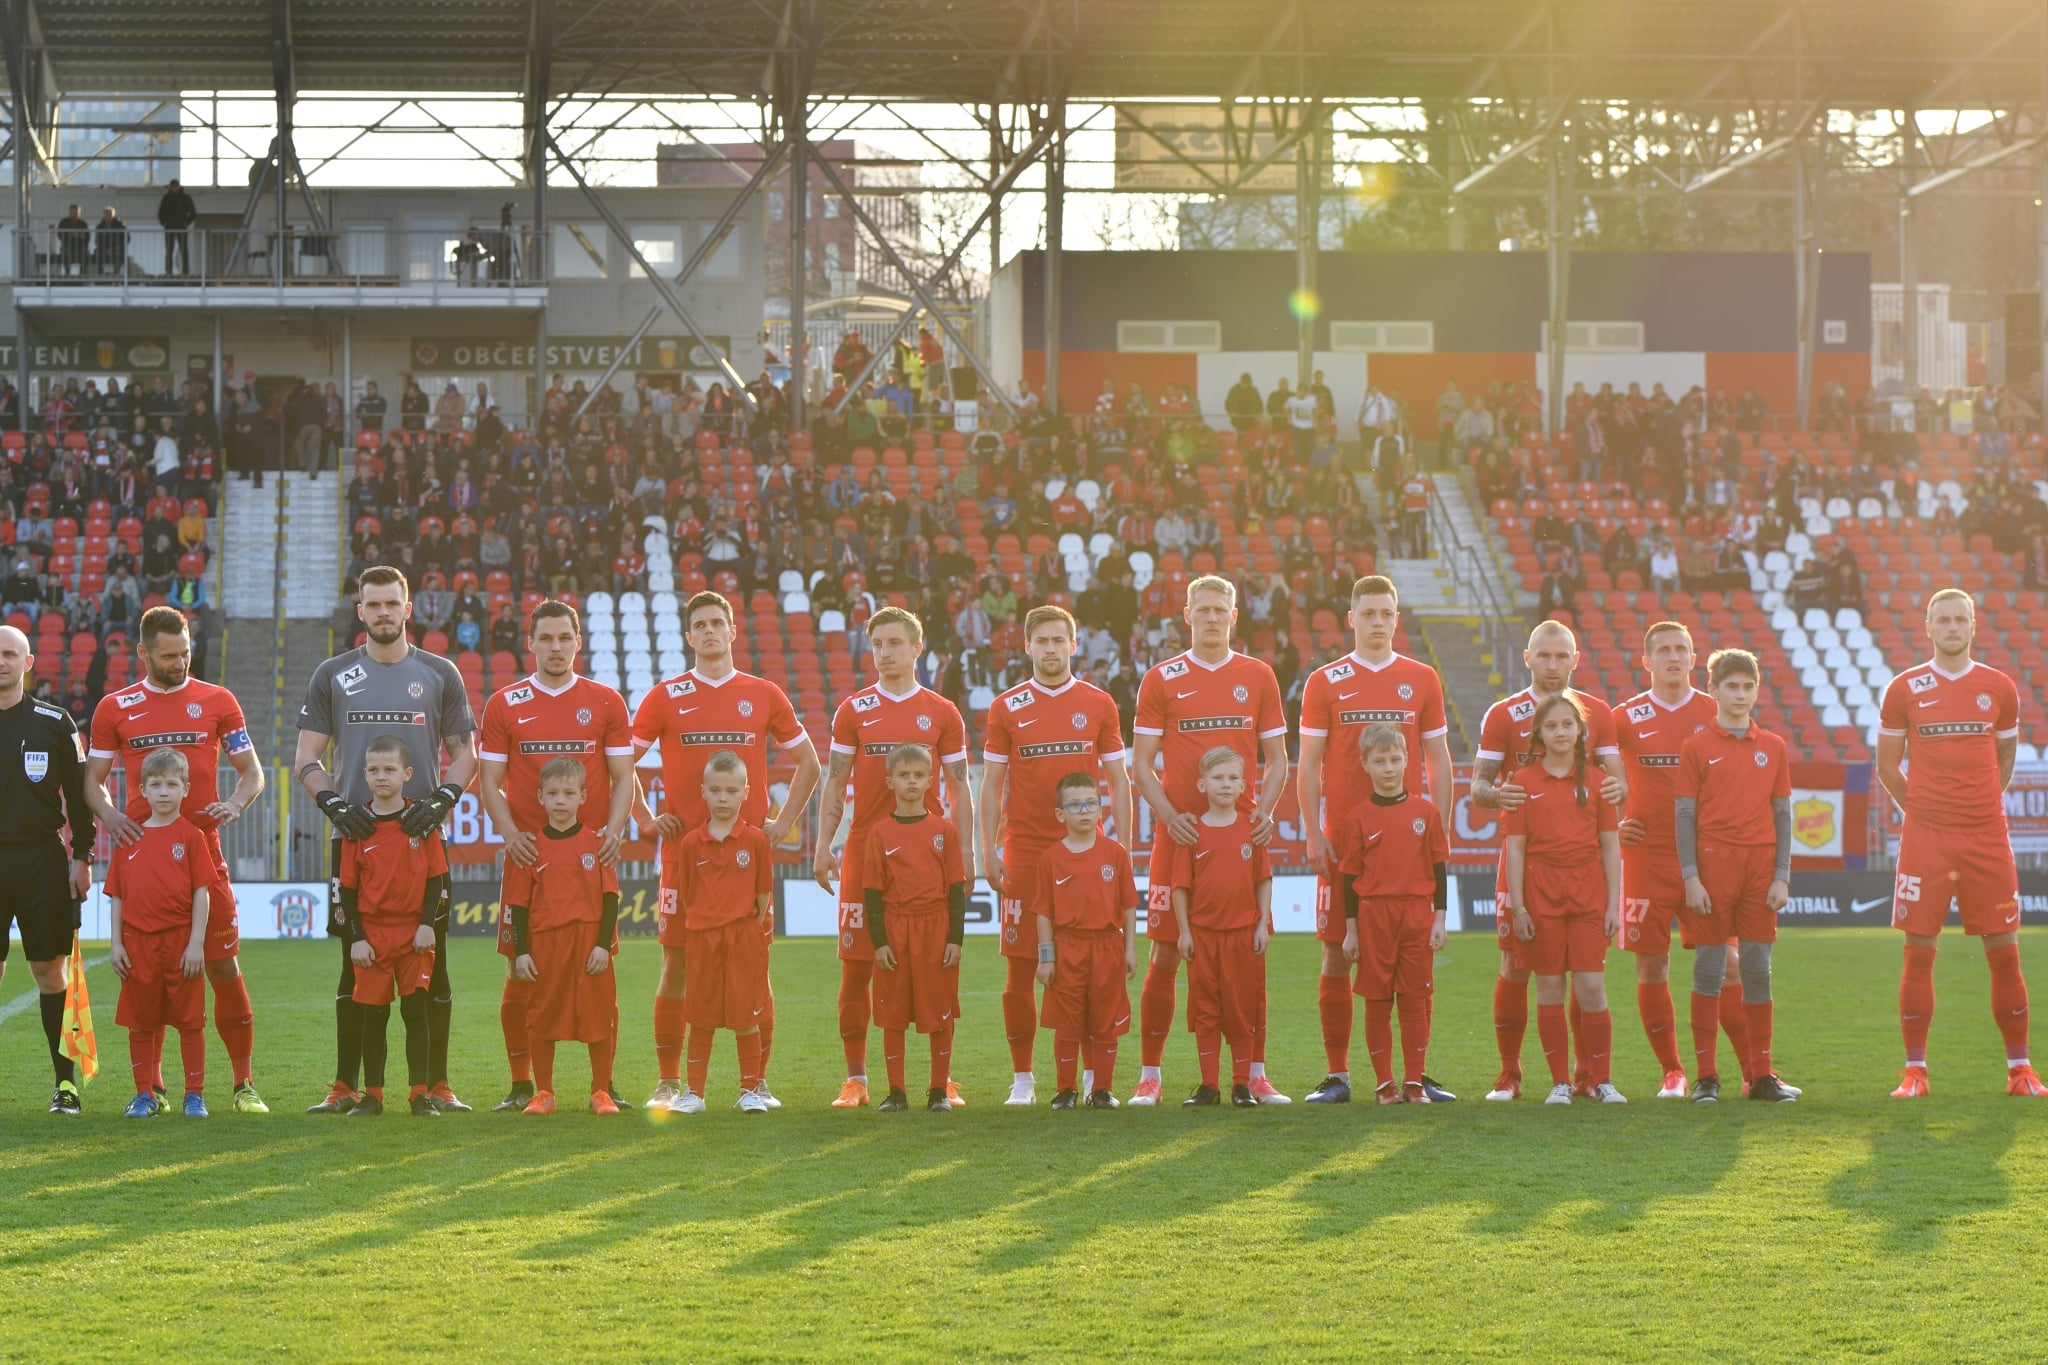
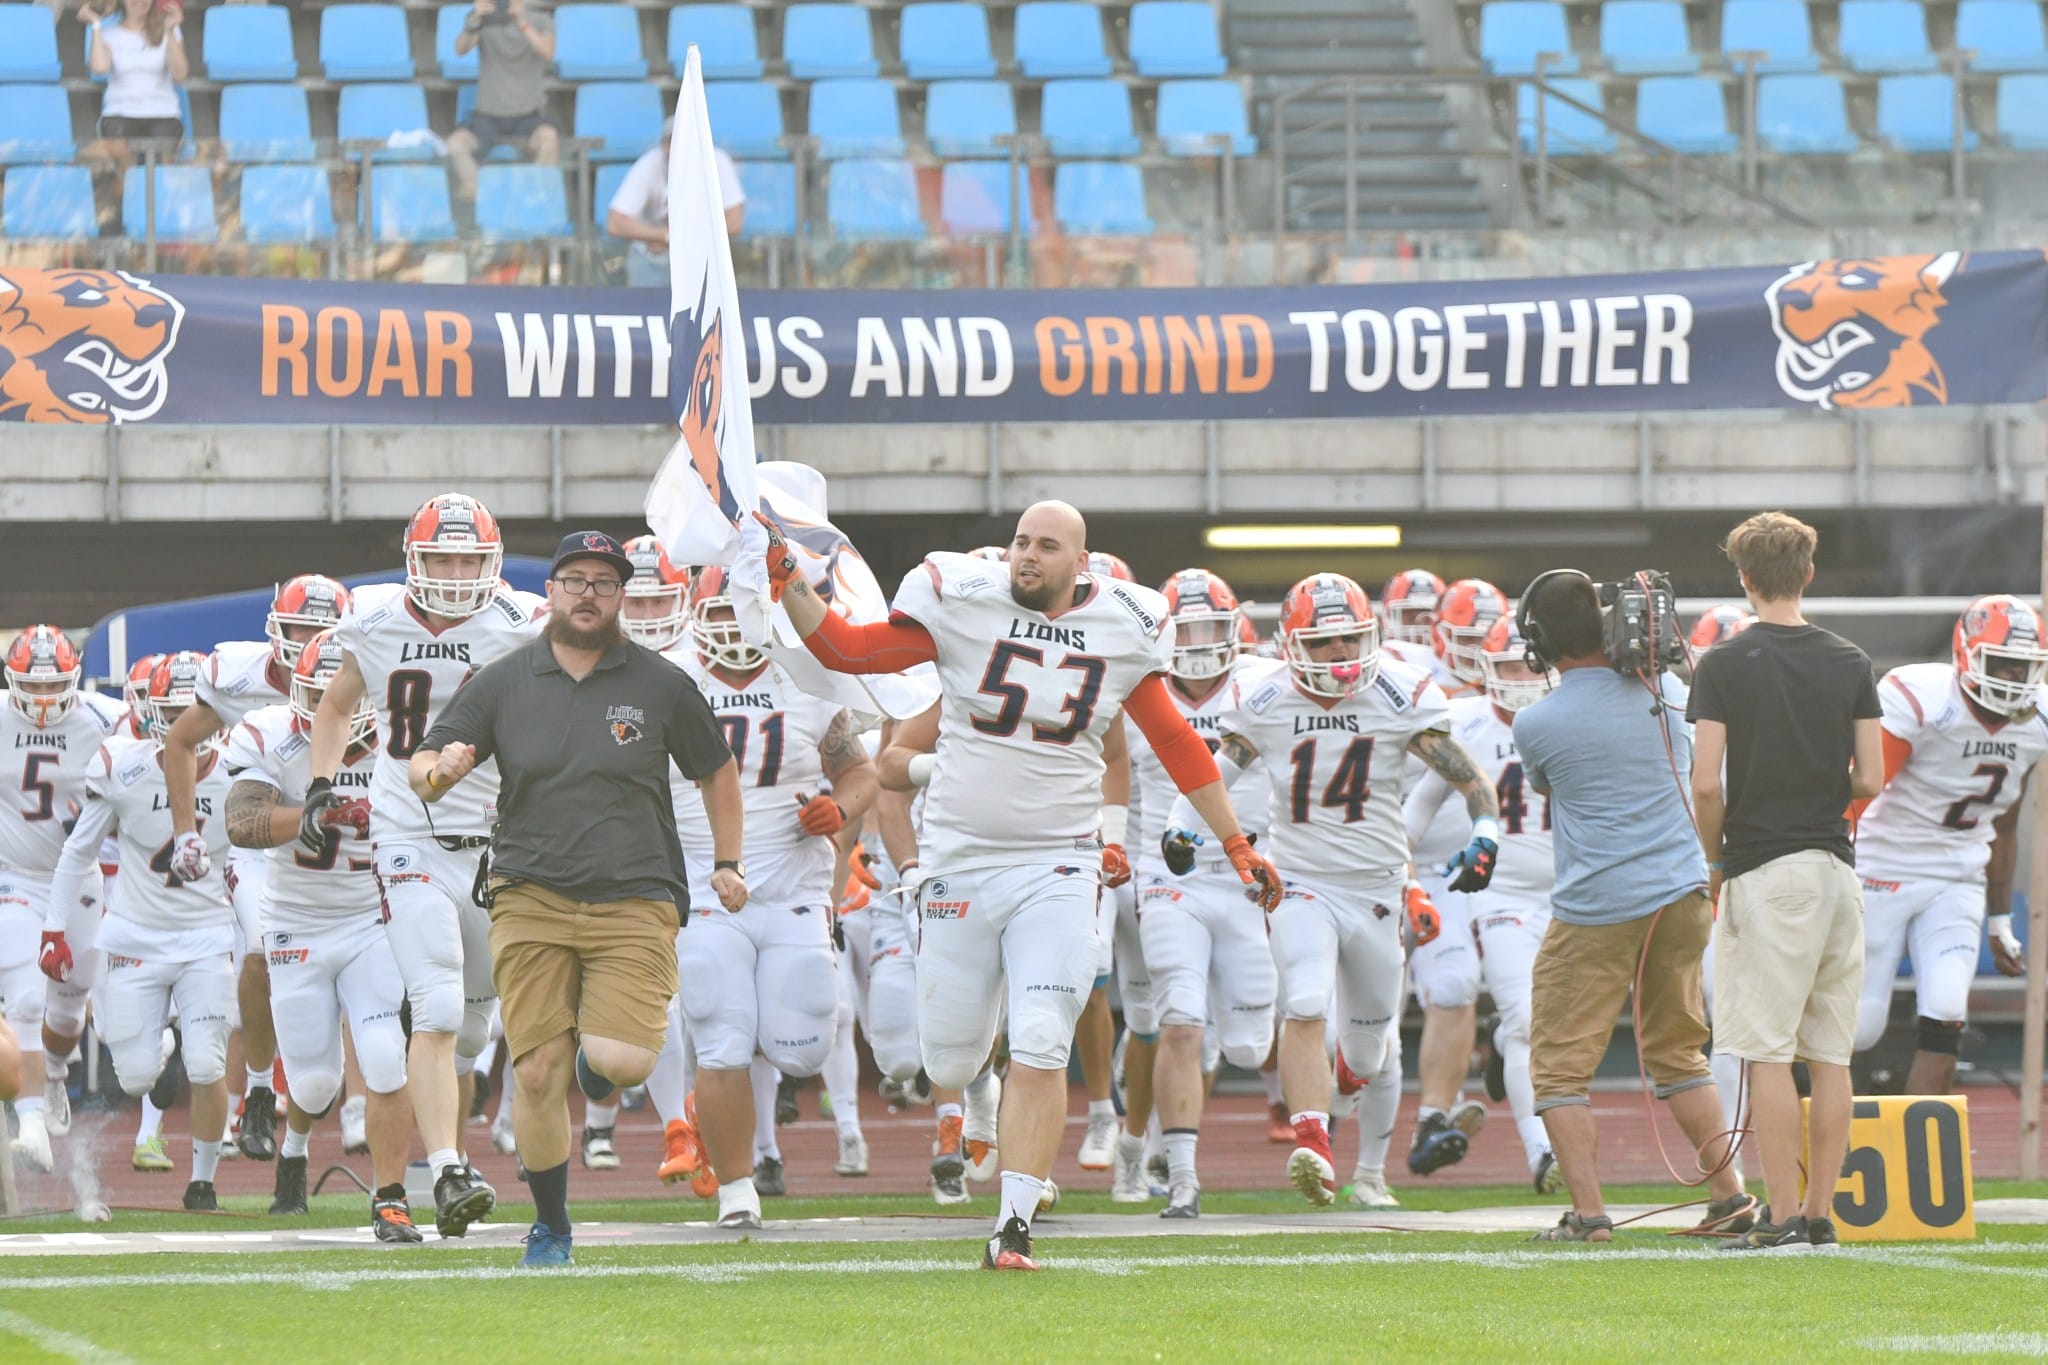
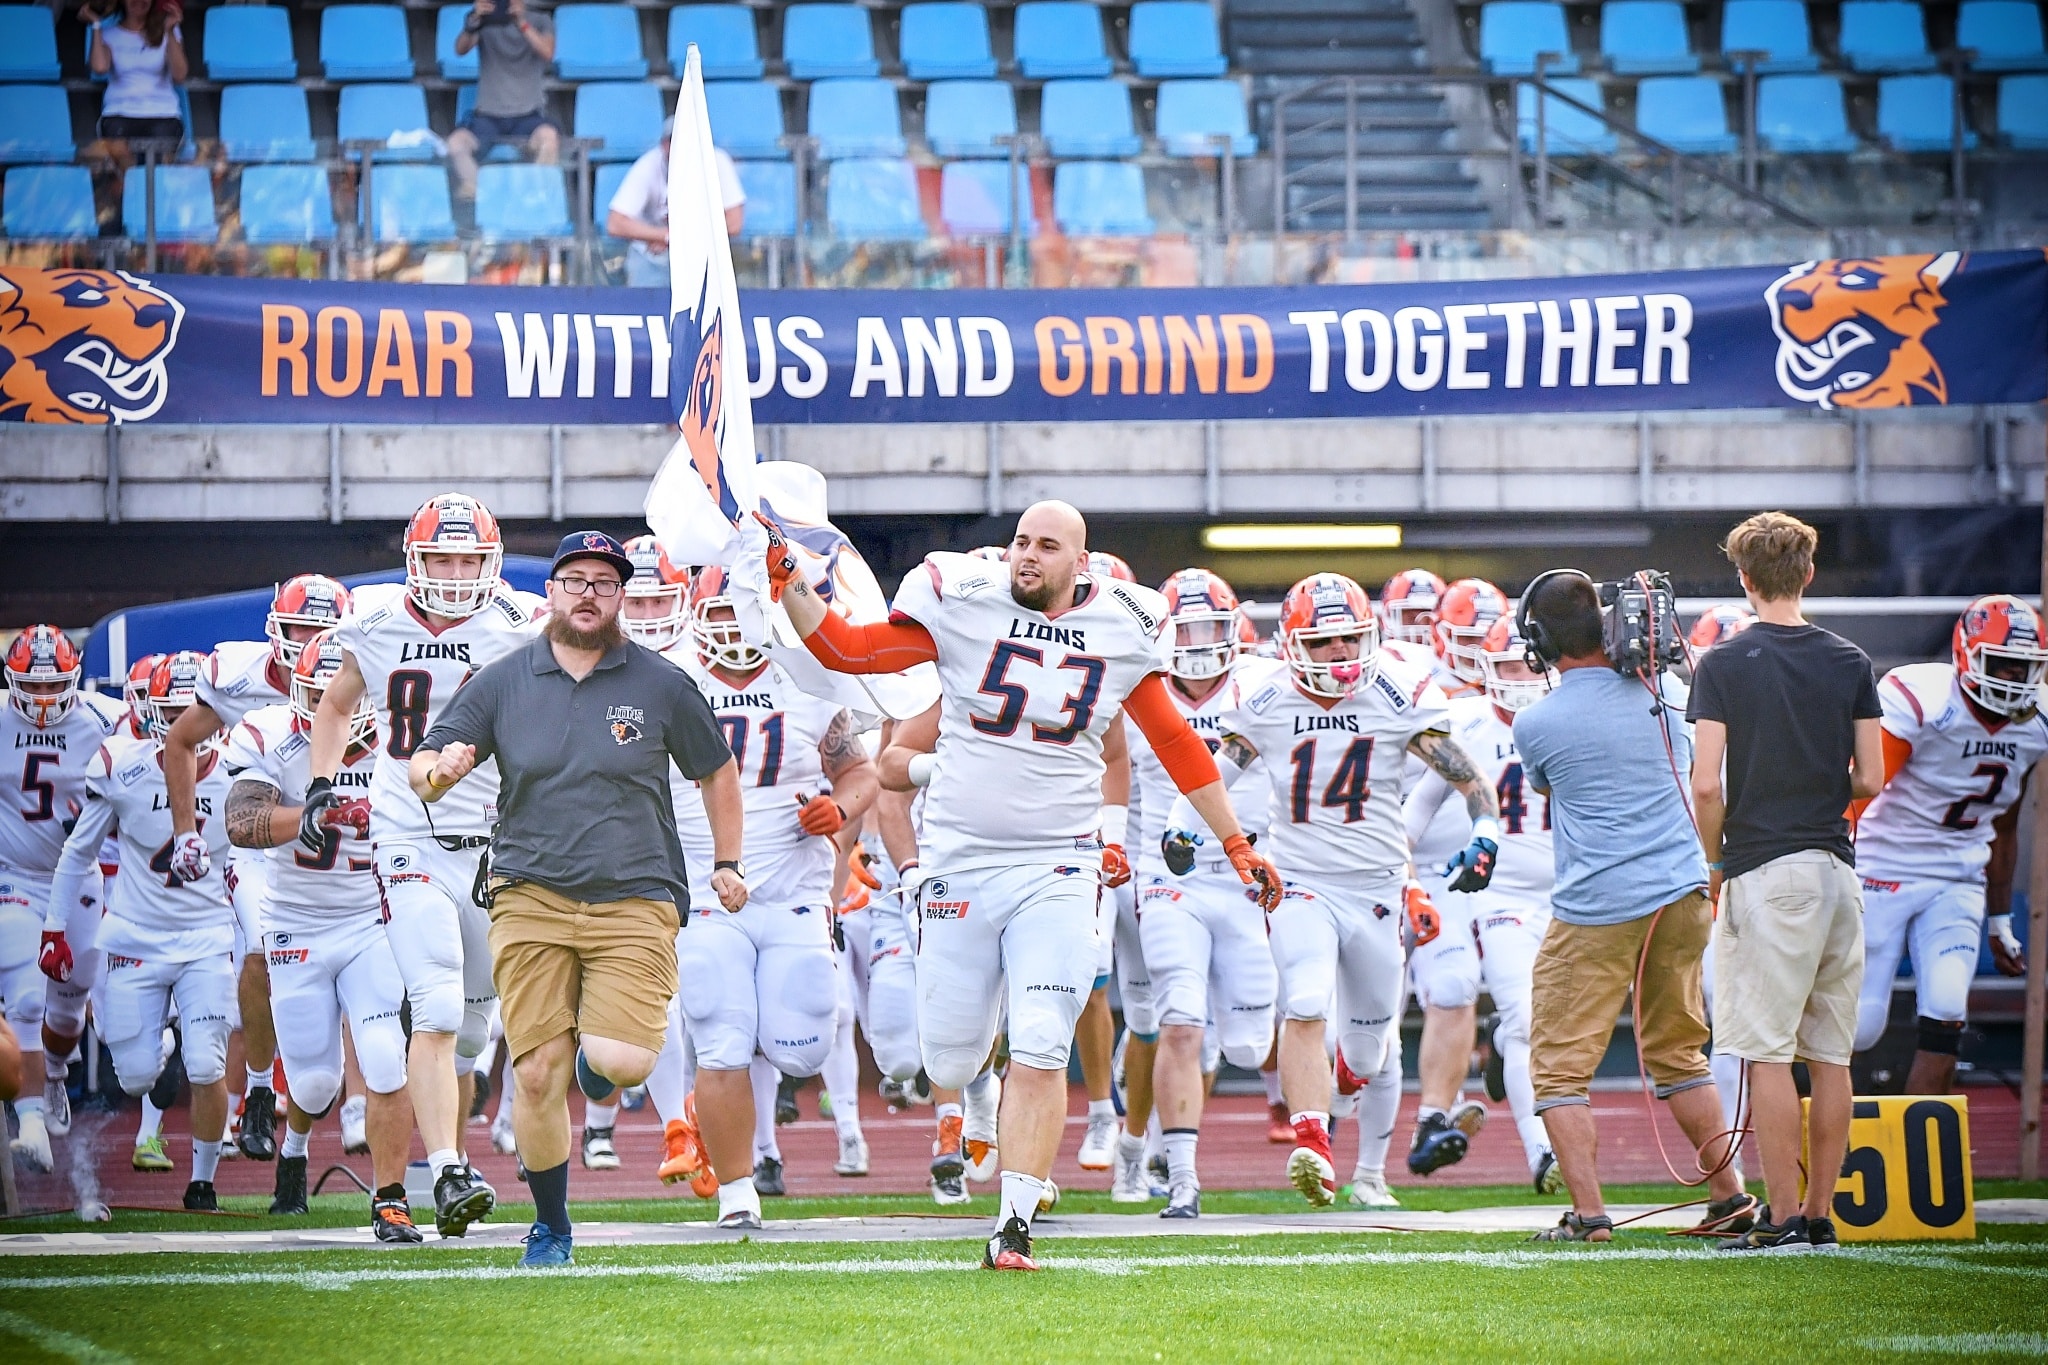
In the following photograph, you can see how I was able to salvage a photograph while editing in Zoner Studio. For this type of editing, you’ll be primarily using the Dehaze, Clarity, Contrast, and Vibrance sliders in the Develop module. You can also use the Curves tool, adjust the black and white point, Saturation, to name a few. Find more tips for this type of editing in the article, 5 Basics Edits to Improve Your Photography.
An example of the possibilities offered by photo editing software, Zoner Studio.
Unpredictable weather and hot air
Another factor to take into account is unpredictable weather that may require extensive editing in post-production. In some professional league games held later for spectators, you may start shooting in clear skies, but later the clouds roll in, and it starts to rain. The game then ends under artificial lighting. These are the times when you can’t get by with the one single preset you have prepared for the shoot. With outdoor sports photography, you have to play around with the editing more than you would with indoor sports.
The last thing to consider is shooting more distant subjects using a telephoto lens. On extremely hot summer days, you’ll be dealing with heat distortion, which is especially prevalent when zooming in on far-off subjects using longer focal lengths. In motorsports, on the odd occasion, heart distortion can result in some striking images, but most of the time it is an undesirable phenomenon.
Similar to shooting winter sports, you may run into haze, which significantly lowers the contrast and sharpness of distant objects. The Dehaze function in Zoner Studio can help you.
Equipment
Naturally, having the right photography equipment is essential for shooting outdoor sports. Which equipment is right for you depends on several different factors. First and foremost, the time of day and what sport you are shooting. Unlike shooting indoors, where a lens with the smallest f-number is a must, this factor is not so critical when shooting outdoors.
Something you will definitely need to consider is the maximum focal length of the lens. If I were to choose a single lens that is a reasonable, universal lens for the majority of sporting events, I would choose a lens with a focal length of 70–200mm. If your shooting is limited to daytime only, then you will be perfectly fine using one of the 70-300mm kit lenses. While you won’t be able to get your subject to be as separated from the background due to higher aperture, it does its job well.
Now, I can almost see professional photographers who own equipment at a completely different price point shaking their heads. Still, the majority of photographers who do sports photography for fun own some combination of a 70-200mm, f/2.8 lens, an approximately 150-600mm, f/5.6-6.3 lens, and finally, some type of wide-angle lens. Nevertheless, for photo hobbyists just starting out, a 70-300mm kit lens will certainly suffice.
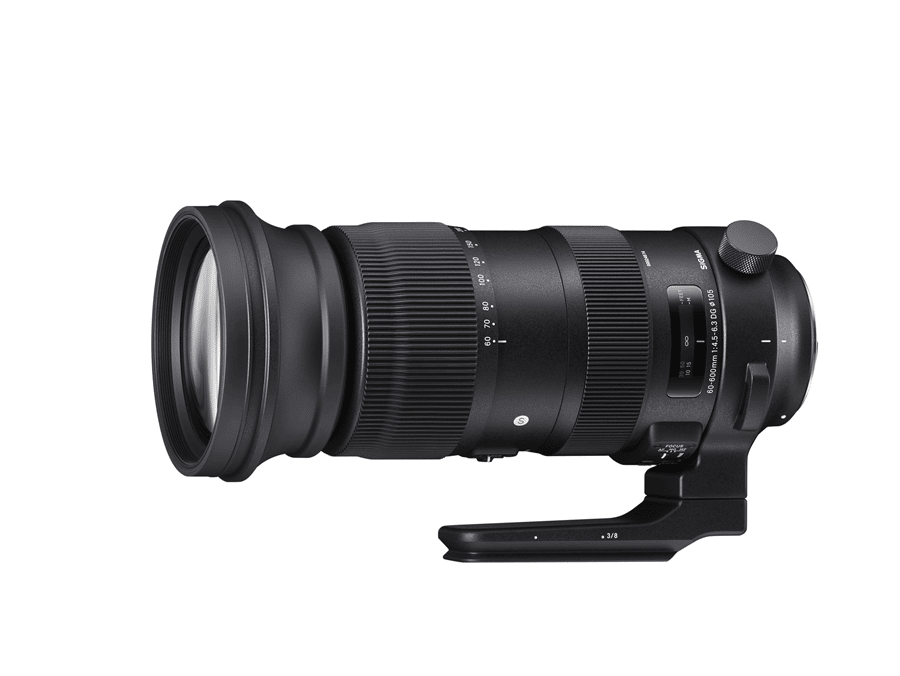
When considering the camera itself, don’t discount smaller sensors labeled APS-C or even smaller. Outdoor sports are often shot under plenty of light so ISO sensitivity is not absolutely crucial. The crop factor will also help you if you don’t have a lens with a long enough focal length.
Photography accreditation is not always required
Because a number of recreational or non-professional sports are played outdoors, you often don’t have to worry about photography accreditation. In addition, many sports associations have a social media account or website where you can contact them if you are interested in coming to shoot. They are unlikely to turn you down. On the contrary, they’ll probably be happy to be provided with some free photos.
If you can’t find any contact information, don’t give up and go and ask them face to face. You should be able to easily reach an agreement with someone in person so that they know who you are and can tell you where you can shoot so that you don’t obstruct the game or the spectators’ view.
What else do you need to bring?
You can read more about choosing the right gear for sports photography in our article, Choosing Gear for Sports Photography III: How Should You Choose Your Accessories?
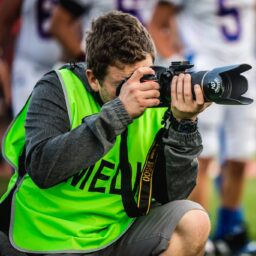
You will most likely be asked to wear a reflective vest so that you can move about the field. Any type of reflective vest will do, such as the one found in your car’s basic equipment kit. In sports photography, this is probably the main non-photography item you should carry with you at all times.
I definitely recommend getting a high-quality backpack or bag to carry your stuff. Also, think carefully about what you really need with you so you don’t carry around unnecessary weight. When traveling longer distances at rallies or other tournaments, every kilo counts. Be sure to see if there is a press center where you can store your things, grab a program, or get some refreshments.
I also recommend using a UV filter for protecting the lens from any flying rocks or other objects. As mentioned above, a lens hood is a must-have both as a lens protector and a visor when shooting in backlight. If you are shooting in lower temperatures, be sure to have extra batteries on hand and carry them close to your body because a lower temperature leads to faster draining of the battery.
Finally, I’d like to share my experience with raincoats. A while back, I bought a slightly higher-end rain poncho in small, flat packaging that fit perfectly in my backpack. But I’ve never used it. Why you may ask? Every time, I told myself that it wasn’t raining hard enough to justify opening the original packaging and then needing to somehow cram it back into my backpack.
So I’ve gotten a bit wet a few times, and other times outright drenched – only that by that point, there was no point in taking out the rain poncho. For this reason, I started using cheap, disposable rain ponchos that can be thrown away and forgotten about. From that moment on, I’ve managed to stay dry while shooting sporting events!
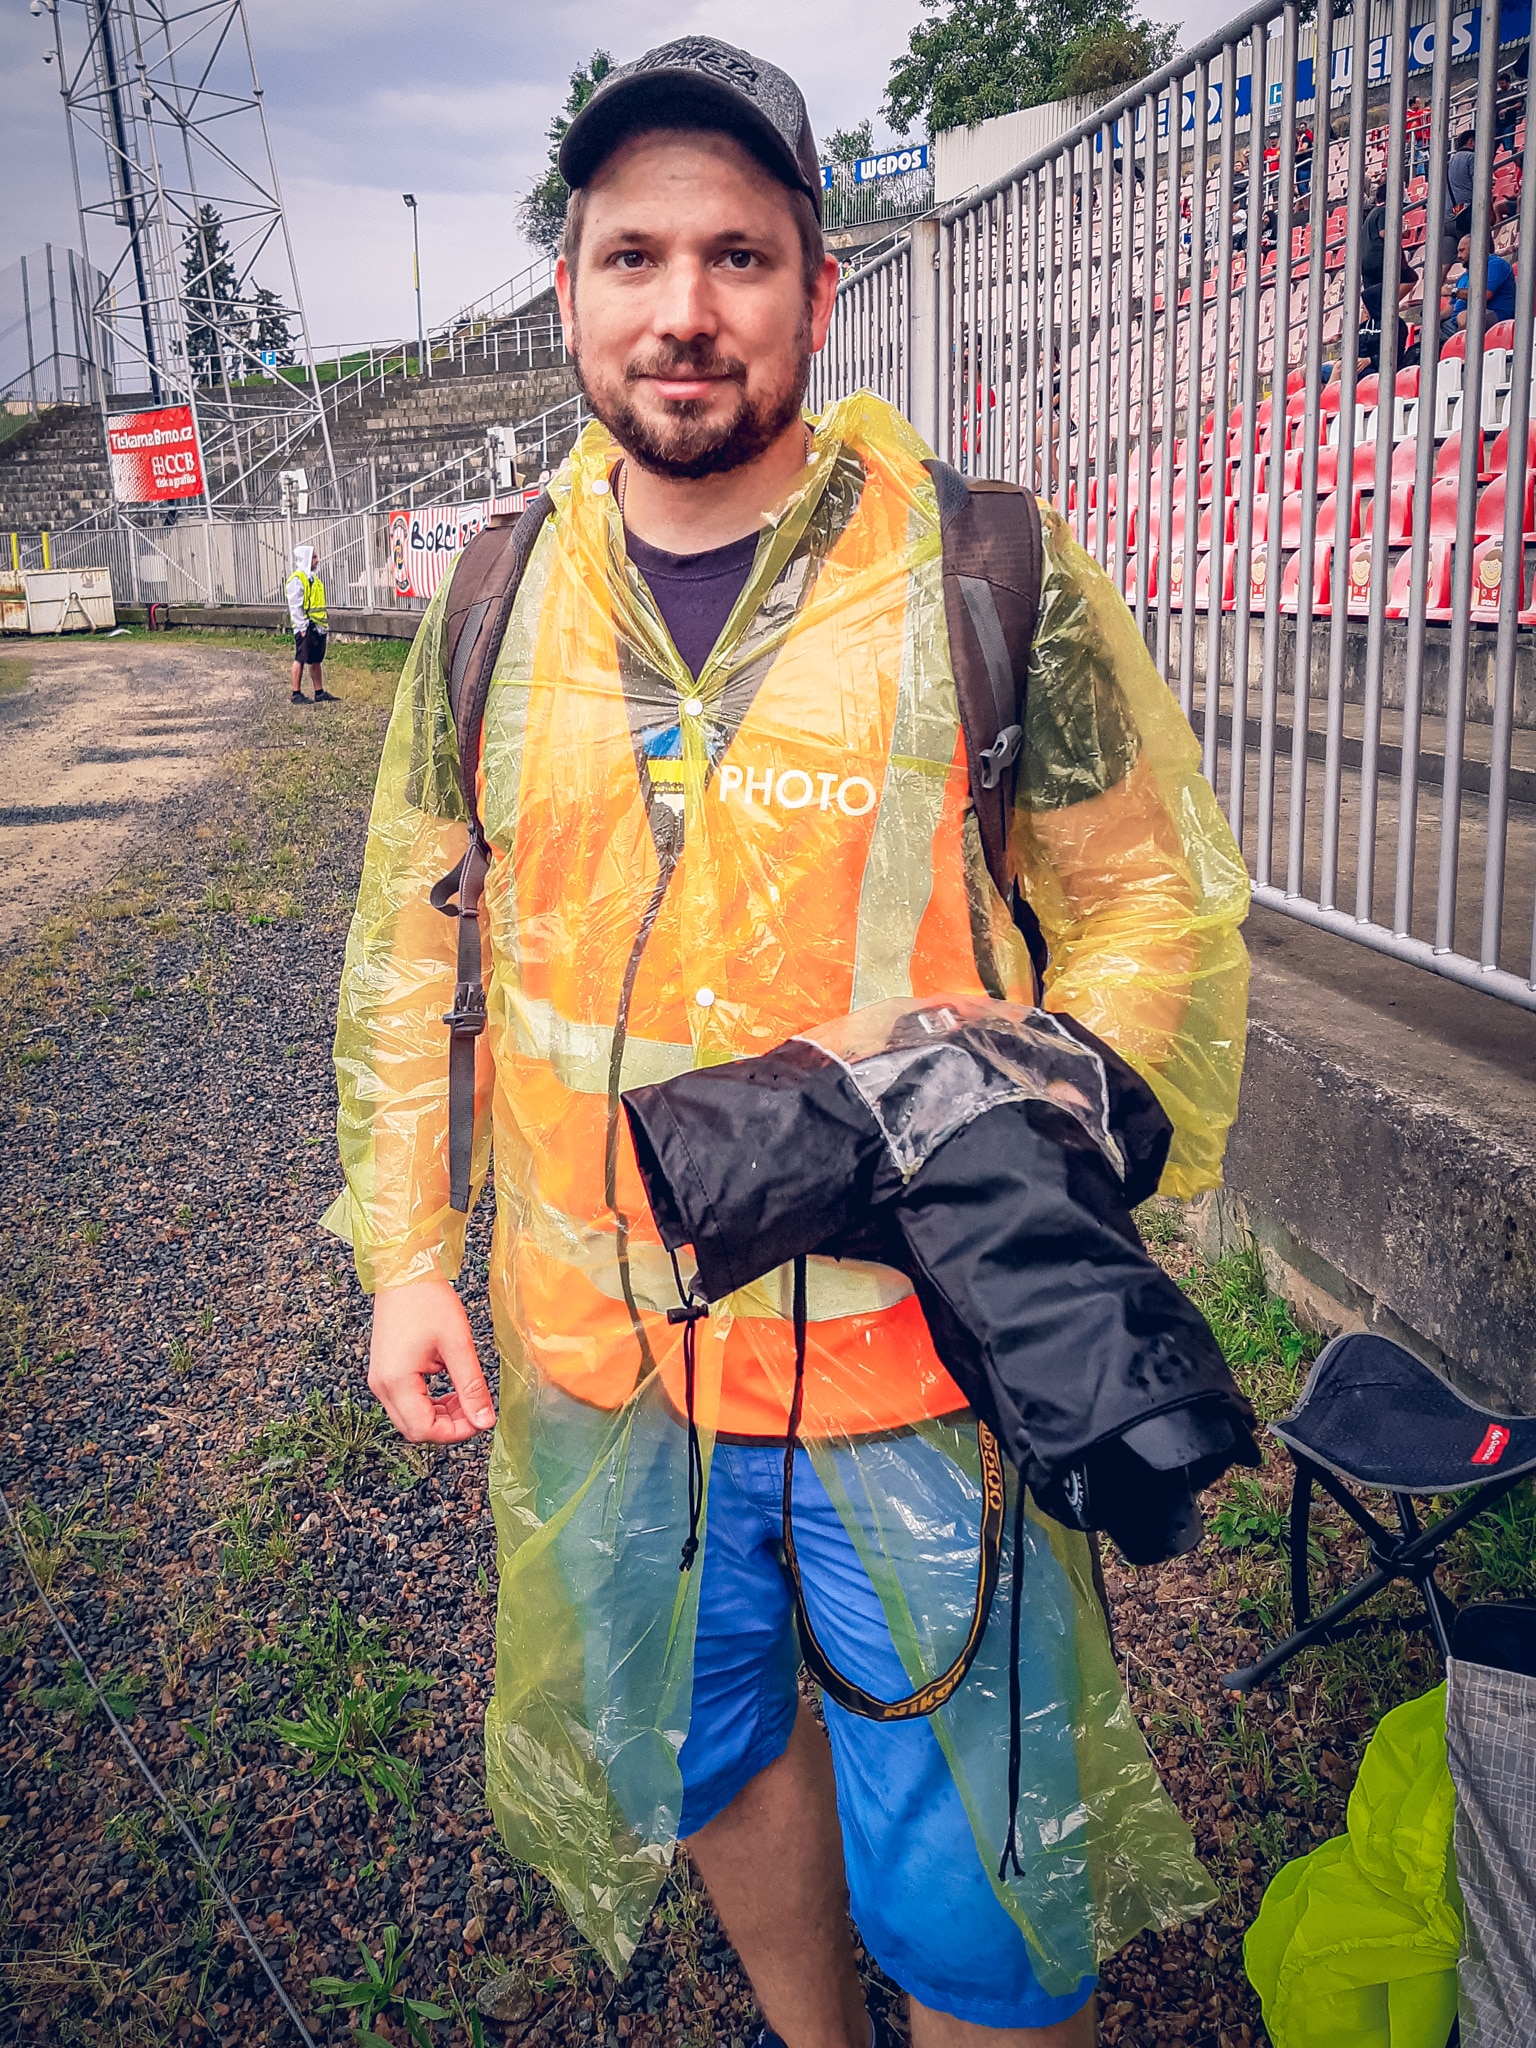
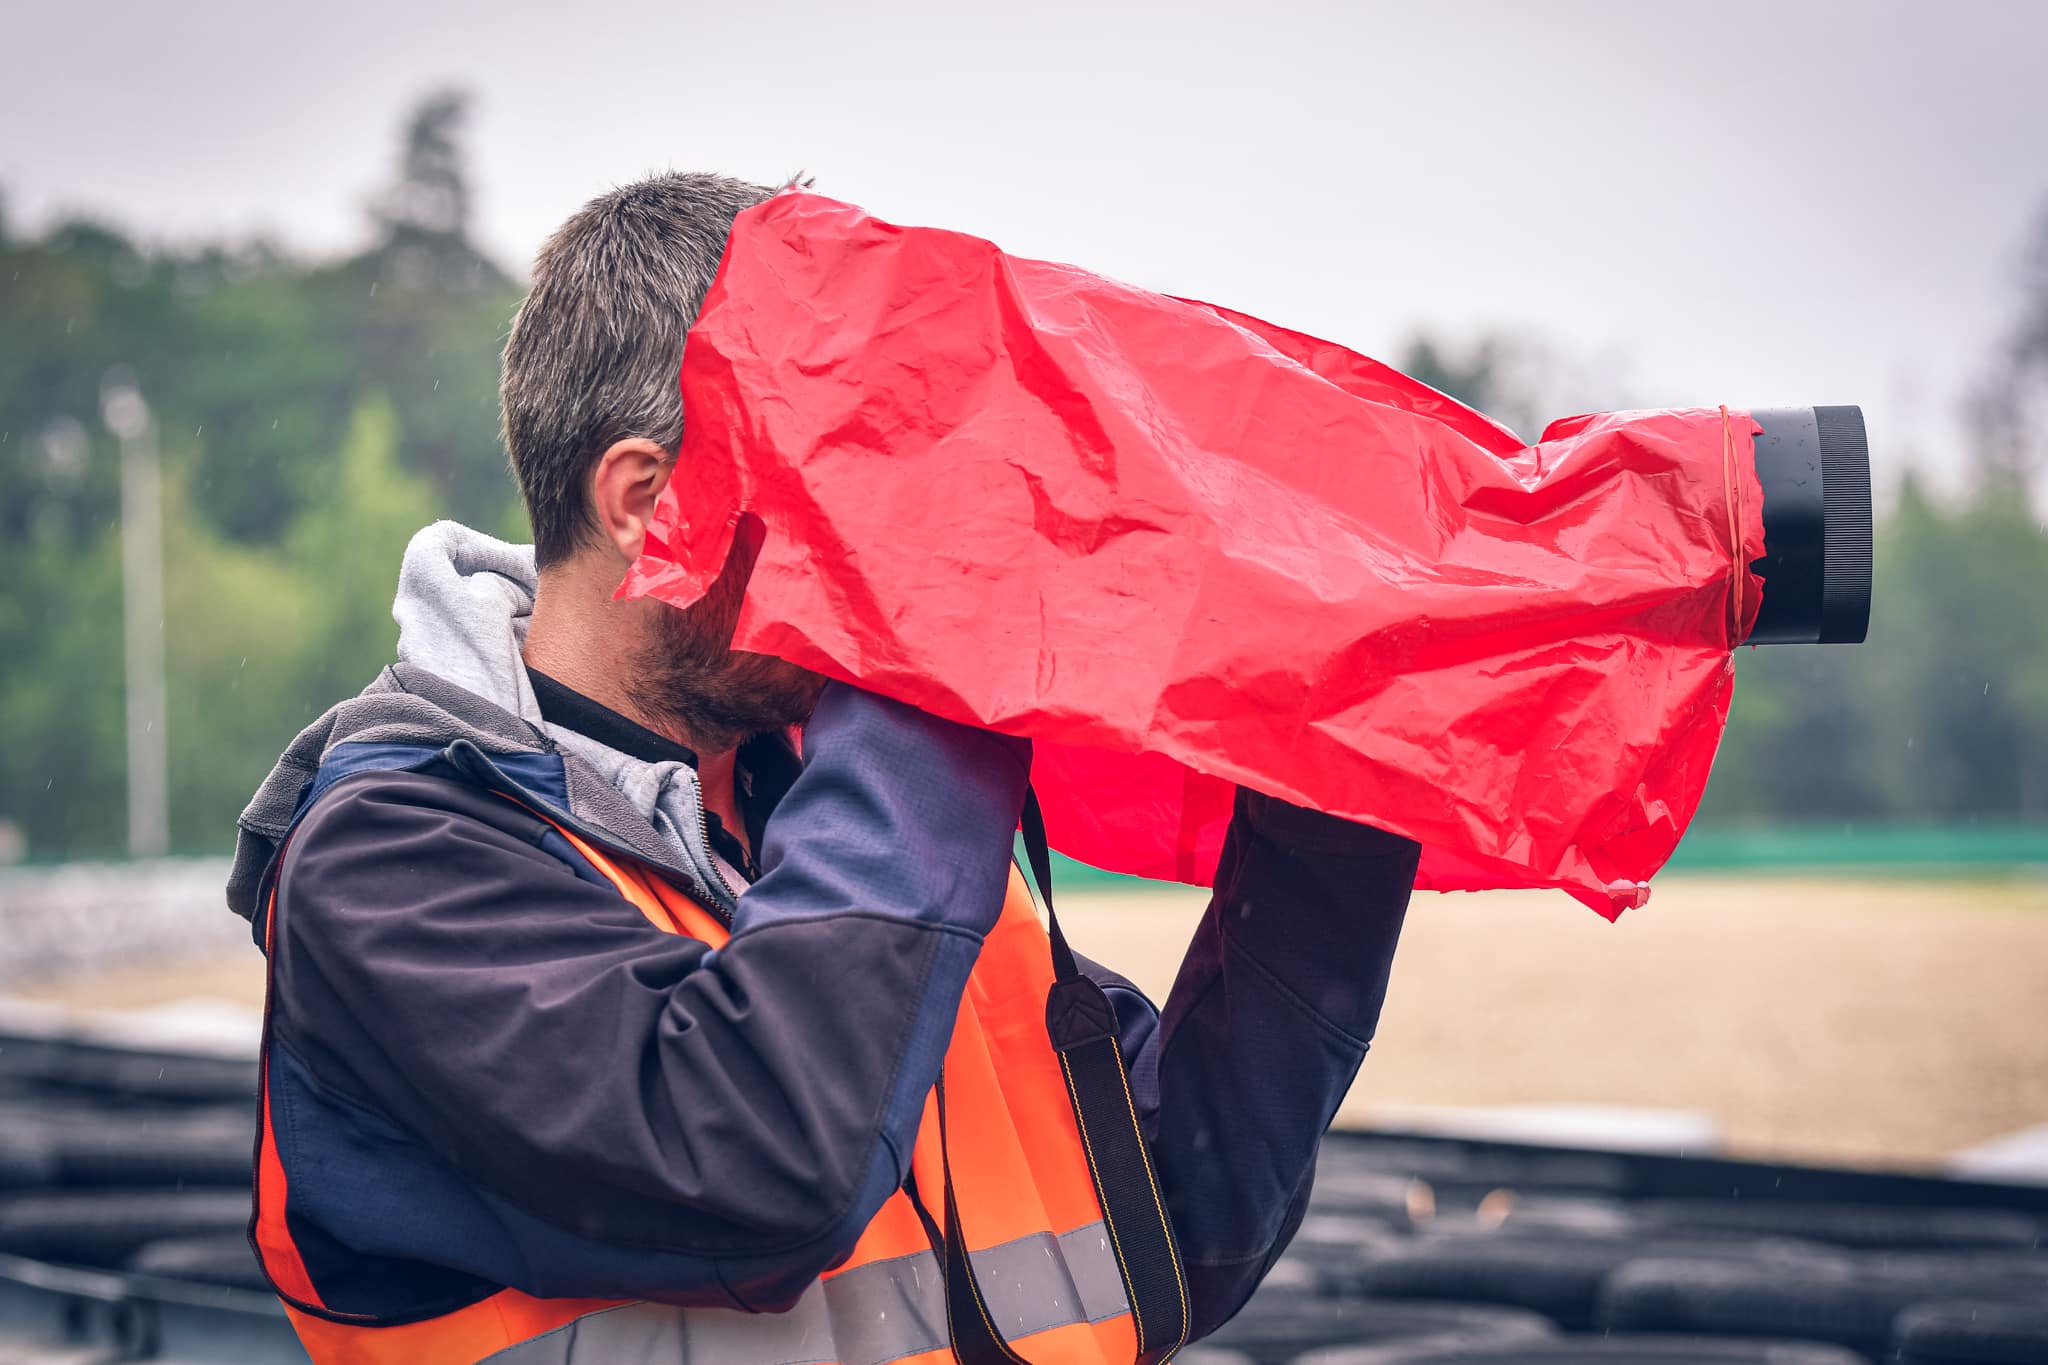
As a last resort, an ordinary plastic shopping bag can serve as a makeshift poncho.
Conclusion
Outdoor sports photography can be a wonderful experience, but it can also be torture. Do your best to be prepared for everything and keep in mind that nothing can be perfect. It requires not giving up and trying various edits in post-production and walking away from the shoot with new experience that can be applied next time. When shooting pay special attention not only to what is happening in front of the lens, but also to what is happening around you. No photograph is worth sacrificing your own safety.
There are no comments yet.